
Felíz jueves, saludos a los miembros de la comunidad Jewelry, dando gracias a Dios por un nuevo día y deseando cosas buenas para todos en esta semana, esta semana he estado comprando algunos materiales utilices para crear accesorios y el día de hoy les quiero compartir la elaboración de unos creativos zarcillos.
Happy Thursday, greetings to the members of the Jewelry community, thanking God for a new day and wishing good things for everyone this week, this week I have been buying some materials to use to create accessories and today I want to share the making some creative tendrils.
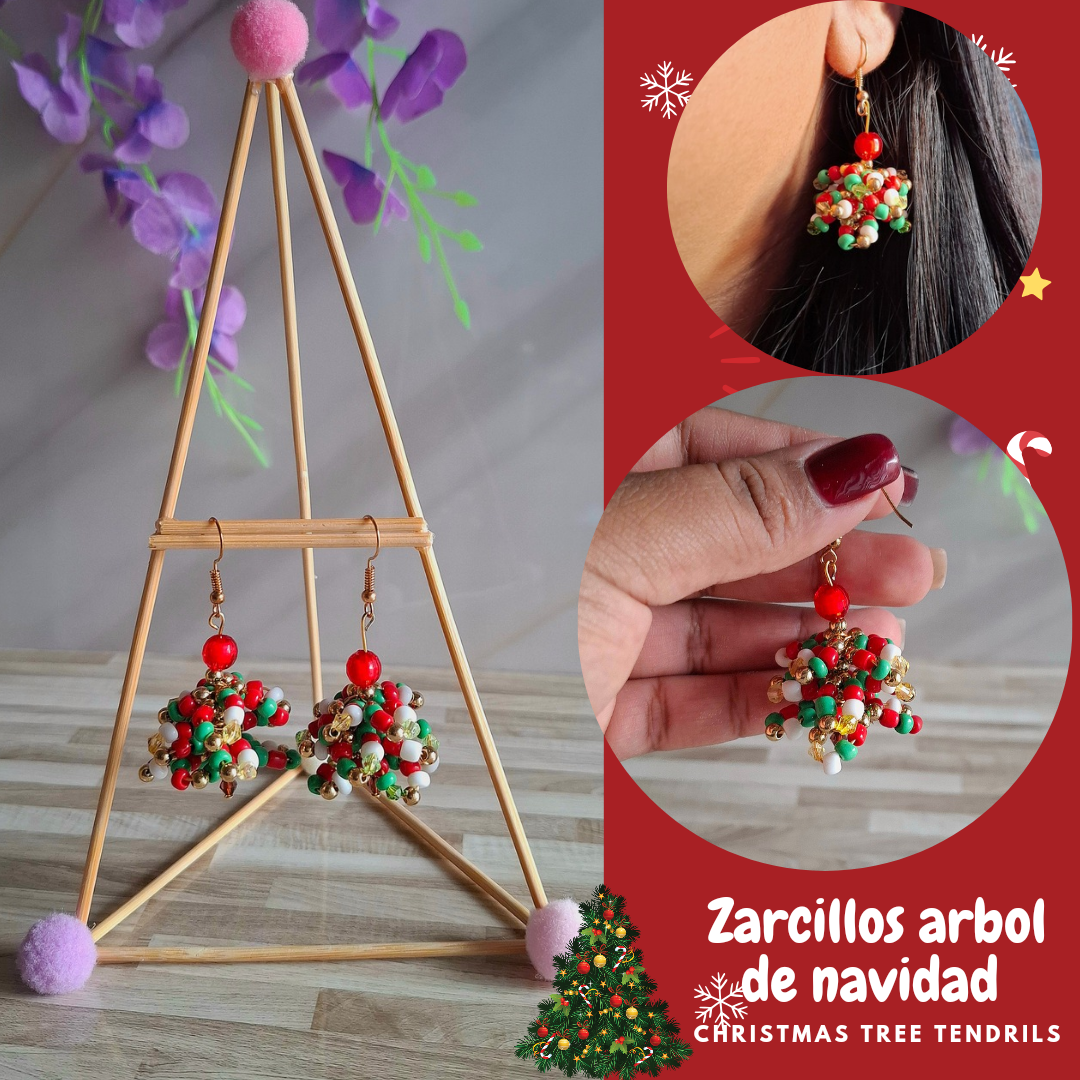
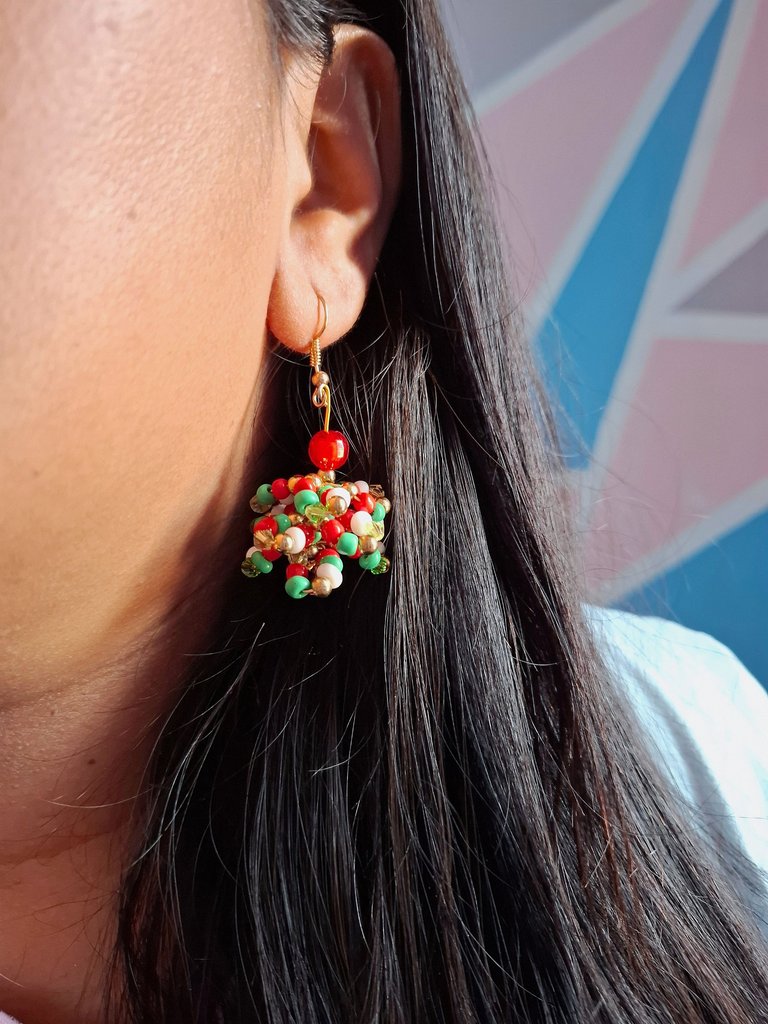
Ya oficialmente entramos en temporada navideña, una de las épocas que más me encanta por la variedad de adornos, y también joyería que podemos realizar, para mí primer accesorio me inspire en el árbol de navidad, al utilizar los colores con los que le damos vida al arbolito y utilizando el alambre para dar la forma similar nos da como resultado un buen trabajo, lindo, sencillo y con pocos materiales, espero les guste, a continuación les muestro el paso a paso.
We have now officially entered the Christmas season, one of the times that I love the most because of the variety of decorations, and also jewelry that we can make, for my first accessory I was inspired by the Christmas tree, by using the colors with which we give it life to the little tree and using the wire to give the similar shape gives us a good job, nice, simple and with few materials, I hope you like it, below I show you the step by step.

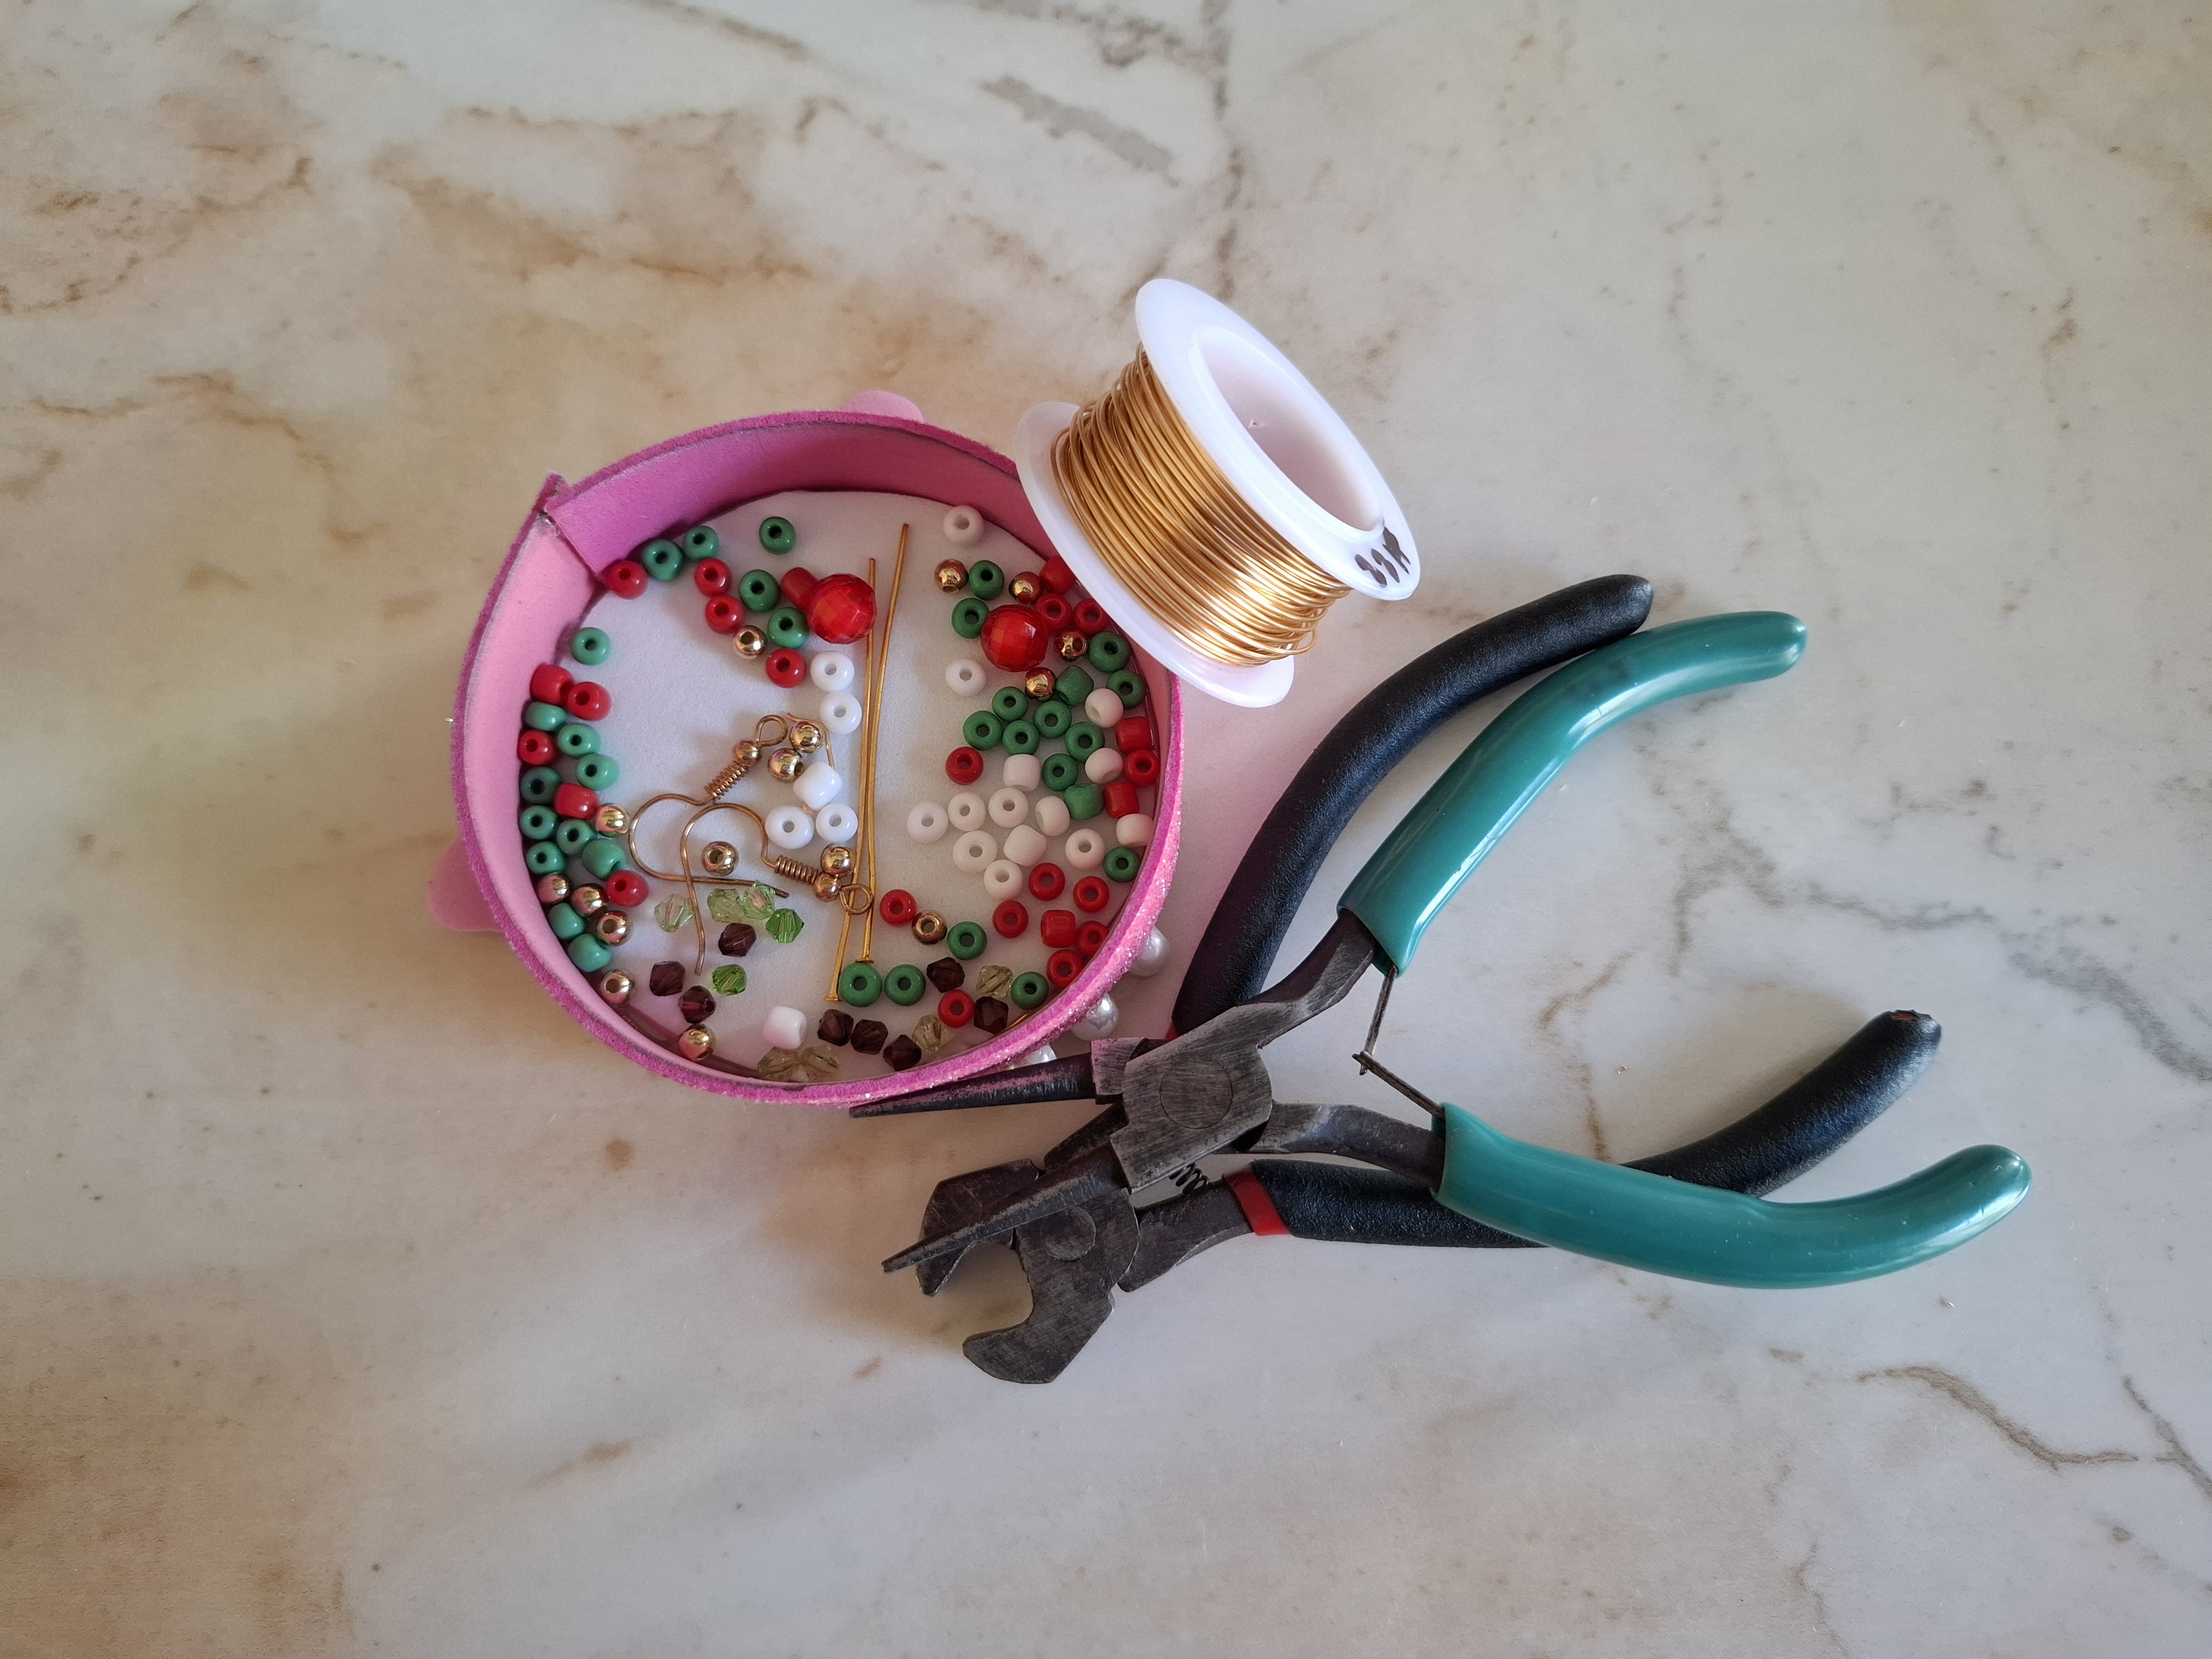
Materiales:
🎄Mostacillas rojas.
🎄Mostacillas verdes.
🎄Mostacillas blancas.
🎄Cristales verdes.
🎄Balines dorados.
🎄Alambre dorado #22.
🎄2 gancho de aro.
🎄2 cuentas rojas.
🎄2 alfileres de bisutería.
🎄Cinta métrica.
🎄Pinzas.
Materials:
Red beads.
Green beads.
White beads.
Green crystals.
Golden pellets.
Gold wire #22.
2 hoop hook.
2 red beads.
2 jewelry pins.
Measuring tape.
Tweezers.

Paso a paso / Step by step
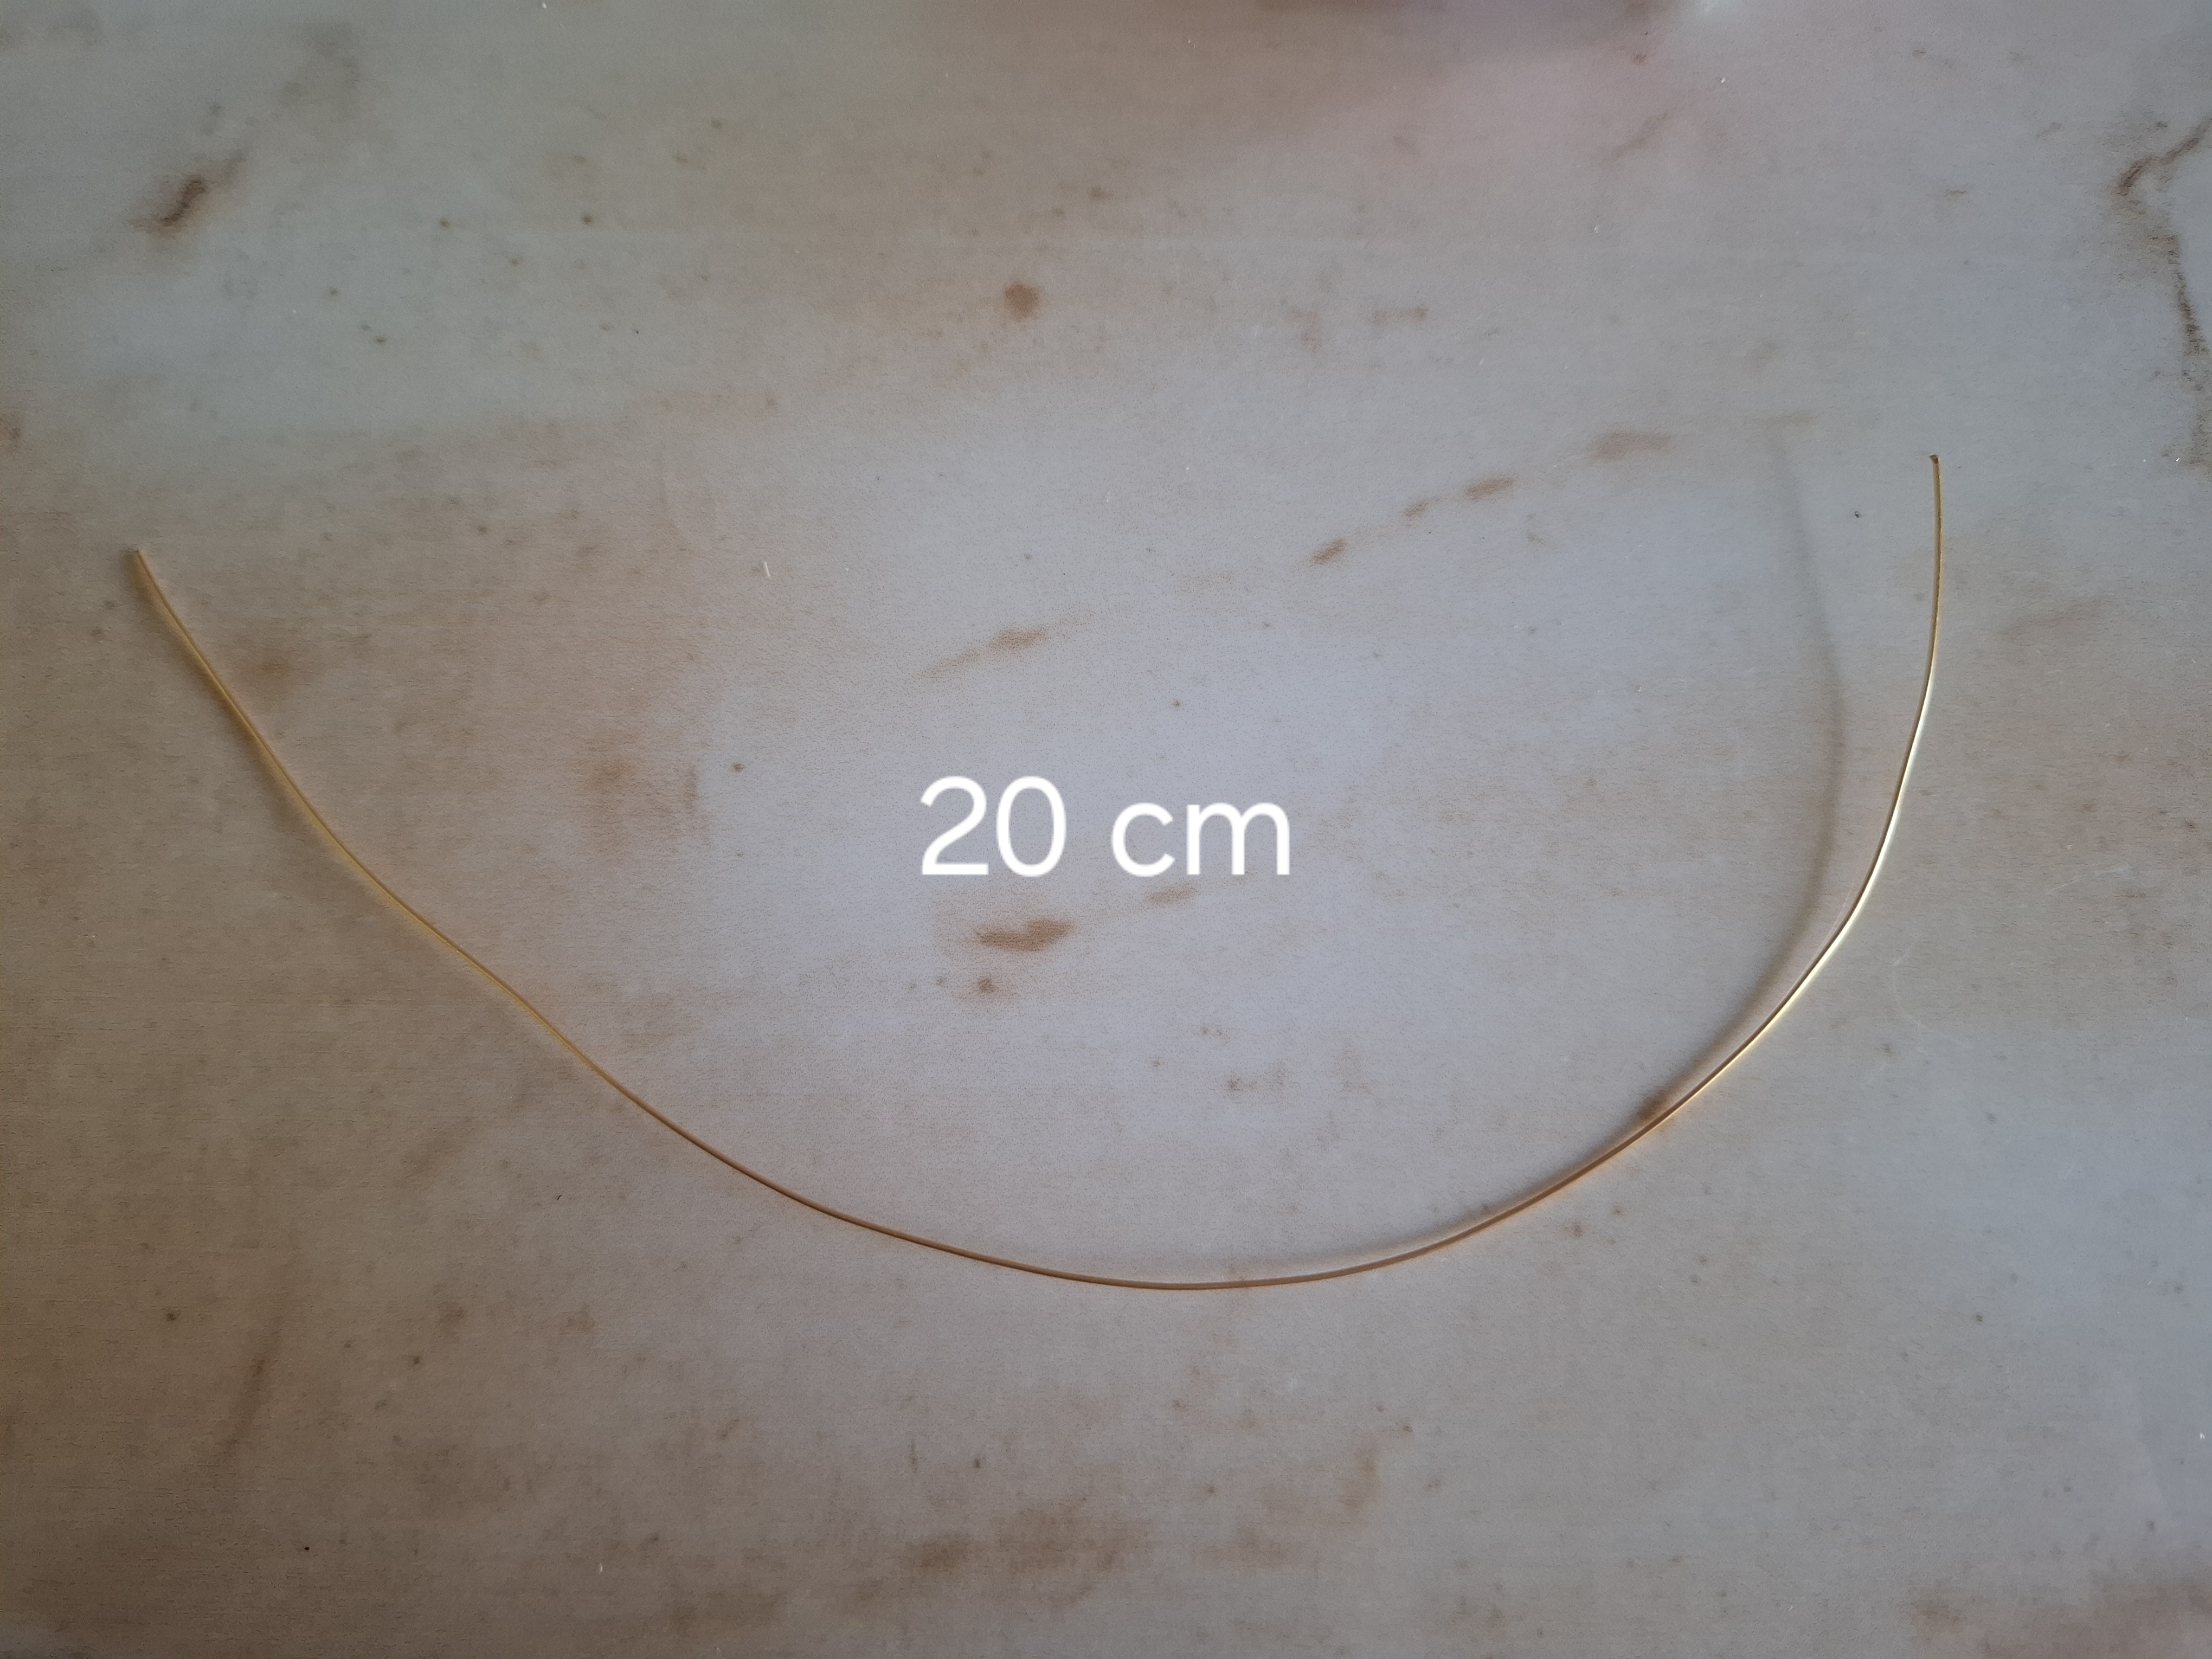
El primer paso se trata de cortar tres partes de alambre de 20 cm cada una, voy a dejar aproximadamente un espacio de 3 cm en el alambre y voy a introducir ocho cuentas distribuidas en los colores rojo, verde, dorado, blanco y cristal verde.
The first step is to cut three pieces of wire of 20 cm each. I am going to leave approximately a 3 cm space in the wire and I am going to introduce eight beads distributed in the colors red, green, gold, white and green crystal.

Ahora voy a formar una especie de círculo con el mismo alambre dando dos vueltas, luego lo acomodados que nos quede algo unidas las cuentas, este paso lo vamos a realizar tres veces más, luego voy tomar los dos alambres que cortamos y realizamos el mismo paso, esto lo voy s realizar para los dos zarcillos.
Now I am going to form a kind of circle with the same wire making two turns, then how arranged the beads are somewhat joined together, we are going to do this step three more times, then I am going to take the two wires that we cut and do the same step , I am going to do this for the two tendrils.
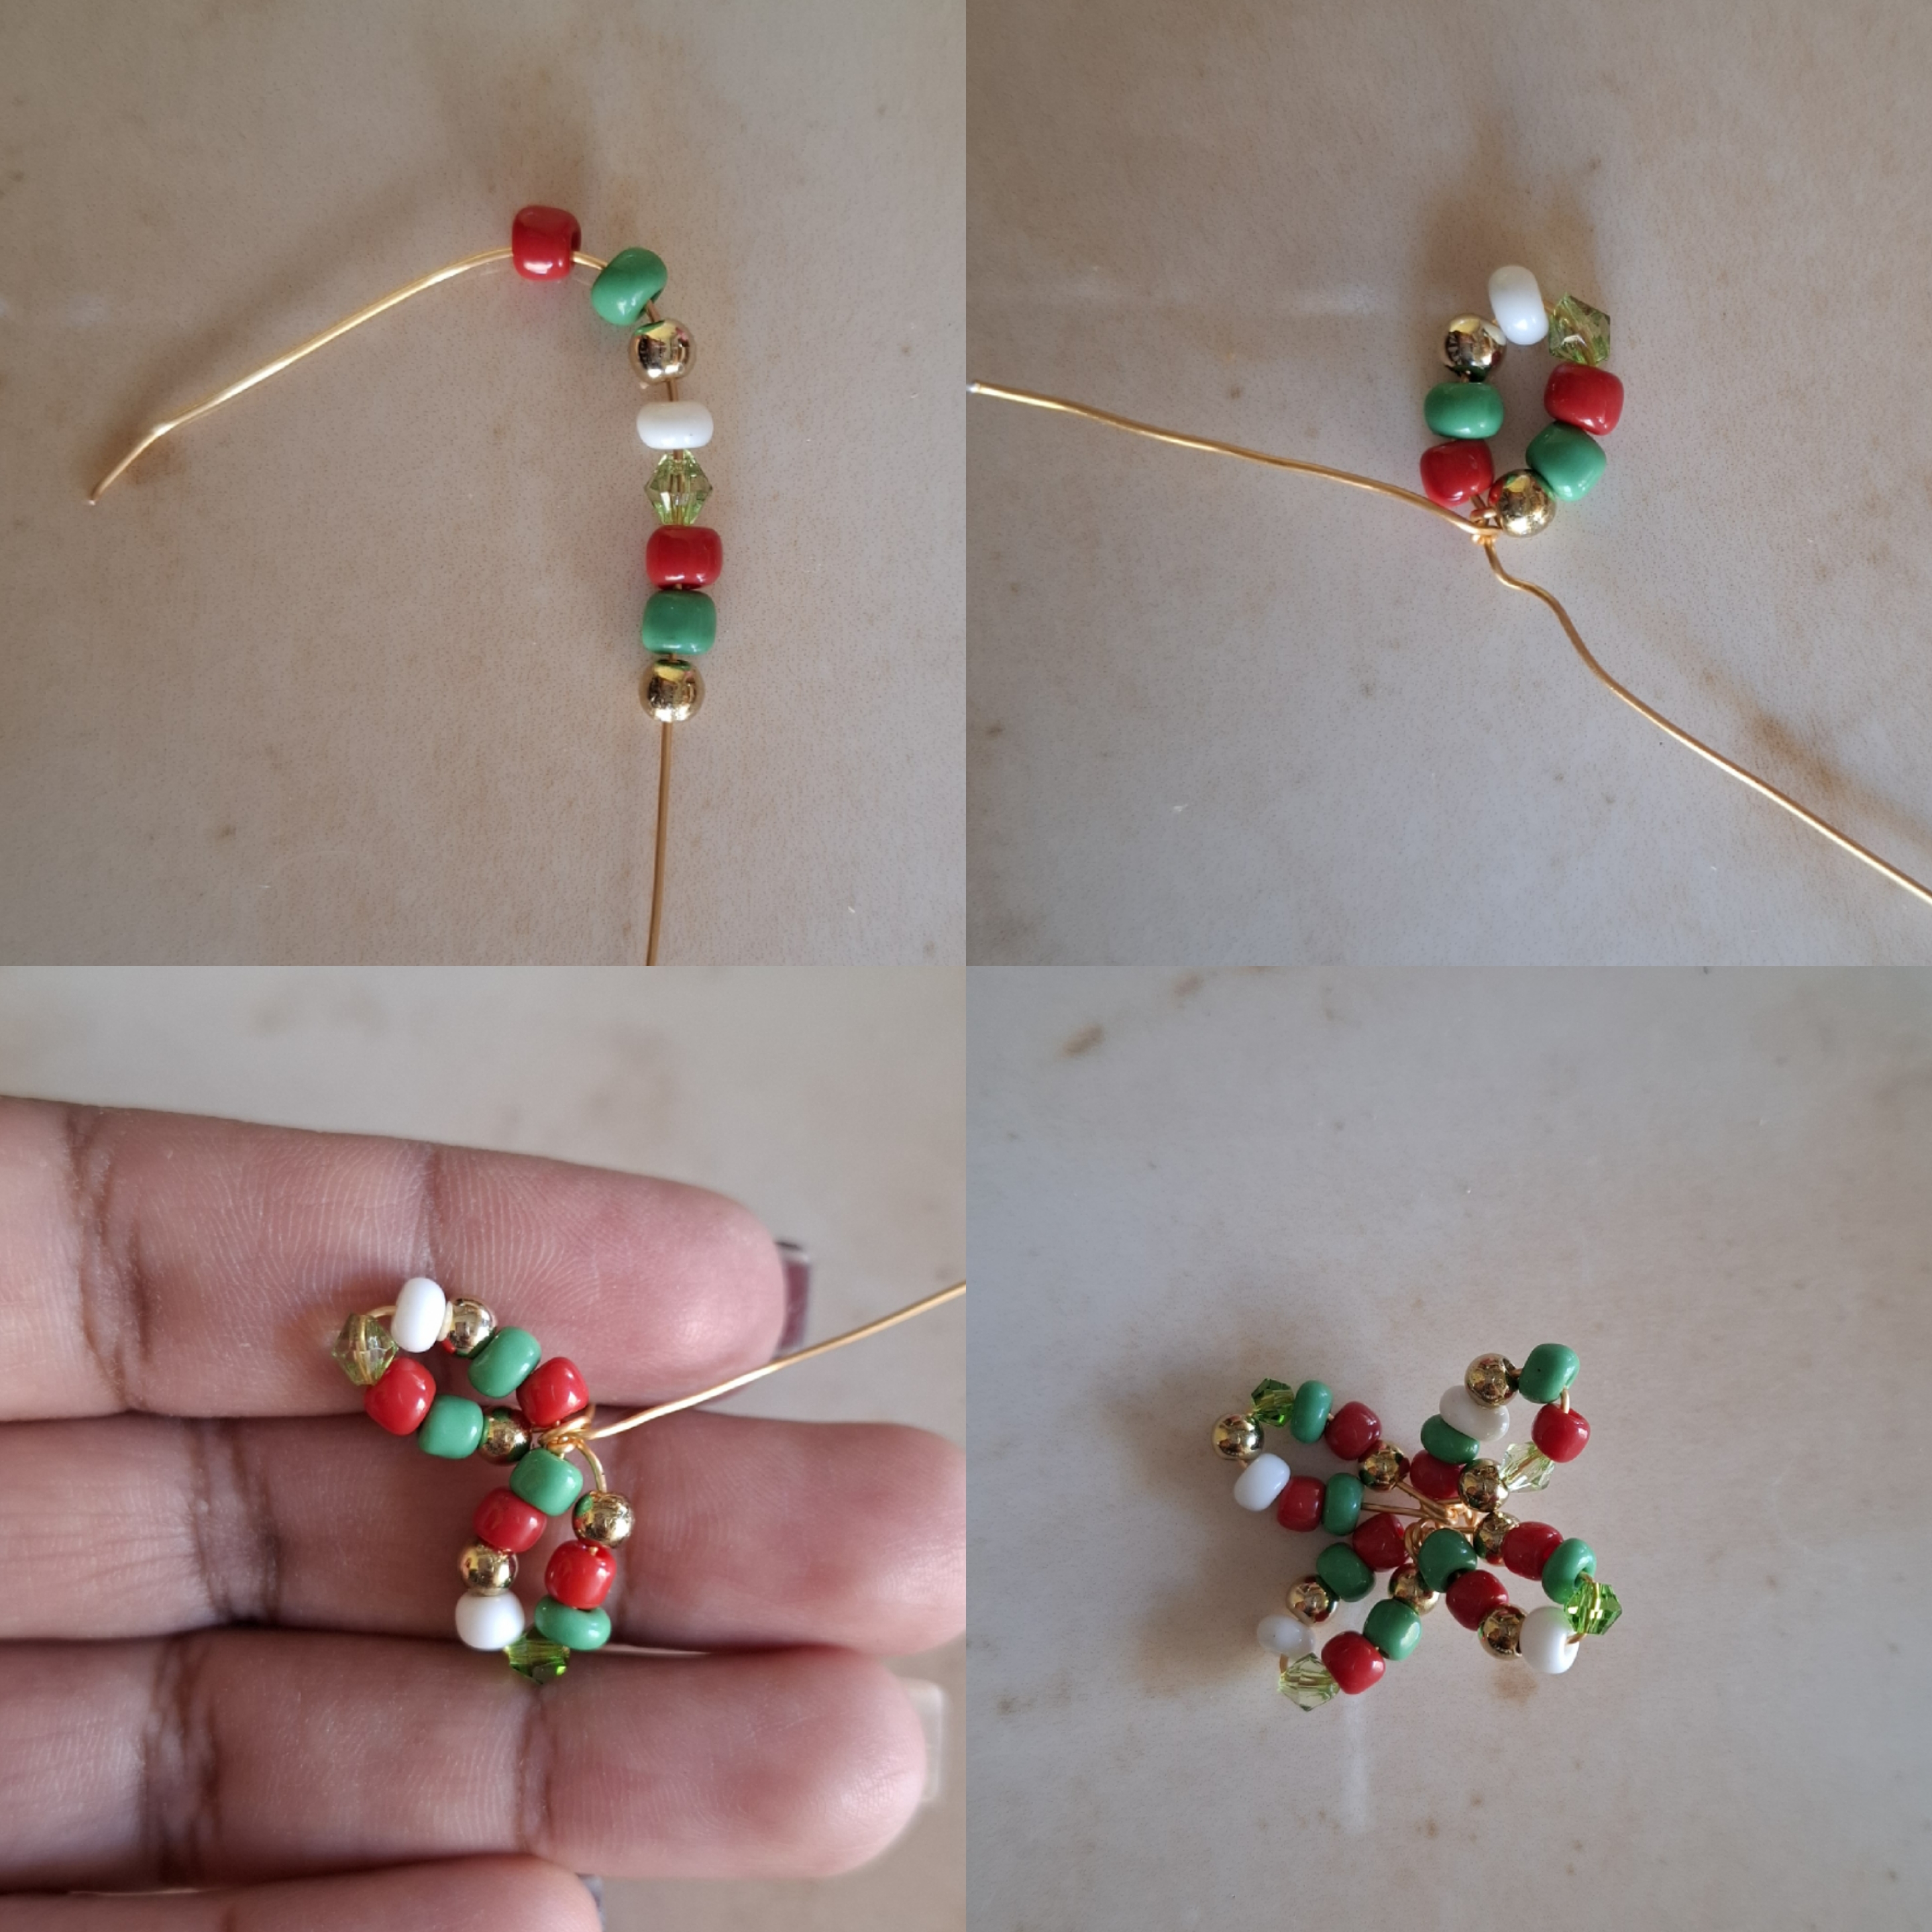

Ahora voy a tomar el alfiler y voy a colocar un cristal verde, colocamos una de las piensas que ya armamos seguido de una cuenta dorada, colocamos el resto en la misma secuencia tratando de ubicar en todo el centro, de ser posible mientras armamos las piezas del arbolito podemos dejar un espacio pequeño en el medio para poder ubicar el alfiler.
Now I'm going to take the pin and I'm going to place a green crystal, we place one of the beads that we already assembled followed by a golden bead, we place the rest in the same sequence trying to place it in the entire center, if possible while we assemble the pieces of the little tree we can leave a small space in the middle to be able to place the pin.


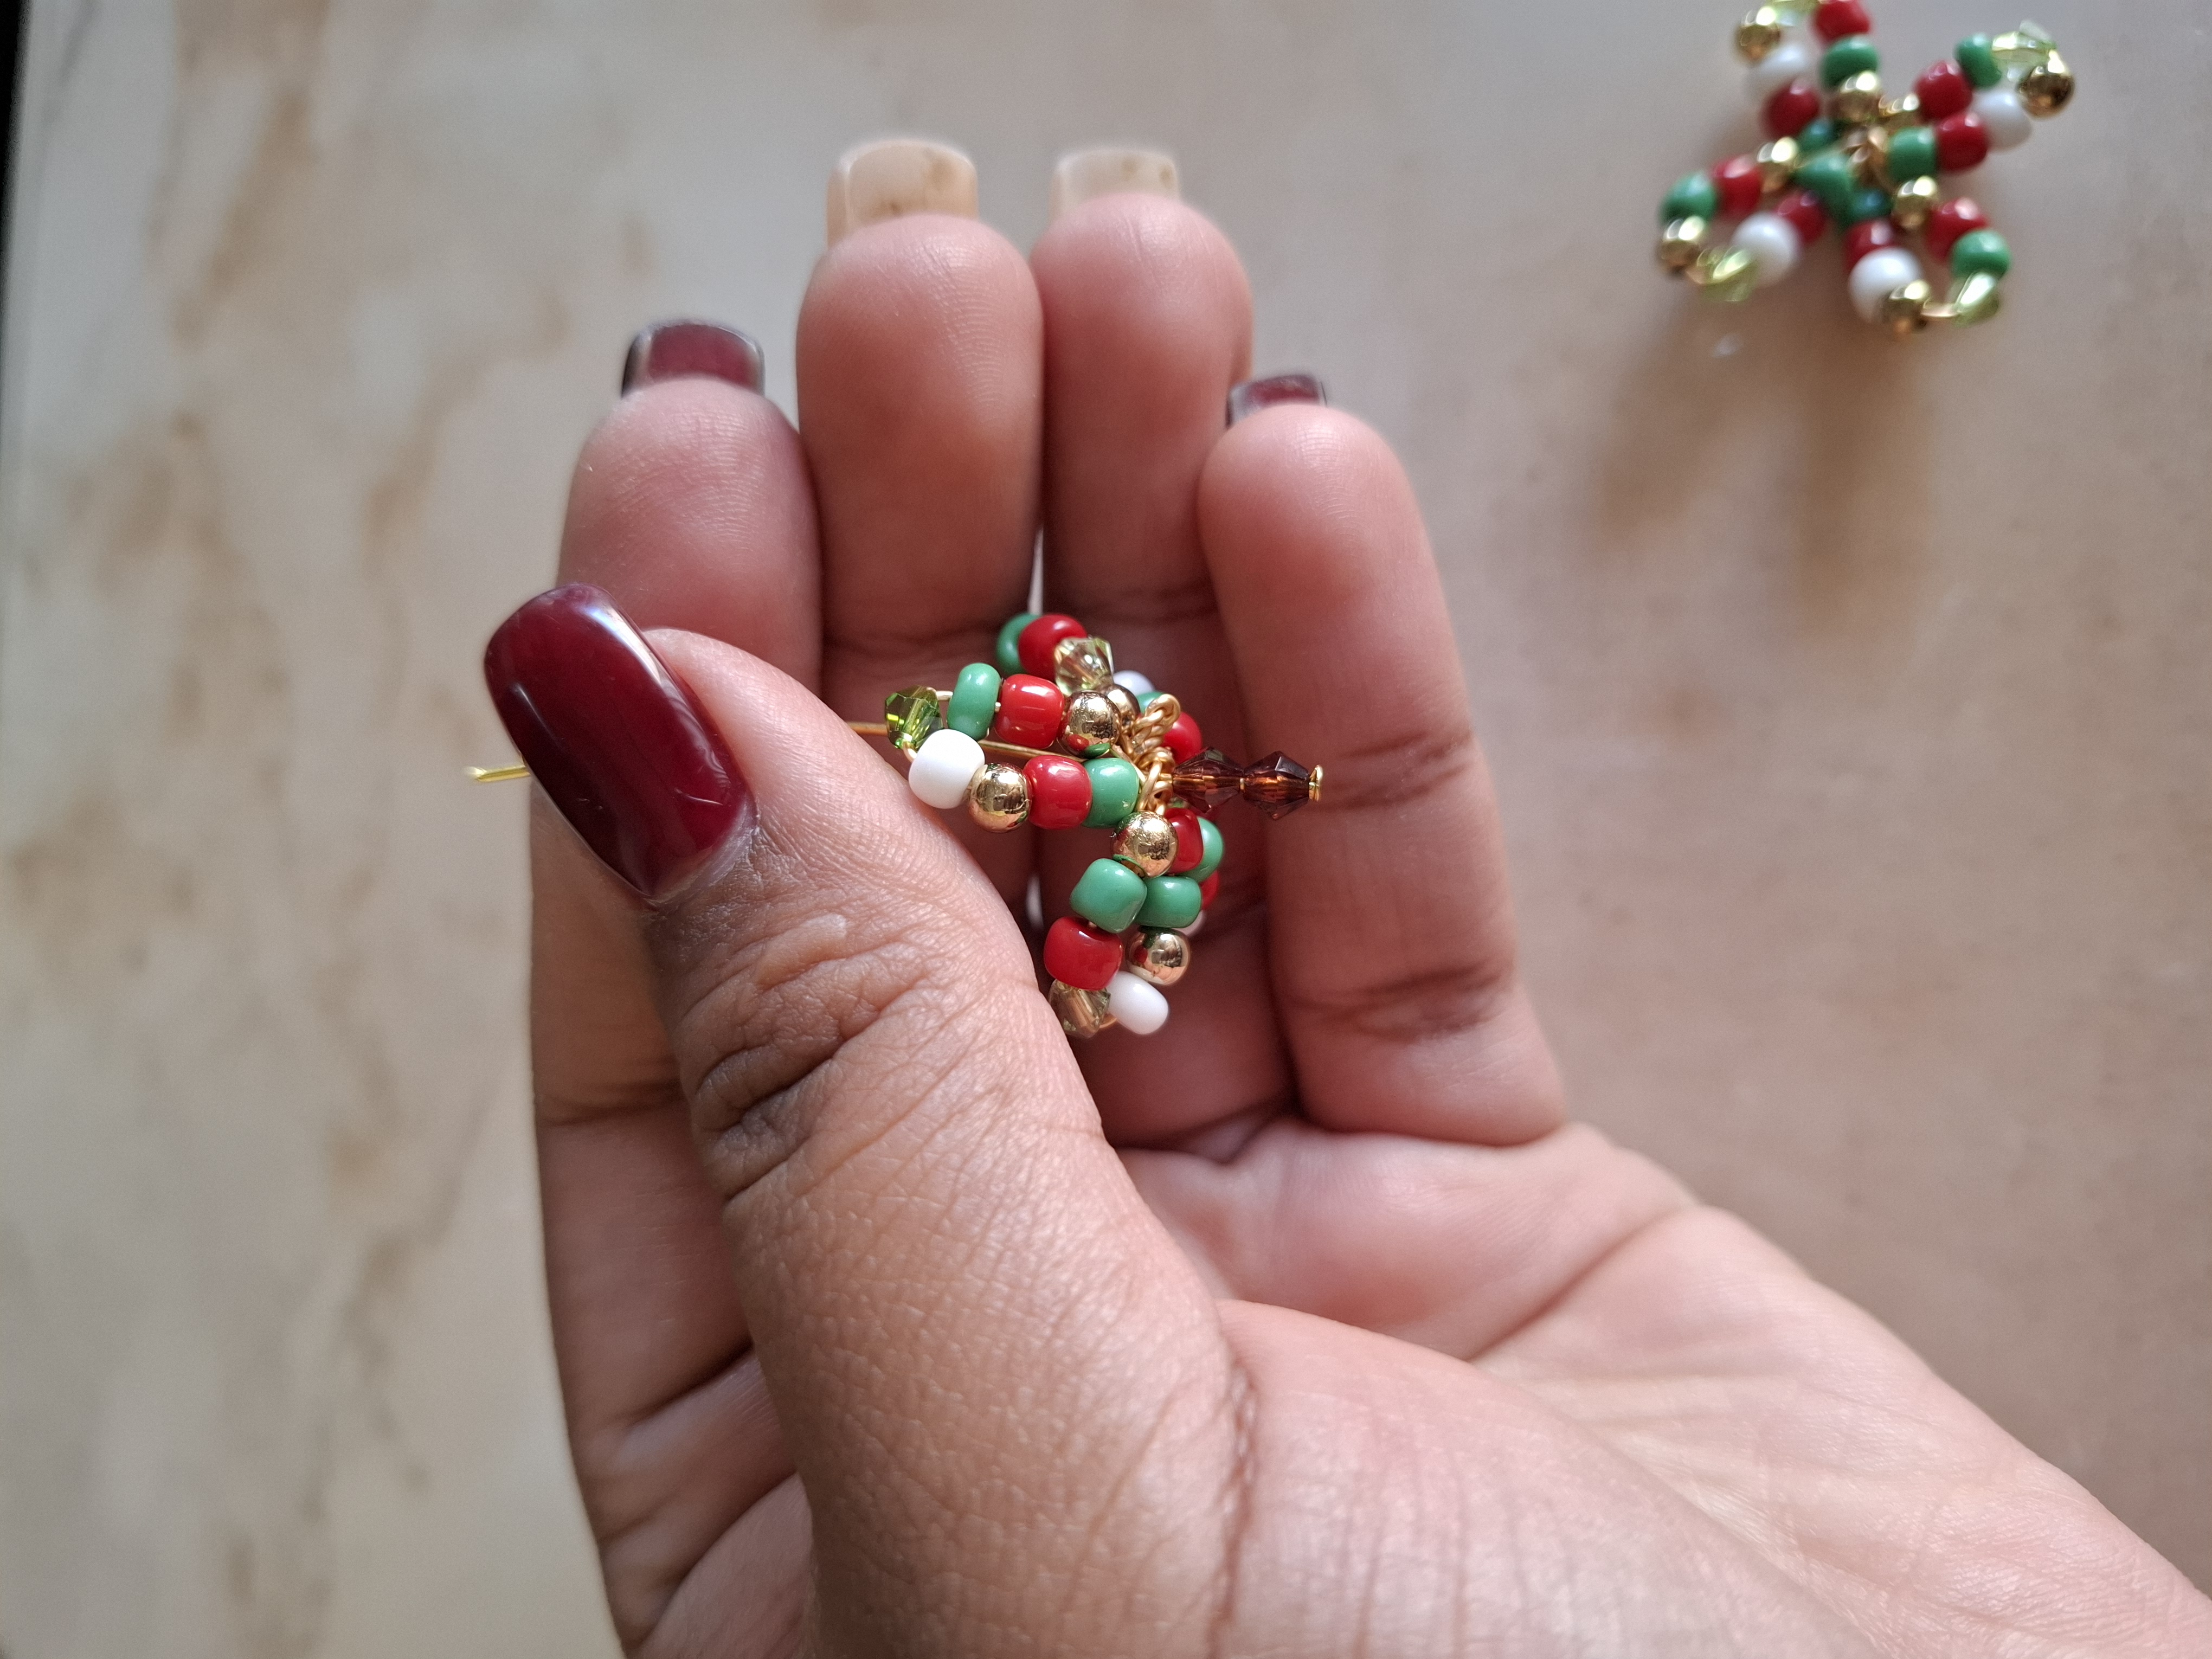
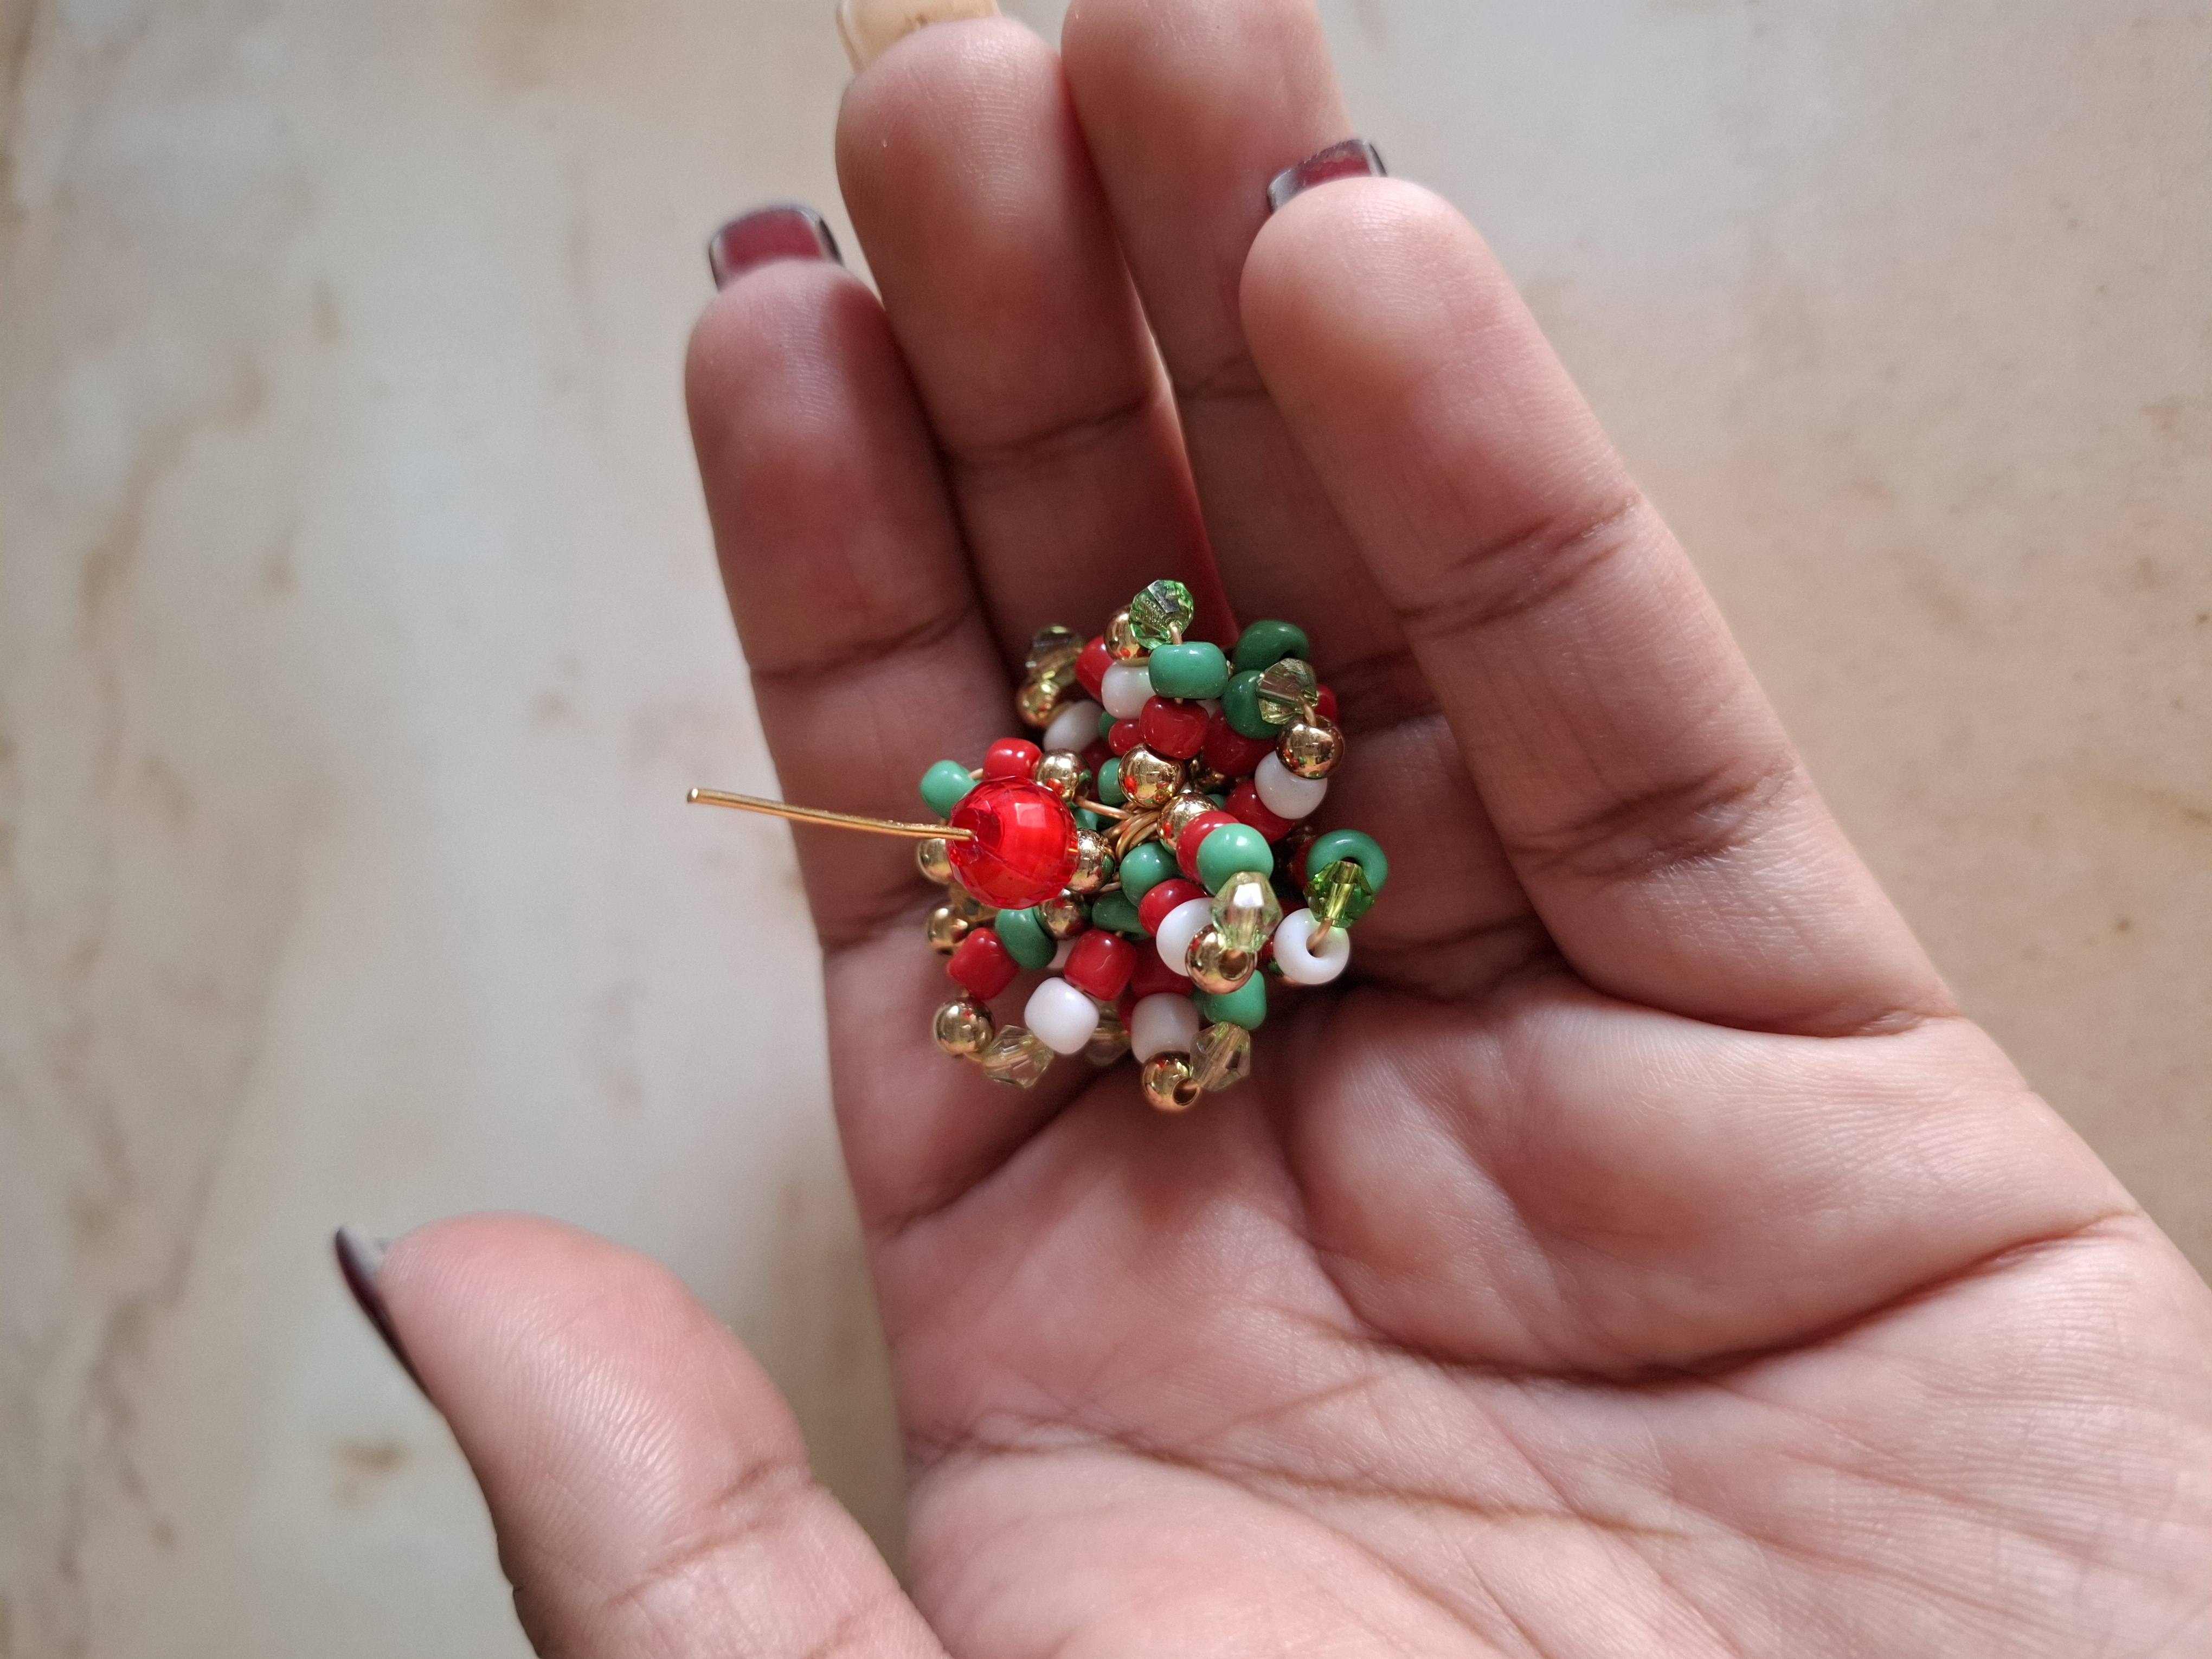
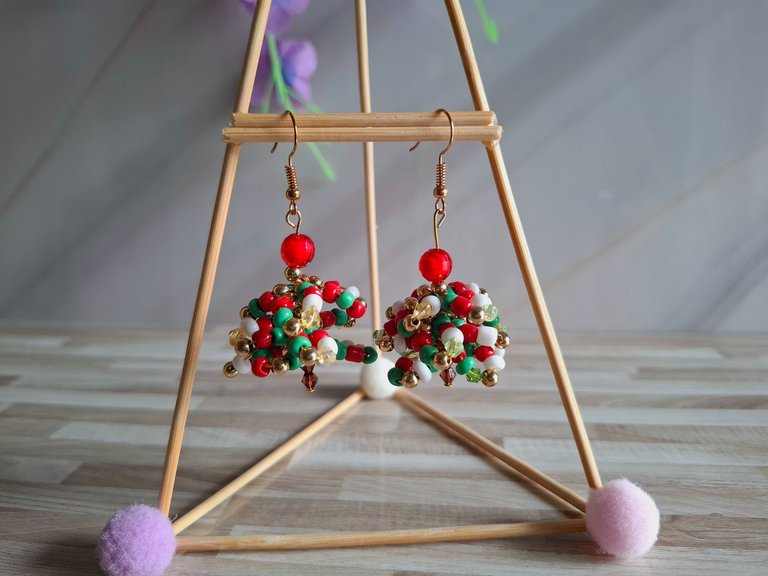
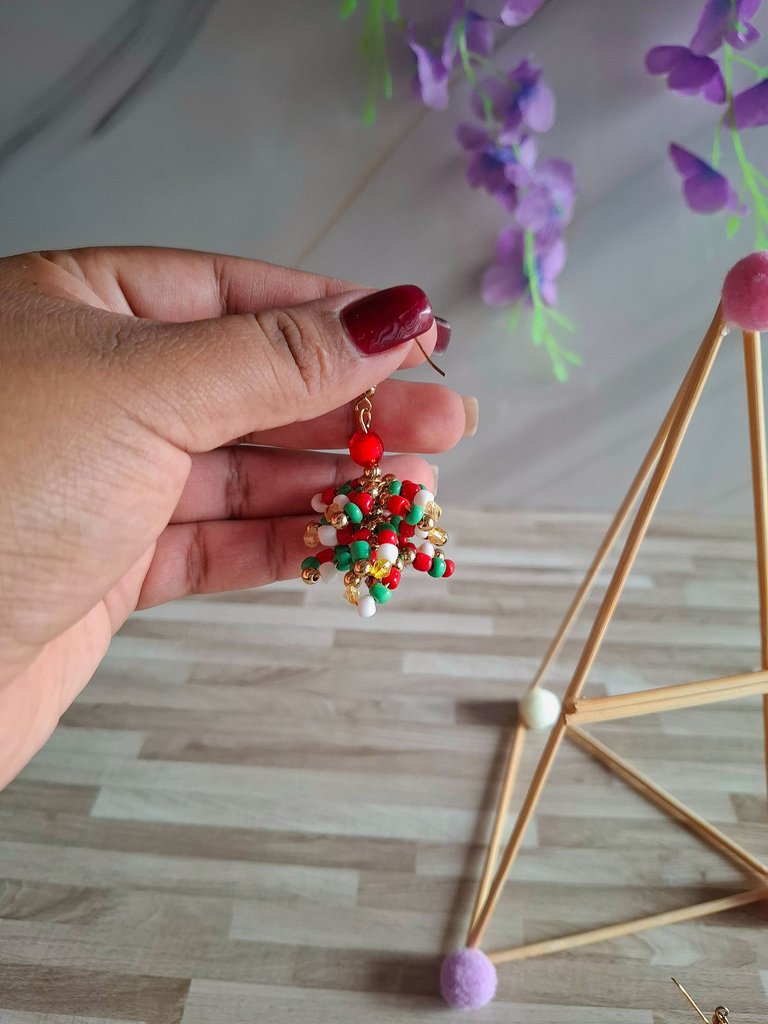
Luego vamos a dar forma a las puntas hacia abajo, colocamos una cuenta roja y realizamos una argolla con ayuda de una pinza seguido de esto colocamos el gancho de aro, así de esta forma fácil y sencilla terminé de realizar mis zarcillos inspirados en el árbol de navidad, con sus colores característicos y de forma divertida, es una buena idea para utilizar en alguna actividad navideña.
Then we are going to shape the tips downwards, we place a red bead and we make a ring with the help of a clamp, followed by this we place the hoop hook, so in this easy and simple way I finished making my tendrils inspired by the tree of Christmas, with its characteristic colors and fun shape, is a good idea to use in some Christmas activity.

Muchas gracias por visitar mi publicación y por el apoyo recibido por parte de los miembros de la comunidad, nos vemos en una próxima oportunidad con más ideas creativas.
Thank you very much for visiting my publication and for the support received from community members, see you next time with more creative ideas.


Contenido original. - original content.
Los separadores y banner fueron realizados en Canva. - The dividers and banner were made in Canva.
Las fotografias son tomadas con mi teléfono Redmi Note 11s y editadas en PicsArt - The photographs are taken with my Redmi Note 11s phone and edited in PicsArt.
Traducción de: Google traductor - Translation of: Google translator.

Han quedado muy hermosos, un excelente trabajo 👍🏻
Wow, such beautiful and nice earrings, you did a nice work, thanks for sharing
👍🏻Buen trabajo. Saludos @marile21.
Delegations welcome! You've been curated by @amazingdrinks!