¡Hola mis queridos amigos creativos! En esta ocasión quiero unirme a la iniciativa de la comunidad haciendo un hermoso colgante en porcelana fría, aprovecho para invitar a participar a mis amigas @mily23m, @creacioneslelys y @verdeayer y ya que la temática es sobre el amor y la amistad ¿qué más representativo que un ramo de rosas? Así que no te pierdas el paso a paso de este hermoso accesorio que es tan bonito como elegante.
English Version
Hello my dear creative friends! This time I want to join the community initiative making a beautiful pendant in cold porcelain, I take this opportunity to invite my friends @mily23m, @creacioneslelys and @verdeayer to participate and since the theme is about love and friendship what more representative than a bouquet of roses? So don't miss the step by step of this beautiful accessory that is as pretty as it is elegant.
Imagen creada por mí en Canva / Image created by me in Canva
Materiales:
- Porcelana fría
- Pinturas al frío
- Herramientas para la porcelana fría (palillo, aguja, pincel, etc)
- Agua
- Pegamento blanco
- Bolsa plástica
- Cúter
- Guaya o cordón
- Arito
- Alfiler de ojo
Procedimiento:
Iniciamos formando una figura similar a lo que sería una gota invertida, esta la he hecho con porcelana fría que he coloreado previamente con pintura al frío roja. Elegí hacer la base en este color, puesto que lo principal serán las rosas rojas y así no se notarán pequeños espacios vacíos que pudiesen quedar al finalizar todo el proceso.
English Version
Materials:
- Cold porcelain
- Cold paints
- Tools for cold porcelain (toothpick, needle, brush, etc.)
- Water
- White glue
- Plastic bag
- Cutter
- Cord or string
- String or cord
- Eye pin
Procedure:
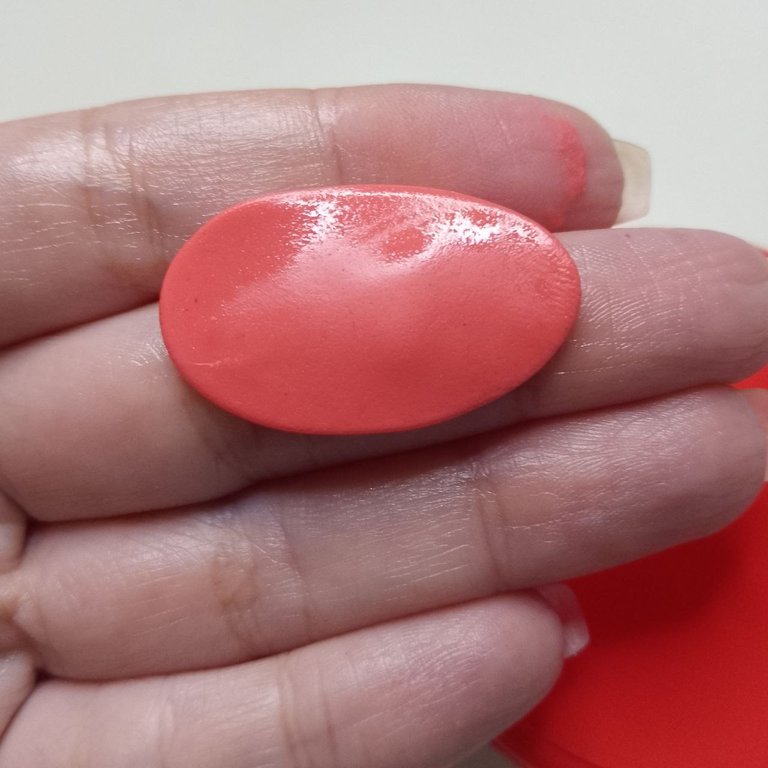
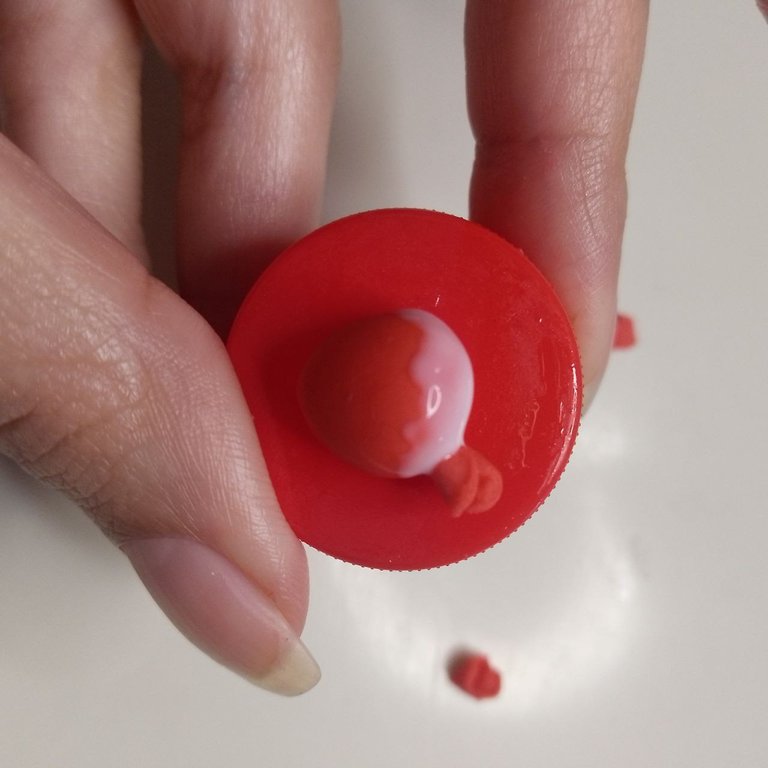
We start by forming a figure similar to what would be an inverted drop, this one I have made with cold porcelain that I have previously colored with red cold paint. I chose to make the base in this color, since the main thing will be the red roses and thus small empty spaces that could be left at the end of the whole process will not be noticed.

Gota invertida / Inverted drop
Ahora aplanaremos una porción de porcelana fría roja, la cubriremos con plástico de bolsa o similar y con un cortador pequeño de forma circular (en mi caso es la tapa de un portaminas), presionaremos cortando pequeños círculos.
English Version
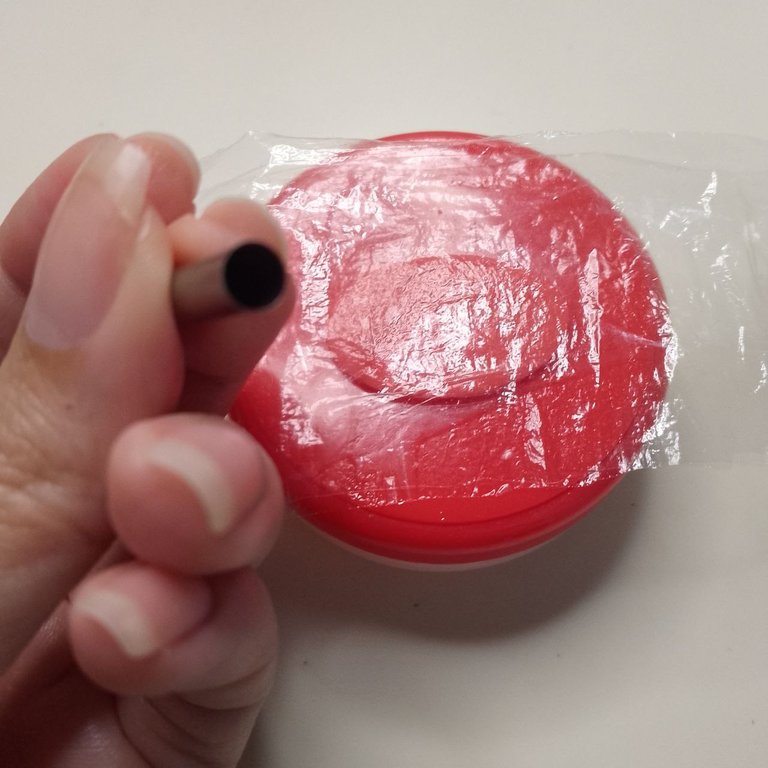
Now we will flatten a portion of red cold porcelain, cover it with plastic bag or similar and with a small circular cutter (in my case it is the lid of a mechanical pencil), we will press cutting small circles.
 |  |
|---|
Círculos pequeños / Small circles
Tomaremos cada uno de estos circulitos y los presionaremos con una herramienta con forma de bola sobre una superficie blanda, como la que se ve en las imágenes, sin embargo, si prefieren algo sin texturizado, pueden utilizar un foami.
English Version
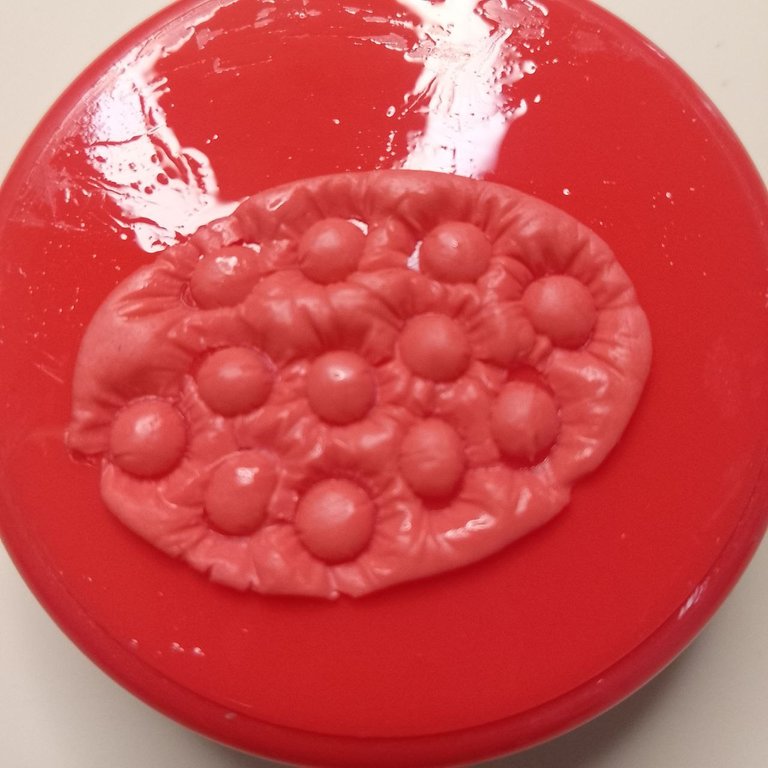
We will take each of these little circles and press them with a ball-shaped tool on a soft surface, like the one shown in the images, however, if you prefer something without texturing, you can use a foami.
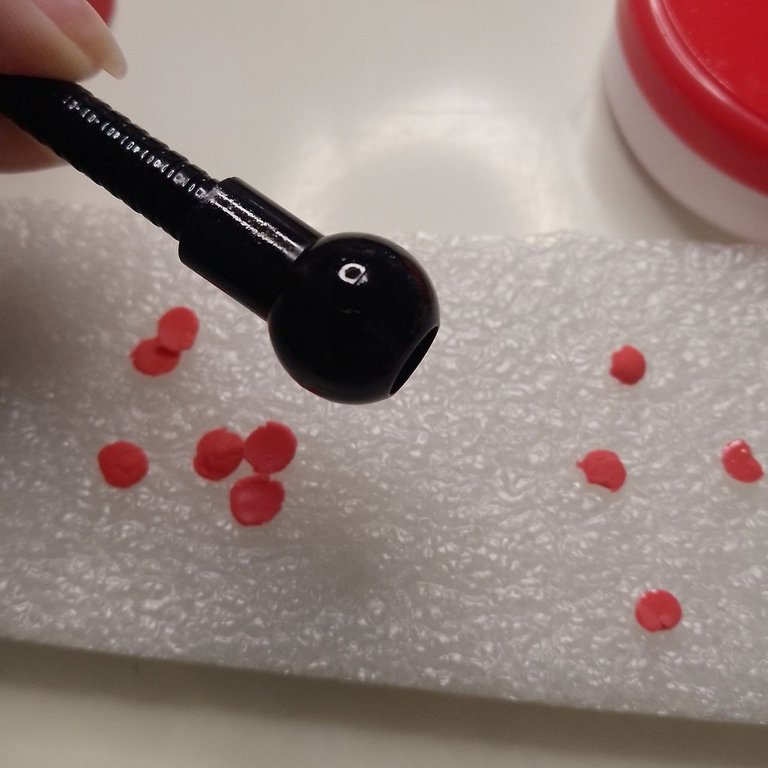
Aplanando círculos / Flattening circles
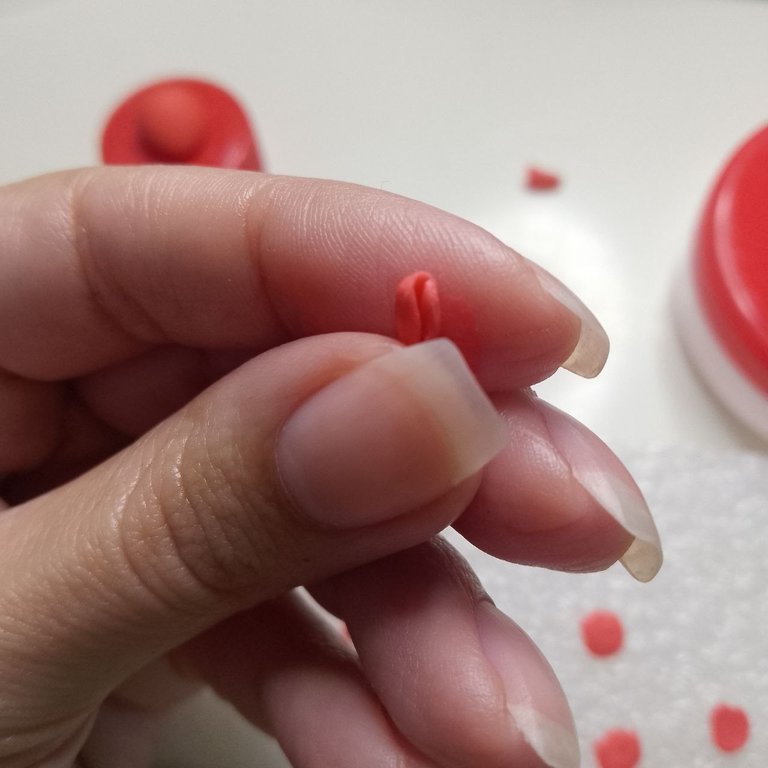
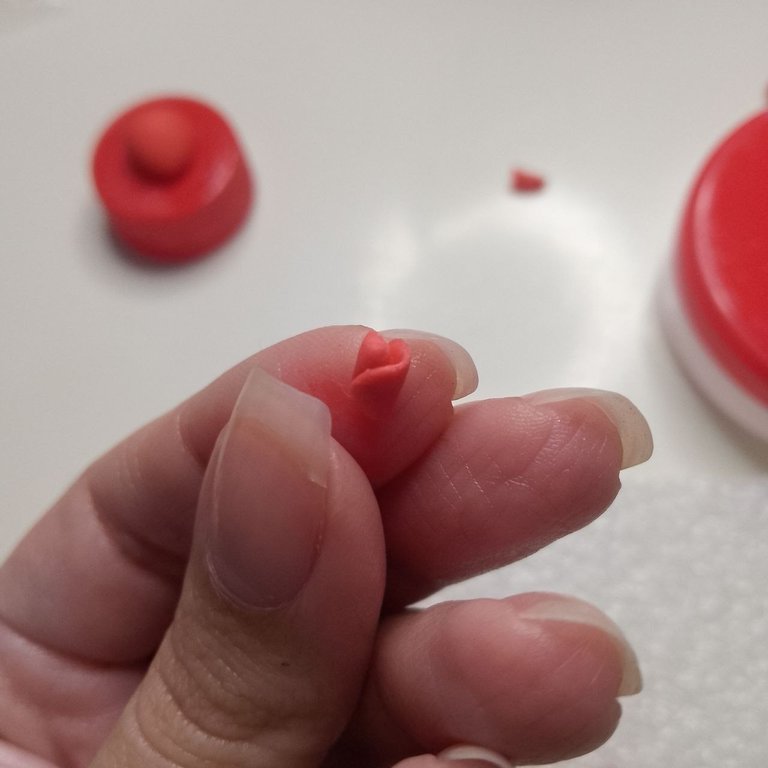
Entonces debemos enrollar uno de los círculos sobre sí mismo para que sea el centro de la rosa y luego, cubriremos un lado de este centro con otro de los círculos como si le diese un abrazo (risas) y con un círculo más haremos lo mismo pero del lado contrario. Al terminar, cortamos el excedente en la parte de abajo con ayuda del cúter.
English Version
Then we must roll one of the circles on itself to be the center of the rose and then, we will cover one side of this center with another of the circles as if giving it a hug (laughs) and with one more circle we will do the same but on the opposite side. When finished, we cut the excess at the bottom with the help of the cutter.
 |  |
|---|
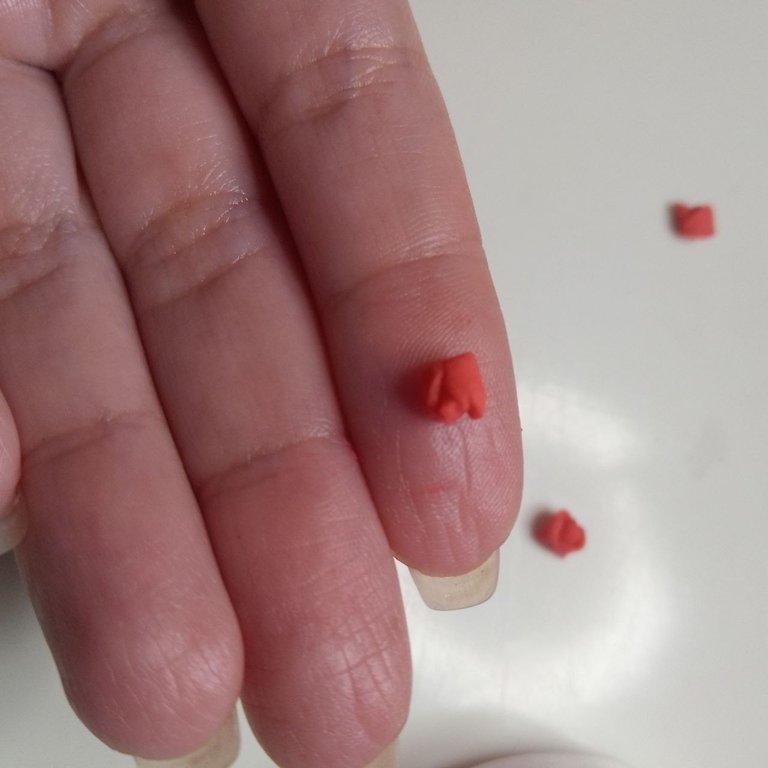
Formando las rosas / Forming the roses
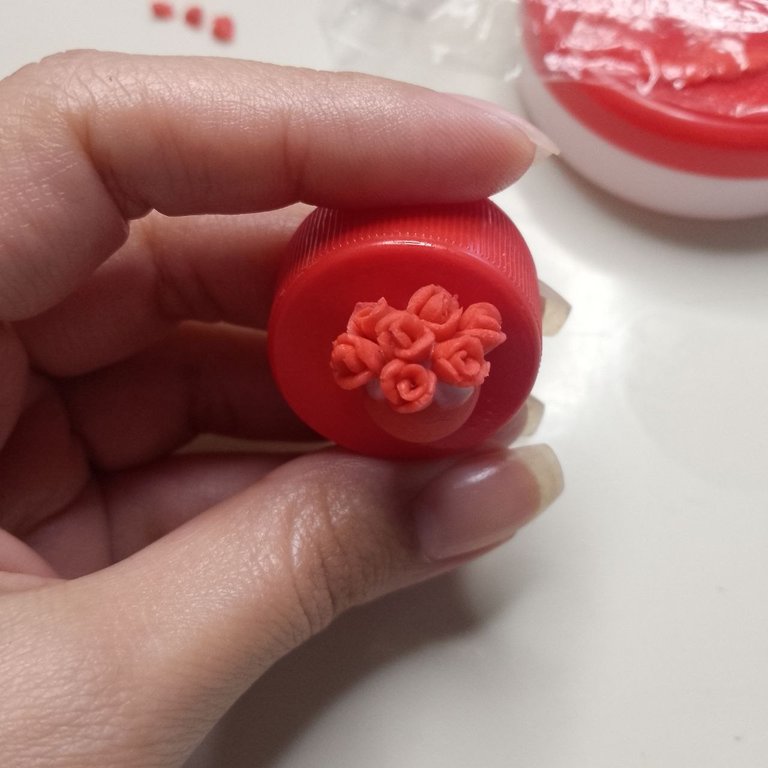
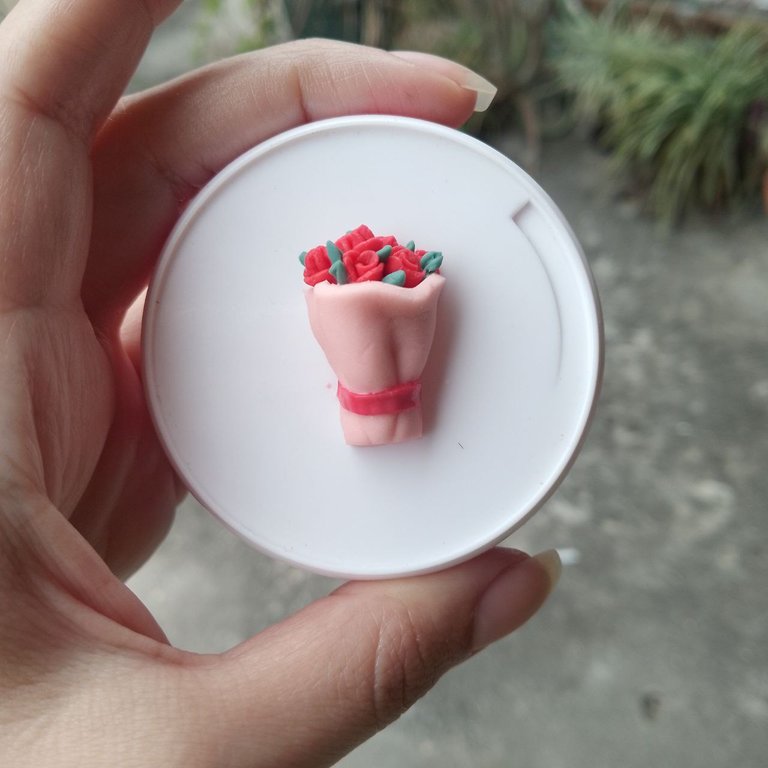
Ya que hayamos formado varias rositas chiquititas, añadimos algo de pegamento a la parte superior de la pieza con forma de gota y comenzamos a adherir cada una, formando un semicírculo relleno de rosas.
English Version
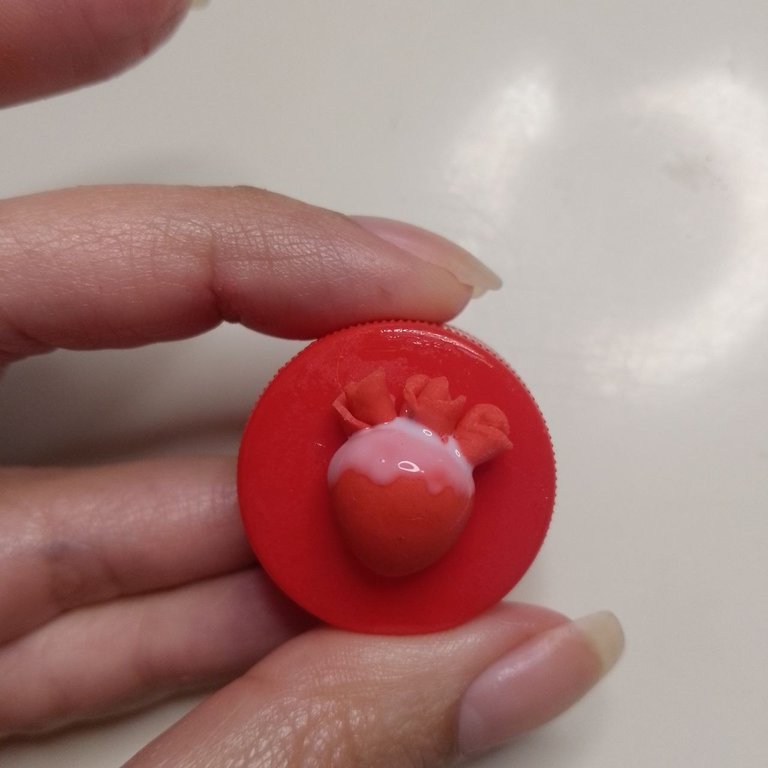
Once we have formed several small roses, we add some glue to the top of the drop-shaped piece and begin to adhere each one, forming a semicircle filled with roses.
 |  |
|---|
Pegando rositas / Sticking to roses
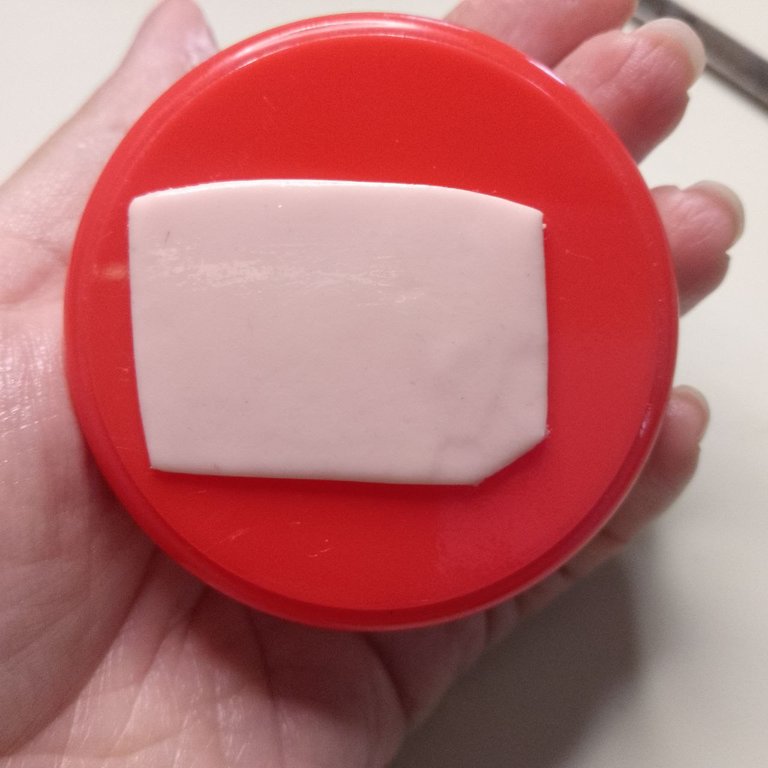
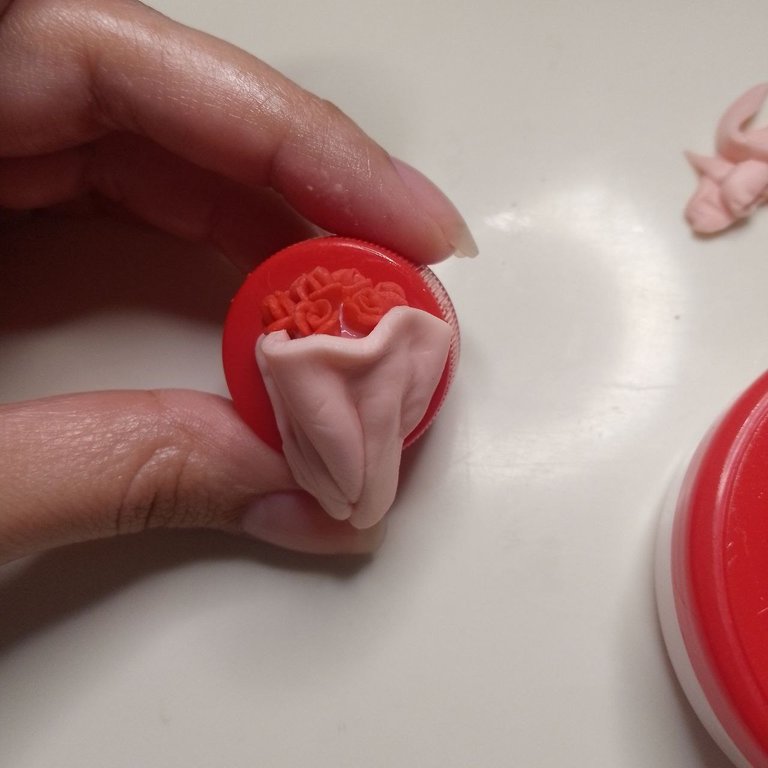
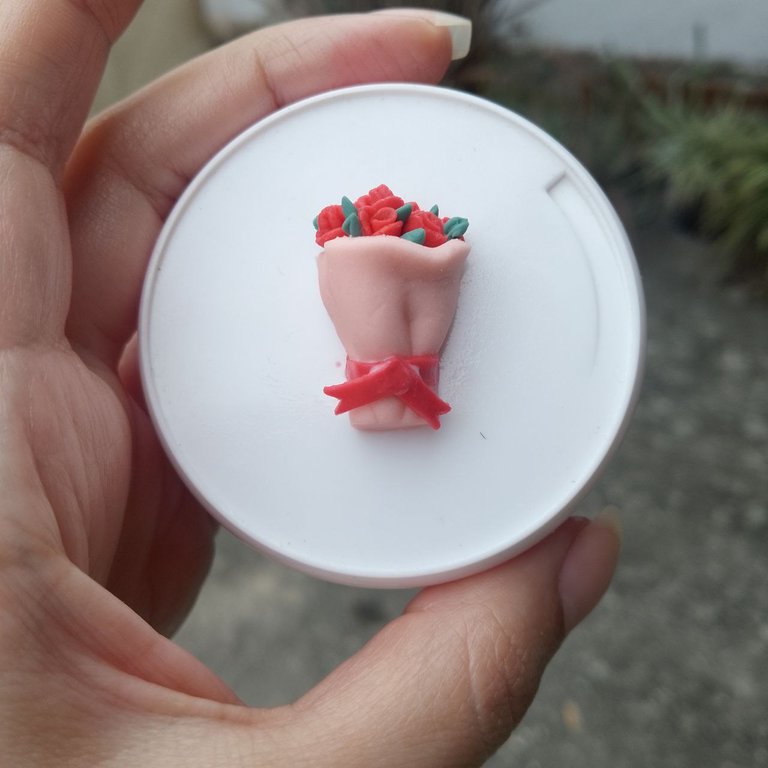
Ahora aplanamos una porción de porcelana fría en un tono rosita muy pastel y muy tenue. Este debemos cortarlo de forma que quede una figura bastante similar a un rectángulo. Así que procedemos a esparcir pegamento una vez más sobre la pieza principal y colocamos el rectángulo rosado pero plegándolo tal cual como se haría con un papel que busca envolver unas rosas.
English Version
Now we flatten a portion of cold porcelain in a very pastel and very faint pink tone. This we must cut it so that it is a figure quite similar to a rectangle. So we proceed to spread glue once again on the main piece and place the pink rectangle but folding it as you would do with a paper that seeks to wrap some roses.
 |  |
|---|
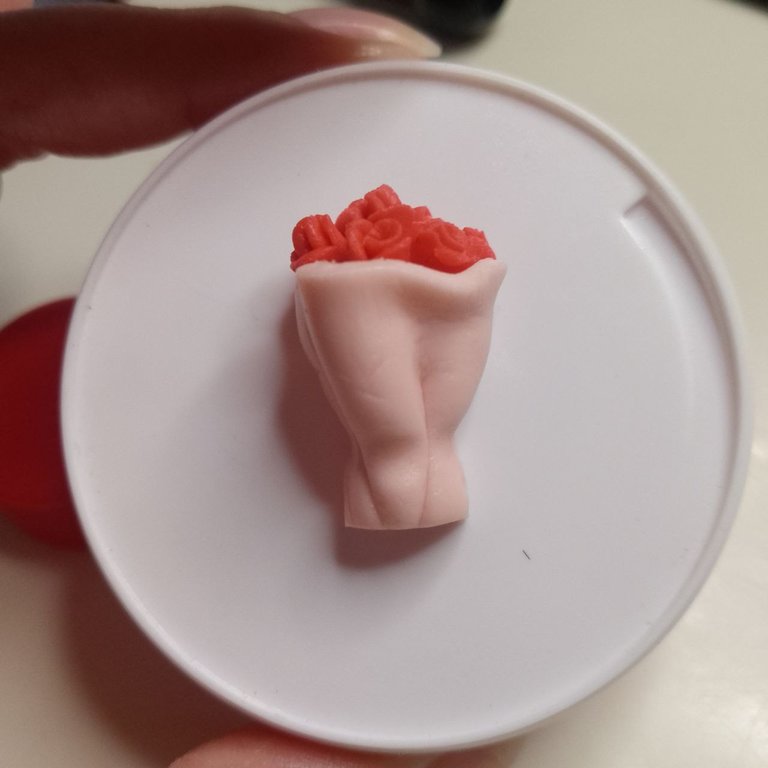
Procedemos a cortar los excedentes a los lados y en la parte inferior de la pieza y también con ayuda de alguna herramienta ( yo usé el palito del pincel), hacemos una muesca en la parte baja del ramo, donde suele ir el anudado del mismo.
English Version
We proceed to cut the excess on the sides and at the bottom of the piece and also with the help of a tool (I used the brush stick), we make a notch in the lower part of the bouquet, where the knotting of the bouquet usually goes.
Detalles del papel / Paper details
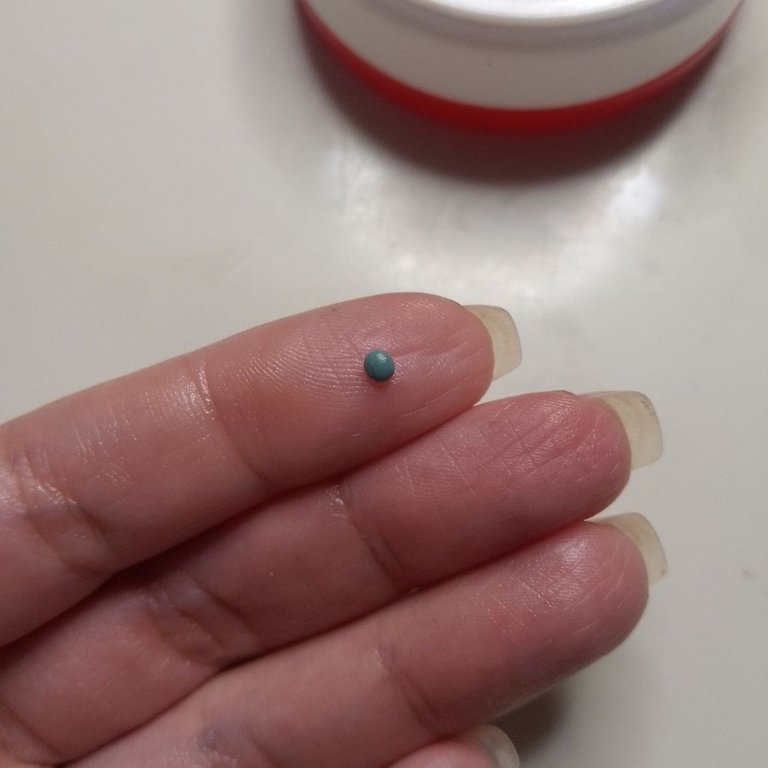
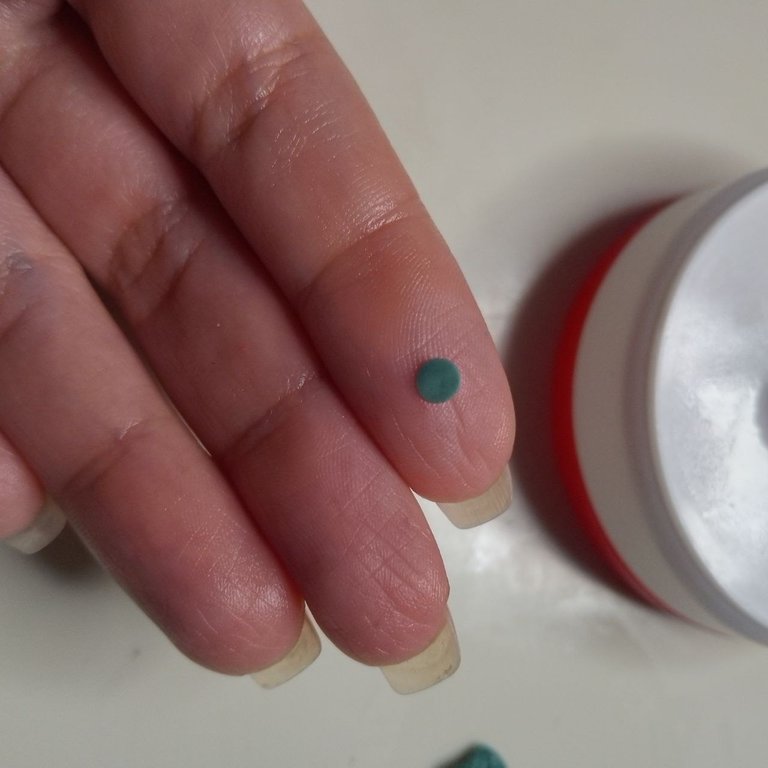
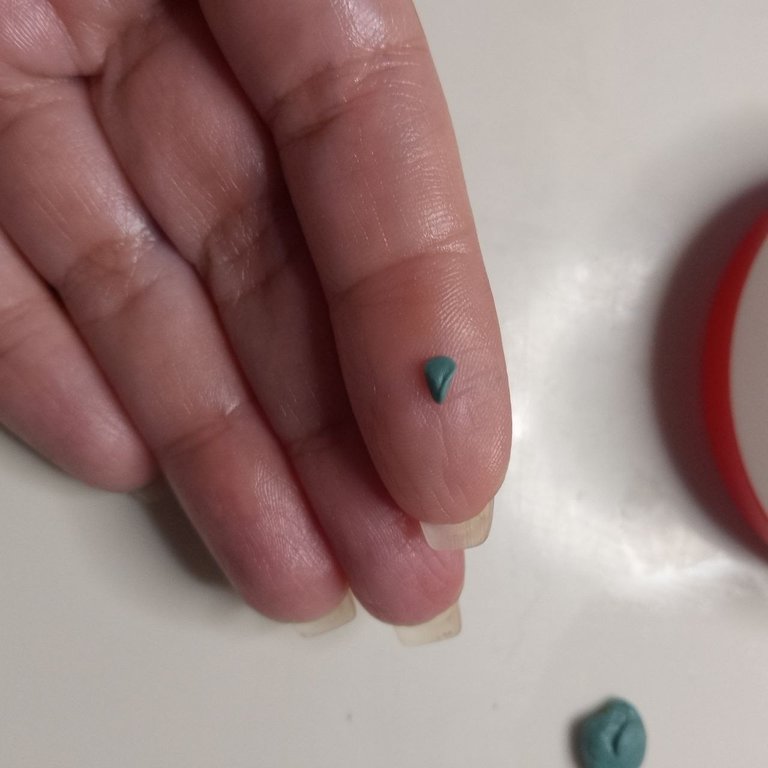
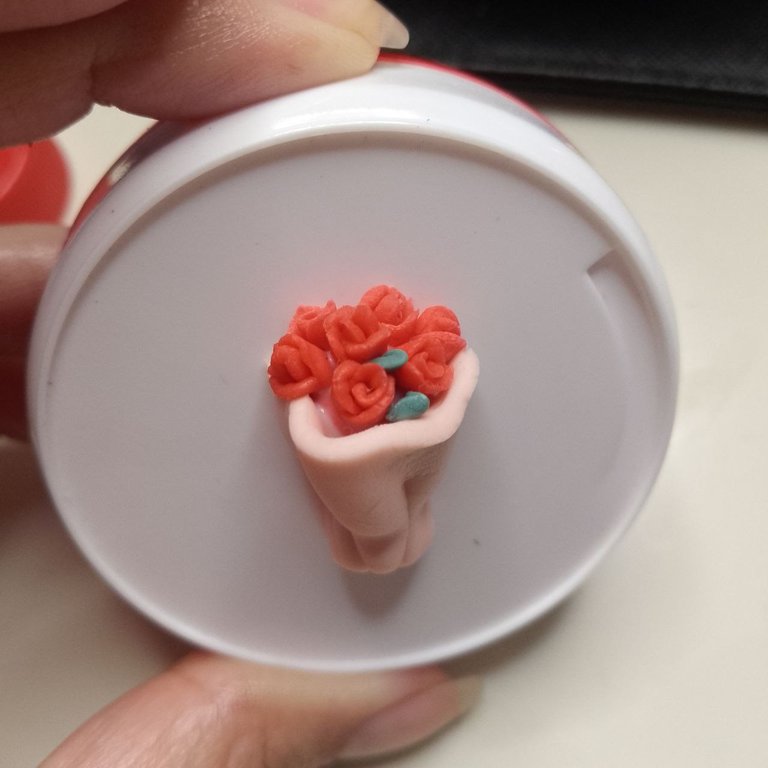
Tomando porciones minúsculas de porcelana fría color verde, formaremos pequeñas esferas que aplanaremos posteriormente, luego las moldearemos de un lado formando un pico y finalmente, con ayuda de una aguja, las ubicaremos entre las rosas para representar las hojas. Recuerden añadir algo de pegamento en la superficie para poder fijar las hojas.
English Version
Taking tiny portions of green colored cold porcelain, we will form small spheres that we will flatten later, then we will mold them on one side forming a beak and finally, with the help of a needle, we will place them between the roses to represent the leaves. Remember to add some glue on the surface to fix the leaves.
 |  |
|---|
 |  |
|---|
Hojitas / Leaves
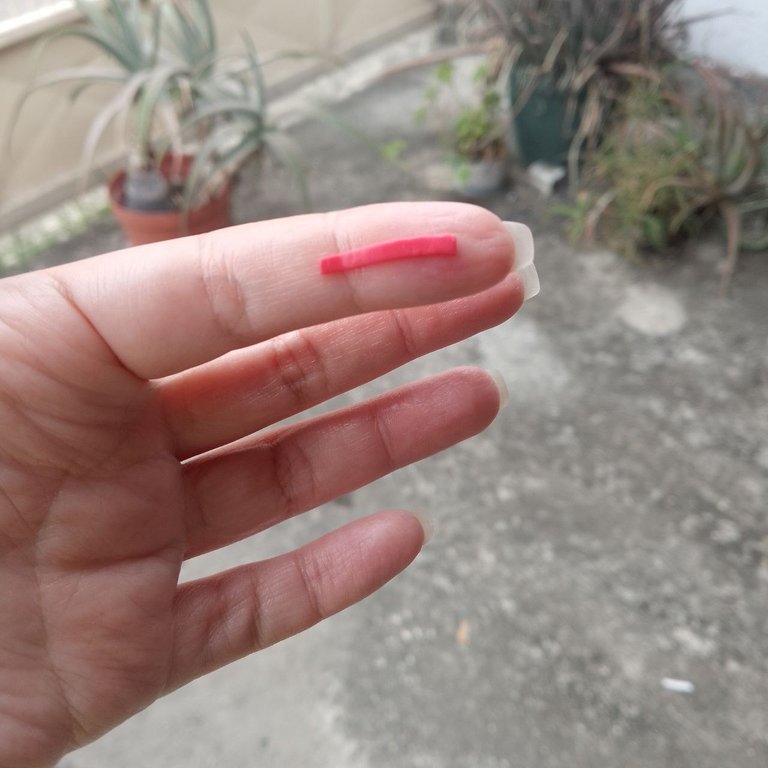
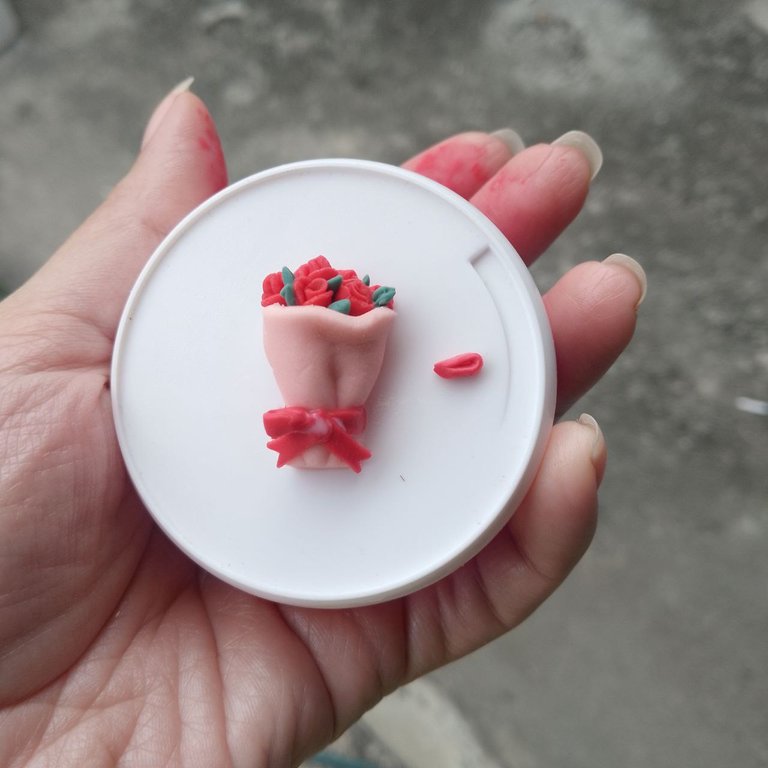
Aplanando una pequeña porción de porcelana fría roja, cortaremos un rectángulo muy delgado para añadir una cinta “amarrando” el ramo y con este mismo proceso, luego de fijar el primer rectángulo alrededor del ramo, haremos el par de cintas que cuelgan desde un moño. No olviden ir agregando pegamento a cada nueva superficie para poder adherir cada pieza.
English Version
Flattening a small portion of red cold porcelain, we will cut a very thin rectangle to add a ribbon “tying” the bouquet and with this same process, after fixing the first rectangle around the bouquet, we will make the pair of ribbons hanging from a bow. Do not forget to add glue to each new surface to be able to adhere each piece.
 |  |
|---|
Cintas / Ribbons
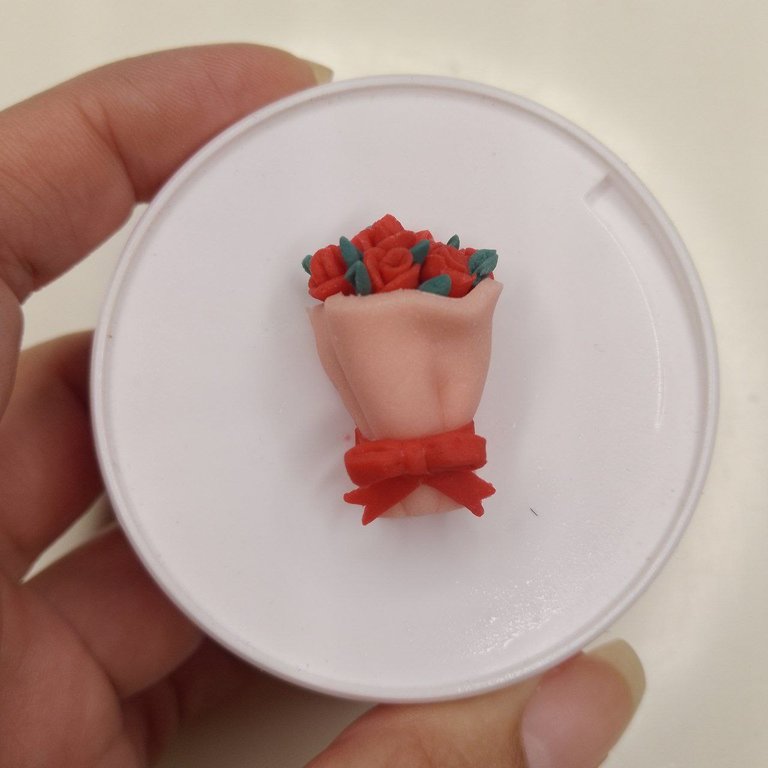
Para el lazo, haremos una tira larga y la doblaremos sobre sí misma al centro uniendo sus dos extremos, en ese punto presionaremos con nuestros dedos para que adquiera una forma triangular. Haremos dos de estas piezas y las pegaremos en la posición de lazo, además, añadimos una pequeña cinta en el medio que representa el nudo del lazo.
English Version
For the bow, we will make a long strip and fold it over itself in the center joining its two ends, at that point we will press with our fingers so that it acquires a triangular shape. We will make two of these pieces and glue them in the loop position, in addition, we add a small ribbon in the middle that represents the knot of the loop.
 |  |
|---|
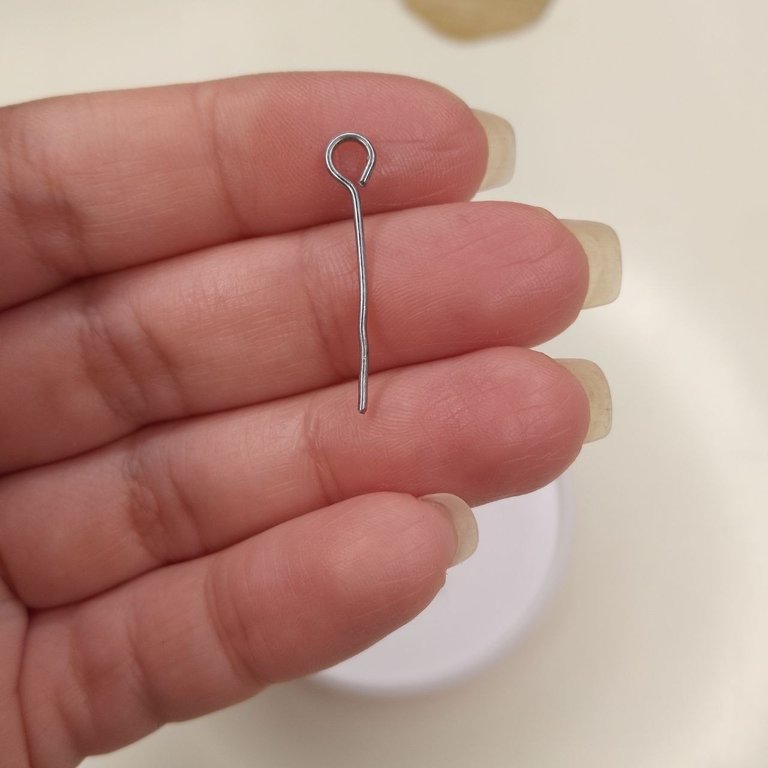
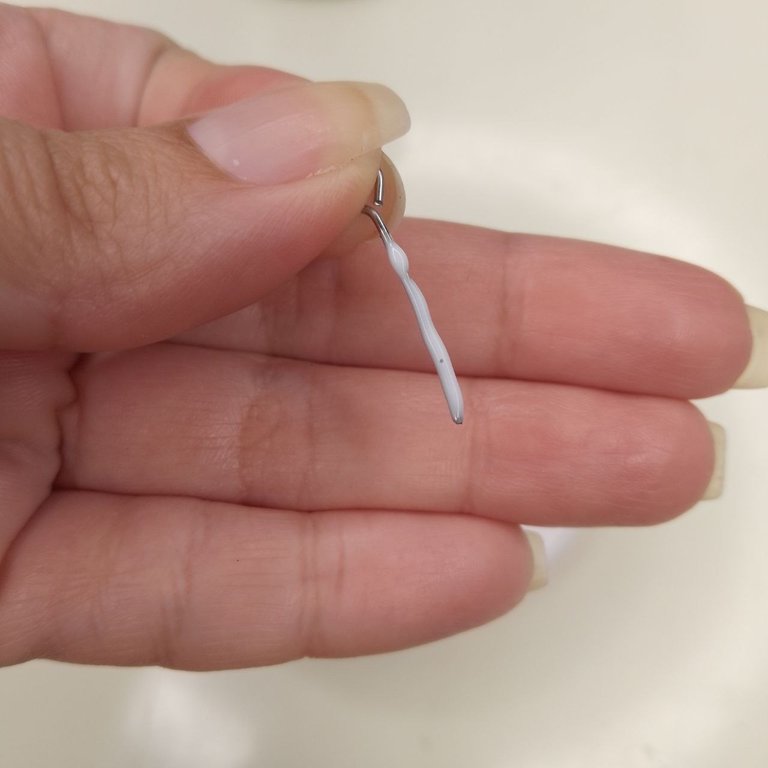
Es momento de agregar el alfiler de ojo y para ello, cubrimos la parte recta con pegamento e introducimos de manera centrada en la parte superior de la pieza.
English Version
Now it is time to add the eye pin and to do so, we cover the straight part with glue and insert it in a centered way in the upper part of the piece.
 |  |
|---|
 |  |
|---|
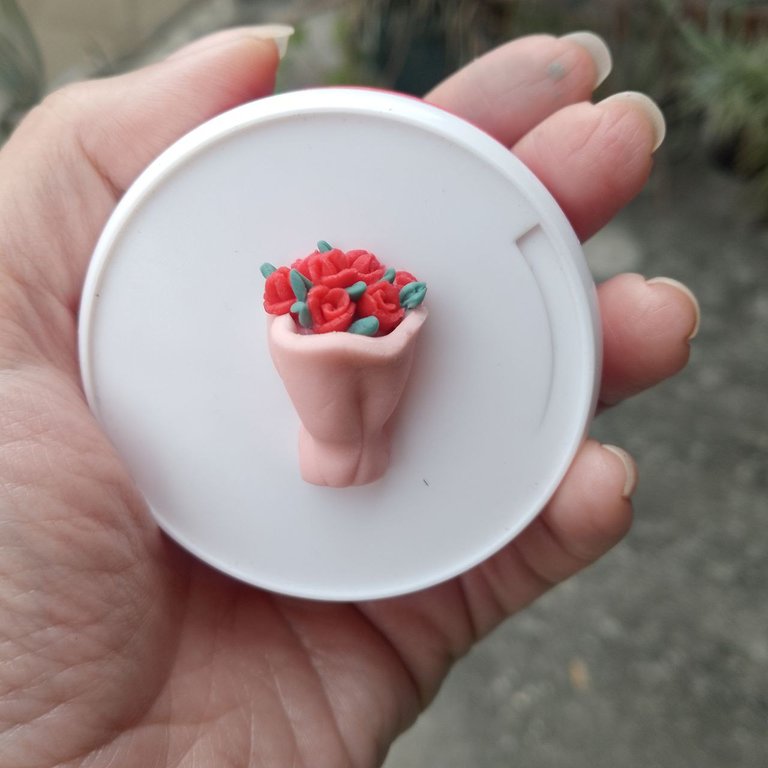
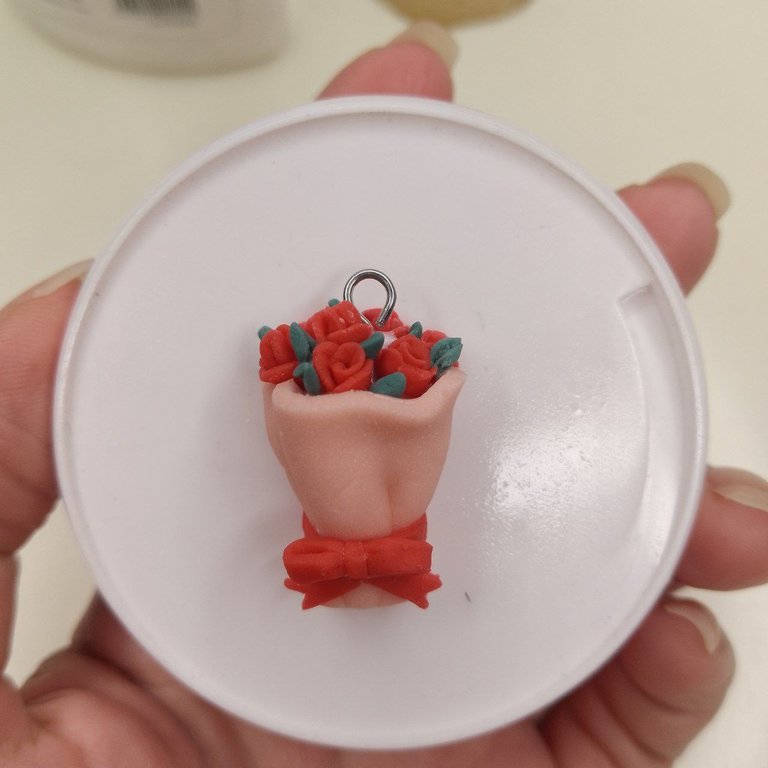
Para finalizar, lo agregamos a un cordón o guaya, yo he usado esta última y está listo para lucirlo.
English Version
To finish, we add it to a cord or guaya, I have used the latter and it is ready to show it off.
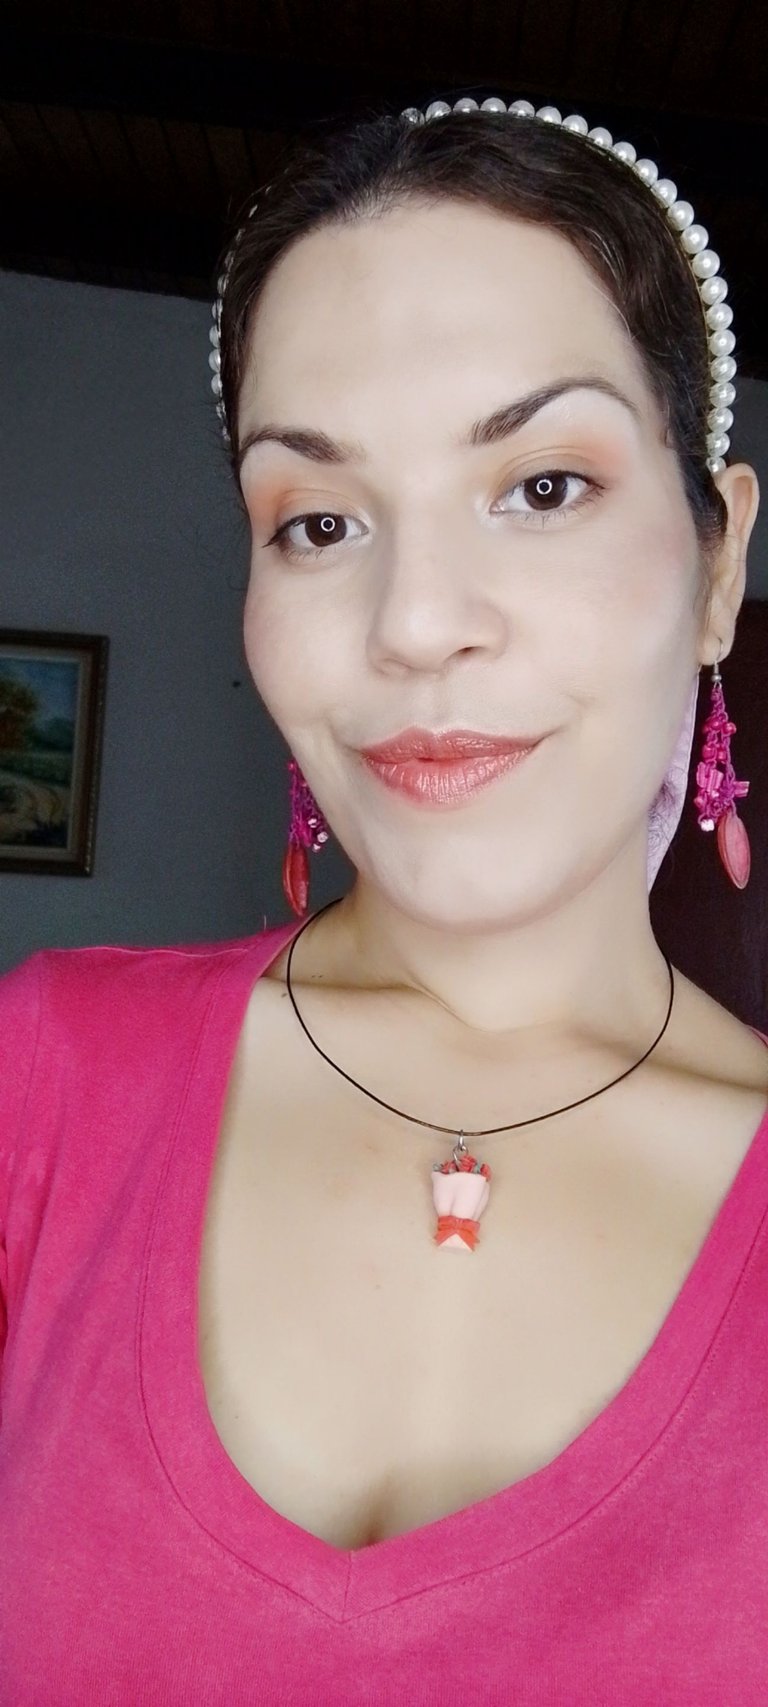
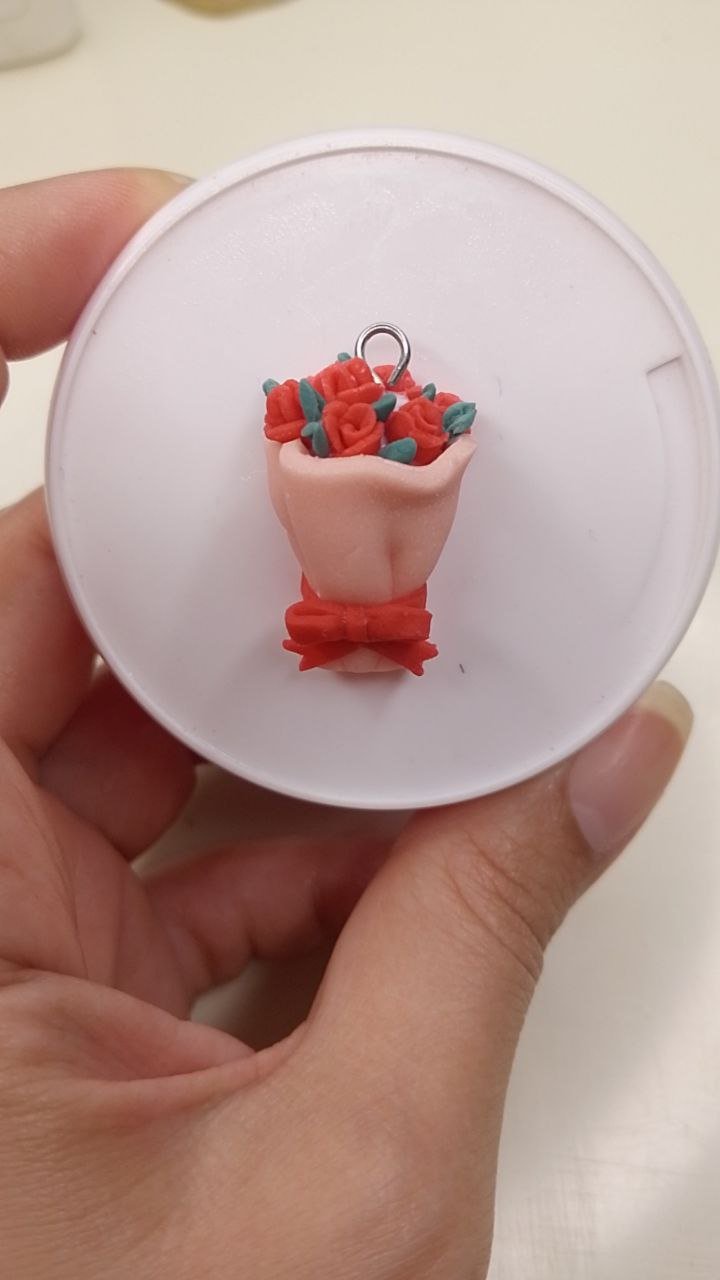
Resultado final / Final result
Comentarios extra:
¿Si notaron que hubo un cambio de escenario? Es que se había ido la luz y estaba usando mi lámpara recargable pero al parecer no estaba bien cargada y en un momento se apagó, así que tuve que salir al porche para aprovechar la luz natural (risas).
English Version
Extra comments:
If you noticed there was a change of scenery? It's just that the power had gone out and I was using my rechargeable lamp but apparently it wasn't properly charged and at one point it went out, so I had to go out on the porch to take advantage of the natural light (laughs).
¡Muchas gracias por leerme!
Thank you so much for reading me!
Fotografías propias, tomadas con mi Tecno Spark 10C.
Traducido al inglés con DeepL.
English Version
Own photographs, taken with my Tecno Spark 10C.
Translated to English with DeepL.

Congratulations @mavilan30! You have completed the following achievement on the Hive blockchain And have been rewarded with New badge(s)
Your next target is to reach 60 posts.
You can view your badges on your board and compare yourself to others in the Ranking
If you no longer want to receive notifications, reply to this comment with the word
STOPCheck out our last posts:
Hola amiga 👋🏽
También por aquí empezaron los racionamientos eléctricos 😡
Muchas gracias por la invitación. El ramo quedó súper lindo, un excelente presente para nuestro amigo en el día de la amistad. ¡Suerte! 🍀
Muchas gracias Lelys🤗 me contenta mucho que te gustara✨
It's really beautiful.
The bouquet turned out so beautiful.
Thank you so much 💖✨
Me gustó mucho este dije de ramos se ve muy cuchi, y las rositas tiernas, trabajas muy bien esta técnica 😉
Muchísimas gracias💖 la verdad me encanta hacer este tipo de trabajos en miniatura😍 me alegra mucho que te gustara🤗
Wow. It is really looking beautiful. The clay art is really satisfying and it turned out so beautiful.
Thank you so much for your kind words💖
Making miniature is really difficult especially with clay but yours is so pretty and cute, these tiny roses are making it more beautiful...
I will also try one for myself but with black roses🤪 i really love black
Thank you so much!💖 I feel so happy with your words🥹 it's always so nice when you appreciate my work✨
I already want to see your design in black roses, it must look amazing!😍
PS: I'm also a fan of black🙈🤭☺️
Que lindo quedó, se ve tierno 🥹
Muchas gracias amiga💖 siiii me encantó como quedó todo chiquitito y tierno🙈✨
¡Que precioso trabajo! 💘🌹
Estoy sorprendida con lo hábil y precisa que eres para realizar las rosas, es increíble lo pequeñas que son en comparación al tamaño de la mano 🤯 hiciste magia ✨ amo las piezas en miniatura, son mágicas y únicas. Y como regalo creo que es súper bello, estas si que son unas rosas eternas que además puedes llevar a todos lados.
Por no revisar hive antes no pude participar:'( pero aprecio muchiiiisimo la invitación 🌹 gracias. Sigue creando preciosas piezas que eres maravillosa ✨✨
¡Feliz carnaval! É tropical, samba do Brasil... 🎶🎊
Awww muchas gracias amiga 🥹 que bella🤗 espero que estés disfrutando de los carnavales🎉 te mando un abrazo💖
Mo paro de sorprenderme de la habilidad que tienes para trabajar esas piezas tan pequeñas y detalladas. No es algo que cualquiera pueda hacer. Me encanta Amor! Te quedó genial!!! 😘😍