

Welcome || Bienvenidos

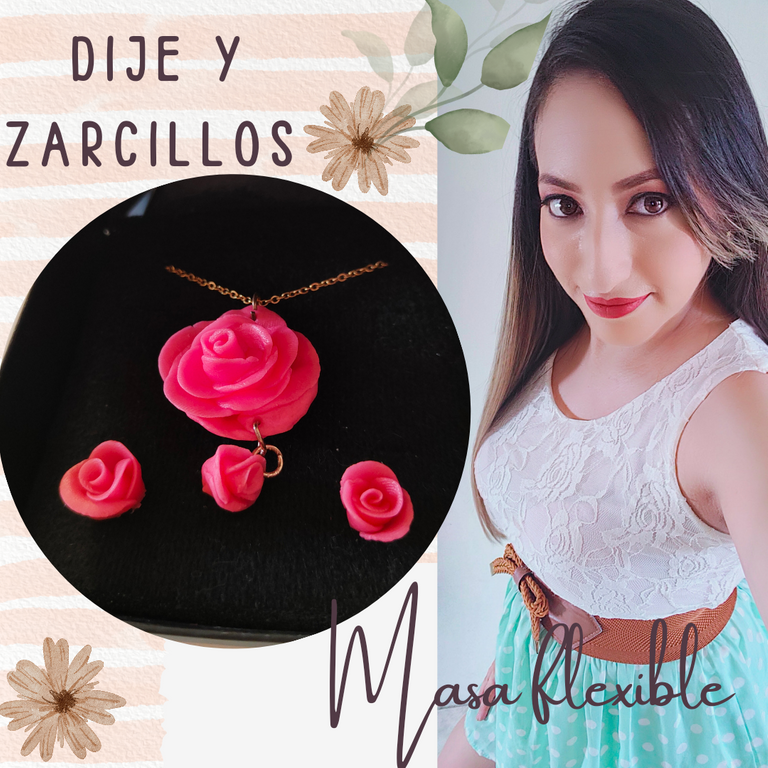
Feliz noche a todos queridos amigos y lectores, espero que su fin de semana este iniciando con buen pie y disfruten del mismo junto familia y amigos, hoy una vez más estoy en este maravilloso espacio para compartir con ustedes uno de mis últimos proyectos pensado y realizado con mucho amor, algo que me gusta es ir probando cosas nueva en la medida de lo posible y que el tiempo así me lo permita, así que en esta ocasión les mostraré como realice unos hermosos zarcillos y dije con forma de rosas con masa flexible así que espero que sean de su grado sin más dilación iniciemos.
Happy evening to all dear friends and readers, I hope your weekend is starting off on the right foot and enjoy it with family and friends, today once again I am in this wonderful space to share with you one of my latest projects thought and made with love, something I like is to try new things as far as possible and that time allows me, so this time I will show you how to make some beautiful tendrils and pendant shaped roses with flexible dough so I hope they are of your degree without further delay let's start.

Materials || Materiales

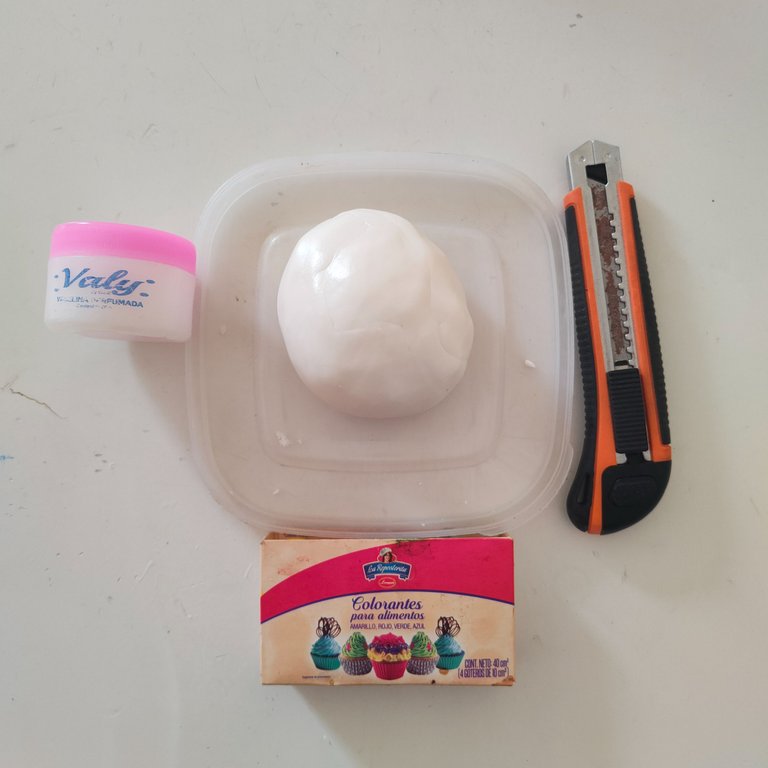
🌹 Masa flexible.
🌹 Colorante.
🌹 Estilete.
🌹 2 Base de zarcillos.
🌹 Cadena.
🌹 Silicon.
🌹 Flexible dough.
🌹 Dye.
🌹 Stiletto.
🌹 2 Base of tendrils.
🌹 Chain.
🌹 Silicon.

steps || pasos

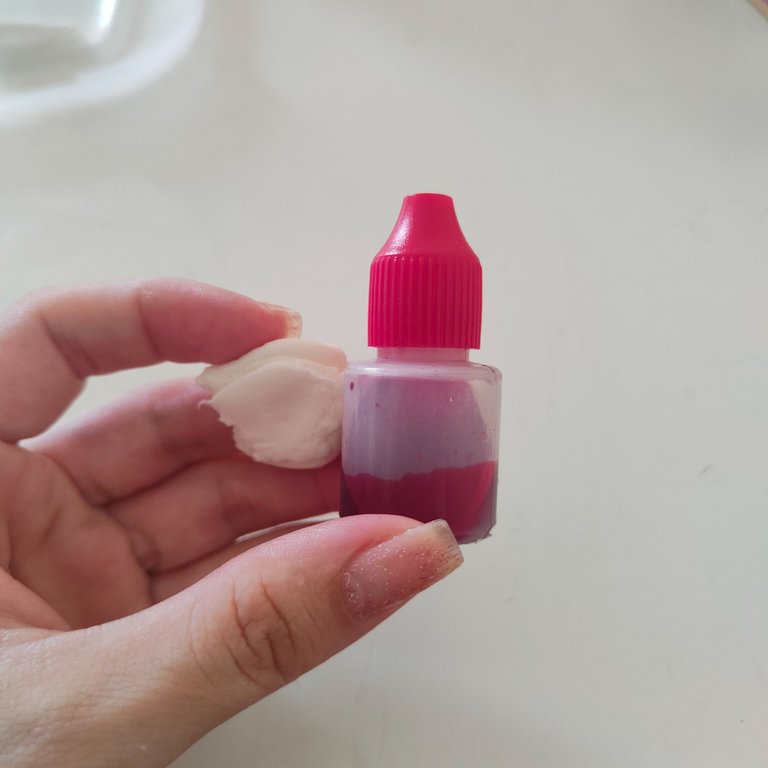
🌹 Paso 1.| Lo primero que vamos hacer es tomar nuestra masa flexible y el color de nuestra preferencia, en mi caso usaré el color rojo y vamos aplicar unas gotas a las masa flexible dependiendo de la tonalidad e intensidad que desees como resultado, amasamos para integrar bien el color.
🌹 Step 1.| The first thing we are going to do is to take our flexible dough and the color of our preference, in my case I will use the color red and we will apply a few drops to the flexible dough depending on the tone and intensity that you want as a result, knead to integrate the color well.
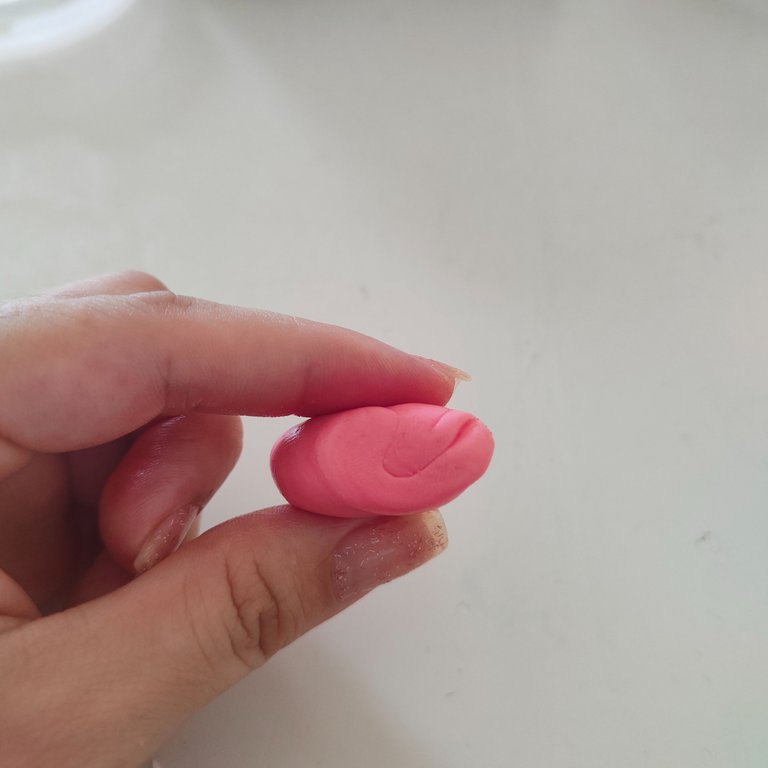
🌹 Paso 2.| Una vez que la masa flexible tiene la tonalidad deseada en mi caso es un tono rosa, vamos a realizar pequeñas bolitas y con nuestros dedos vamos a tomarlas y realizar pequeños pétalos, el primero que tomemos vamos a enrollar para que sea la pieza central de nuestra rosa.
🌹 Step 2.| Once the flexible dough has the desired shade, in my case it is a pink shade, we will make small balls and with our fingers we will take them and make small petals, the first one we take we will roll to be the centerpiece of our rose.
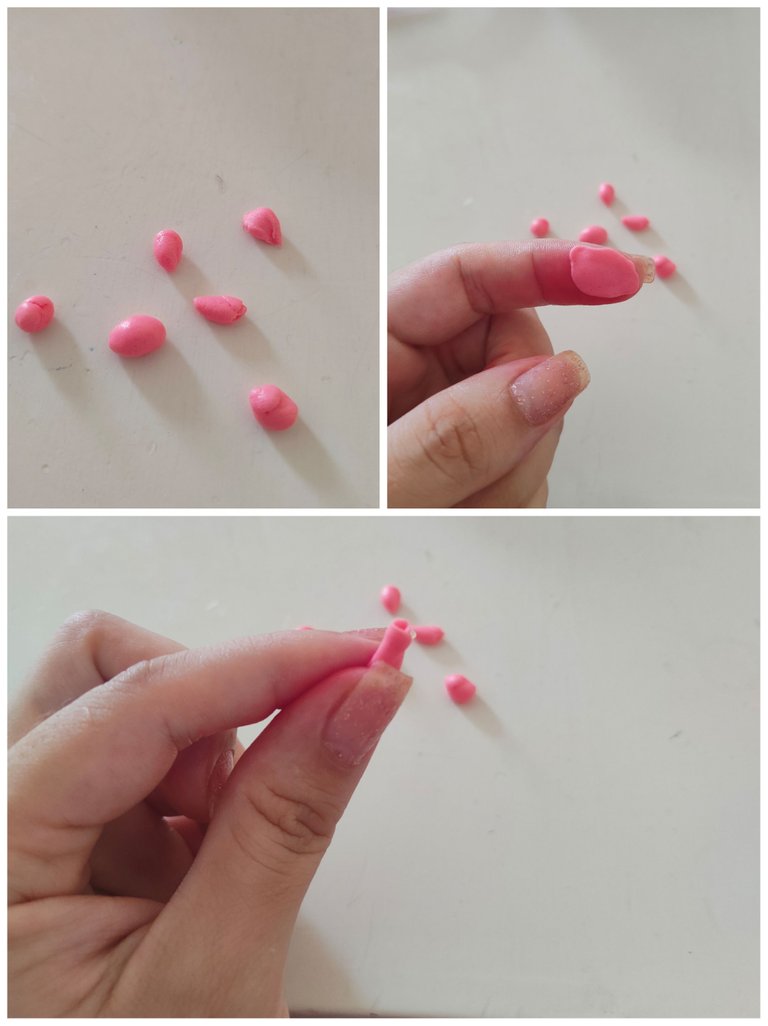
🌹 Paso 3.| Seguidamente vamos a continuar realizando pétalos, los cuales vamos a ir fijando alrededor de nuestra pieza central, la cantidad de pétalo utilizados va variar dependiendo del grosor que deseé que sea su rosa, en mi caso realice 1 rosa grande y 4 pequeñas, una vez que tenemos formadas las rosas, con el estilete vamos a quitar la masa excedente en el tallo de rosa para que sea más estético el diseño.
🌹 Step 3.| Next we will continue making petals, which we will be fixing around our center piece, the amount of petal used will vary depending on the thickness you want your rose to be, in my case I made 1 large rose and 4 small ones, once we have formed the roses, with the stylus we will remove the excess mass in the rose stem to make the design more aesthetic.
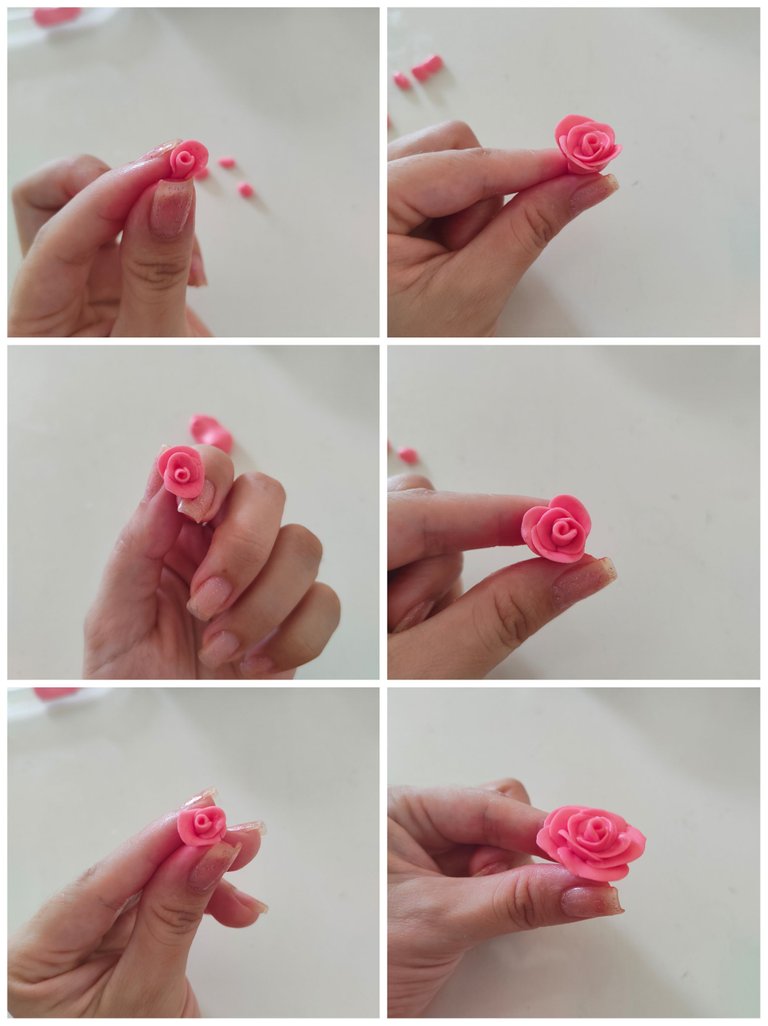
🌹 Paso 4.| Una vez que ya sabemos para que será cada rosa utilizada, con una aguja o la punta de un zarcillo vamos a realizar unos pequeños orificios en la rosa grande para poder así agregarle un arito de bisutería y así poder usarla mas adelante como un dije, en mi caso le realice 2 orificios a la rosa 1 en su parte superior y otro en la parte inferior.
🌹 Step 4.| Once we know what each rose will be used for, with a needle or the tip of a tendril we are going to make some small holes in the big rose in order to be able to add a costume jewelry earring and thus be able to use it later as a pendant, in my case I made 2 holes in the rose, 1 in the upper part and another one in the lower part.
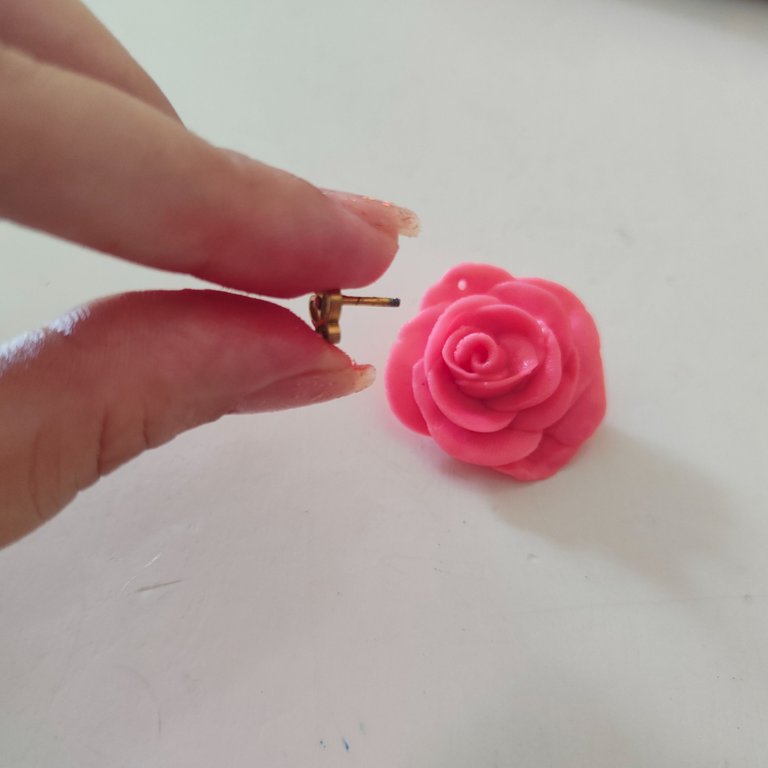
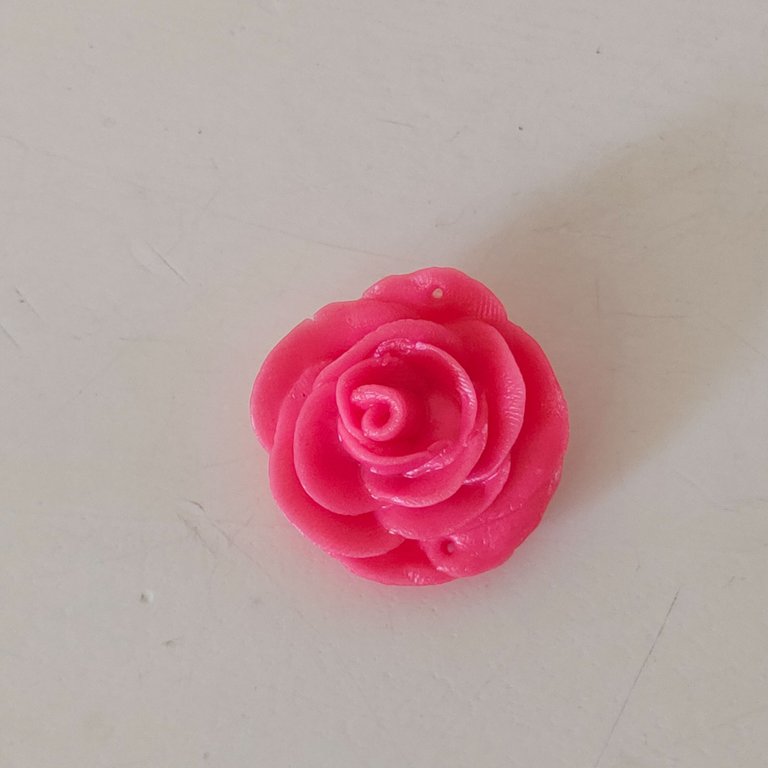
🌹 Paso 5.| Lo siguiente es dejar secar todas las piezas por lo menos un día para así poder utilizarlas.
🌹 Step 5.| The next step is to let all the pieces dry for at least one day so that they can be used.
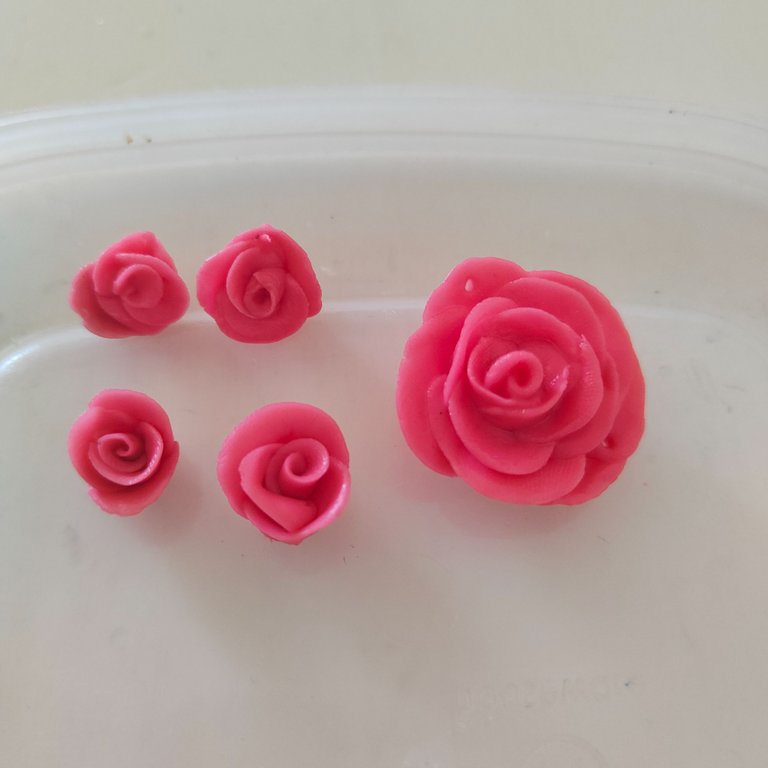
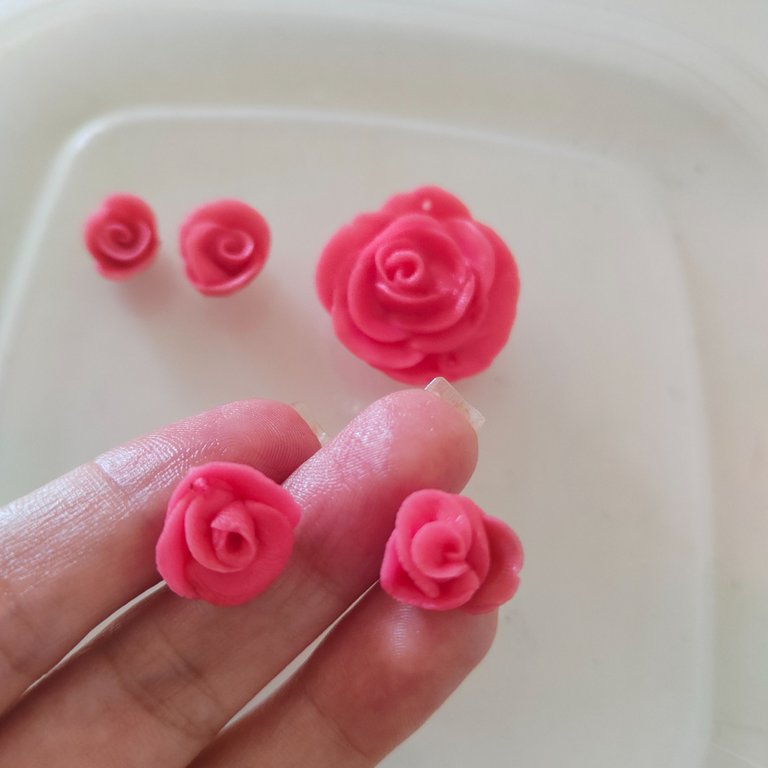
🌹 Paso 6.| Una vez que secaron nuestras piezas vamos a colocarle a la rosa grande que será nuestro dije, sus respectivos aritos y a su vez ubicaremos un rosa más pequeña en el arito ubicado en la parte inferior.
🌹 Step 6.| Once our pieces are dry, we will place their respective earrings on the large rose that will be our pendant, and in turn we will place a smaller rose on the earring located at the bottom.
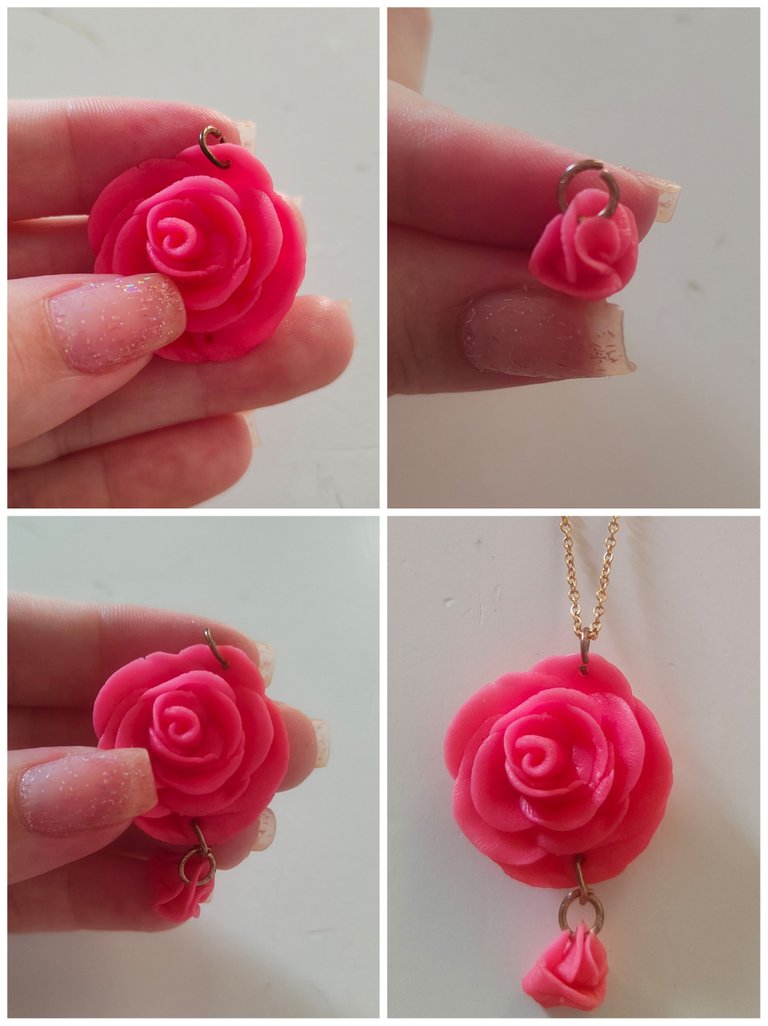
🌹 Paso 7.| Tomaremos 2 rosas pequeñas y le fijaremos las bases para zarcillos.
🌹 Step 7.| We will take 2 small roses and attach the bases for tendrils to them.
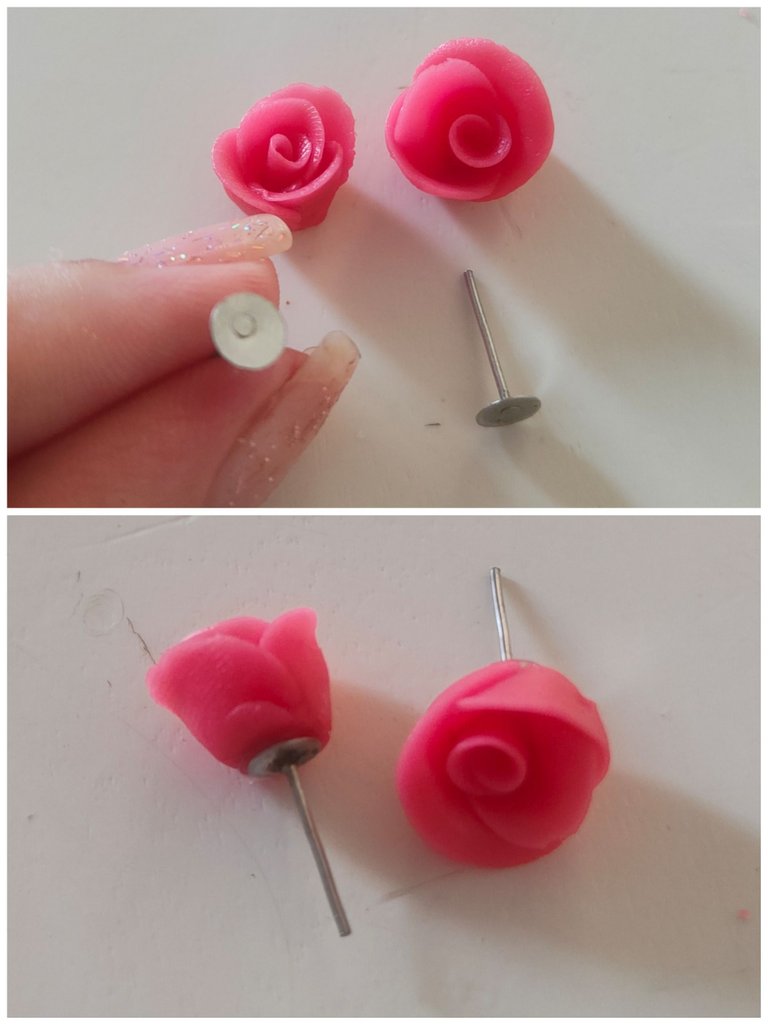
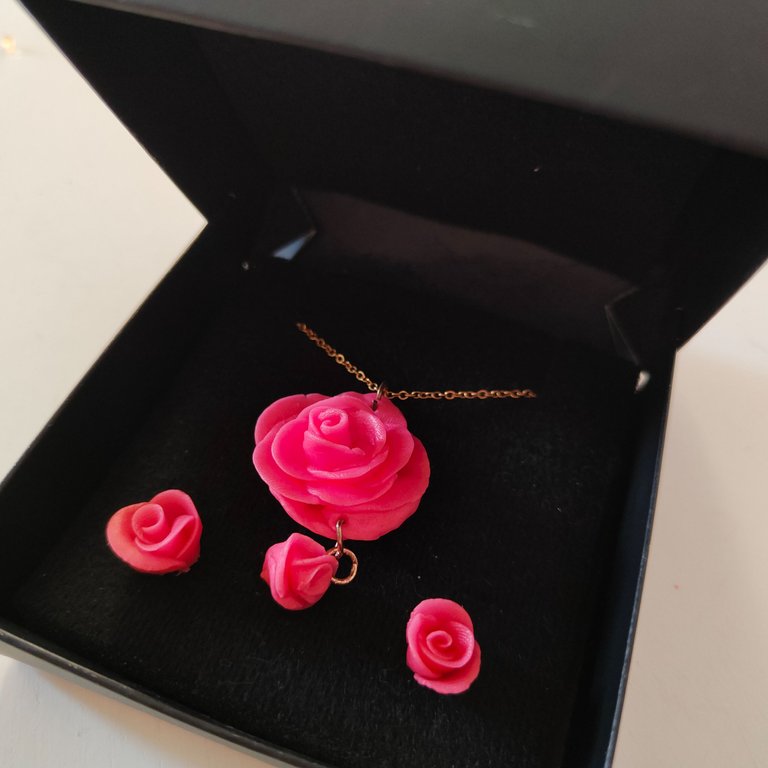
De esta manera habremos culminado nuestro hermoso dije y zarcillos con temática de rosa, listos para utilizarlos.
This way we will have completed our beautiful rose themed pendant and earrings, ready to use.

Result || Resultado


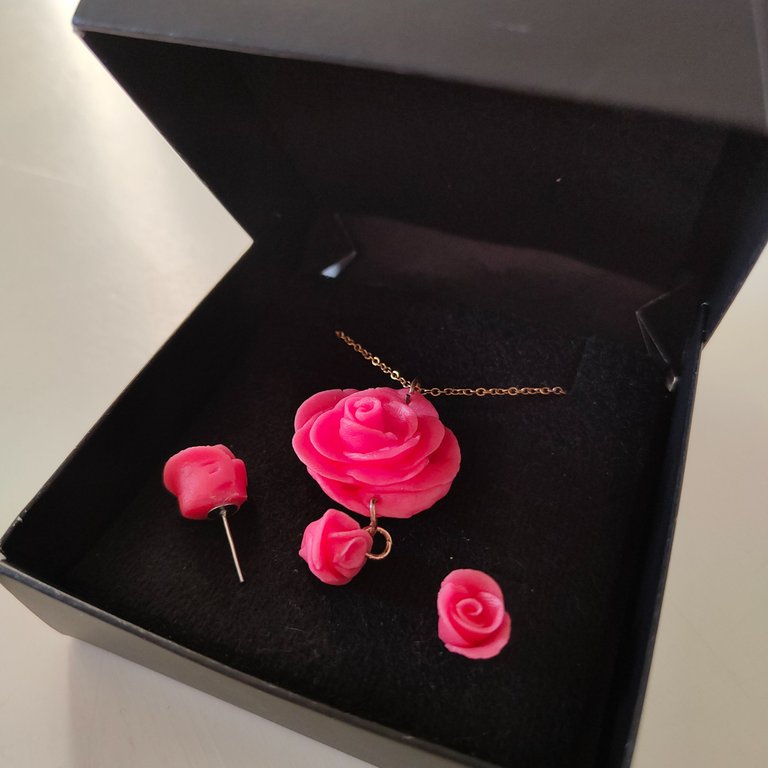
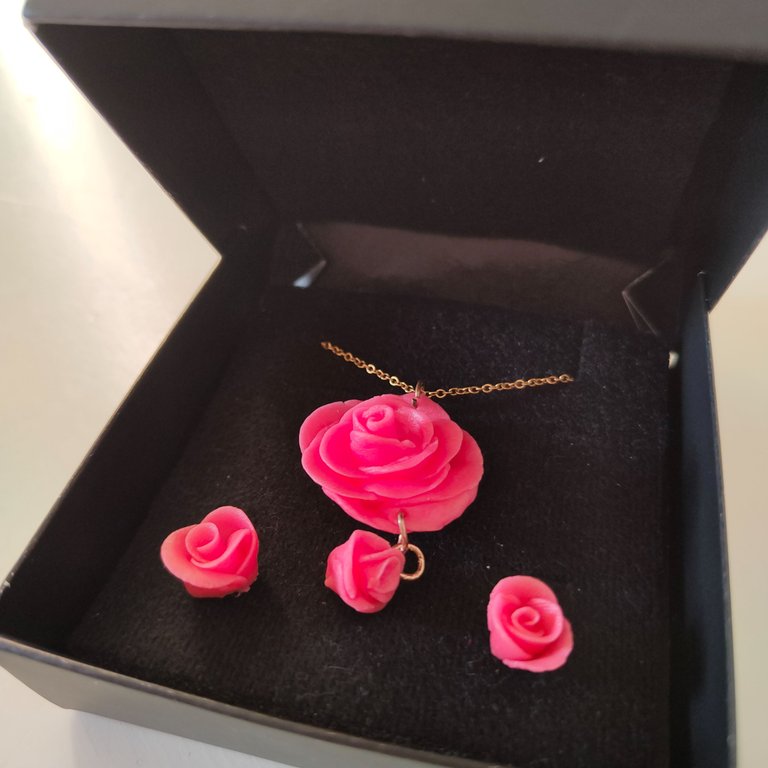
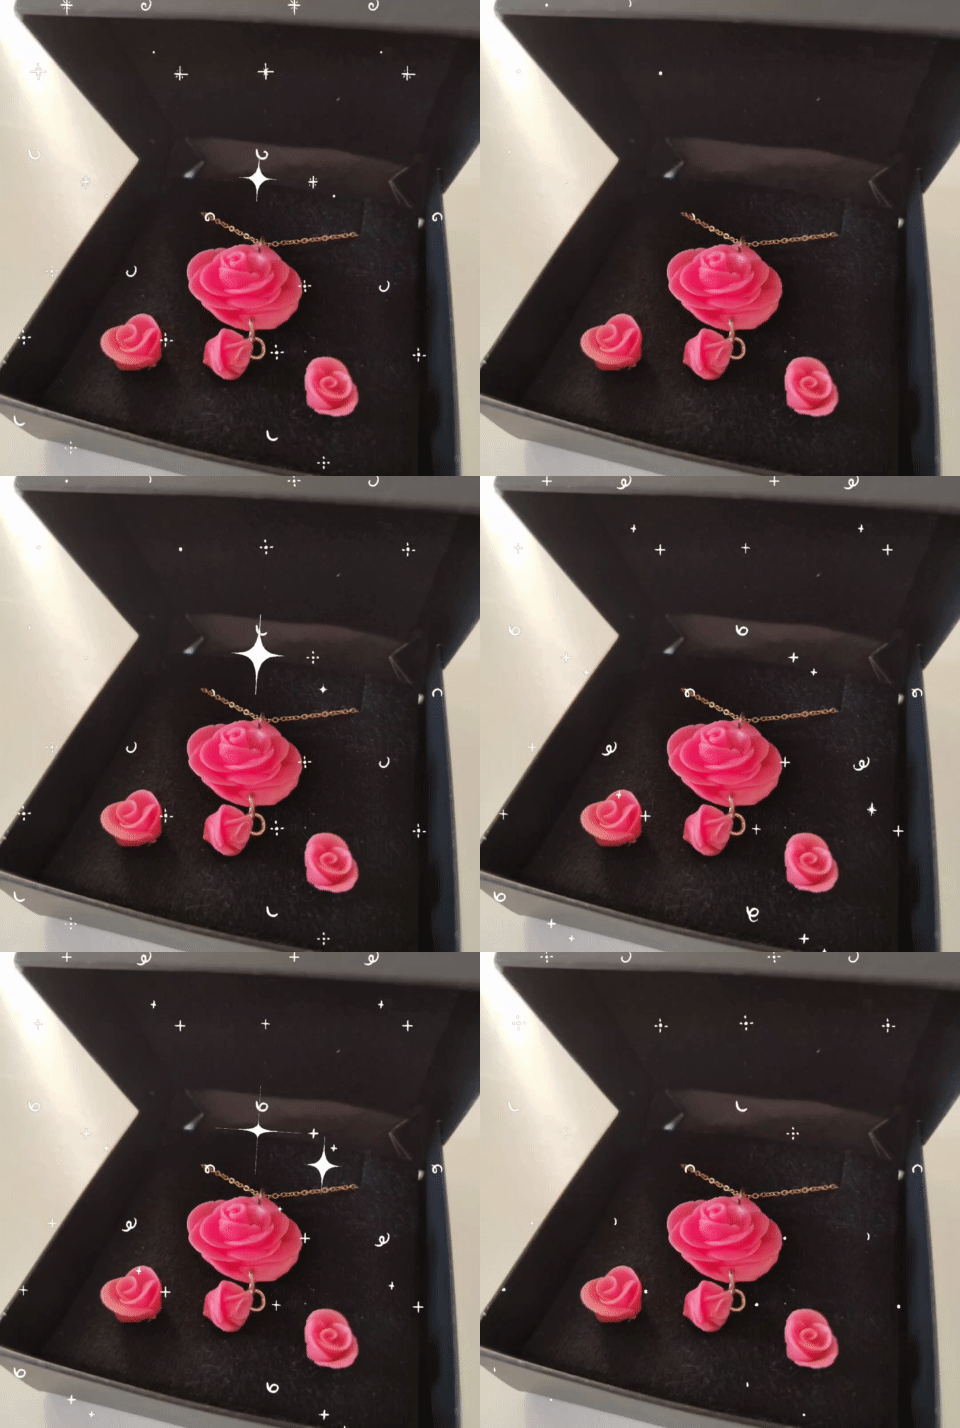
Espero que el resultado fuese de su agrado, como siempre agradezco su tiempo, atención, comentarios y apoyo, esperando que tengan un excelente fin de semana me despido hasta un próximo post, desde acá un cálido y fuerte abrazo.
I hope the result was to your liking, as always I appreciate your time, attention, comments and support, hoping you have a great weekend I say goodbye until a next post, from here a warm and strong hug.


🎥Imágenes y vídeo creados con: |Images and video created with: Youcut video| Giphy | Canva |
🇪🇸 Traducido con DeepL

Thank you for sharing this post on HIVE!
Your content got selected by our fellow curator stevenson7 & you just received a little thank you upvote from us for your great work! Your post will be featured in one of our recurring compilations which are aiming to offer you a stage to widen your audience within the DIY scene of Hive. Stay creative & HIVE ON!
Please vote for our hive witness <3
Gracias por el apoyo equipo de @diyhub
Bellisimosss, un trabajo totalmente delicado en cada uno de sus detalles amiga @mili2801 😍
Felicidades cariño 💕
!DIY
Mi bella @dayadam gracias por tus lindas palabras un abrazote ten excelente fin de semana. 🌹✨
~~~ embed:1626752062666035202 twitter metadata:MTA0ODM5ODA0ODI0MDU2NjI3M3x8aHR0cHM6Ly90d2l0dGVyLmNvbS8xMDQ4Mzk4MDQ4MjQwNTY2MjczL3N0YXR1cy8xNjI2NzUyMDYyNjY2MDM1MjAyfA== ~~~
The rewards earned on this comment will go directly to the people( @dayadam, @edwarlyn11 ) sharing the post on Twitter as long as they are registered with @poshtoken. Sign up at https://hiveposh.com.
Que hermosooos 😍😍 a mi me encantan los accesorios rojos inspirados en flores!! ❤️ siempre me a llamado la atención aprender a trabajar con masa, un día de estos me atrevo a ver qué tal 😅. Gracias por compartir tu tutorial, un saludito amiga mili 🤗💕
Awwww gracias querido @edwarlyn11 atrévete seguro te gustará y será genial ver tus hermosas creaciones. 🌹✨
Hermoso ❤️ 🌹 amiga muy delicado tal cual una rosa
Gracias mi bella @cirangela un abrazote amiga.
Muy lindo @mili2801.
Gracias @josdelmi es lindo saber que te gustó. 🤩
Super bello este trabajo con la masa flexible. 💗
Gracias guapa! Tus trabajos también son hermosos! @divergente1
Guao amiga el resultado es precioso, me encantó cada paso de tu elaboración, quedé enamorada de este hermoso juego.
Awwwww gracias amiga por tus lindas palabras es súper gratificante saber que te gustó. @emmaris ✨🤩
Gracias por compartir, @mili2801 le ha quedado muy lindo, felicidades
Gracias estimada @katiuskamata 😊
Hermoso trabajo, me encantan las flores 👍
Gracias bella me alegra que fuese de tu agrado @andreamtovar19 🤩
😍🍓🍓🍓🍓🍓🍓🍓🍓🍓🍓🍓🌹🌹🌹🌹🌹🌹🌹🌹🌹🌹🌹🌹🌹que hermosura 💖 me gustó muchísimo felicidades.👍👍👍☺️☺️💕
Gracia estimado amigo @alexanderflx
Congratulations, your post has been upvoted by @dsc-r2cornell, which is the curating account for @R2cornell's Discord Community. Enhorabuena, su "post" ha sido "up-voted" por @dsc-r2cornell, que es la "cuenta curating" de la Comunidad de la Discordia de @R2cornell.