Hello, everyone in-hive communication
Creating handmade jewelry is a delightful and rewarding craft. It allows you to channel your creativity while designing something truly personal and meaningful. Today, I’m thrilled to walk you through the steps to make this exquisite Pearl Grace Beaded Necklace. This project is perfect for beginners, cost-effective, and results in a beautiful accessory that’s ideal for any event or as a thoughtful gift for a loved one.
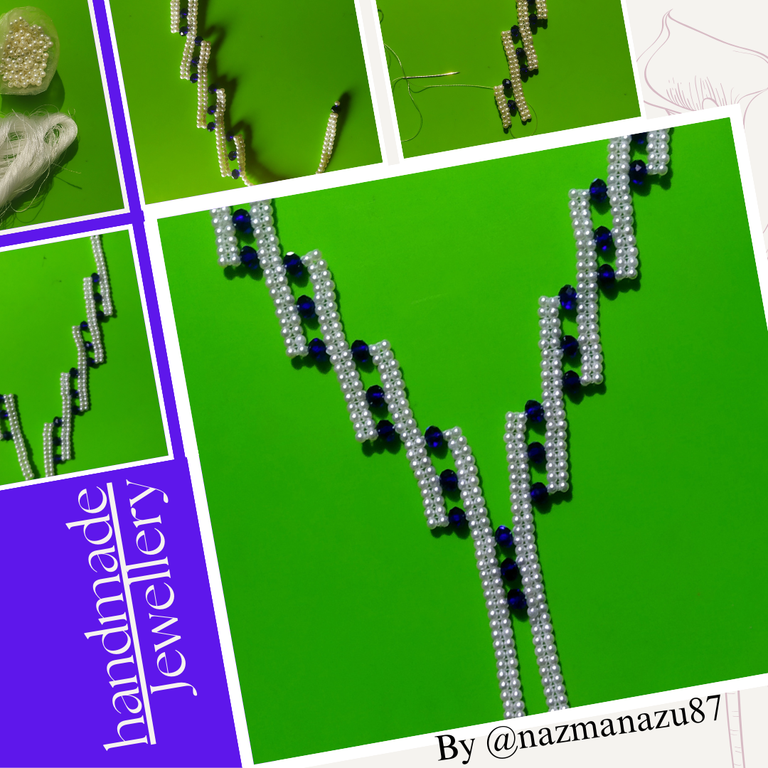
Materials Needed
To create this necklace Pearl beads you’ll need the following materials:
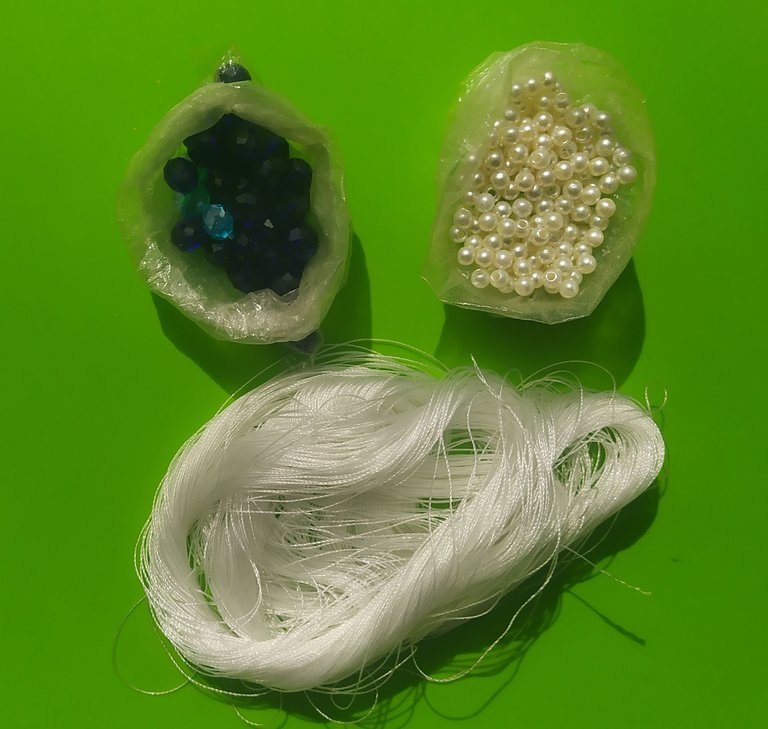
Materials Required:
- White pearls (small-sized beads)
- Blue crystal beads (faceted for added sparkle)
- Transparent or white nylon thread (strong for beading)
- Beading needle
- Scissors
Step-by-Step Instructions:
Step 1: Prepare Materials
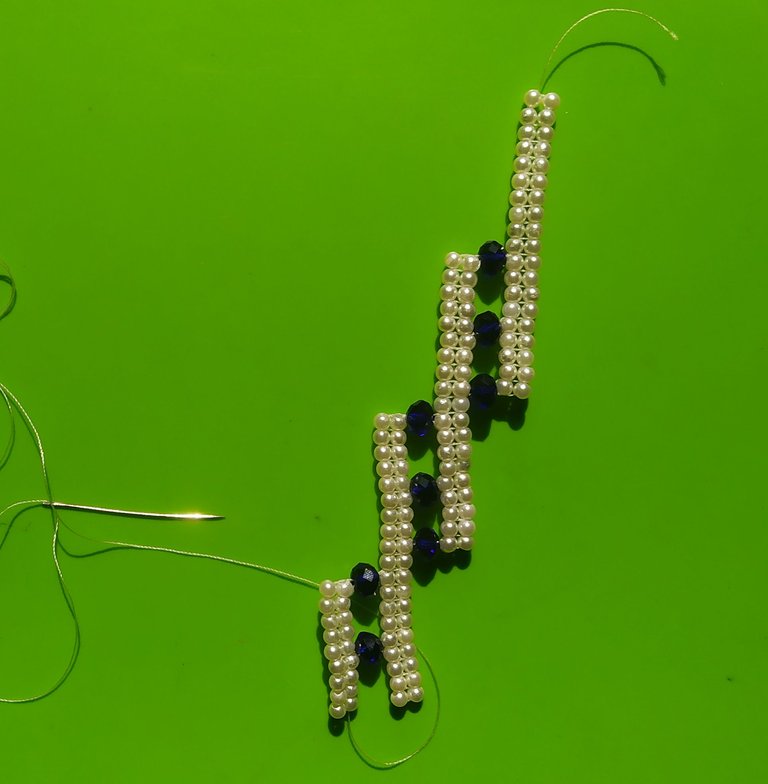
- Organize the materials, as seen in the first image:
- White pearls in one section.
- Blue beads in another.
- A sufficient length of nylon thread and a beading needle.
Step 2: Thread Setup
- Cut a long piece of nylon thread (around 1.5 meters) and thread the needle.
- Tie a small knot at the end to prevent beads from slipping off.
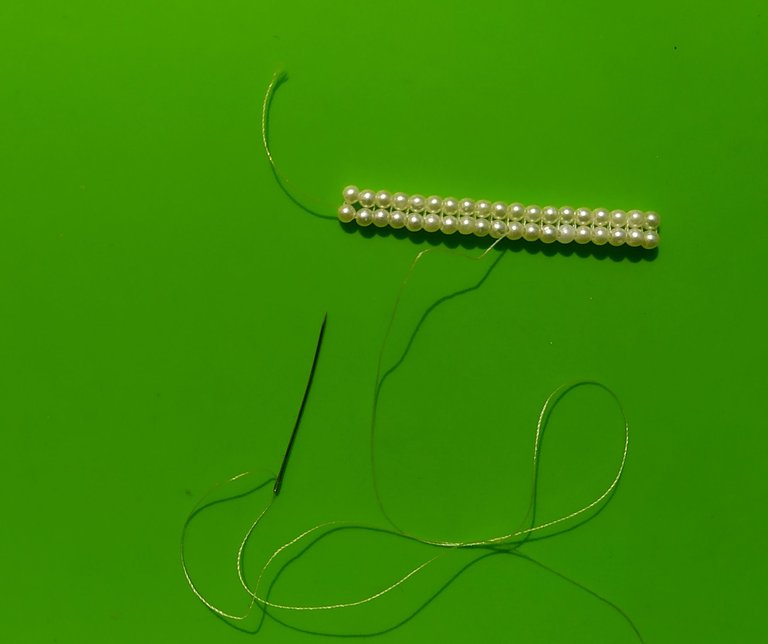
Step 3: Start the Base Pattern
- Begin with three white pearls, threading them onto the nylon thread.
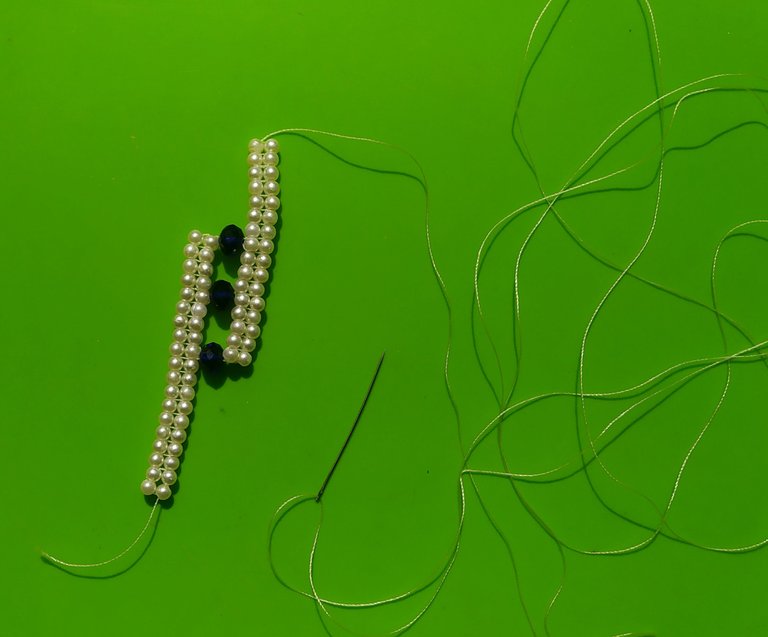
- Follow with a single blue bead.
- Continue alternating between three white pearls and one blue bead. This will create a zigzag pattern.
Step 4: Form the Strands
- After completing one segment of the necklace, fold the thread to make the structure firmer.
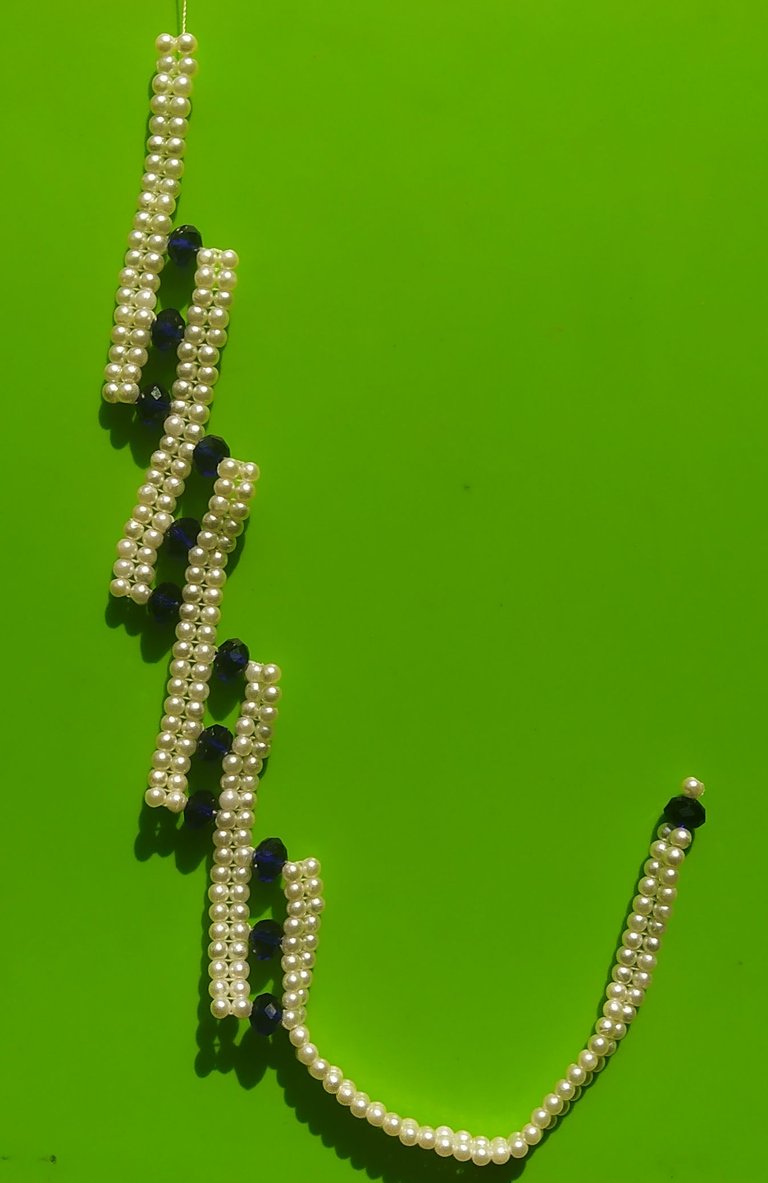
- Repeat the zigzag pattern to create uniform, ladder-like rows, as shown in the second image.
- Adjust tension so the pearls and blue beads are snug and aligned.
Step 5: Create the Necklace Shape
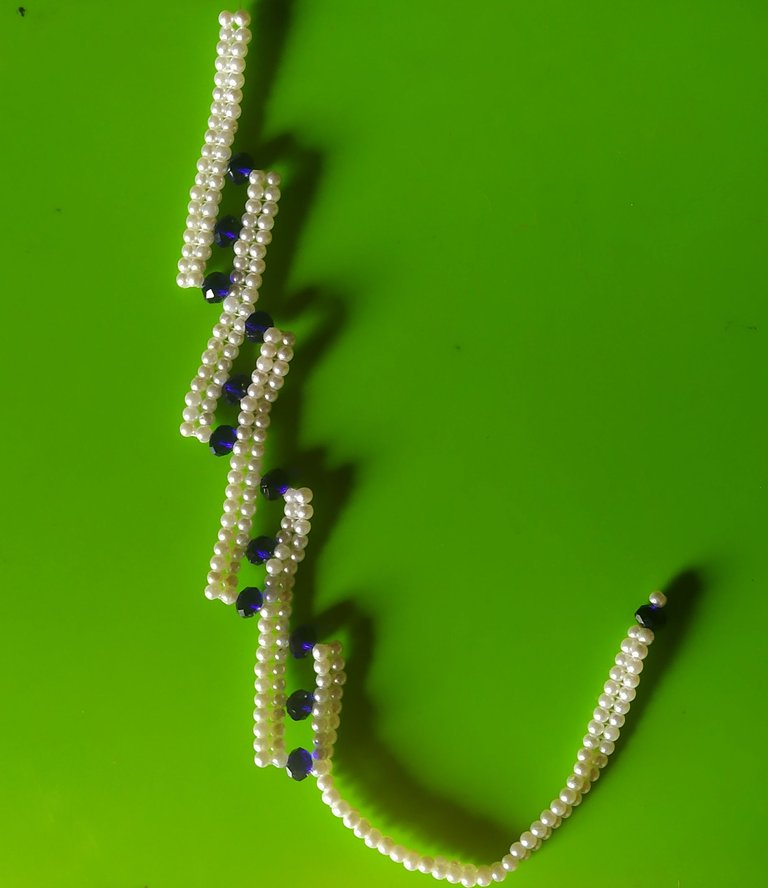
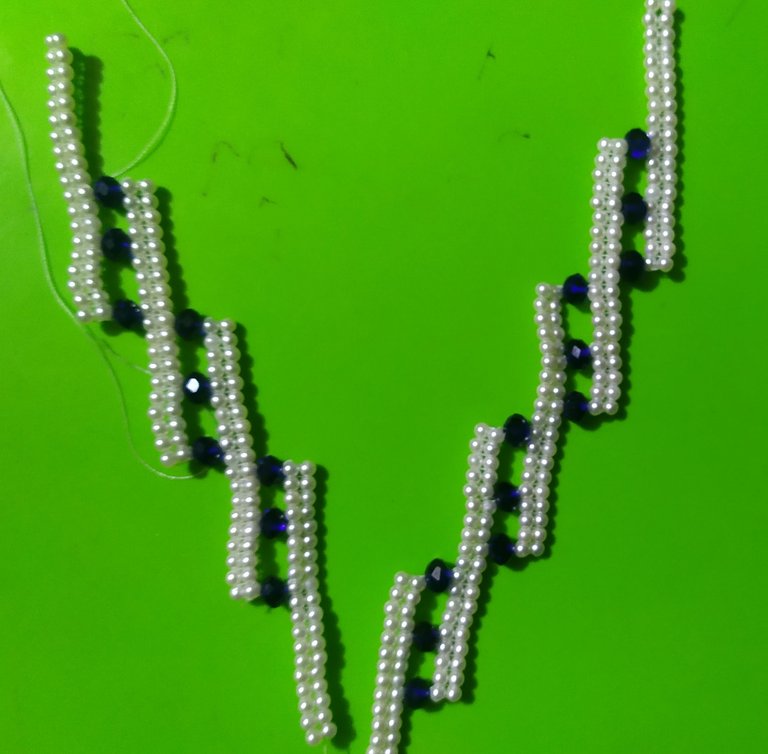
- After completing three to four rows, adjust their lengths to form the symmetrical "V" design.
- Add longer segments for the center drop using the same zigzag pattern.
- Ensure symmetry between both sides to achieve balance.
Step 6: Secure the Necklace
- Once the main design is finished, add a few extra beads on each end for a polished look.
- Knot the thread securely at the end, ensuring beads don’t slip.
- Trim excess thread.
Step 7: Check the Design
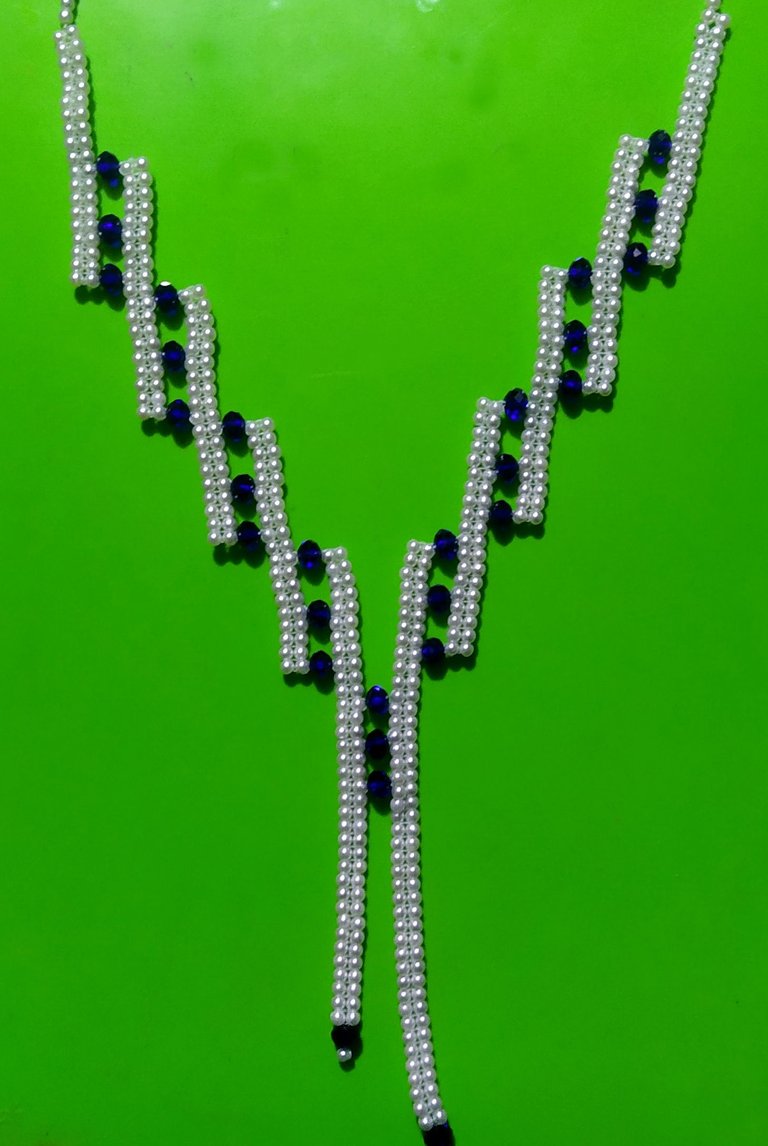
What Makes This Necklace Special?
This handmade pearl necklace is:
Budget-friendly yet elegant
-A thoughtful gift idea
-A versatile accessory that complements any outfit
Its handmade nature adds a personal and unique touch, making it more than just jewelry—it's a statement of creativity.
Materials Used
High-quality White pearls, blue crystal beads in a combination of colors
Durable thread for long-lasting wear
Tips:
- Use a bead organizer to keep different colors separated.
- Double-check your thread tension to avoid loose sections.
Why Choose Handmade Jewelry?
Handmade jewelry reflects patience, creativity, and dedication. Unlike machine-made pieces, every bead is thoughtfully placed, resulting in a truly one-of-a-kind accessory.
Good Luck to all of you
That's all for now. I'll come with an interesting post again.
"About Me""

Generally...
I'm a housewife, I like to draw pictures, I can do a lot of design work and help my husband at our design firm
Thank you to all.
Oh my gosh, after seeing your thumbnail i thought you have used some sort of beaded lace in your design but you have used pearls to make this,
It must be time consuming design, really loved the design and your creativity for making it💖💖💖
thank you