Saluditos brujildas y brujildos creativos de este maravilloso mundo de las Manualidades y la Joyería, espero que todos se encuentren super bien, hoy me encuentro haciendo varias pócimas para entrar a participar en la Iniciativa Accesorios para halloween propuesta por mi grandiosa comunidad Jewelry; y es que sin magia muy difícil será llevarme los laureles tengo mucha competencia 🤣🤣.
Como tenía que hacer una gargantilla para mi sobrina que va a una fiesta de halloween mataré dos pájaros de un solo tiro. Así escogí de motivo un maléfico murciélago 🦇 y es que como ustedes saben este animalito es uno de los doce iconos asociados a las festividades halloweences, de ellos se decia que por su características al igual que los vampiros Son animales misteriosos y tenebrosos.
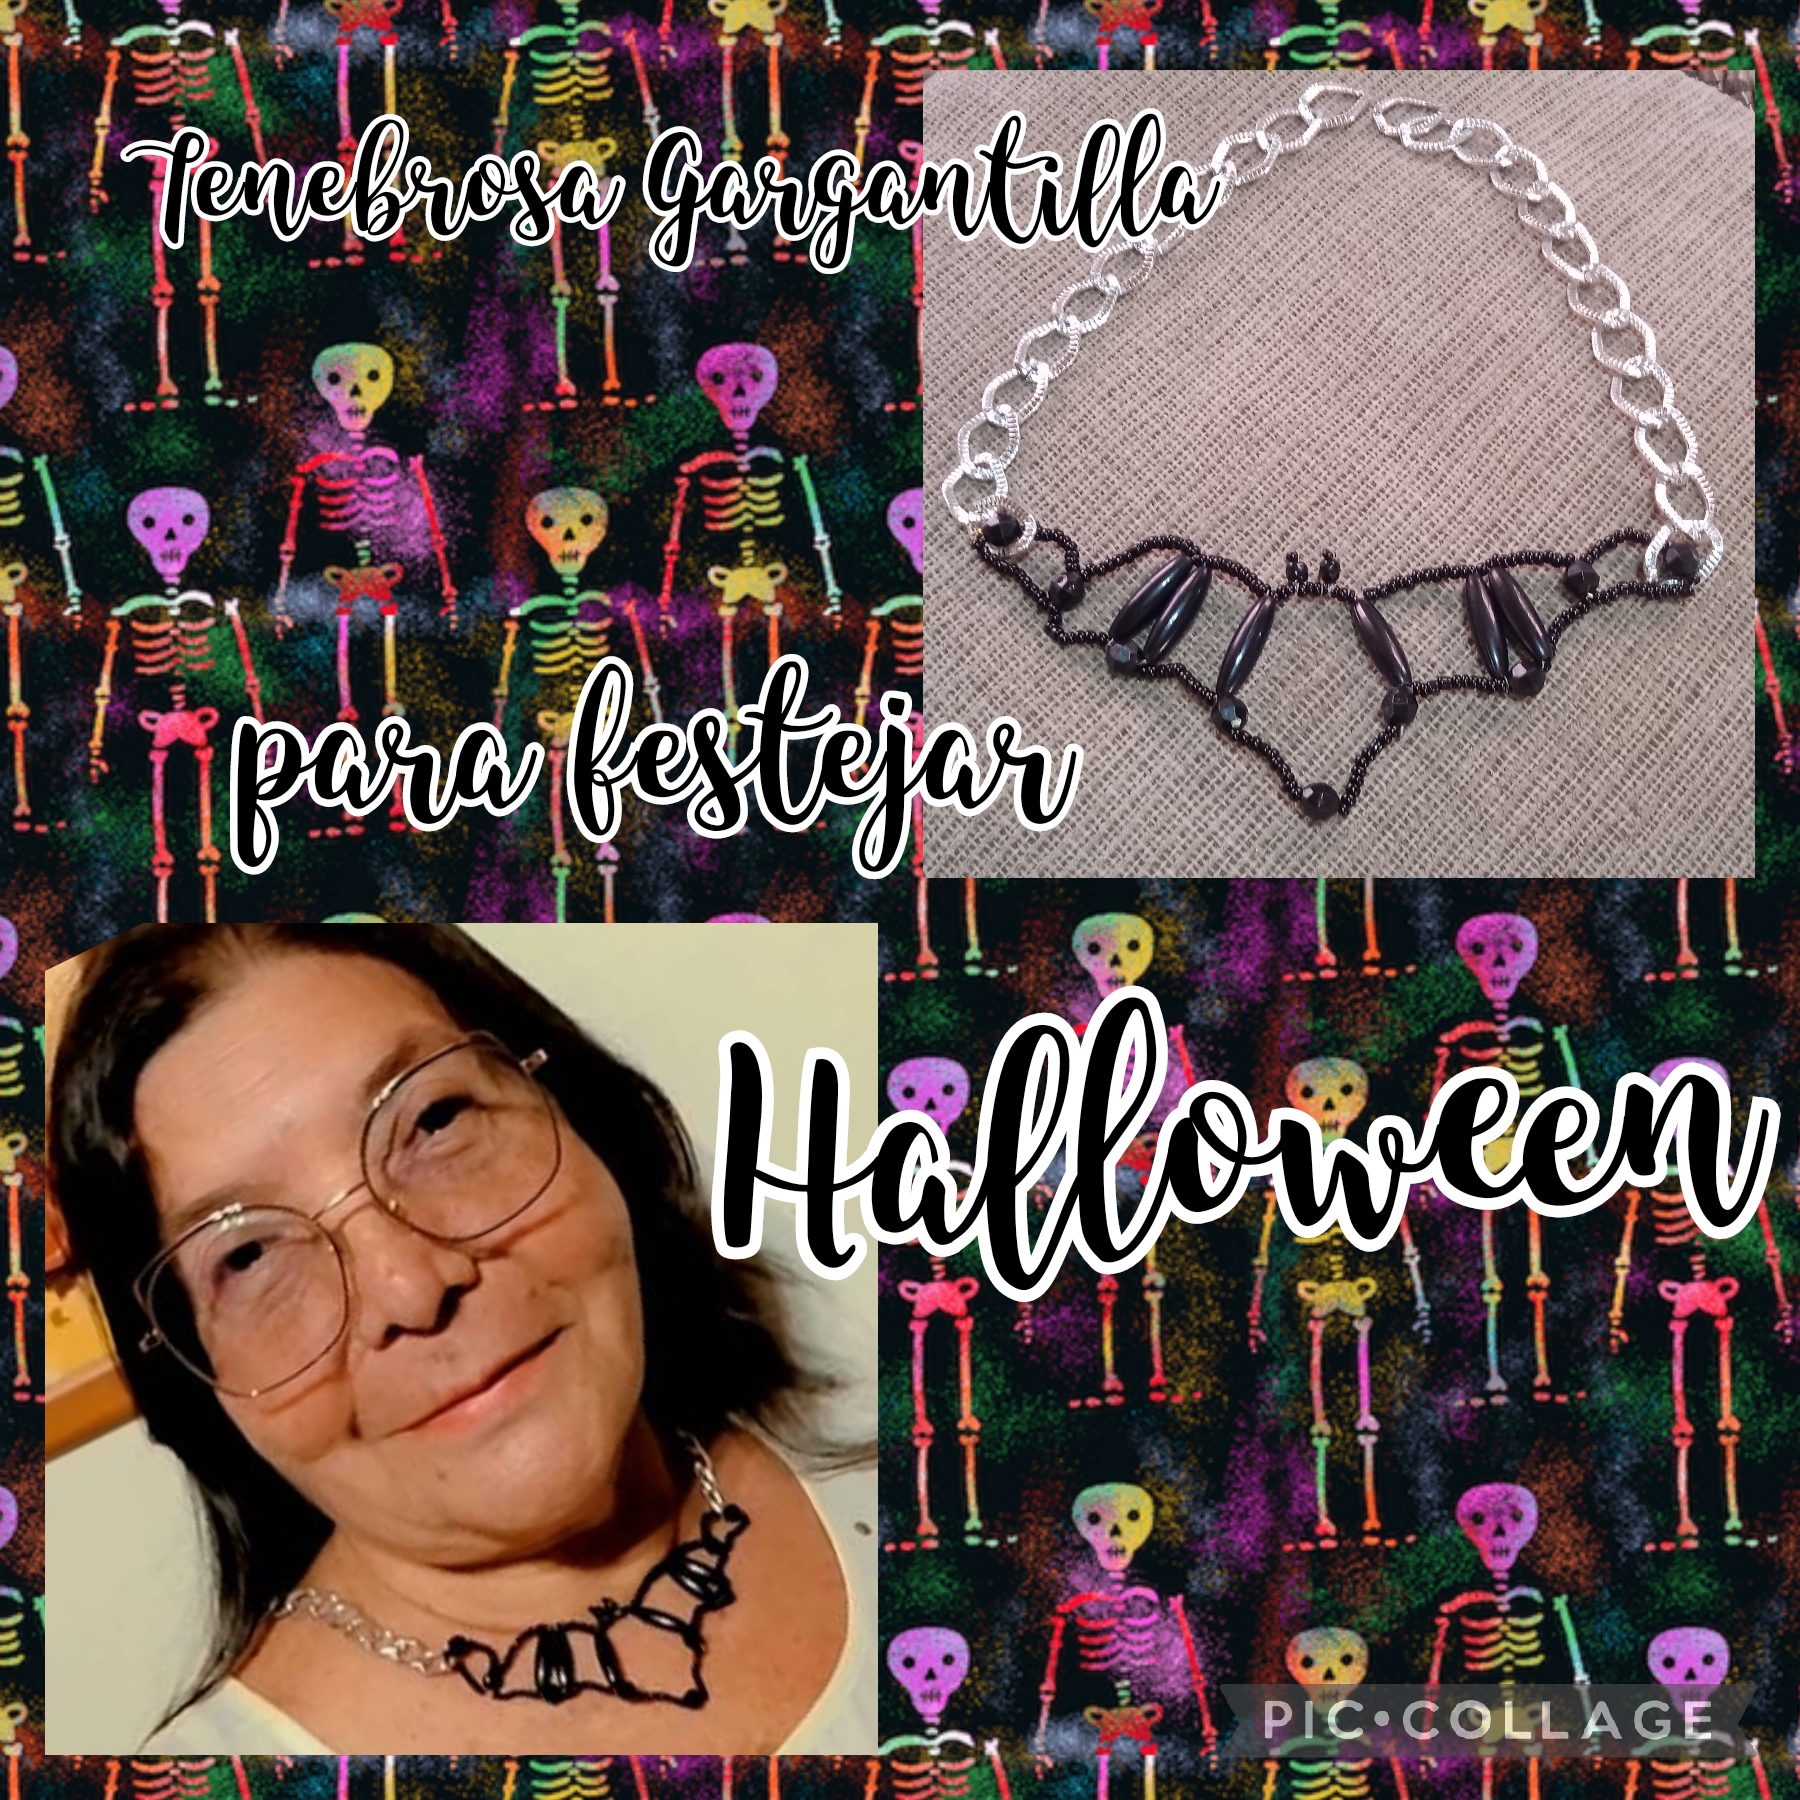
Les comento que para elaborar esta manualidad use la técnica del alambrismo , sigan leyendo para que vean como realicé una tenebrosa gargantilla con forma de un espantoso murciélago 🦇
Greetings creative witches and wizards of this wonderful world of Crafts and Jewelry, I hope you are all doing great, today I am making several potions to participate in the Halloween Accessories Initiative proposed by my great Jewelry community; and without magic it will be very difficult to take the laurels, I have a lot of competition 🤣🤣.
As I had to make a choker for my niece who is going to a Halloween party, I will kill two birds with one stone. So I chose an evil bat as a motif 🦇 and as you know this little animal is one of the twelve icons associated with the Halloween festivities, it was said that due to their characteristics, like vampires, they are mysterious and dark animals.
I tell you that to make this craft I used the wire technique, keep reading to see how I made a spooky choker in the shape of a scary bat 🦇
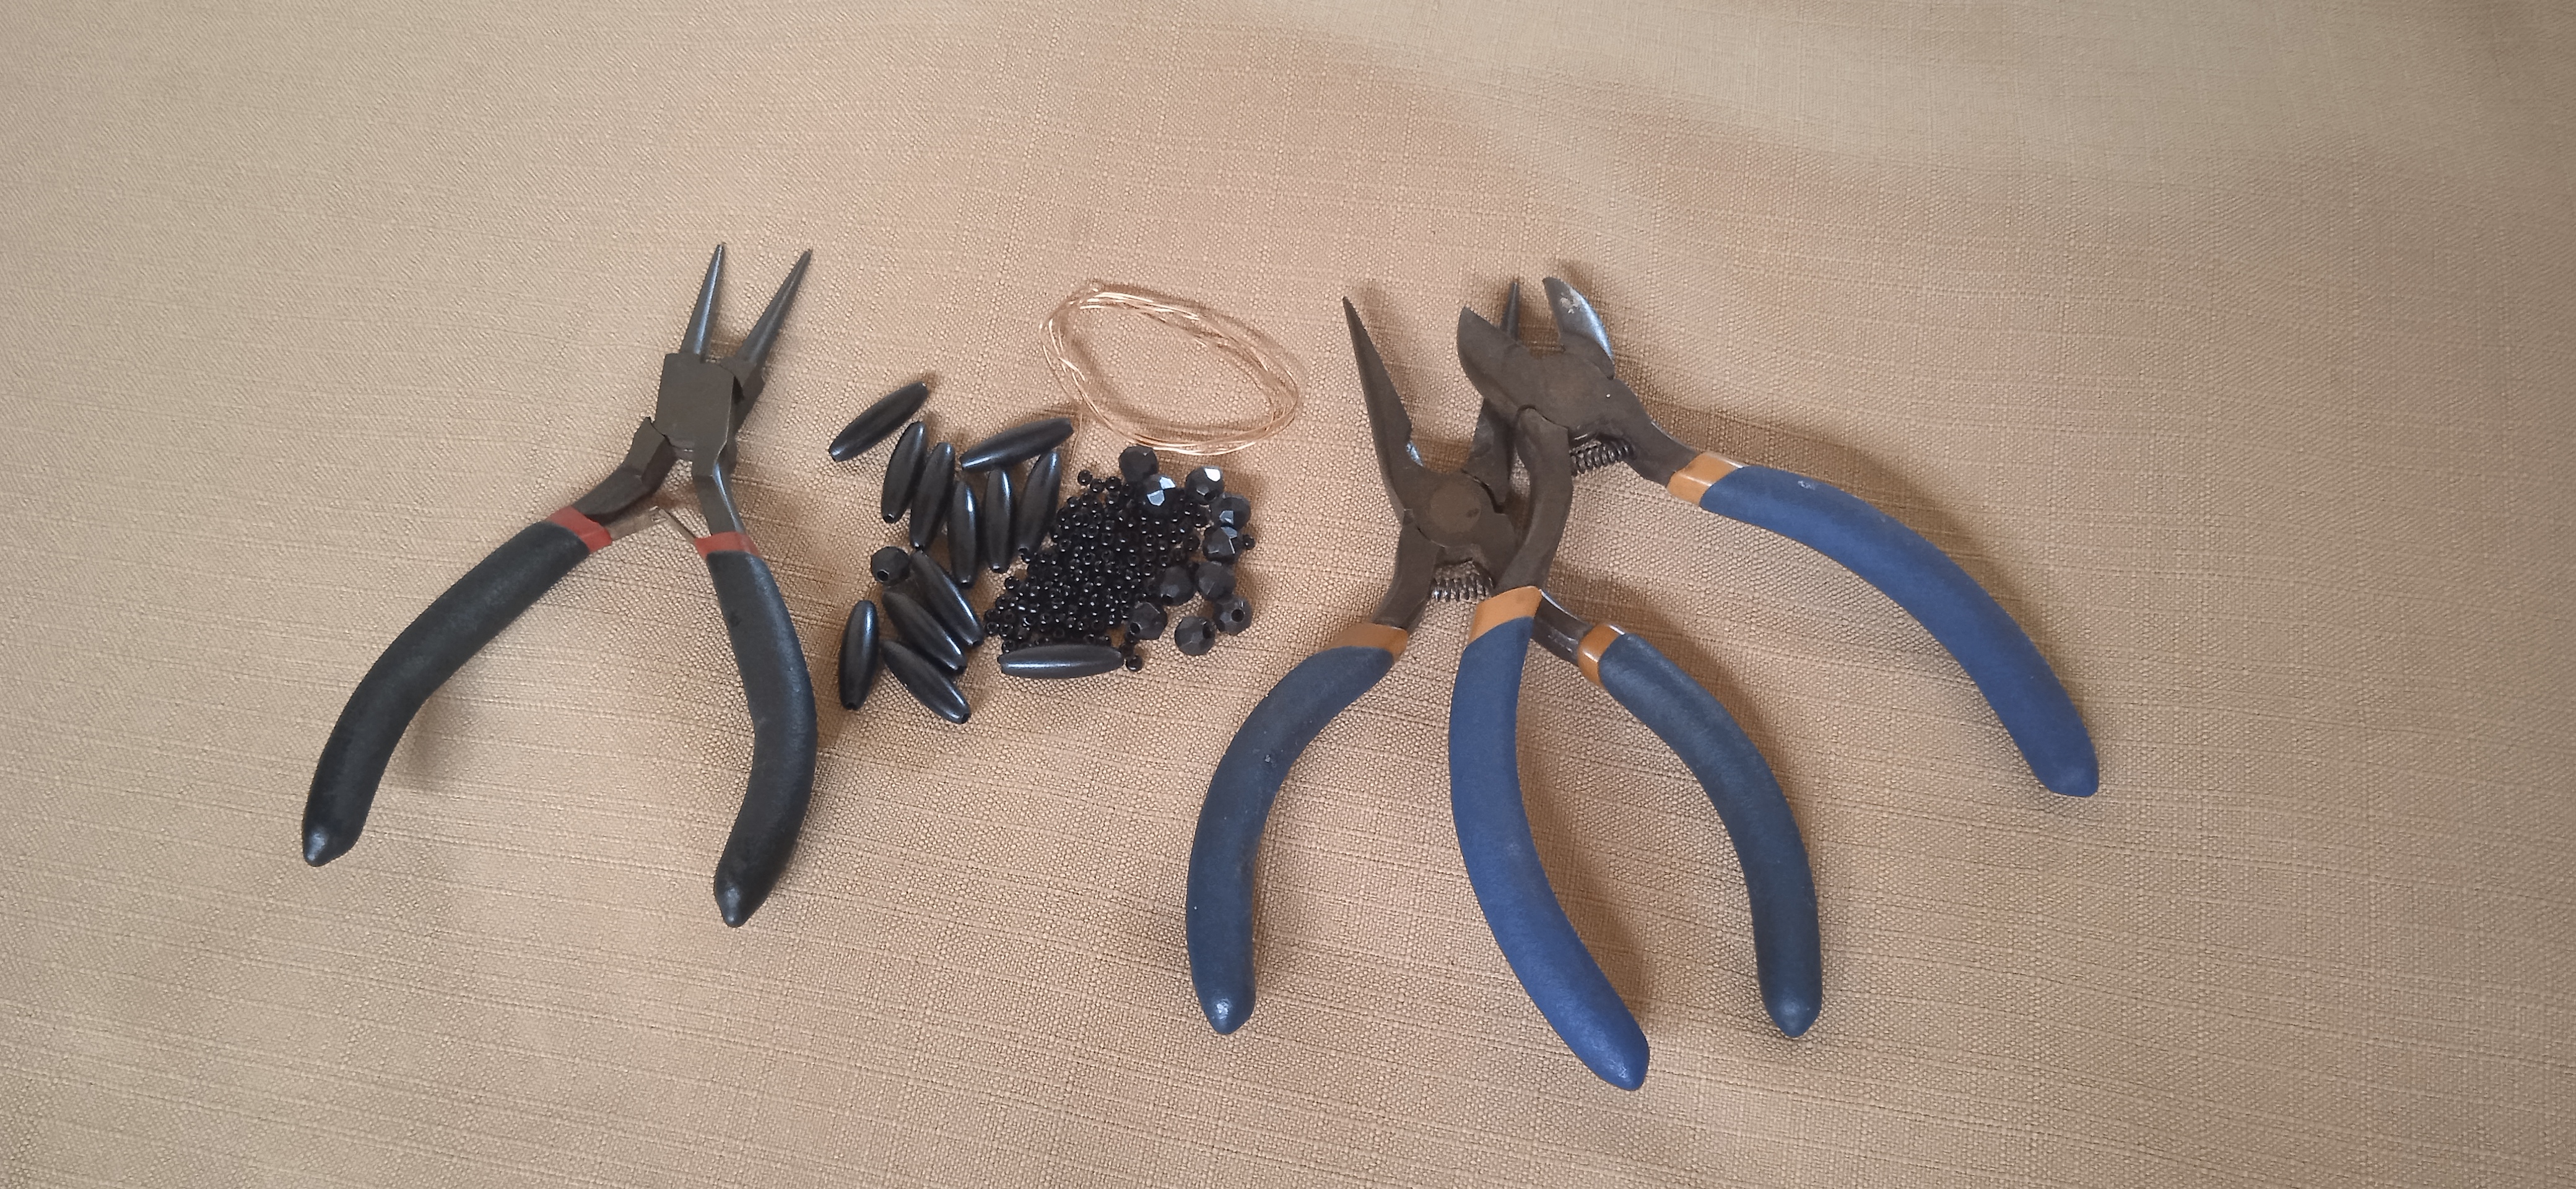
MATERIALES USADOS EN LA ELABORACIÓN DE ESTA ESPELUZNANTE GARGANTILLA:
✓ Alambre de cobre calibre 26 ".
✓ Mostacillas Negras.
✓ Piedras sintéticas negras tipo rombo.
✓ Piedras negras tafetadas,
✓ Cadena plateada.
✓ Dos mostacillones negros.
✓ Pinza punta redonda.
✓ Pinza de corte.
✓ Pinza plana.
MATERIALS USED IN THE PREPARATION OF THIS SPOOKY NECKLACE:
✓ 26" gauge copper wire.
✓ Black seed beads.
✓ Black synthetic diamond-shaped stones.
✓ Black taffeta stones,
✓ Silver chain.
✓ Two black seed beads.
✓ Round tip pliers.
✓ Cutting pliers.
✓ Flat pliers.
PASOS USADOS EN LA ELABORACIÓN DE ESTA ESPELUZNANTE MANUALIDAD:
PRIMER PASO:
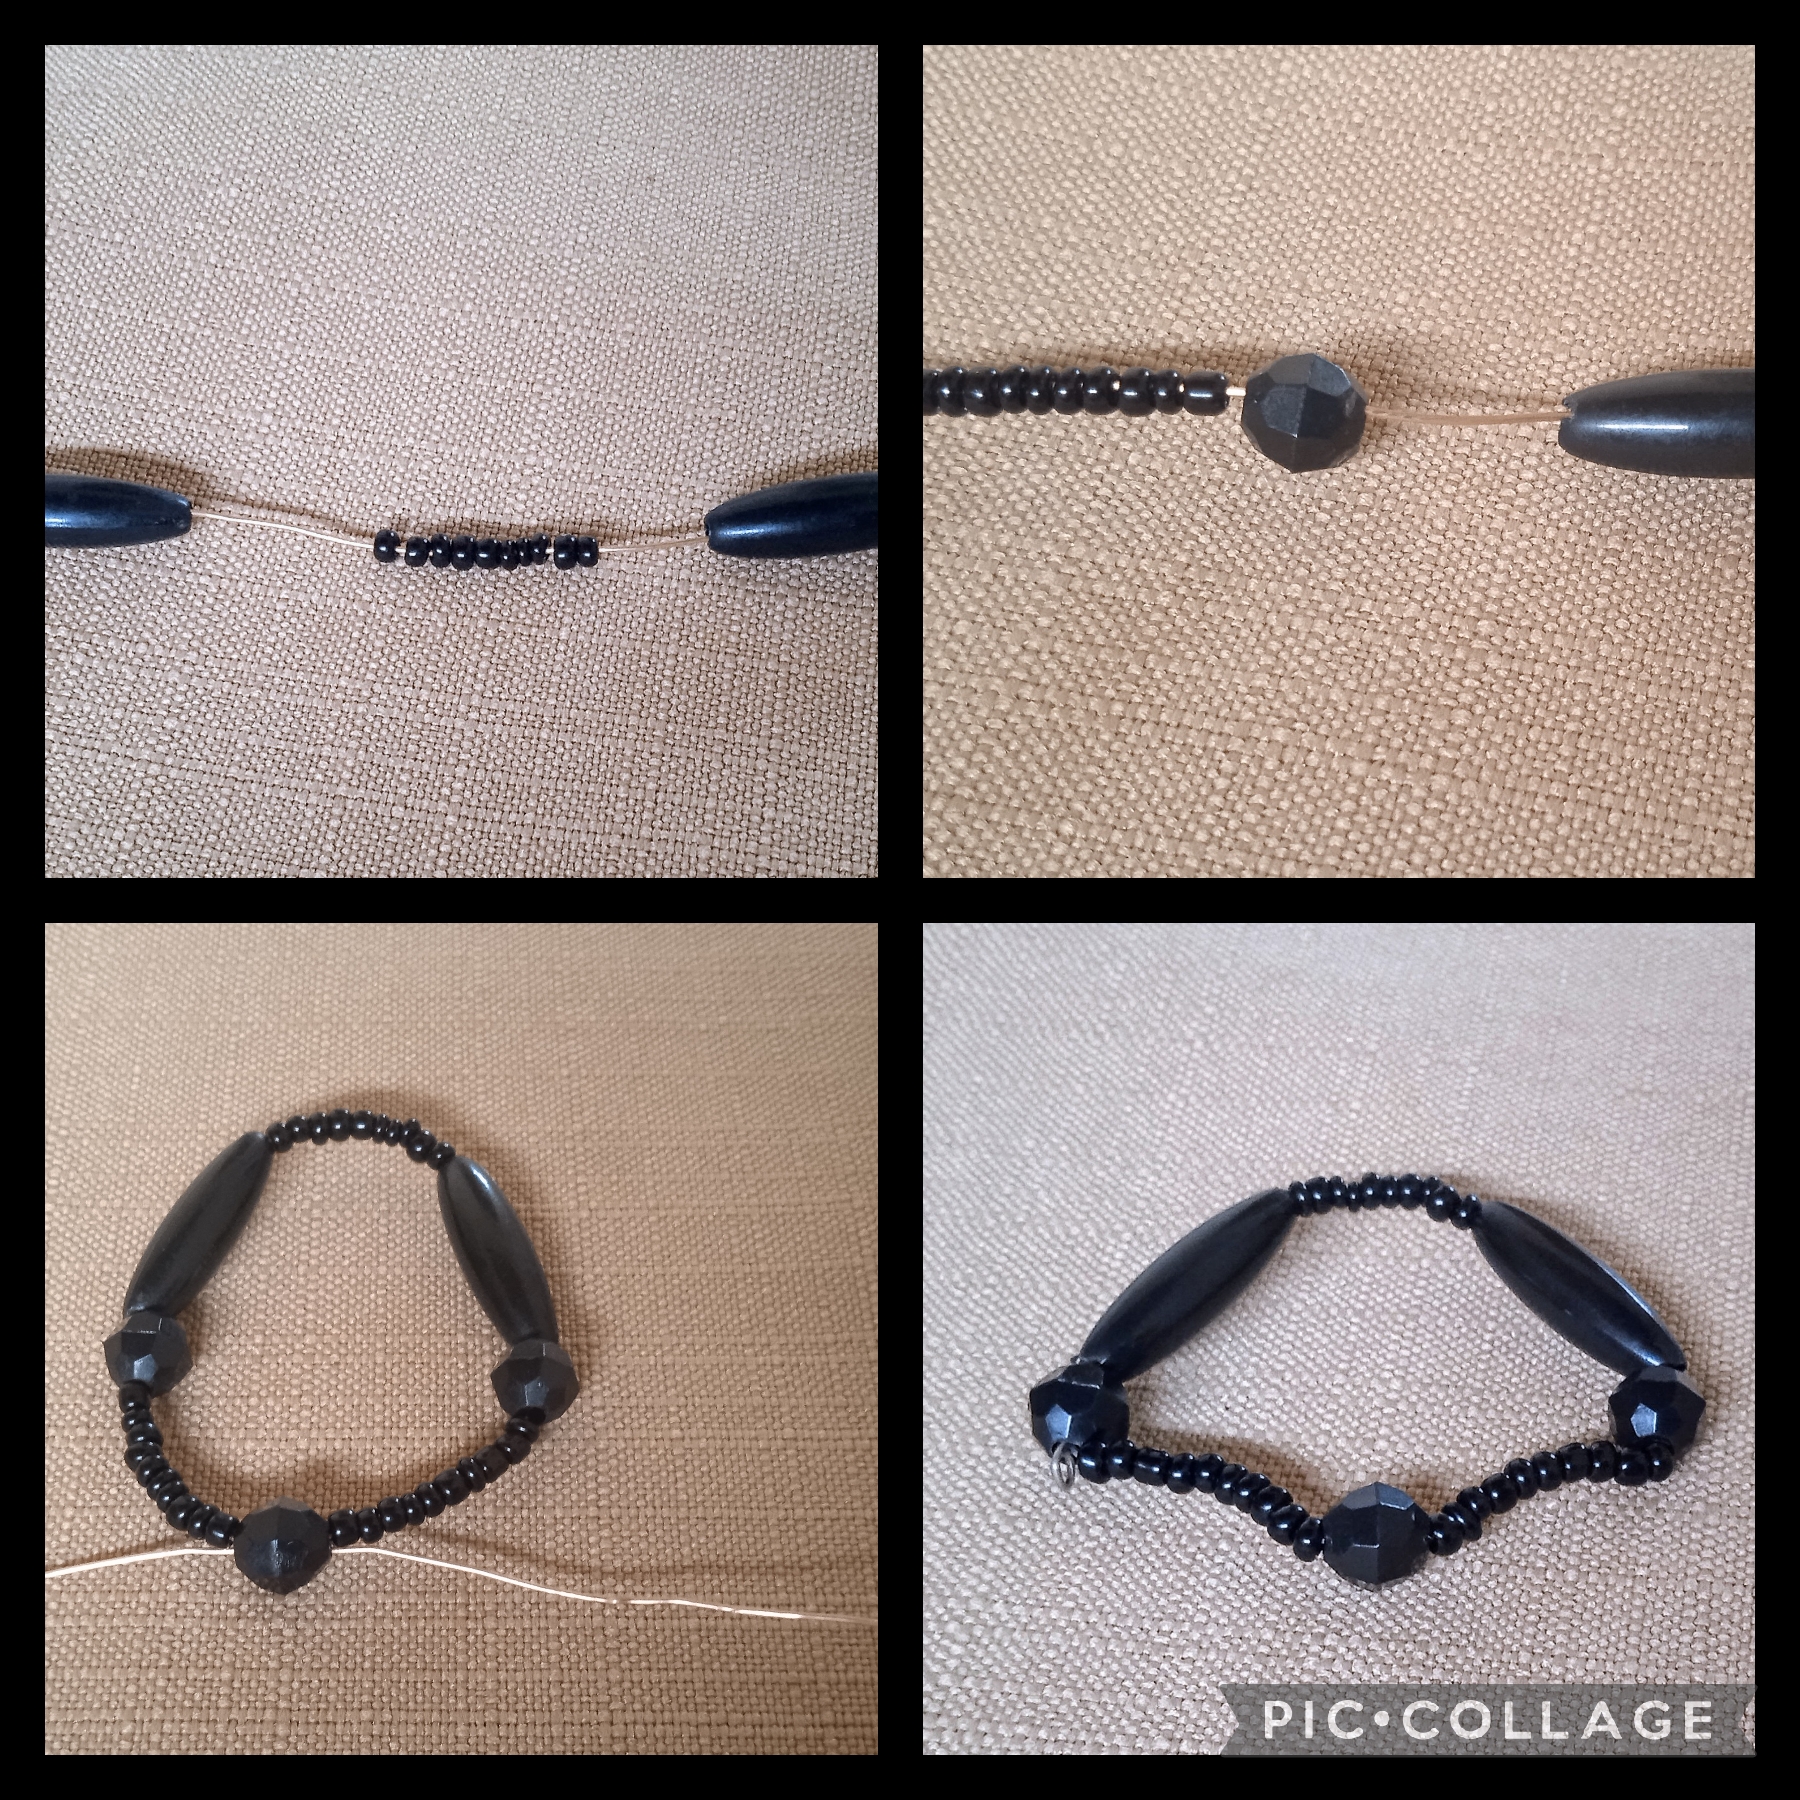
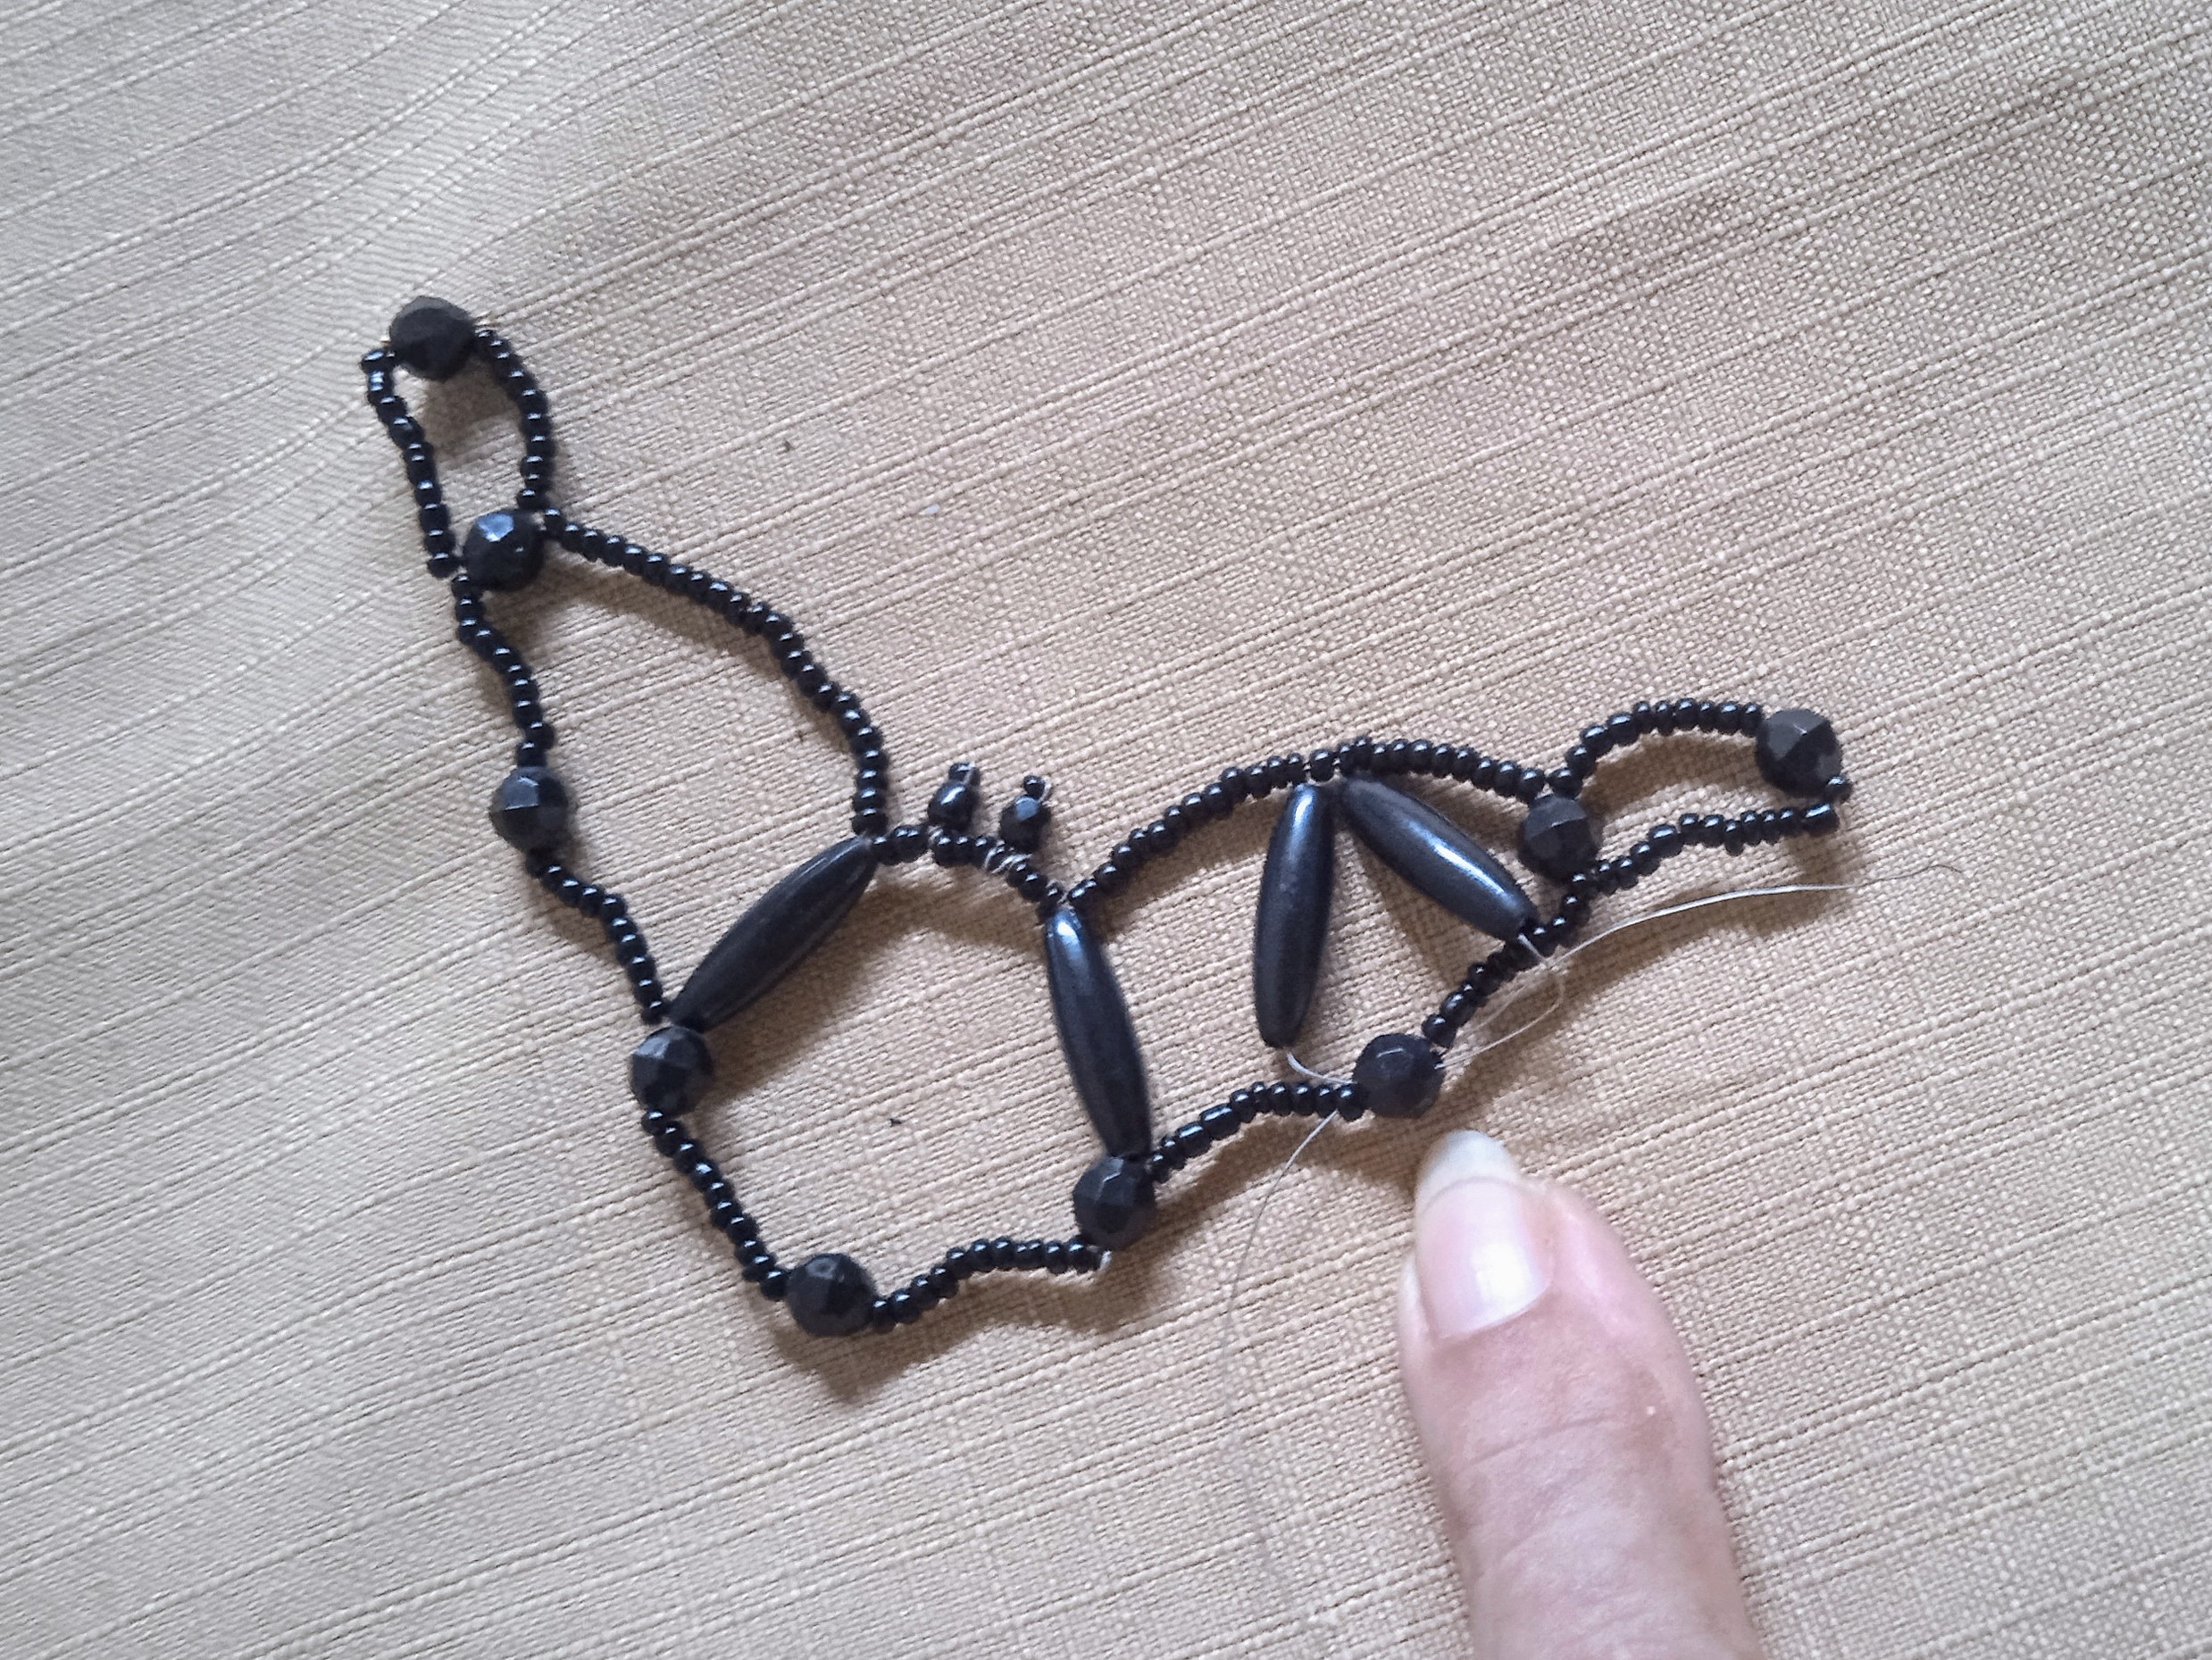
Voy a comenzar éste primer paso realizando el cuerpo del murciélago 🦇 ocupo ochenta centímetros del alambre de cobre calibre 26 pulgadas y en el inserto por un extremo diez mostacillas negras, una de las piedras negras tipo rombo, luego una piedra tafetada negra, sigo insertando diez mostacillas negras
; continúo y por el otro extremo hago lo mismo ó sea una piedra tipo rombo
, luego otra piedra tafetada negra y diez mostacillas, para luego insertar una piedra tafetada negra que voy a cruzar con el alambre de la otra punta, para quedar como se ve en la imagen.
STEPS USED IN THE PREPARATION OF THIS CREEPY CRAFT:
FIRST STEP:
I'm going to start this first step by making the body of the bat 🦇 I use eighty centimeters of 26-inch gauge copper wire and insert ten black beads at one end, one of the black diamond-shaped stones, then a black taffeta stone, I continue inserting ten black beads
; I continue and at the other end I do the same, that is, a diamond-shaped stone
, then another black taffeta stone and ten beads, then insert a black taffeta stone that I'm going to cross with the wire at the other end, to look like the picture shows.
PASO DOS:
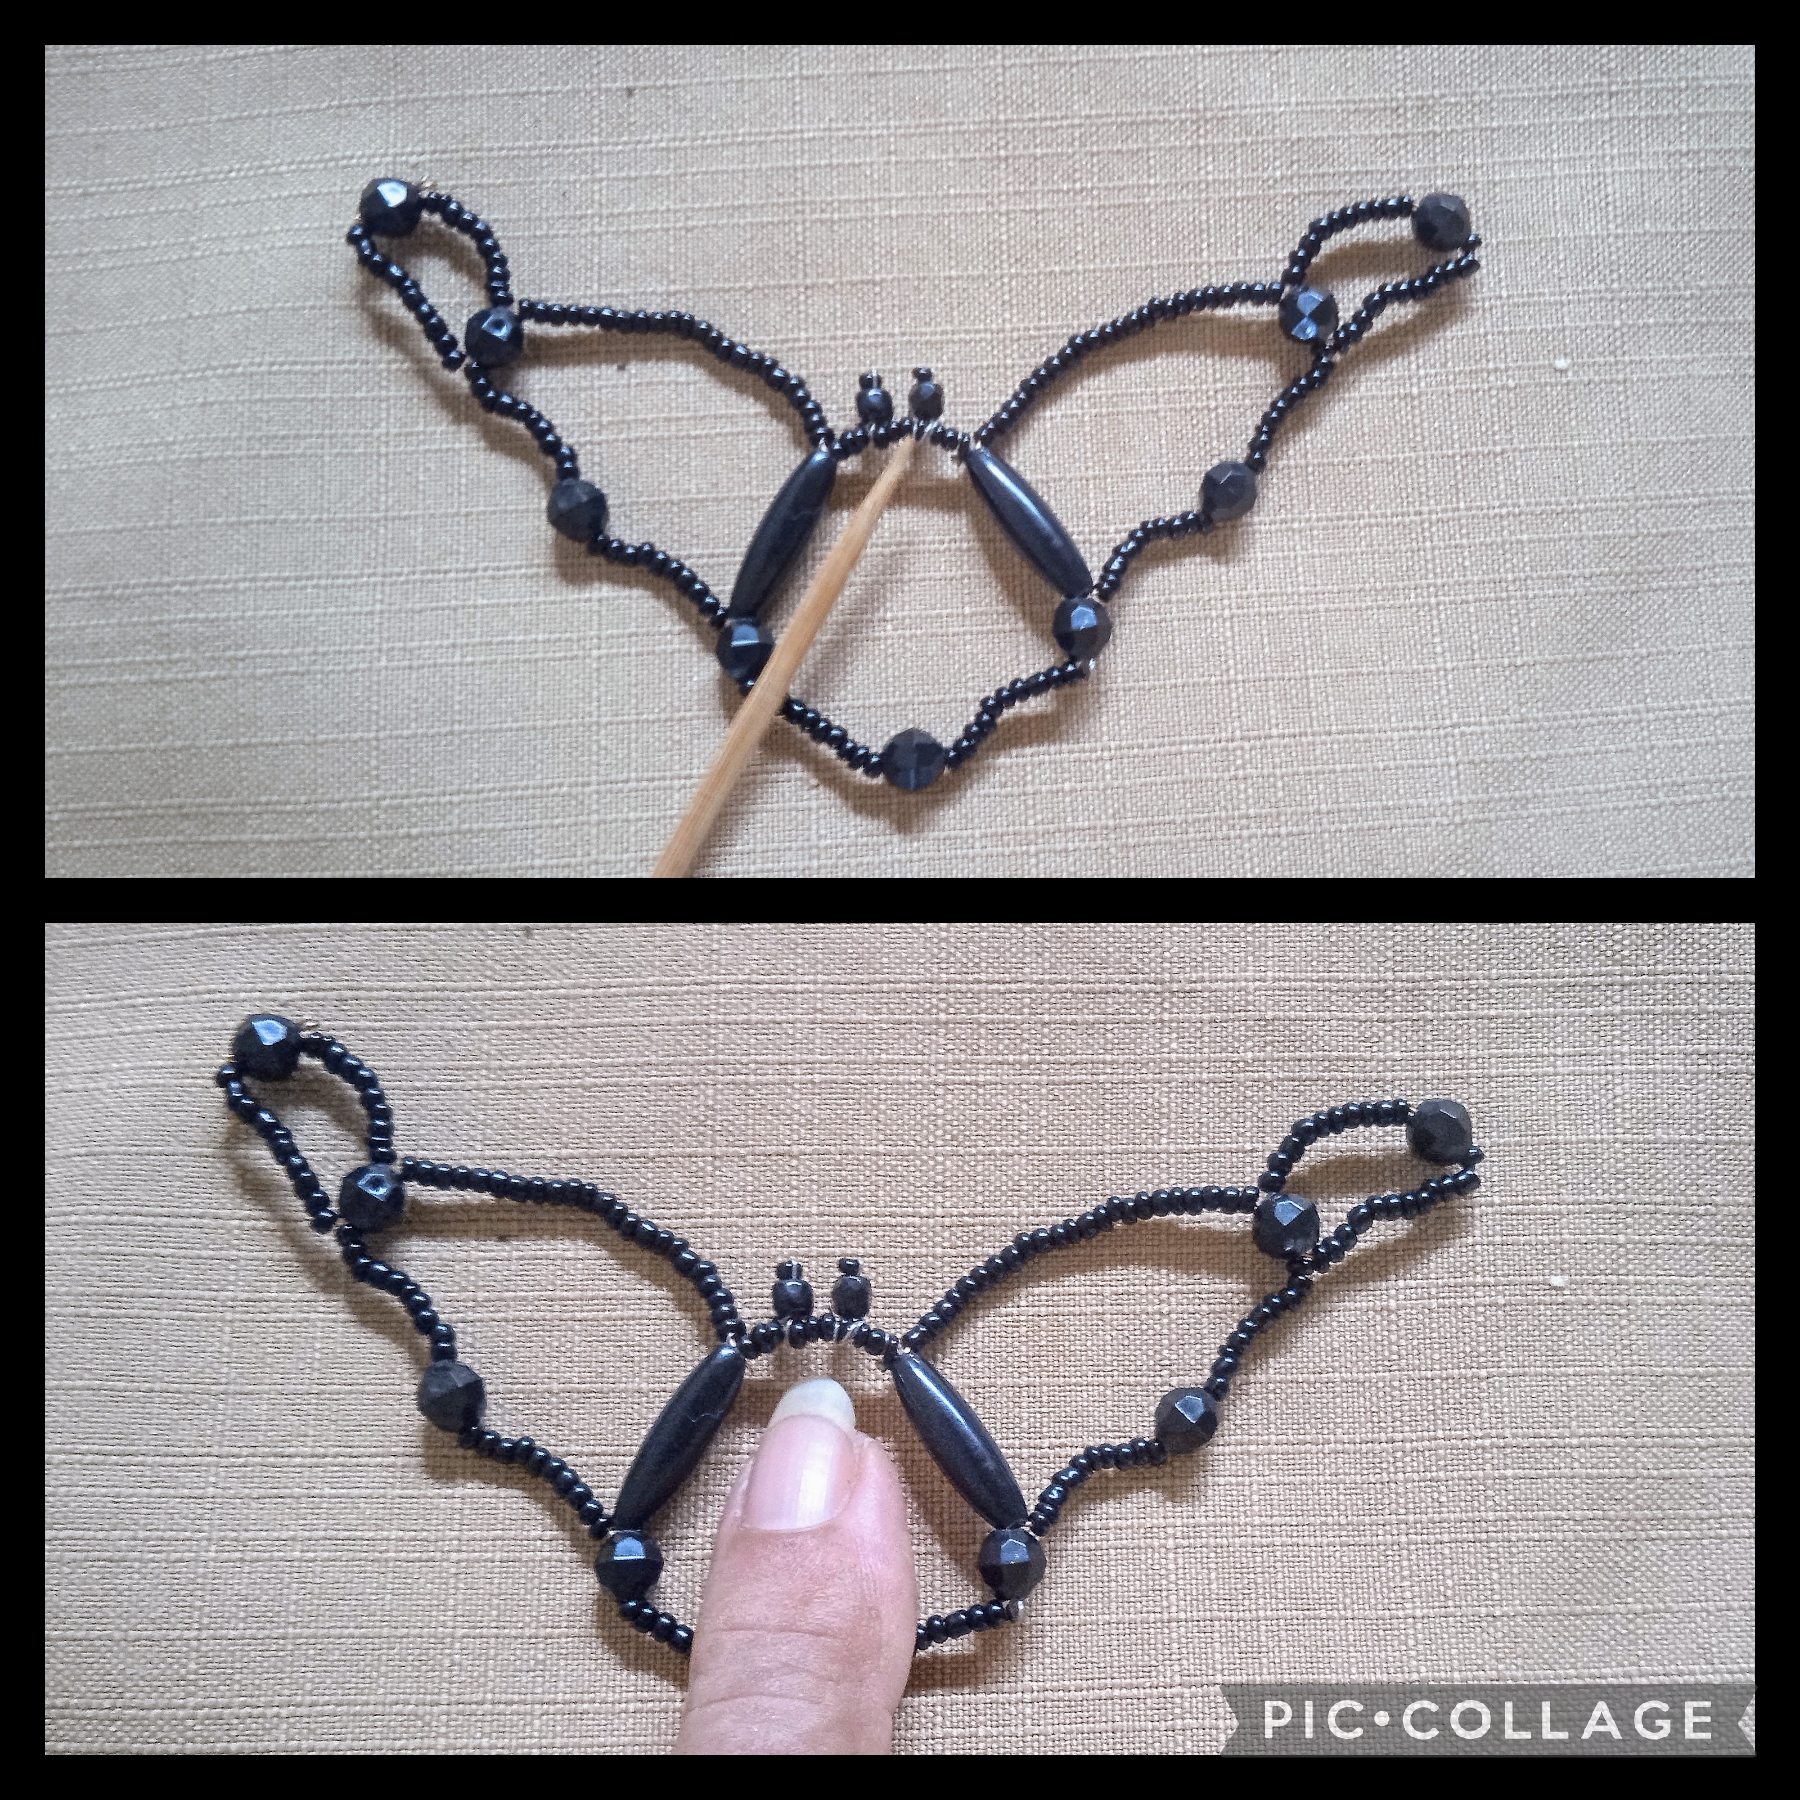
Ahora realizo el segundo paso y aquí elaboro los ojos del murciélago 🦇 en la parte de arriba donde están las diez mostacillas inserto un alambre por la primera mostacilla y lo saco por la número tres allí inserto un mostacillón negro y una mostacilla negra paso el alambre por el mostacillón y lo paso por las tres mostacillas siguientes saco el alambre inserto otro mostacillón negro y una mostacilla realizo el procedimiento anterior, saco el alambre por las mostacillas finales remato corto el excedente y así queda . Ahora paso el alambre por la piedra en forma de rombo de uno de los lados allí inserto veinte mostacillas negras y una piedra tafetada negra, luego diez mostacillas negras y otra piedra tafetada luego doce mostacillas negras, paso el alambre por la piedra tafetada del cuerpo allí pierdo el alambre remato y corto el excedente.
De esta manera he realizado una forma para la primera ala, para realizar la punta de la ala por la piedra tafetada negra del extremo inserto el alambre y pongo diez mostacillas negras y otra piedra tafetada negra, luego por el otro lado pongo doce mostacillas negras y cruzo el alambre por la piedra tafetada negra, halo las dos puntas del alambre y ajusto bien para perderlo por las mostacillas, con la pinza de corte quito los excedentes.
Este procedimiento lo hago del otro lado del cuerpo y con las manos voy moldeando como se ve en las fotos.
STEP TWO:
Now I do the second step and here I make the bat's eyes 🦇 at the top where the ten beads are, I insert a wire through the first bead and take it out through number three, there I insert a black bead and a black bead, I pass the wire through the bead and I pass it through the next three beads, I take out the wire, insert another black bead and a bead, I carry out the previous procedure, I take the wire out through the final beads, I finish, I cut the excess and this is how it remains. Now I pass the wire through the diamond-shaped stone on one side, there I insert twenty black beads and a black taffeta stone, then ten black beads and another taffeta stone, then twelve black beads, I pass the wire through the taffeta stone of the body, there I lose the wire, finish and cut off the excess.
In this way I have made a shape for the first wing, to make the tip of the wing through the black taffeta stone at the end I insert the wire and put ten black seed beads and another black taffeta stone, then on the other side I put twelve black seed beads and cross the wire through the black taffeta stone, I pull the two ends of the wire and adjust well to lose it through the beads, with the cutting pliers I remove the excess.
I do this procedure on the other side of the body and with my hands I shape it as seen in the photos.
PASO TRES:
Ahora voy a hacer las nerviaciones de las alas , paso un alambre de lado a lado por la piedra tafetada negra del centro de la ala, allí inserto una piedra tipo rombo en cada alambre que junto para colocar en las mostacillas negras de la parte superior, igual hago del otro lado el mismo procedimiento, cómo se ve voy dandole forma con las manos; ahora le coloco una cadena de bonitos eslabones plateados quedando asi
STEP THREE:
Now I'm going to make the ribbing of the wings, I pass a wire from side to side through the black taffeta stone in the center of the wing, there I insert a diamond-shaped stone in each wire that I put together to place on the black beads at the top, I do the same procedure on the other side, as you can see I'm shaping it with my hands; now I put a chain of pretty silver links on it, leaving it like this.
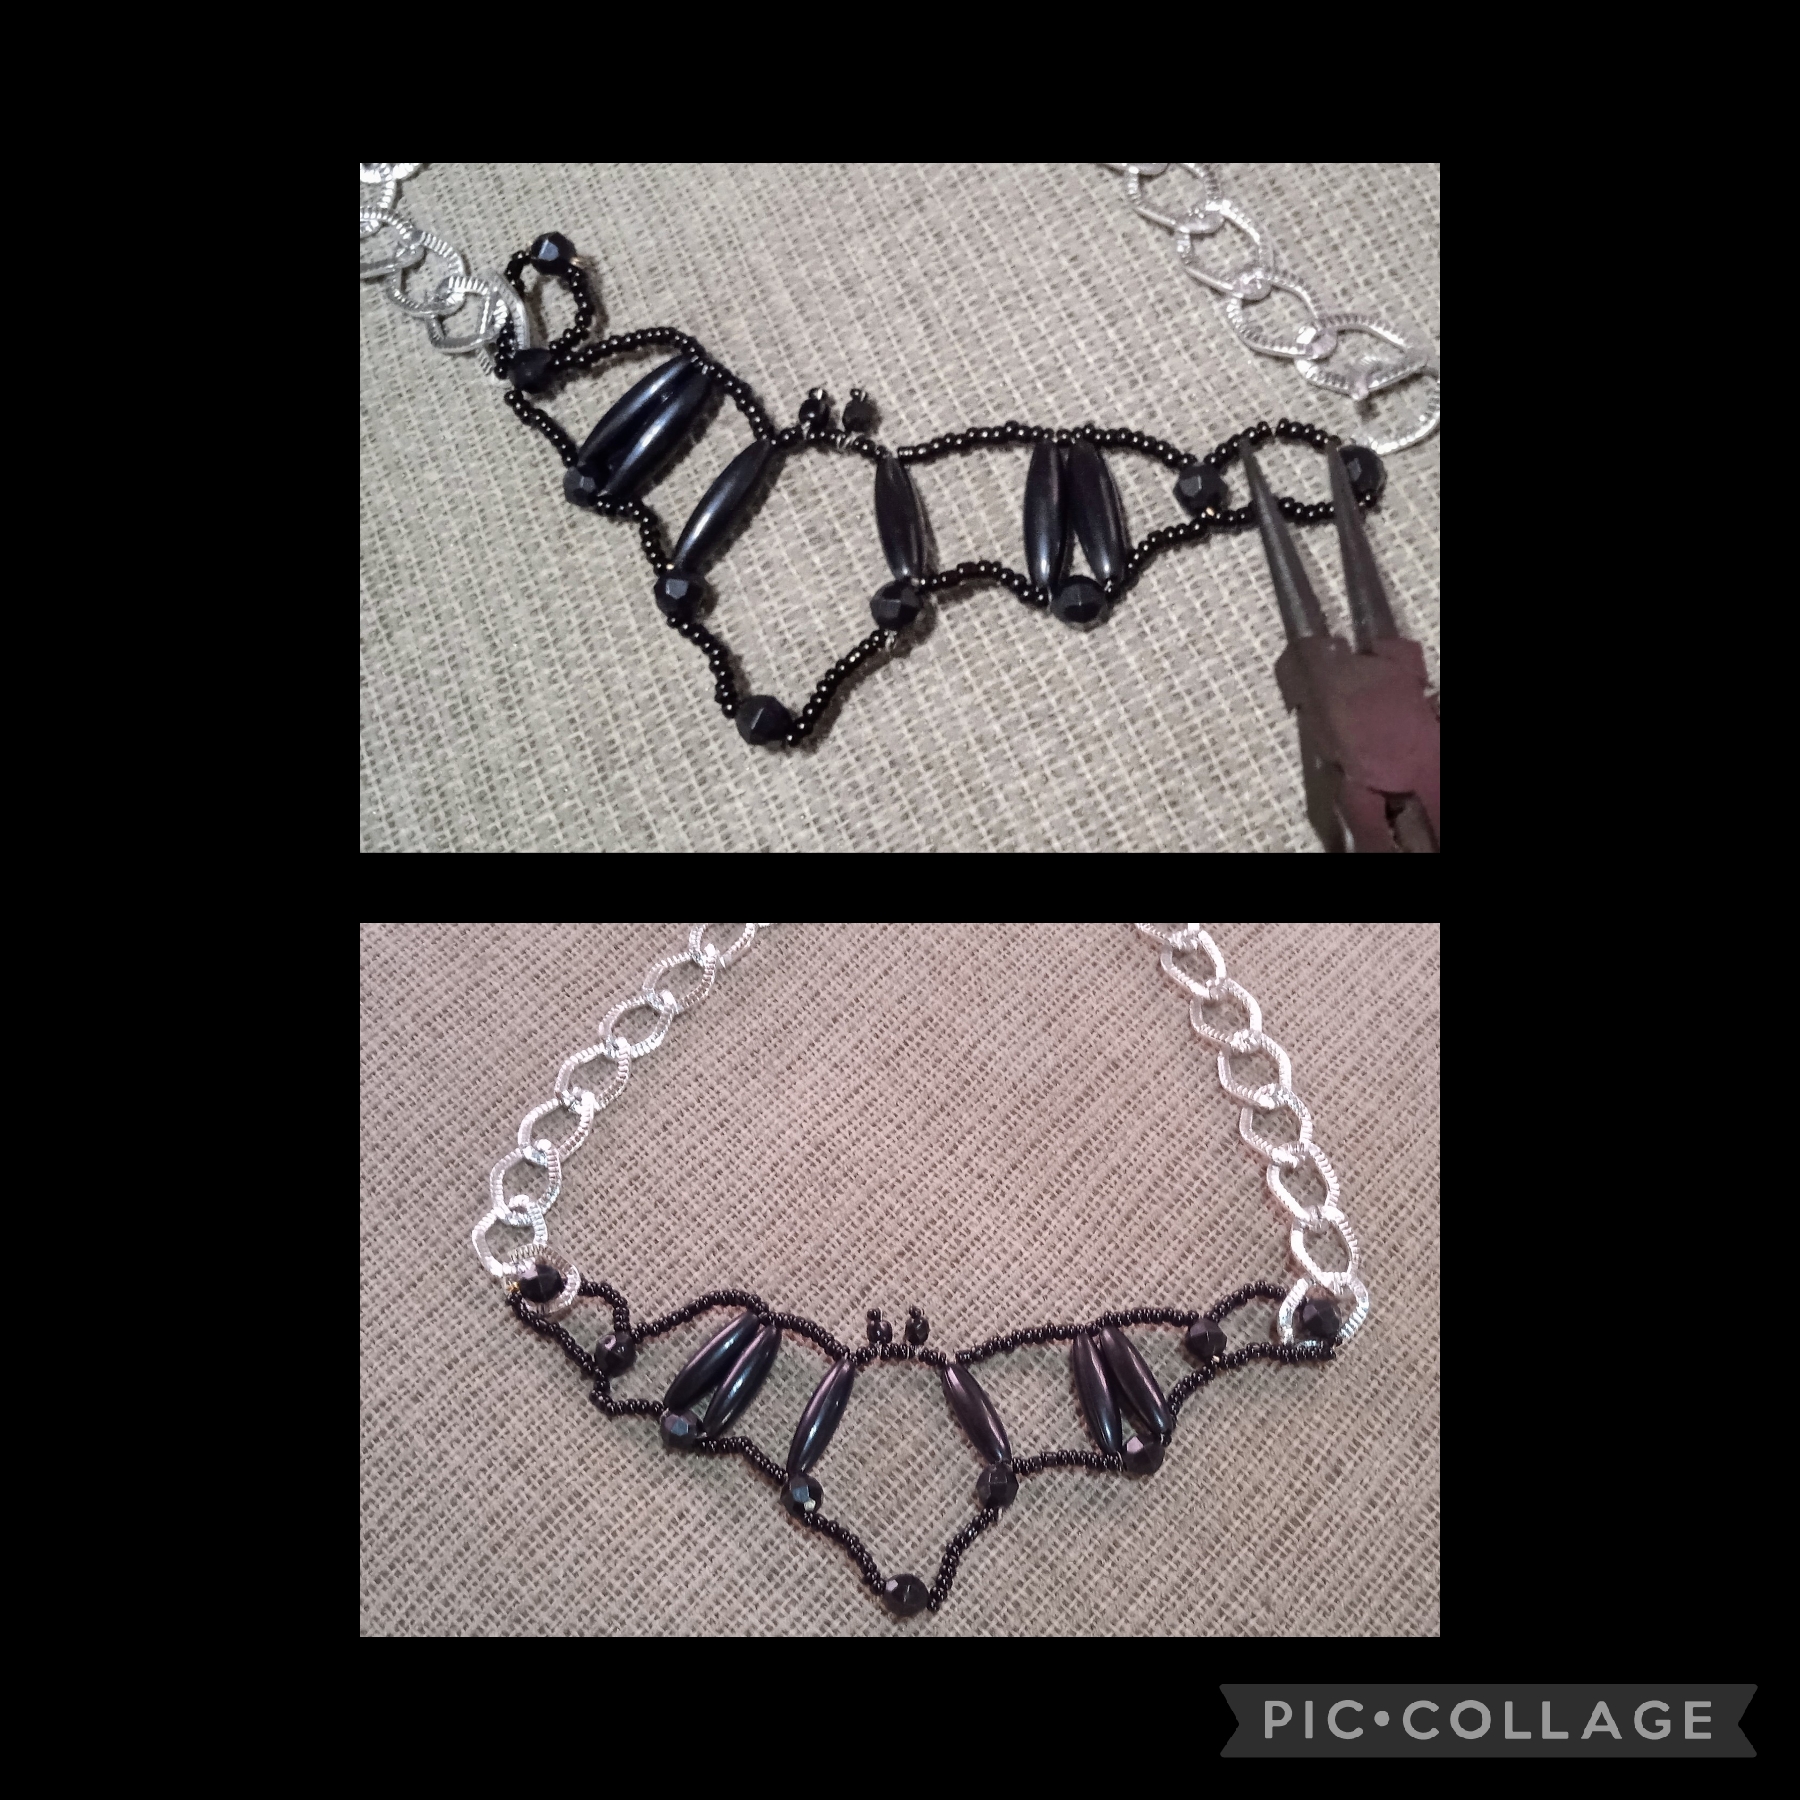
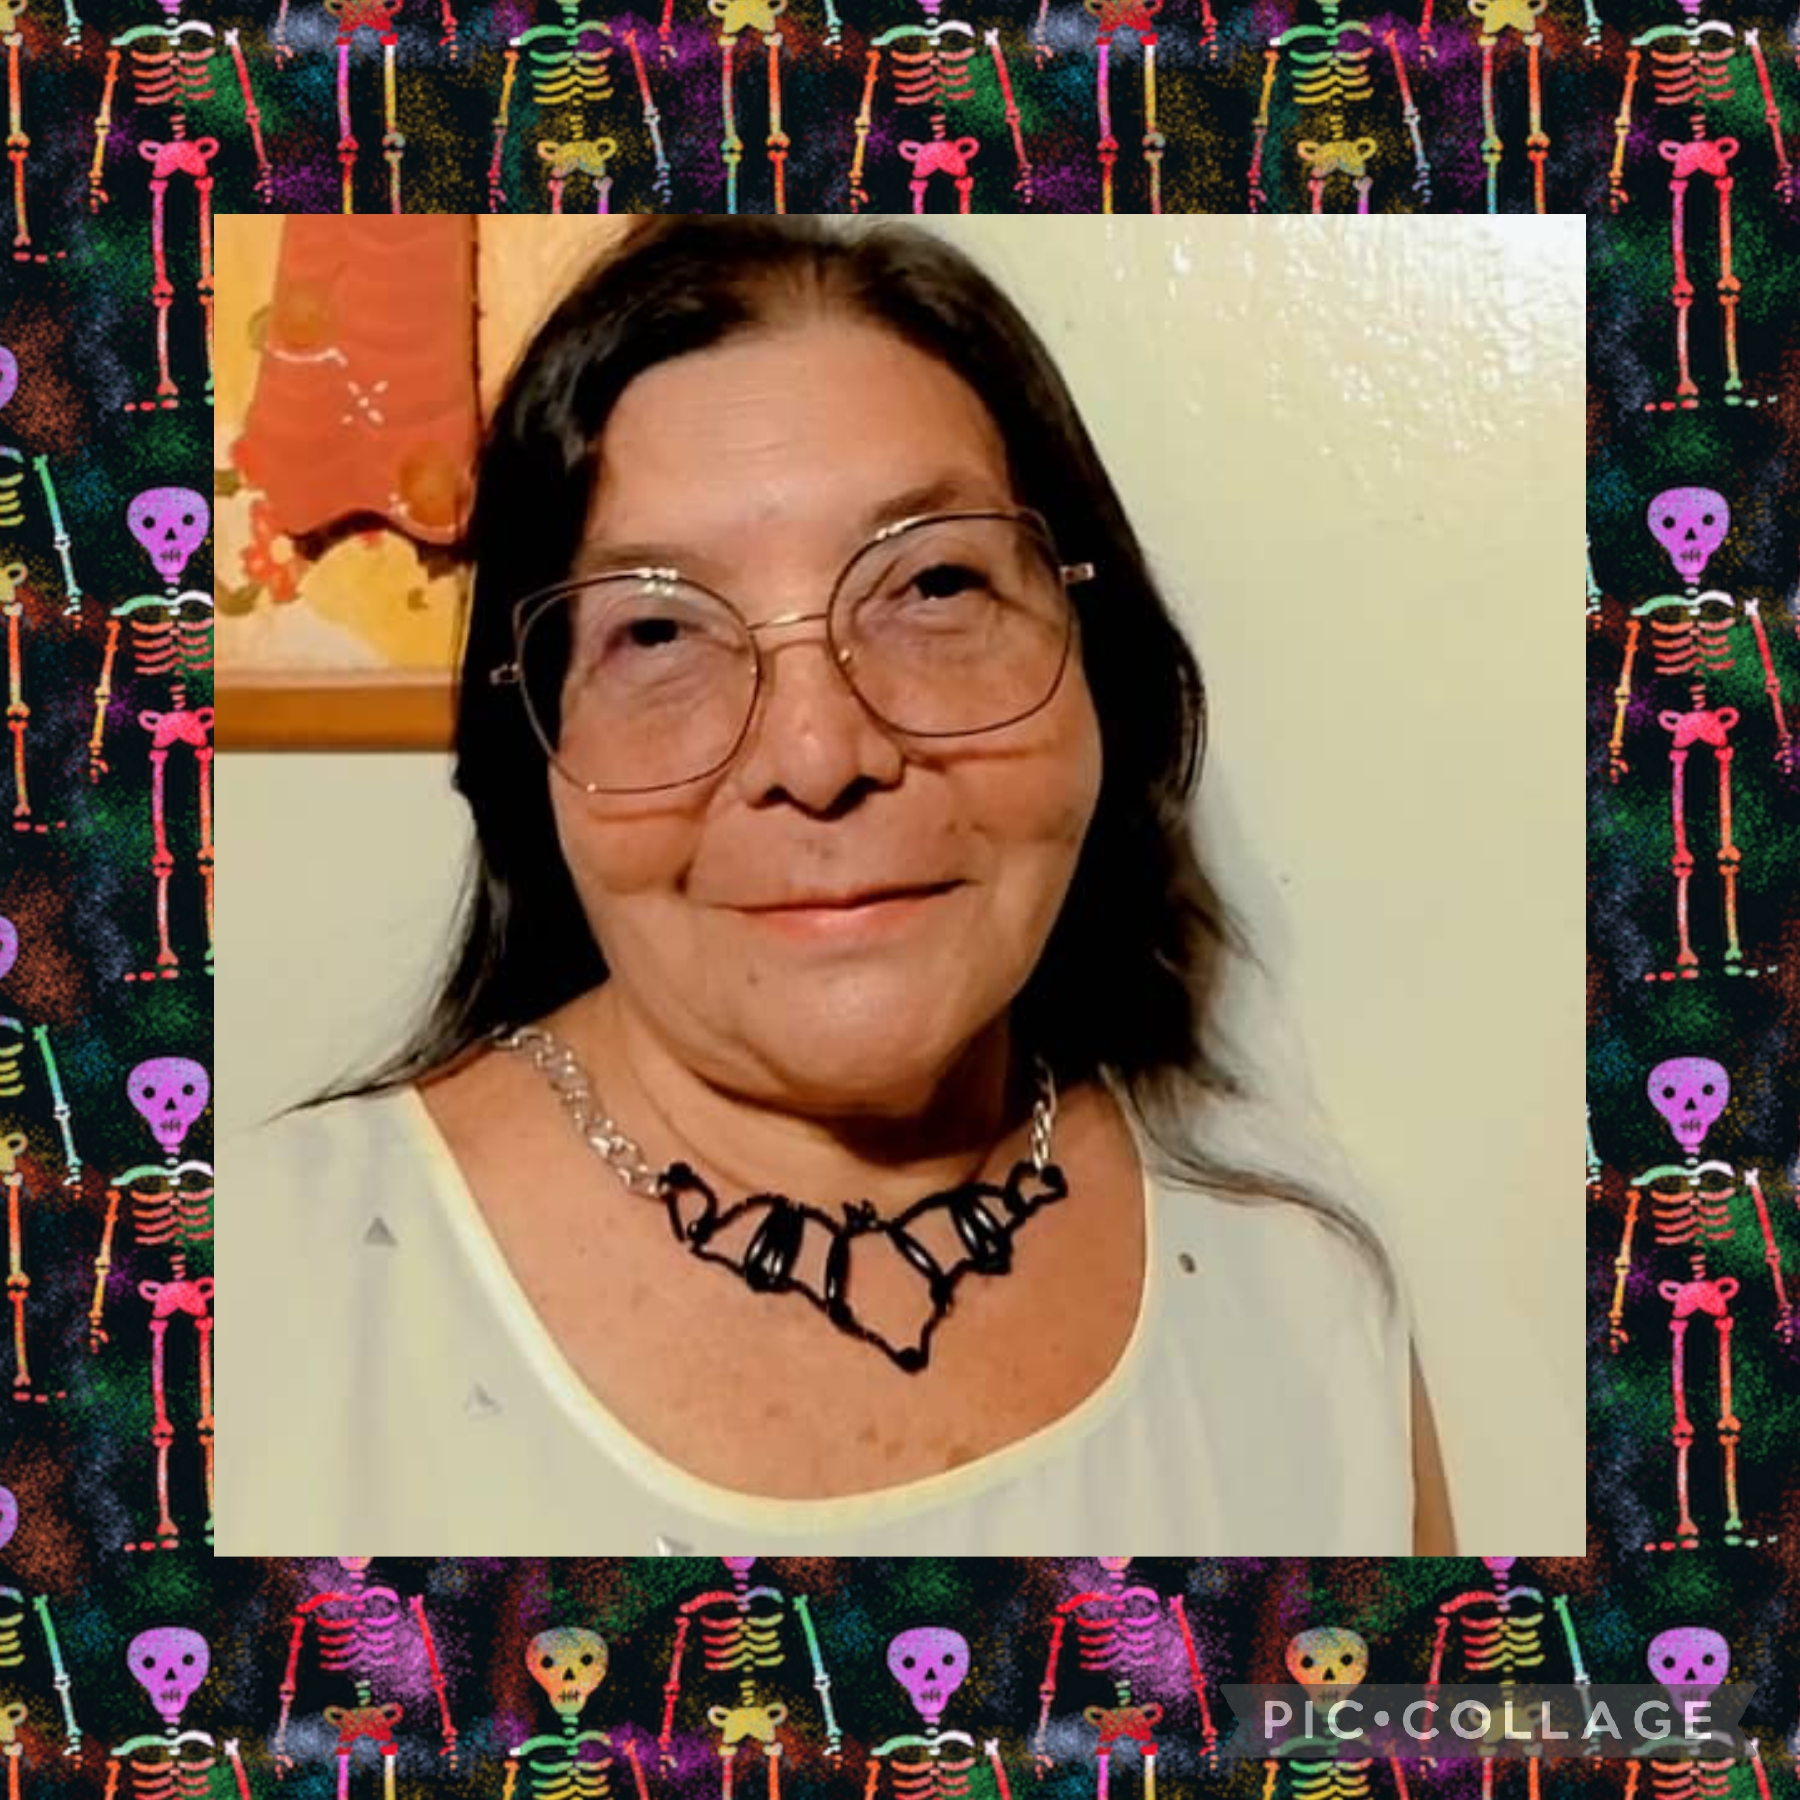
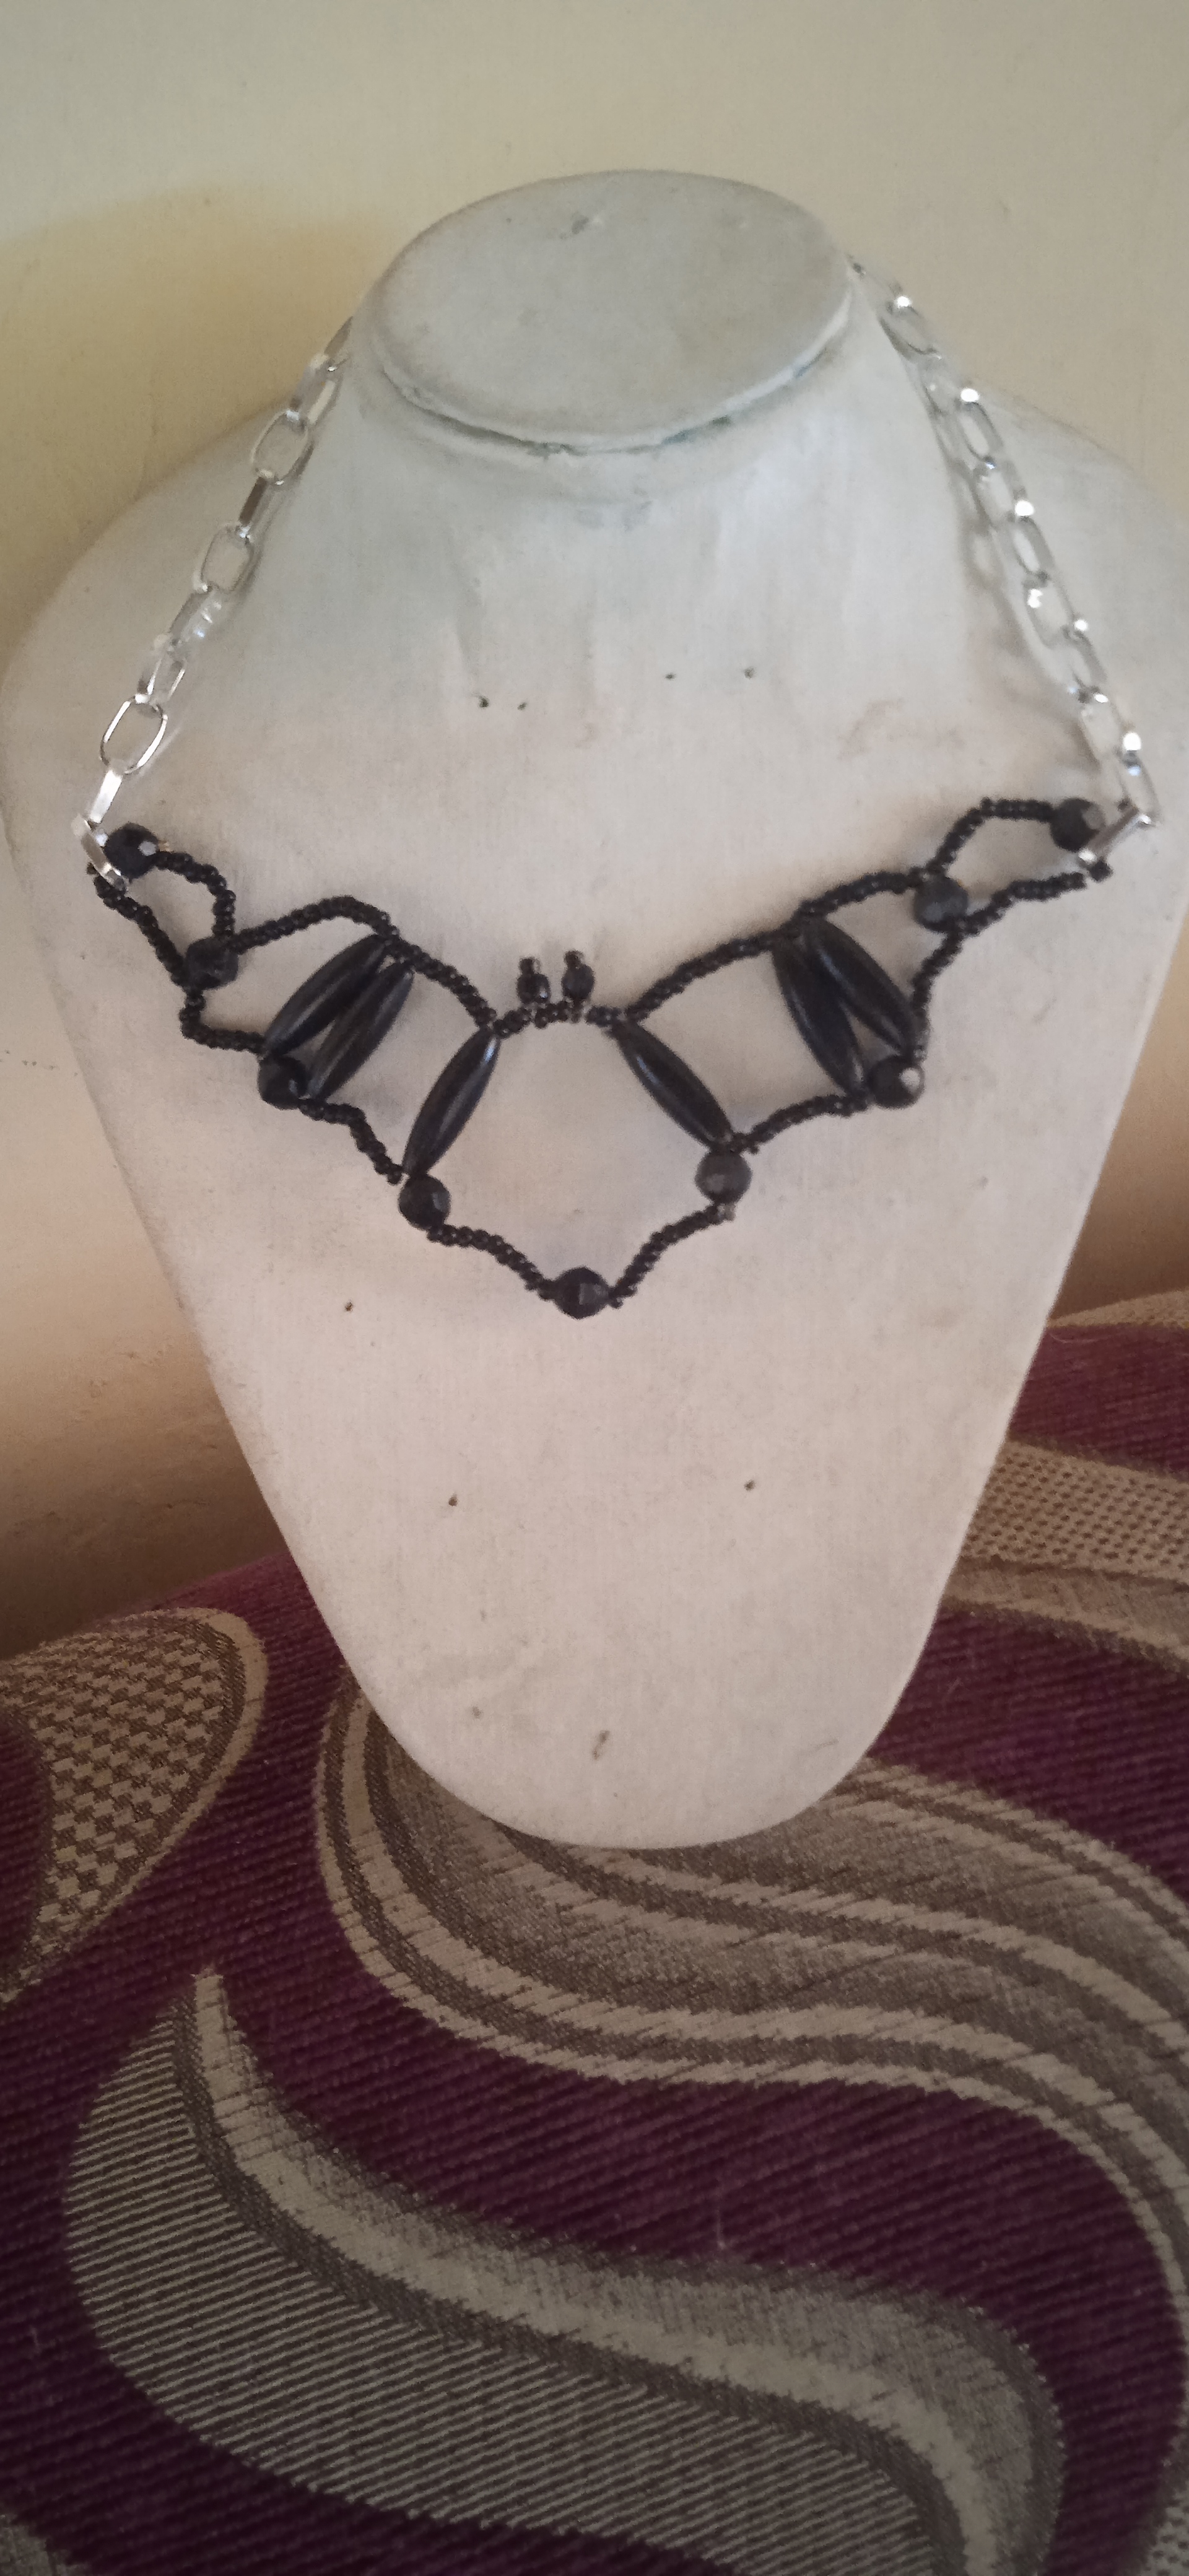
Artistas Creativos de las tinieblas y la brujería, éste es el resultado final de mi joya embrujada que elaboré con mucho placer para mí sobrina, espero que les guste la idea y hagan también sus accesorios y se vayan a lucirlos en Salem, disfrutando el máximo de esas festividades, antes quisiera invitar a las brujitas @lorennys, @andreamtovar, @karen.art, para que se arriesguen a elaborar esos accesorios tan espectaculares con su toque divertido.
Como siempre agradecida con todos por sus comentarios y apoyo, que disfruten su noche de brujas y nos vemos en Salem bye, bye
Creative Artists of darkness and witchcraft, this is the final result of my haunted jewel that I made with great pleasure for my niece, I hope you like the idea and make your accessories too and go to show them off in Salem, enjoying the festivities to the fullest, first I would like to invite the witches @lorennys, @andreamtovar, @karen.art, to take the risk of making such spectacular accessories with their fun touch. As always, I am grateful to everyone for their comments and support, enjoy your Halloween and see you in Salem bye, bye
Las imágenes y redacción de éste tutorial son de mi propiedad, las fotos fueron tomadas con mi teléfono celular redmi 9 y las edite con una aplicación gratis del mismo.
Para traducir texto use Google traductor.
The images and writing of this tutorial are my property, the photos were taken with my redmi 9 cell phone and I edited them with a free application of the same.
To translate text use Google translator.

Has sido votado por
PROYECTO ENLACE
'Conectando Ideas y Comunidades'
PROYECTO ENLACE es un proyecto de curación de habla hispana enfocado en recompensar contenido de calidad y apoyar autores en su proceso de crecimiento en HIVE.
Creemos y apostamos por el futuro de esta gran plataforma, y estamos muy emocionados de poder hacerla crecer junto a esta comunidad. Así que te invitamos a publicar en nuestra COMUNIDAD y estar atento a todas las actividades que tenemos preparadas y que estaremos publicando en breve.
¿QUIERES AUTOMATIZAR TUS GANANCIAS DE CURACIÓN? SE PARTE DEL PROYECTO ENLACE APOYANDO A NUESTRO TRAIL EN HIVE.VOTE INGRESA AQUÍ PARA CONOCER LOS DETALLES.
¿QUIERES INVERTIR ENLACE? DESCUBRE COMO HACERLO Y GENERAR INGRESOS DE FORMA SEMANAL MEDIANTE TU DELEGACIÓN DE HP AQUÍ TE EXPLICAMOS COMO.
Te invitamos a participar en nuestro servidor de Discord: https://discord.gg/3S9y7BbWfS
Atentamente
EQUIPO ENLACE 2024
Me encantó el murciélago, yo lo usaría todo el año jeje. Saludos 😊
Bueno @irenenavarroart. Muchísimas gracias por tu comentario pero esos bichitos por su parecido con Drácula intimidan, y Yo no me arriesgo a tenerlos en la garganta 🤣🤣🤣 saluditos y feliz fin de semana 💐
It looks pretty cool. It shows your creativity and talent. Thank you for sharing this. Nice work! Keep it up!
Como siempre agradecida por tan lindo comentario, me halaga.
Me gustó mucho tu introducción al concurso, muy carismática ✨🦇 y el paso a paso muy bueno👌🏼
El resultado final 😱 ¡naguara! Me gustó mucho, felicitaciones 🦇
Jajajaja, que halagador tu comentario y muy agradecida por tus felicitaciones @verdeayer hay que aprovechar la fecha así lo de bruja no se nota mucho 😂😂😂 saluditos.