Saluditos mis Artistas Creativos de las Manualidades y la Joyería mis mejores deseos Navideños para ustedes, eso quiere decir que estén llenos de alegría, y con mucho entusiasmo preparando todo para ese gran día la Natividad de nuestro niño Chuchú ; y les cuento que Yo si estoy atareadisima porque entre las decoraciones navideñas, arreglando los nacimientos, ensayando los aguinaldos preparando las bebidas ( ese ron con ponsigue y el ponche crema nos quedó de atraco) y que les digo de los dulces, creo que en enero todos estaremos rodando, pero bien vale la pena , todo sea por la alegría de esos ratos y el compartir con los vecinos, amigos y familiares esos momentos.
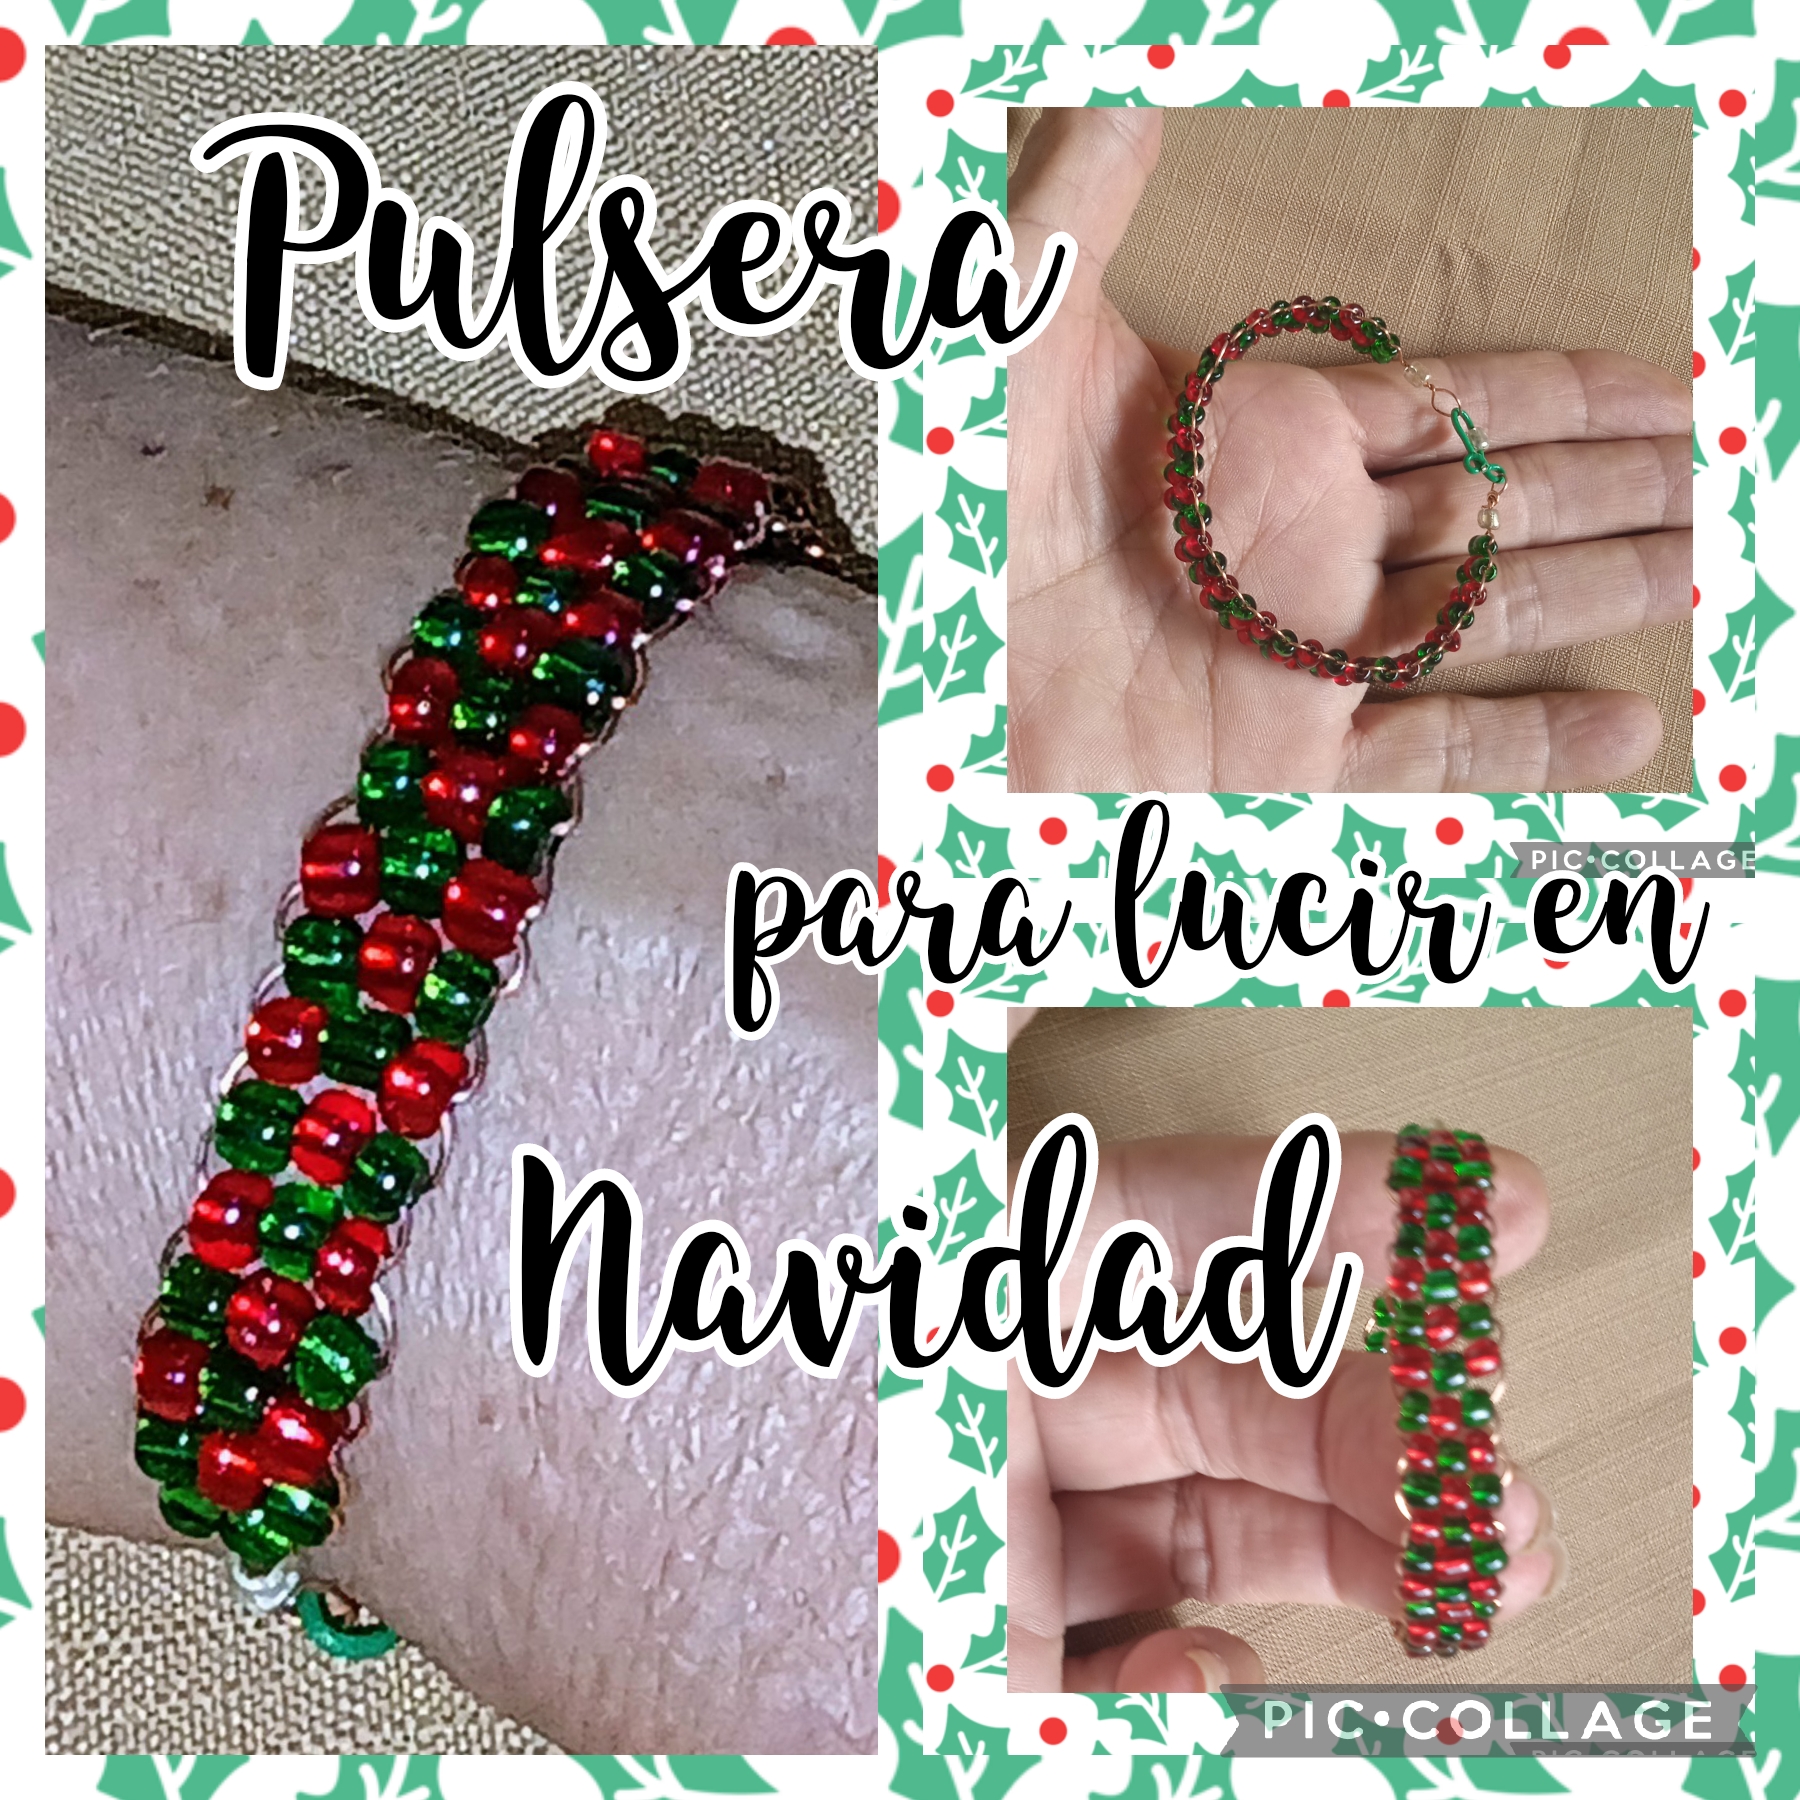
Bueno hoy les voy a comentar como realicé una hermosa Pulsera de florecitas con los colores verde y rojo al estilo navideño, para una de mis sobrinas que estará de cumpleaños el próximo día sábado 7, estará hecha de mostacillas y en la técnica del alambrismo. Sigan leyendo este paso y vean como la hice.
Greetings my Creative Artists of Crafts and Jewelry my best Christmas wishes for you, that means that you are full of joy, and with much enthusiasm preparing everything for that great day, the Nativity of our child Chuchú; and I tell you that I am very busy because between the Christmas decorations, arranging the nativity scenes, rehearsing the Christmas carols, preparing the drinks (that rum with ponsigue and the cream punch was a hoot) and what I tell you about the sweets, I think that in January we will all be rolling, but it is well worth it, all for the joy of those moments and sharing those moments with neighbors, friends and family.
Well today I am going to tell you how I made a beautiful flower bracelet with green and red colors in a Christmas style, for one of my nieces who will have a birthday next Saturday the 7th, it will be made of beads and using the wire art technique. Keep reading this step and see how I made it.
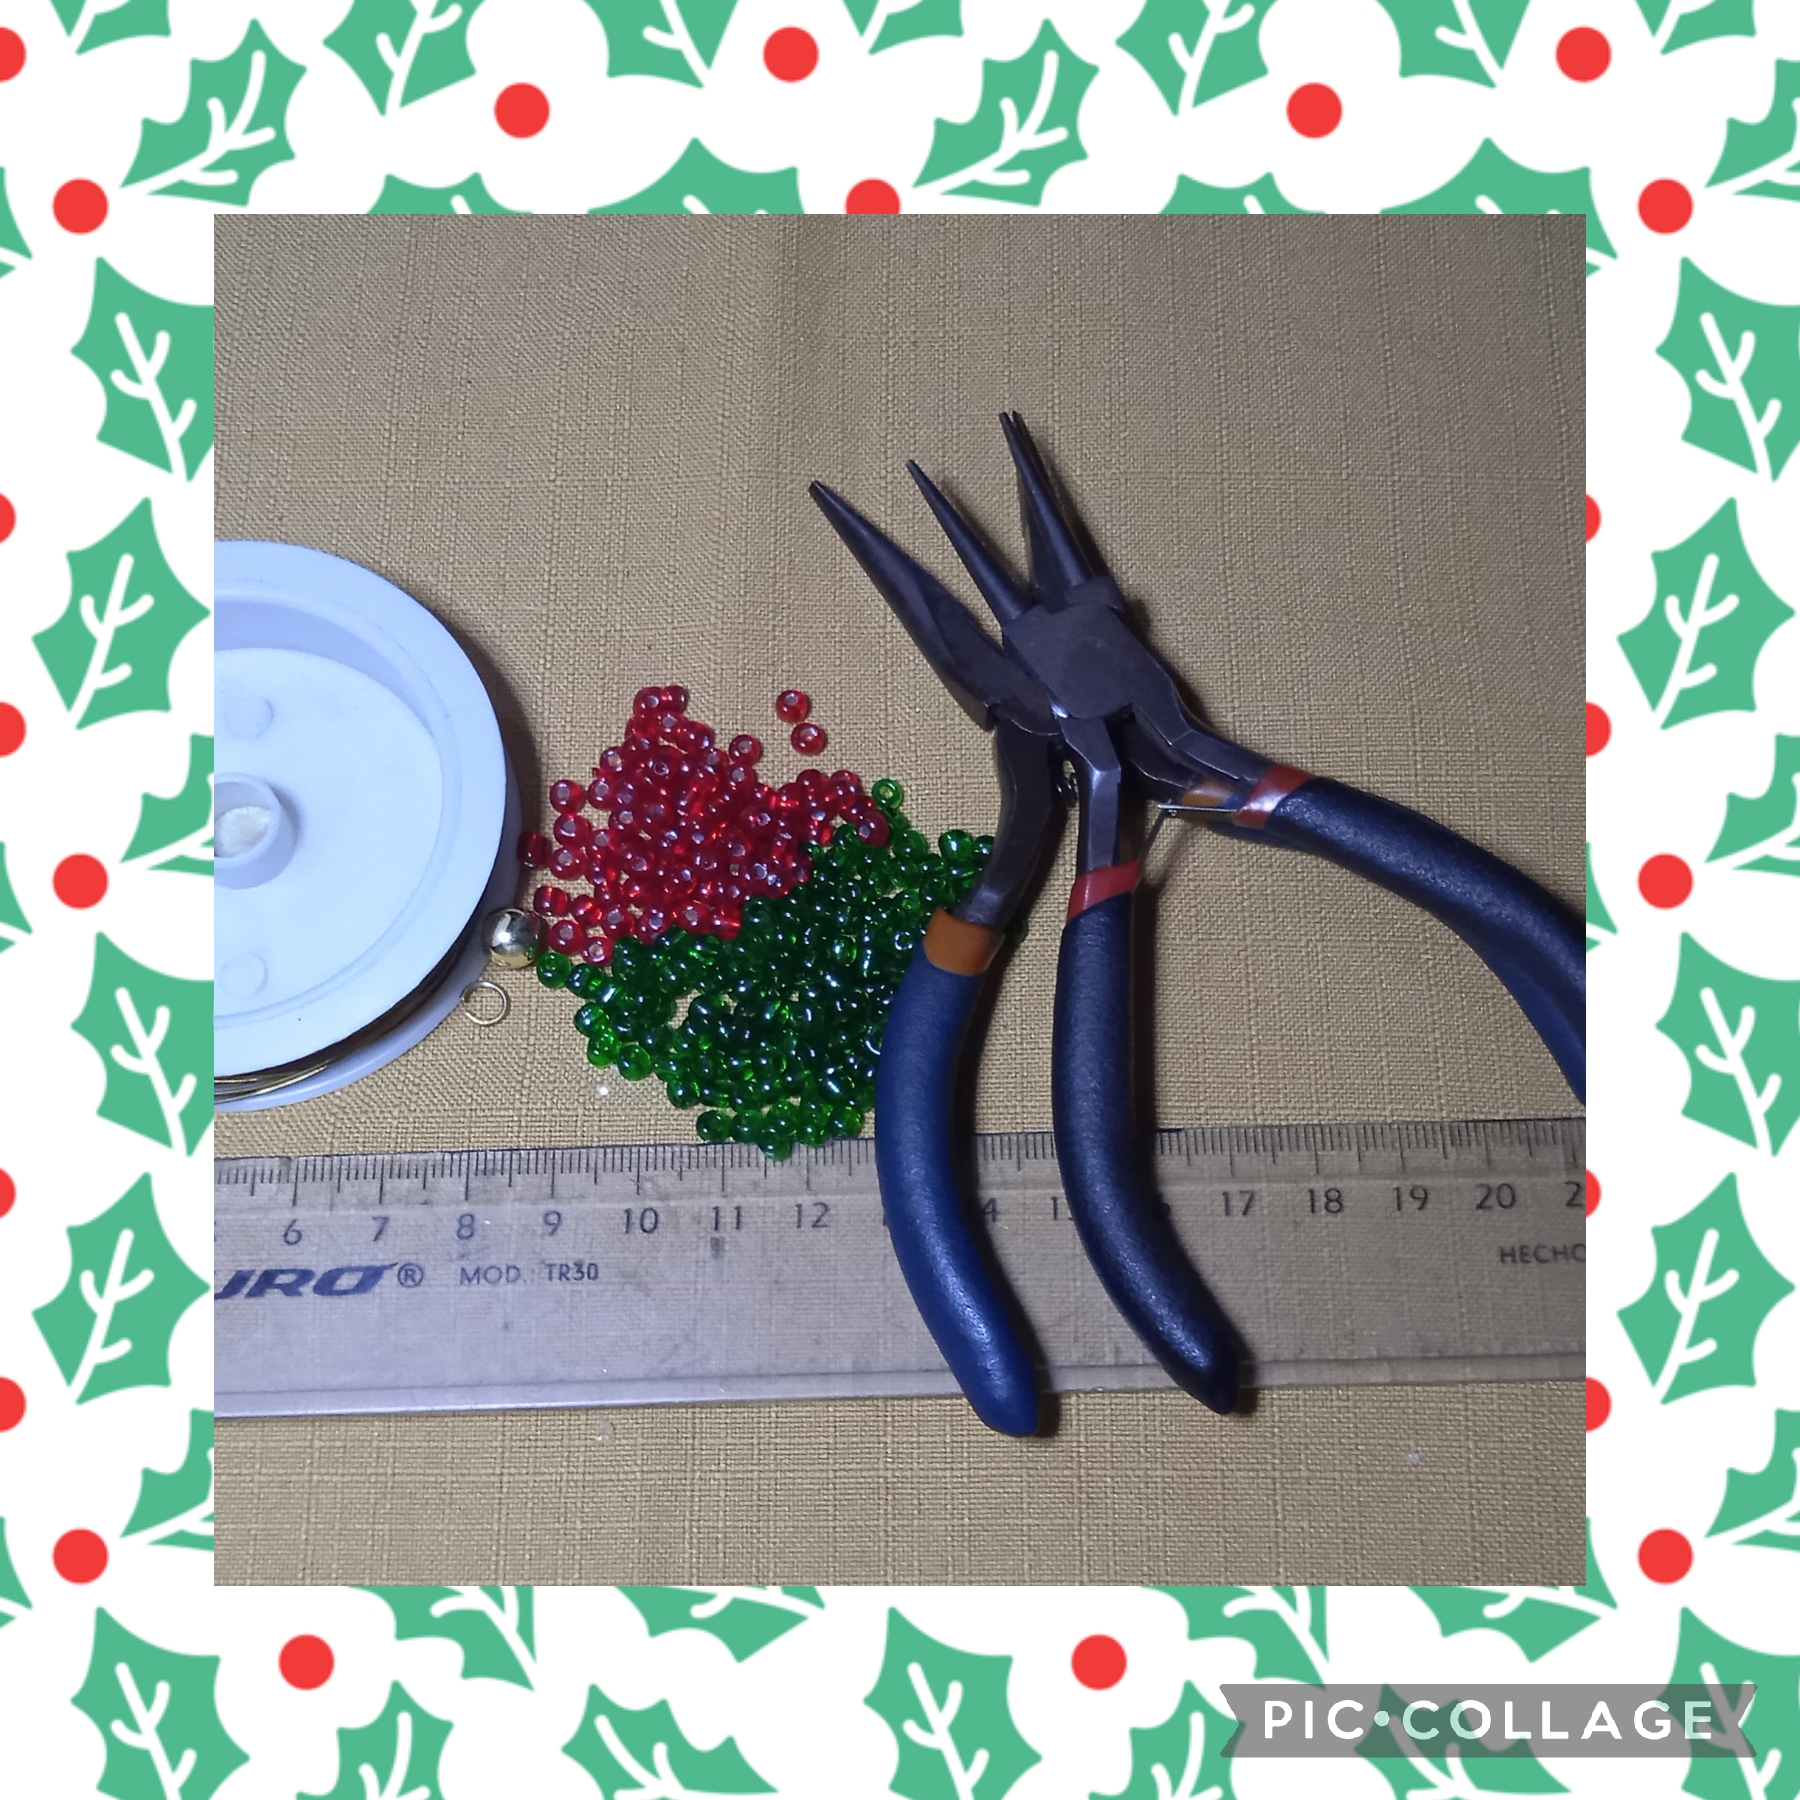
]MATERIALES USADOS PARA ELABORAR MI PROYECT
✓ Mostacillas verdes navidad.
✓ Mostacillas rojas.
✓ Alambre dorado de 5mm.
✓ Alambre verde de bisutería.
✓ Mostacillas doradas.
✓ Pinza punta redonda.
✓ Pinza plana.
✓ Regla.
MATERIALS USED TO MAKE MY PROJECT:
✓ Green Christmas beads.
✓ Red beads.
✓ 5mm gold wire.
✓ Green jewelry wire.
✓ Gold beads.
✓ Round tip pliers.
✓ Flat pliers.
✓ Ruler.
PASOS PARA ELABORAR ESTE BONITO PROYECTO:
PRIMER PASO:
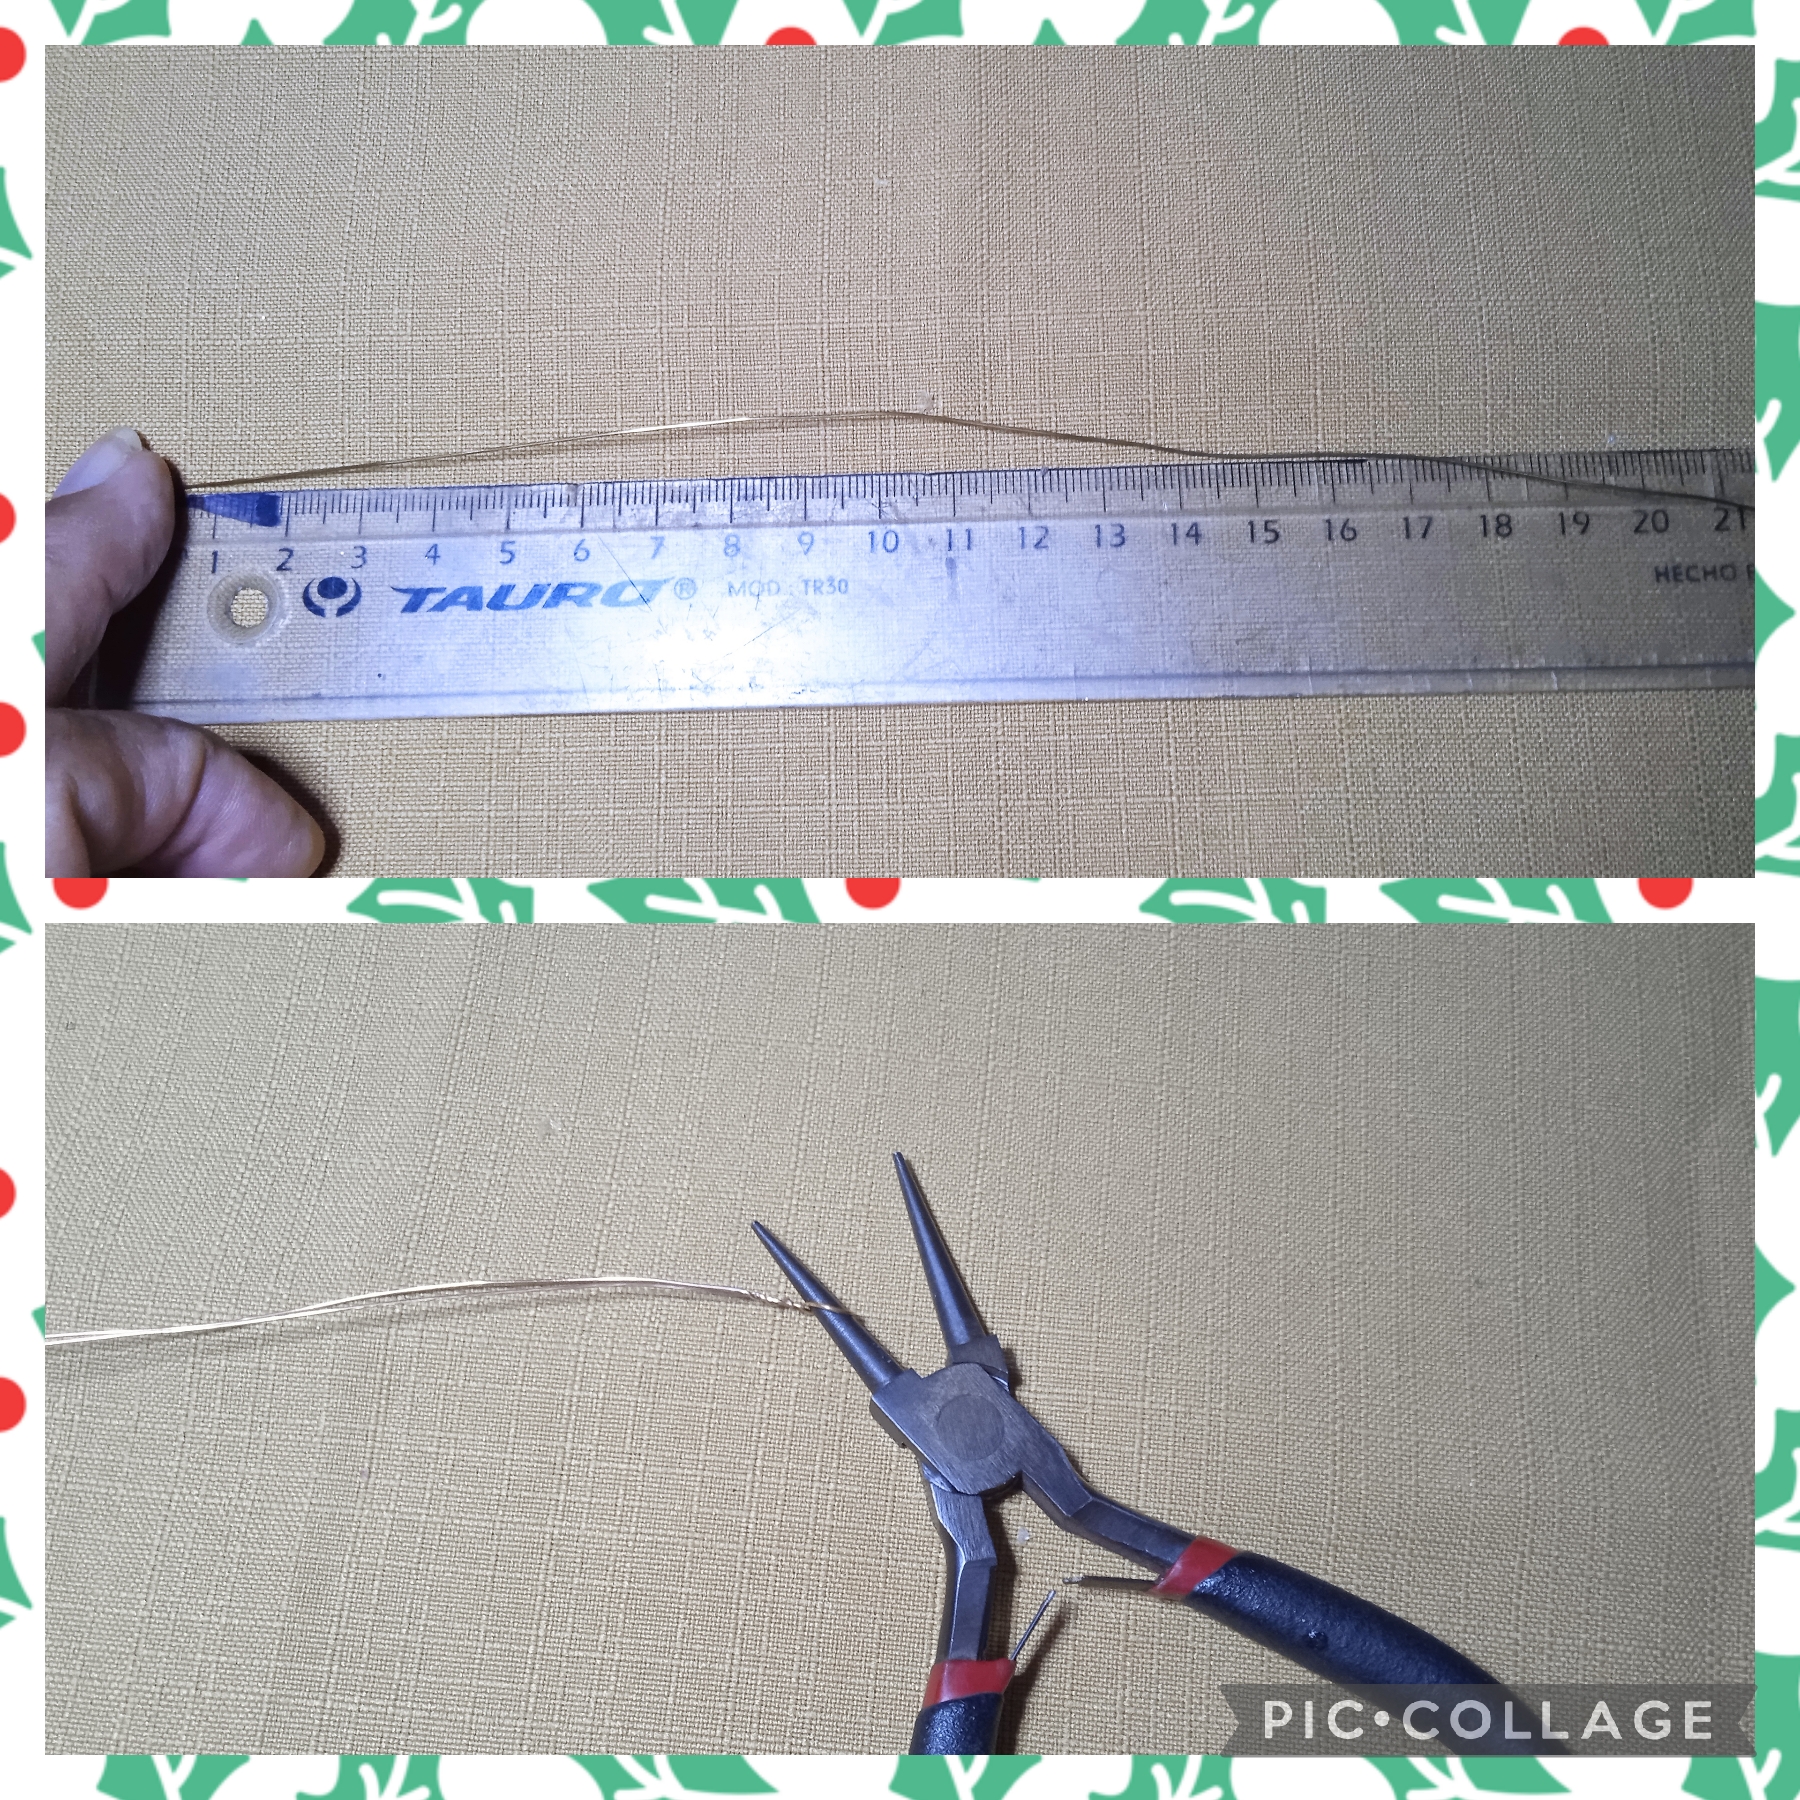
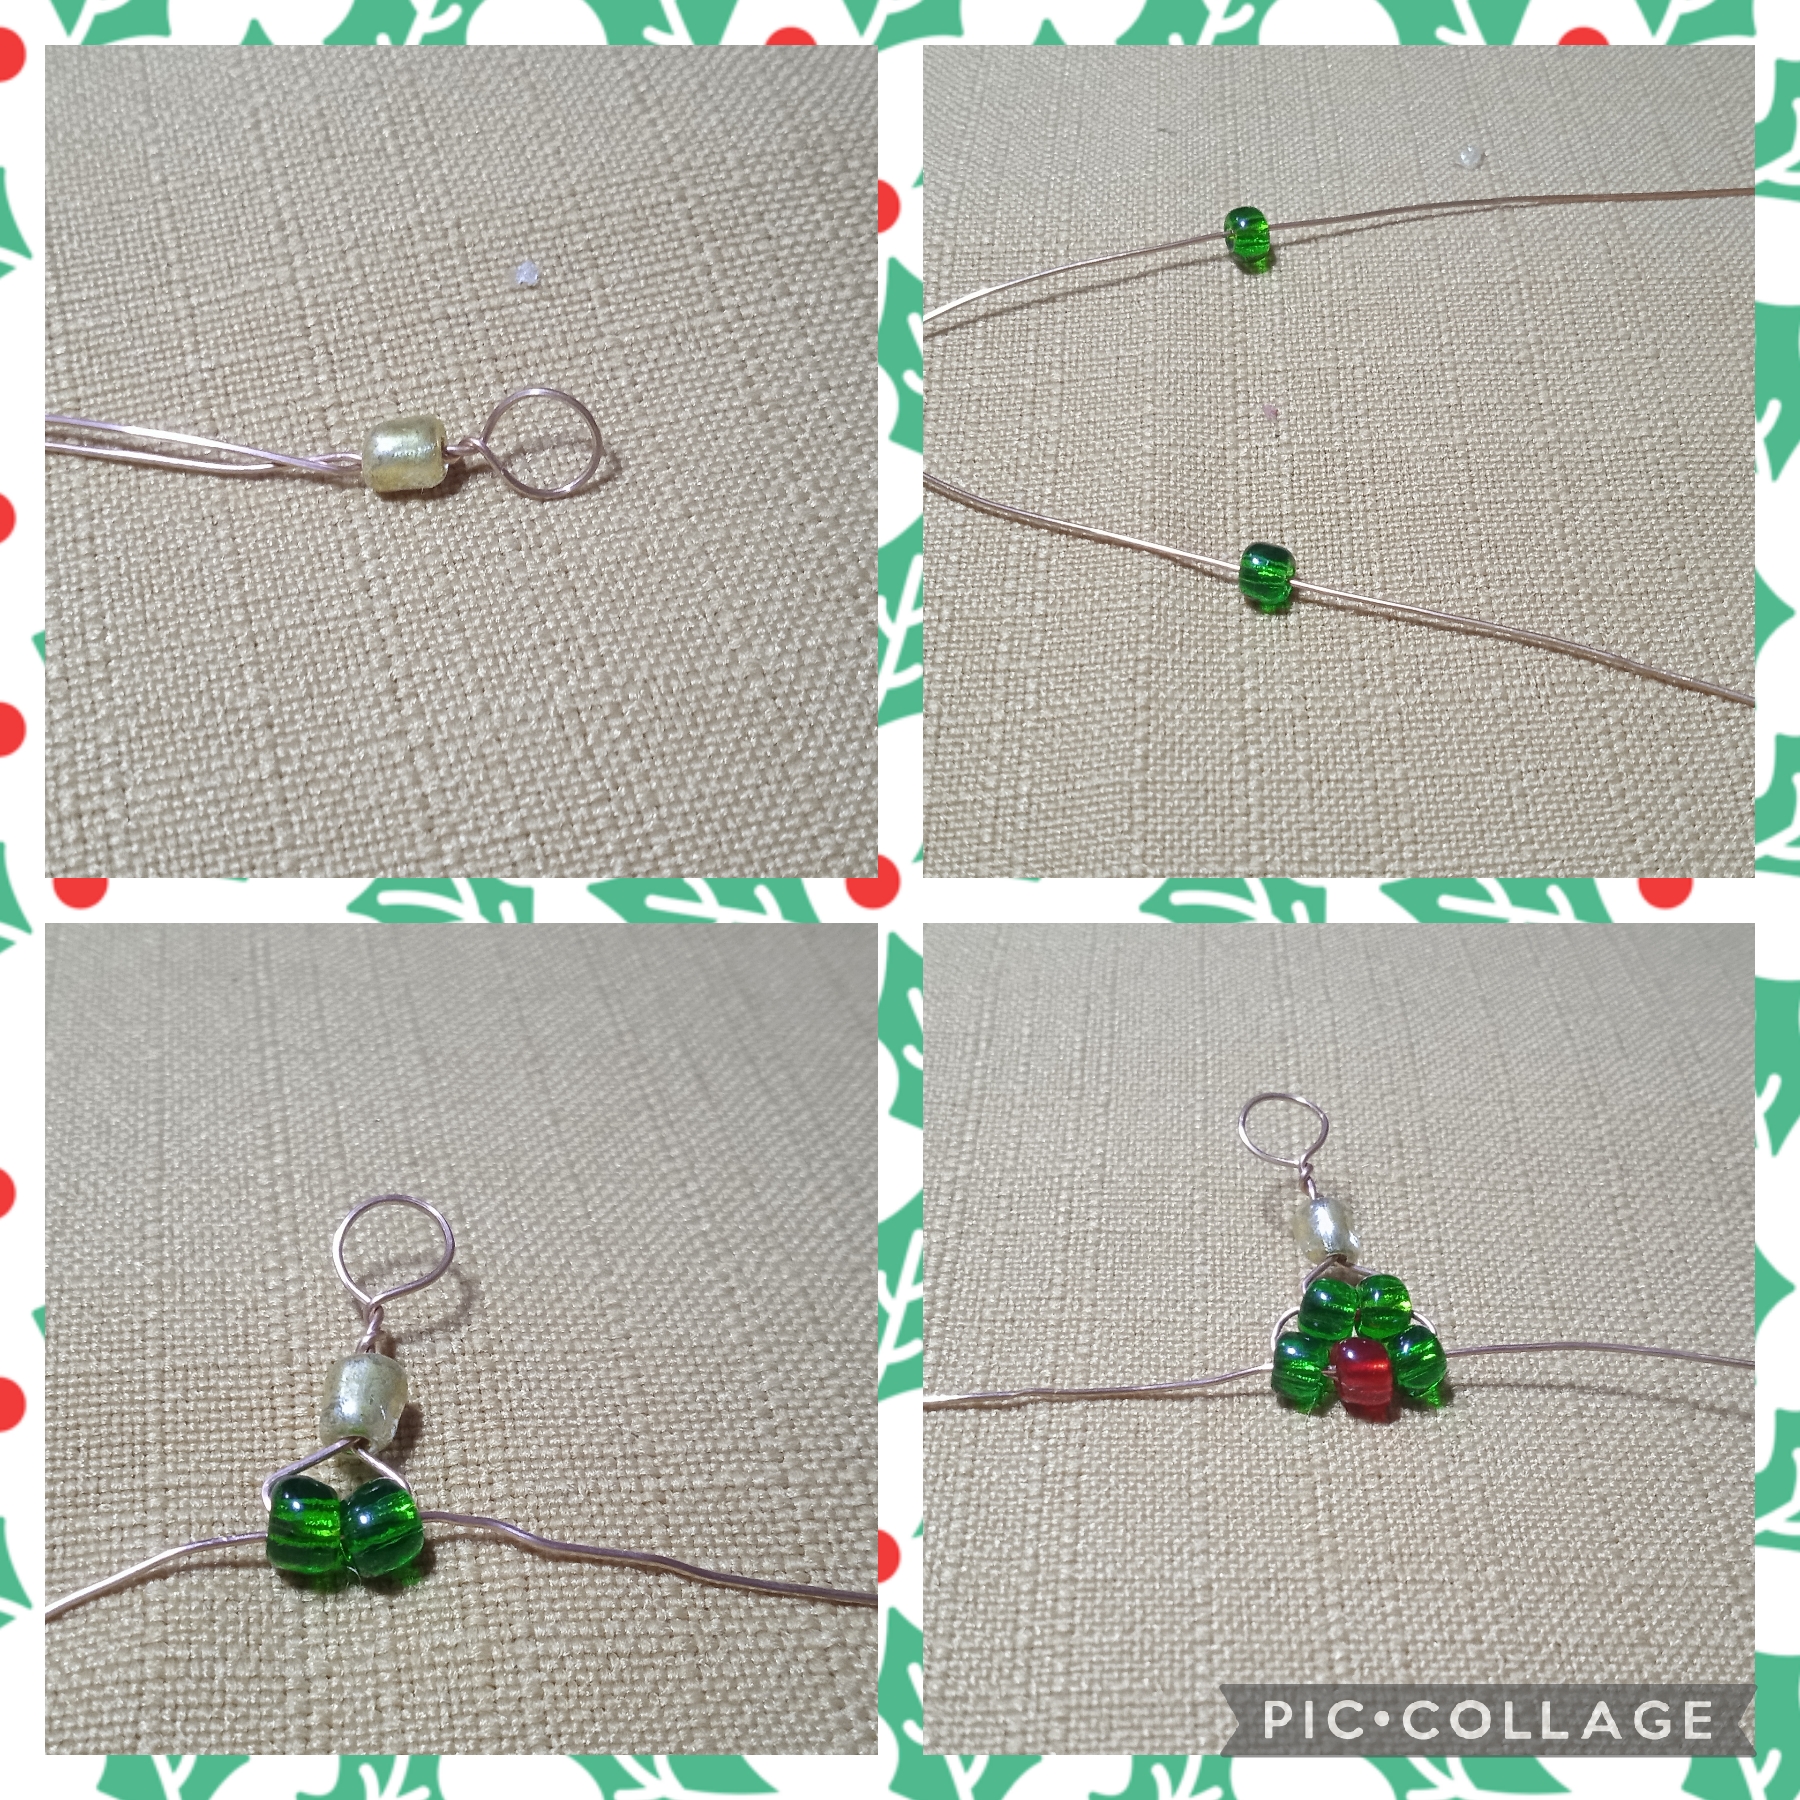
Comenzaré usando la regla y voy a medir del alambre dorado de 5mm ochenta centímetros que voy a doblar a la mitad, tengo una medida de cuarenta centímetros para elaborar la Pulsera, ahora con la ayuda de la pinza de punta redonda hago una argolla pequeña como se ve en la imagen.
STEPS TO MAKE THIS BEAUTIFUL PROJECT:
FIRST STEP:
I will start by using the ruler and I will measure eighty centimeters of the 5mm gold wire that I will fold in half, I have a measurement of forty centimeters to make the Bracelet, now with the help of the round-tipped pliers I make a small ring as seen in the image.
PASO DOS:
Ahora después de hacer la argolla con la pinza de punta redonda uno los dos alambres, inserto una mostacilla dorada y la pego a la argolla, sigo con la elaboración como muestra la foto y abro los alambres, inserto en cada uno, una mostacilla verde y las cruzo, halo las puntas de los alambres para ajustar, sigo para insertar de un lado una mostacilla verde una roja y otra verde las cruzo y halo las puntas, ahora pongo en uno de los alambres una mostacilla roja una verde y otra roja las cruzo, aquí ya se va viendo la imagen de una florecita, en esa secuencia sigo elaborando la pulsera .
STEP TWO:
Now after making the ring with the round-tipped pliers I join the two wires, insert a gold bead and glue it to the ring, I continue with the elaboration as shown in the photo and open the wires, insert a green bead in each one and cross them, I pull the tips of the wires to adjust, I continue to insert on one side a green bead, a red one and another green one, I cross them and pull the tips, now I put on one of the wires a red bead, a green one and another red one, I cross them, here you can already see the image of a little flower, in that sequence I continue making the bracelet.
PASO TRES:
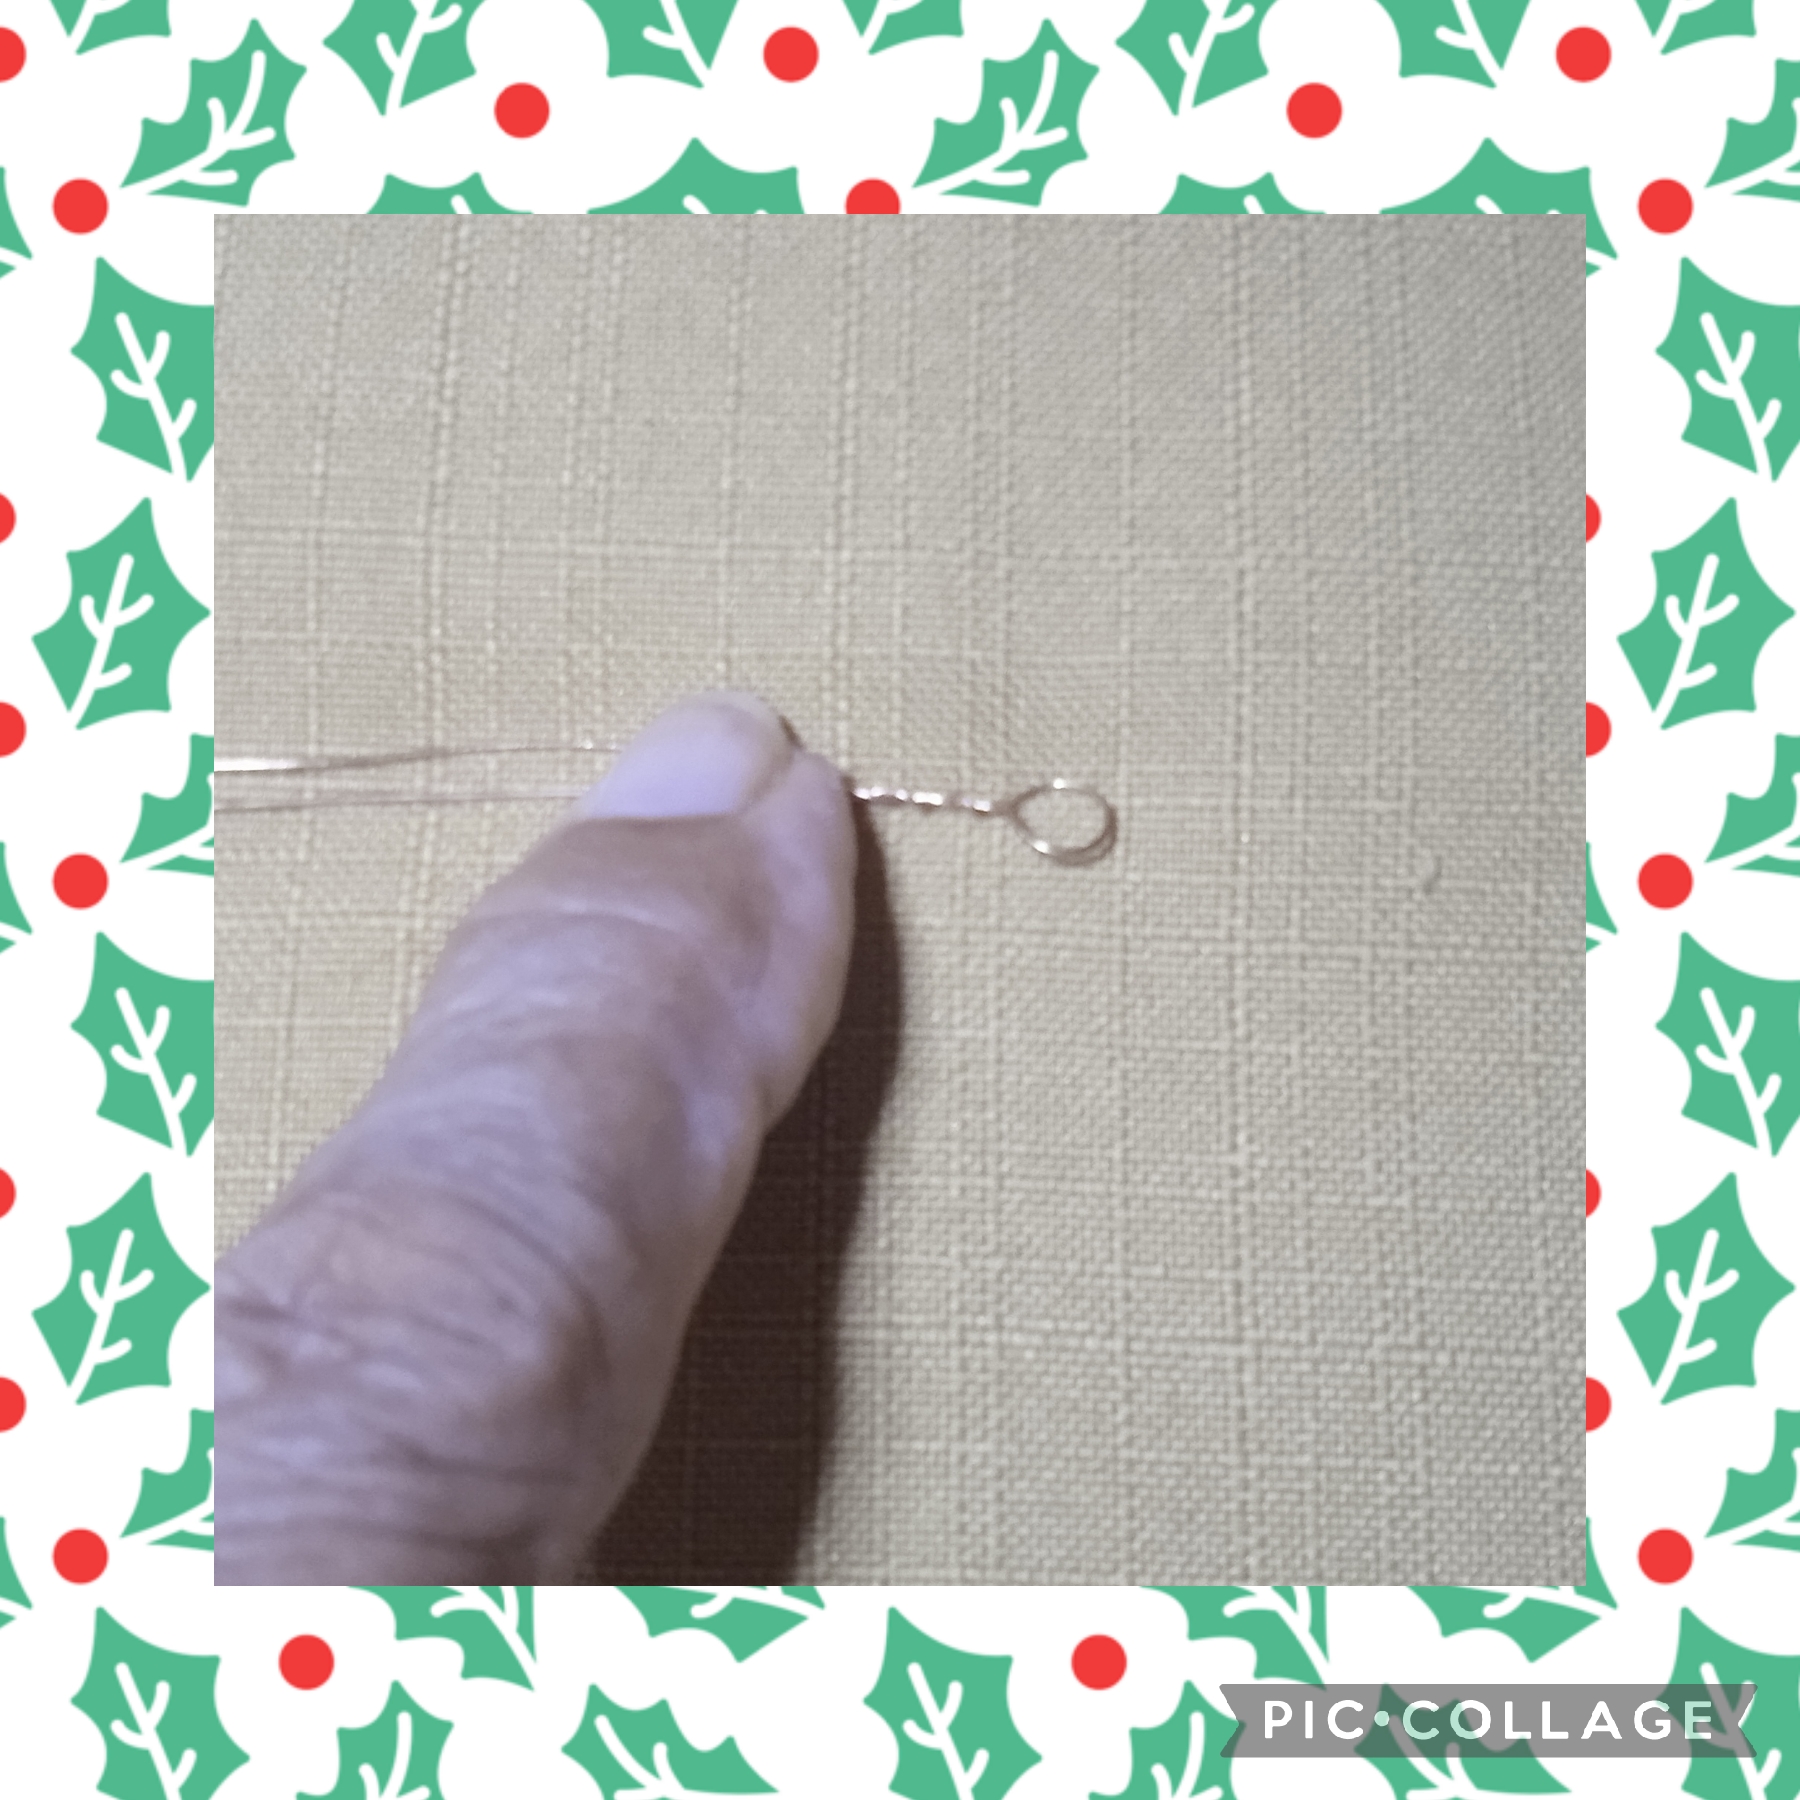
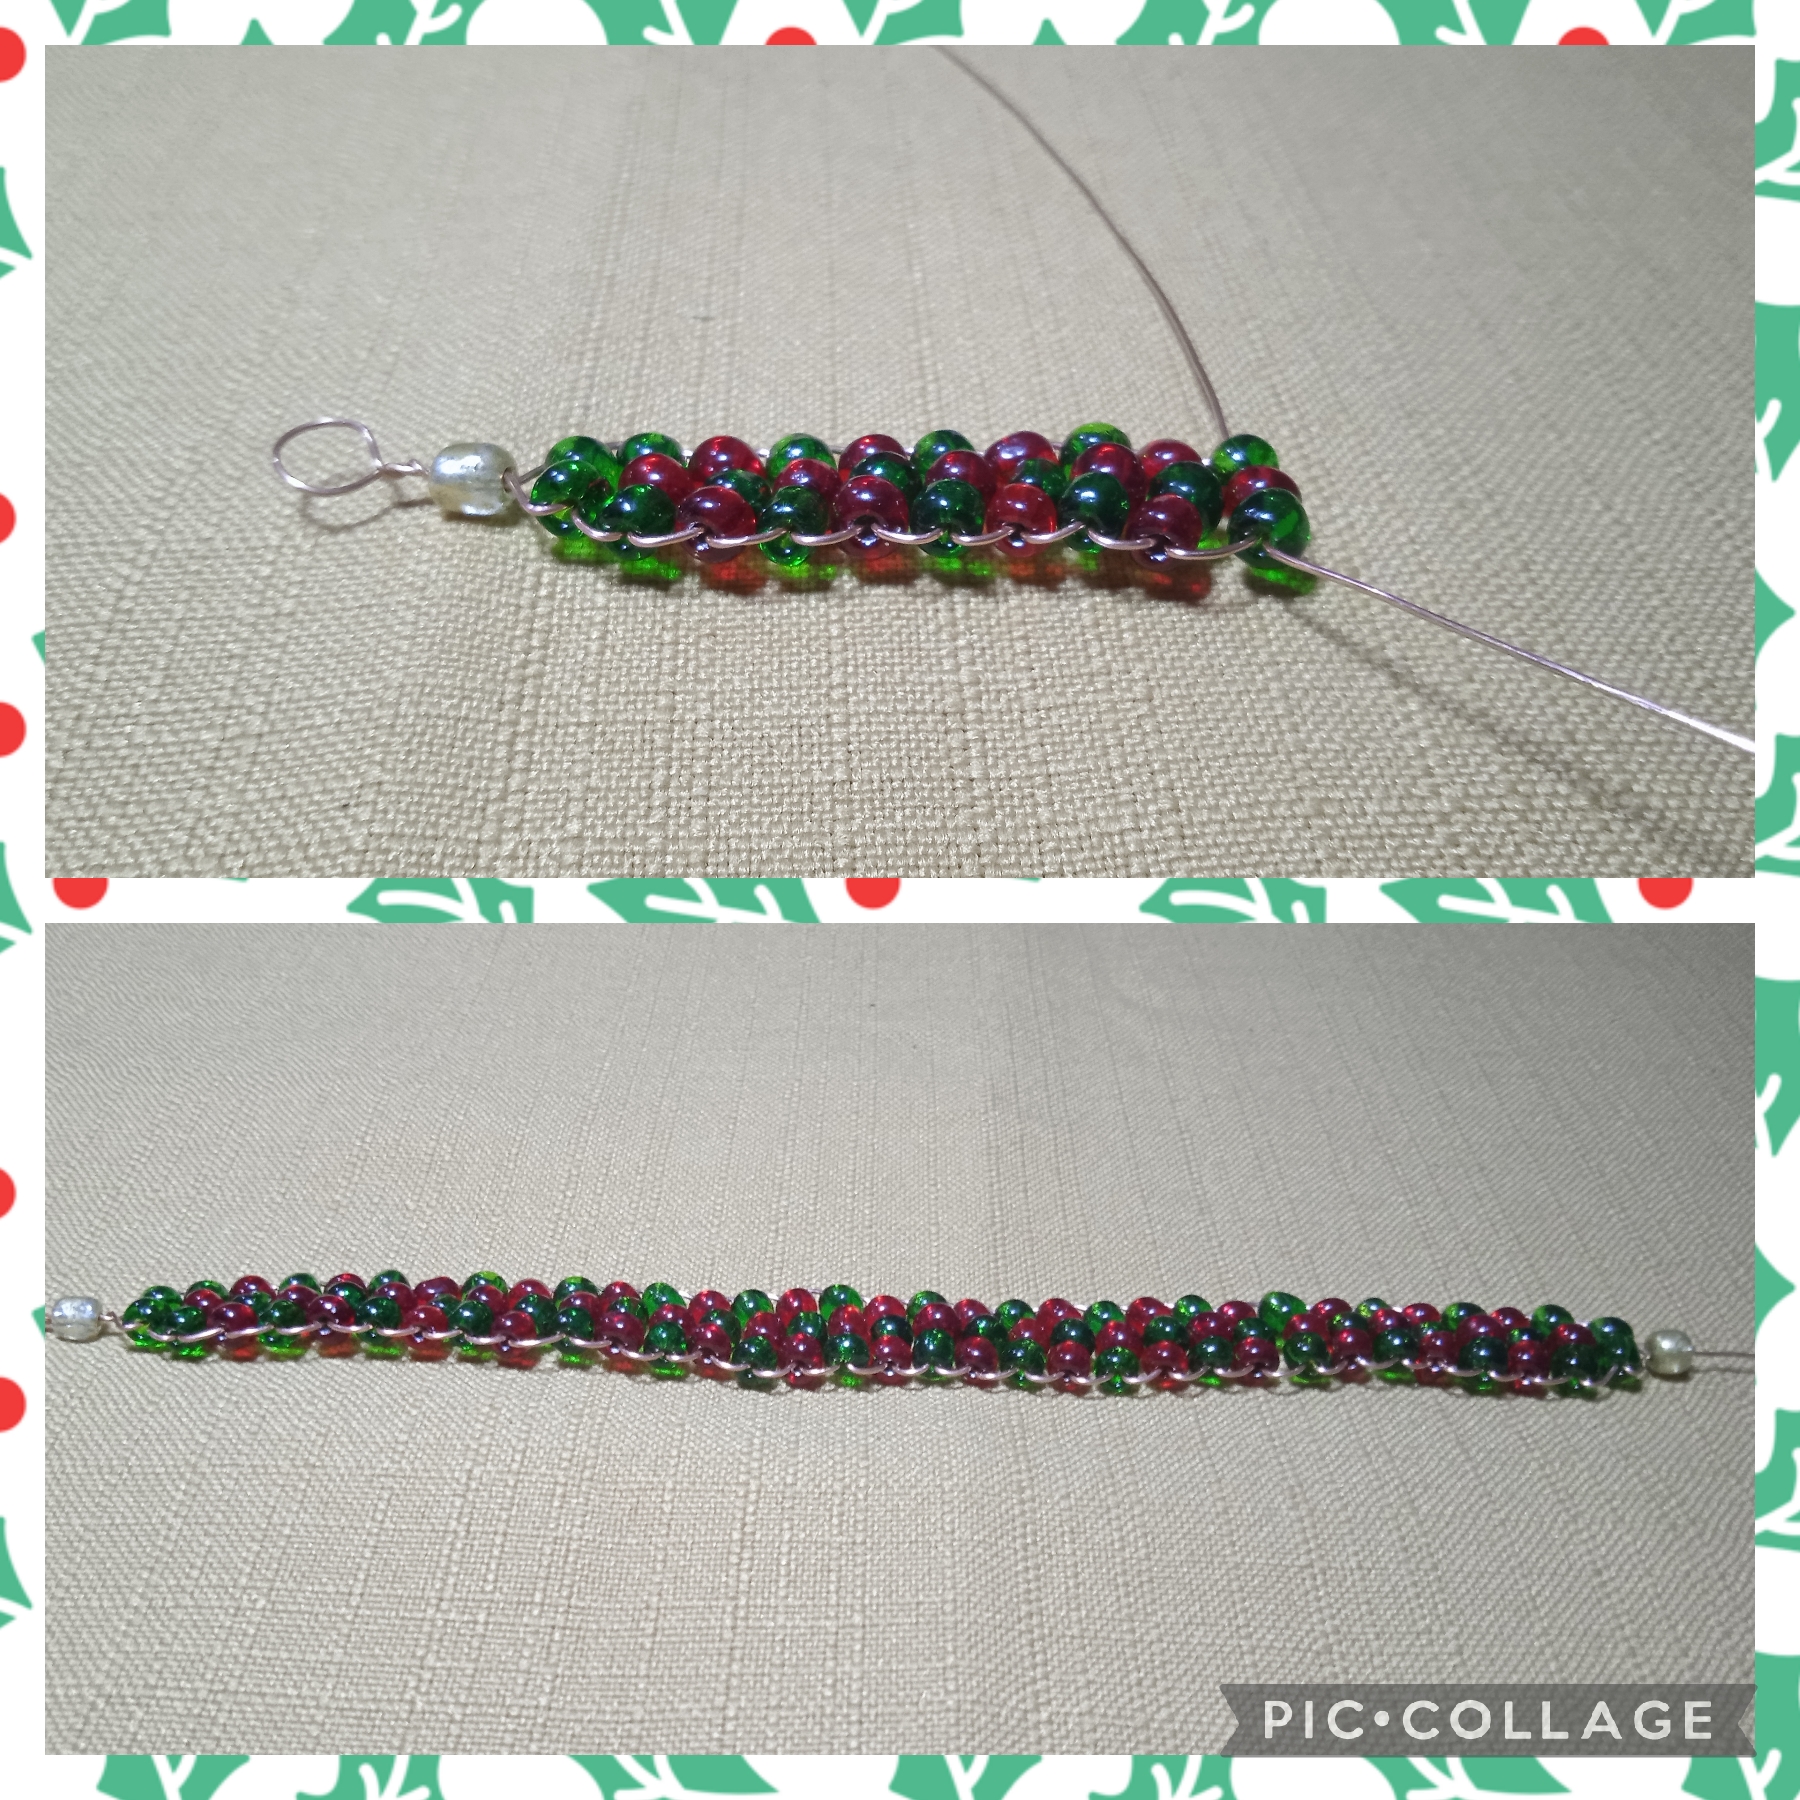
Como se puede ver así va quedando el diseño, al terminar el largo necesario, en este caso son dieciocho centímetros inserto dos mostacillas verdes como al comienzo y las cruzo, ahora uno los dos alambres y voy a introducir una mostacilla dorada, tomo la pinza de punta redonda y realizo una argolla y asi va quedando
STEP THREE:
As you can see, this is how the design looks like. When I finish the necessary length, in this case eighteen centimeters, I insert two green beads like at the beginning and cross them. Now I join the two wires and I'm going to insert a gold bead. I take the round-tipped pliers and make a ring and this is how it looks.
PASO CUATRO:
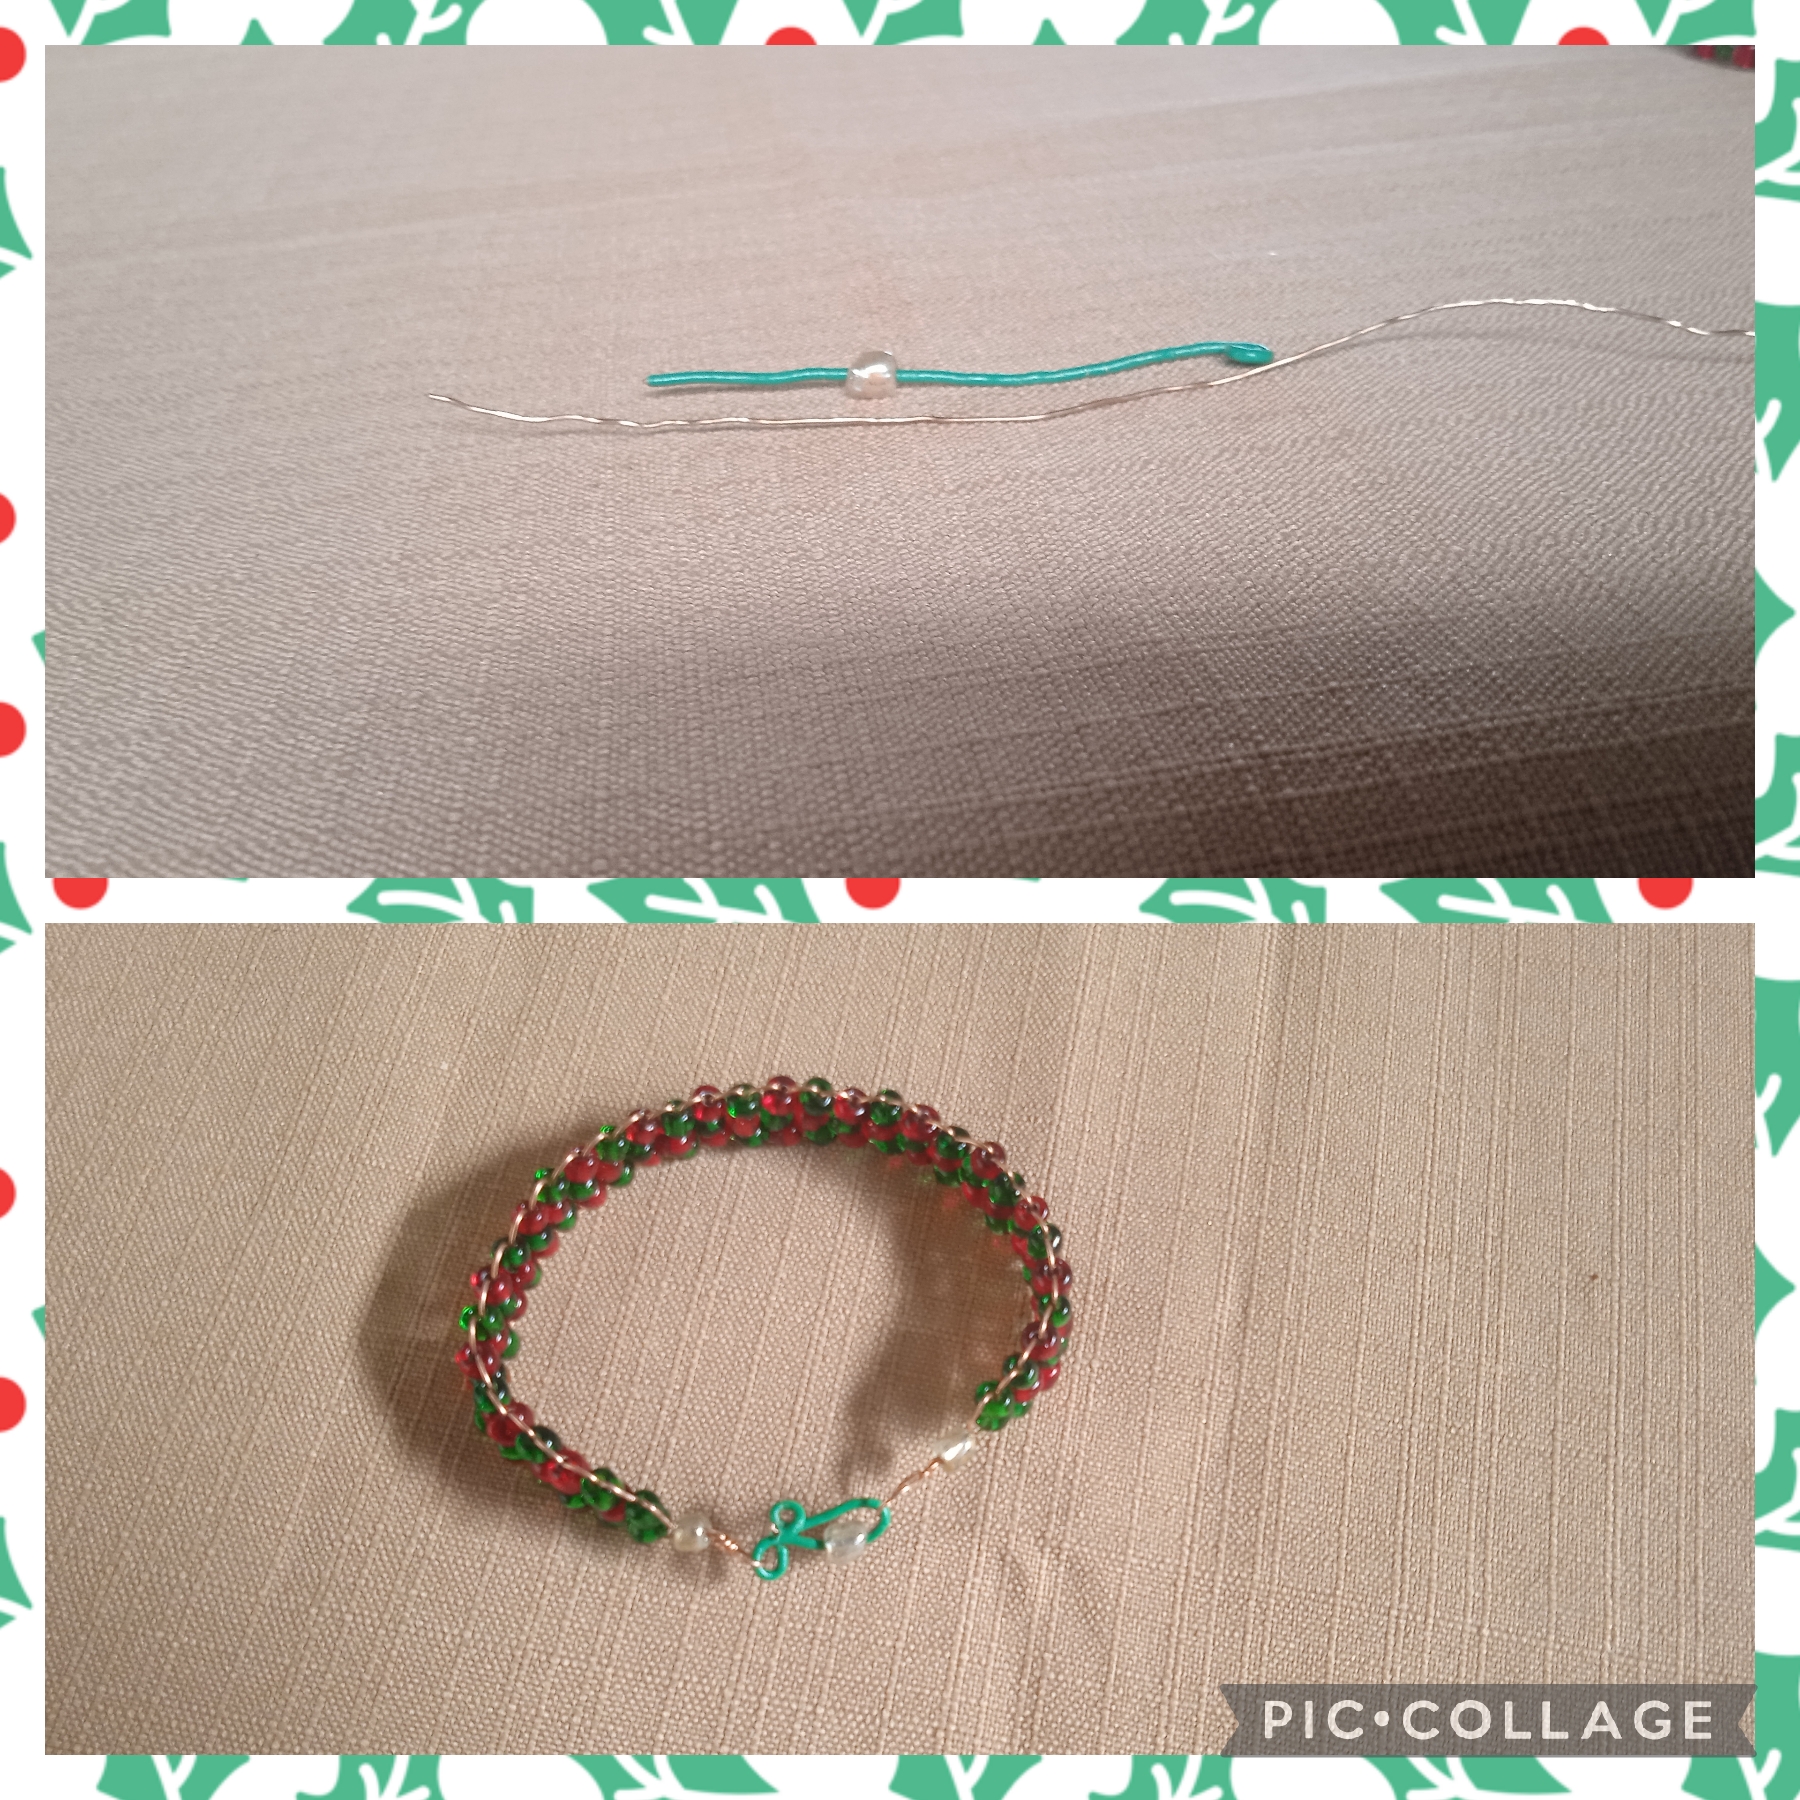
Aquí voy a elaborar la tranca de la pulsera, en un alambre de bisutería color verde corto dos centímetros de largo tomo la pinza de punta redonda y en un extremo hago un anillo, inserto una mostacilla dorada para que el cierre se vea más más bonito, doblo el alambre y de nuevo uso la pinza punta redonda para formar otro anillo, y así queda realizado la tranca, tomo la pinza de punta redonda y abro un poco el anillo lo inserto en la argolla de la pulsera y así va quedando.
STEP FOUR:
Here I am going to make the clasp of the bracelet. On a short green jewelry wire two centimeters long, I take the round-tipped pliers and at one end I make a ring, I insert a gold bead so that the clasp looks nicer, I bend the wire and again use the round-tipped pliers to form another ring, and that is how the clasp is made. I take the round-tipped pliers and open the ring a little, I insert it into the ring of the bracelet and that is how it will look.
Artistas Creativos de las Manualidades y la Joyería este es el resultado final de
mi proyecto en este día, es una hermosa Pulsera que como les dije es el regalo 🎁 de cumpleaños para mi sobrina, pero que ustedes pueden tomar la idea y adornarla con su sello personal y creatividad para hacer algunos detalles en esta fecha, espero que les guste y como siempre agradecida con todos los que leen y ven mis publicaciones y me dejan sus valiosos comentarios, un abrazo y nos vemos en la próxima manualidad, bye bye.
Creative Artists of Crafts and Jewelry this is the final result of my project on this day, it is a beautiful Bracelet that as I told you is the birthday gift 🎁 for my niece, but you can take the idea and decorate it with your personal stamp and creativity to make some details on this date, I hope you like it and as always grateful to all who read and see my posts and leave me their valuable comments, a hug and see you in the next craft, bye bye.


Las imágenes y redacción de éste tutorial son de mi exclusiva propiedad , las fotos fueron tomadas con mi teléfono celular redmi 9 y las edite con una aplicación gratis del mismo.
Para traducir texto use Google traductor.
The images and writing of this tutorial are my exclusive property, the photos were taken with my redmi 9 cell phone and I edited them with a free application of the same.
To translate text use Google translator.

Nice one
Gracias @georgeenting, saluditos.
Lovely bracelet
Gracias por tu comentario @patience2
its nice to see you keeping up the Christmas spirit. Your bracelet is very nice. Good job
Thank you very much for such a nice comment, and I really love the Christmas holidays.