| Esp | Eng |
|---|---|
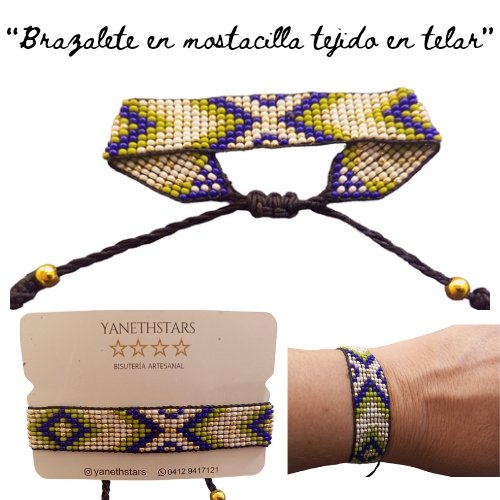
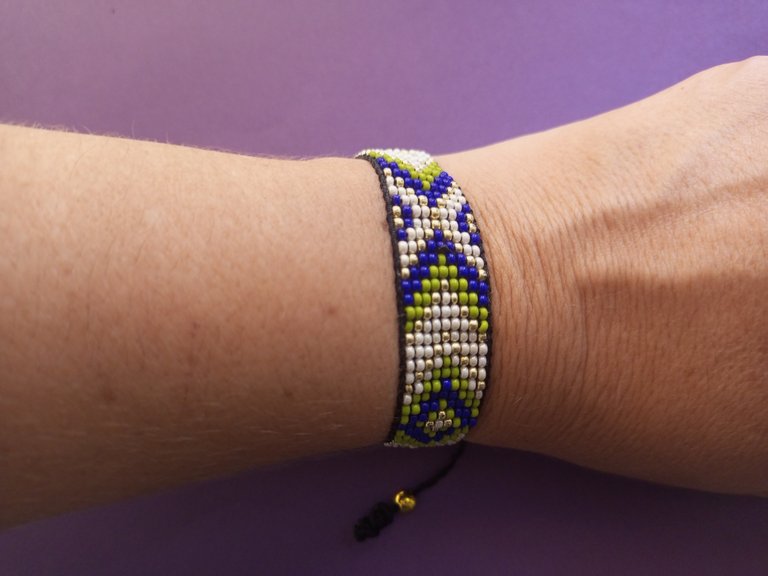
| Hola hermosa comunidad de JEWELRY, saludos a todos mis amigos creativos, que cada dia se esfuerzan para compartir contenido de calidad. El día de hoy traigo para ustedes esté HERMOSO BRAZALETE DE MOSTACILLAS TEJIDO EN TELAR. Para mí trabajar en telar es un poco largo y se requiere de tiempo para trabajar, pero lo disfruto ya que lo considero una terapia desestresante . A continuación les comparto la lista de materiales y el paso a paso de mi trabajo. | Hello beautiful JEWELRY community, greetings to all my creative friends, who every day strive to share quality content. Today I bring for you this BEAUTIFUL MOSTACILLAS BRAZALET WOVEN ON WOVEN FABRIC. For me working on a loom is a bit time consuming, but I enjoy it because I consider it a de-stressing therapy. Here is the list of materials and the step by step of my work. |

| Materiales: | Materials: |
|---|---|
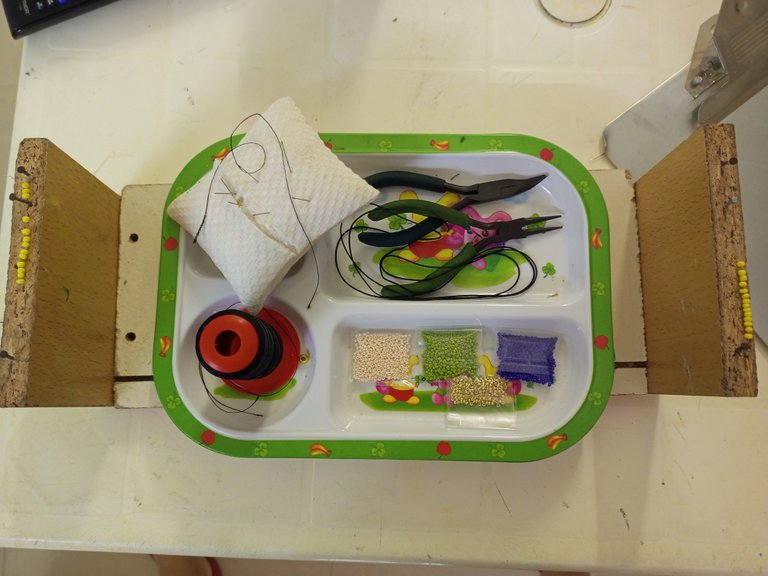
| Hilo chino negro, hilo para mostacilla negro, mostacillas: verde, azul, perlado, dorado, tijeras, aguja mostacillera, 2 balines grandes, yesquero, pinzas de bisuteria, telar. | Chinese black thread, black beading thread, beads: green, blue, pearl, gold, scissors, beading needle, 2 large pellets, tinder, jewelry tweezers, loom, etc. |
| Instrucciones: | Instructions: |
|---|
| Paso 1 | Step 1 |
|---|---|
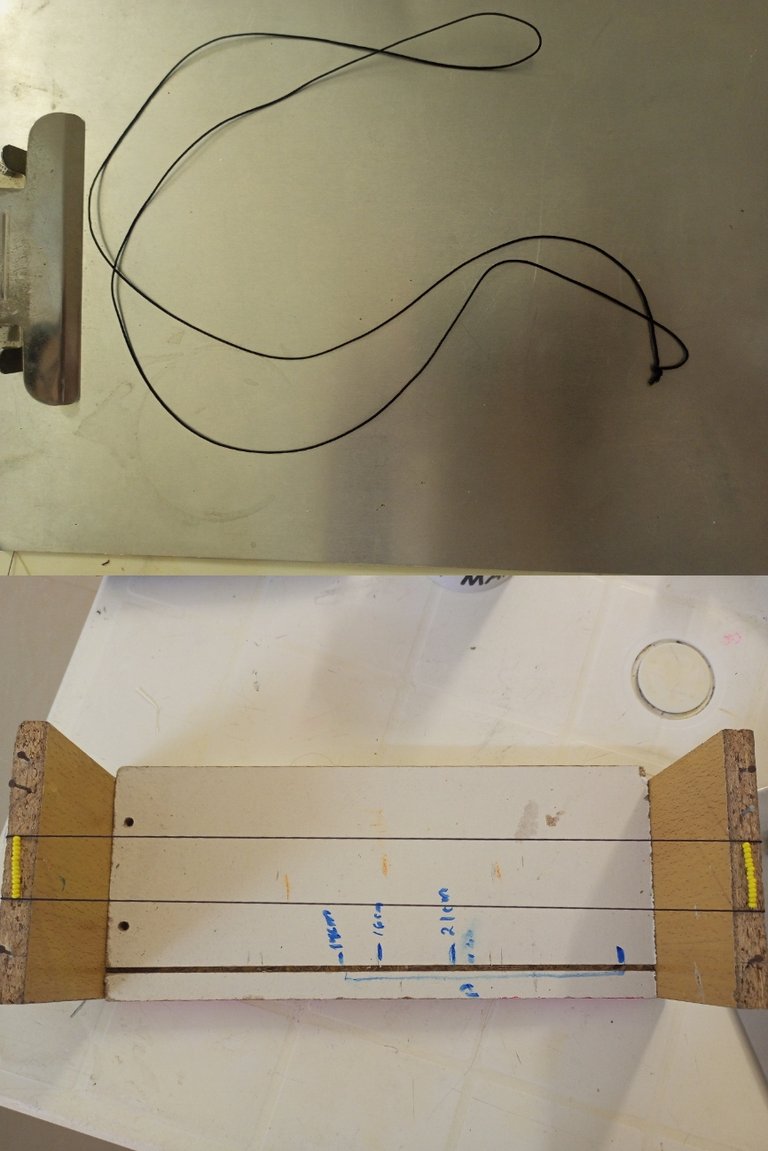
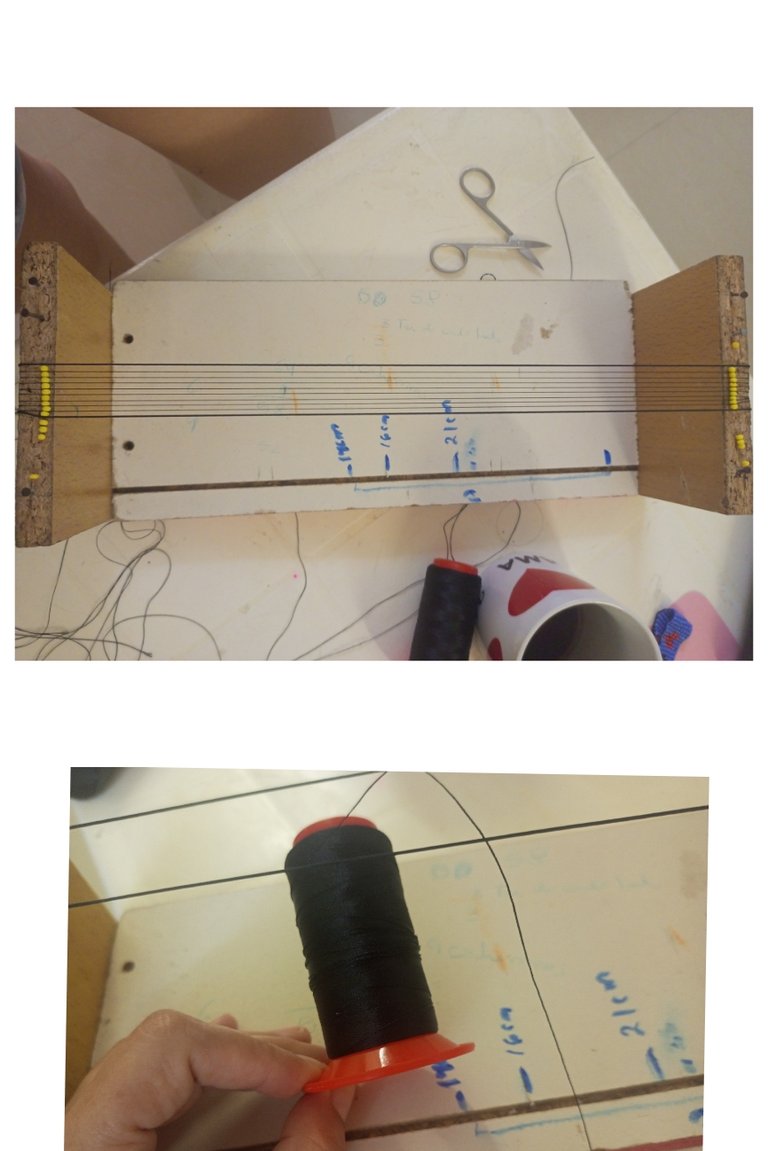
| El brazalete es de 58 columnas, 4 para la terminación de cada lado para un total de 66 columnas y 9 filas. Por lo que el primer paso es montar en nuestro telar está estructura. Para esto usaremos 1 metro de hilo chino, y el hilo de mostacilla 10 metros aproximado. El hilo chino negro lo montaremos como los hilos laterales del brazalete para que quedé mas firme, y montaremos las 9 filas con hilo para mostacillas que quede bien tensionado y sujeto para comenzar a tejer. | The bracelet is 58 columns, 4 for the termination of each side for a total of 66 columns and 9 rows. So the first step is to mount on our loom this structure. For this we will use 1 meter of chinese thread, and the mustard thread 10 meters approximately. The black chinese thread we will mount it as the lateral threads of the bracelet so that it is more firm, and we will mount the 9 rows with thread for beads that is well tensioned and subject to begin to weave. |
| Paso 2 | Step 2 |
|---|---|
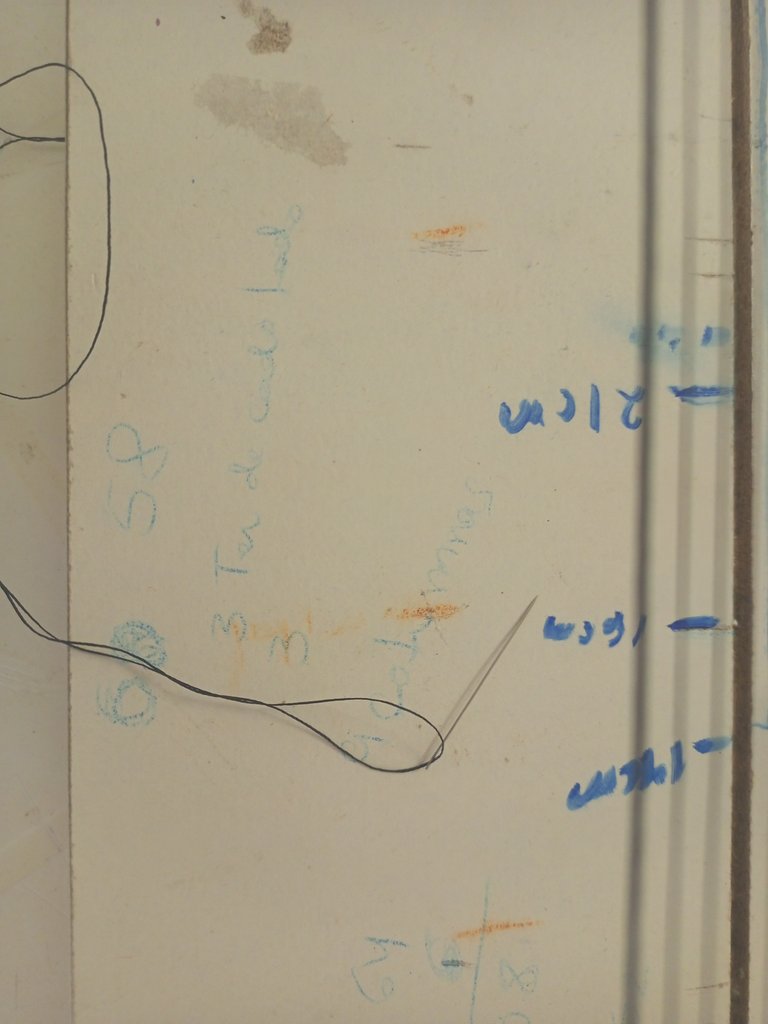
| Enhebramos 3 metros de hilo mostacillero negro en la aguja. | Thread 3 meters of black mustard thread on the needle. |
| Paso 3 | Step 3 |
|---|---|
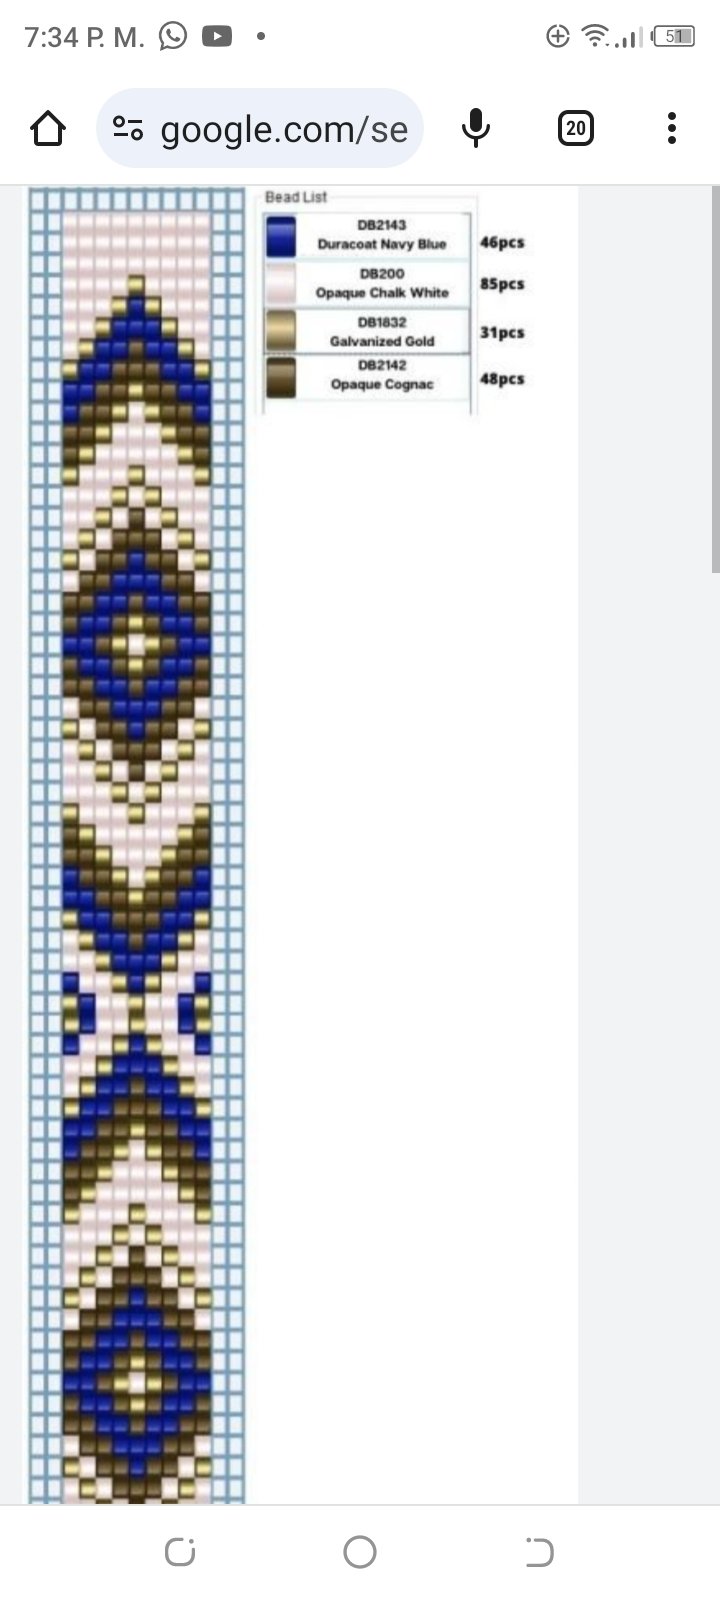
| Ahora sí comenzaremos a tejer nuestro brazalete, es importante tener siempre el patron de lo que queramos tejer. En este caso tomé un patrón proporcionado por https://images.app.goo.gl/nDWEaoLxKGnokedKA. Los cambios que le hice al diseño fue el color y el largo del brazalete por lo que reduje 13 filas al inicio y al final, un total de 26 filas. | Now we will start weaving our bracelet, it is important to always have the pattern of what we want to weave. In this case I took a pattern provided by https://images.app.goo.gl/nDWEaoLxKGnokedKA. The changes I made to the design were the color and the length of the bracelet so I reduced 13 rows at the beginning and at the end, a total of 26 rows. |
| Paso 4 | Step 4 |
|---|---|
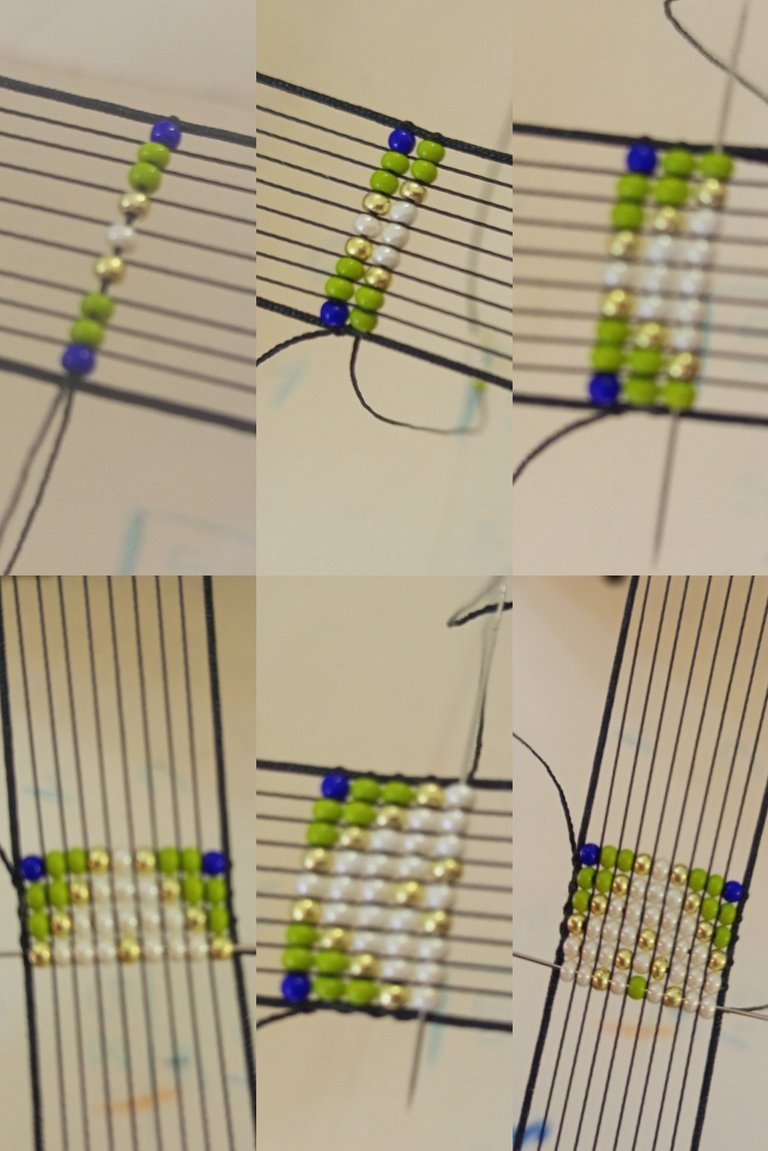
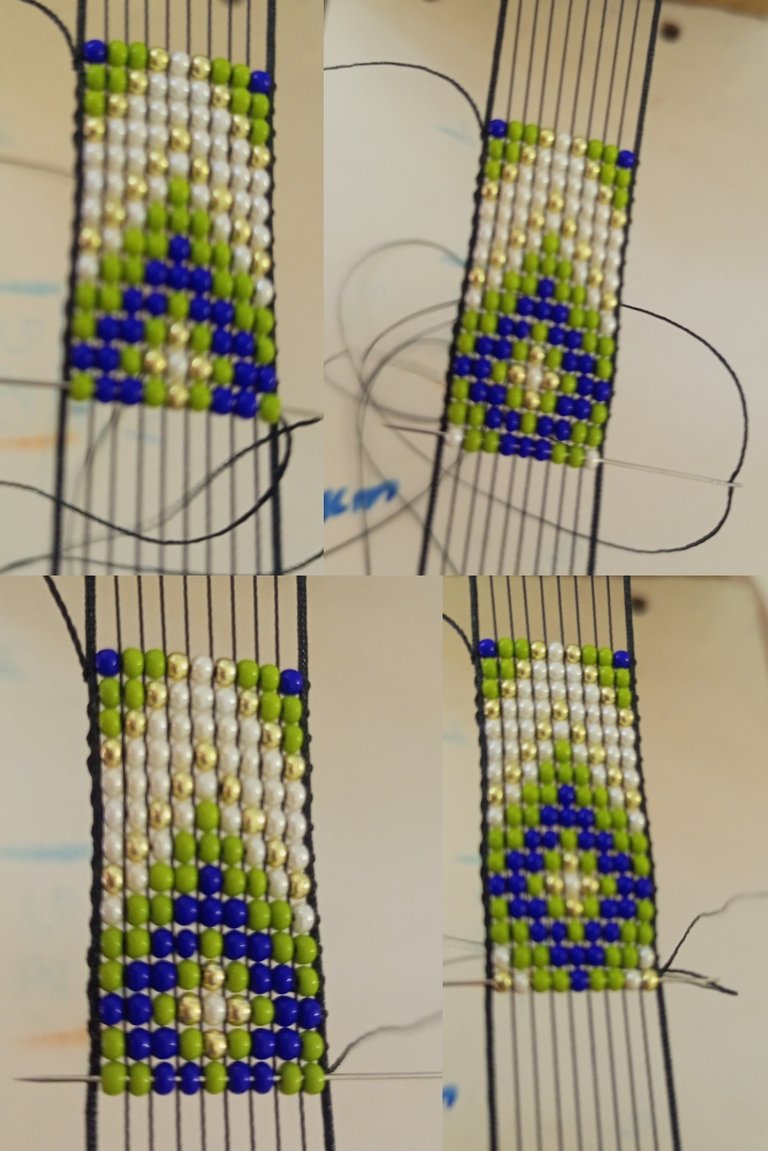
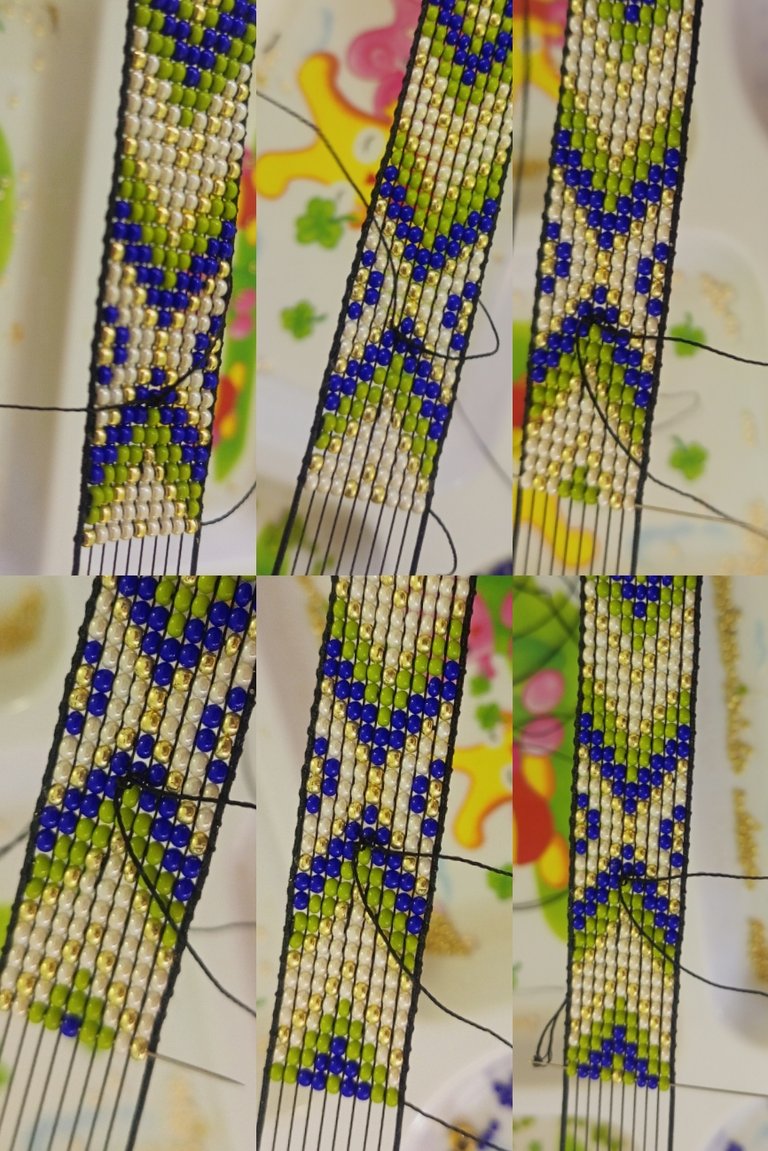
| Comenzamos con la primera columna, y en las imagenes observamos los dos primeros tramos o formas del brazalete, la cual nos cubre 16 columnas. Para tejer lo vamos haciendo por cada columna, introducimos en la aguja las mostacillas de acuerdo al patrón que tenemos la colocamos sobre los hilos e introducimos la aguja en las mostacillas por la parte de abajo, cuidando que el hilo de la aguja pise el hilo del telar. | We start with the first column, and in the images we see the first two sections or shapes of the bracelet, which covers 16 columns. To weave we are doing it for each column, we introduce in the needle the beads according to the pattern we have, we place it on the threads and introduce the needle in the beads at the bottom, taking care that the thread of the needle treads on the loom thread. |
| Paso 5 | Step 5 |
|---|---|
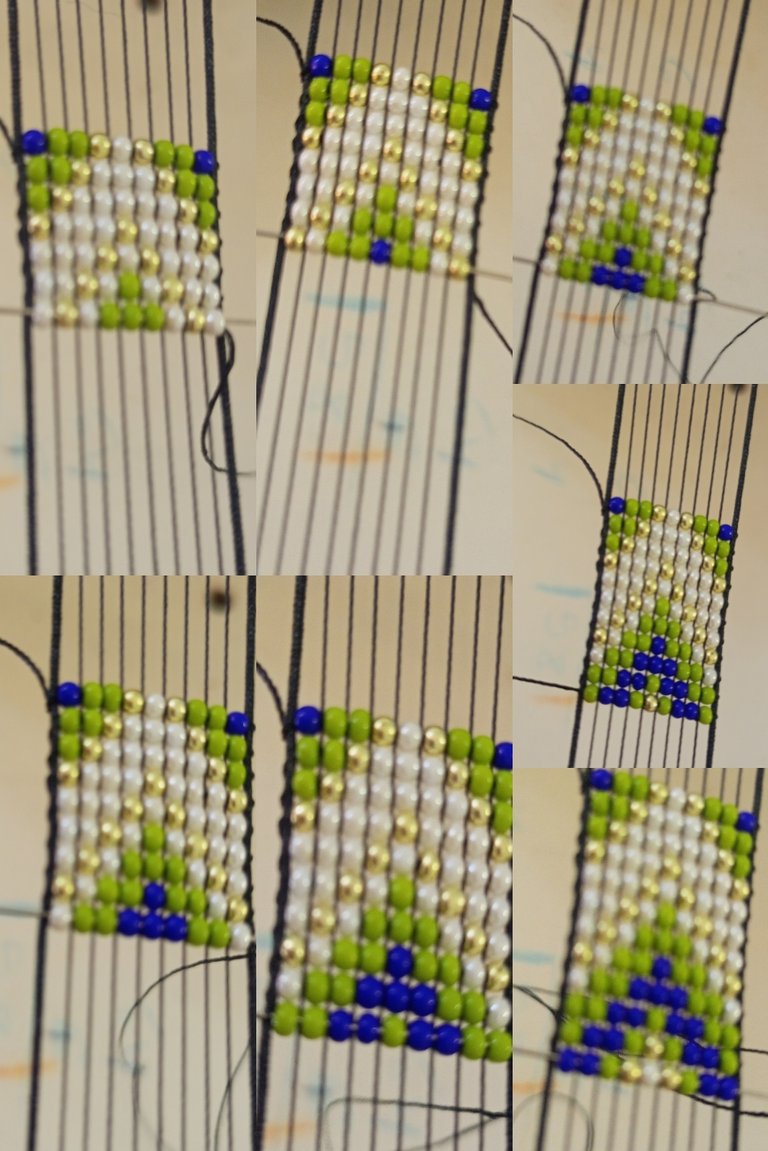
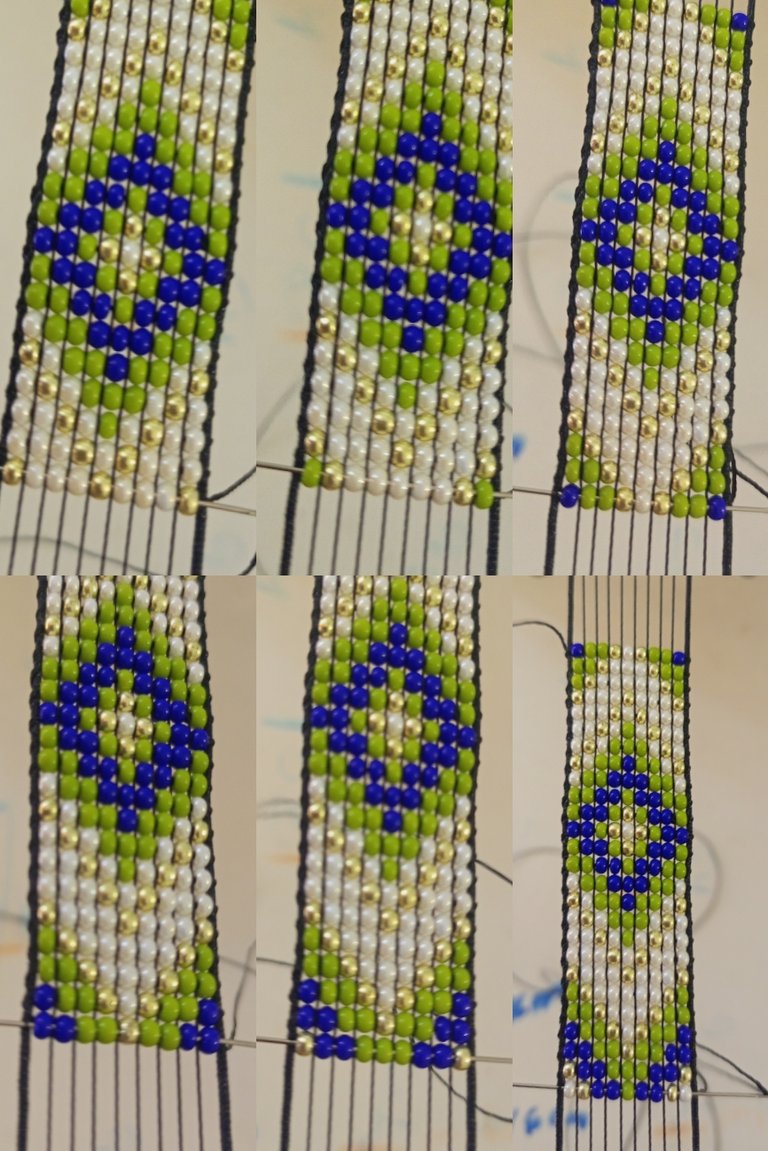
| En las siguientes imagenes vemos la parte central del brazalete que ocupa 28 columnas. Y forma una pieza principal en forma de X. | In the following images we see the central part of the bracelet that occupies 28 columns. And it forms a main piece in the shape of X. |
| Paso 6 | Step 6 |
|---|---|
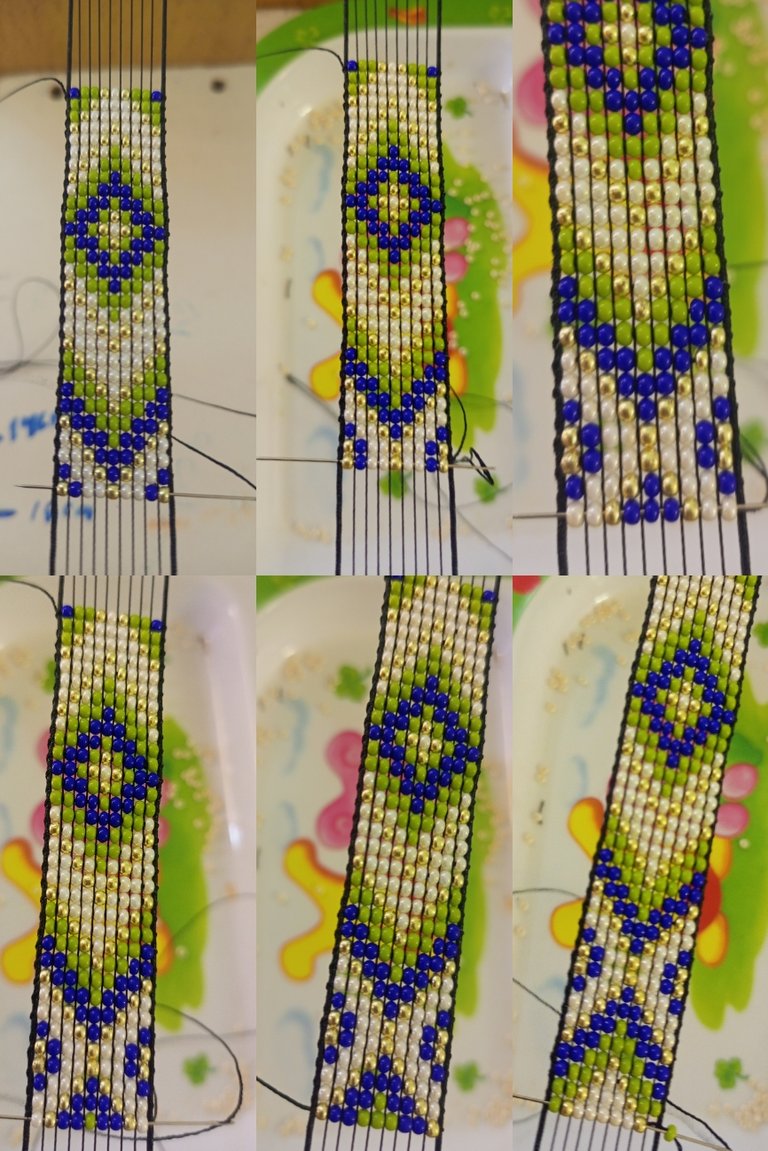
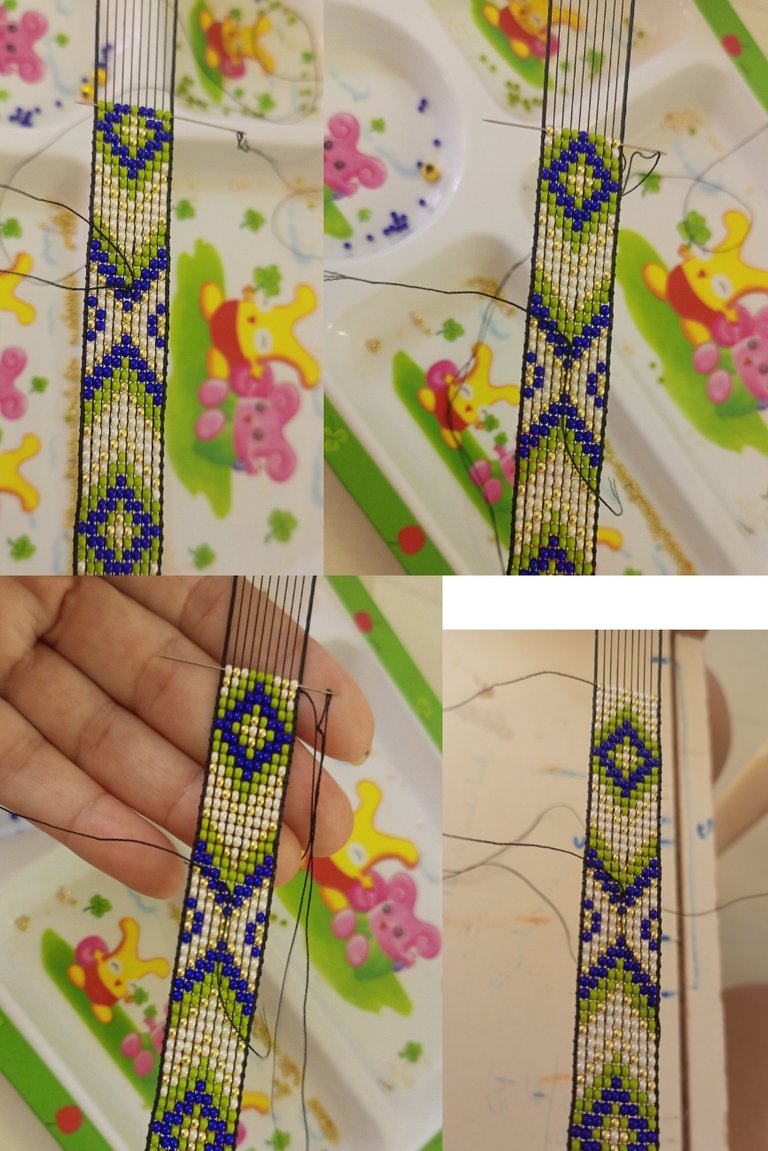
| El siguiente paso es la culminación de la última parte del brazalete. | The next step is the completion of the last part of the bracelet. |
| Paso 7 | Step 7 |
|---|---|
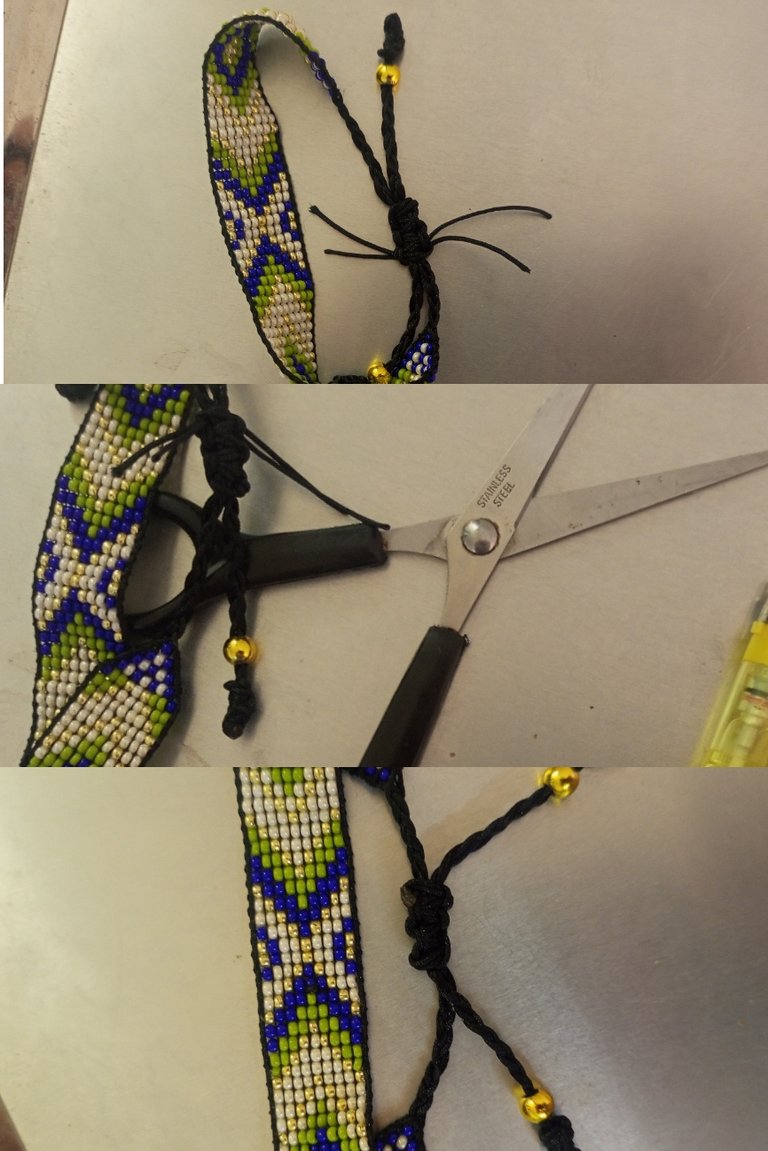
| En este paso haremos los terminales de cada lado son 9 filas, iremos reduciendo de dos en dos, primero 7, 5, 3 y por último 1. Es importante ir rematando en las primera y última mostacilla. No debemos apretar tampoco mucho para que no se tuerza. El hilo que quede de excedente lo regresamos a la estructura del brazalete, entretejiendo para que no se suelte, cortamos y quemamos con el yesquero. | In this step we will make the terminals on each side are 9 rows, we will reduce two by two, first 7, 5, 3 and finally 1. It is important to finish off in the first and last beads. We must not tighten too much so that it does not twist. The excess thread is returned to the structure of the bracelet, interweaving so that it does not come loose, cut and burn with the tinder. |

| Paso 8 | Step 8 |
|---|---|
| Bajamos nuestro brazalete cortando los hilos del telar. Teji con una trenza de tres introduje el balin e hice un nudo pescador de tres vueltas, corté y quemé el excedente del hilo. Repetí el procedimiento del otro lado. Corté un hilo de 15 cm de largo y con esto cerre el brazalete con 5 nudos planos macramé. | We lowered our bracelet by cutting the threads of the loom. I wove with a braid of three, introduced the ball and made a fisherman's knot of three turns, cut and burned the excess thread. I repeated the procedure on the other side. I cut a 15 cm long thread and with this I closed the bracelet with 5 flat macramé knots. |
| Despedida | Farewell |
|---|---|
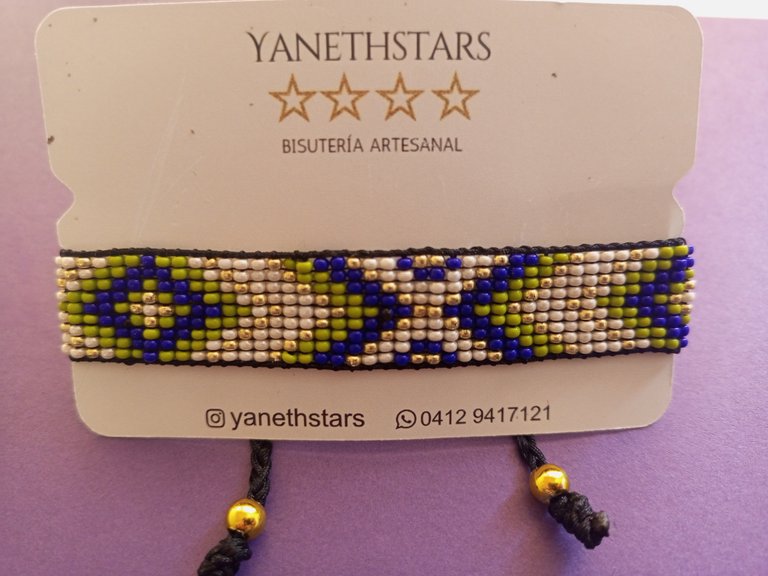
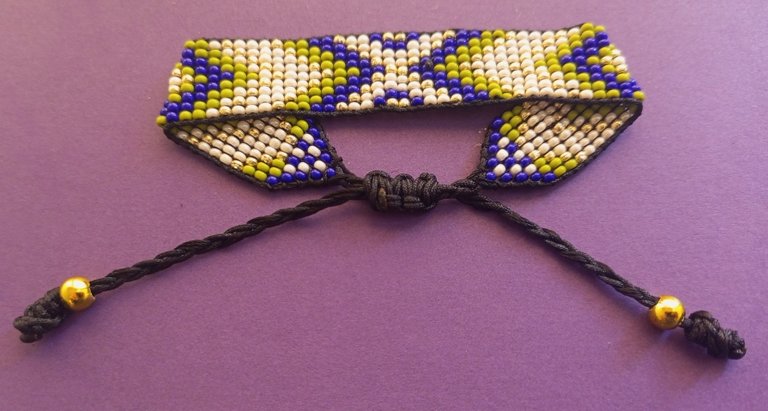
| Y está es mi propuesta del día de hoy HERMOSO BRAZALETE DE MOSTACILLAS TEJIDO EN TELAR. Un post hecho con amor, espero les guste y disfruten mi post. | And this is my proposal for today BEAUTIFUL LOOM-WOVEN BEADS BRACELET. A post made with love, I hope you like it and enjoy my post. |
| Créditos | Credits |
|---|---|
| Traductor: www.DeepL.com/Translator (free version).Las fotos fueron tomadas con mi Celular Tecno Sport 7T. Foto de portada editada con Canva y PhotoRoom Banner editado con Canva. Patron: https://images.app.goo.gl/nDWEaoLxKGnokedKA. | Translator: www.DeepL.com/Translator (free version).The photos were taken with my Tecno Sport 7T cell phone. Cover photo edited with Canva y PhotoRoom. Banner edited with Canva. Patron: https://images.app.goo.gl/nDWEaoLxKGnokedKA |
Guao amiga admiro su trabajo, es hermoso, me encanta.
Gracias amiga. Saludos
Nos encanta ver tu creatividad y lo fácil que haces ver el proyecto, y nos complace ver esa tarjeta que has creado de tu marca 😉💫 sin duda es hermoso felicidades
Siii 😊, comencé a hacer bisutería para compartir en esta comunidad, y descubrí que tenía el talento para crear, y he comenzado a emprender con mi propio negocio. Yanethstars bisutería artesanal. Por lo que estoy muy agradecida primeramente de Dios, y de Hive y de nuestra linda comunidad Jewelry por su apoyo a mi contenido, esto me ha servido para poder invertir y poder hacer mi sueño realidad. Han sido un impulso y plataforma para mí negocio. Muy agradecida.
I love the steps for the technique applied to make the bracelet.
Thank you, best regards 🤗
!WOC
Well done on Woc, @yanethstars! buiitre(4/5) is appreciative of the time and attention you've devoted to writing this post. Your efforts are truly valued.
You rock! @buiitre knows it, and that's why they sent you this gift of 0.2 WGOLD to remind you of your greatness.
BTW! WGOLD is the token of the War of Clans ecosystem, you can use it to have discounts in all our games or stake it and earn rewards now!
Thank you @buiitre for appreciating my work and for your gift. Much appreciated. Regards.
You did a great job here, I must commend your efforts, you have a talent.
Hello, thank you for your kind words. Thank you for visiting my post. Regards.