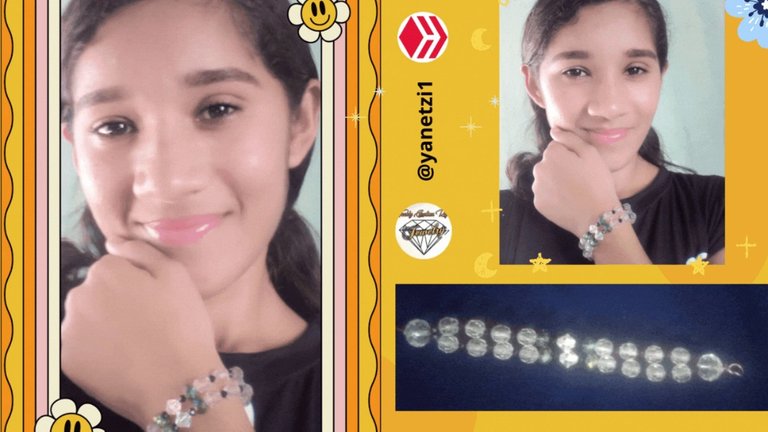
From the bottom of my heart I wish you much success in each of the areas of your lives, may God be with you always and may you always have the same desire to carry out all your projects.
Below I share with all of you the step by step:
The materials used are.
- Piqueta
- stones
- wire
- Small diamonds
Procedure
**Step 1
Grab 2 wires and tie a knot so that the stones do not come out when you put them in 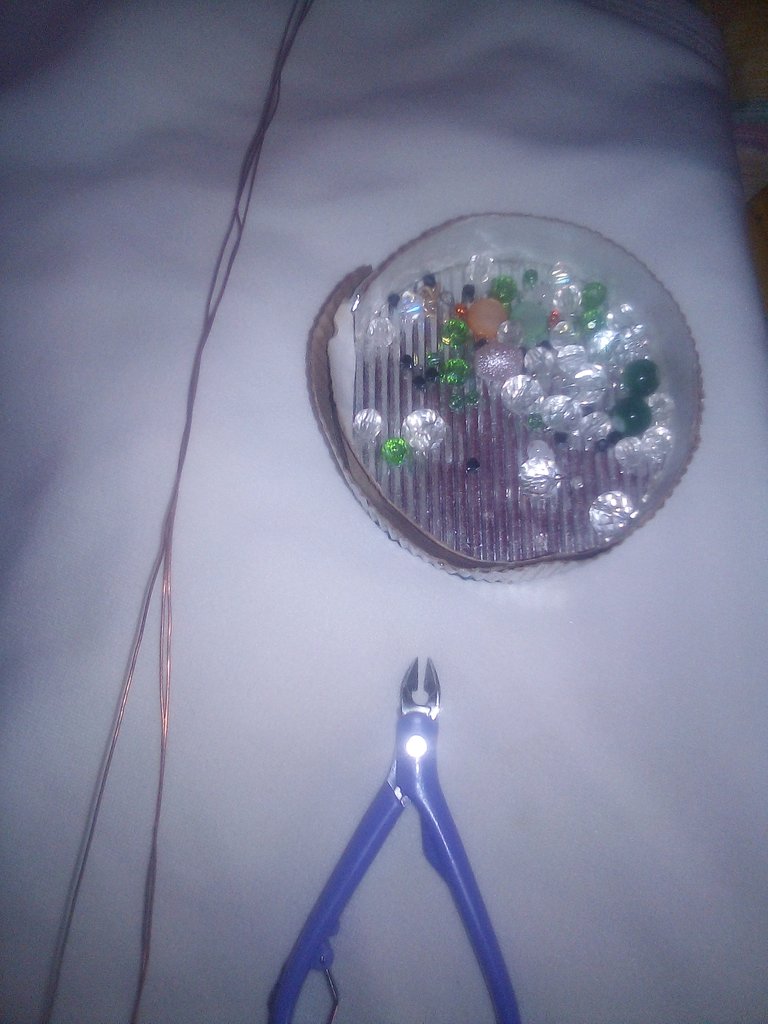
**Step 2
After having tied the knot, choose the stones and put one stone in each wire, a big one and a small one, until you count 5 stones.
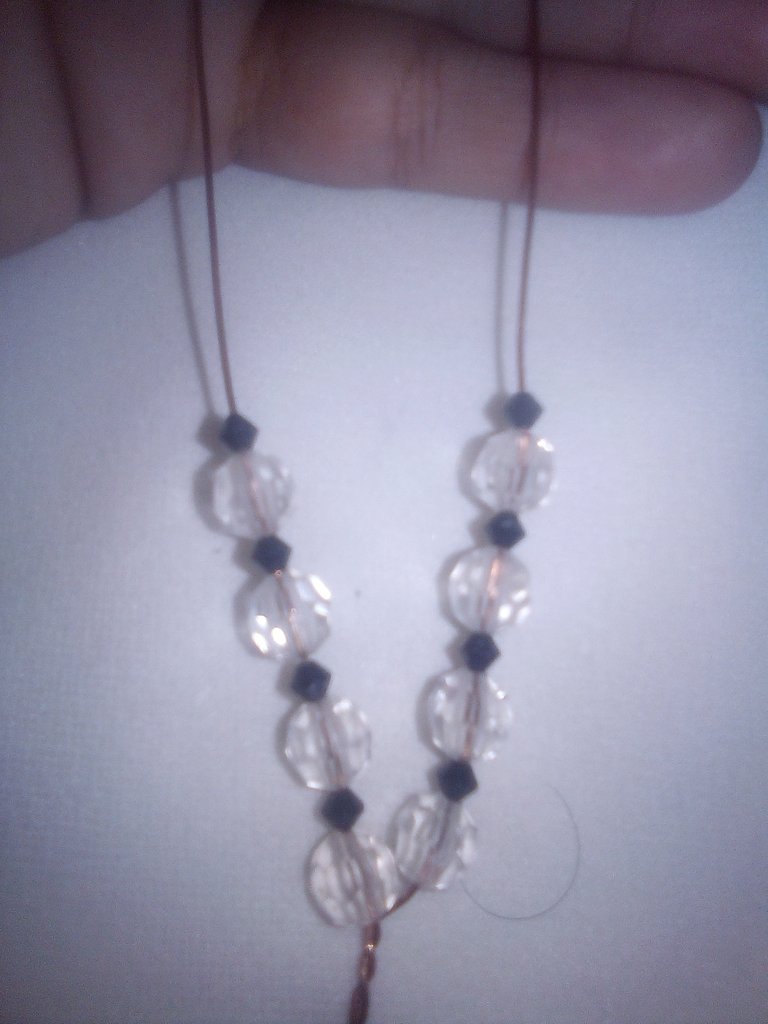
after the counted stones come the green diamonds, then once they are all ready, you will do the same procedure of counting the 5 big stones and four small ones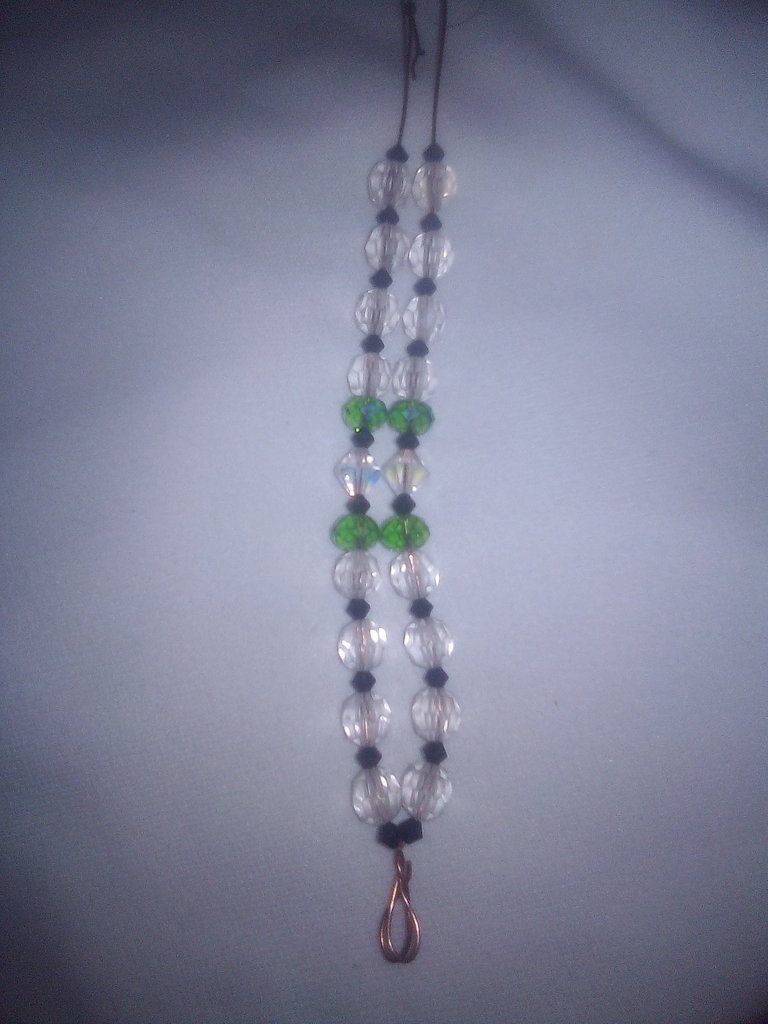
**Step 3
Once everything is done with the stones
with the pickaxe, turn one of the wires around the other one by turning it three times! https://images.ecency.com/DQmYJwKm9PPbbKHakGvq5PGvxfwNjxjqVEZSjgKqcocqr3M/img_20221125_094041.jpg
Once finished, it is cut and with the remaining wire a small circle is made where the brooch is going to be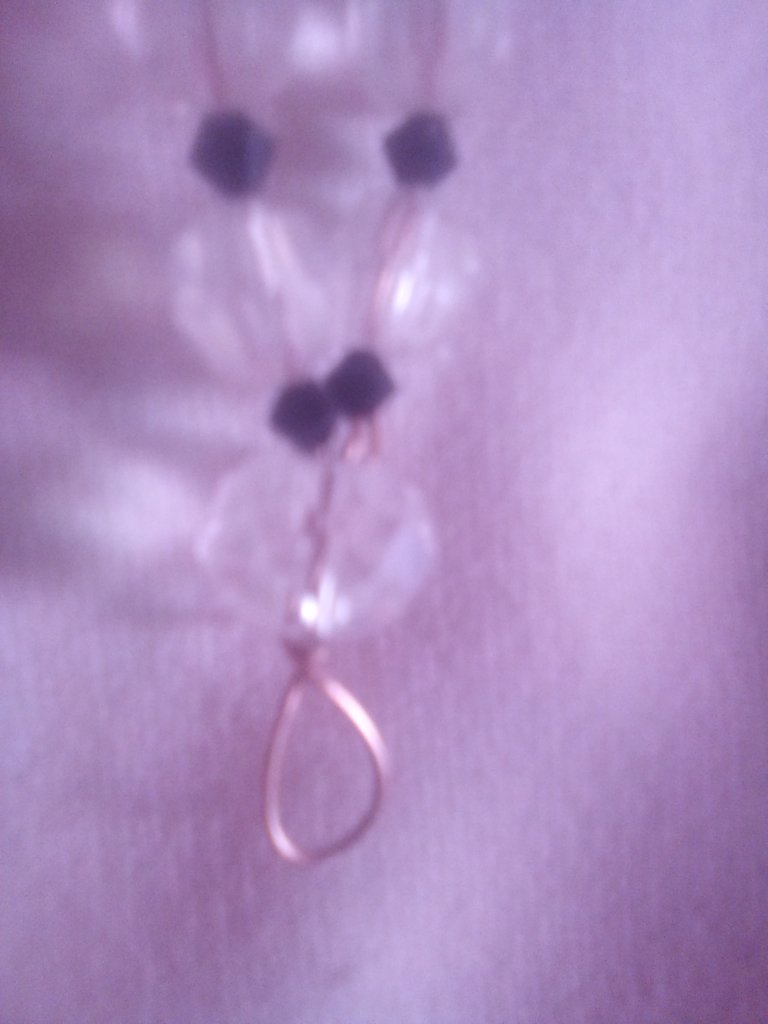
**Step 4
Once finished with the other side, with the pickaxe cut and leave a 1 CM long and will be giving the U shape is easy to use bracelet style and remove at the time .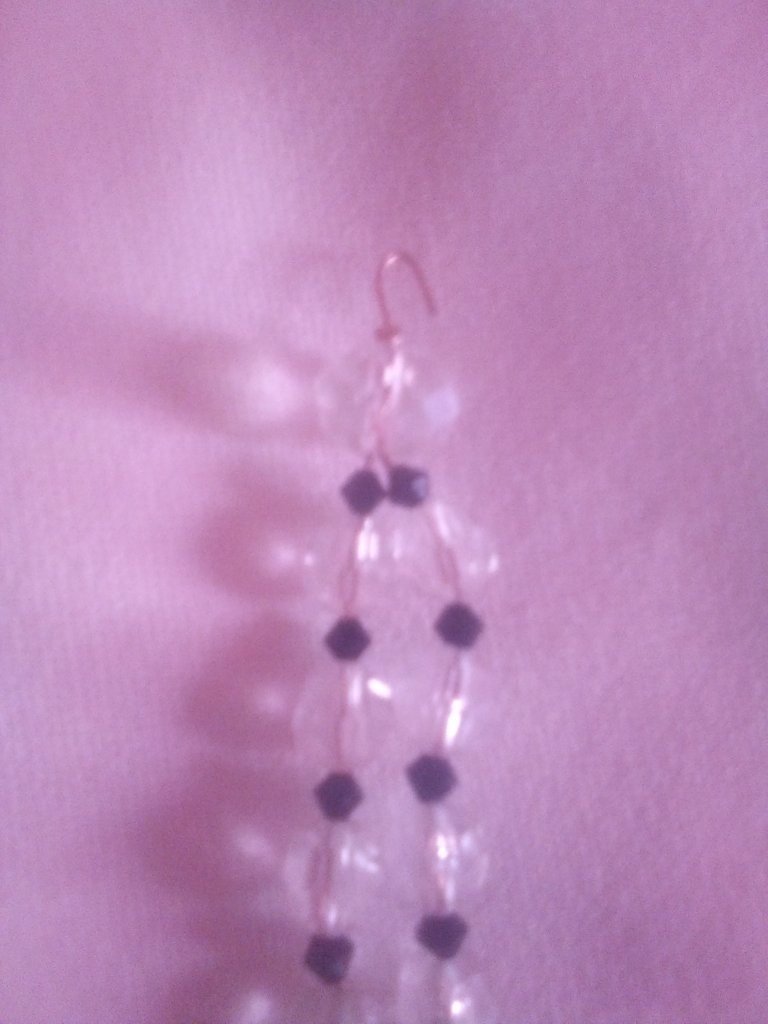
I hope you like the proposal that I have brought you this time. You can also make a necklace by rolling the main stone. I know you are very ingenious and you will be able to achieve this beautiful piece.
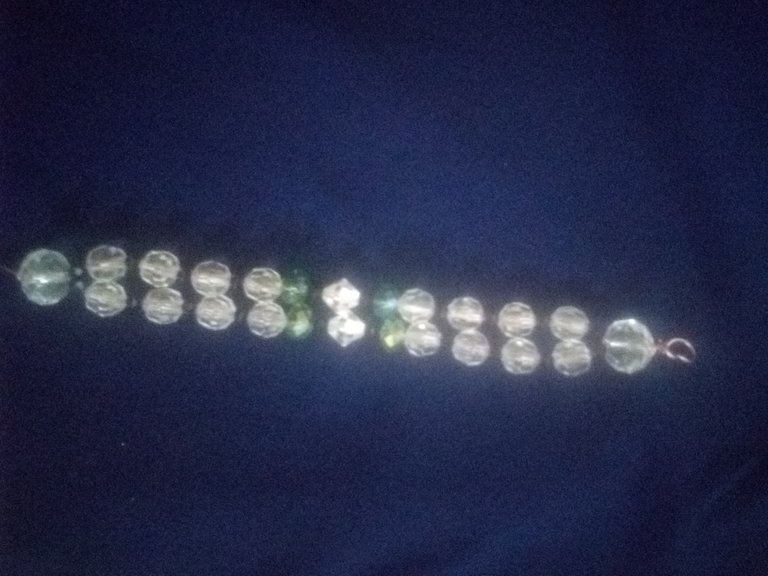
I look forward to your comments and opinions about these tendrils. I say goodbye to you thanking you for your receptivity and for this nice relationship that has started in Hive.
Thank you very much dear friends of Hive!
- The images are of my authorship and were taken through an Alcatel1 Phone.
Translator used: Deepl
The editing of the photos was done using the Polish Photo Editor application and the separators were edited in canva.
De todo corazón les deseo muchos éxitos en cada una de las áreas de sus vidas, que Dios les acompañe siempre y que siempre tengan las mismas ganas de poder realizar todos sus proyectos.
A continuación comparto con todos ustedes el paso a paso:
Los materiales utilizados son
- Piqueta
- piedras
- alambre
- Diamantes chiquitos
Procedimiento
Paso 1
Se agarra 2 alambres y se hace un nudo así no permite que al meter las piedras se salgan 
Paso 2
Luego de haber echo el nudo se va escogiendo las piedras y se van metiendose de una piedra en cada alambre una grande y una pequeña así hasta contar 5 piedras

luego de las piedras contadas viene los diamantes verdes luego una vez ya todos listos lo que se va hacer es hacer el mismo procedimiento de contar las 5 piedras grandes y cuatro pequeñas .
Paso 3
Una vez ya realizado todo lo de las piedras
con la piqueta se va girando con uno de los alambres alrededor del otro dándole un giro de tres veces
, ya terminado se corta y con el que quede se hace un círculo pequeño que va hacer donde va a ir el broche.
Paso 4
Una vez ya terminado con el otro lado , con la piqueta se corta y se deja un 1 CM de largo y se le va dando la forma de U queda estilo brazalete fácil de usar y de quitar al momento .
Espero les guste la propuesta que les he traído en esta oportunidad. Pueden hacer también un collar enrollando la piedra principal. Se que son muy ingeniosos y podrán lograr esta bonita pieza.

Espero sus comentarios y opiniones acerca de estos zarcillos. Me despido de ustedes agradeciendo su receptividad y esta bonita relación que se ha iniciado en Hive.
Muchas Gracias queridos amigos de Hive!
- Las imagenes son de mi autoria y fueron Tomadas a traves de un Telefono Alcatel1.
Traductor utilizado: Deepl
La edicion de las fotos la realicé mediante la aplicaciones Editor de Fotos Polish y los separadores se editaron en canva.
muy bonita tu creacion.
Bienvenida a la comunidad, te ha quedado muy bonito tu proyecto, es bueno verte trabajar con alambre, y ver un lindo resultado.
Te invitamos a leer las normas de la comunidad, ya que los post en dos idiomas deben ser mayor de 1000 palabras, por ser nueva te dejamos las reglas para que las leas y puedas tomarlo en cuenta para futuros post.
Te esperamos pronto con un nuevo proyecto. 😉
Thank you for sharing this post on HIVE!
Your content got selected by our fellow curator ashikstd & you just received a little thank you upvote from us for your great work! Your post will be featured in one of our recurring compilations which are aiming to offer you a stage to widen your audience within the DIY scene of Hive. Next time make sure to post / cross-post your creation within the DIYHub community on HIVE and you will receive a higher upvote ;) Stay creative & HIVE ON!
Please vote for our hive witness <3
Qué bonito, felicidades!!