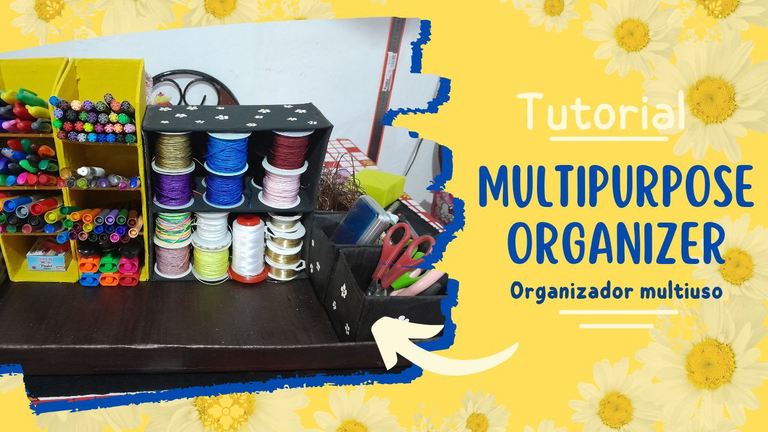
Hello hello, my creatives from the Diyhub community. How many of us don't have a work table which is always messy because we have more things than cubicles to organize? Well, that's how it happened a lot in my house, and I'm that kind of person who, when it comes to working, I like to have everything in its place and I spend my time organizing and in the end I end up exhausted and I lose the desire to get to work, That's why I thought of making this organizer for my work table. It's super practical because it has compartments for markers, threads, scissors, brushes, among other things that we want to place there. And the best thing is that it uses only recyclable material, so it is a super economical option that anyone could make only with cardboard, glue and paint in the cold although it is totally optional since the color of the cardboard is also very pretty. So I hope this idea inspires you to make your own work table.
Hola hola, mis creativos de la comunidad de Diyhub. ¿Cuántos de nosotros no tenemos una mesa de trabajo la cual siempre está desordenada porque tenemos más cosas que cubículos para ordenarlos? Pues así pasaba mucho en mi casa, y soy esa clase de persona que a la hora de trabajar me gusta tener todo en su sitio y se me pasa el tiempo ordenando y al final termino agotada y se me quitan las ganas de ponerme a trabajar, por eso se me ocurrió hacer este organizador para mi mesa de trabajo, es super practica porque tiene compartidores para los marcadores, los hilos, las tijeras, los pinceles, entre otras cosas que queramos ubicar allí. Y lo mejor es que use solo material reciclable, por lo que es una opción super económica que cualquiera podría hacer solo con cartón, pega y pintura al frío aunque es totalmente opcional ya que el color del cartón también es muy bonito. Así que espero que esta idea le sirva a ustedes para inspirar a hacer su propia mesa de trabajo.
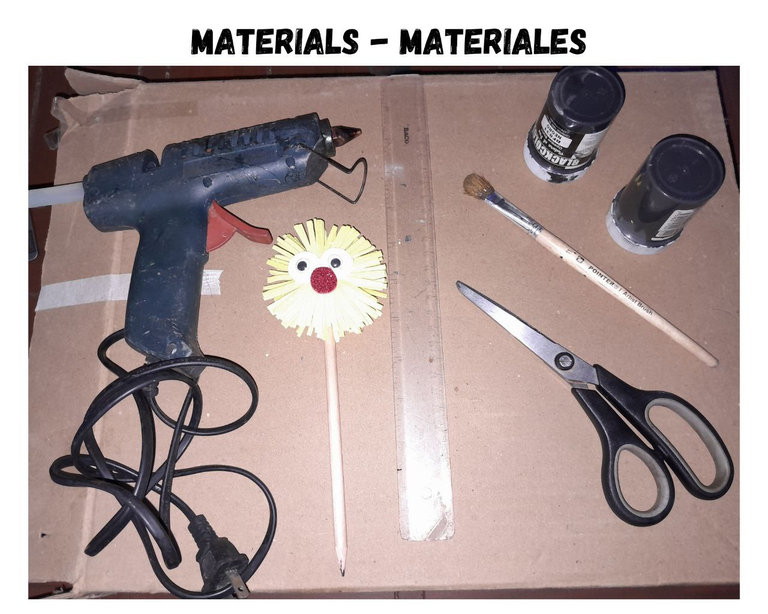
Materials:
- Cardboard.
- Pencil.
- Scissors.
- Ruler.
- Brush.
- Cold paint.
- White sheet.
- Job.
- Silicone.
Materiales:
- Cartón.
- Lápiz.
- Tijera.
- Regla.
- Pincel.
- Pintura al frío.
- Hoja blanca.
- Pega.
- Silicón.
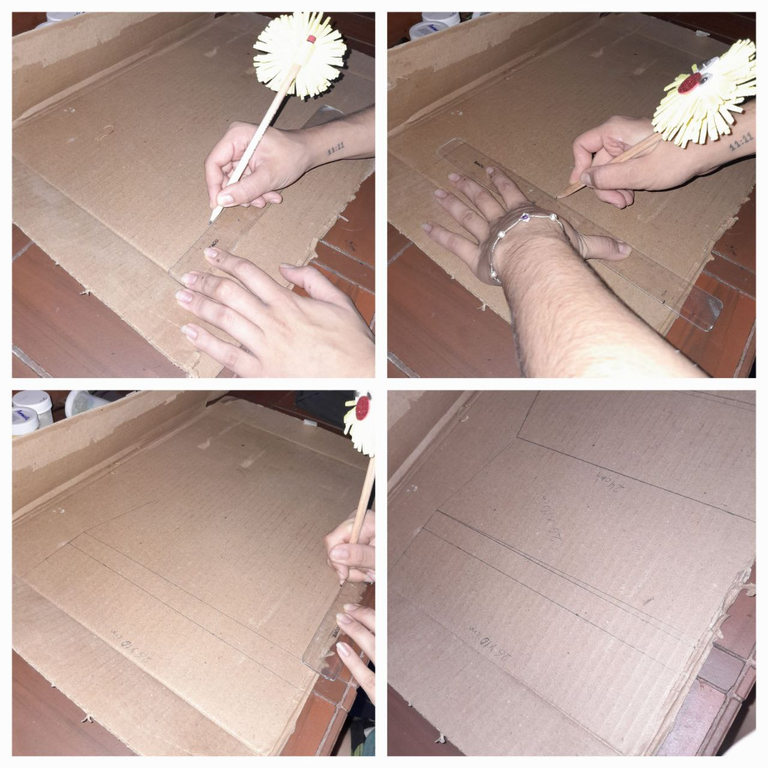
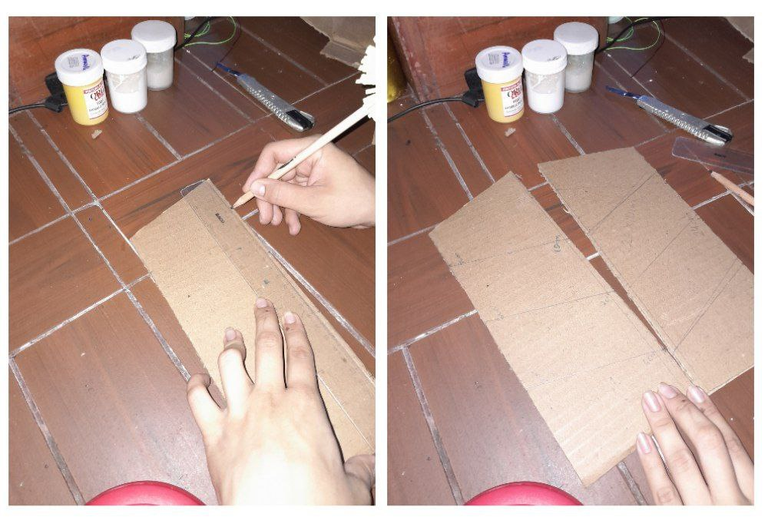
This organizer is based on four parts, all totally easy. We will start by making some shelves for the markers, on the cardboard we are going to mark a box with the width and length of which we want our shelf, I made mine 26cm long by 8cm wide, I made the sides with the measurement of one end of 26cm and the other of 24cm so that I had one end in a diagonal shape. And 10cm wide.
Este organizador se basa en cuatro partes, todas totalmente fáciles. Empezaremos por hacer unos estantes para los marcadores, en el cartón vamos a marcar un cuadro con el ancho y el largo del que queremos nuestro estante, yo hice el mio de 26cm de largo por 8cm de ancho, he hice los laterales con la medida de un extremo de 26cm y el otro de 24cm para que me quedara un extremo de una forma diagonal. Y 10cm de ancho.
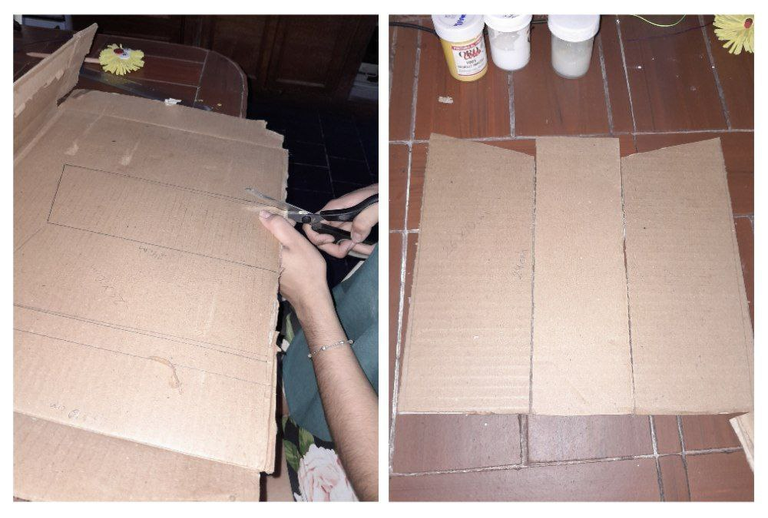
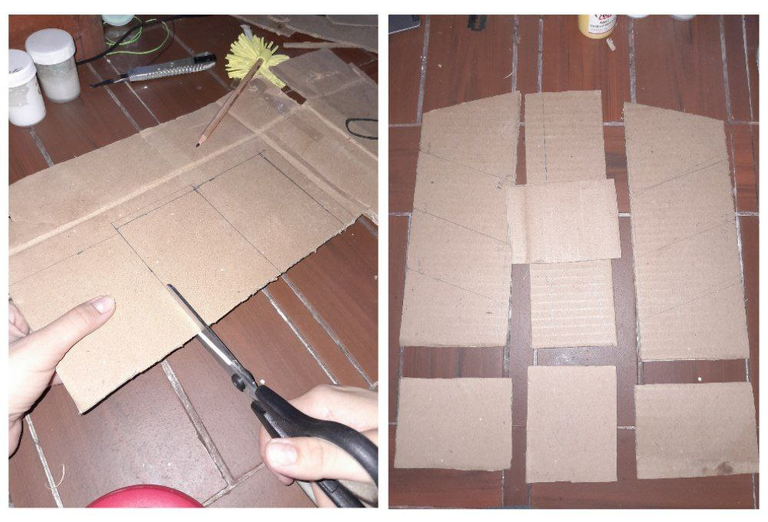
Now I proceed to cut all the frames separately.
Ahora paso a cortar todos los cuadros por separado.
With the ruler I am going to mark some lines of the divisions of the shelves in the side boxes. On the 24cm side I start leaving a space of 6cm and on the 26cm side a space of 10cm. And I leave 10cm of distance between lines.
Con la regla voy a marcar en los cuadros de los laterales unas líneas de las divisiones de los estantes. En el lado de 24cm comienzo dejando un espacio de 6cm y en el lado de 26cm un espacio de 10cm. Y dejo 10cm de distancia entre líneas.
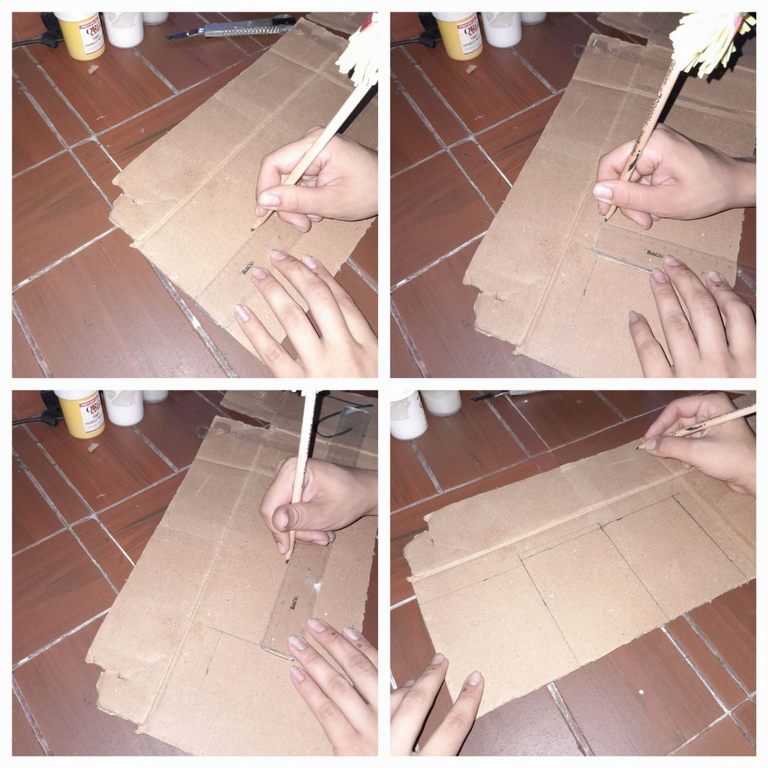
I am going to draw a 7cmx9cm square for the base of the shelf. And for the divisions I am going to draw three squares of 10.50cm x 7cm.
Voy a dibujar un cuadro de 7cmx9cm para la base del estante. Y para las divisiones voy a dibujar tres cuadros de 10,50cm x 7cm.
I start cutting them and I have the pieces ready to assemble the shelf.
Paso a cortarlos y ya tengo lista las piezas para armar el estante.
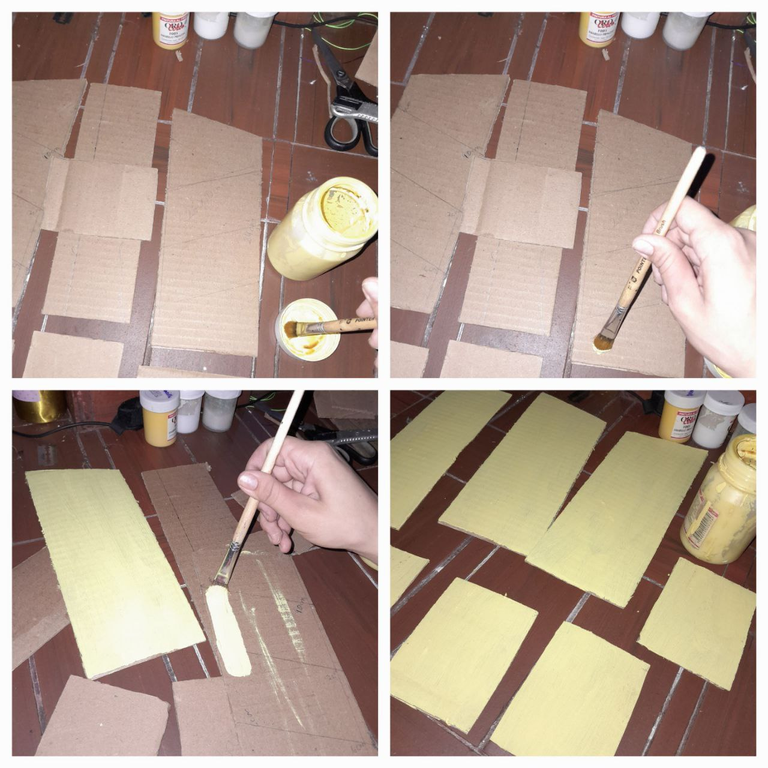
I am going to paint all the pieces the same color and on both sides, I chose a light yellow color. And I wait for them to dry completely.
Voy a pintar todas las piezas de un mismo color y por ambas caras, yo escogí un color amarillo claro. Y espero a que sequen completamente.
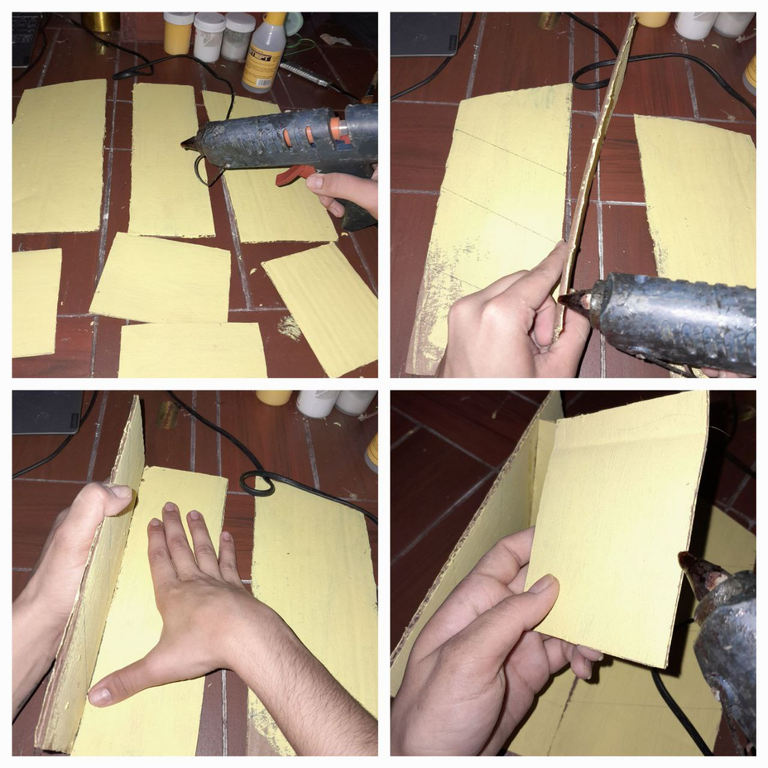
Once dry I am going to glue all the pieces, I start by gluing one of the sides to the center, and then I glue the divisions in the marked area. And I proceeded to glue the other side and finished with the base.
Una vez seco voy a pasar a pegar todas las piezas, comienzo pegando uno de los laterales al centro, y luego pego las divisiones en la zona marcada. Y procedo a pegarle el otro lateral y finalizó con la base.
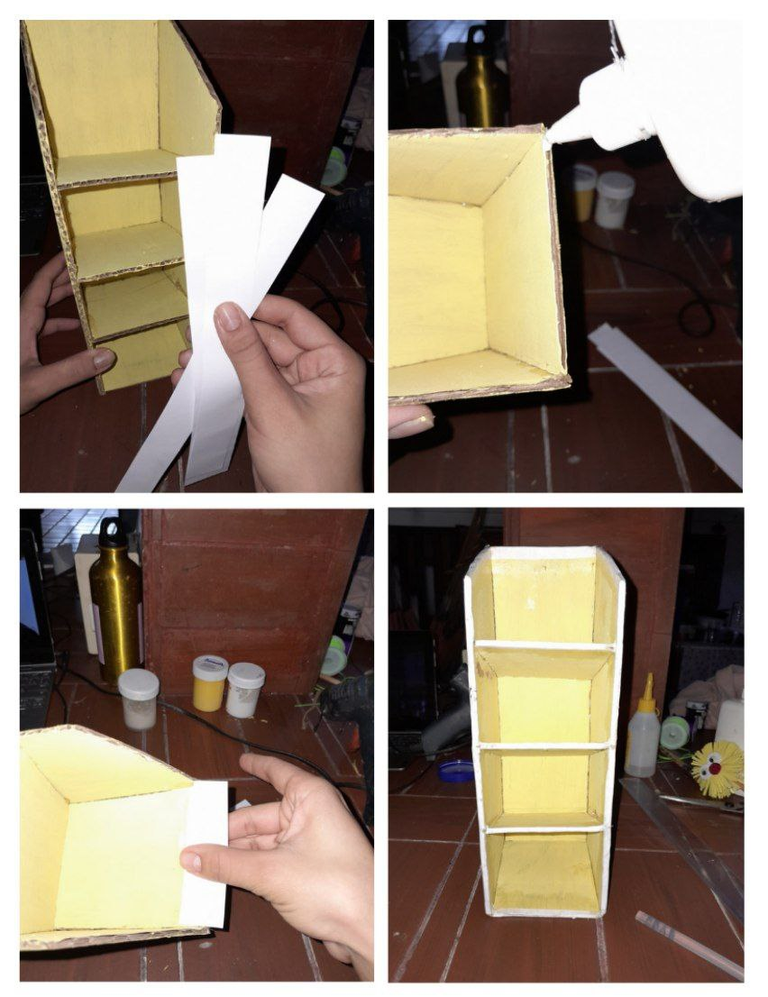
To cover the imperfections on the edges I am going to take some strips of white leaves and glue them with liquid glue.
Para tapar las imperfecciones de los bordes voy a tomar unas tiras de hojas blancas y las pego con pega líquida.
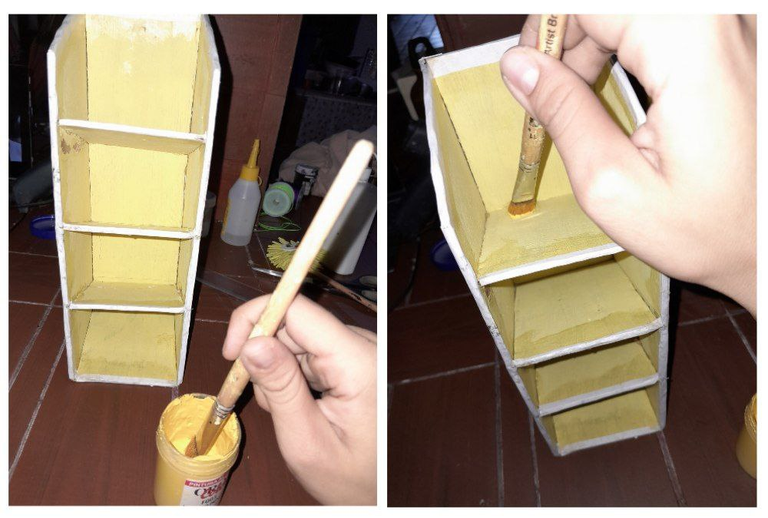
Now I am going to use a yellow paint a little darker than the previous one to give it a second coat and cover the pieces of paper.
Ahora voy a utilizar una pintura amarilla un poco más oscura que la anterior para darle una segunda mano y tapar los pedazos de papel.
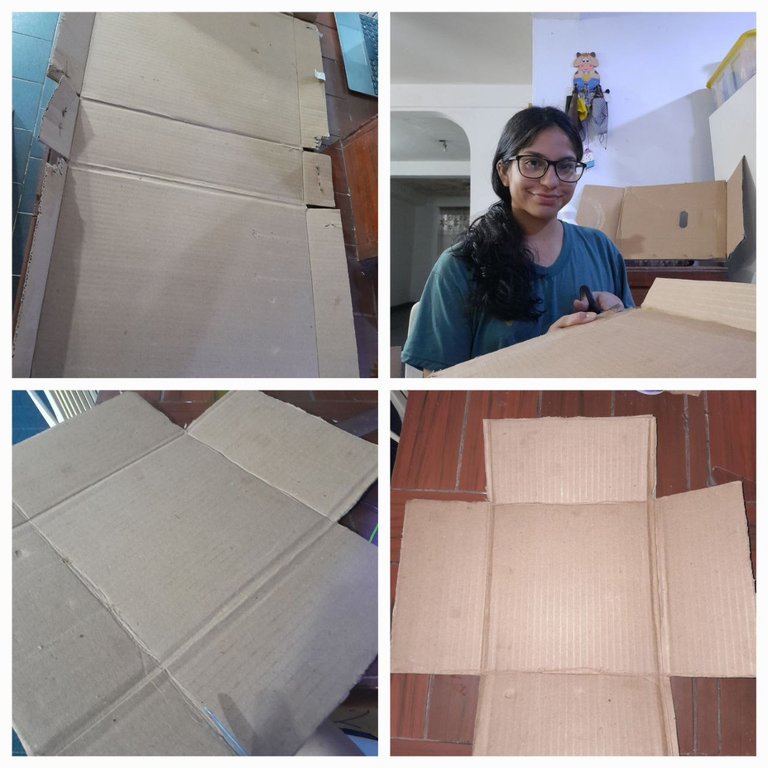
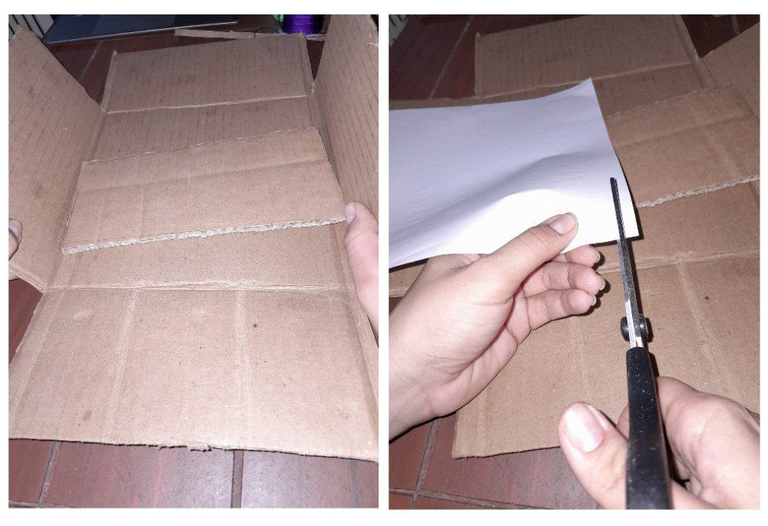
I am going to move on to the next part of the box, I take another cardboard and I am going to draw a 20cmx20cm box with four 10cm wings. And separately I cut a 10cm x 10cm square that will be the division of the box.
Voy a pasar con la siguiente parte de la caja, tomo otro cartón y voy a dibujar un cuadro de 20cmx20cm y con cuatro alas de 10cm. Y aparte corto un cuadro de 10cm x 10cm que sera la división de la caja.
I am going to cover the edges of this box before assembling it.
A esta caja le voy a forrar los bordes antes de armarlao.
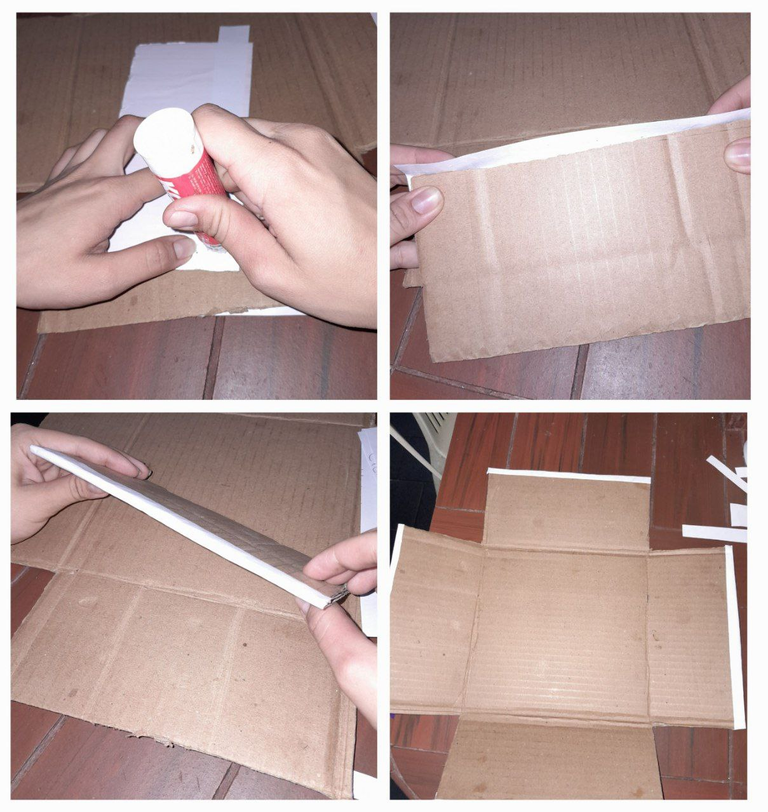
So I cut some strips and with a glue stick I proceed to glue the strips on the edges.
Así que corto unas tiras y con pega en barra paso a pegar las tiras en los bordes.
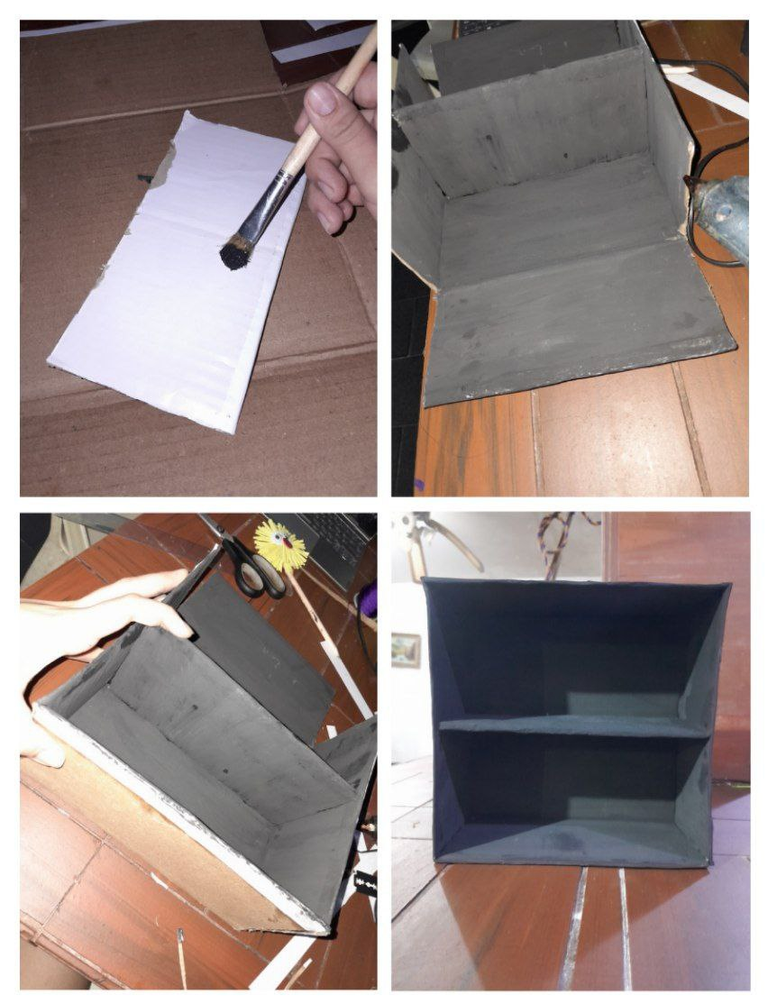
For this box I chose a black color, I painted it and once dry I proceeded to glue all the ends.
Para esta caja escogí un color negro, la pinte y una vez seca procedí a pegar todos los extremos.
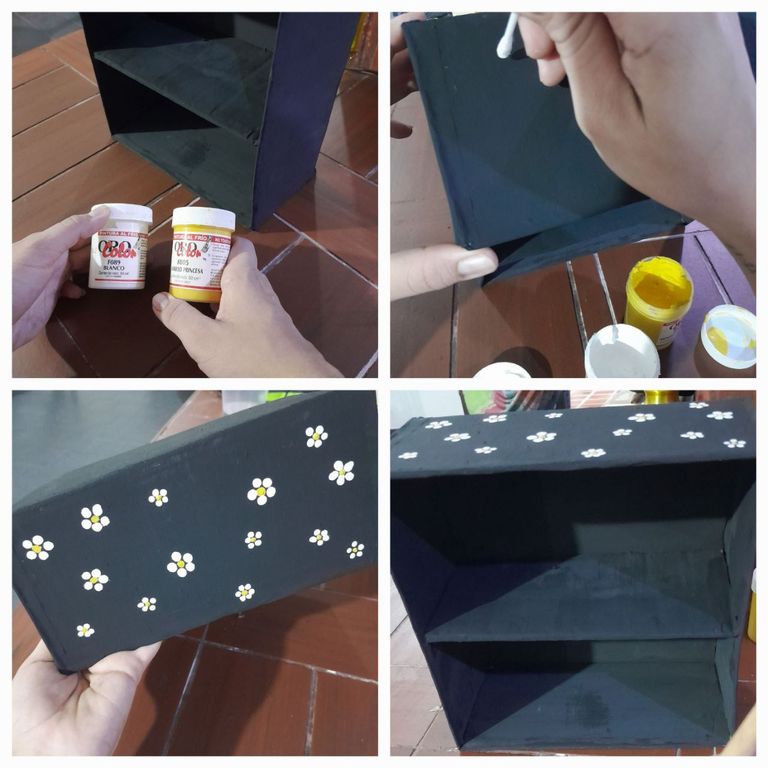
This box was that simple but I wanted to make some details so I took a cotton swab and with white and yellow paint I made some small flowers on the top.
Así de sencilla fue esta caja pero quise hacerle unos detalles así que tomé un hisopo y con pintura blanca y amarilla hice unas pequeñas flores por la parte de arriba.
For the other part I will make some small simple boxes. I'm going to mark five squares along 8cmx8cm and two squares of the same size on the sides of the middle square, and make some flaps to close the box.
Para la otra parte haré unas pequeñas cajitas sencillas. Voy a marcar cinco cuadros a lo largo de 8cmx8cm y dos cuadros del mismo tamaño a los lados del cuadro del medio, y les hago unas solapas para cerrar la caja.
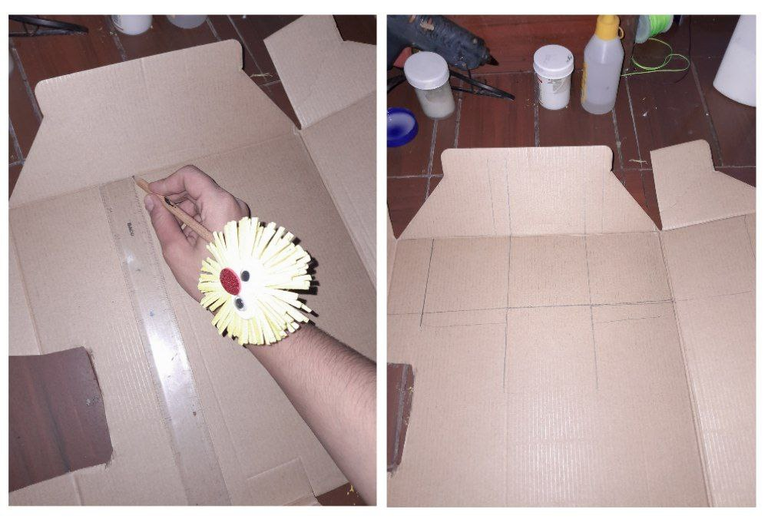
And I'm going to cut it out. Once ready, with the help of a ruler I'm going to fold the folds.
Y paso a recortarla, una vez lista con ayuda de una regla voy a doblar los dobleces.
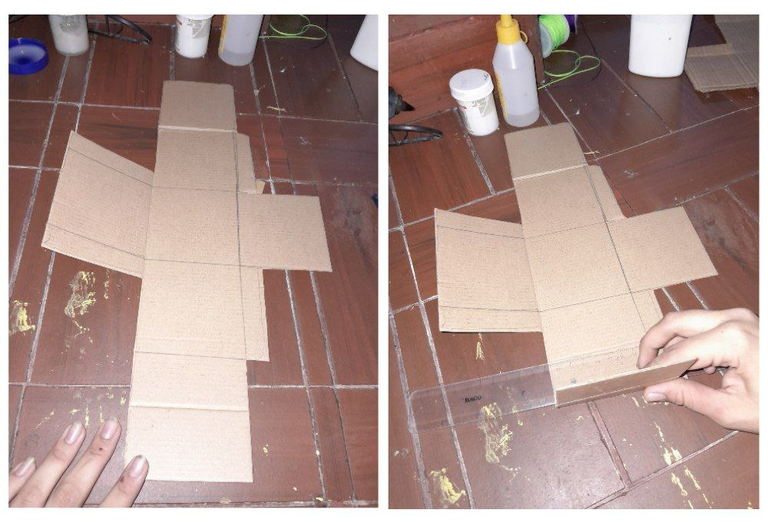
Now I am going to assemble it by adding a little silicone to the flaps of the box and gluing them on the inside.
Ahora voy a armarla echando un poco de silicon a las solapas de la caja y pegandolas por dentro.
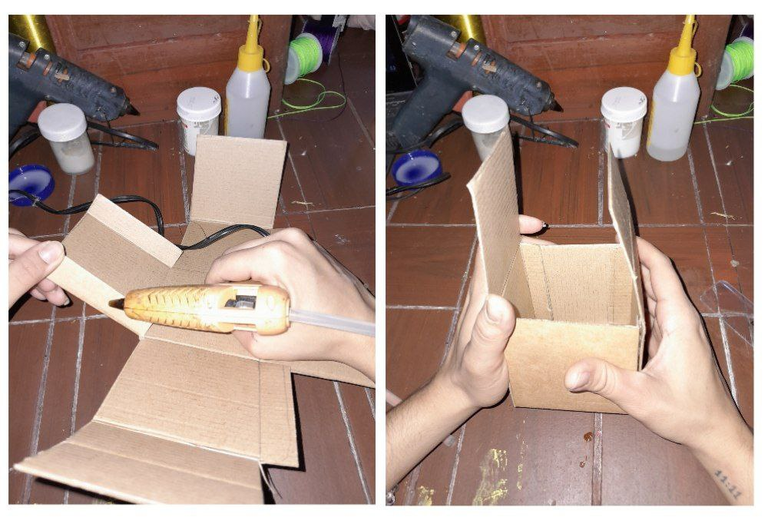
17.- I am going to fold the remaining squares into the box to give the box more stability.
Los cuadritos sobrantes voy a a doblarlos hacia adentro de la caja para darle más estabilidad a la caja.
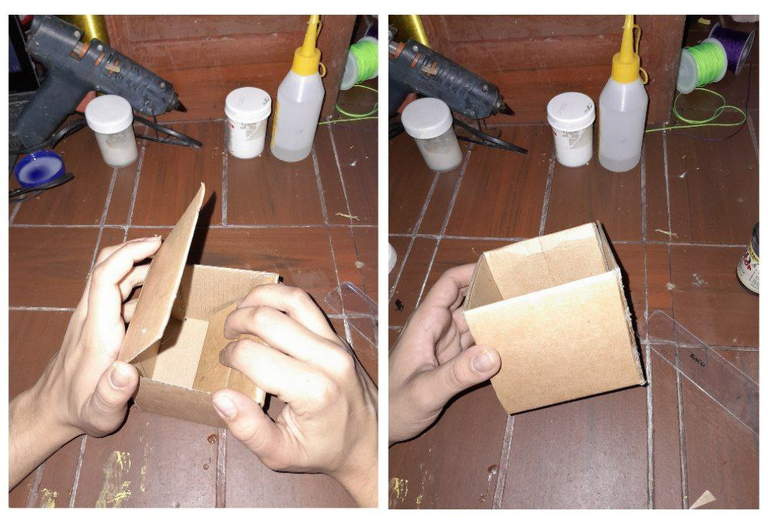
For this box I chose the same color and the same design as the previous one, I painted them black.
Para esta cajita escogí el mismo color y el mismo diseño del anterior, pase a pintarlas con el color negro.
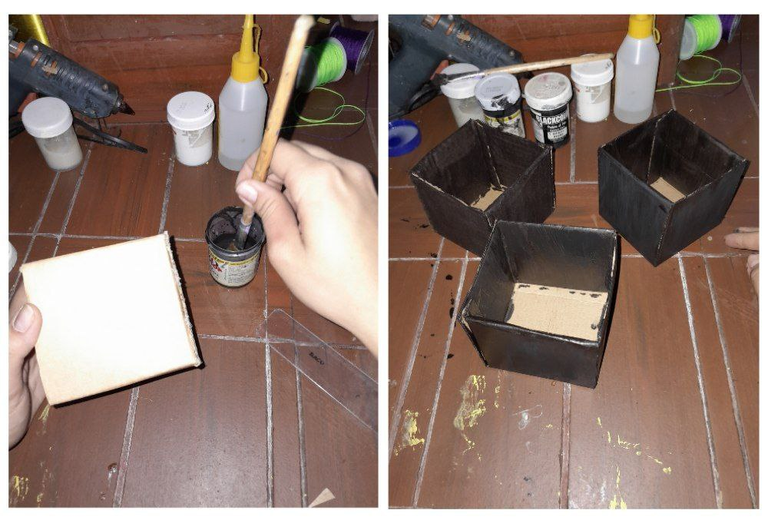
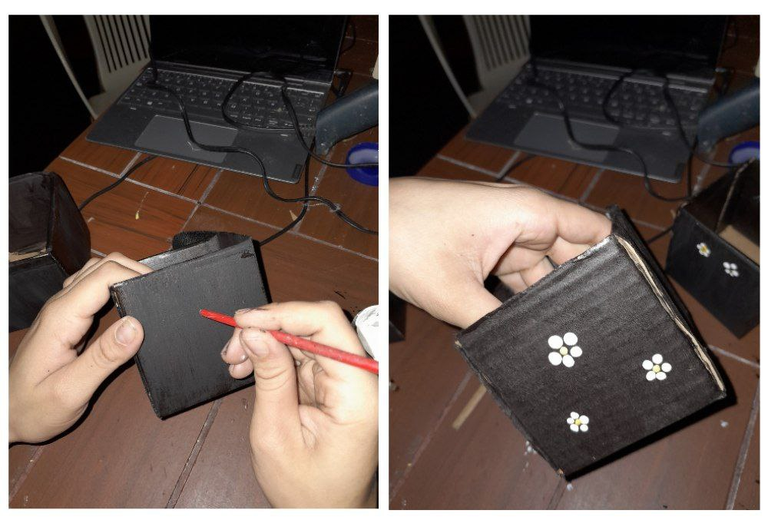
And once it was dry I began to draw the details.
Y una vez seca comencé a dibujar los detalles.
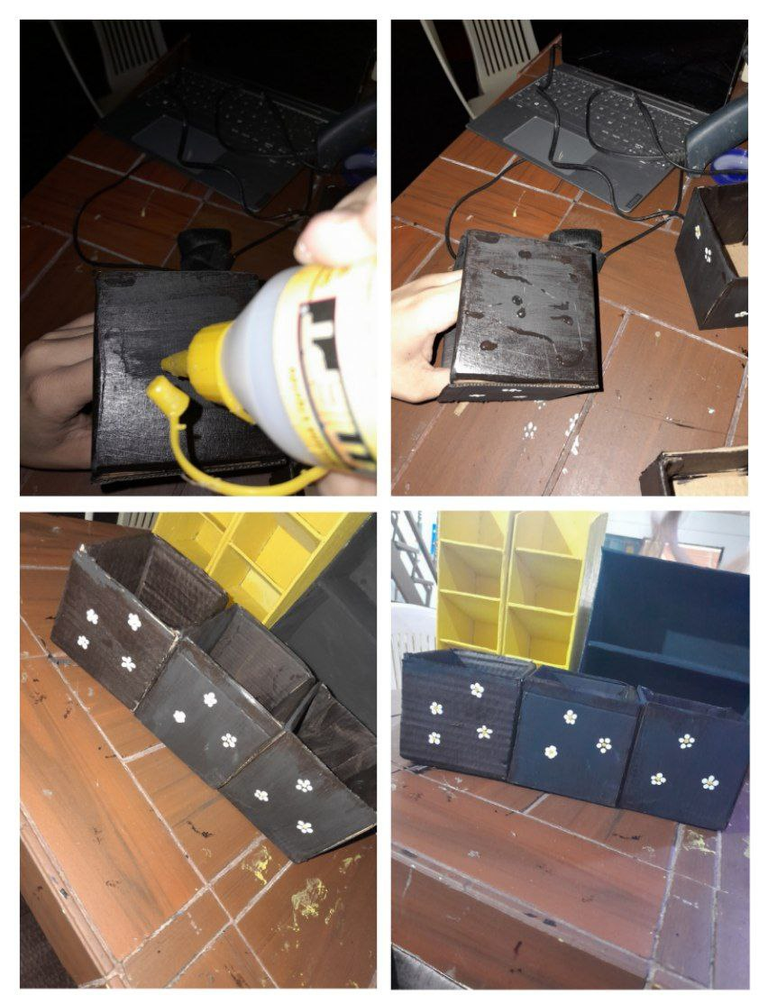
I decided to join these three boxes together so I placed silicone on the sides and glued them together.
Estas tres cajitas yo decidí unirlas por lo que le coloque silicon a los laterales y pegue unas con otras.
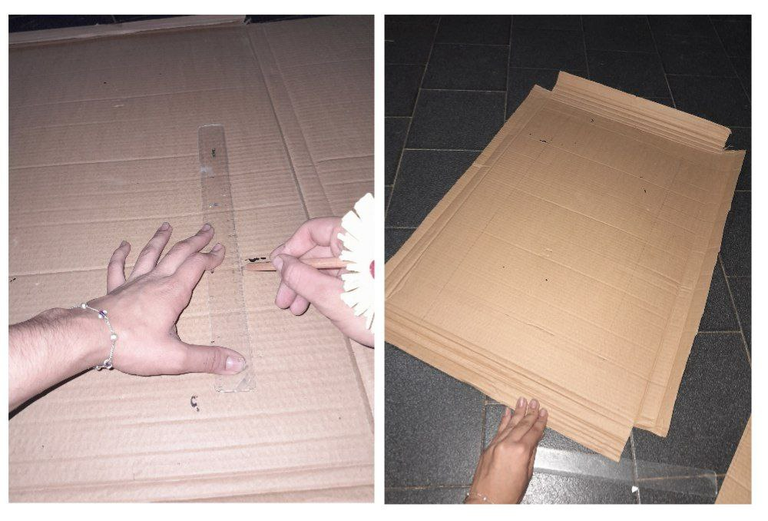
Now yes, the fourth part will be to make the base where we will place all the boxes that we have made, so the size will depend on the way we want to organize it. I made a 48cm x 27cm box. And I left some 9cm spaces for the 3cm sides.
Ahora si, la cuarta parte será hacer la base donde colocaremos todas las cajas que hemos hecho por lo que el tamaño va a depender de la manera en que queramos organizarla. Yo hice una caja de 48cm x 27cm. Y dejé unos espacios de 9cm para los laterales de 3cm.
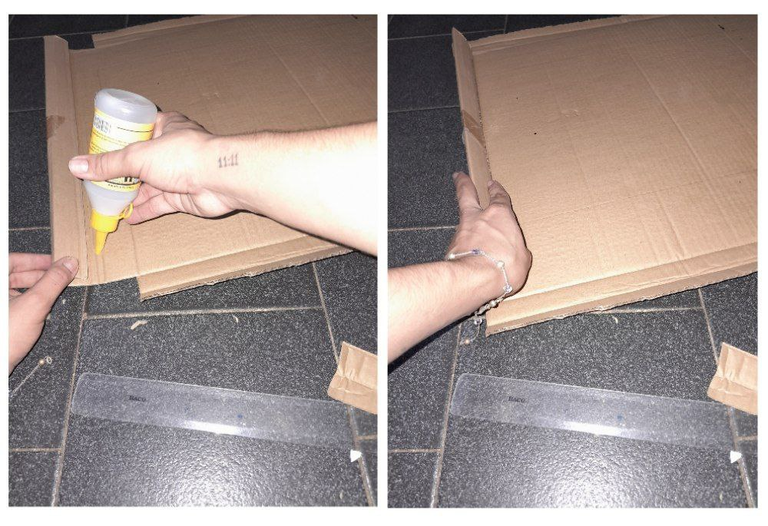
With silicone, glue the 3cm folds on the sides.
Con silicon pegue los dobleces de 3cm de los laterales.
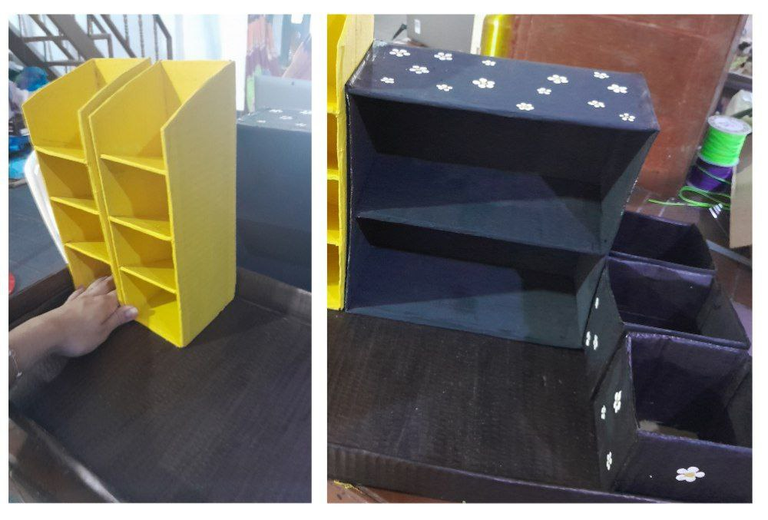
And once everything is glued, paint it with a dark brown tone.
Y una vez todos pegados pase a pintarla con un tono marrón oscuro.

And I started carrying all my boxes and organizing them the way I wanted them.
Y pase a llevar todas mis cajas y a organizarlas de la manera en la que la deseaba.
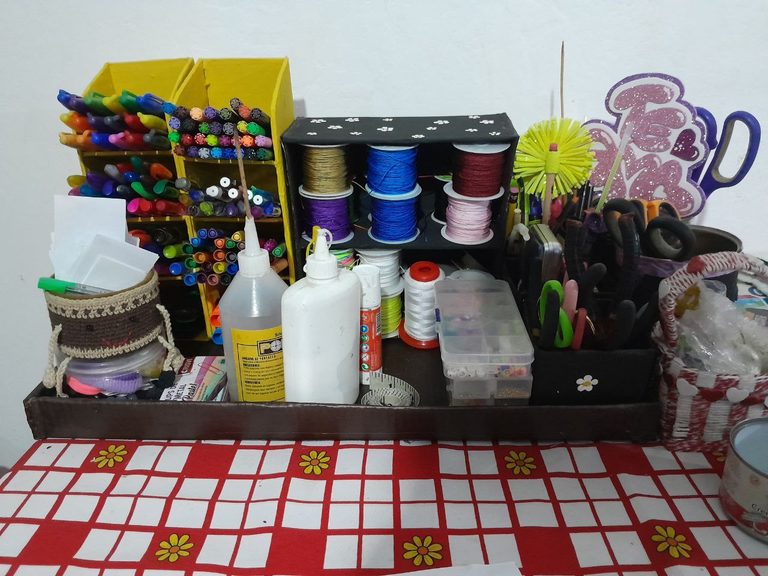
And well, I just have to fill it with my materials and I'm ready.
Y pues solo me quedo rellenarla con mis materiales y quedo lista.
Thank you very much for having accompanied me until the end and I hope you liked it, see you at the next meeting.
Muchas gracias por haberme acompañado hasta el final y espero les haya gustado, nos vemos en un próximo encuentro.
!diy
!discovery 30
This post was shared and voted inside the discord by the curators team of discovery-it
Join our Community and follow our Curation Trail
Discovery-it is also a Witness, vote for us here
Delegate to us for passive income. Check our 80% fee-back Program
This is a great piece of craft. Makes the space neat and organized. Well done.
You can query your personal balance by
@stevenson7 just sent you a DIY token as a little appreciation for your post dear @aarolita! Feel free to multiply it by sending someone else !DIY in a comment :) You can do that x times a day depending on your balance so:!DIYSTATSCongratulations @aarolita! You have completed the following achievement on the Hive blockchain And have been rewarded with New badge(s)
Your next target is to reach 15000 upvotes.
You can view your badges on your board and compare yourself to others in the Ranking
If you no longer want to receive notifications, reply to this comment with the word
STOPCheck out our last posts:
Hermoso y muy práctico. Te felicito. Este proyecto es de gran utilidad. Excelente explicación del paso a paso. Gracias por compartir 😌 me encantó.
Es un gran idea @aarolita, que gusto l hayas compartido, me fascino el proceso. Abrazos, felicidades nena.
Me encanta.... Está super genial tu idea y quedó muy bonito de verdad 😍 me encantaron las margaritas que pintaste 🌼
The final result is very nice and useful :) thanks for sharing!