Hola mis apreciados amigos de diyhub, ¡feliz noche! Es un placer compartir una vez más con todos ustedes. Les envío un fortísimo abrazo y muchas bendiciones.
Hello my dear diyhub friends, happy night! It is a pleasure to share once again with all of you. I send you a big hug and many blessings.
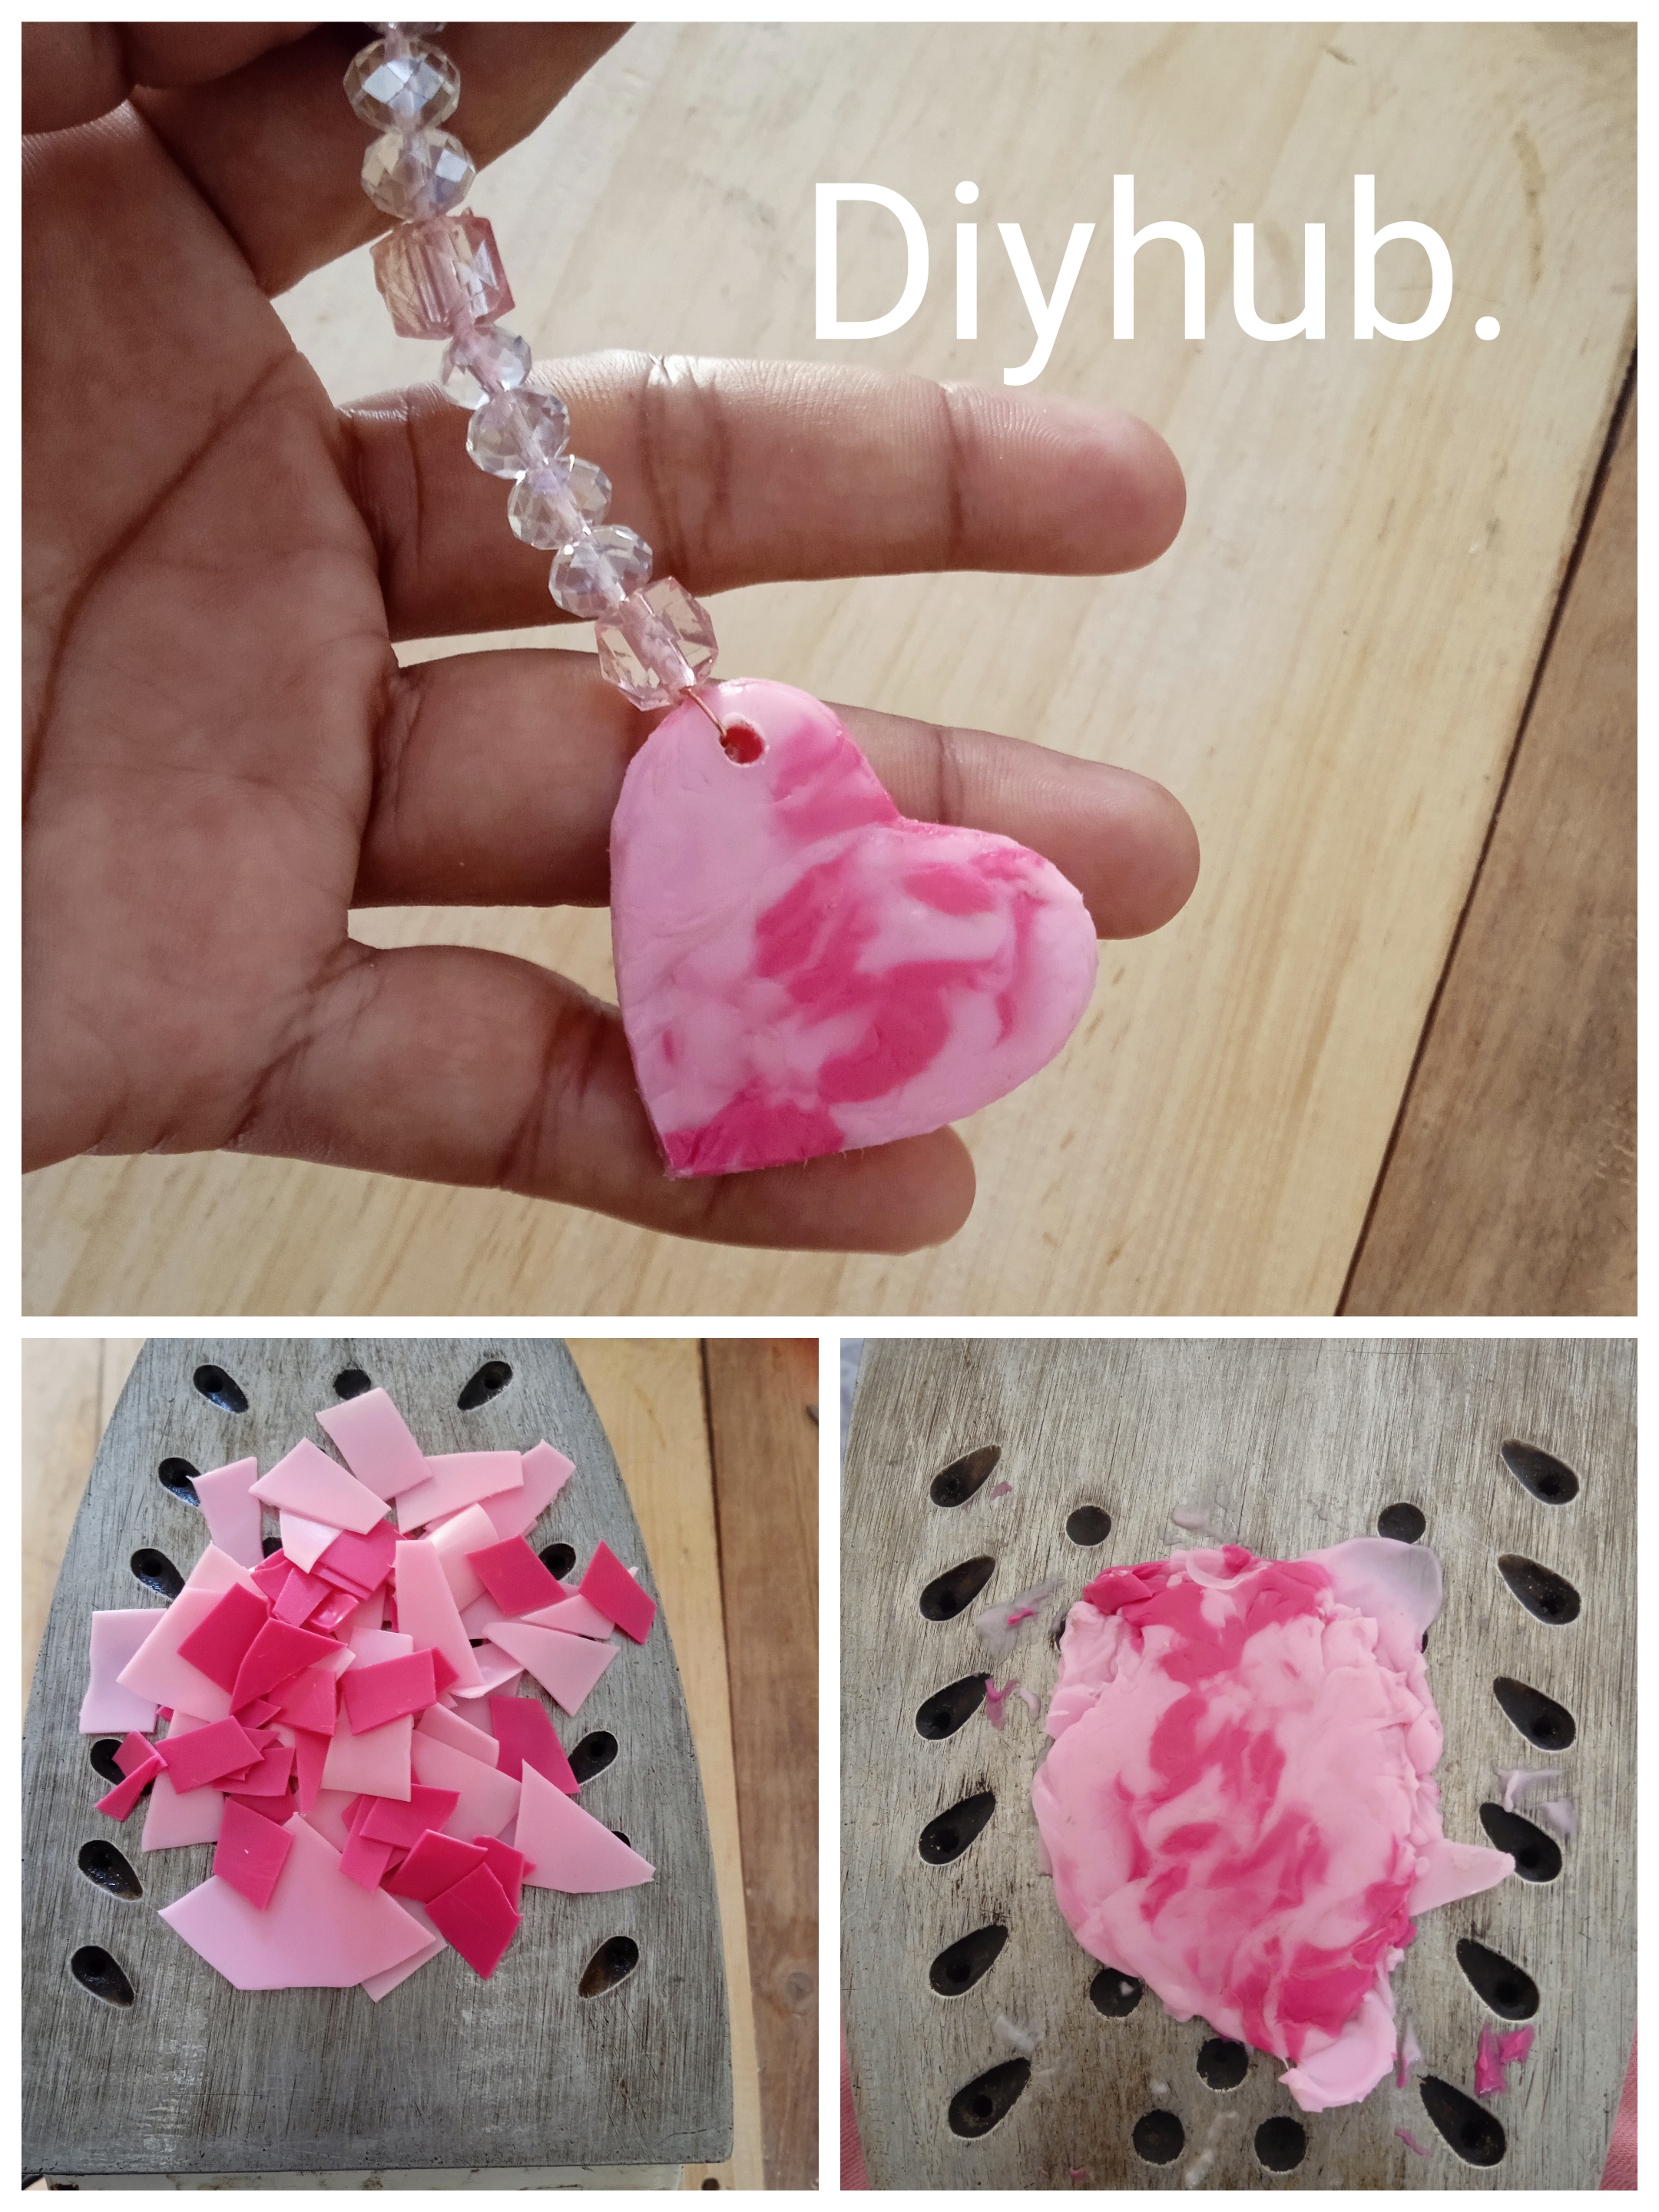
Aprovecho para mostrarles un trabajo muy lindo y creativo, se trata de realizar un lindo llavero de corazón hecho con algunos materiales plásticos que quise aprovechar. El reciclaje nunca pasa de moda, creo que mientras vivamos y apreciemos nuestro planeta debemos aprovechar estos materiales. El procedimiento es súper sencillo, solo debes derretir un poco el plástico para moldear y así obtener un lindo producto. Te invito a seguirme en este procedimiento, vamos.
I take this opportunity to show you a very nice and creative work, it is about making a nice heart keychain made with some plastic materials that I wanted to take advantage of. Recycling never goes out of style, I believe that as long as we live and appreciate our planet we should take advantage of these materials. The procedure is super simple, you just have to melt the plastic a little to mold and thus obtain a nice product. We invite you to follow me in this procedure, let's go.
Los materiales que necesitarás.
- Envases de plástico del color que te guste.
- Tijera.
- Una plancha de ropa.
- Un tapaboca.
The materials you will need.
- Plastic containers in the color you like.
- Scissors.
- A clothes iron.
- A mask.
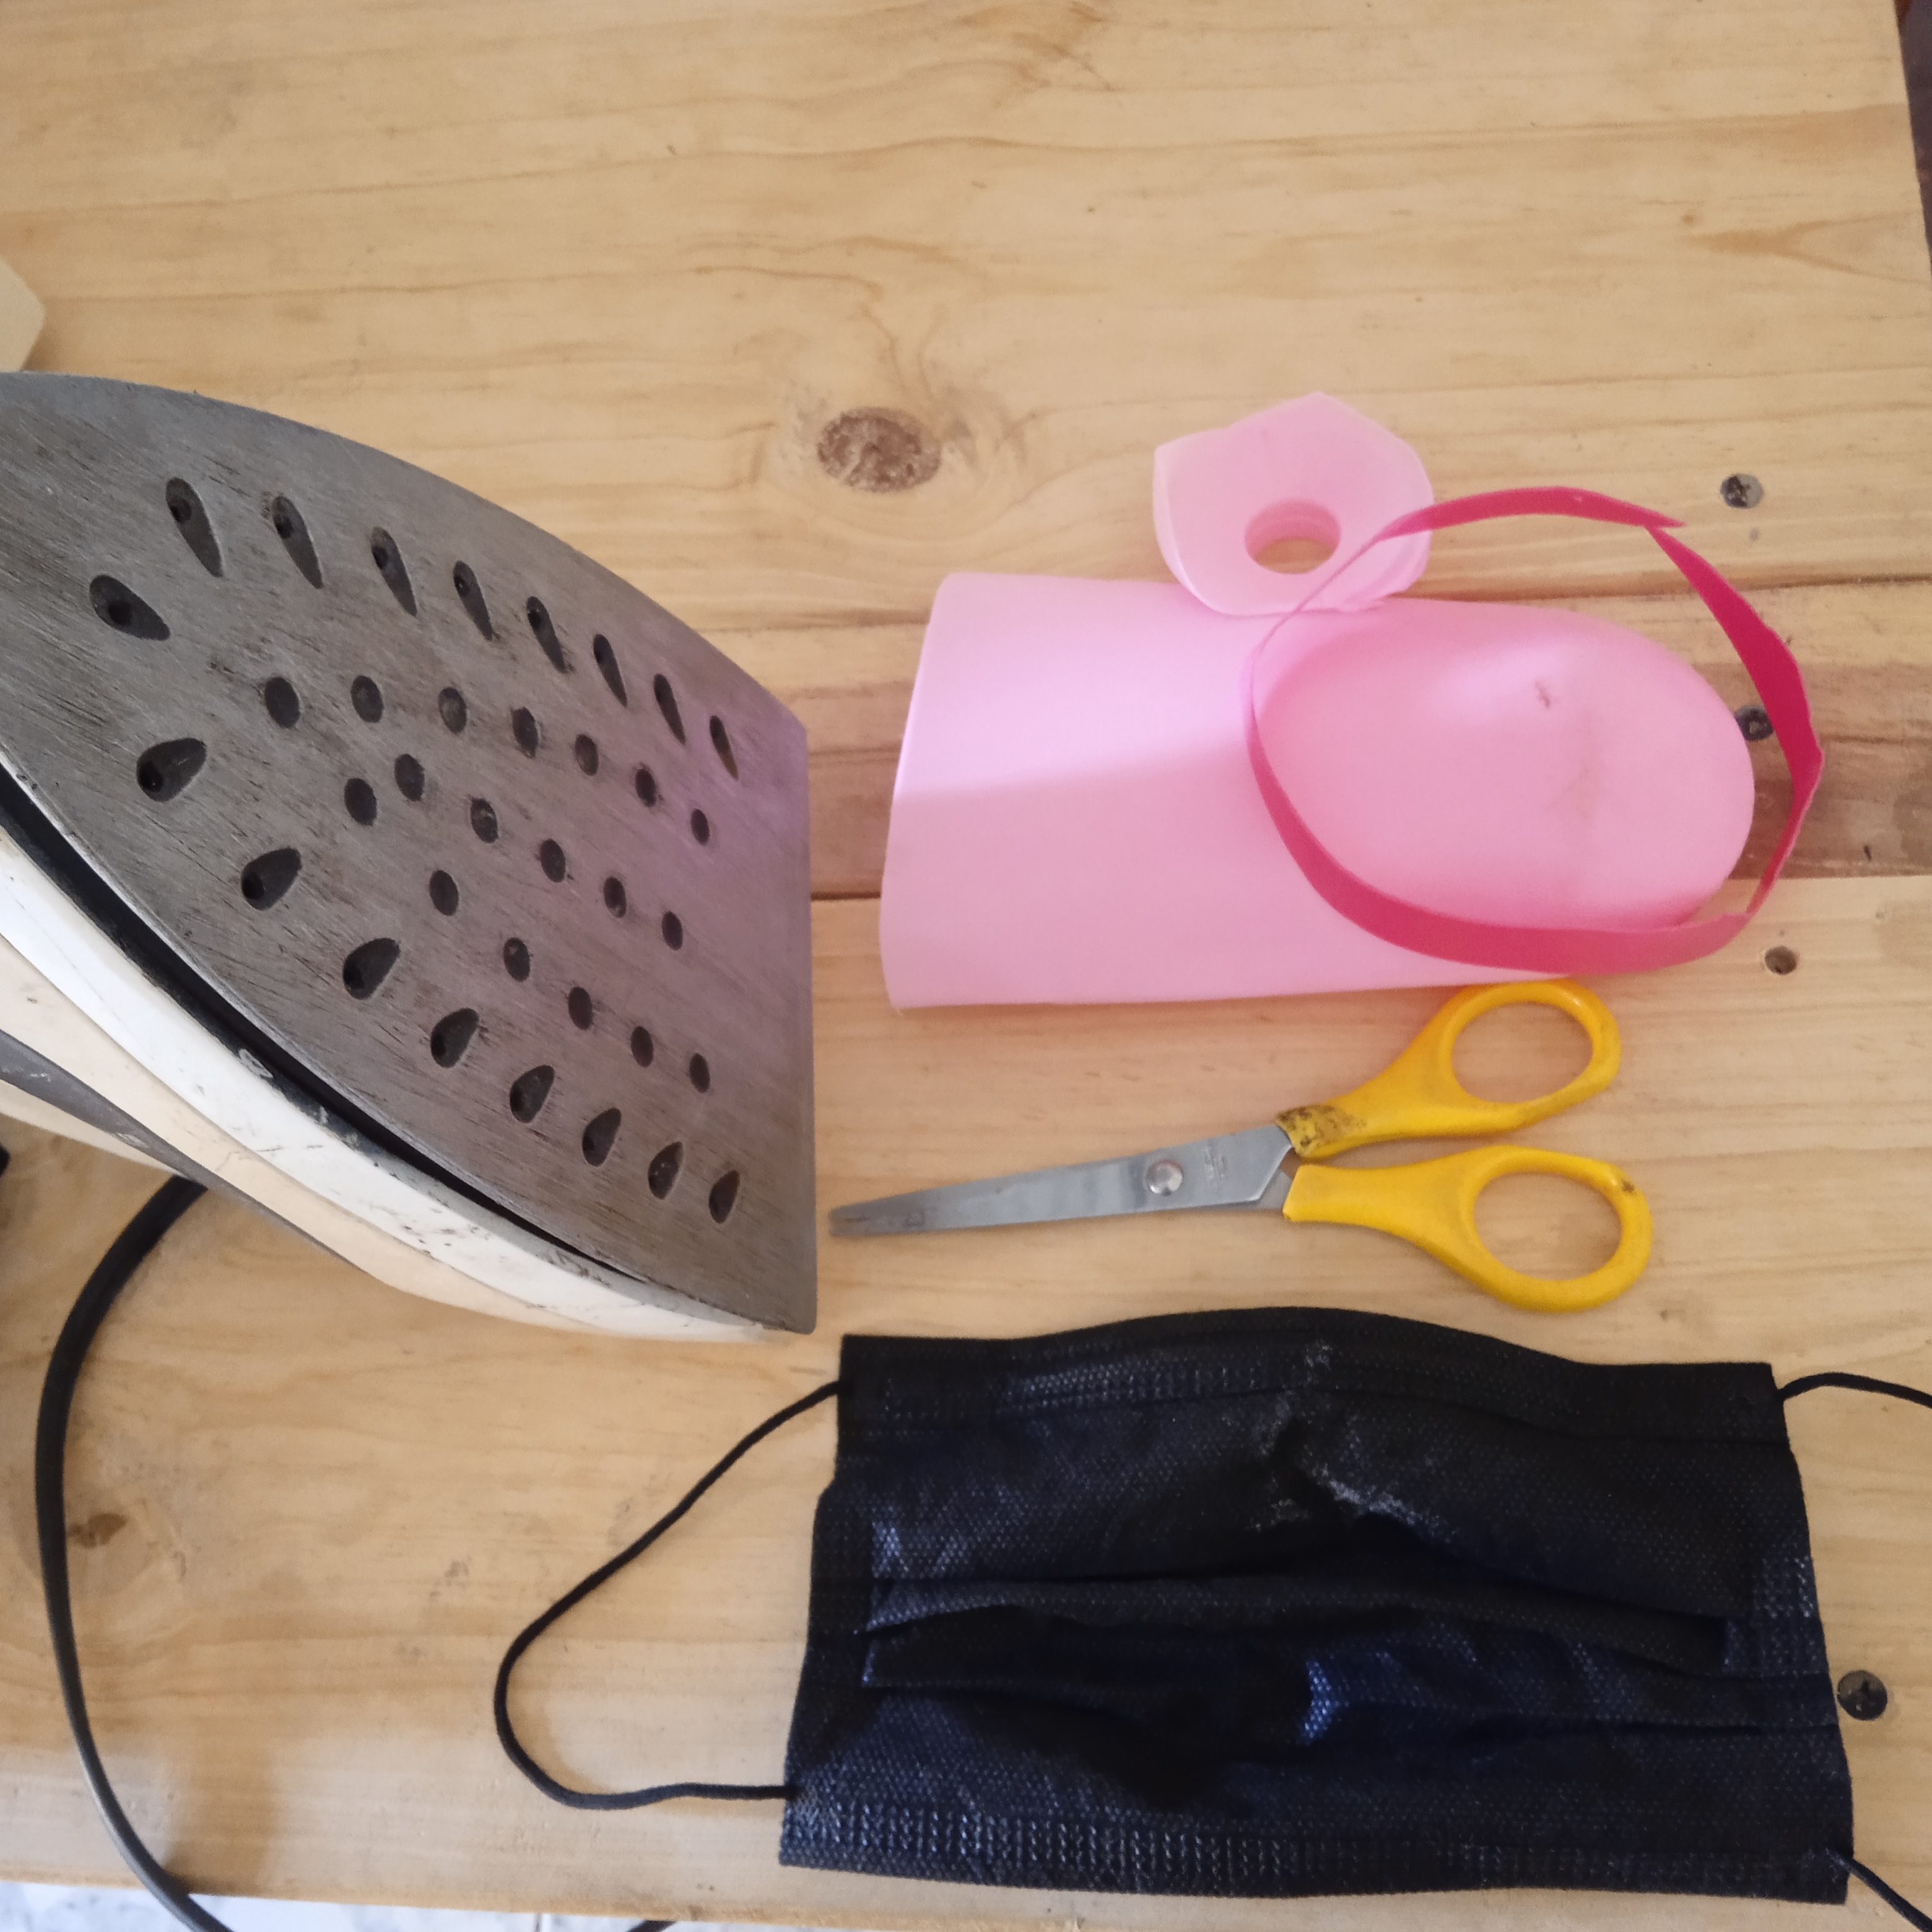
Mis amores, antes de comenzar con este procedimiento, vamos a colocarnos el tapaboca antes de iniciar.
My loves, before starting this procedure, let's put on the mask before starting.
Primero cogemos una servilleta con un poco de aceite para limpiar la plancha y evitar que se pegue el plástico.
First we take a napkin with a little oil to clean the iron and prevent the plastic from sticking.

Paso 1.
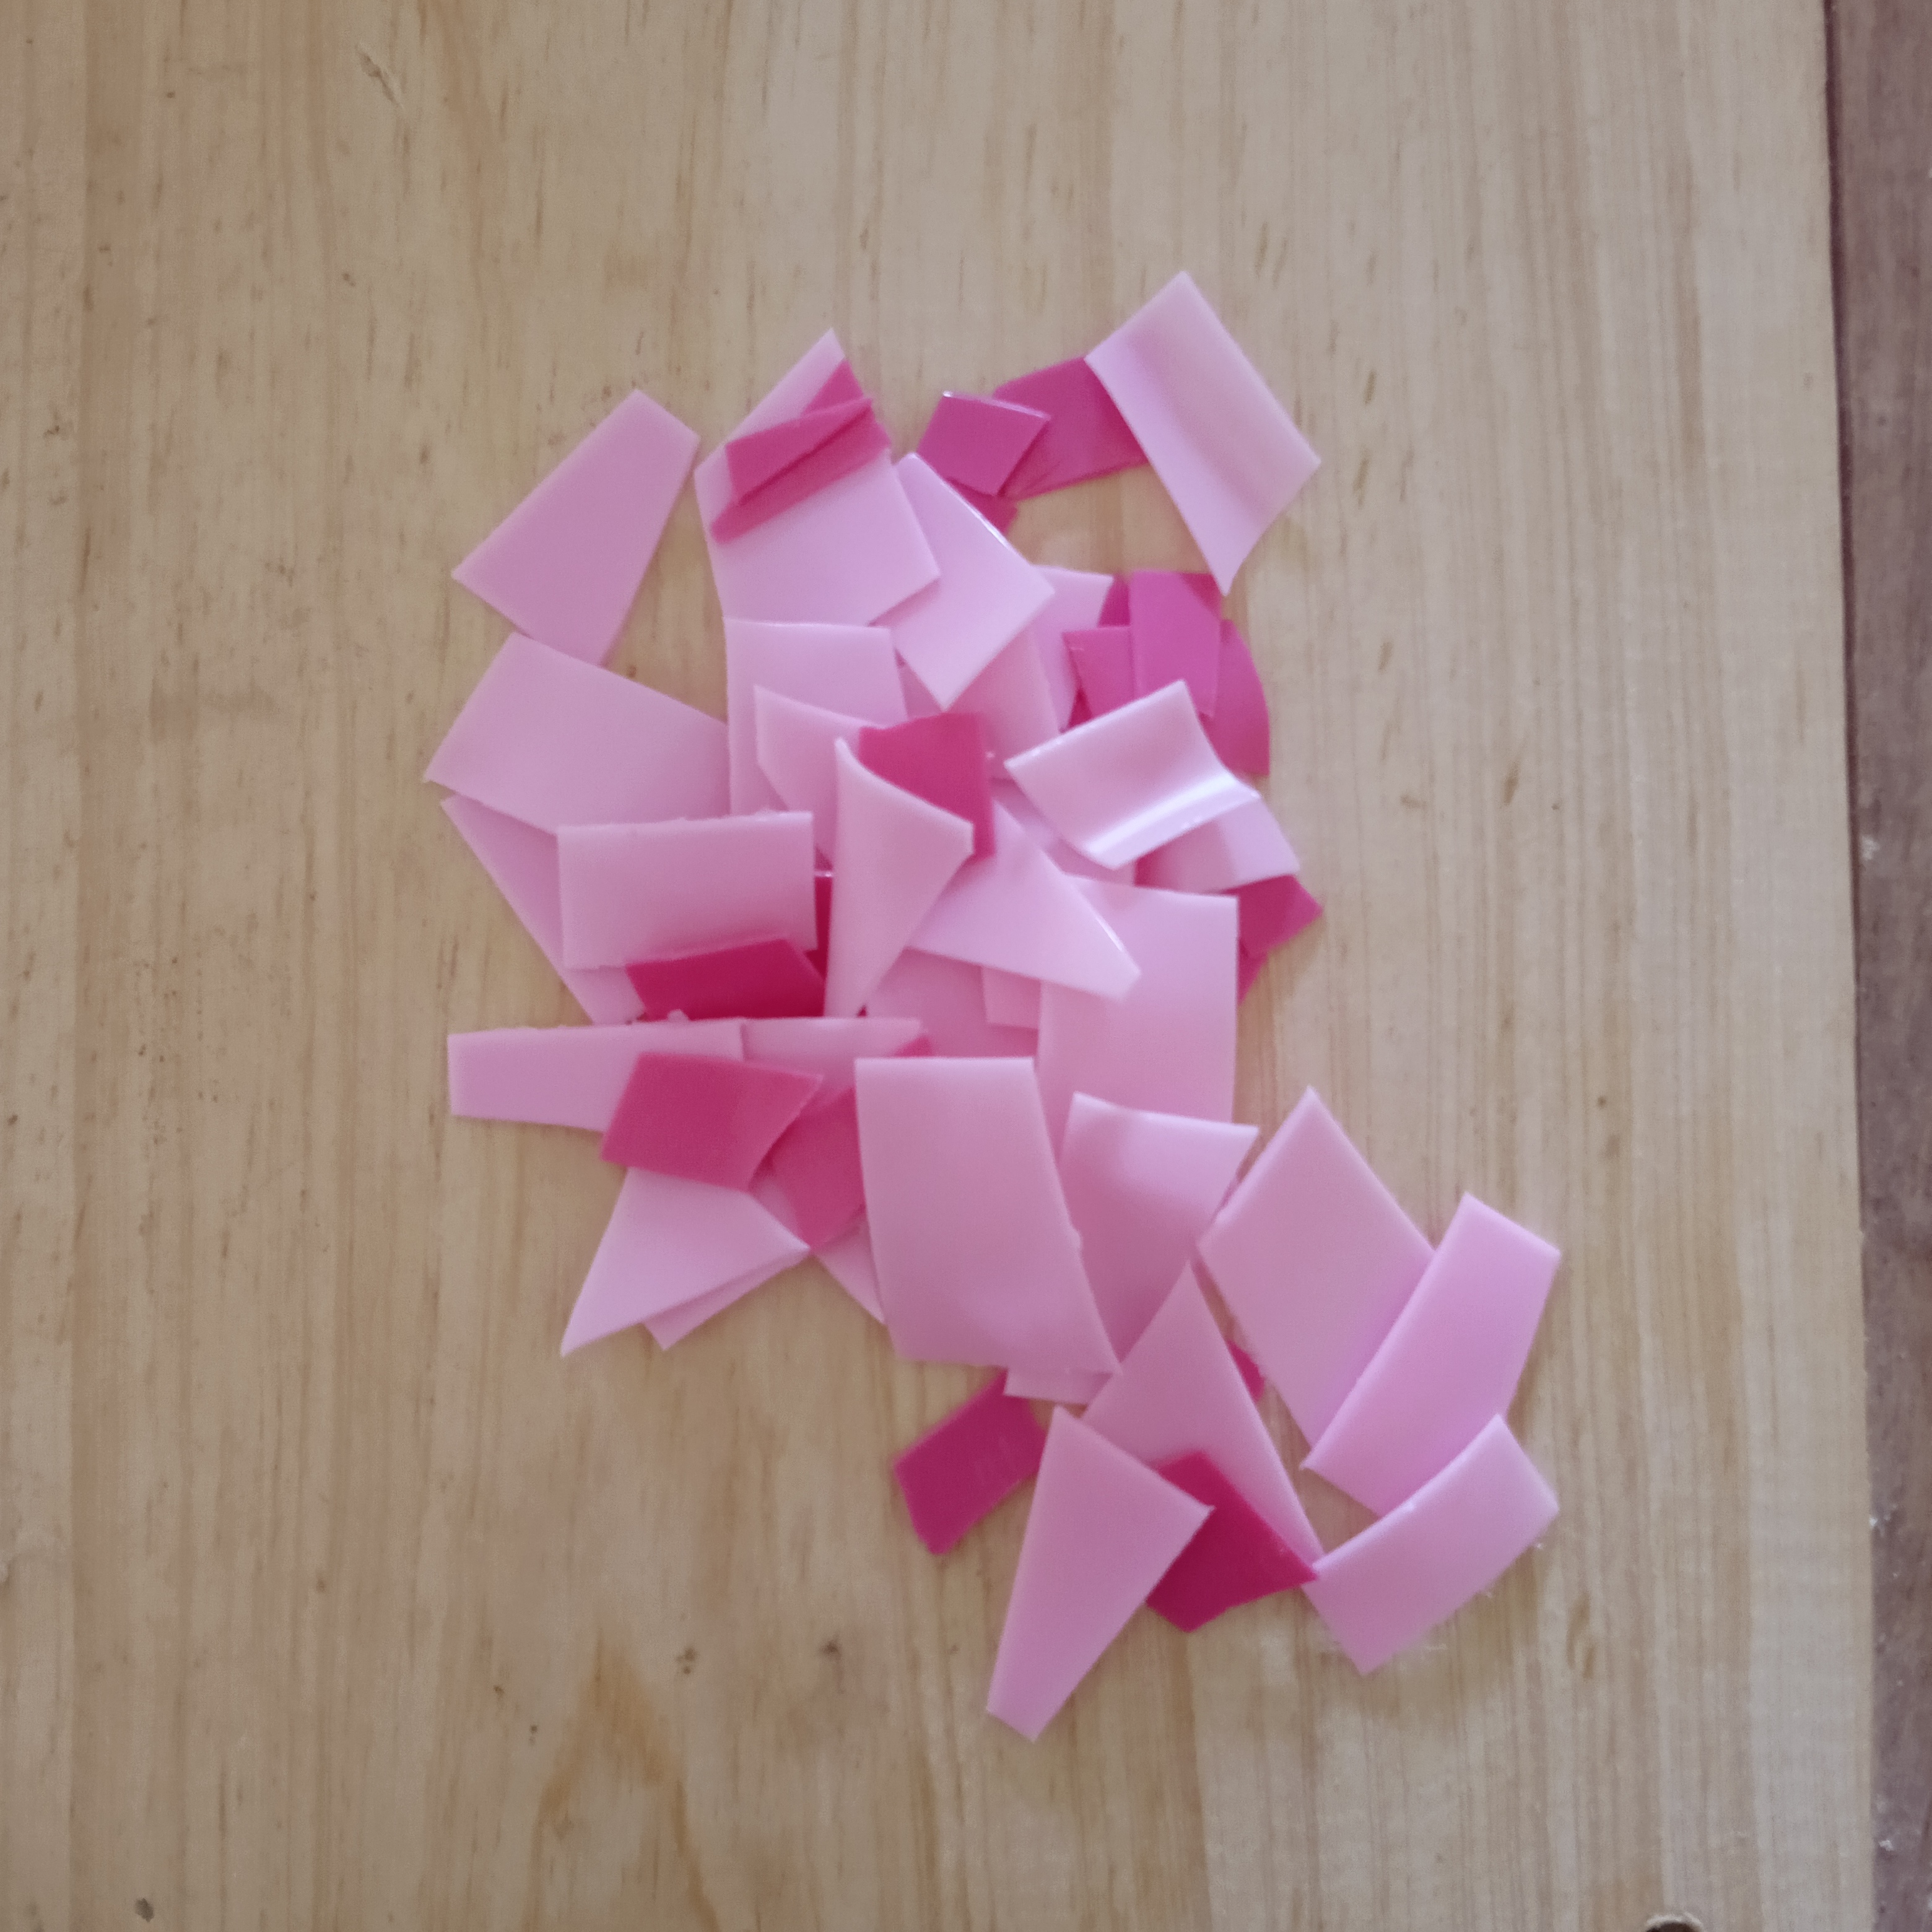
Cortamos el envase en trozos pequeños, es importante que sean envases finos, como champú y cremas, así se derretirán rápidamente.
Step 1.
We cut the container into small pieces, it is important that they are thin containers, such as shampoo and creams, so they will melt quickly.
Paso 2.
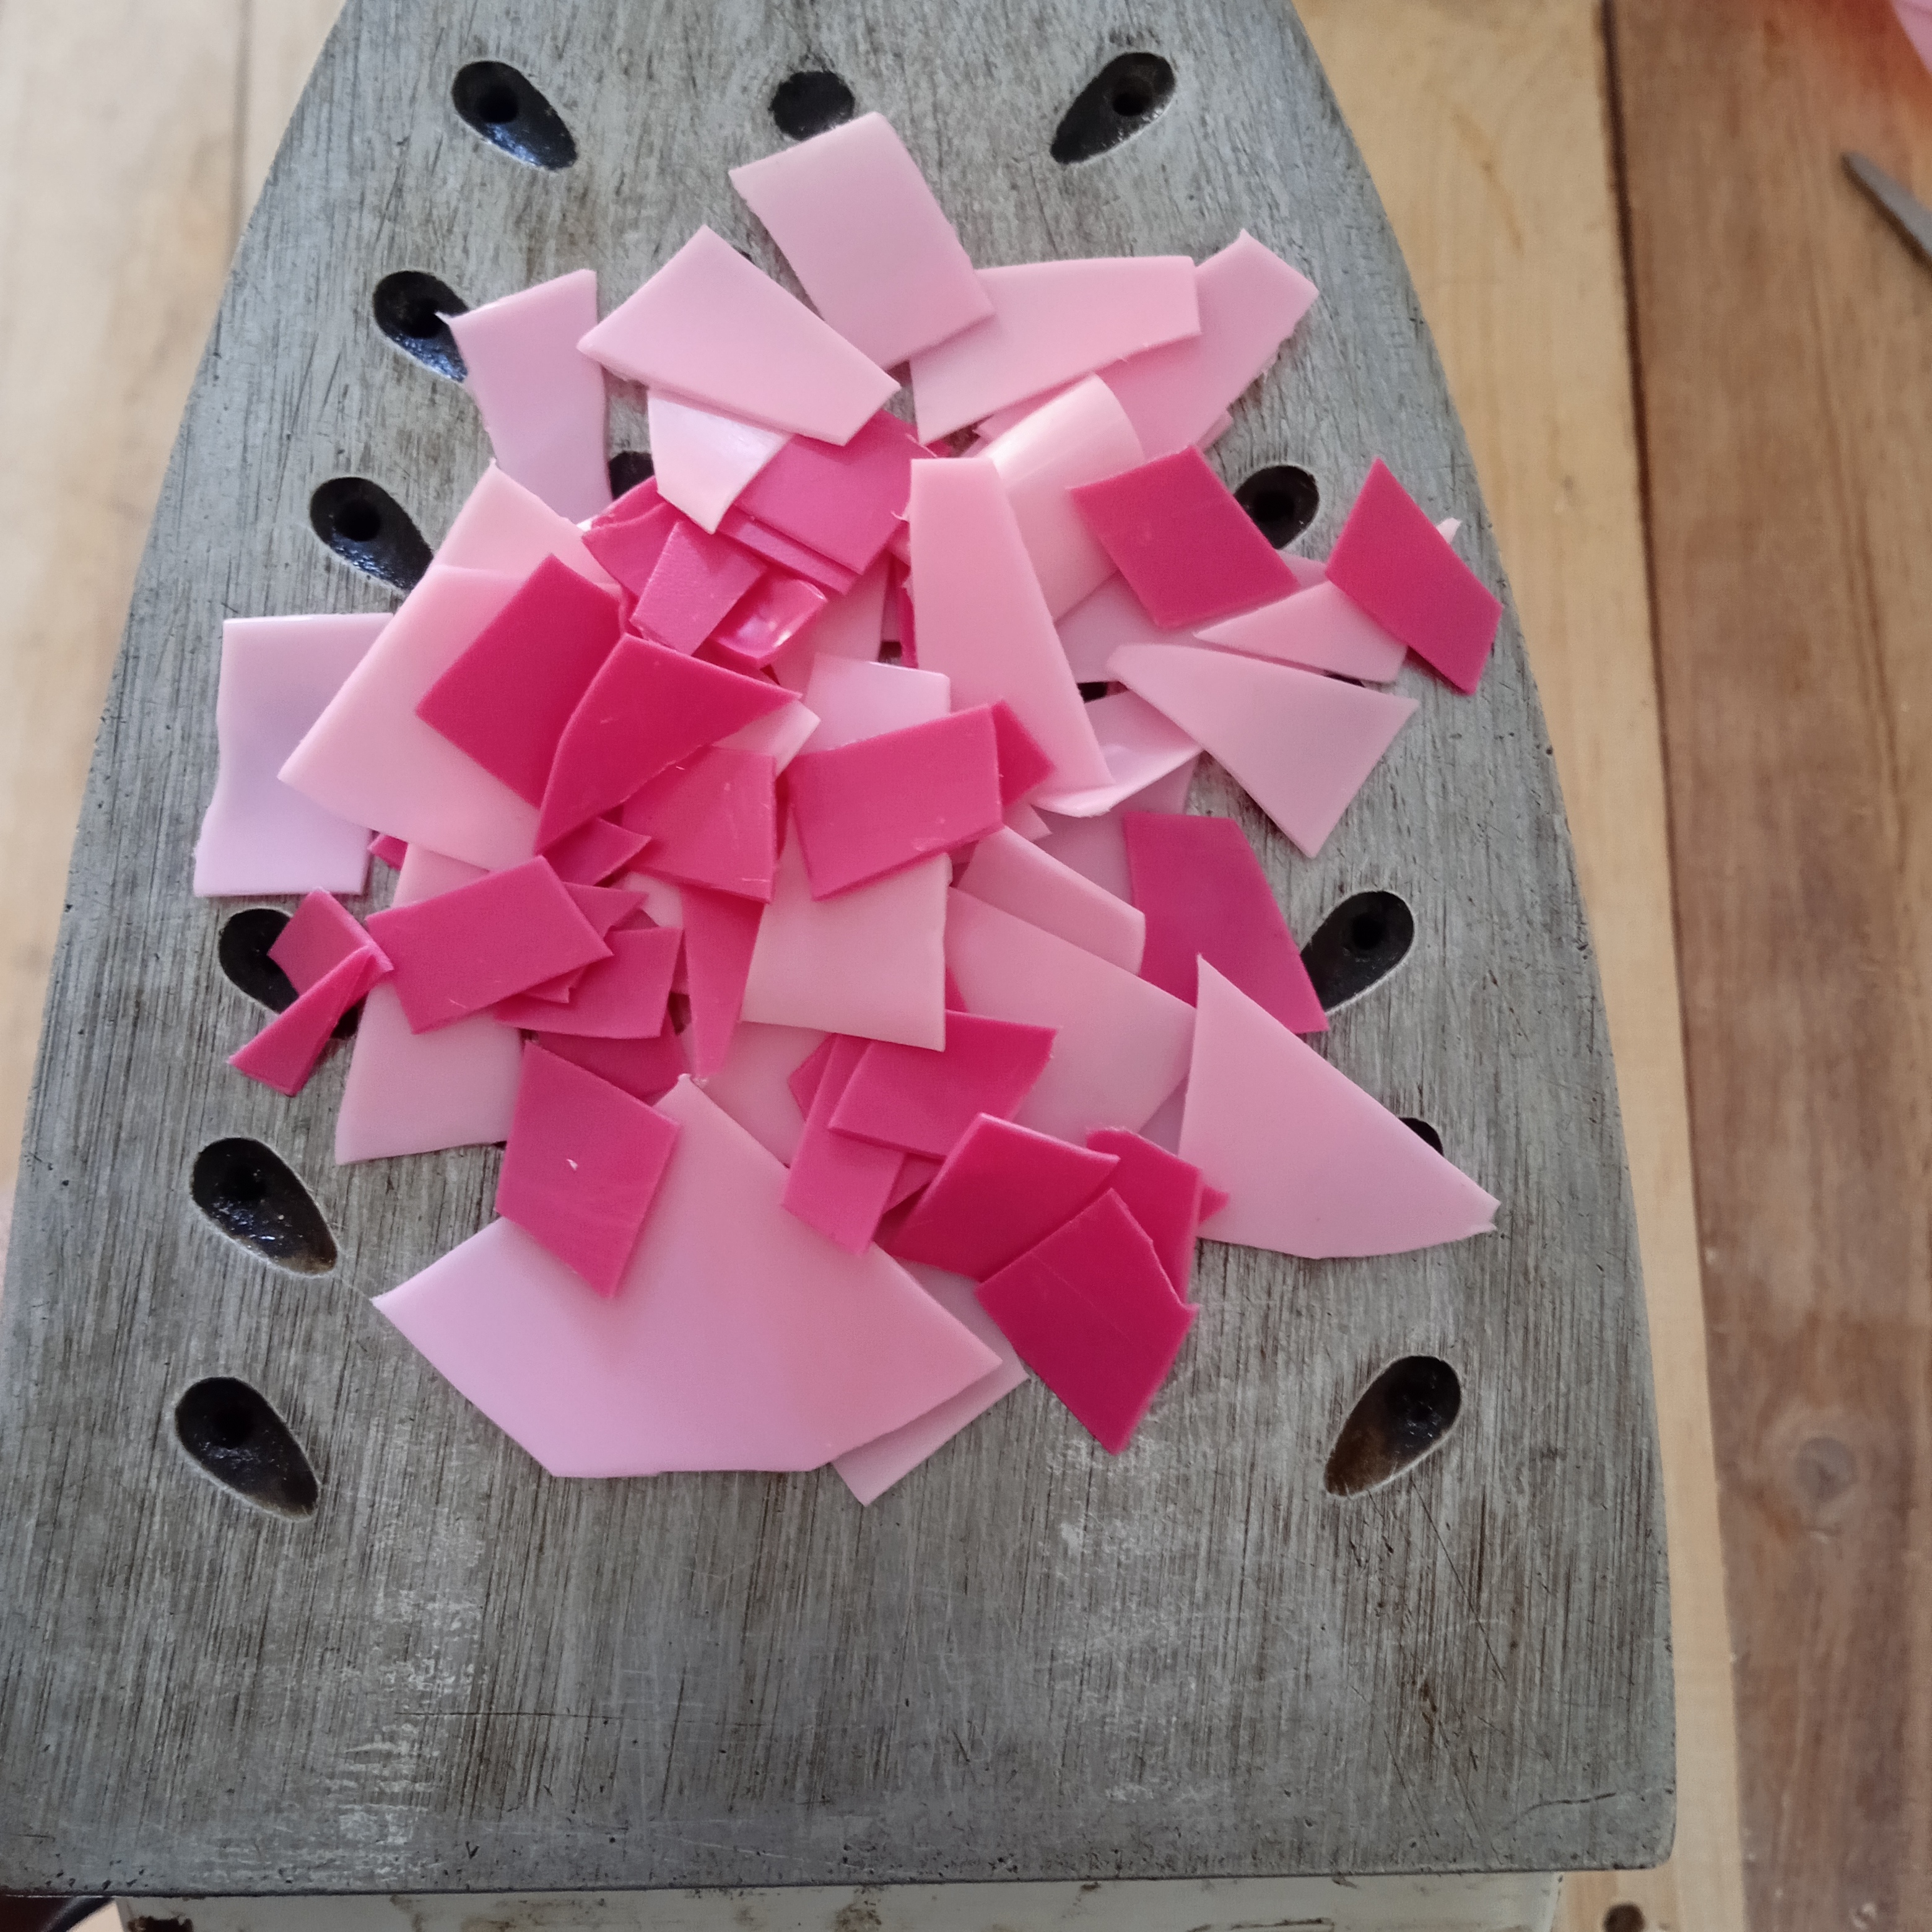
Colocamos los trozos de plástico sobre la plancha, y la encendemos para que se caliente y se pueda derretir.
Step 2.
We place the pieces of plastic on the iron, and we turn it on so that it heats up and can melt.
Paso 3.
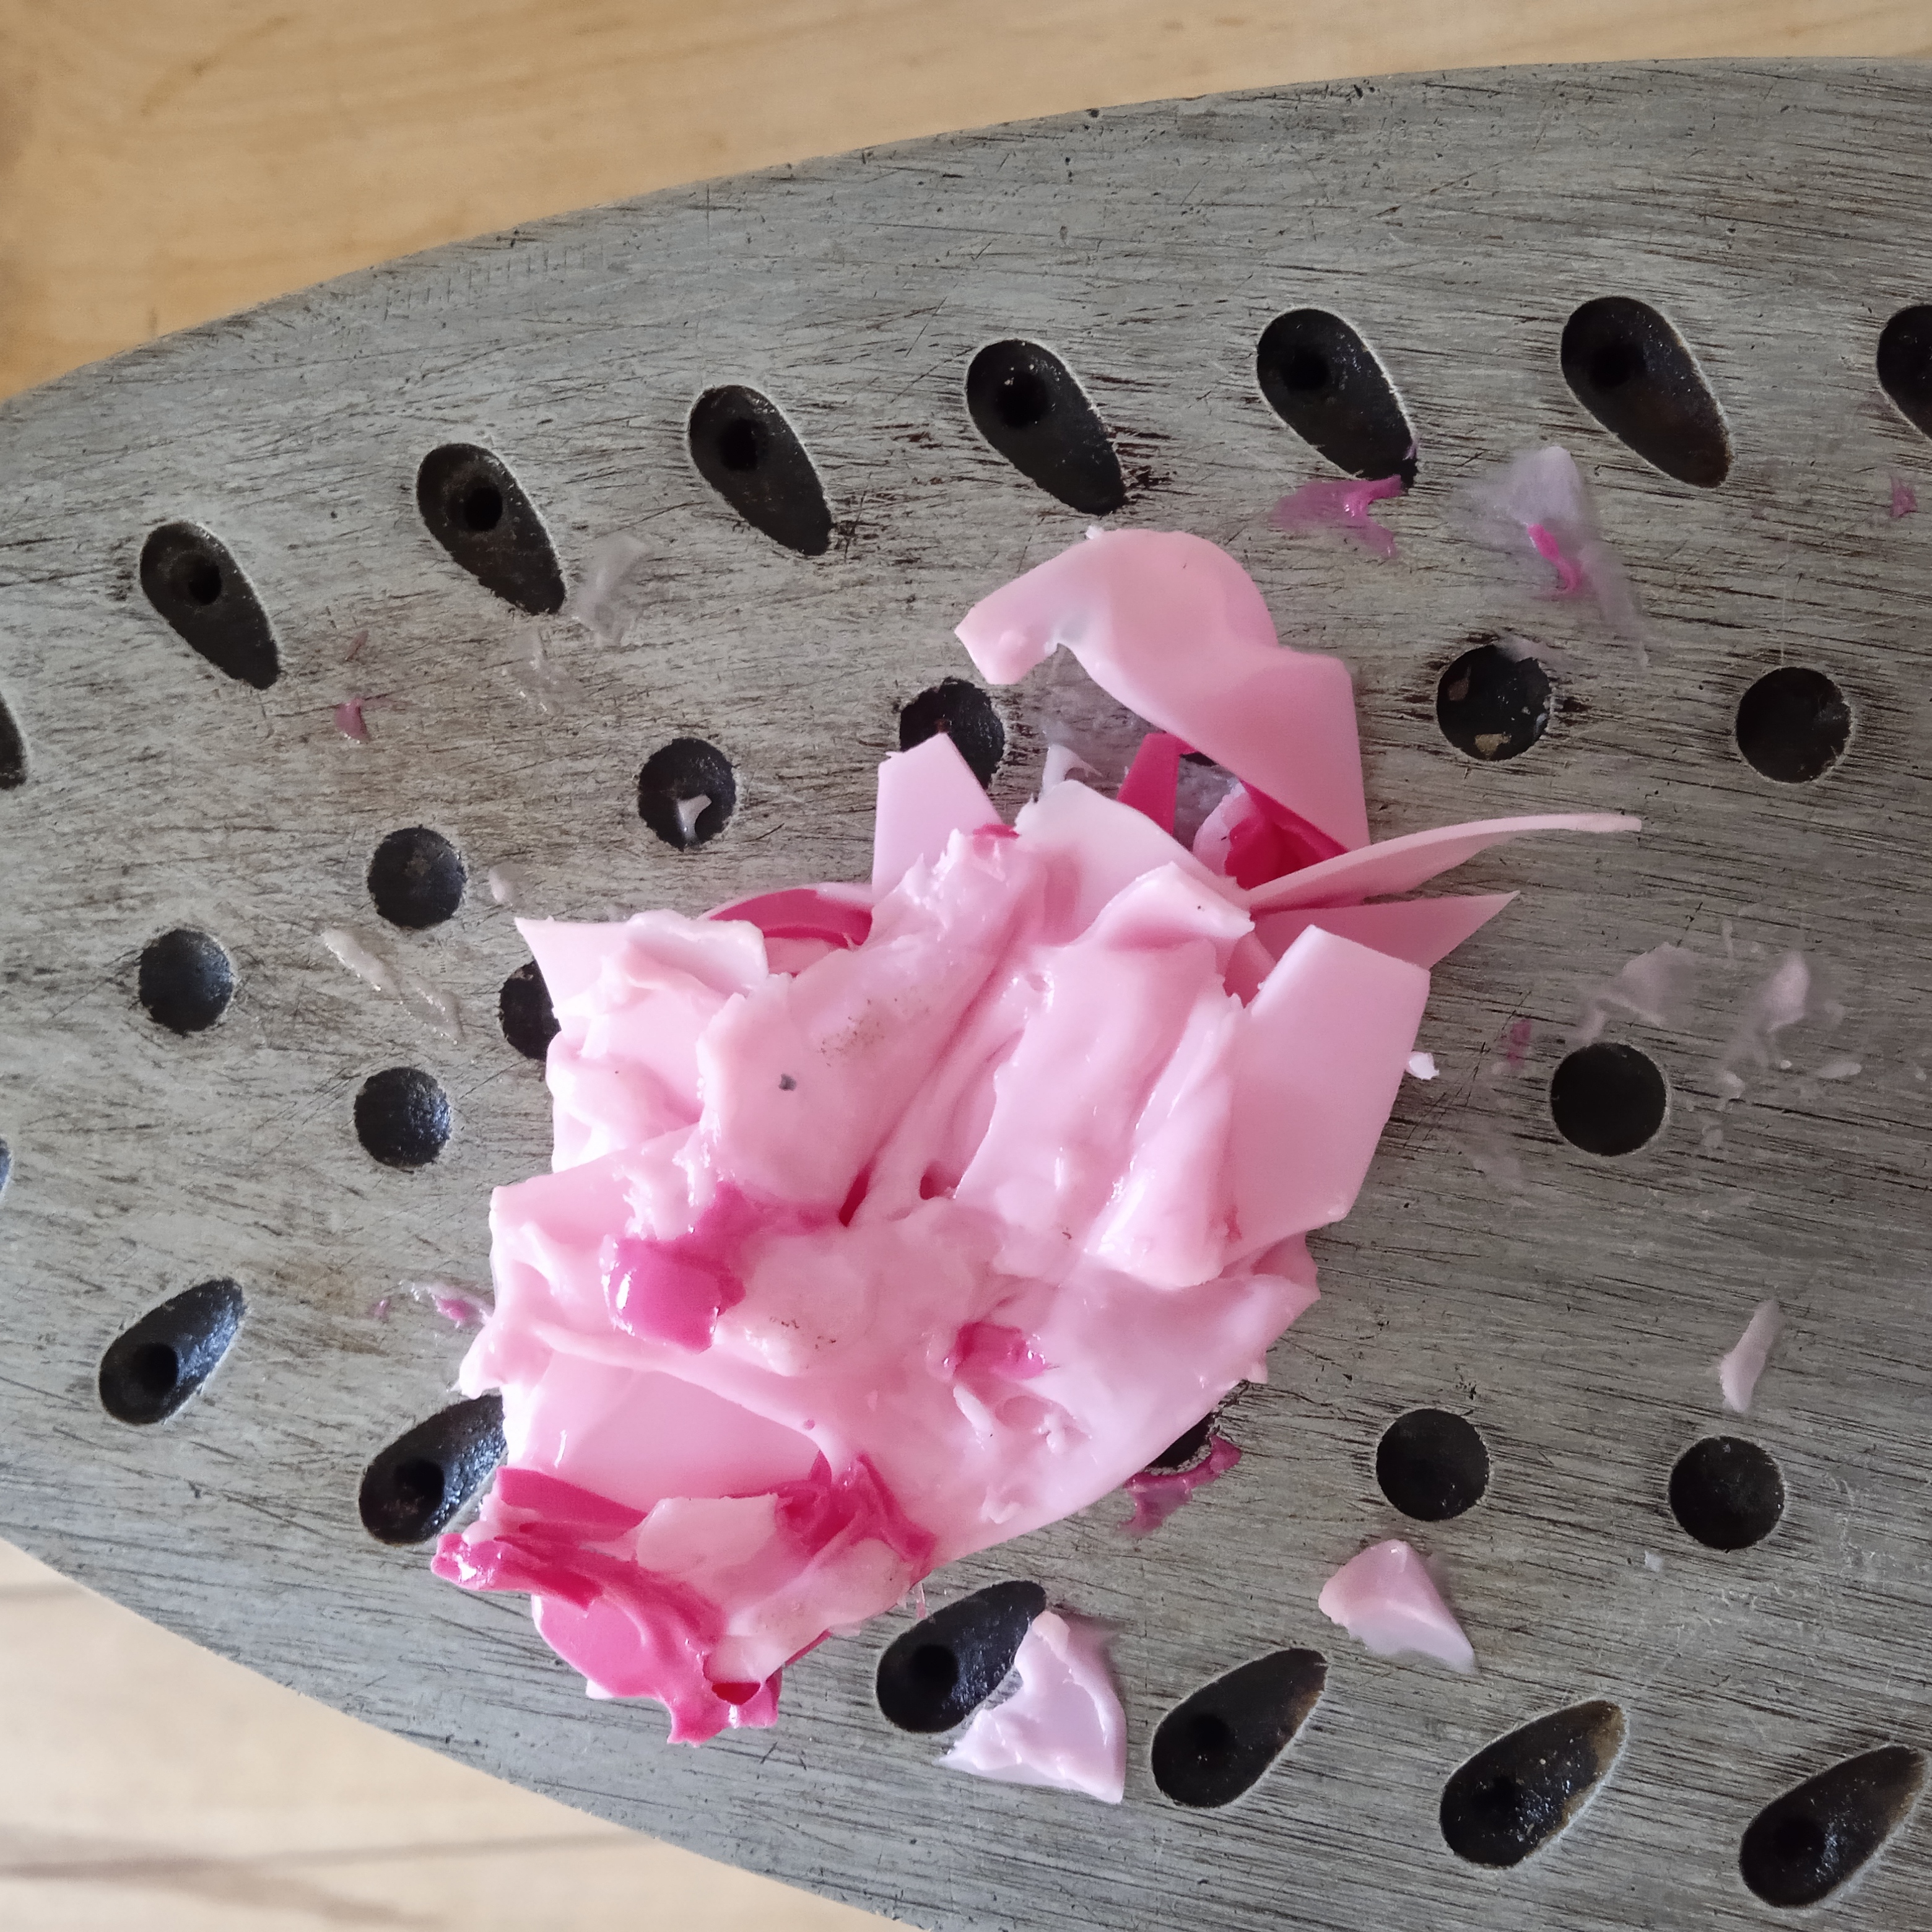
Después de unos minutos comienza a derretir el plástico. Es importante recogerlo con una cuchara o una espátula pequeña para llevarlo hacia el centro e incorporar los dos colores.
Step 3.
After a few minutes begin to remove the plastic. It is important to pick it up with a spoon or a small spatula to take it towards the center and incorporate the two colors.
Paso 4.
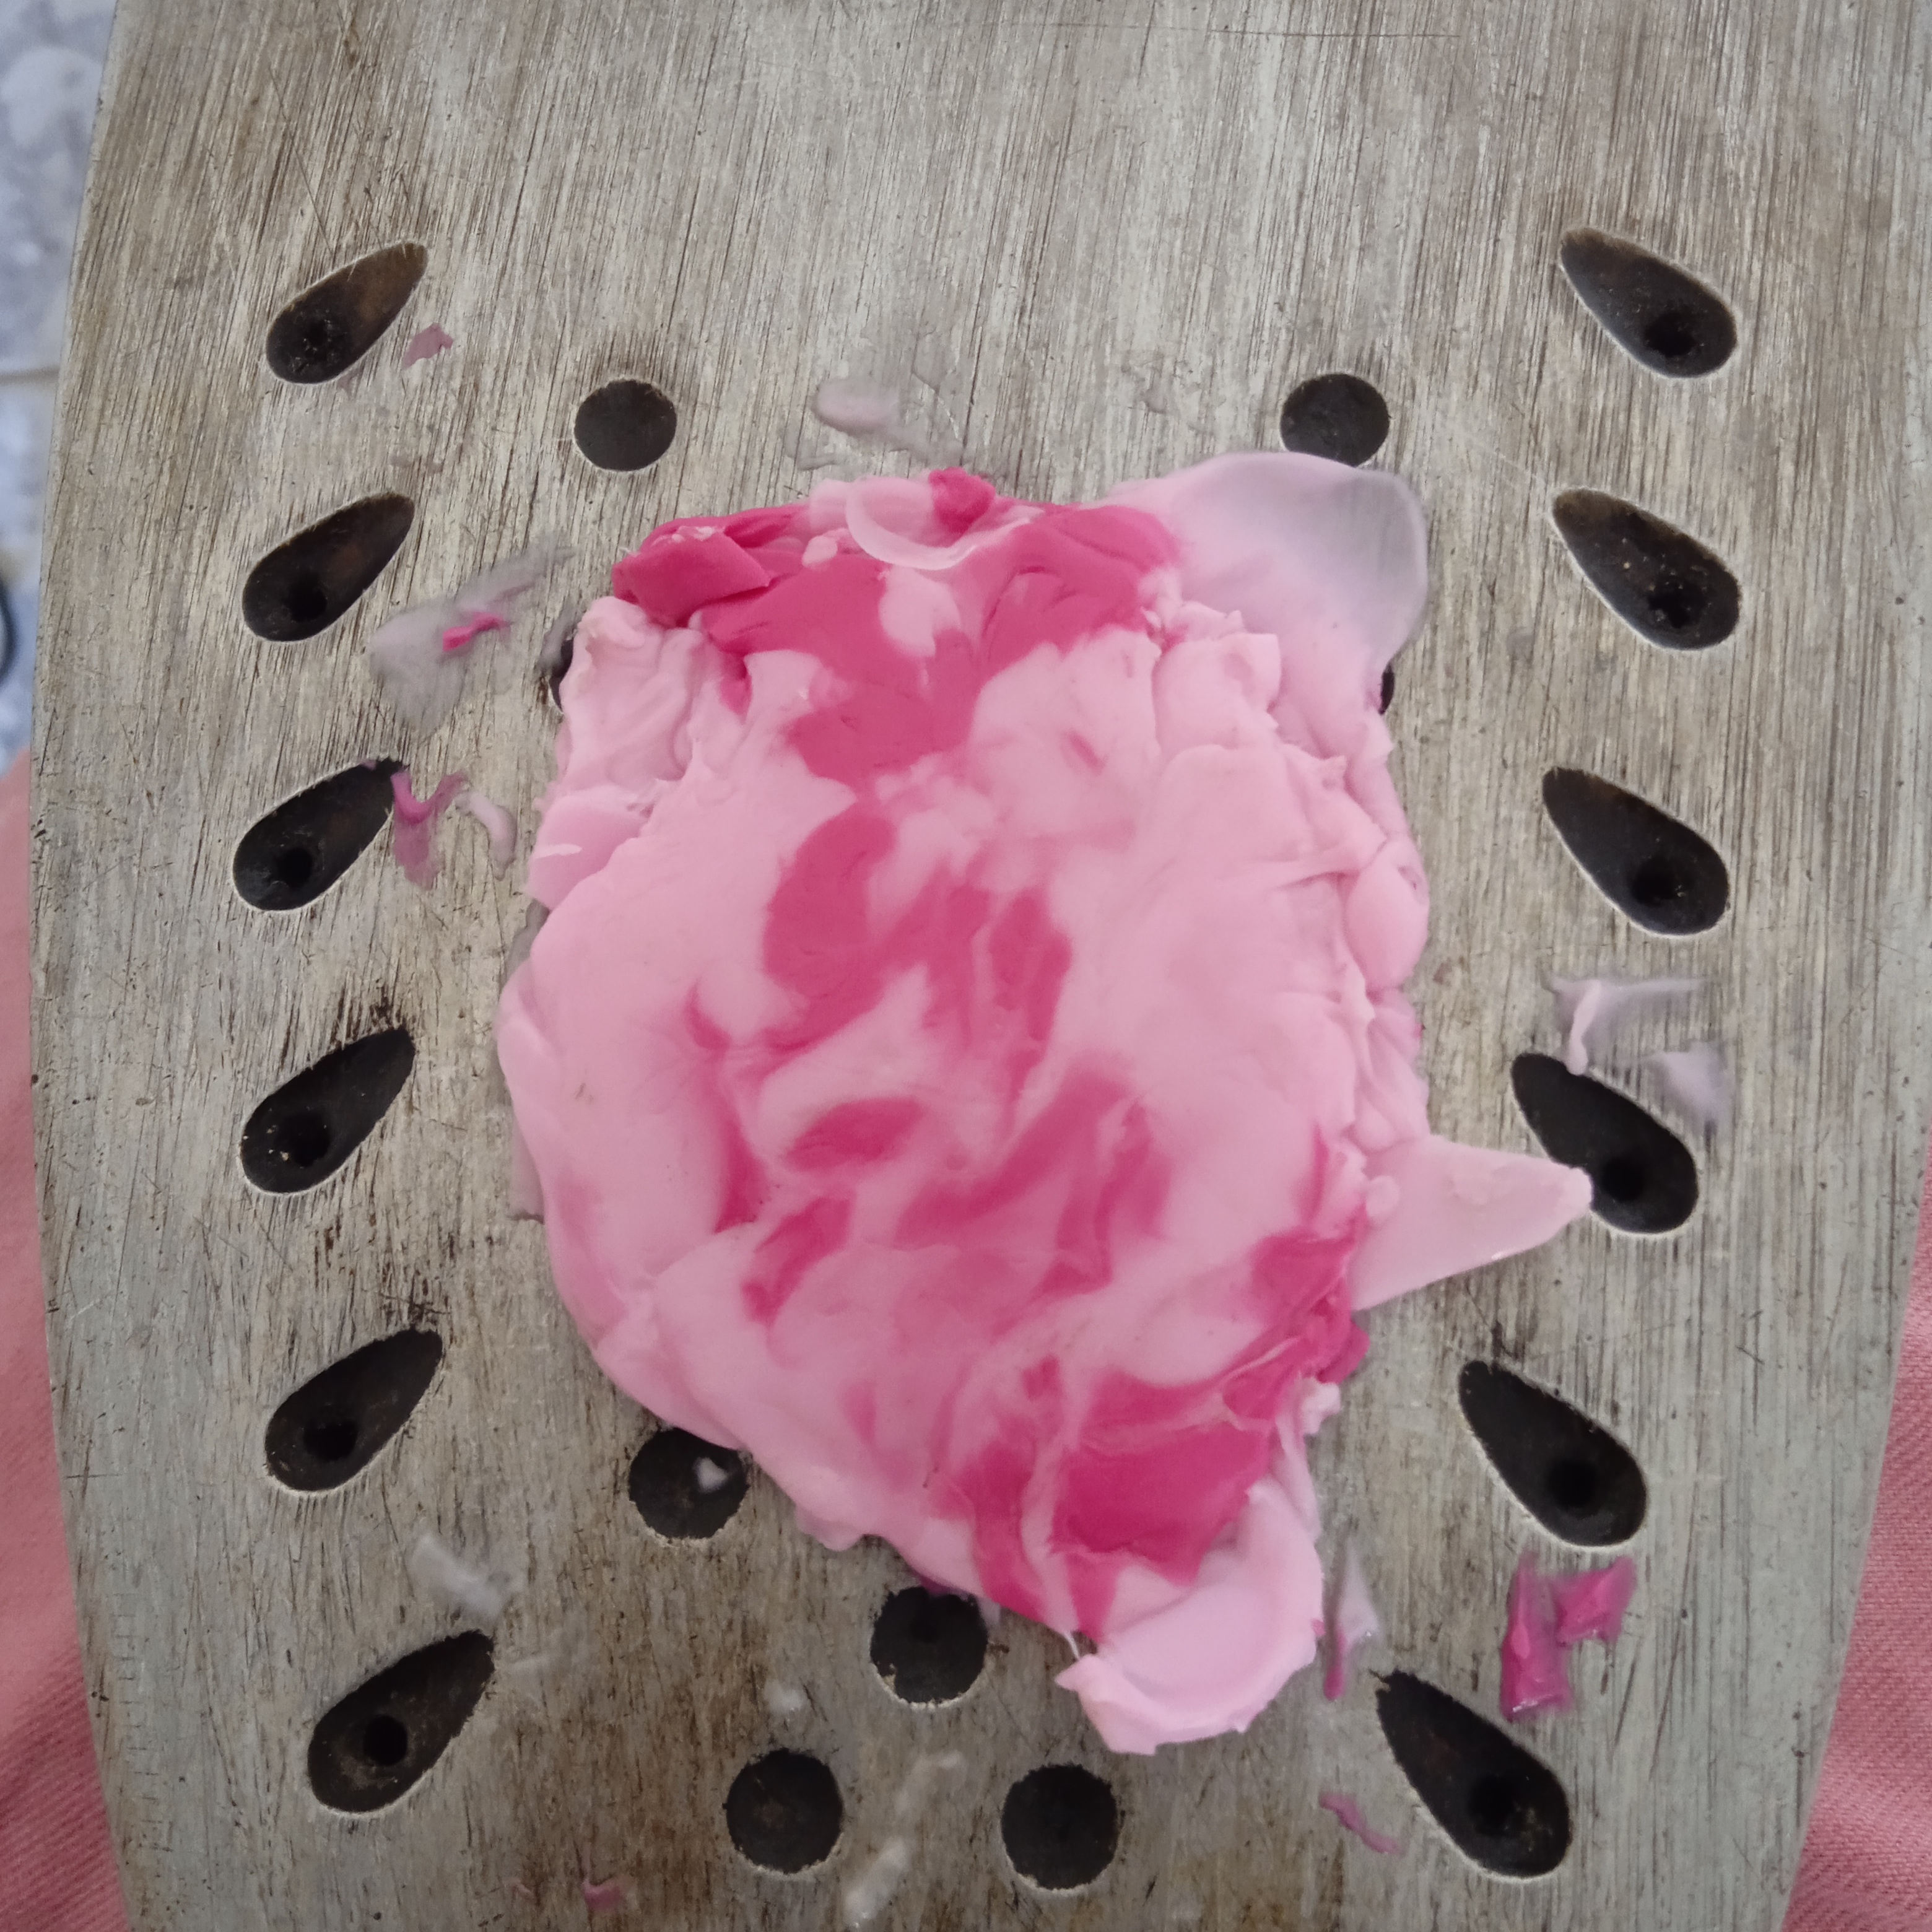
Cuando lleguemos a este punto lo aplanamos un poco con ayuda de un rodillo, solo para darle firmeza.
Step 4.
When we reach this point we flatten it a little with the help of a roller, just to give it firmness.
Paso 5.
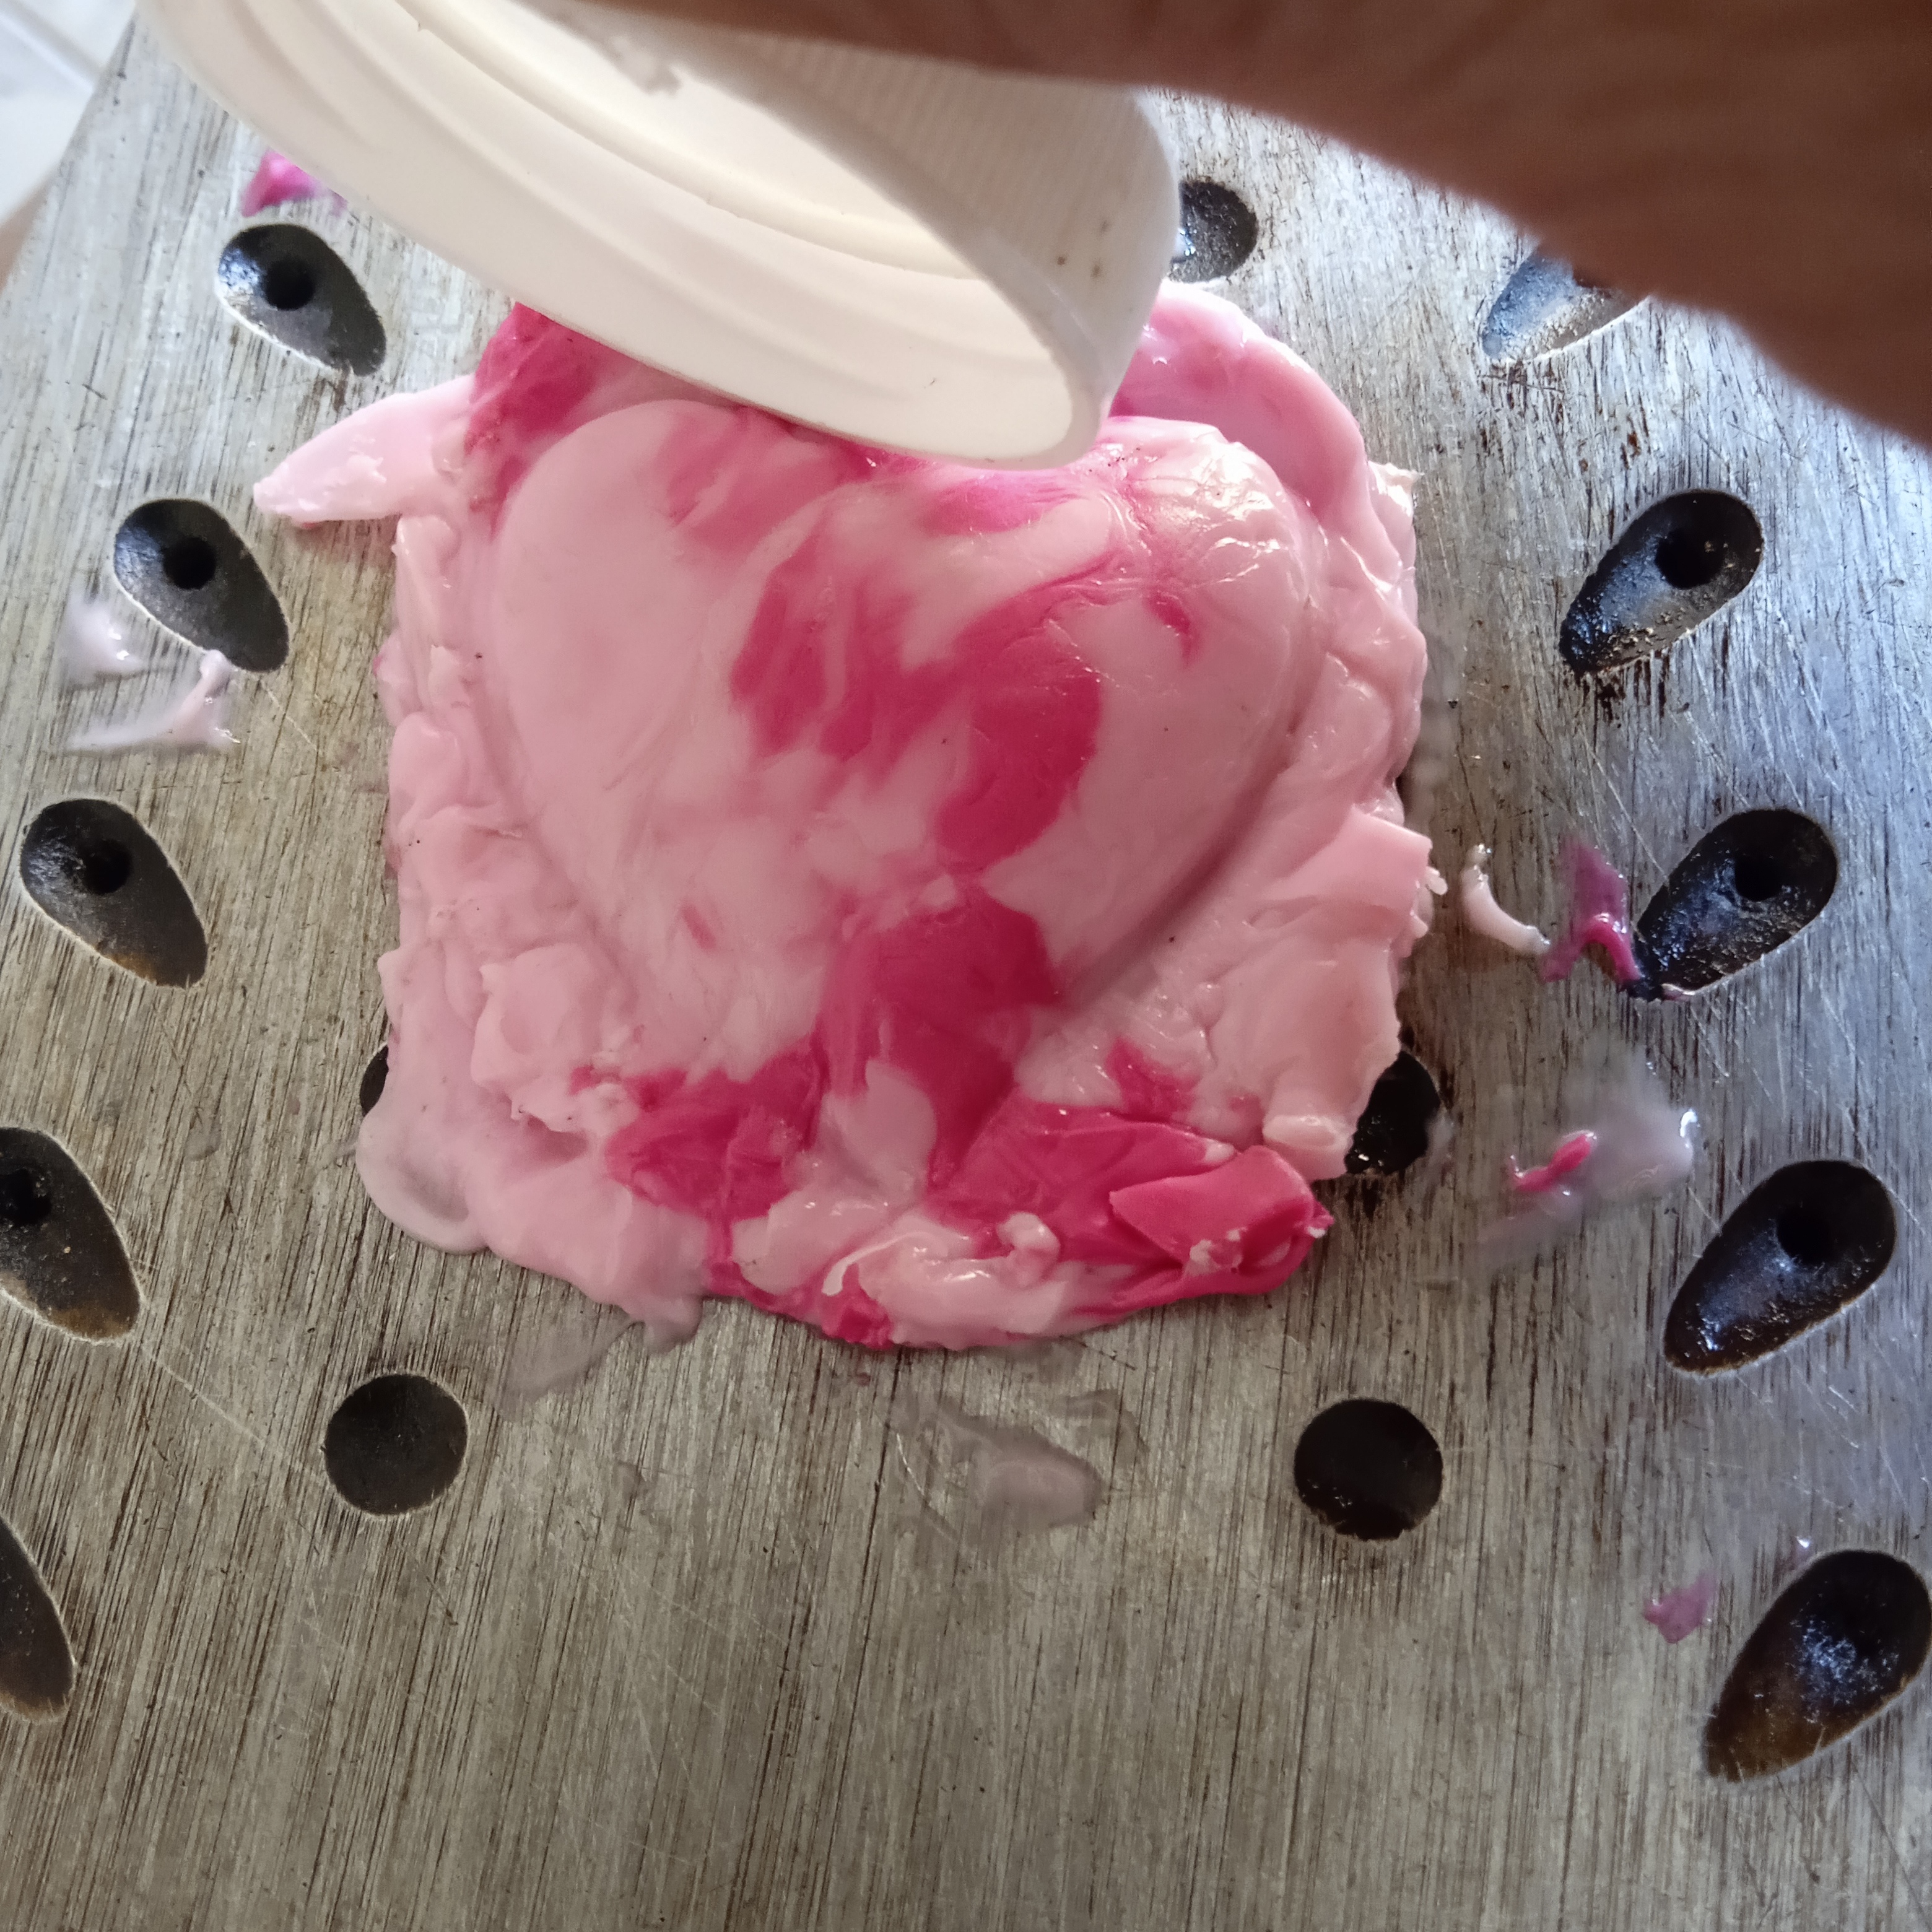
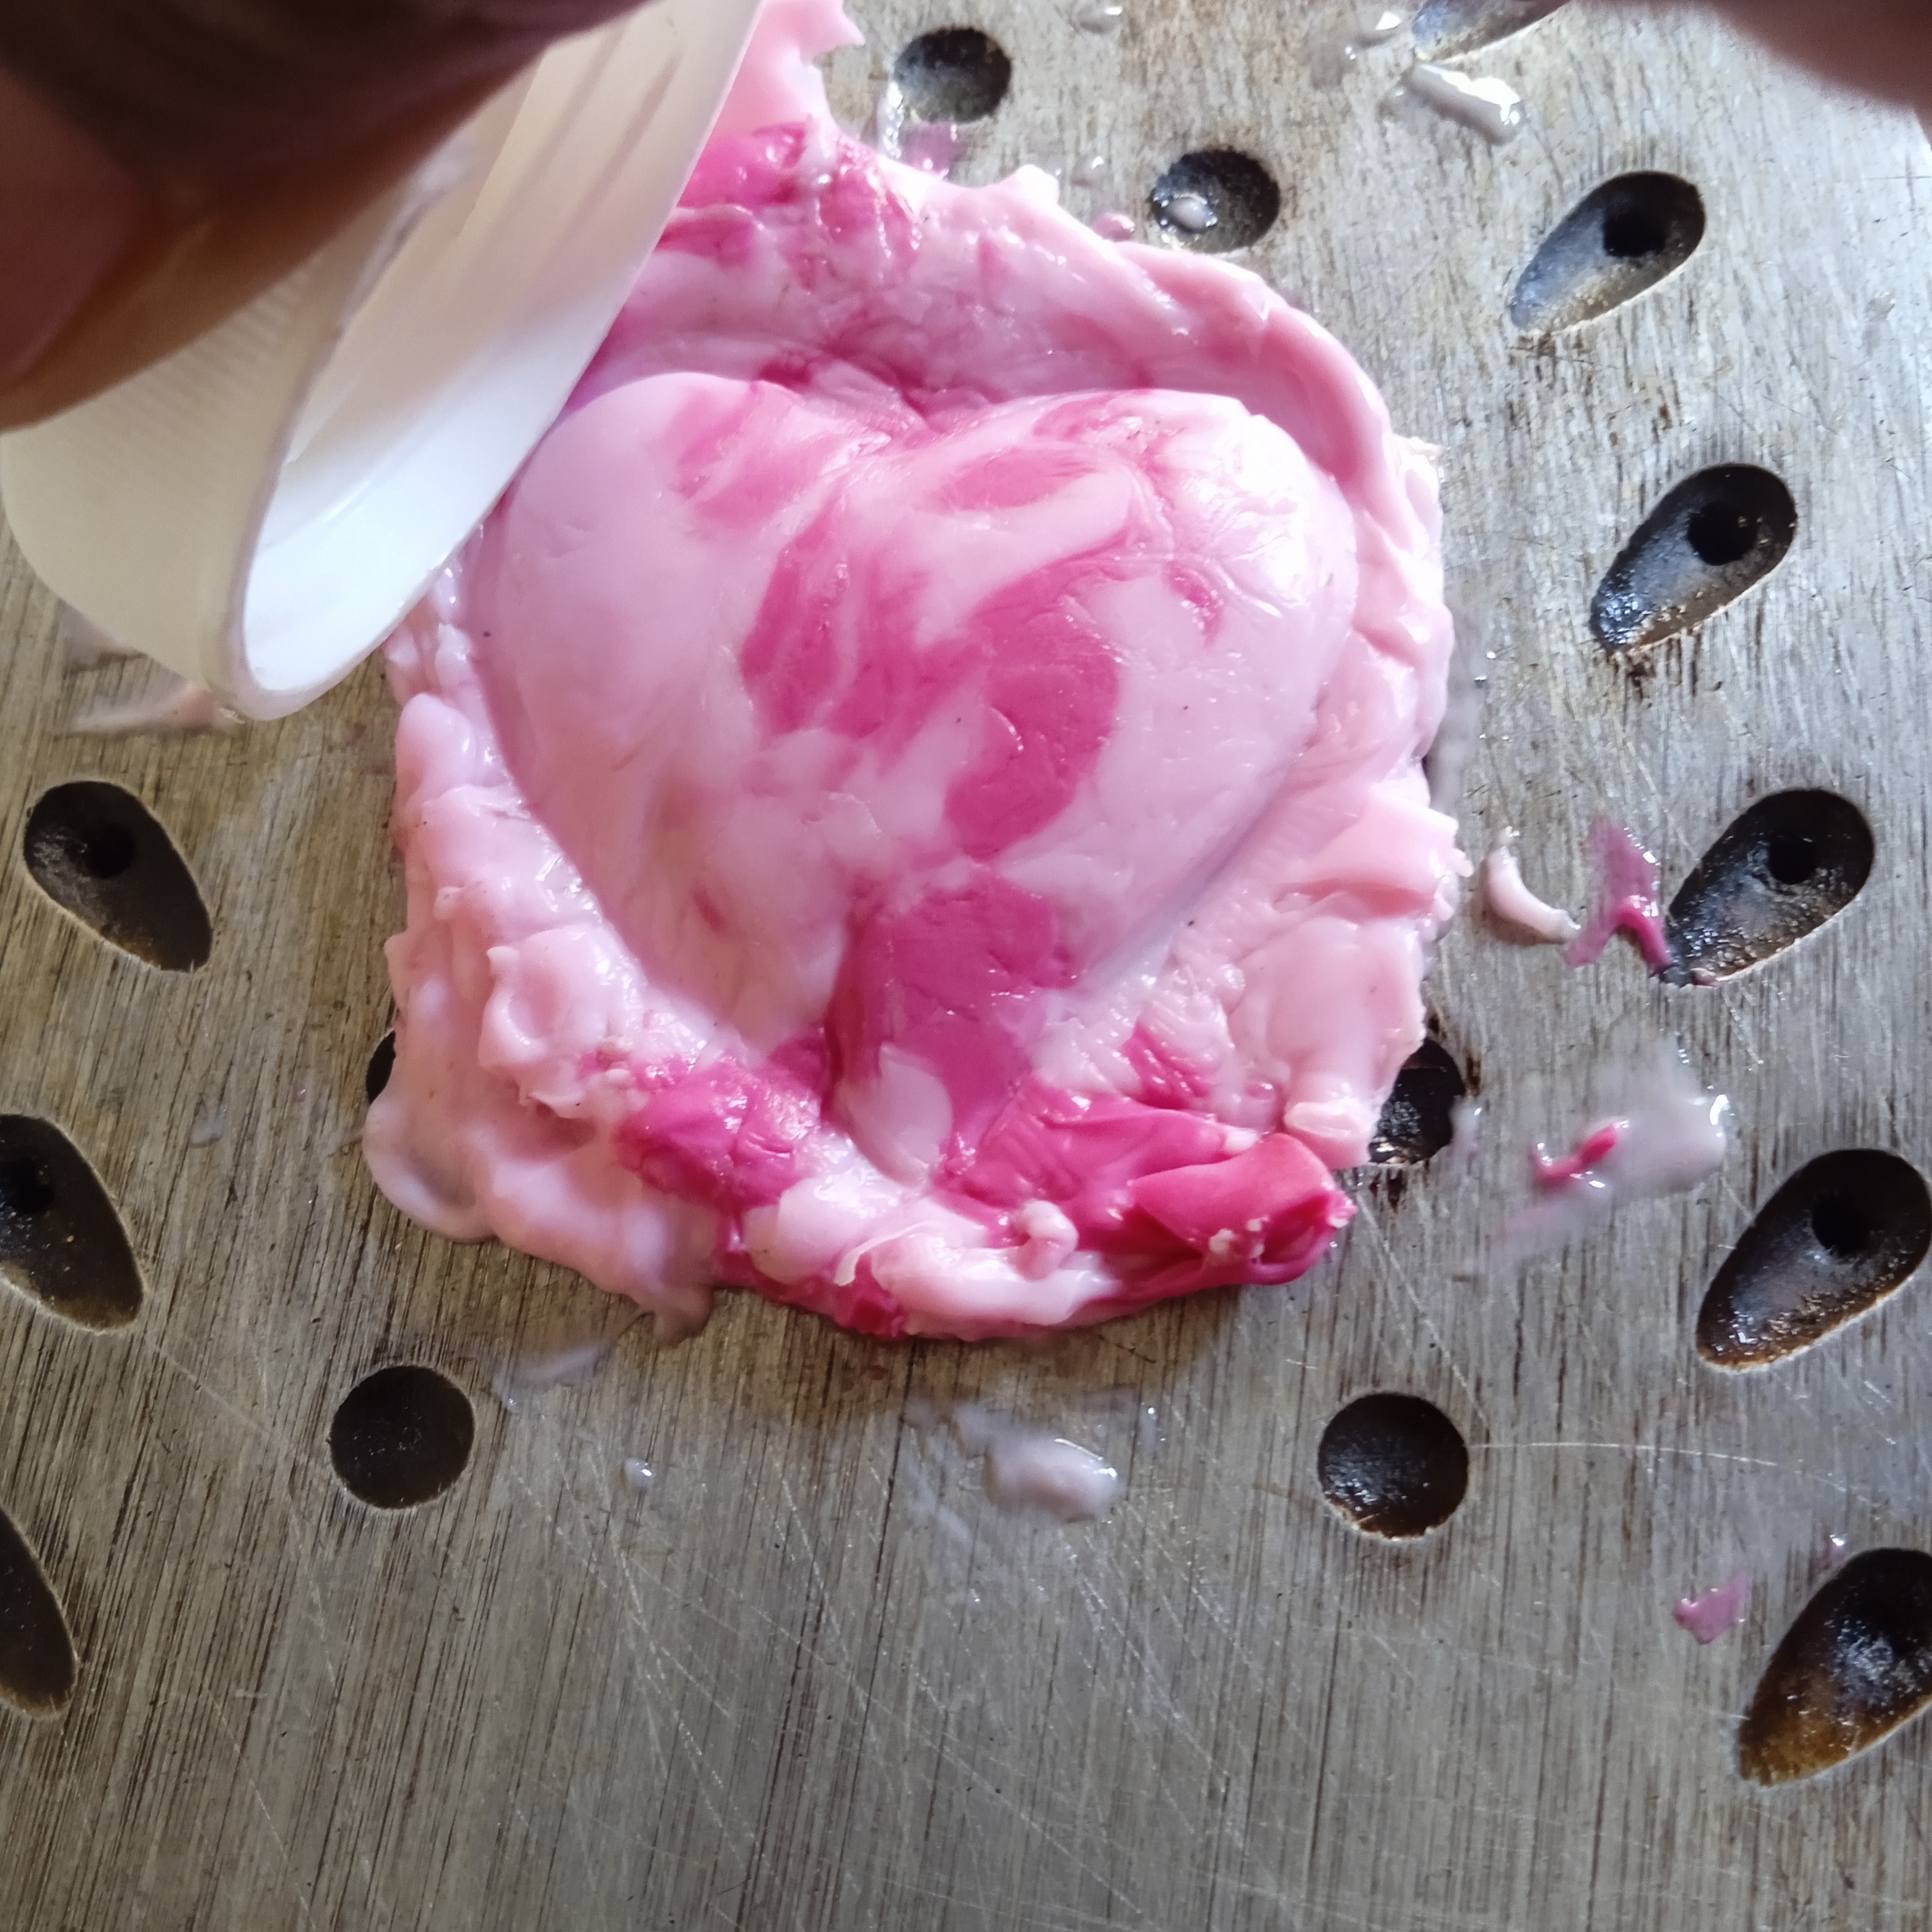
Ahora debemos apagar la plancha y con un molde para galletas podemos marcar la forma que queramos. Si no tienes moldes puedes marcar con un lápiz y luego usar un gorro redondo para pasar sobre la figura y esto le dará relieve.
Step 5.
Now we must turn off the iron, with a cookie mold we can mark the shape we want. If you don't have molds you can mark with a pencil and then use a round cap to go over the figure and this will give it relief.
Paso 6.
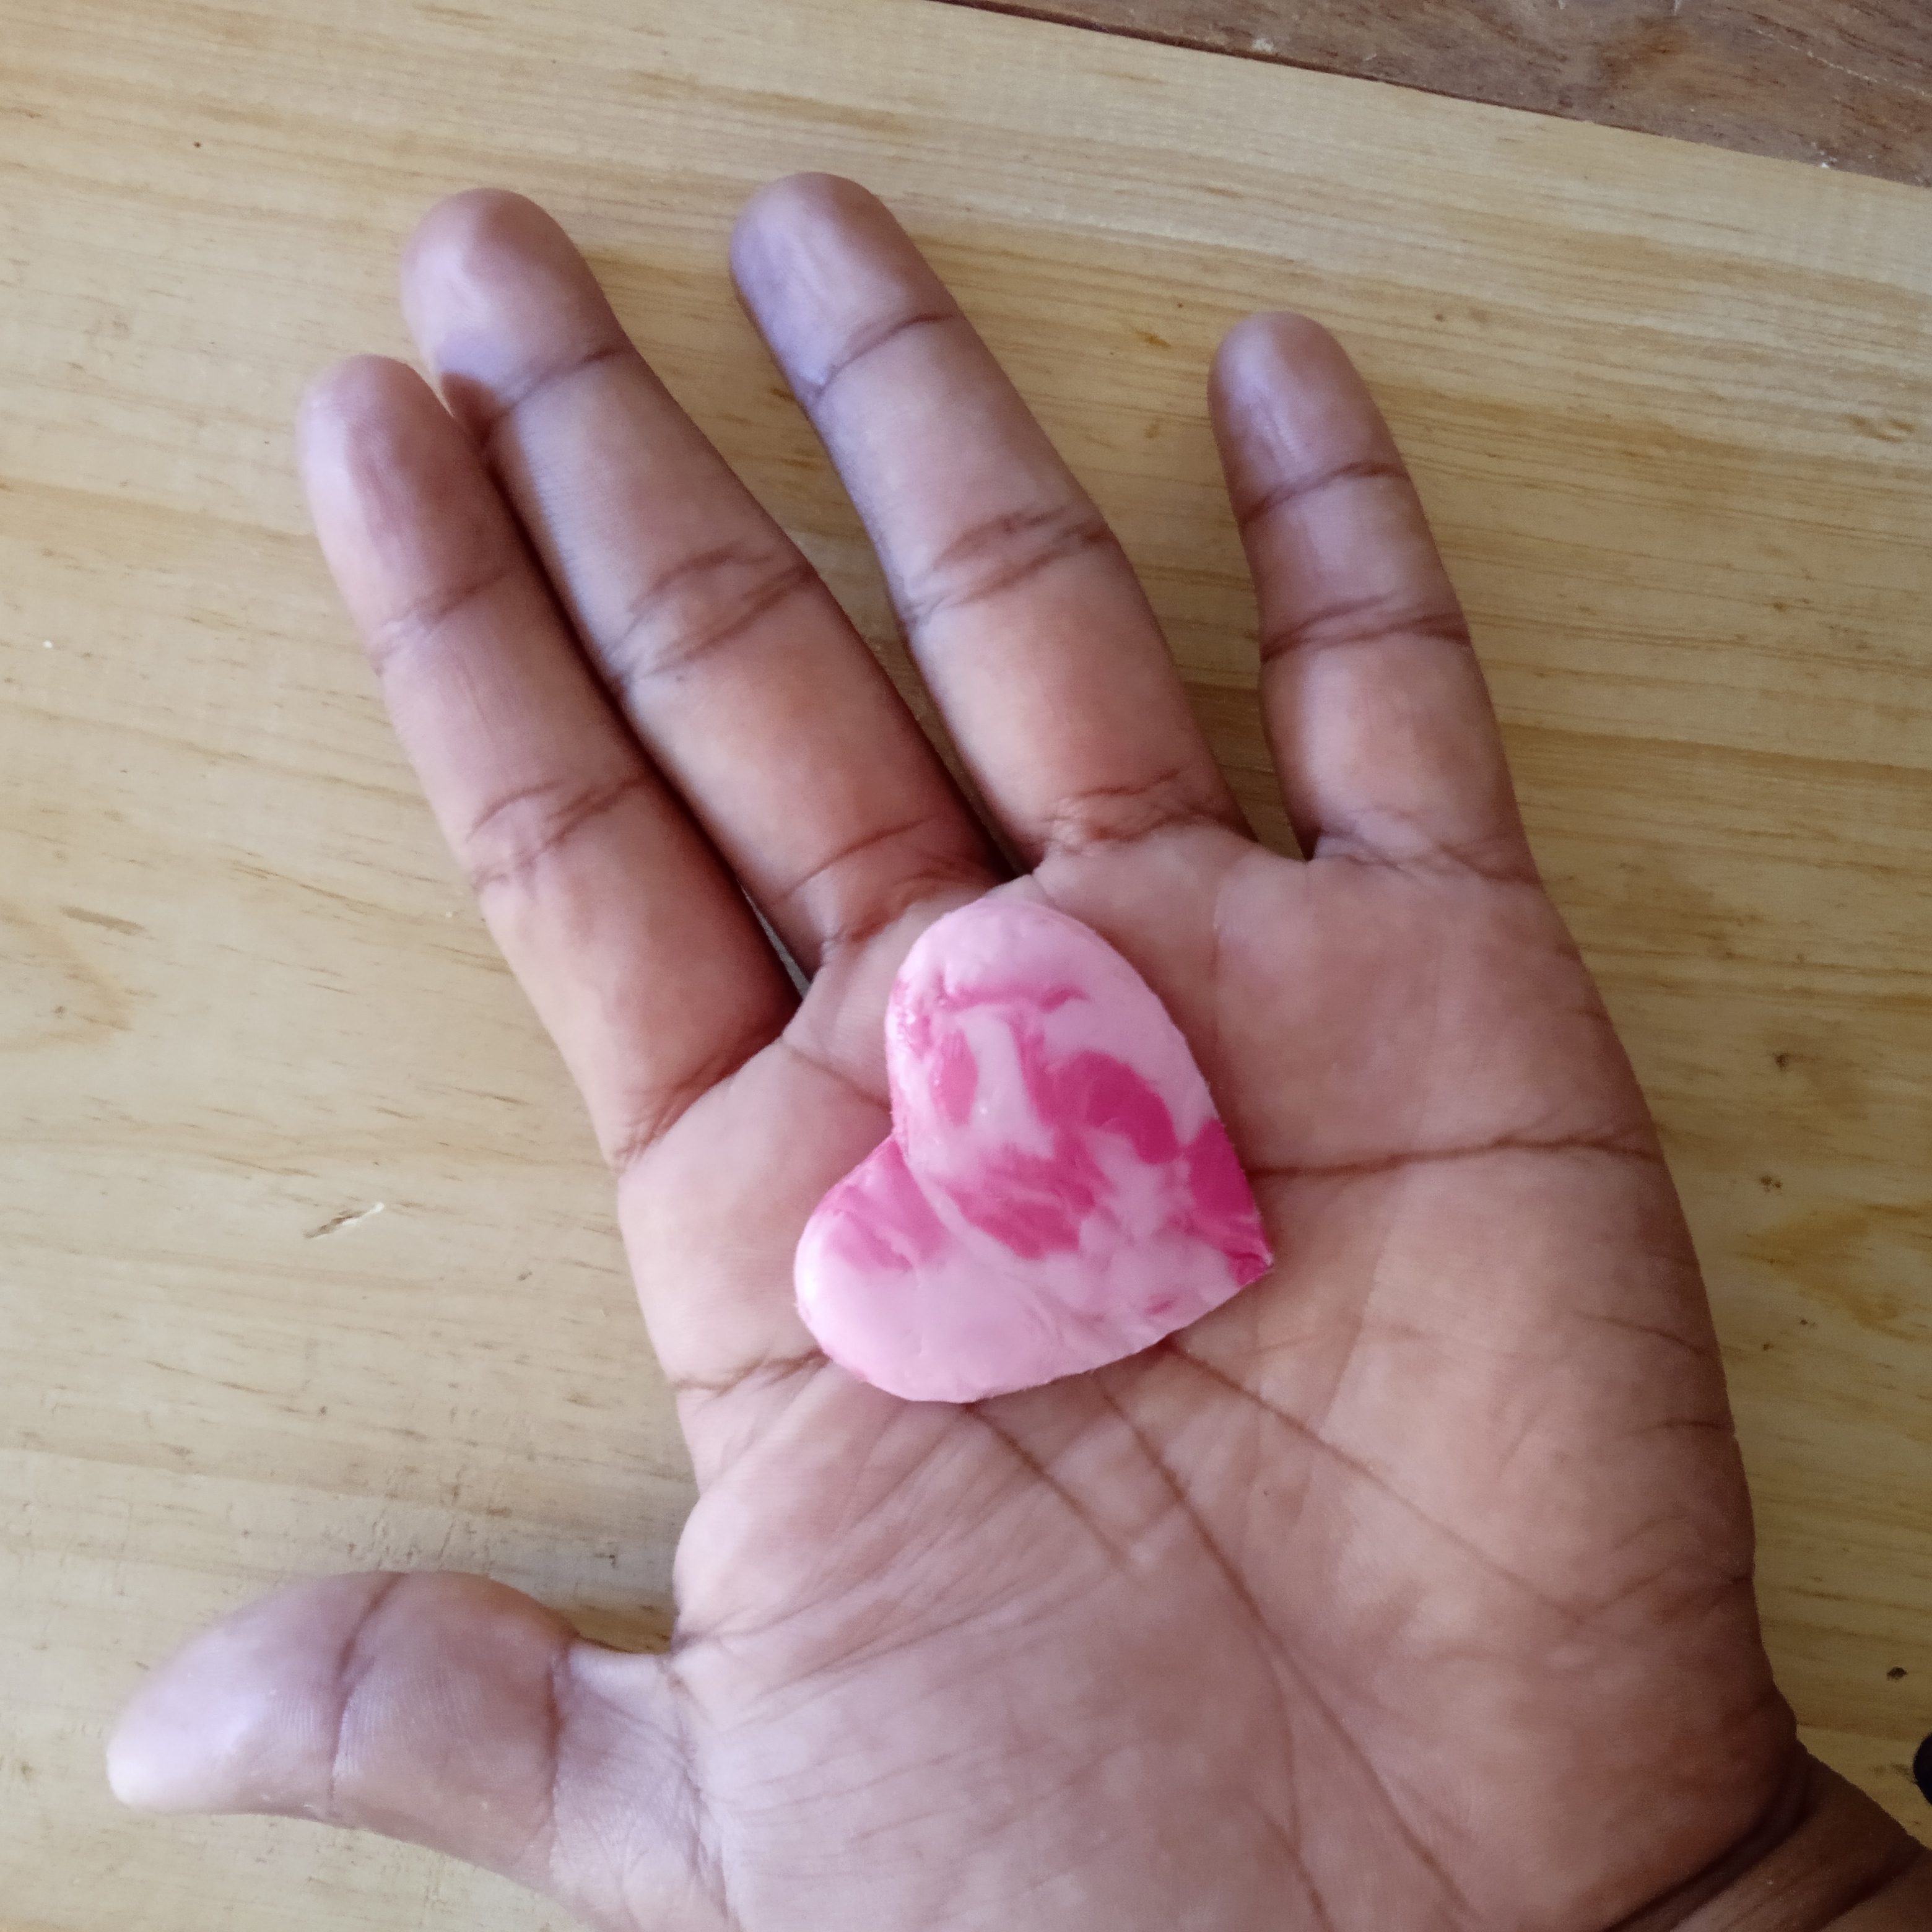
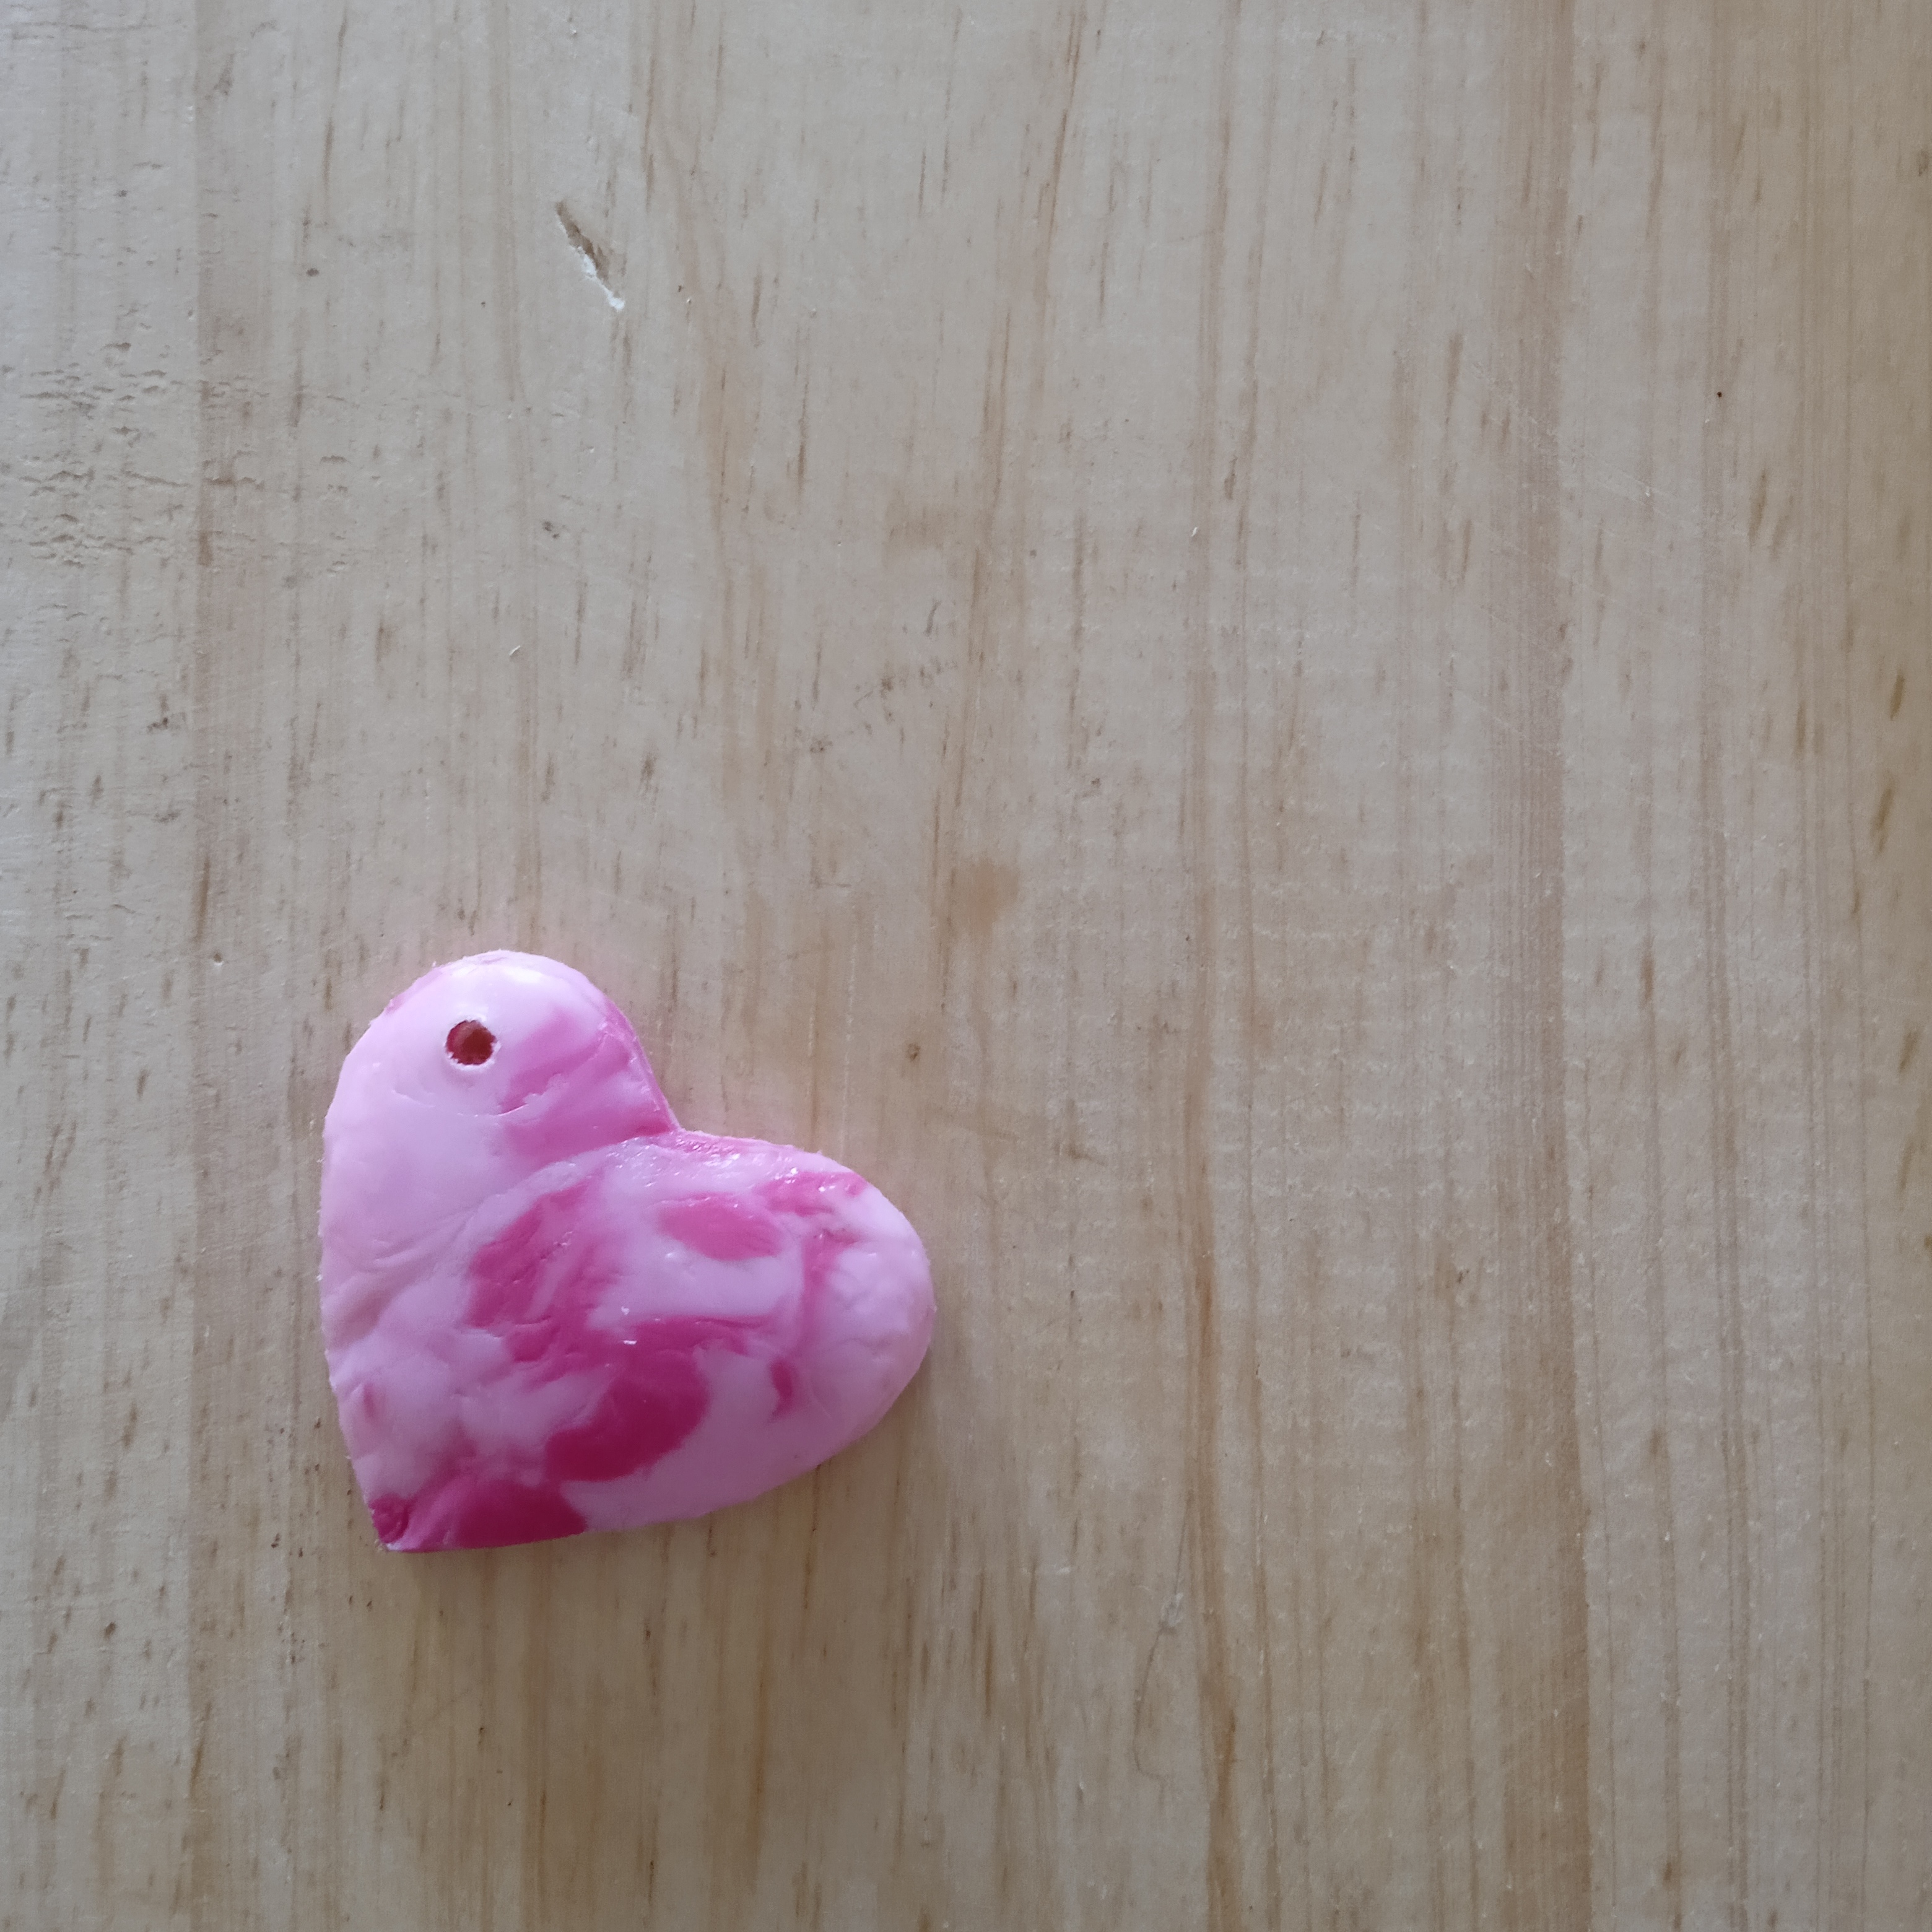
Ahora dejamos enfriar la plancha y retiramos la figura con una espátula o cuchillo, luego cortamos siguiendo el contorno de la figura, puedes usar algún tipo de caladora y le hacemos un pequeño agujero.
Step 6.
Now we let the iron cool and remove it with a spatula or knife, then we cut following the contour of the figure, you can use some type of jigsaw and we make a small hole.
Paso 7.
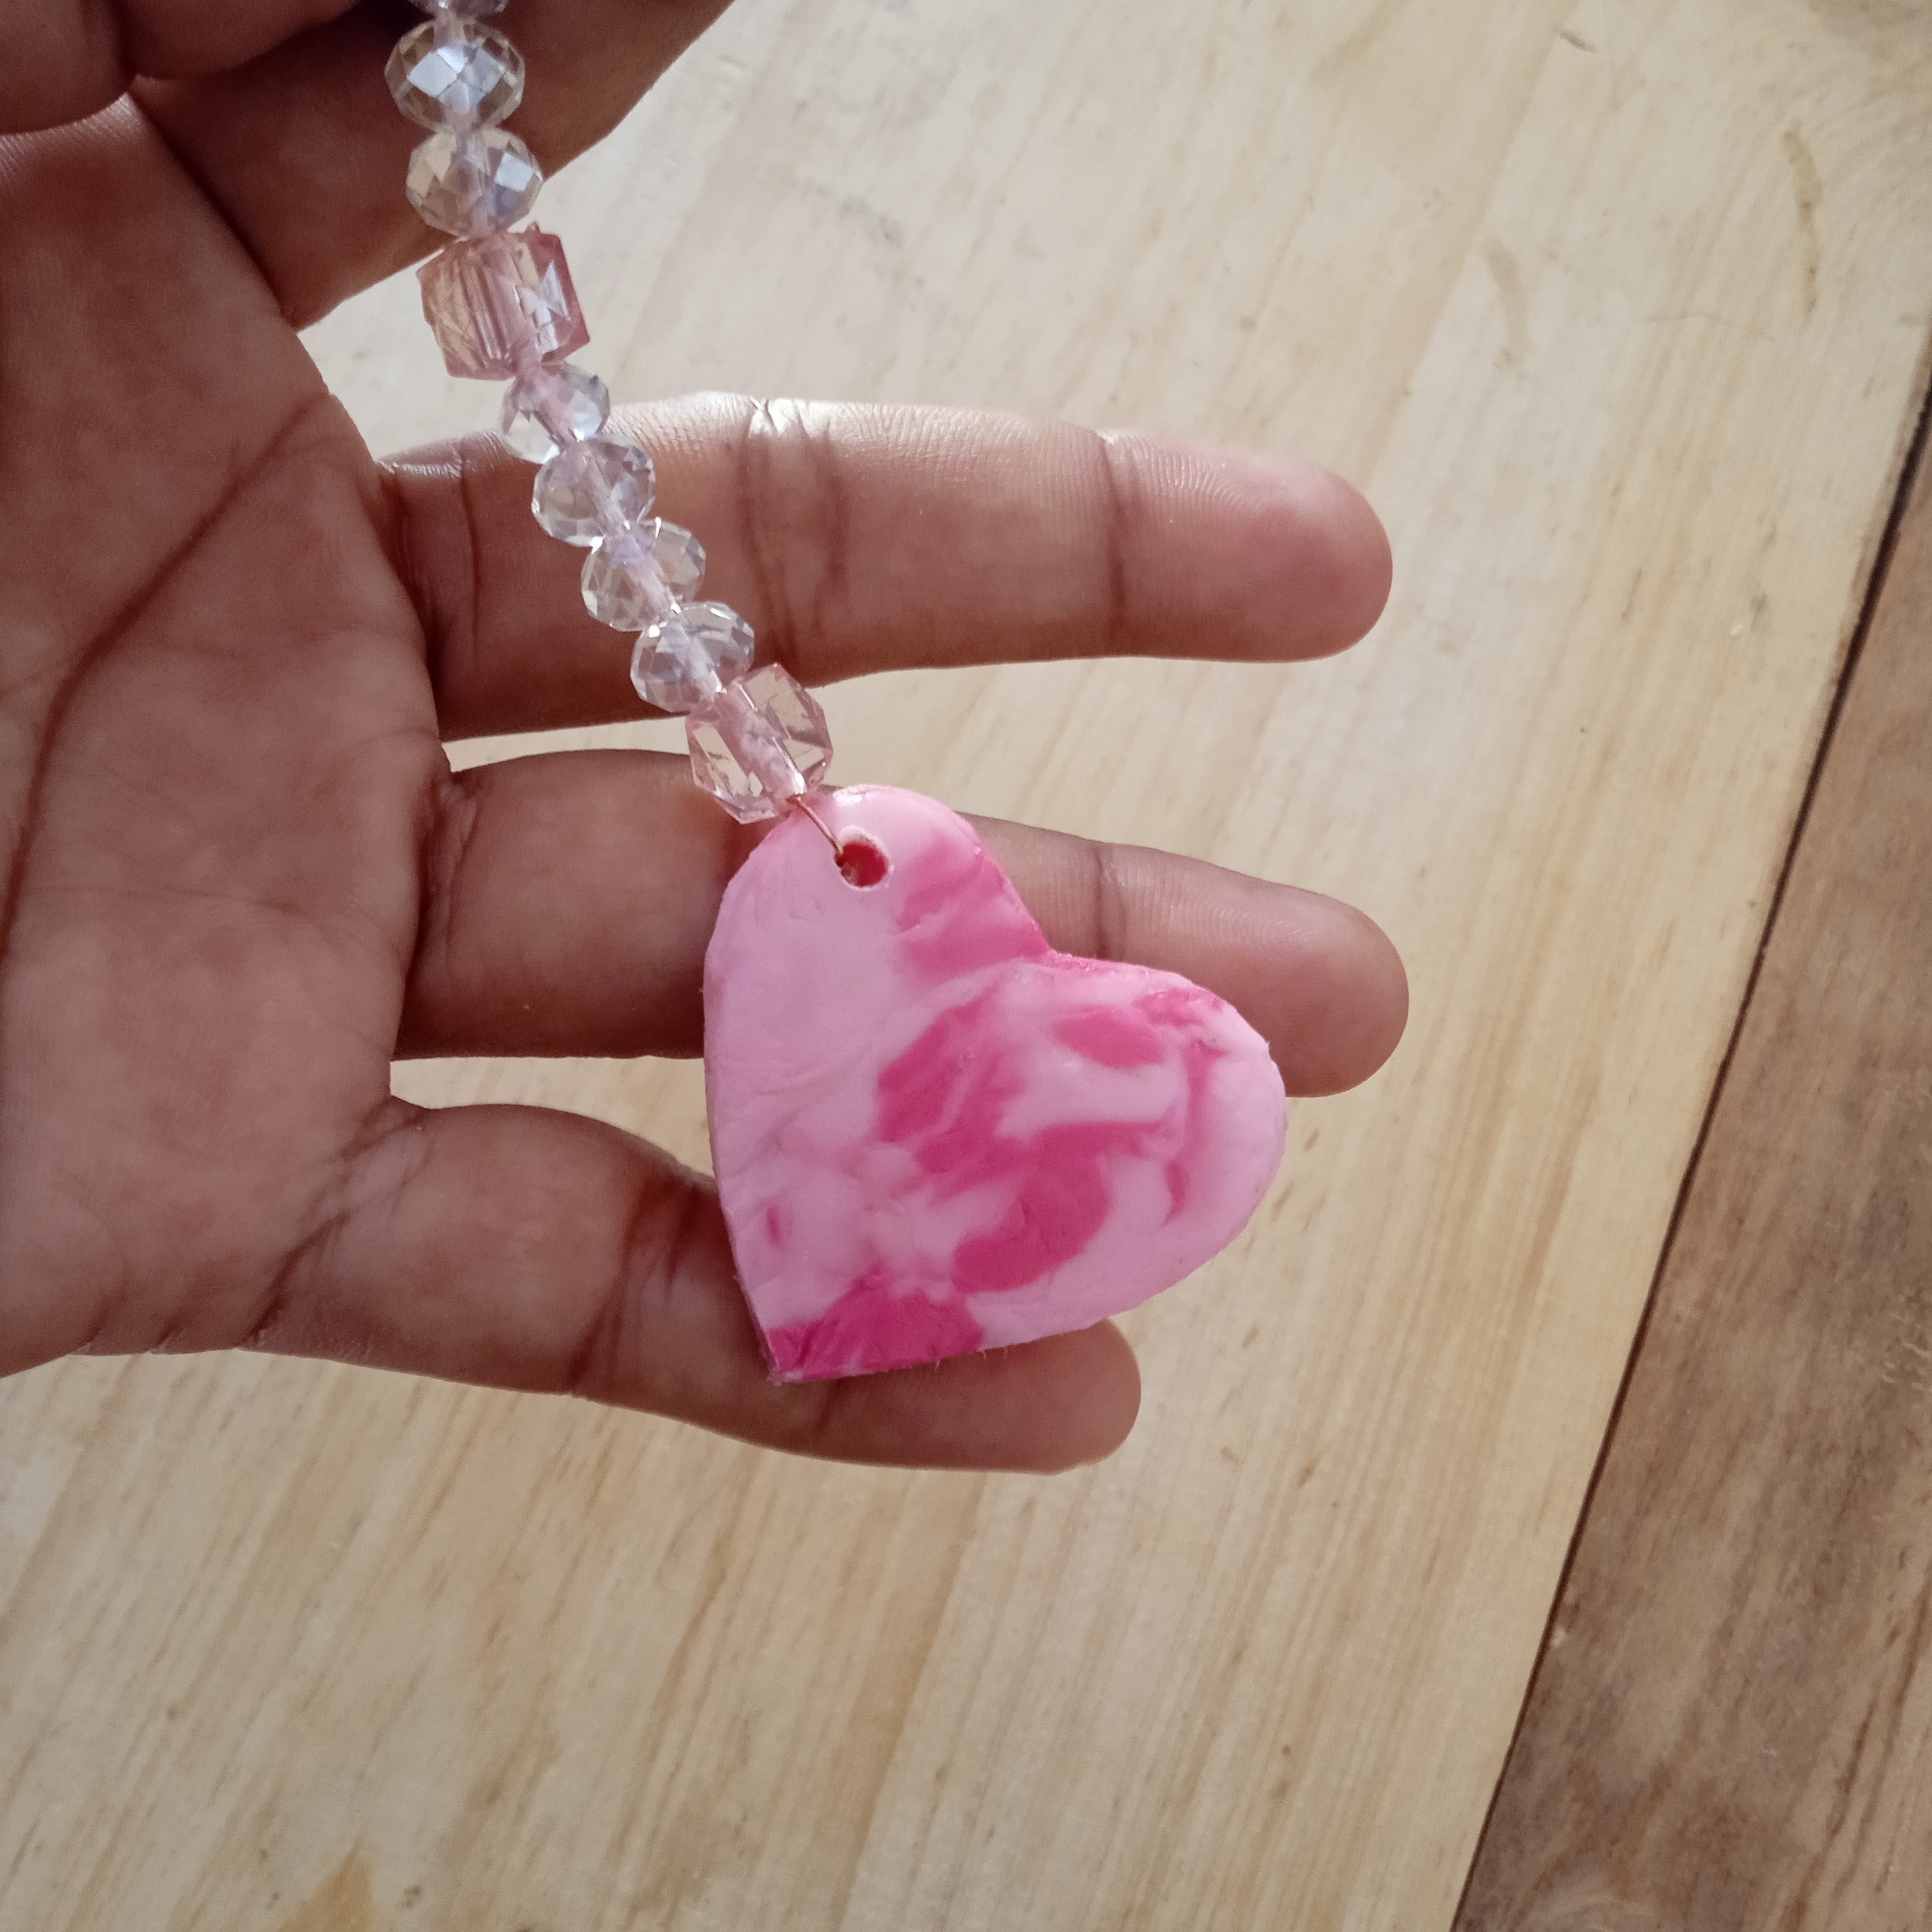
Por último colocamos unos cristales o el accesorio que quieras.
Step 7.
Finally we place some crystals or the accessory you want.
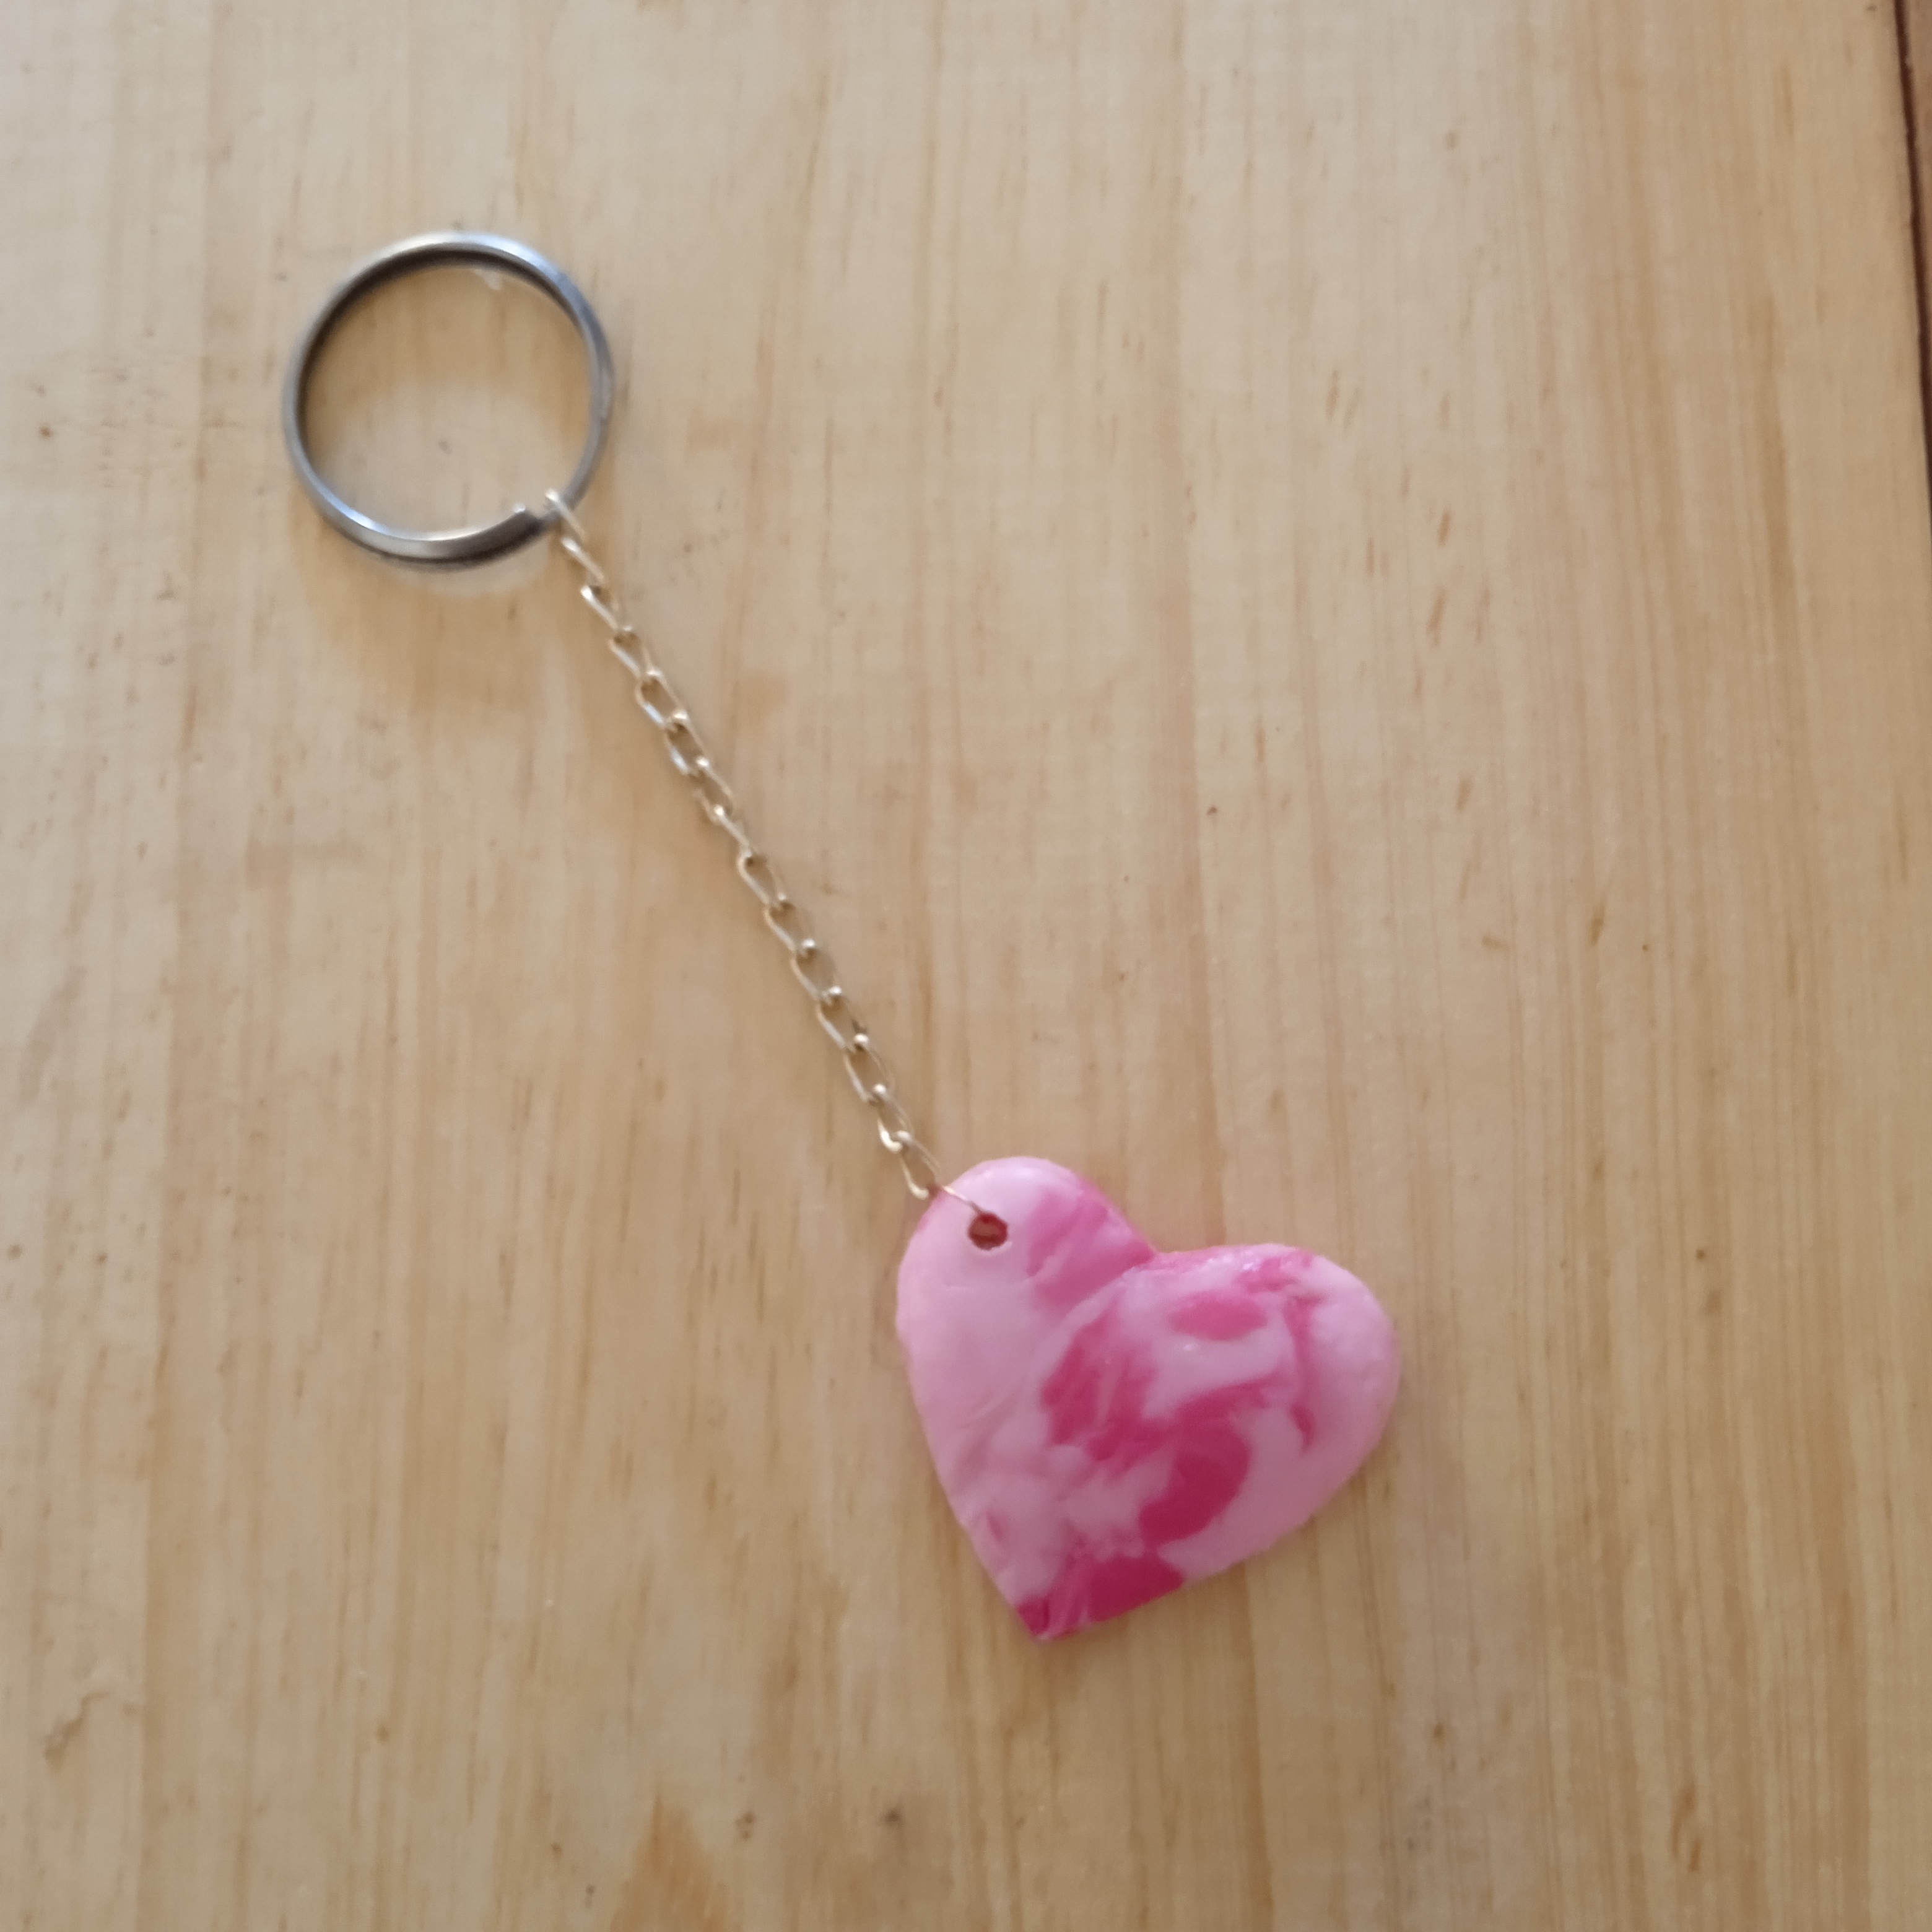
Este es el resultado final, espero les guste y se animen a realizar sus propios llaveros con material reciclado y de esta manera todos ganamos.
This is the final result, I hope you like it and are encouraged to make your own keychains with recycled material and this way we all win.
Amigos, es un gran placer haber compartido con todos este lindo proyecto artesanal, espero que les guste mucho y se animen a realizarlo, sin mas les deseo una feliz noche y bendiciones🤗😚.
Friends, it is a great pleasure to have shared this beautiful craft project with everyone, I hope you like it a lot and are encouraged to do it, without further ado I wish you a happy night. and blessings🤗😚.
¡Gracias visitar mi blog, nos leemos pronto, cuidense mucho, se les quiere!♥.
Thank you for visiting my blog, see you soon, take care of yourselves, we love you!♥.
Contenido de mi autoria.
Fotor capturadas por mi teléfono Redmi9
Editor: GriadArt
Traductor: Google.com
Content of my authorship.
Fotor captured by my Redmi9 phone
Publisher: GriadArt
Translator: Google.com
After melting that thing. It ended up looking like bubble gum. The key chain looks really nice.
🤭yes, thank you very much for your support.
This is indeed incredible
After melting those stuff
How did you get your iron clean?
Wow! que lindo, la combinación de colores es hermosa, me encantó esta idea para aprovechar los envases de plástico.
Saludos!
Un millón de Gracias! Es una nueva idea para aprovechar estos envases.
This is beautiful. I design look coloful. You have done a great job. Weldone dear
Muchas gracias, siempre trabajo con mucho cariño para todos ustedes.
This is supper the keychain look so beautiful and Bright
I love it
Jeje!! Muchas gracias, saludos y un fuerte abrazo 🤗
This is a typical example of trust the process because at some point it looked like the plastic wouldn’t cooperate😂 This is super creative, well done.
Si, solo es cuestión de esperar un poco a que derrita bien y luego aplanar. Muchas gracias por el apoyo, saludos y muchas bendiciones.