Hola mis queridos amigos hoy complacida con mi primera publicación en esta comunidad y encantada de poder mostrarle y enseñarles "COMO HACER UNA BOLSA DE REGALOS" CON CARTULINA:
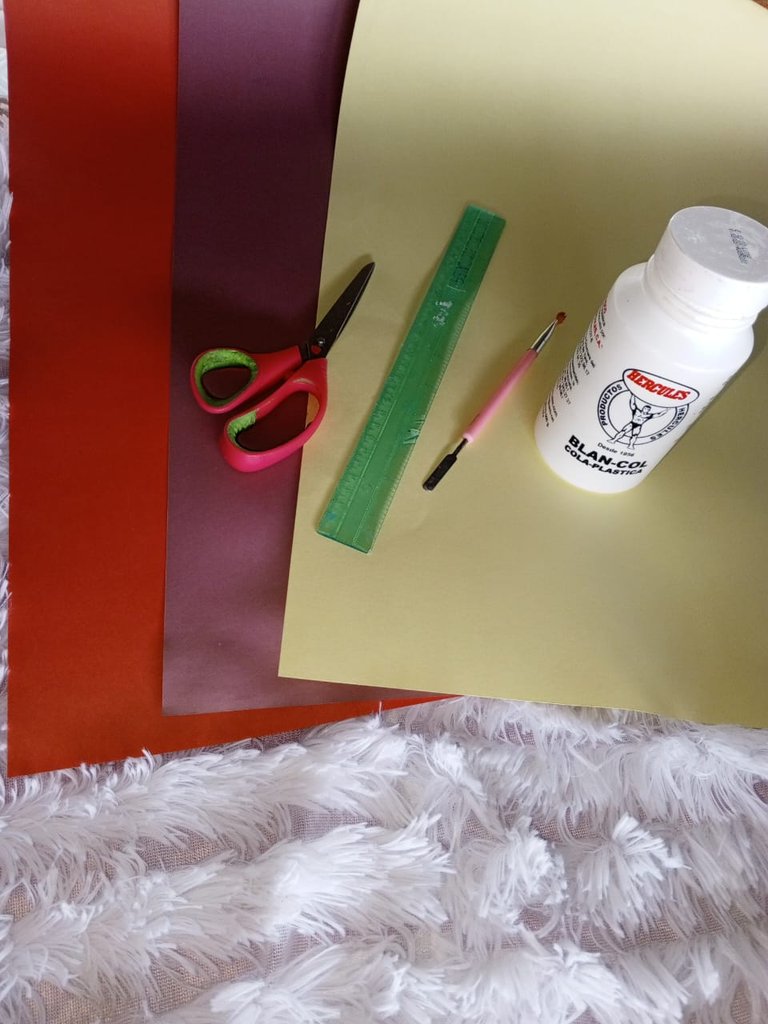
Como se muestra en la imagen los materiales a utilizar:
Cartulina
Tijeras
Regla
Instrumento para marcar bordes
Pegamentos
A continuación explicaré cada procedimiento para elaborar una linda bolsa de regalo.
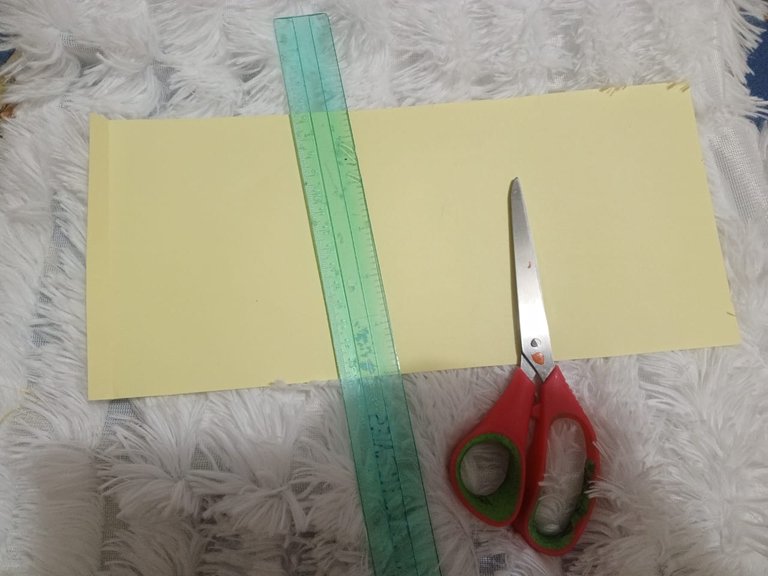
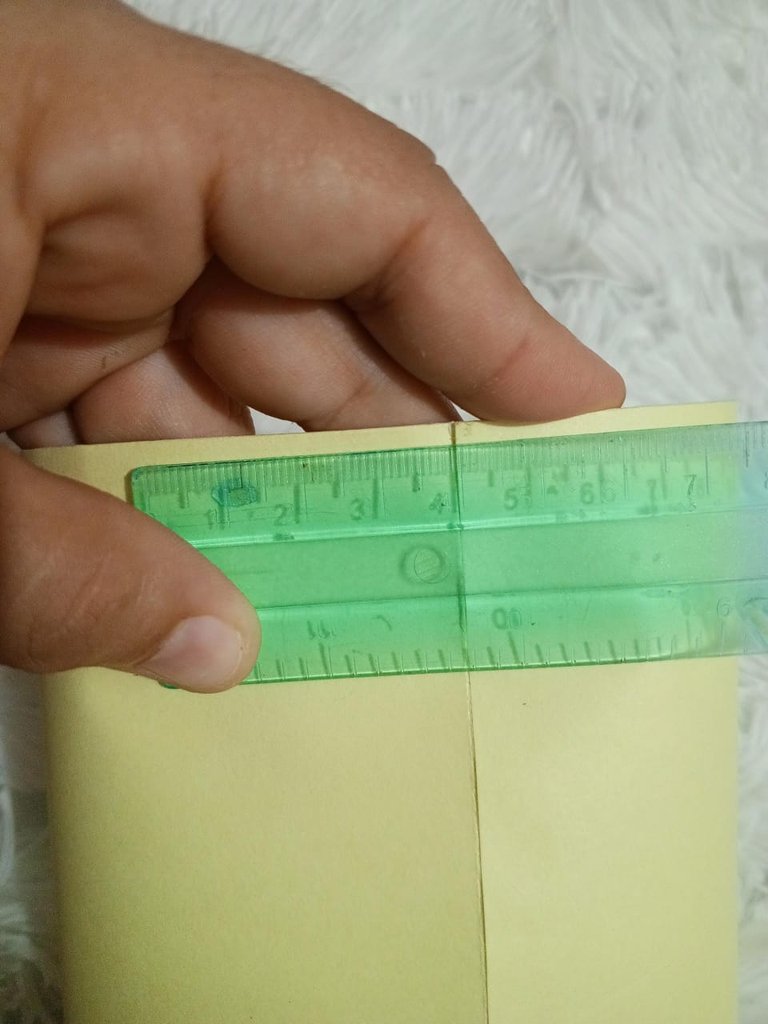
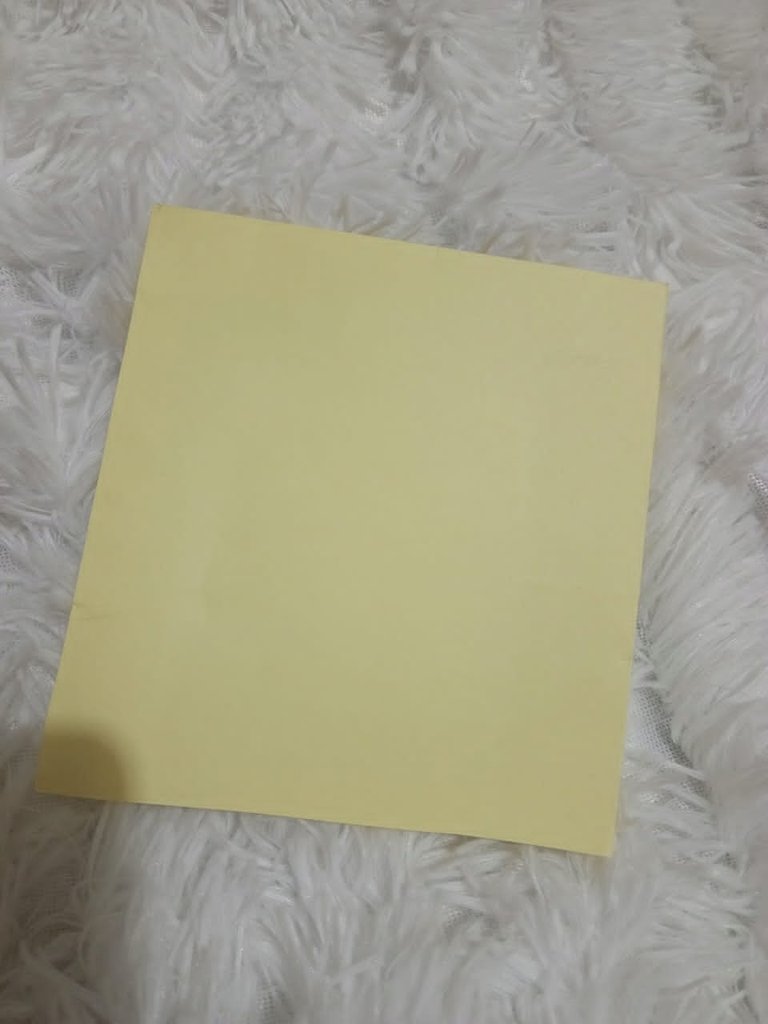
En esta ocasión recorte un trozo de cartulina de 32 cm de ancho x 14 cm de alto.
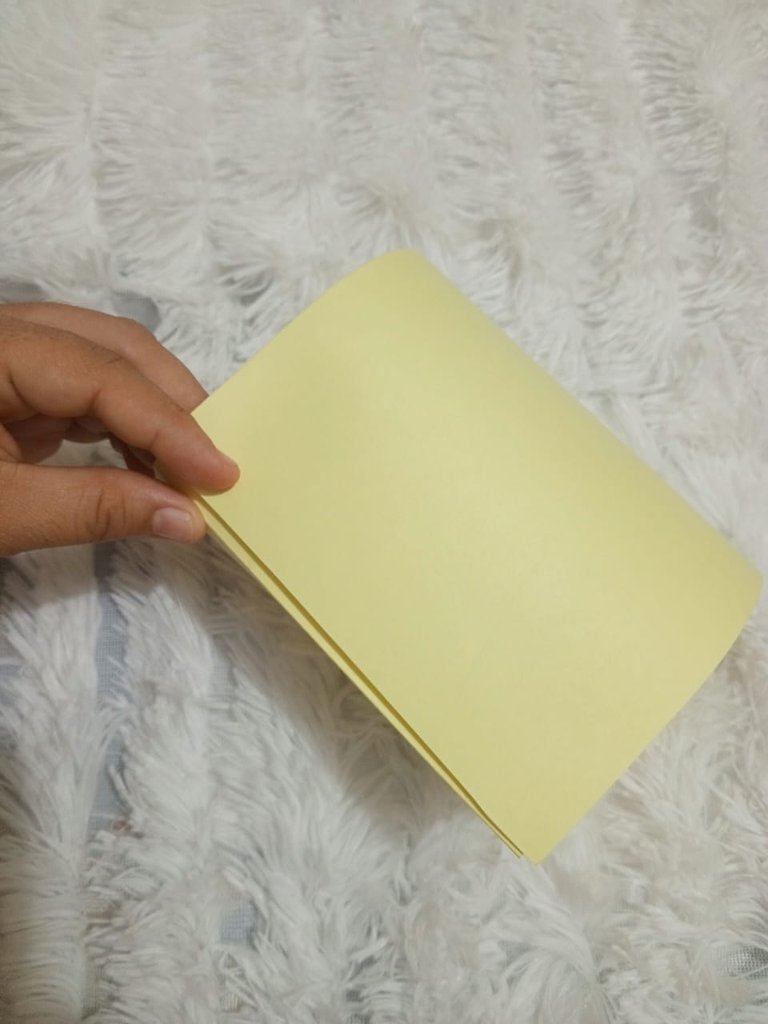
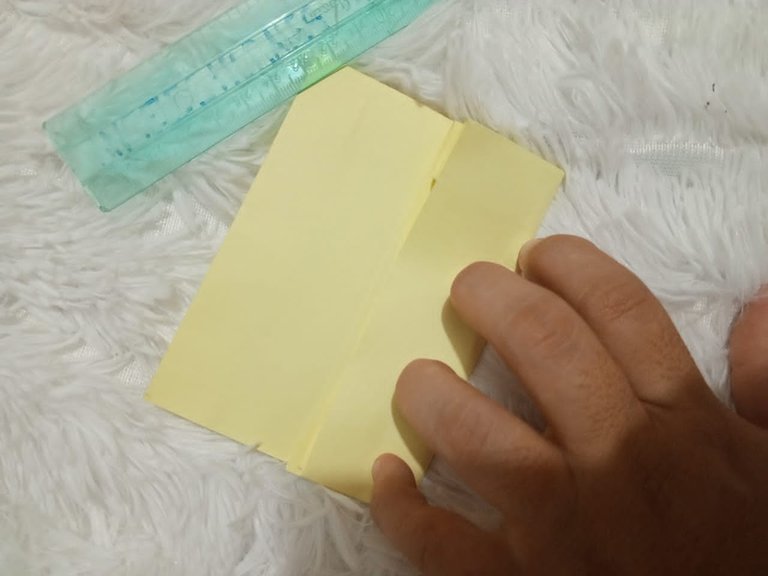
En una de las esquinas tomaremos 1cm y doblaremos.
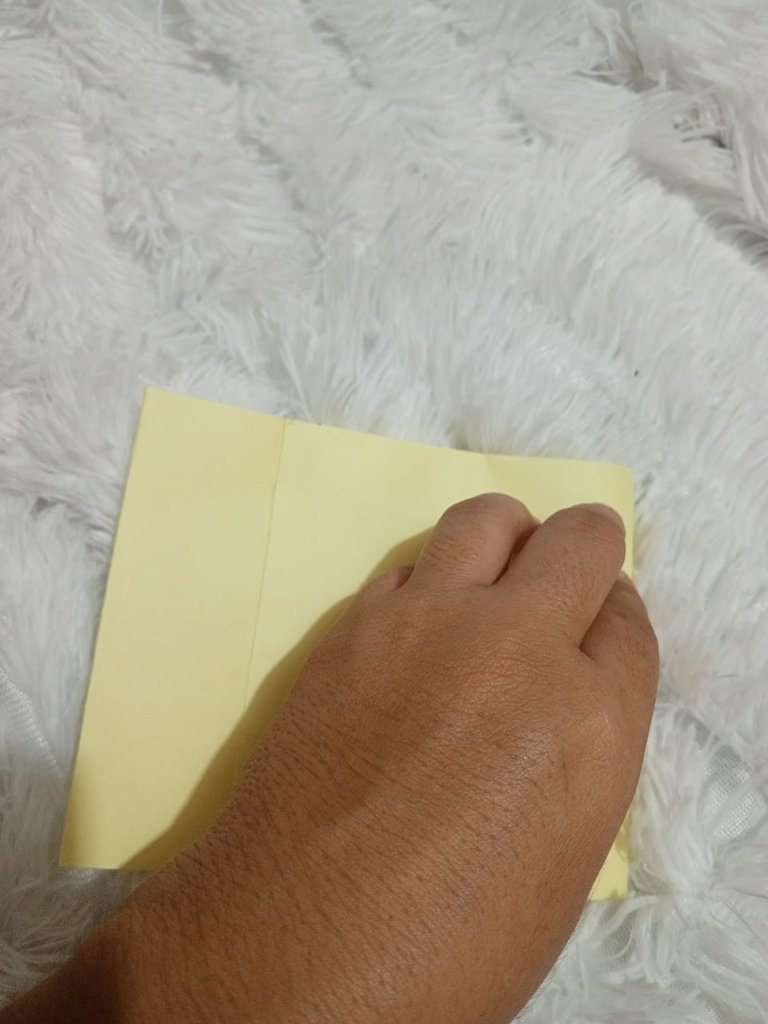
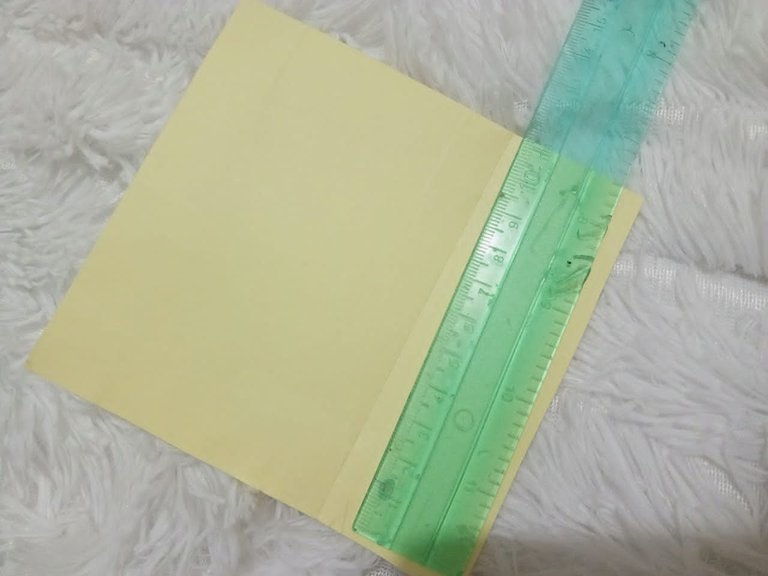
Luego en la parte superior medimos 2cm y doblamos hacia adentro esto se hará en los dos dobles q observamos en la imagen.

Luego procedemos a colocar pegamento en el dobles que hicimos de 1cm para pegar extremos cn extremos.
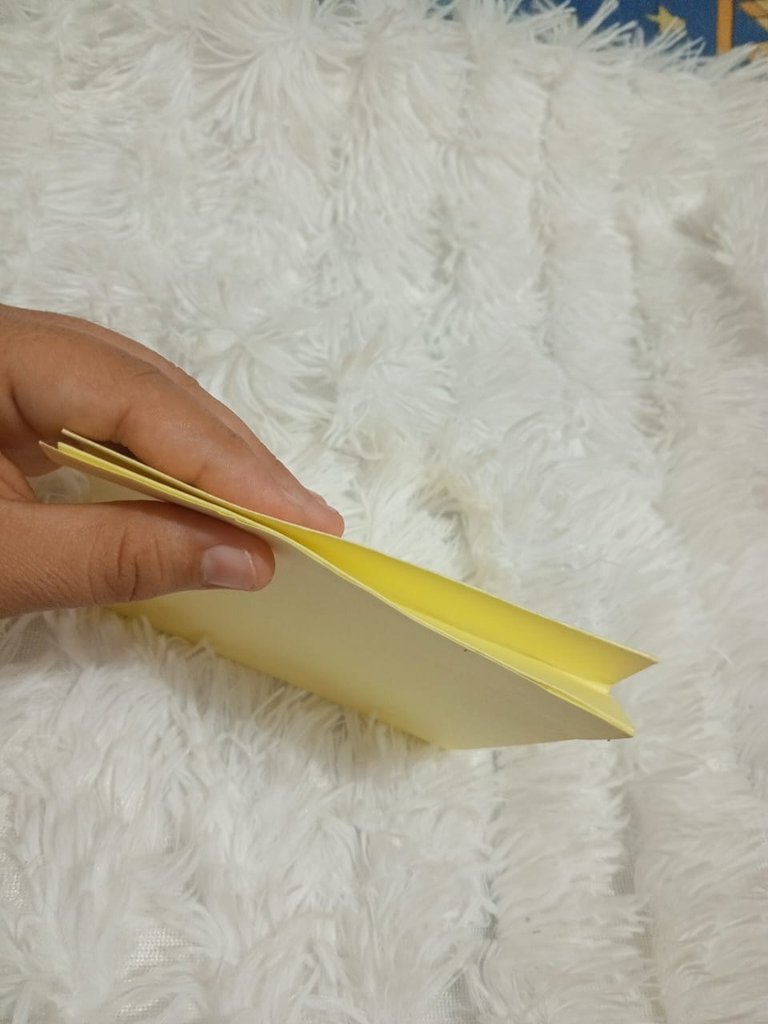
Luego luego de pegar doblaremos para que esté quedé de está manera.
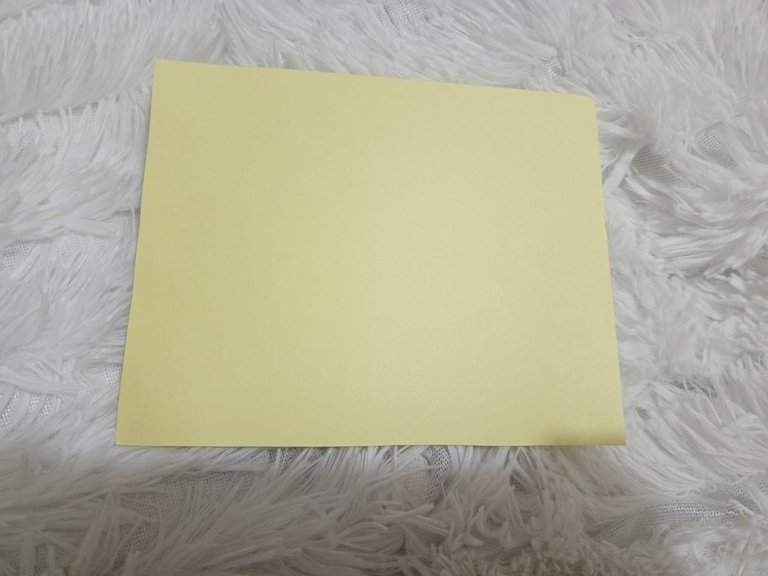
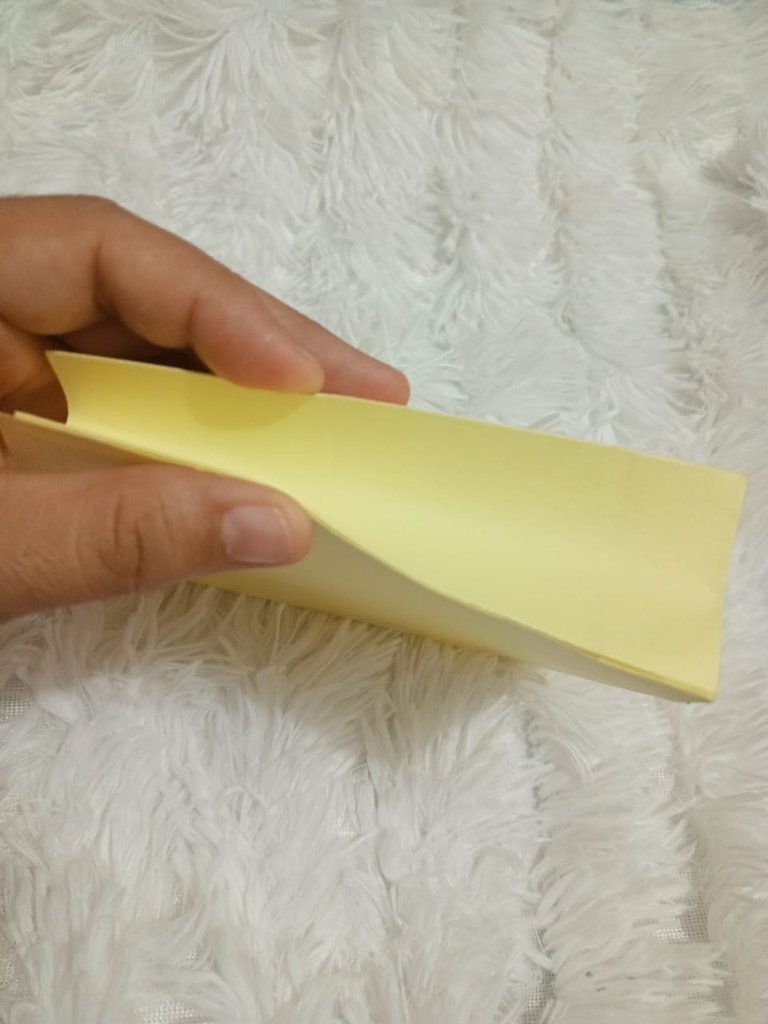
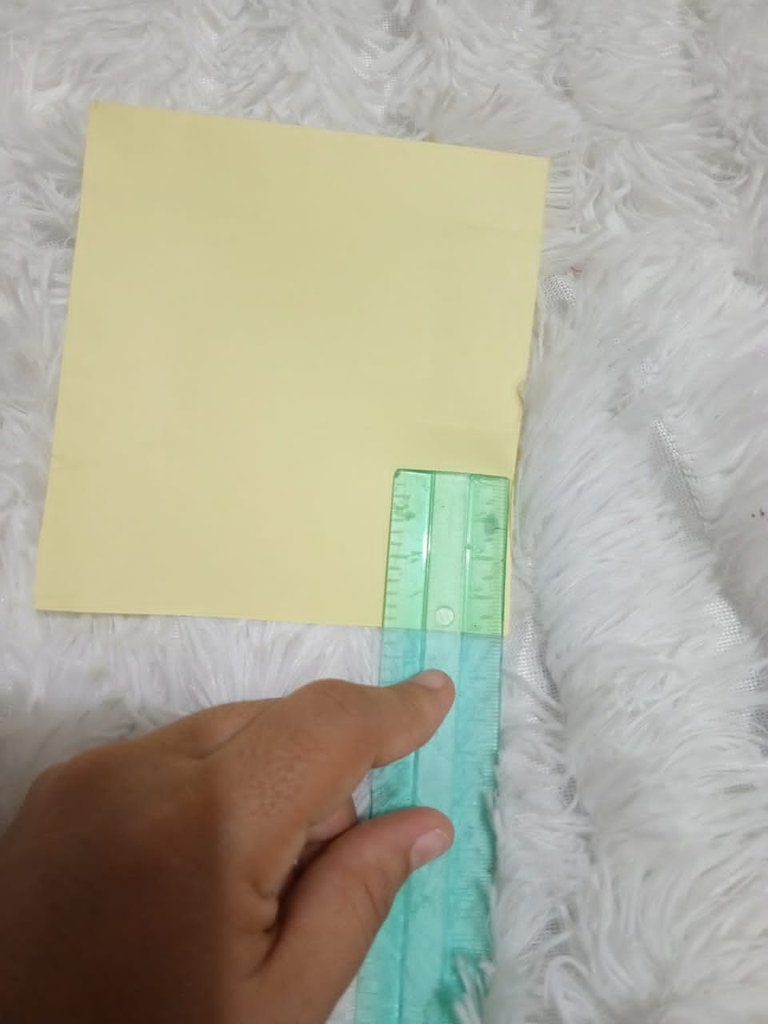
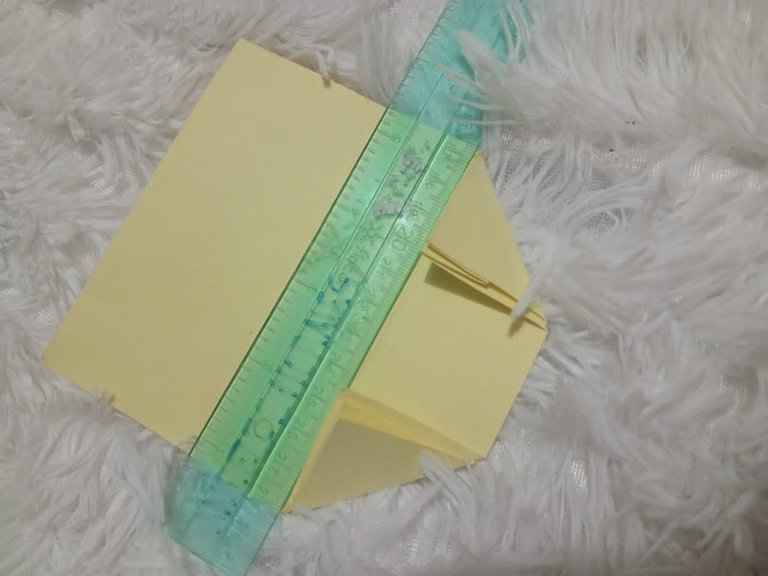
De esta manera abriremos y de donde se pegó tomamos una medida de 4cm.
Y marcamos para luego ir formando los pliegues laterales de nuestra bolsa.

En cada marcación vamos a doblar para ir dando forma.
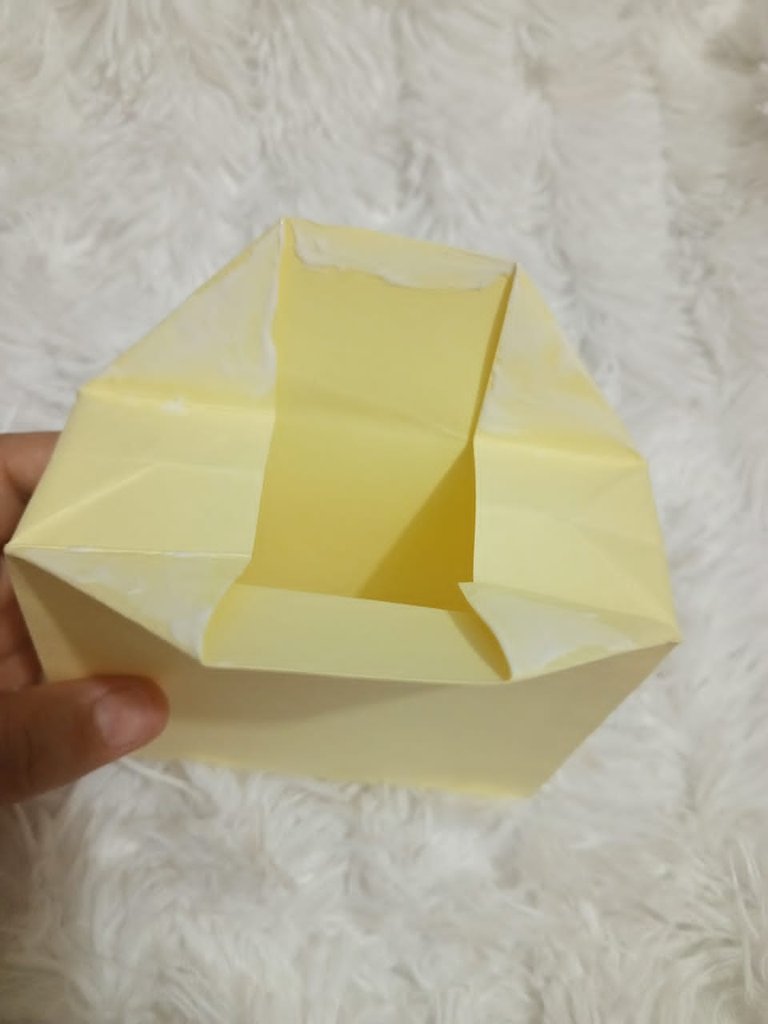
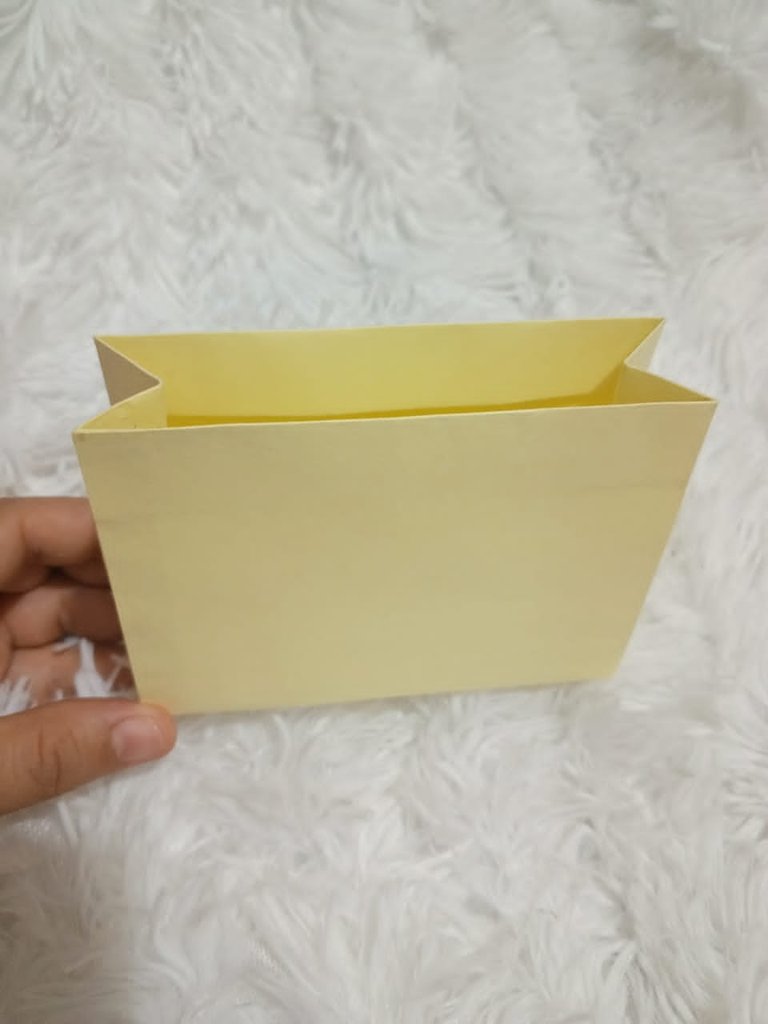
Luego de doblar abrimos y de esta manera tiene que ir dando la forma de la bolsa.
Por cada lateral haremos otro doble como específica la imagen.
Y de sentido lo haremos del otro lado.
Y nuevamente nos quedara así.
En la parte inferior maracaremos 4 cm ara formar y cerrar nuestra bolsa por la parte de abajo.
Luego que marquemos vamos a doblar hacia arriba.
De esta forma para ir confirmando cada dobles.
Tomamos cada esquina y doblamos cm un triángulo como se refleja en la imagen.
Ya de esta forma nos tiene que ir quedando para cerrar nuestra bolsa.

Luego que se termina de dar la forma de cada dobles se coloc pegamento.
Y así vamos a unir para cerrar la linda bolsa de regalo.
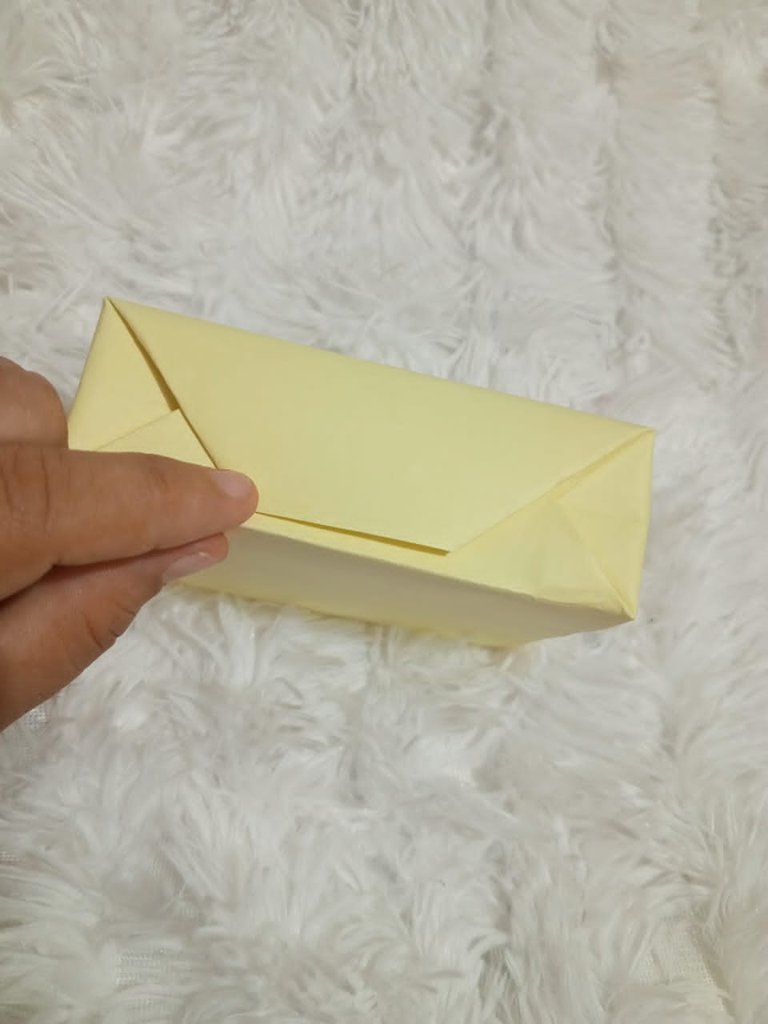
Y así debe quedar cerrada la parte inferior de nuestra bolsa.
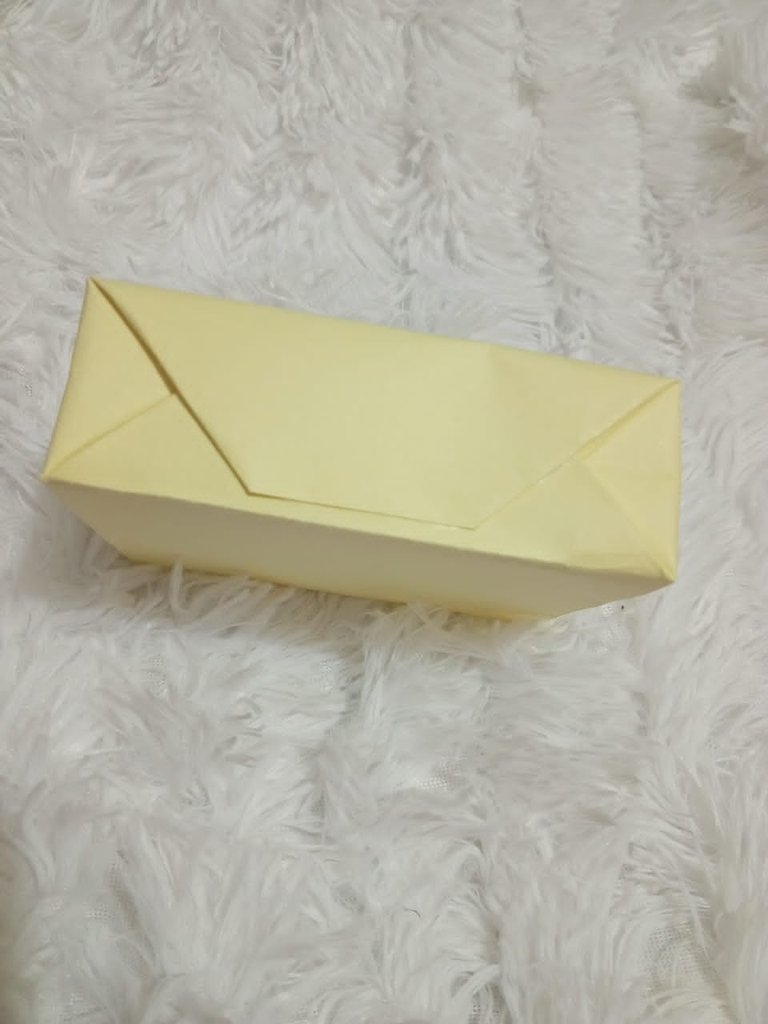
Y así va quedando nuestra bolsa.
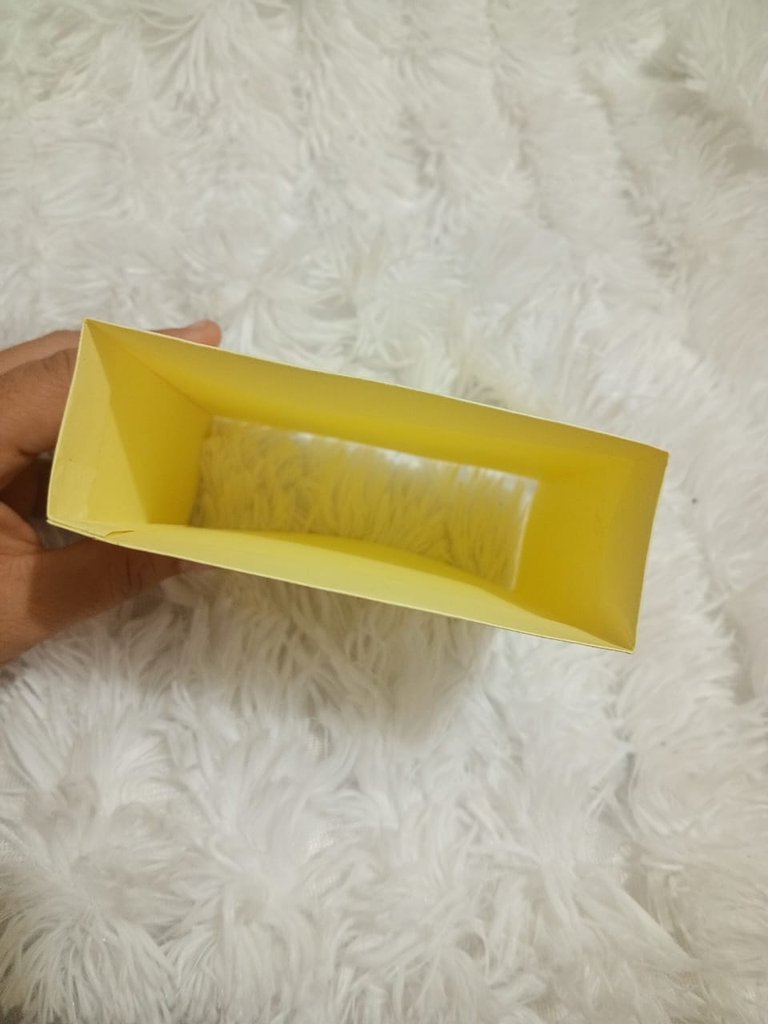
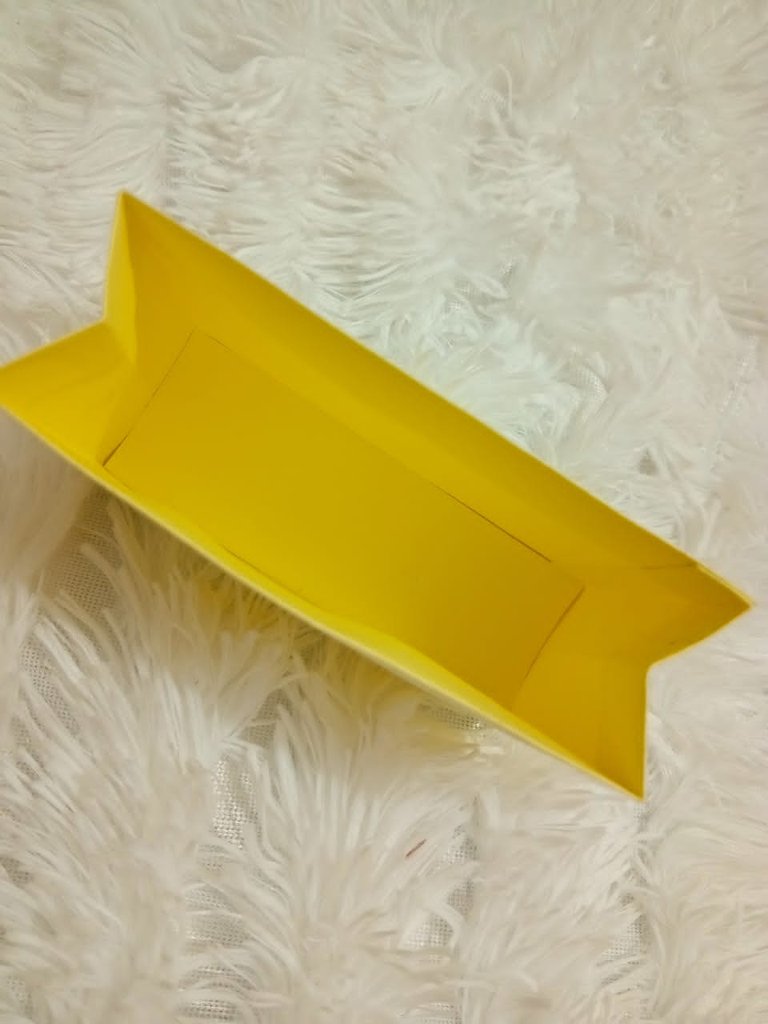
Luego con otro corte se hace una tapa para colocarla en el fondo de la bolsa para crear estabilidad.
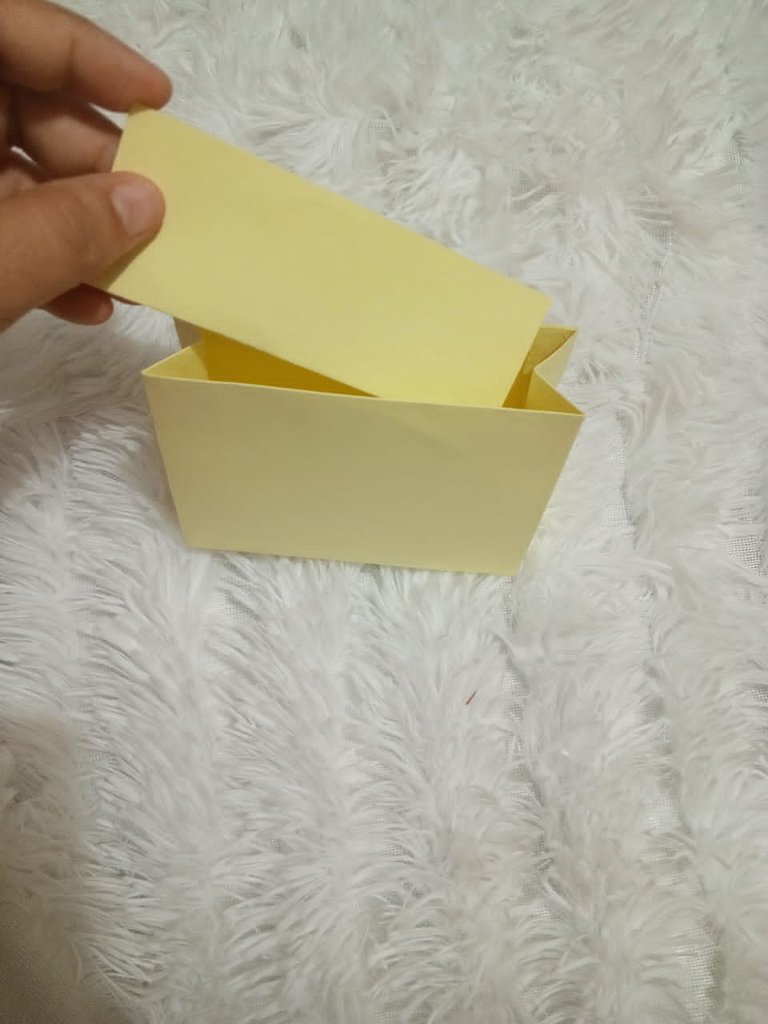
Y así debe quedar firme.
Así nos quedo nuestra maravillosa bolsa de regalo q puedes también utilizar si tienes un emprendimiento puedes entregar tus productos en una linda bolsa con tu marca .. ya los detalles son opcionales y a tu gusto.
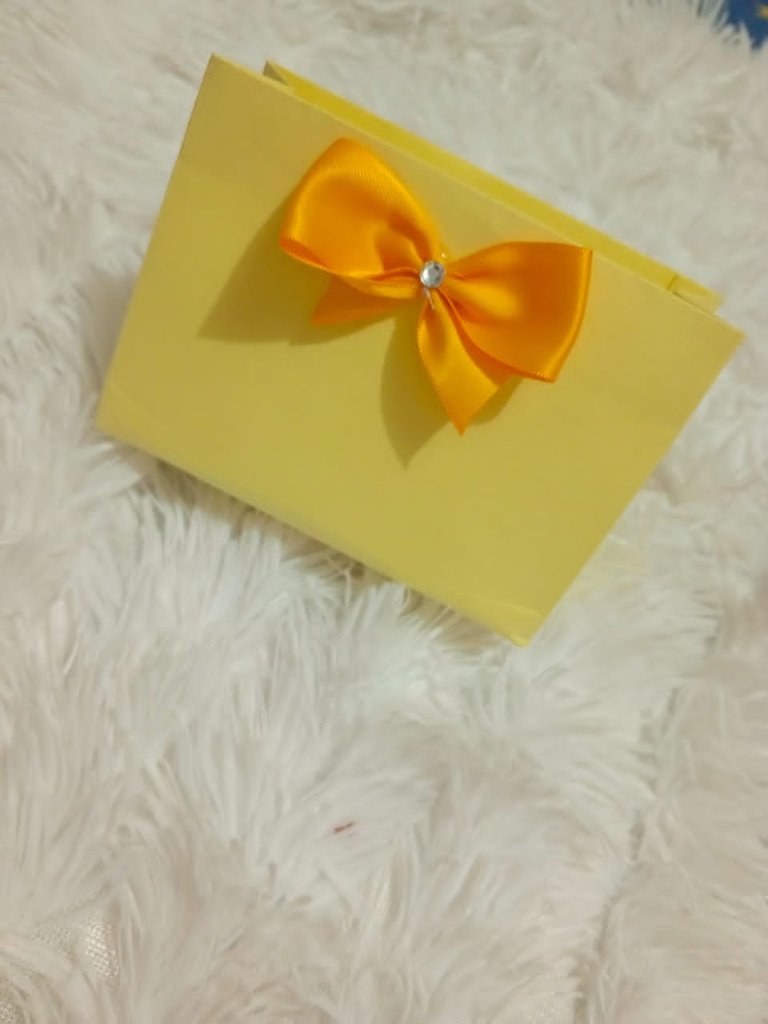
Si te gustó como quedó la bolsa de regalo hazmelo saber en los comentarios.
[Eng]
Hello my dear friends today pleased with my first publication in this community and delighted to be able to show and teach you "HOW TO MAKE A GIFT BAG" WITH CARDSTOCK:
As shown in the image the materials to be used:
Cardstock
Scissors
Ruler
Edge marking tool
Glue
I will now explain each procedure to make a lovely gift bag.
On this occasion, I cut a piece of cardboard that is 32 cm wide x 14 cm tall.
In one of the corners, we will take 1cm and fold.
Then at the top we measure 2cm and fold inwards, this will be done on both folds q we see in the image.
Then we proceed to place glue on the fold we made of 1cm to stick ends with ends.
After gluing we will bend so that it stays in this way.
In this way we will open and where it was glued we take a measure of 4cm.
And we mark then go forming the lateral folds of our bag.
In each dial we will fold to go giving shape
After folding we open and in this way it has to go giving the shape of the bag.
For each side we will make another double as specific the image.
And we’ll make sense on the other side.
Y nuevamente nos quedara así.
At the bottom we will make 4 cm to form and close our bag by the bottom.
After we mark, we’re gonna bend up.
So to go confirming each double.
We take each corner and fold it as a triangle as reflected in the picture.
And in this way we have to be left to close our bag.
After you finish giving the shape of each double, glue is placed.
And so we will join to close the cute gift bag.
And so should be the bottom of our bag.
And that’s how our bag is.
Then with another cut a lid is made to place it at the bottom of the bag to create stability.
And so it must stand.
This is how our wonderful gift bag turned out that you can also use if you have a business you can deliver your products in a nice bag with your brand .. details are optional and to your liking.
If you liked the gift bag, let me know in the comments.
Fotos tomadas desde la cámara de mi teléfono/ photos capture of my smartphone.
Traducido con
https://hivetranslator.com
Me encantó. Este es el tipo de manualidades que más me gustan, realizar elementos útiles. Excelente trabajo.
I loved it. This is the kind of crafts I like the most, making useful items. Excellent work.
Congratulations @angelesca! You have completed the following achievement on the Hive blockchain And have been rewarded with New badge(s)
Your next target is to reach 300 upvotes.
You can view your badges on your board and compare yourself to others in the Ranking
If you no longer want to receive notifications, reply to this comment with the word
STOPCheck out our last posts:
The bow added is classy. Bravo 👏🏿
This is look so beautiful
Increíble trabajo muchas gracias por compartir 🙏🏻 saludos