As my first post dedicated to this community, I extend a greeting to all the members and organizers. I want to tell you how excited I am to be posting for you, and I hope we get along well and may be even become friends.
This craft is more than anything a gift for a friend and a present for you, and I hope you can appreciate the step-by-step instructions I try to show you of my work. It was a friend's birthday and to give her something special, I made a little box with a special surprise.
LET'S BEGIN WITH STEP 1
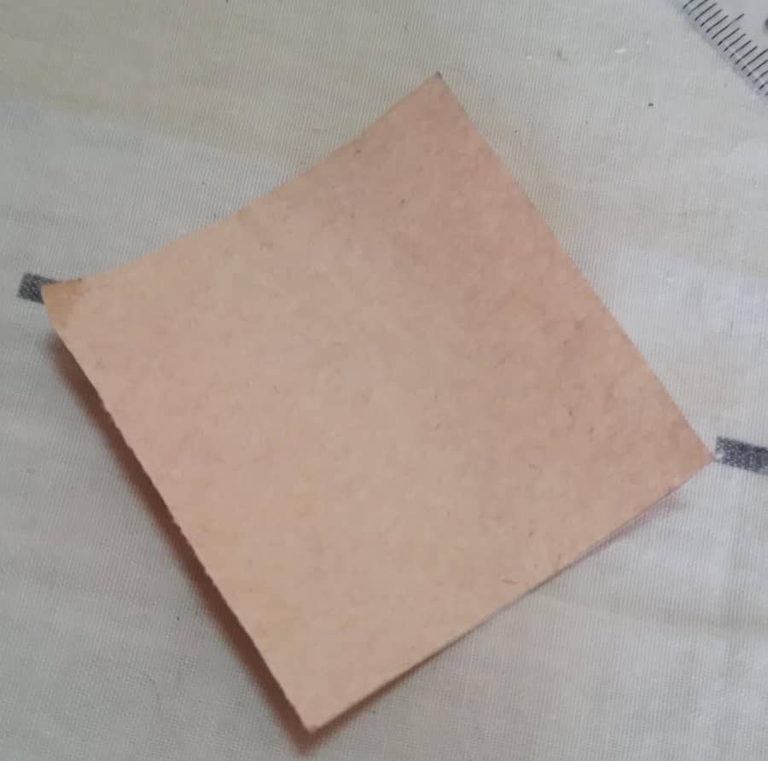
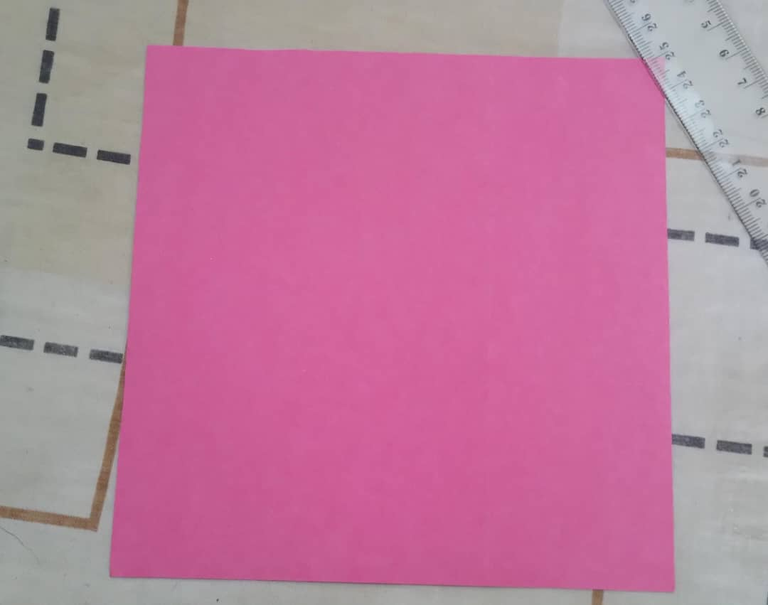
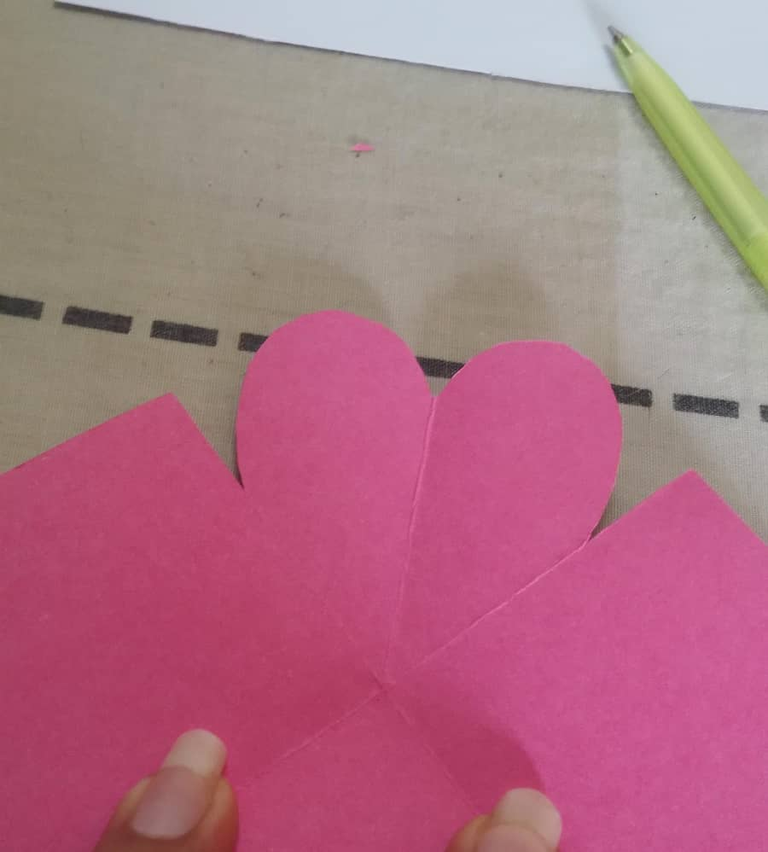
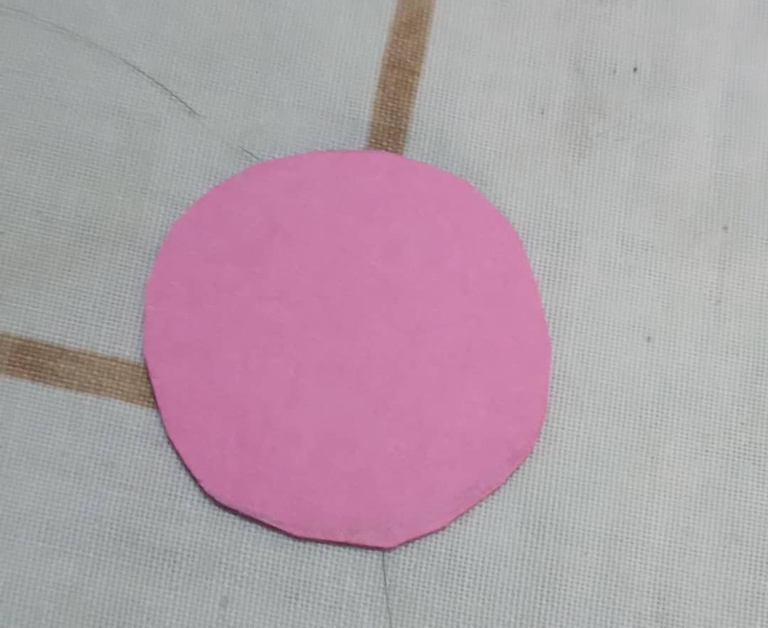
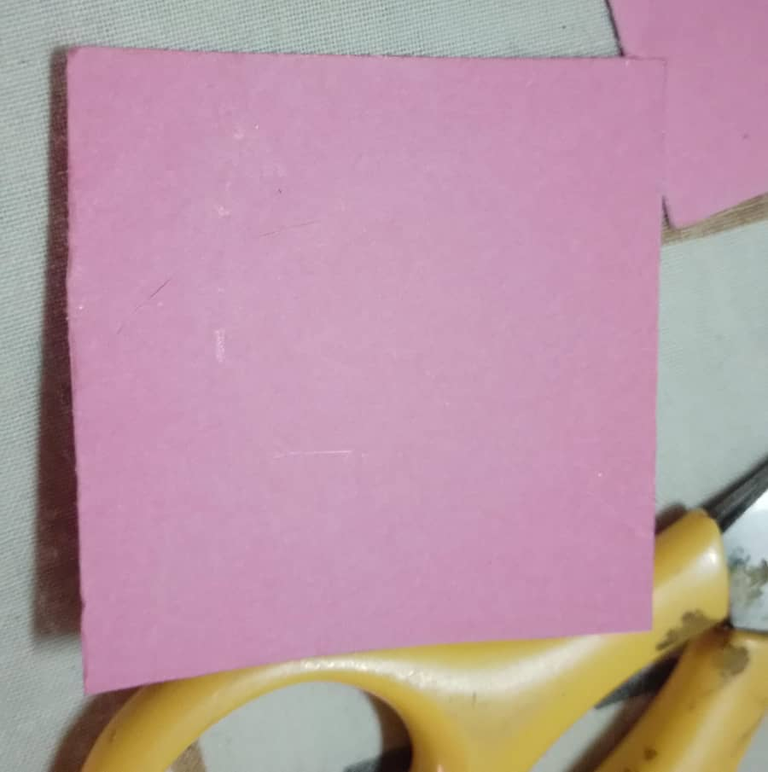
With a piece of cardboard, white sheet or any other recycled material that can be easily cut, we are going to make a square with the measurements of 5 cm x 5 cm in height and width equally.
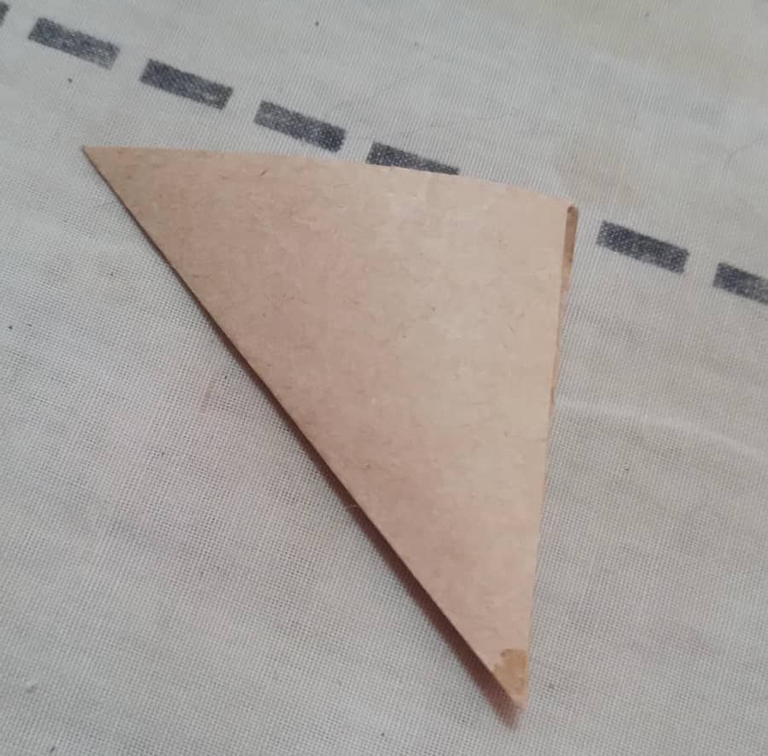
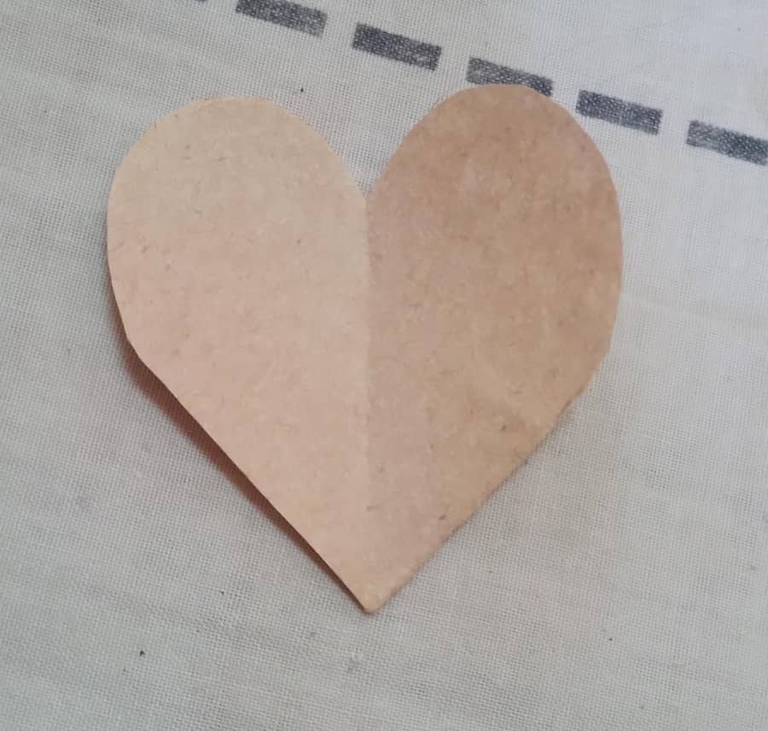
We fold it in half making a semicircle and cut out the section to form a heart as shown below.
 |  |
|---|---|
 |  |
LET'S CONTINUE WITH STEP 2
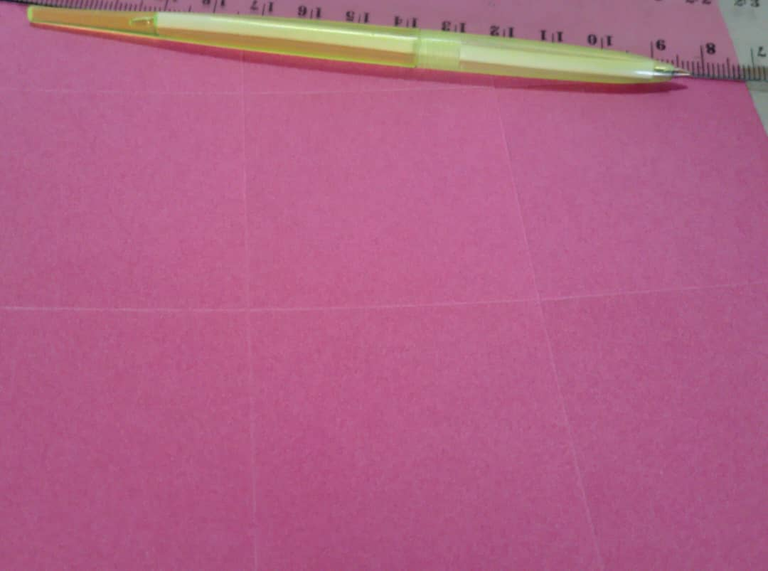
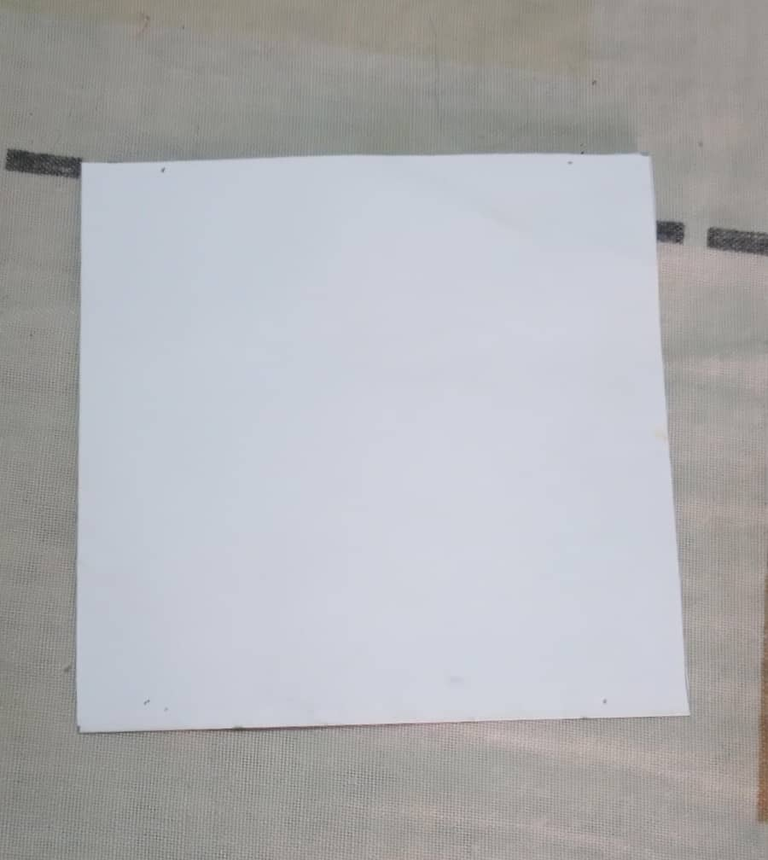
Next, we'll cut a square of cardboard measuring 15 cm x 15 cm in height and width to begin assembling what will be the base of our entire craft.
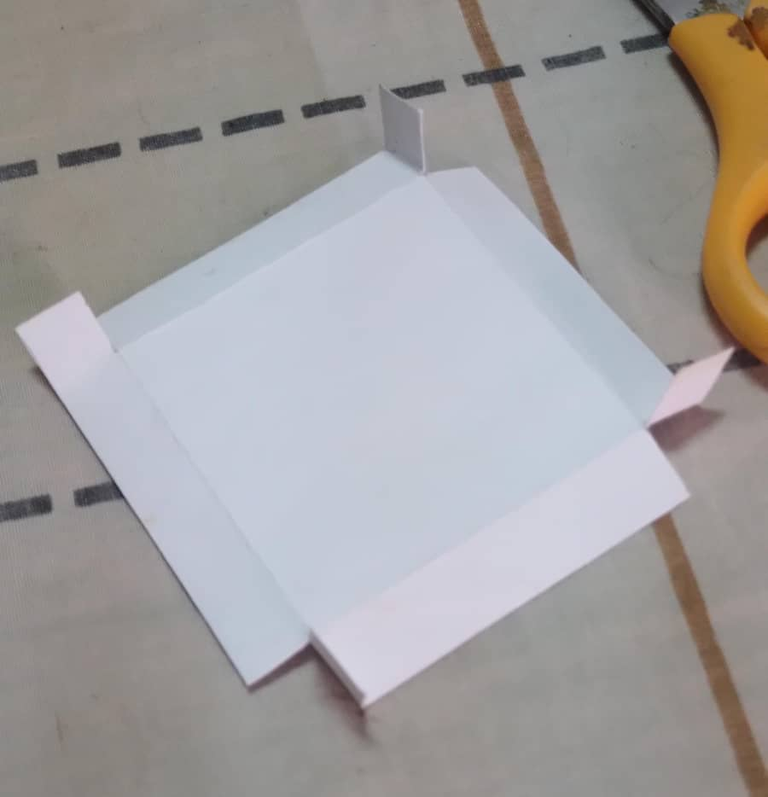
Then, using a dull pen or another object, we'll mark and fold squares measuring 5 cm x 5 cm. A total of 9 squares should result, so that this design turns out correctly and conforms to the folds we'll make later.
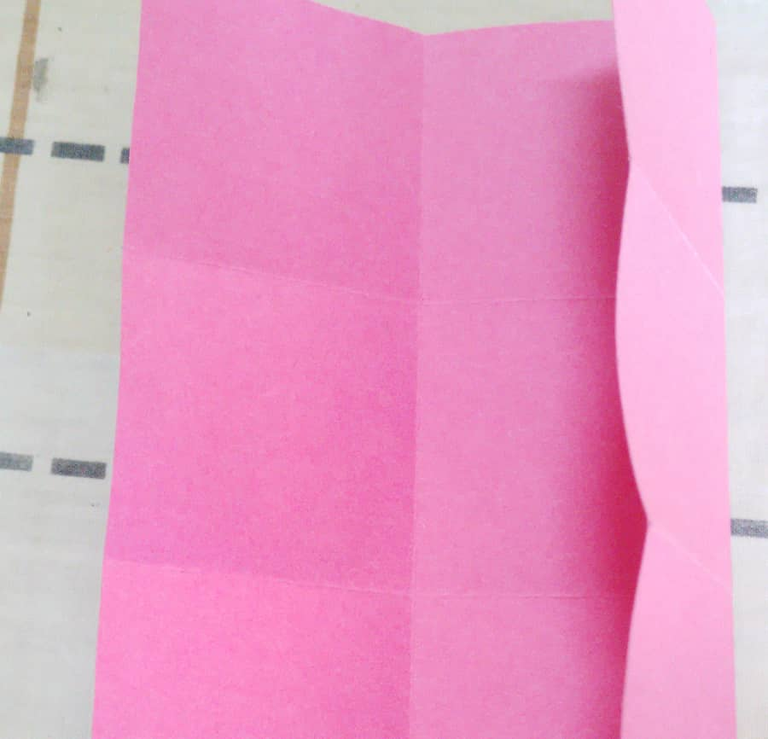
Once we've finished marking the squares, we'll begin carefully folding the corners, folding them in half, and creasing them inward, as seen in the photos below.
 |  |
|---|
FOLLOWING WITH STEP 3
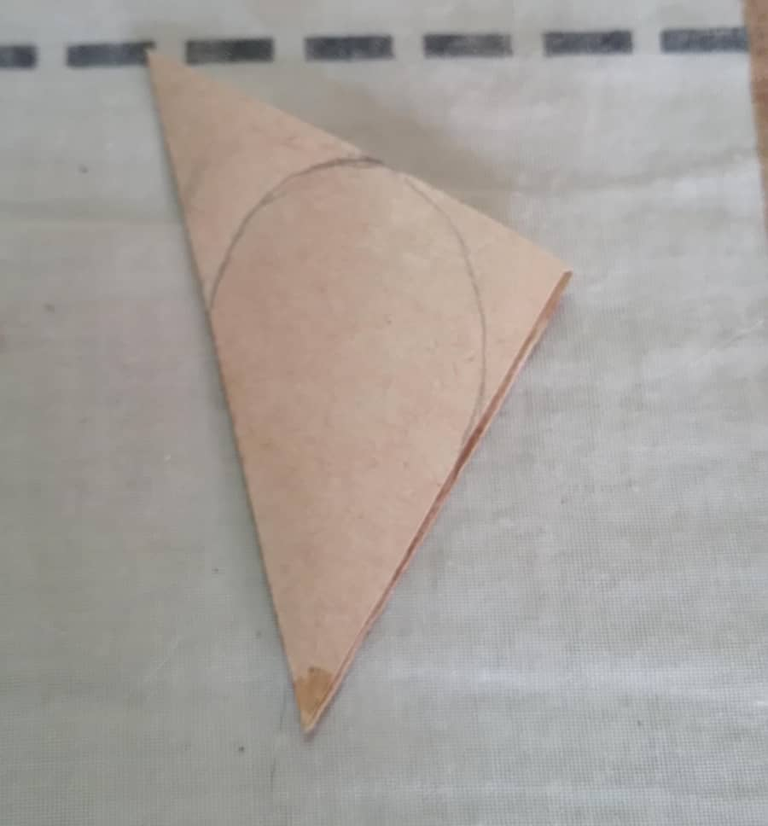
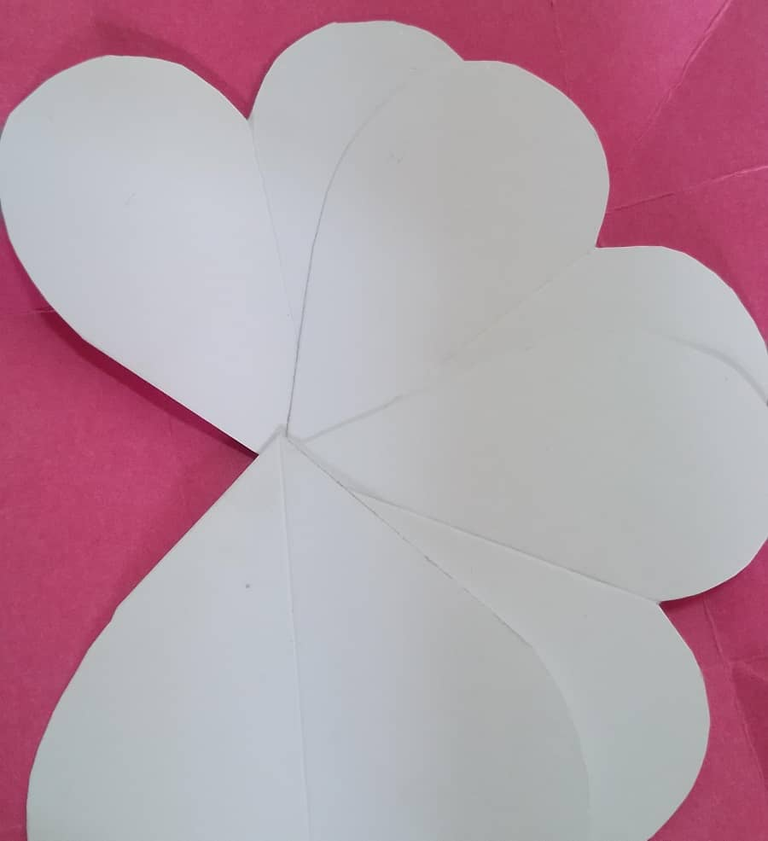
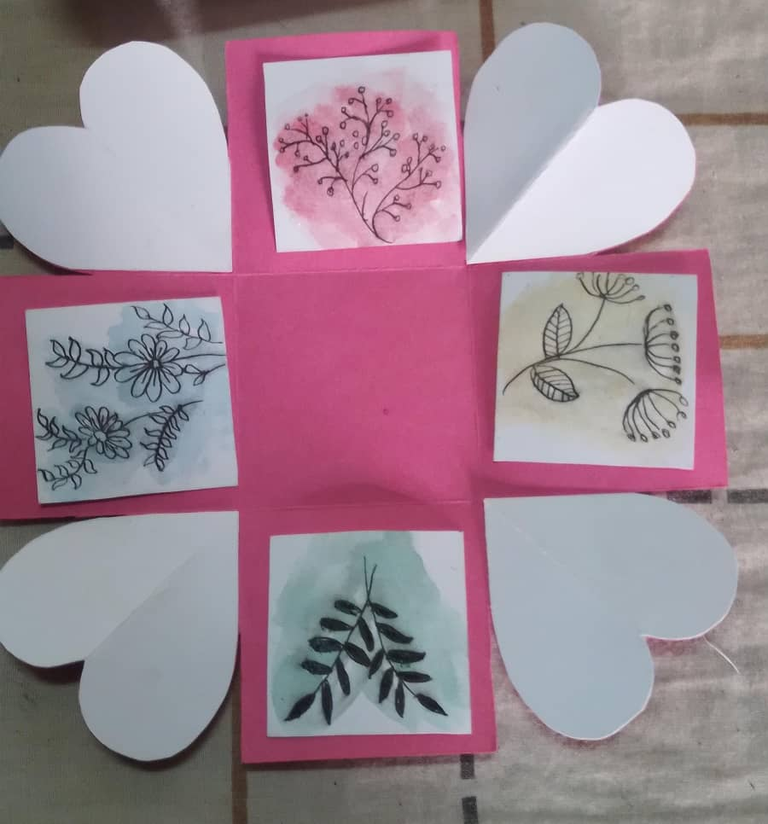
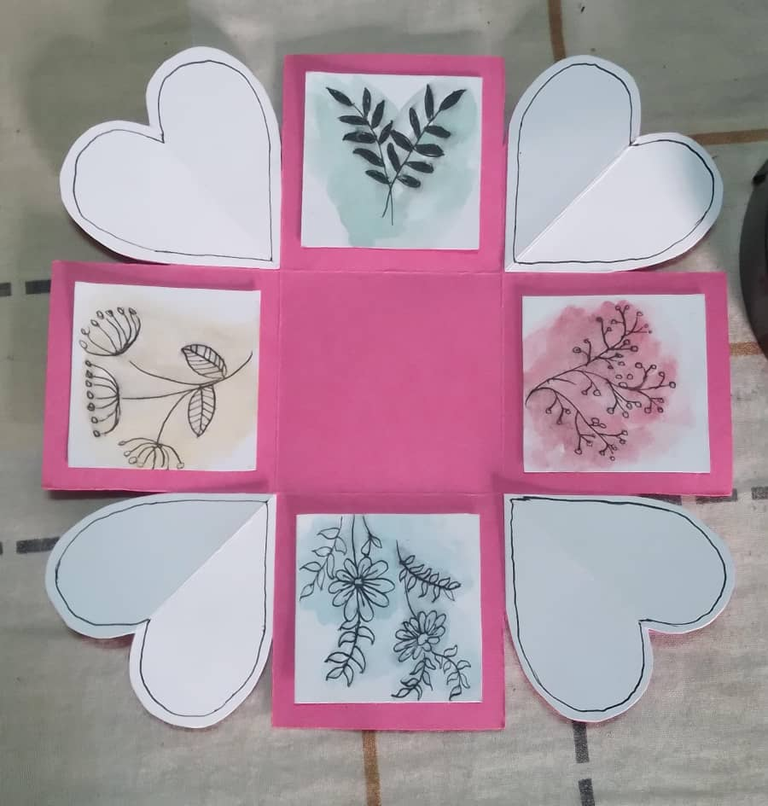
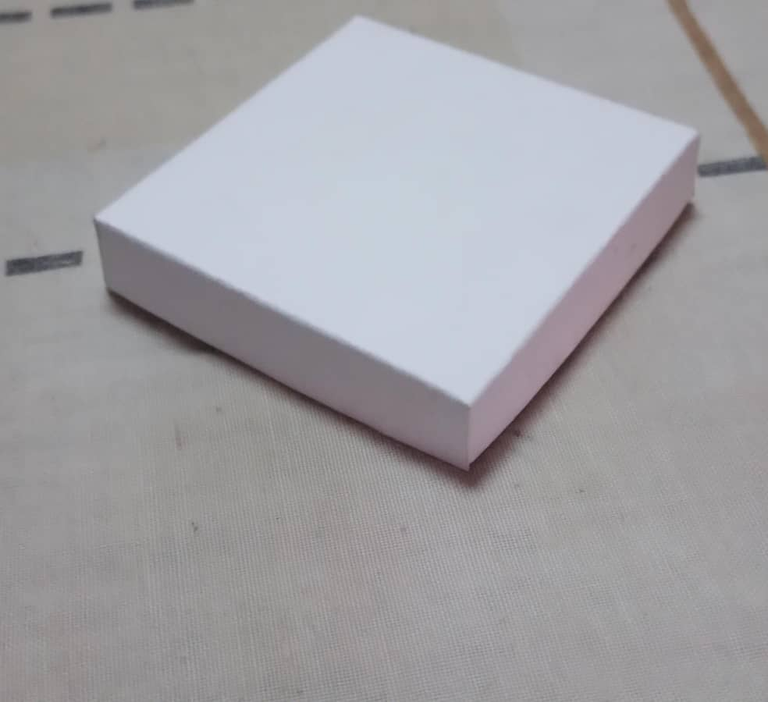
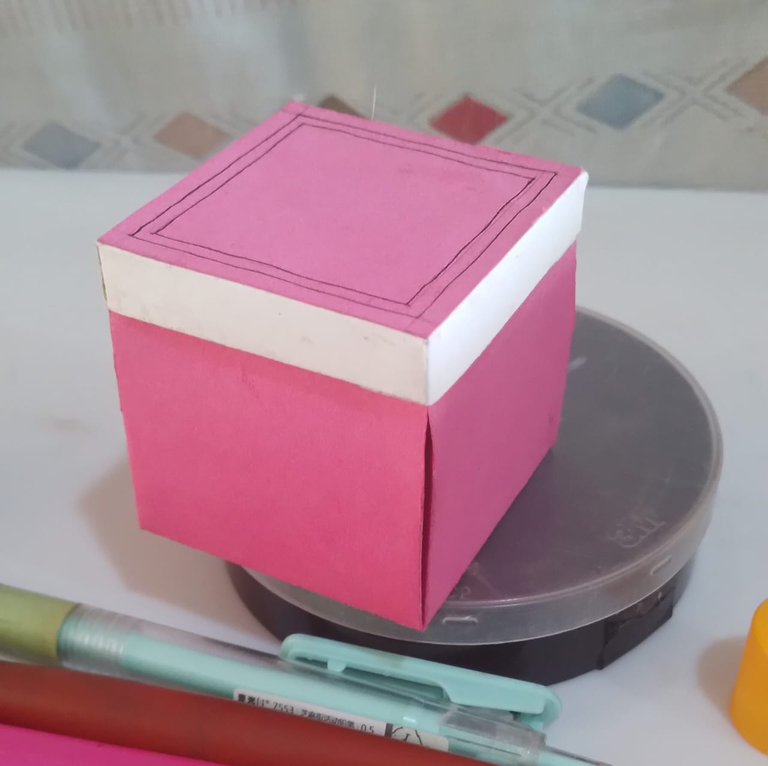
And we begin cutting. We should have this heart design in all the corners of our base, cutting out four squares of a different color. In this case, I used white with pink, measuring 4 cm x 4 cm.
And using a previous template, we cut out and make hearts the same size as the corners that we ended up with in the shape of a heart. We glue everything together with white glue. On these different-colored squares, we make a design by hand of our choice or print a design.

 |  |
|---|

LET'S CONTINUE WITH STEP 4
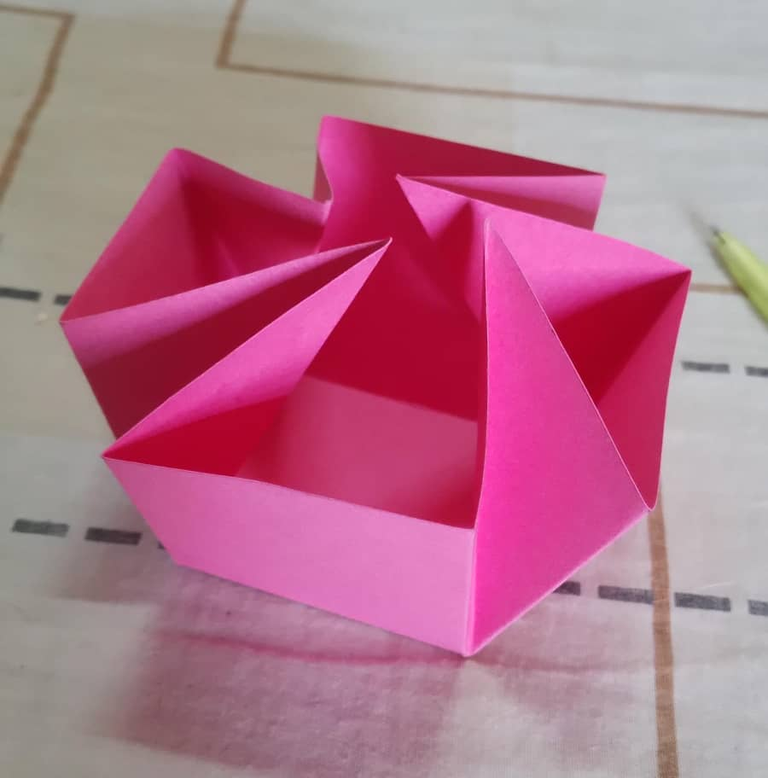
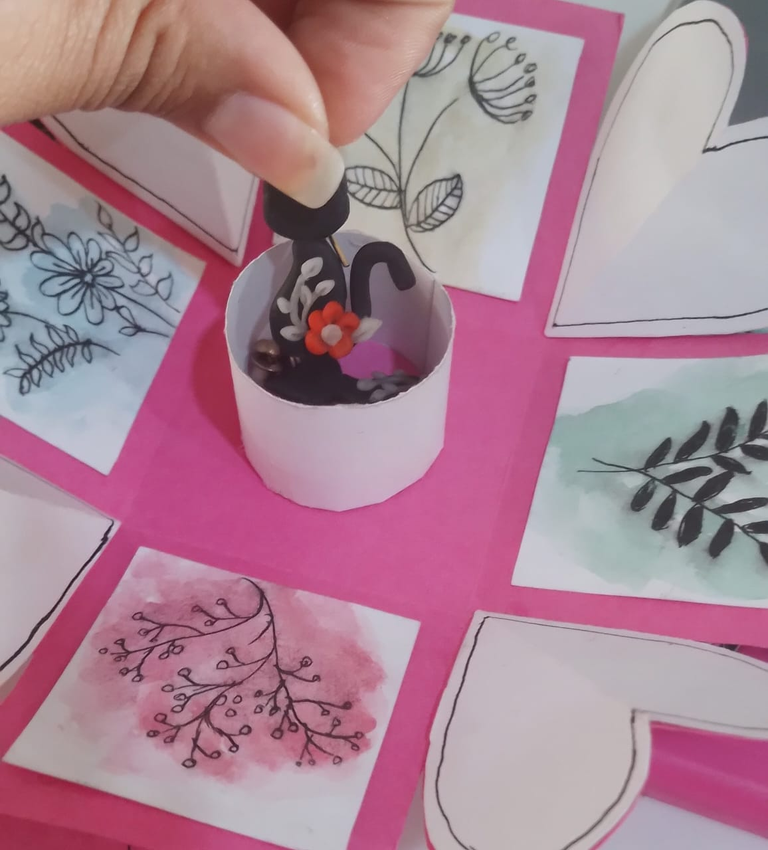
After creating the design and gluing everything together, we proceed to paint everything and add the desired colors. All that's left is to use scraps of cardboard to create a cylindrical shape for the center, with the height you prefer, making sure it doesn't extend beyond the mold of the gift base.
And we cut out a circle for the bottom of the cylinder we'll be placing.
 |  |  |
|---|---|---|
 |  |  |
FOLLOWING WITH STEP 5
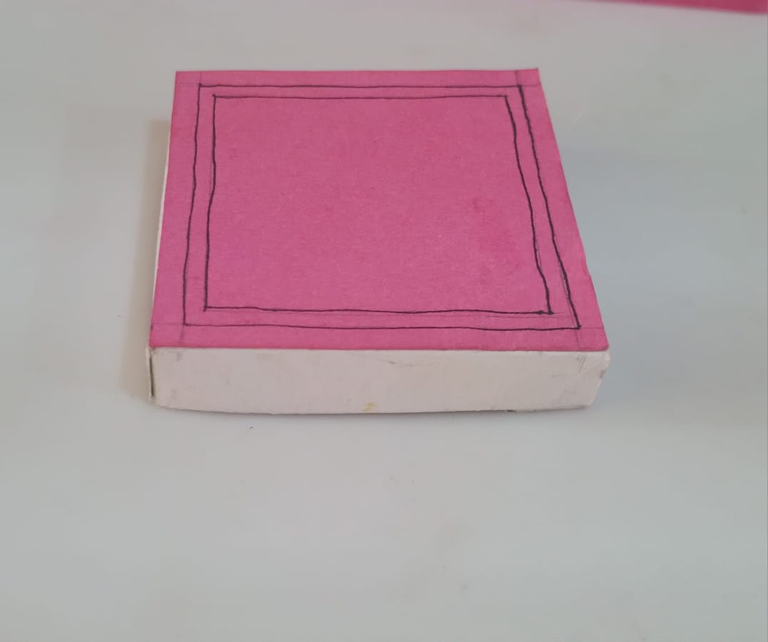
By cutting a 7 cm x 7 cm square for the lid, we make sure it's a different color. We mark the edges one centimeter apart, so that the center measures 5×5 cm. Then we cut and fold the corners and secure everything with white glue.
We cut another 5×5 cm square from cardboard and glue it to the top of the lid we just made.
 |  |
|---|
LET'S FINISH IT WITH THE STEP 6
We place the gift we want to give inside the cylinder, in my case it's some earrings made with flexible dough, and we put everything together, all that's left is to give our present.
 |  |
|---|

SOCIAL MEDIA
Facebook Angel Dayana
Discord User: angi.arts
Discord Server Bokura no digital world
Instagram: angeldayana26
UNTIL NEXT TIME!! <3
Awwww how nice of you🥰
I love your surprise gift and if I were your friend I’d be all teary the moment I see it because this is so so cute🥰
This would make your work look more professional, what do you think?A little advice @angi.arts instead of using “Let’s continue” in your post, you could use “Steps”, like “Step 1”.
Thanks for the advice, I just edited it, hope it looks better now <3
Congratulations @angi.arts! You have completed the following achievement on the Hive blockchain And have been rewarded with New badge(s)
Your next target is to reach 800 upvotes.
You can view your badges on your board and compare yourself to others in the Ranking
If you no longer want to receive notifications, reply to this comment with the word
STOPCheck out our last posts:
Thank you so much for taking us on this creative journey. We love how beautiful your surprise gift turned out and we welcome you to our beautiful community where you are free to share your crafts with us. Well done.
selected by @ibbtammy
Thanks a so much, I will surely be sharing with you a lot.
This absolutely is a wonderful gift for your friend, am sure she will love it. Nicely done and great job 👍
Thank you very much, I did it with much love and dedication