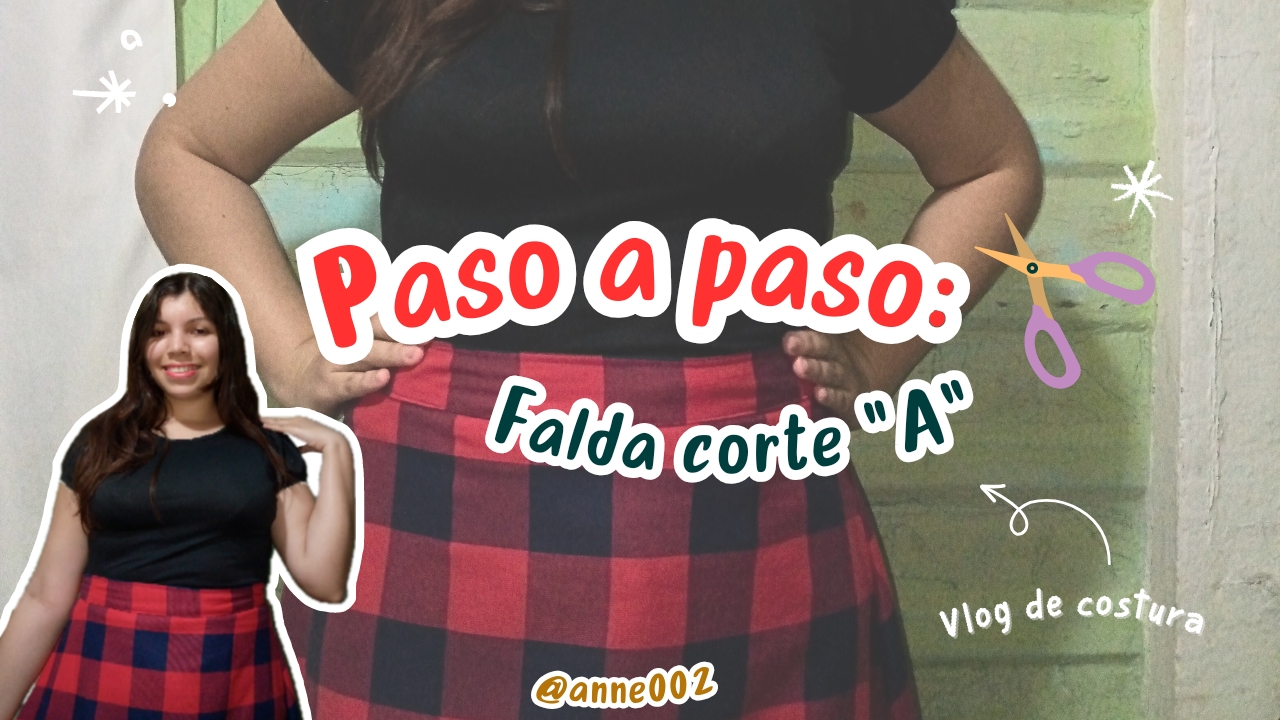
Greetings!! Dear friends of this beautiful community, this is @anne002 speaking and I am pleased to welcome you to my sewing tutorials blog, I hope you are having a great Sunday and I wish you an excellent day in advance, thank you for being here on the blog reading these words from this blog and I hope your families are well, today I bring you this beautiful tutorial for you to enjoy it very much and I hope you can always learn something from the sewing work that I have occasionally shared with you, I also always mention that any questions you have about the step by step you can let me know through the comments below that you know I will gladly answer you, from you here I have also learned many craft tips that I did not know so I also thank you for such good tutorials that are shared for learning here in the community.
.jpg)
I love sharing with you this type of garments that I make for myself and of course the sewing orders that I have each week, this time we are going to be making this sewing of an A-line skirt, these skirts are not so open and are half of the skirt that we call a bell cut which is half a circle, so the skirt of this type of cut would be half of that bell cut, for me it was very easy to cut because I only took a garment that fit me well, that is, from other skirts that I have and I know that they fit my body well and what I did was cut the pieces, but before I want to tell you the process it is necessary to go for the materials first and prepare for the step by step that I invite you to see.
.jpg)
.jpg)
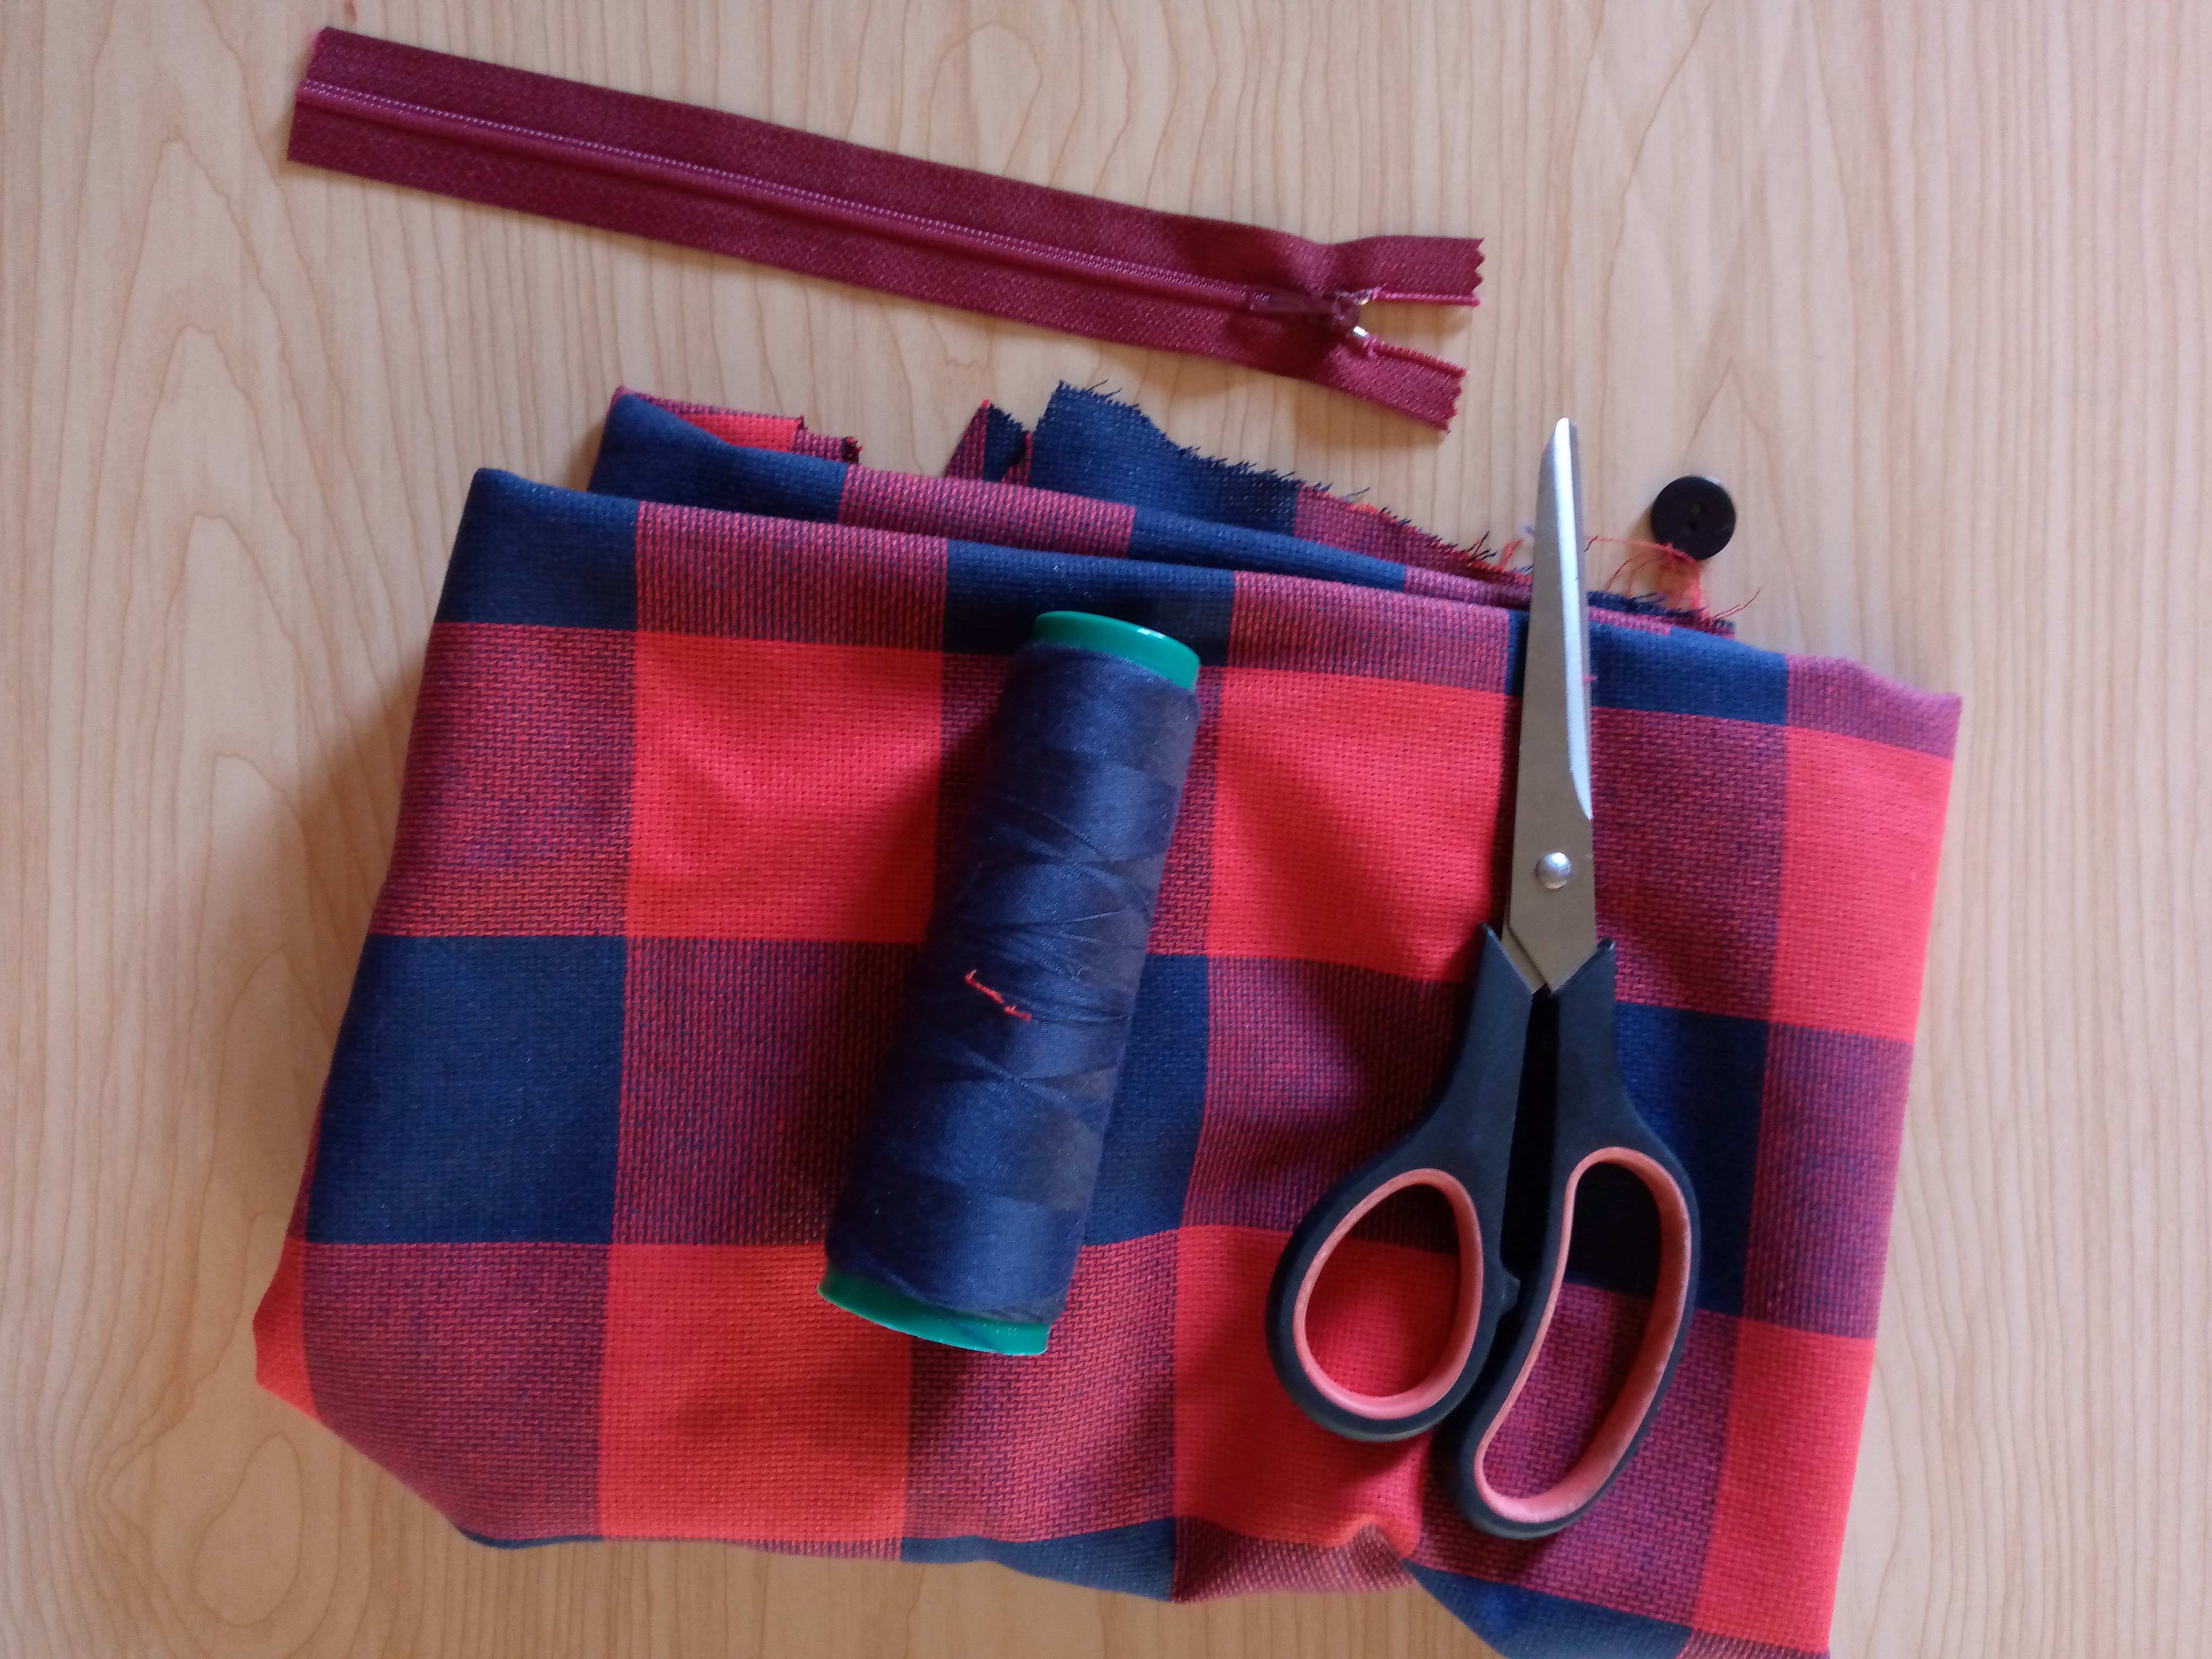
Materiales:// Materials:
- 1 metro de tela
- Hilo
- Aguja
- 1 botón
- Máquina de coser
- 1 cierre
- Tijera
- 1 meter of fabric
- Thread
- Needle
- 1 button
- Sewing machine
- 1 zipper
- Scissors
.jpg)
Pasos a seguir://Steps to follow:
.jpg)
.jpg)
Paso 01
Step 01
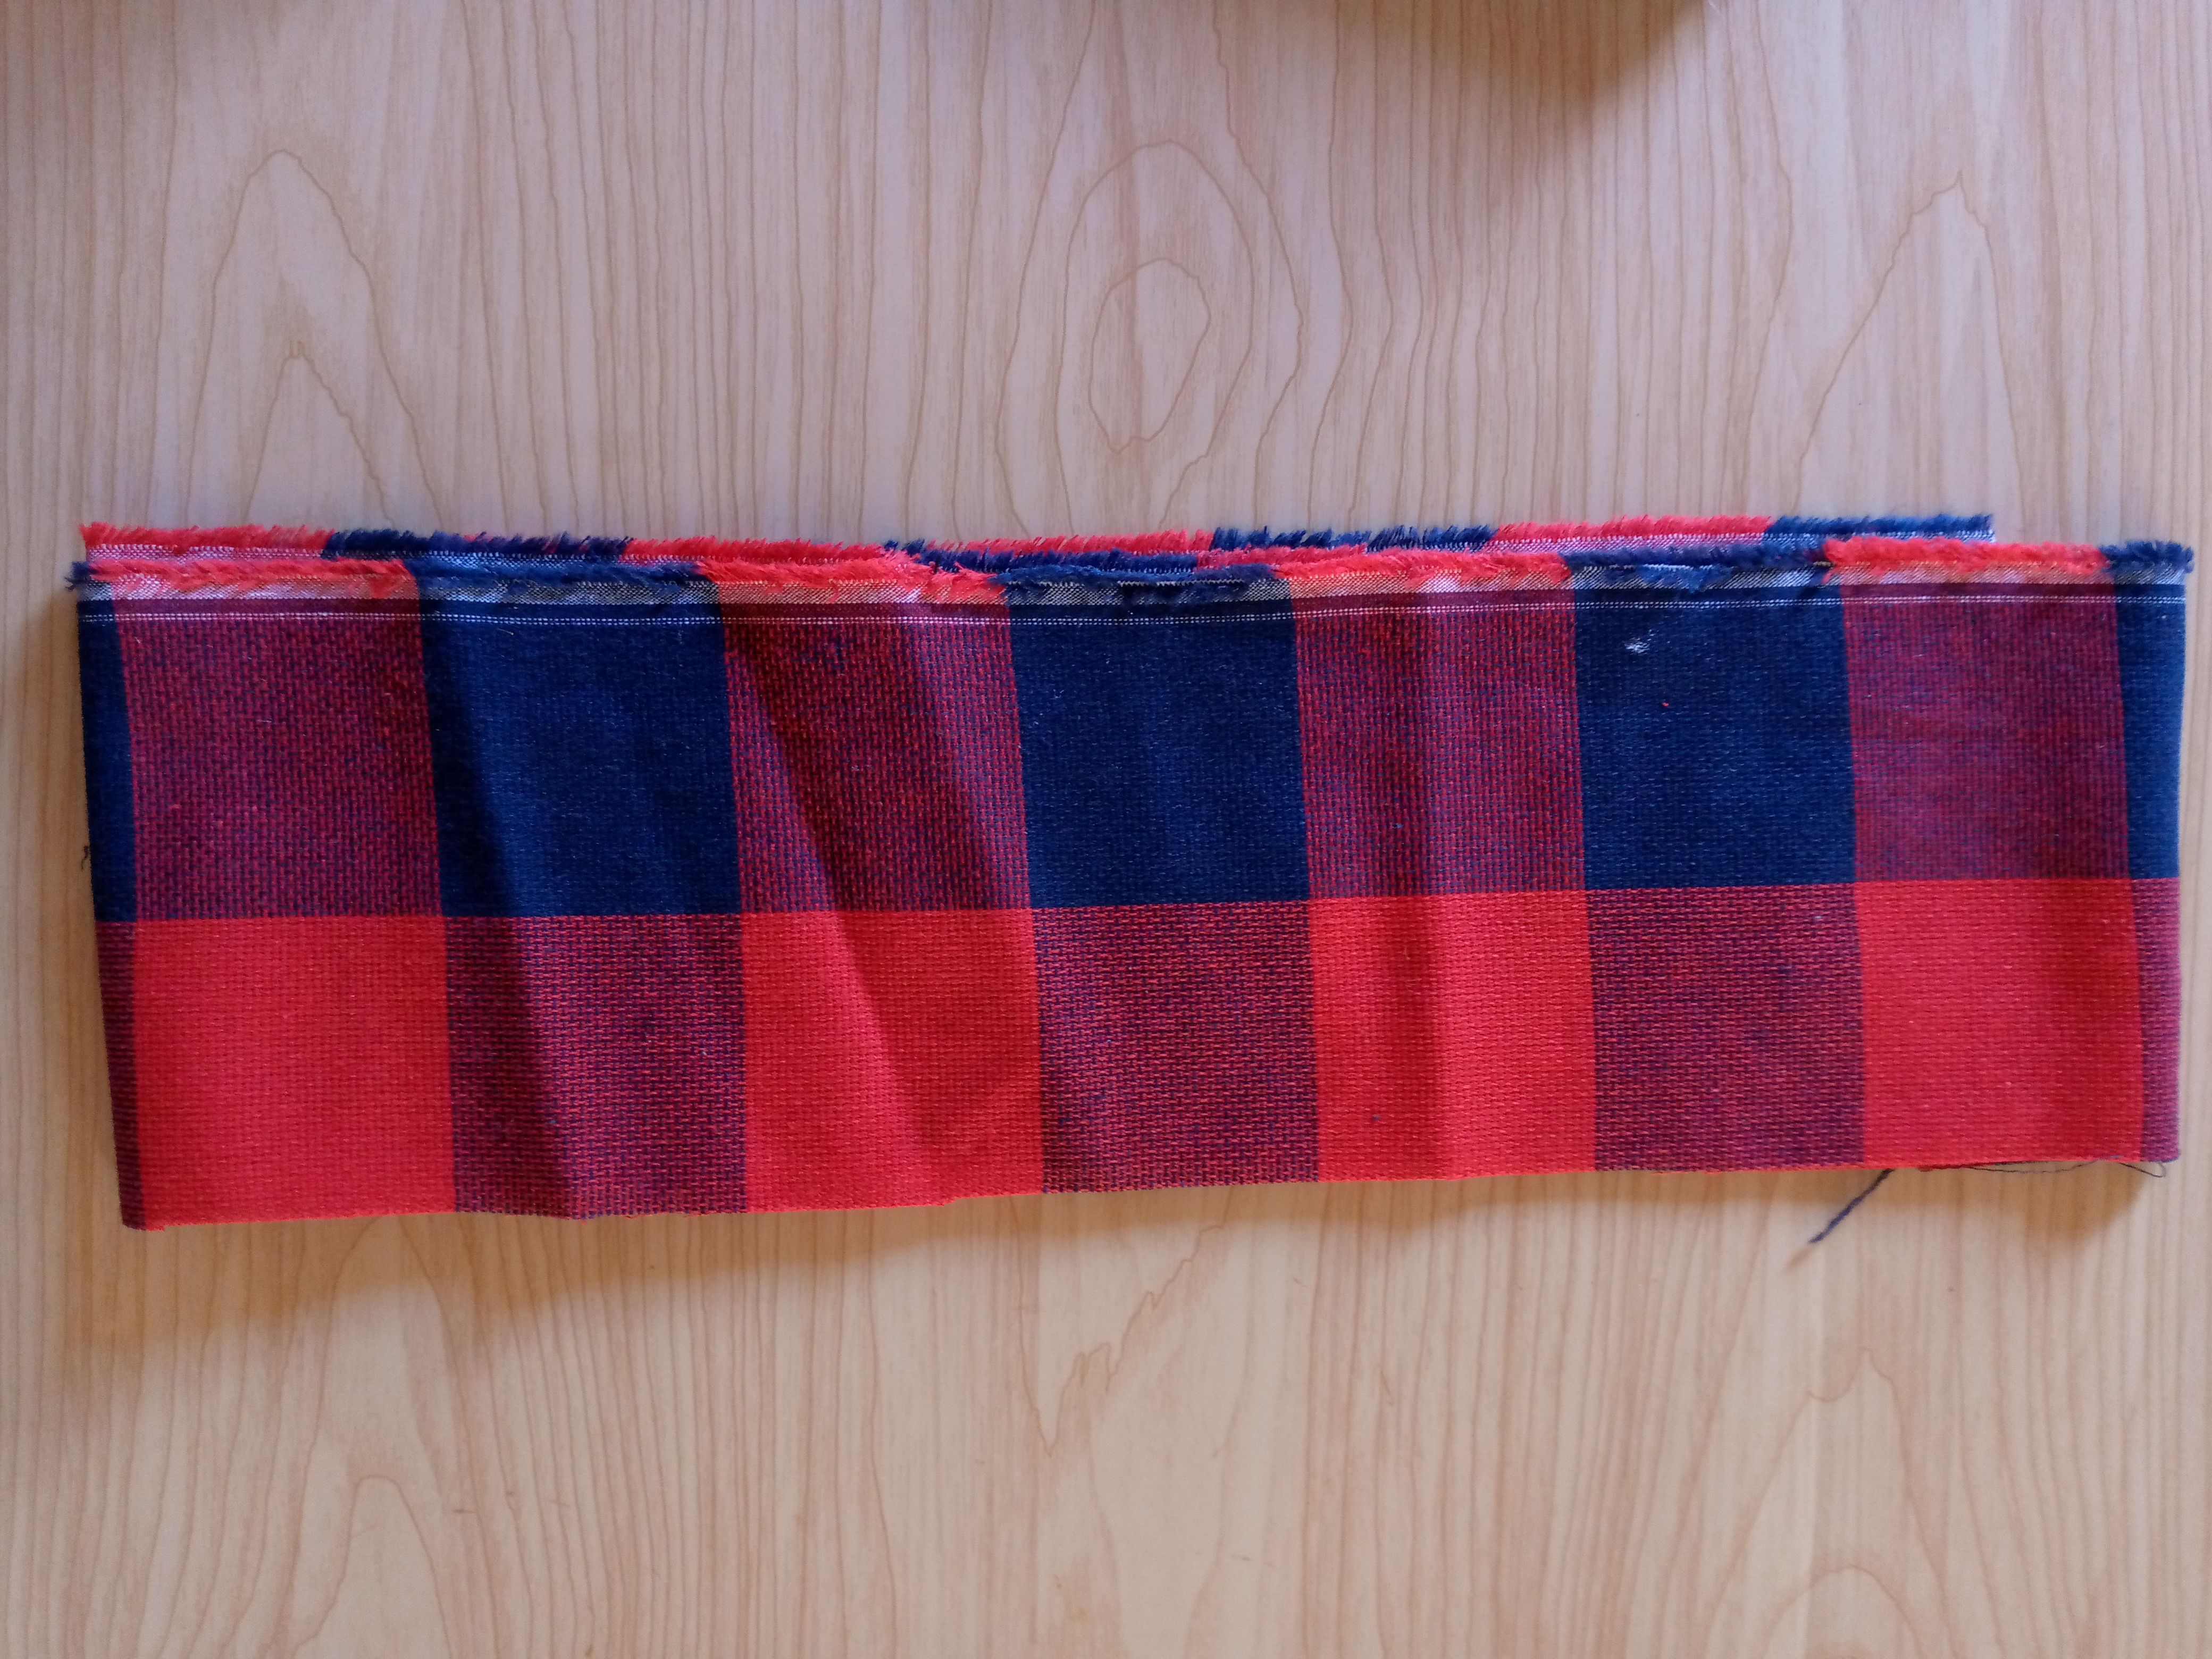
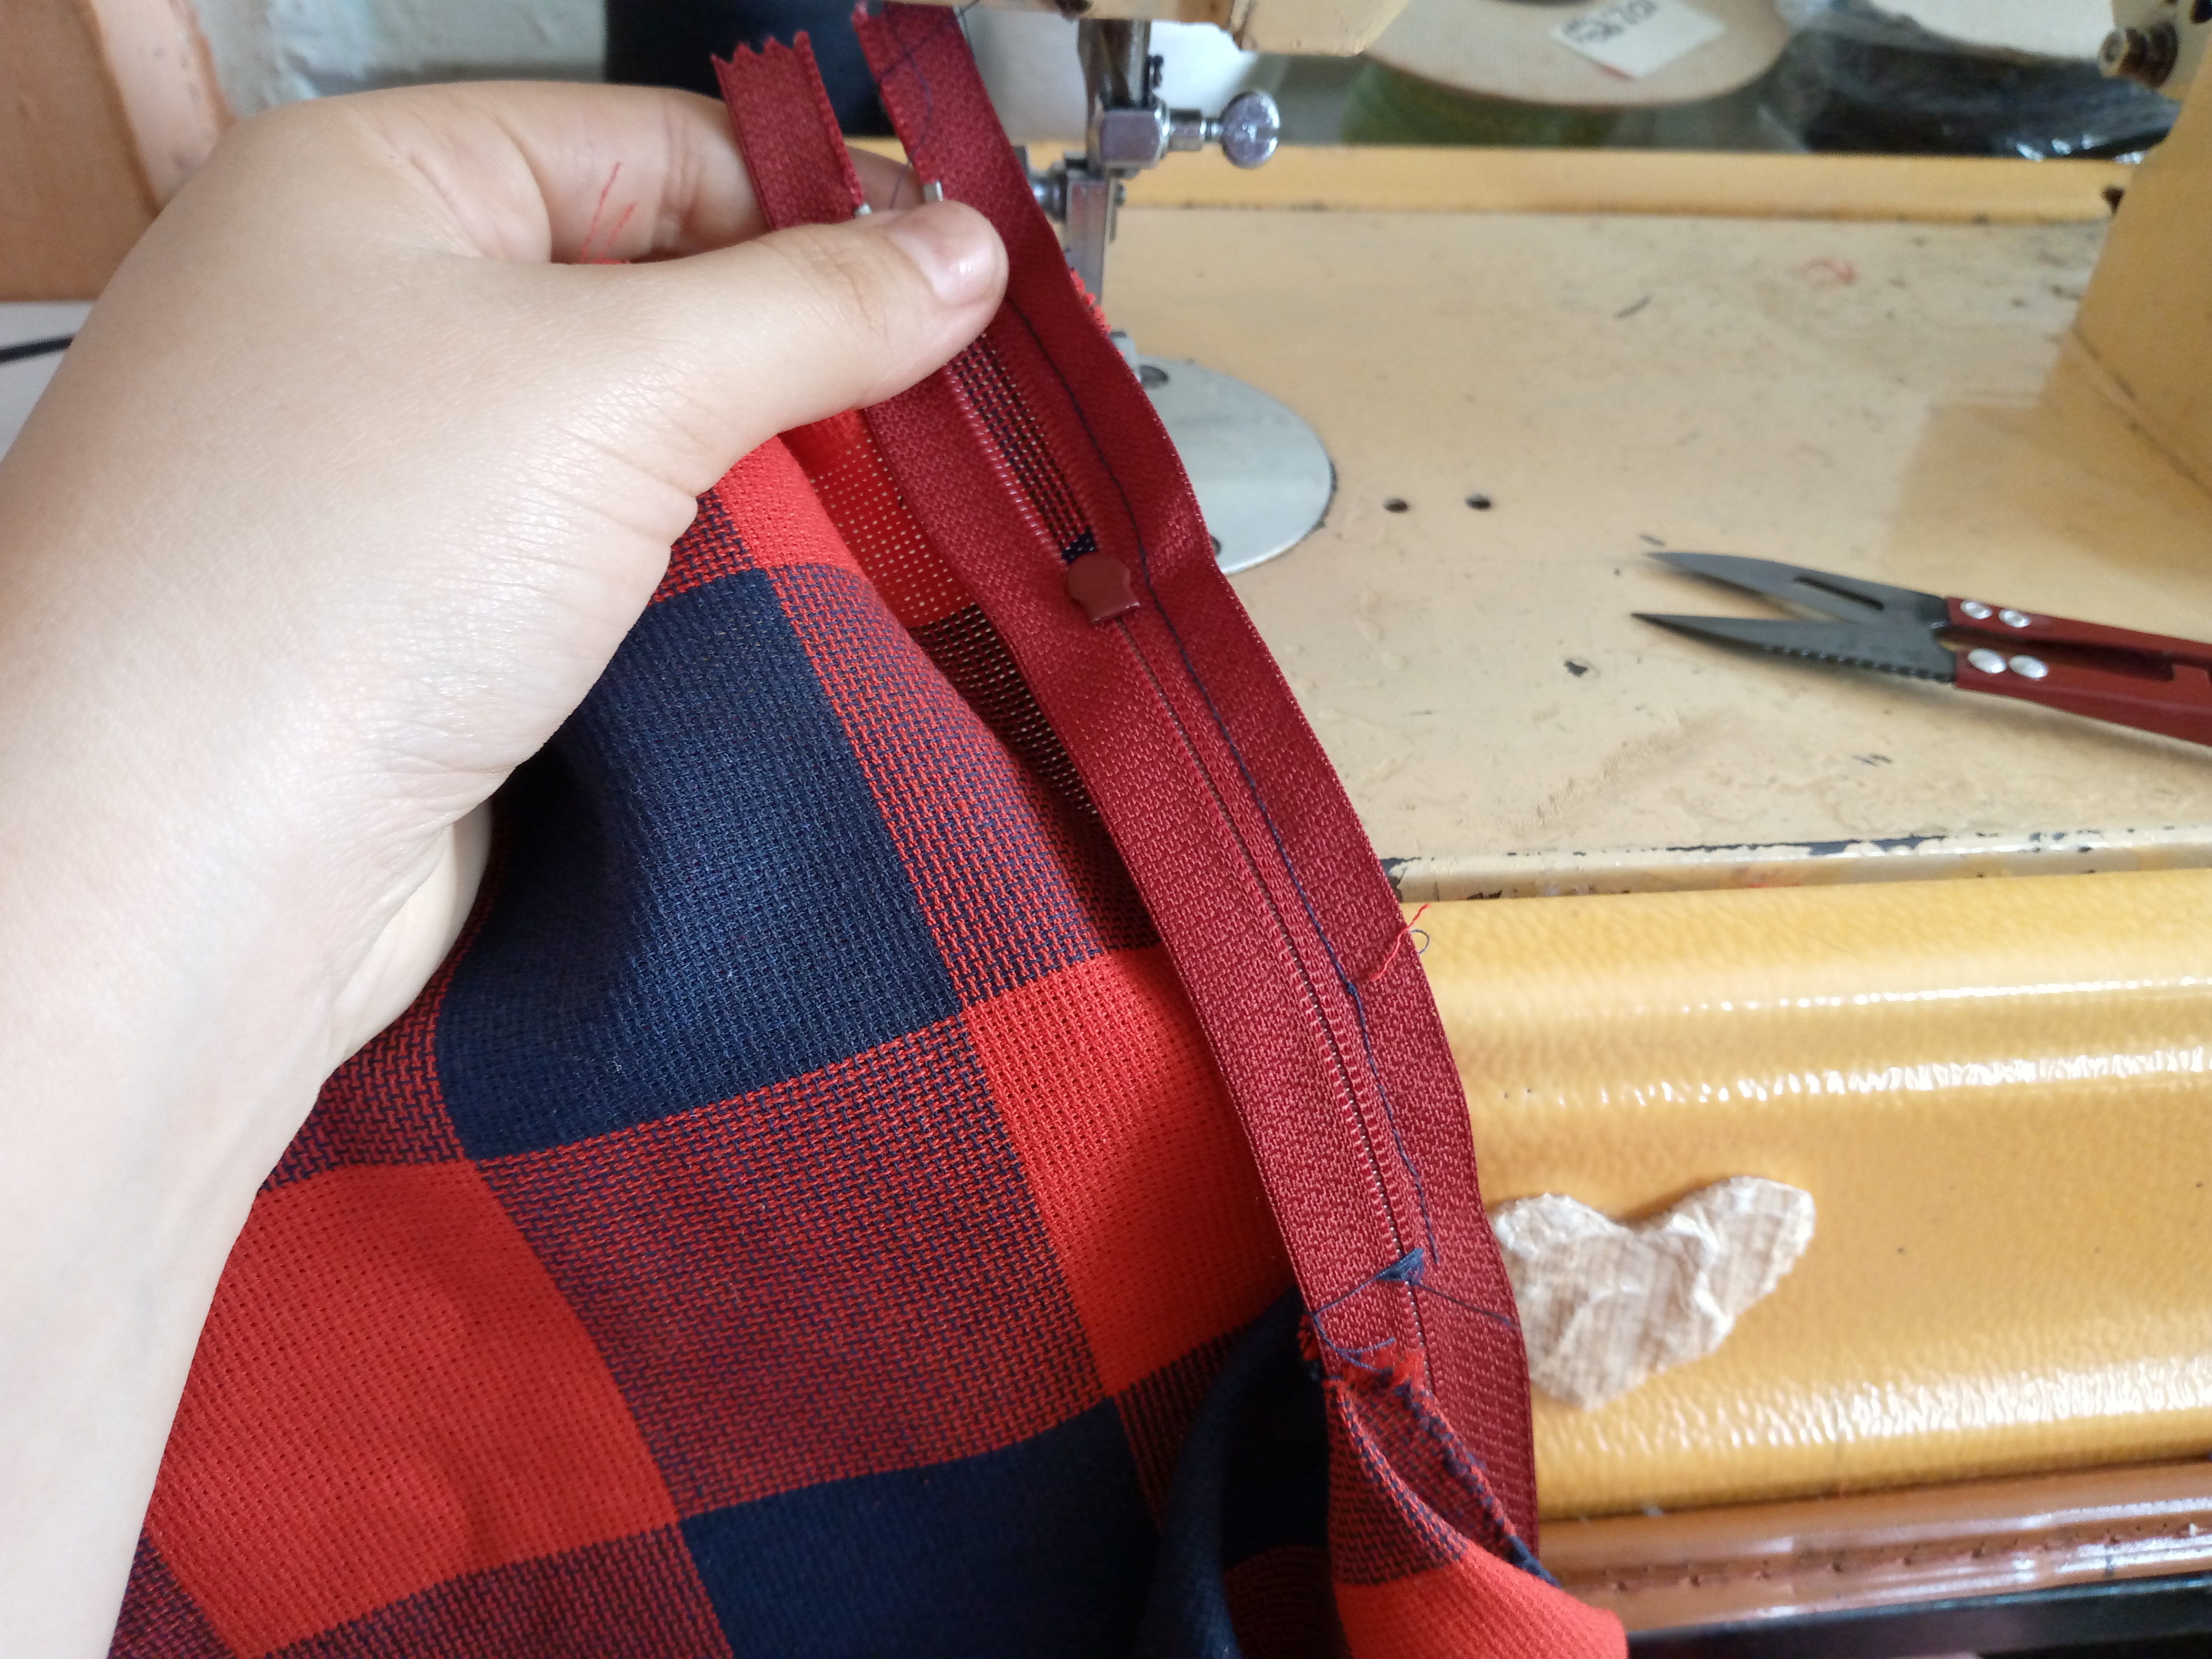
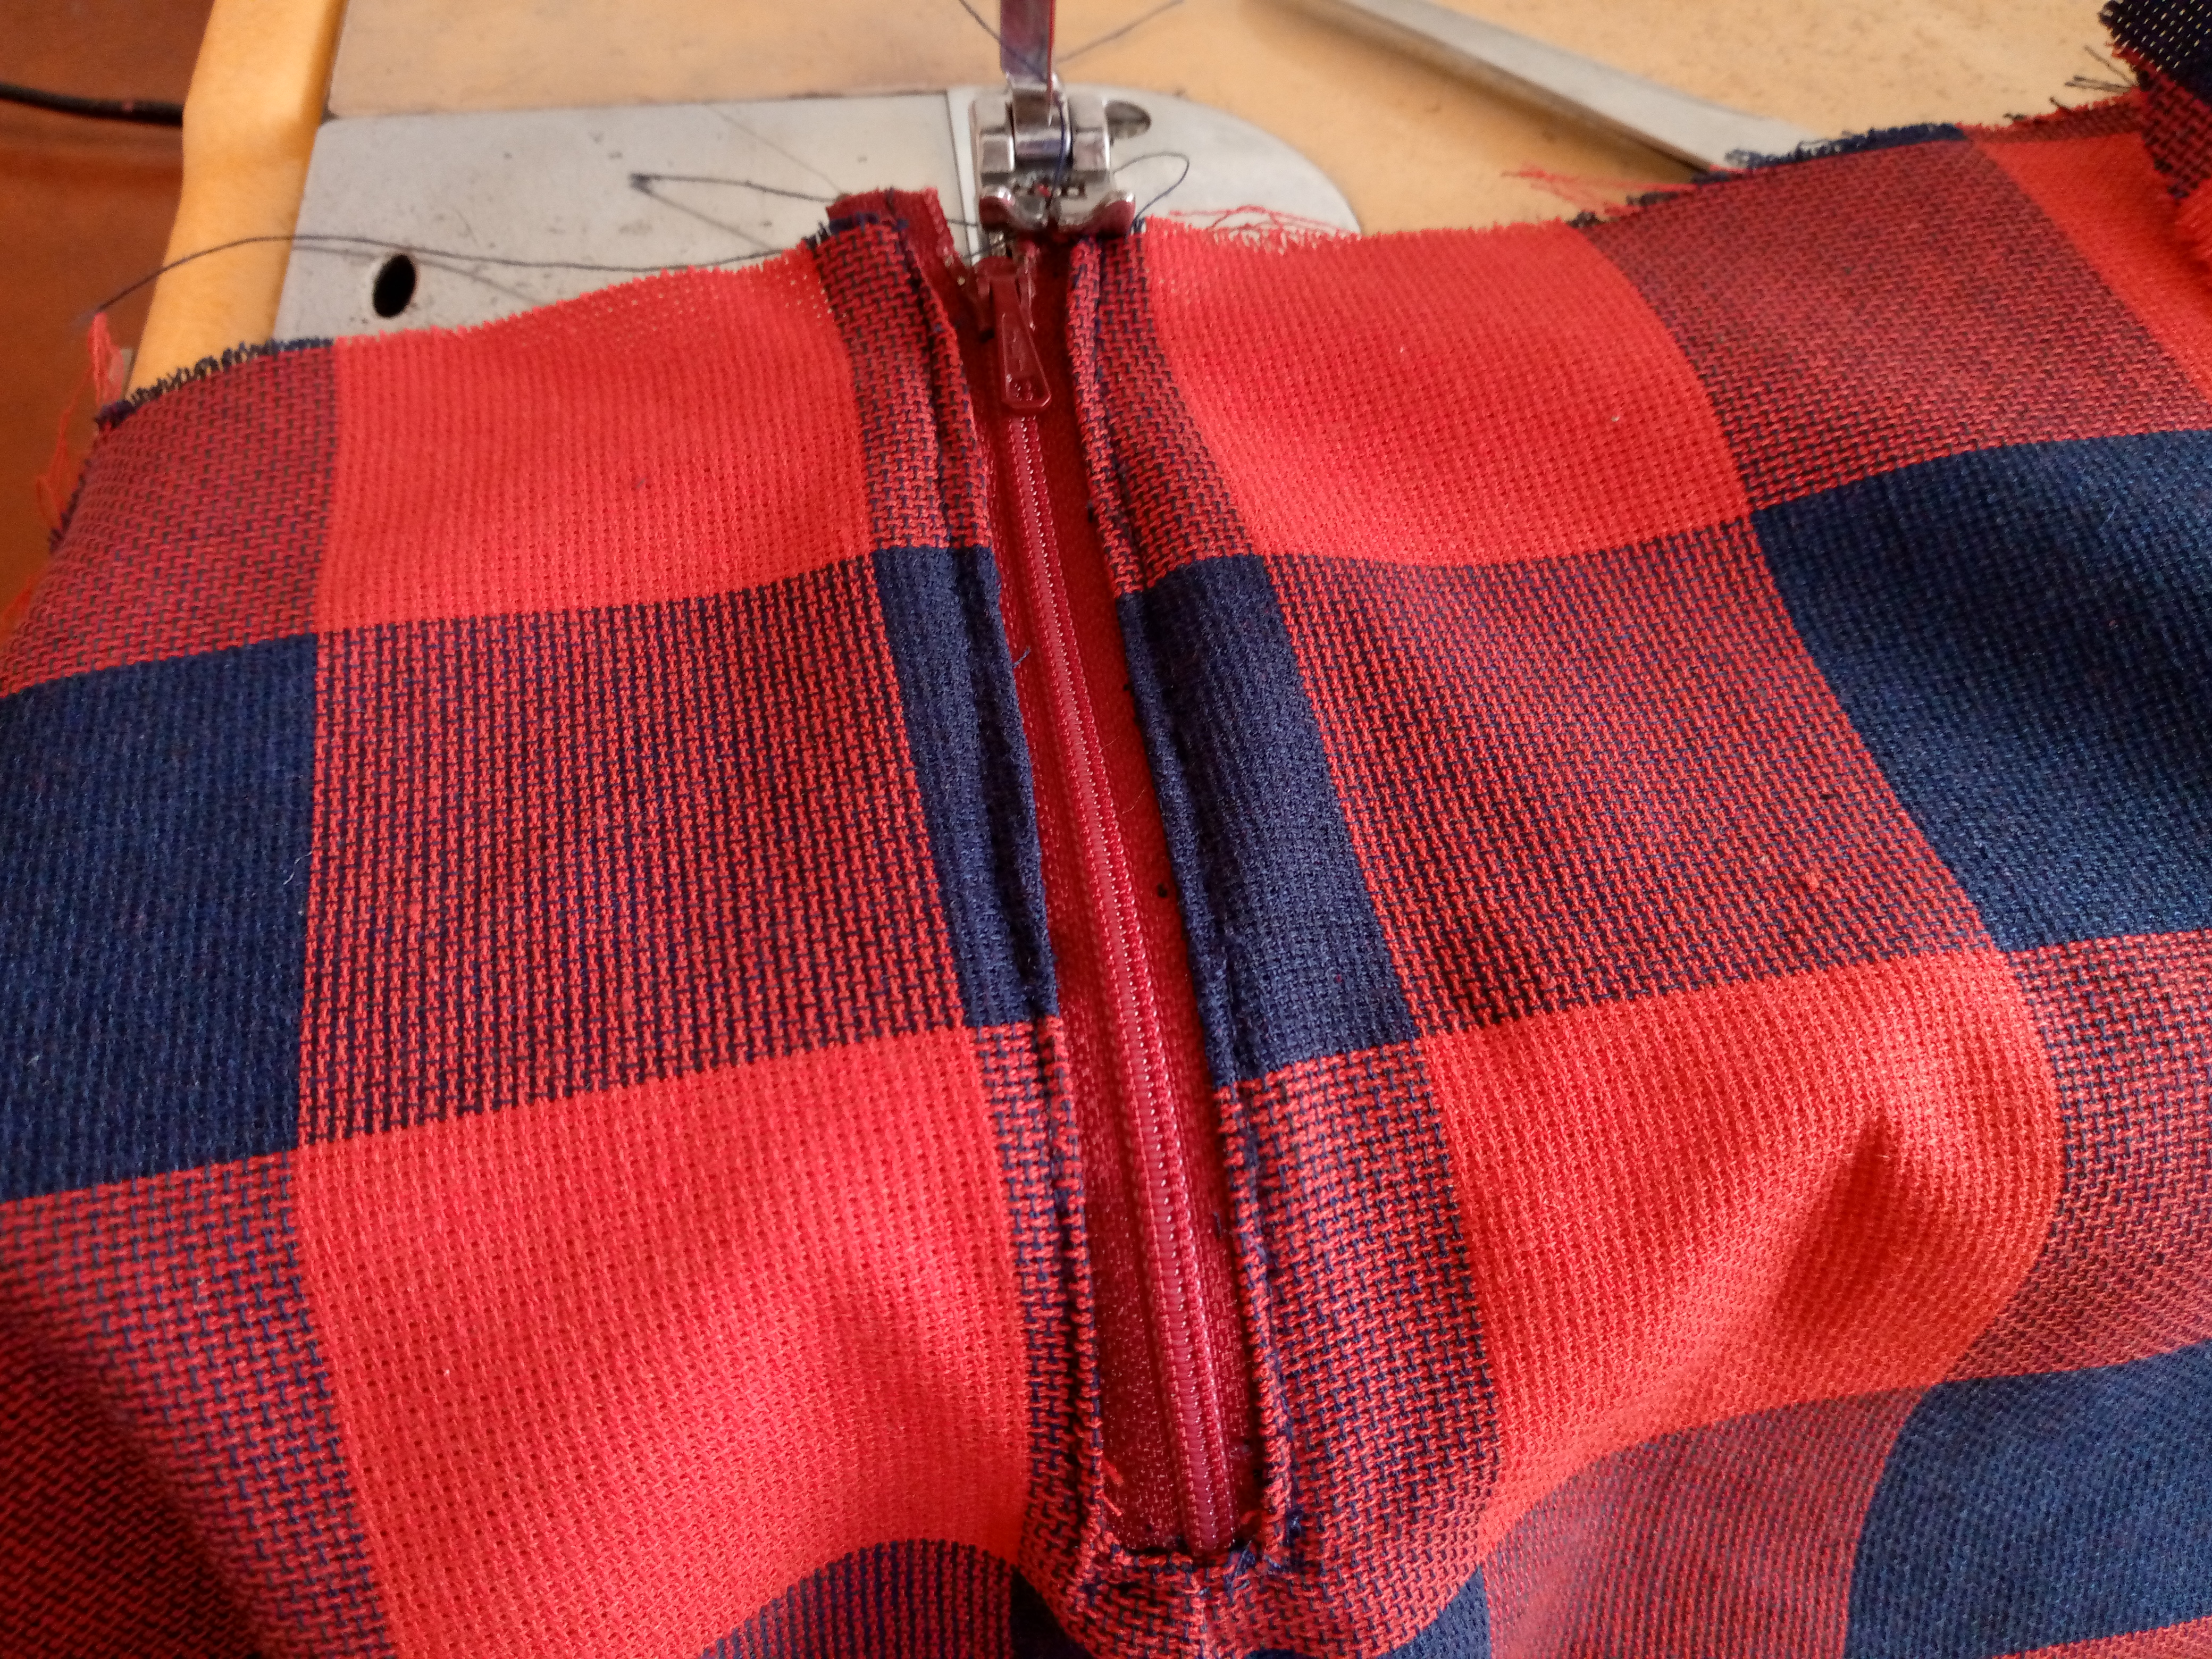
We are going to start the first step by cutting the corresponding pieces, then we will fold our fabric in half from top to bottom and we are going to be cutting the skirt here it is necessary that you have your measurement or you can use your patterns, I cut two equal pieces of my skirt and I folded the back one in half and made a cut almost the same length as the zipper as you can see in the images, then I cut the waistband piece which is a long rectangle.

Paso 02
Step 02
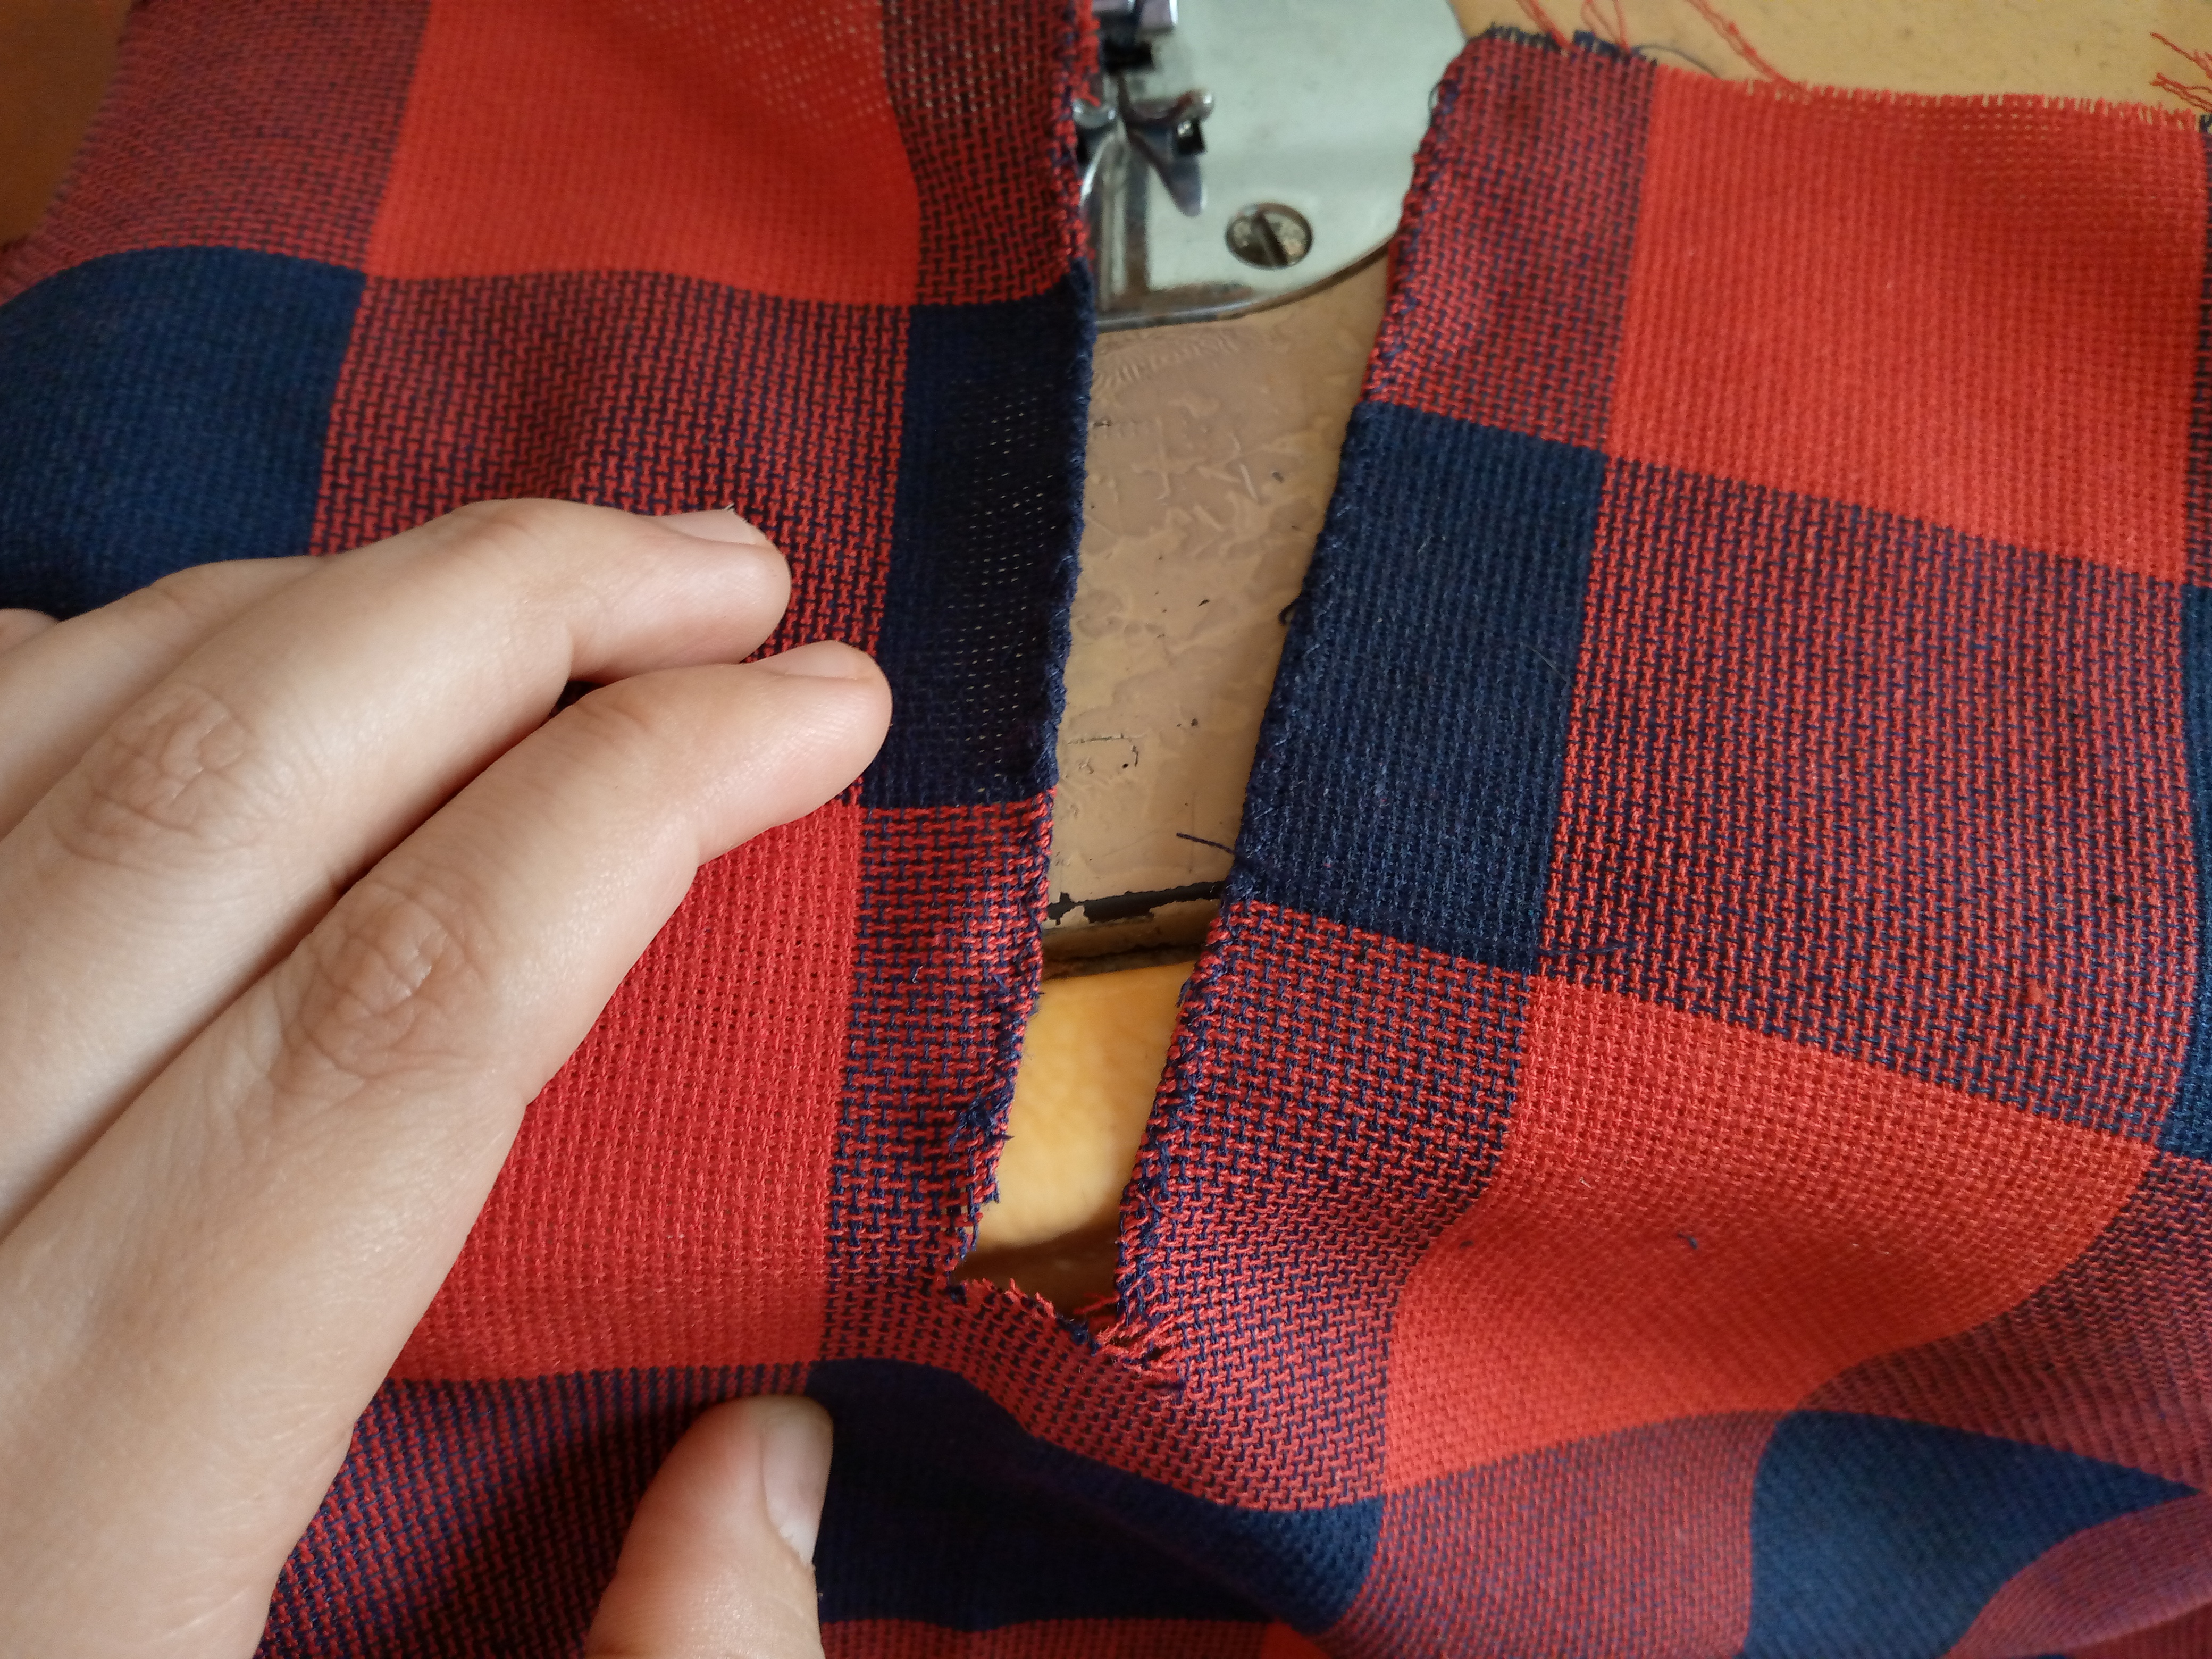
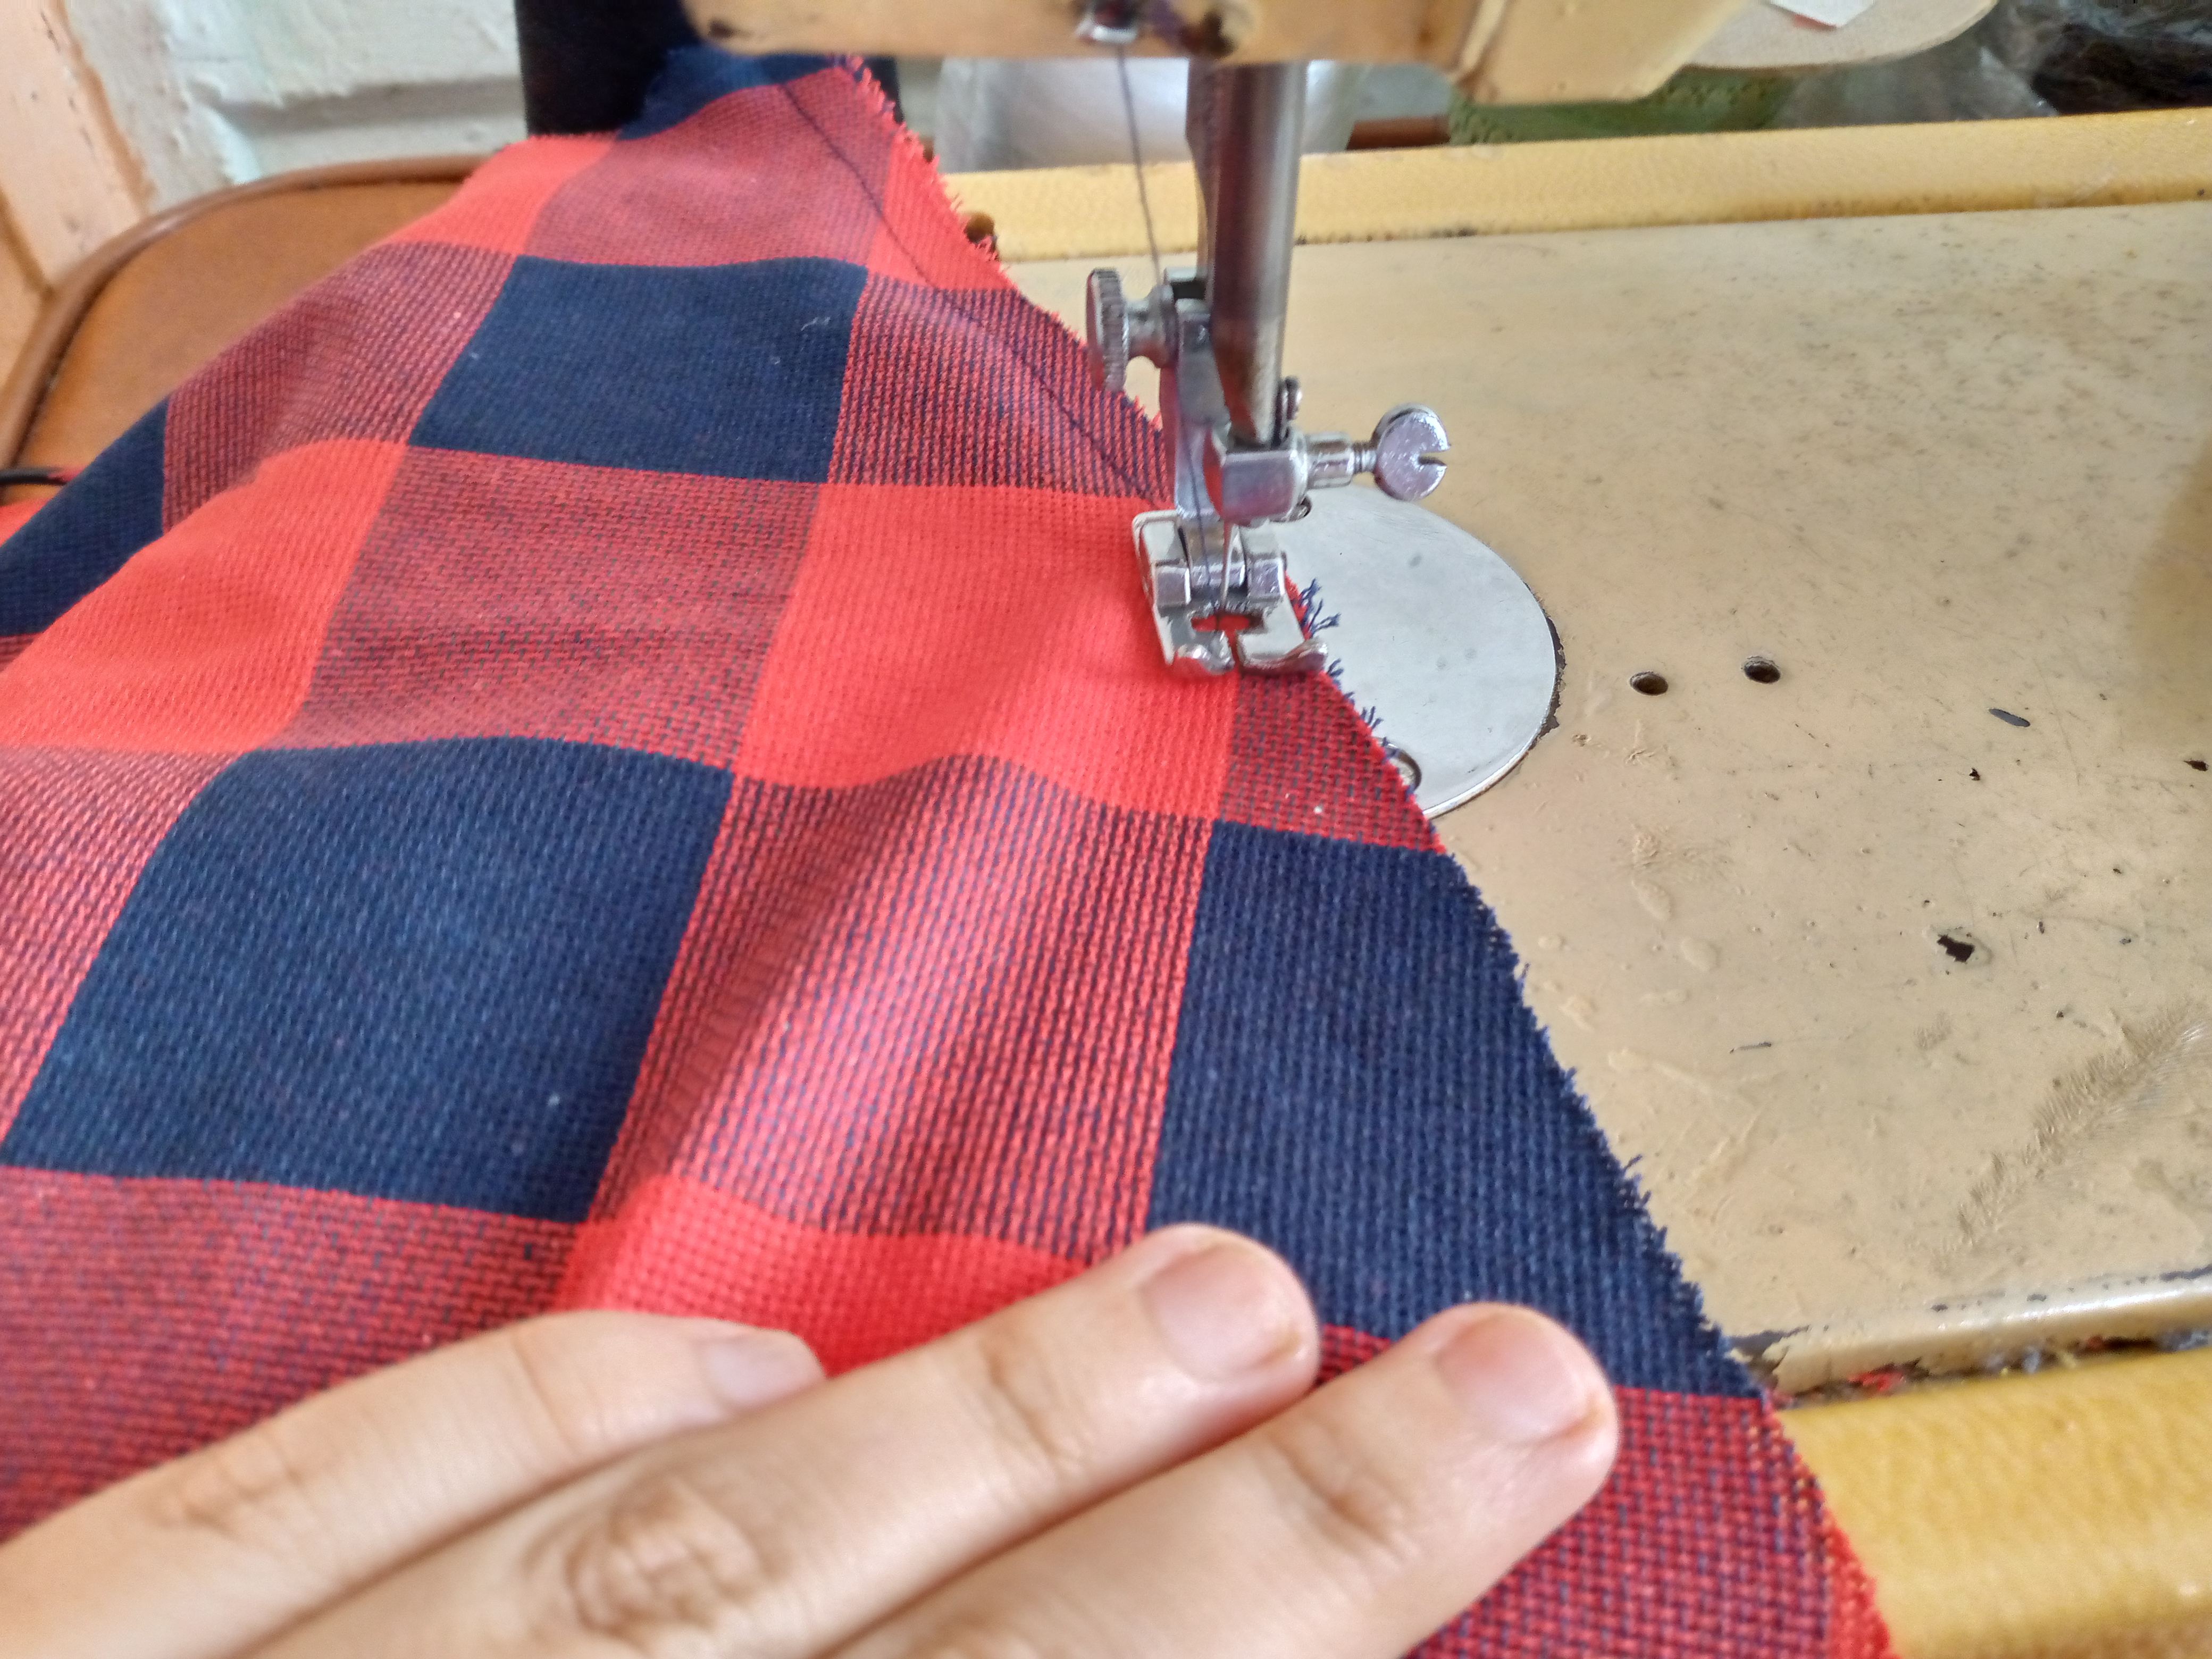
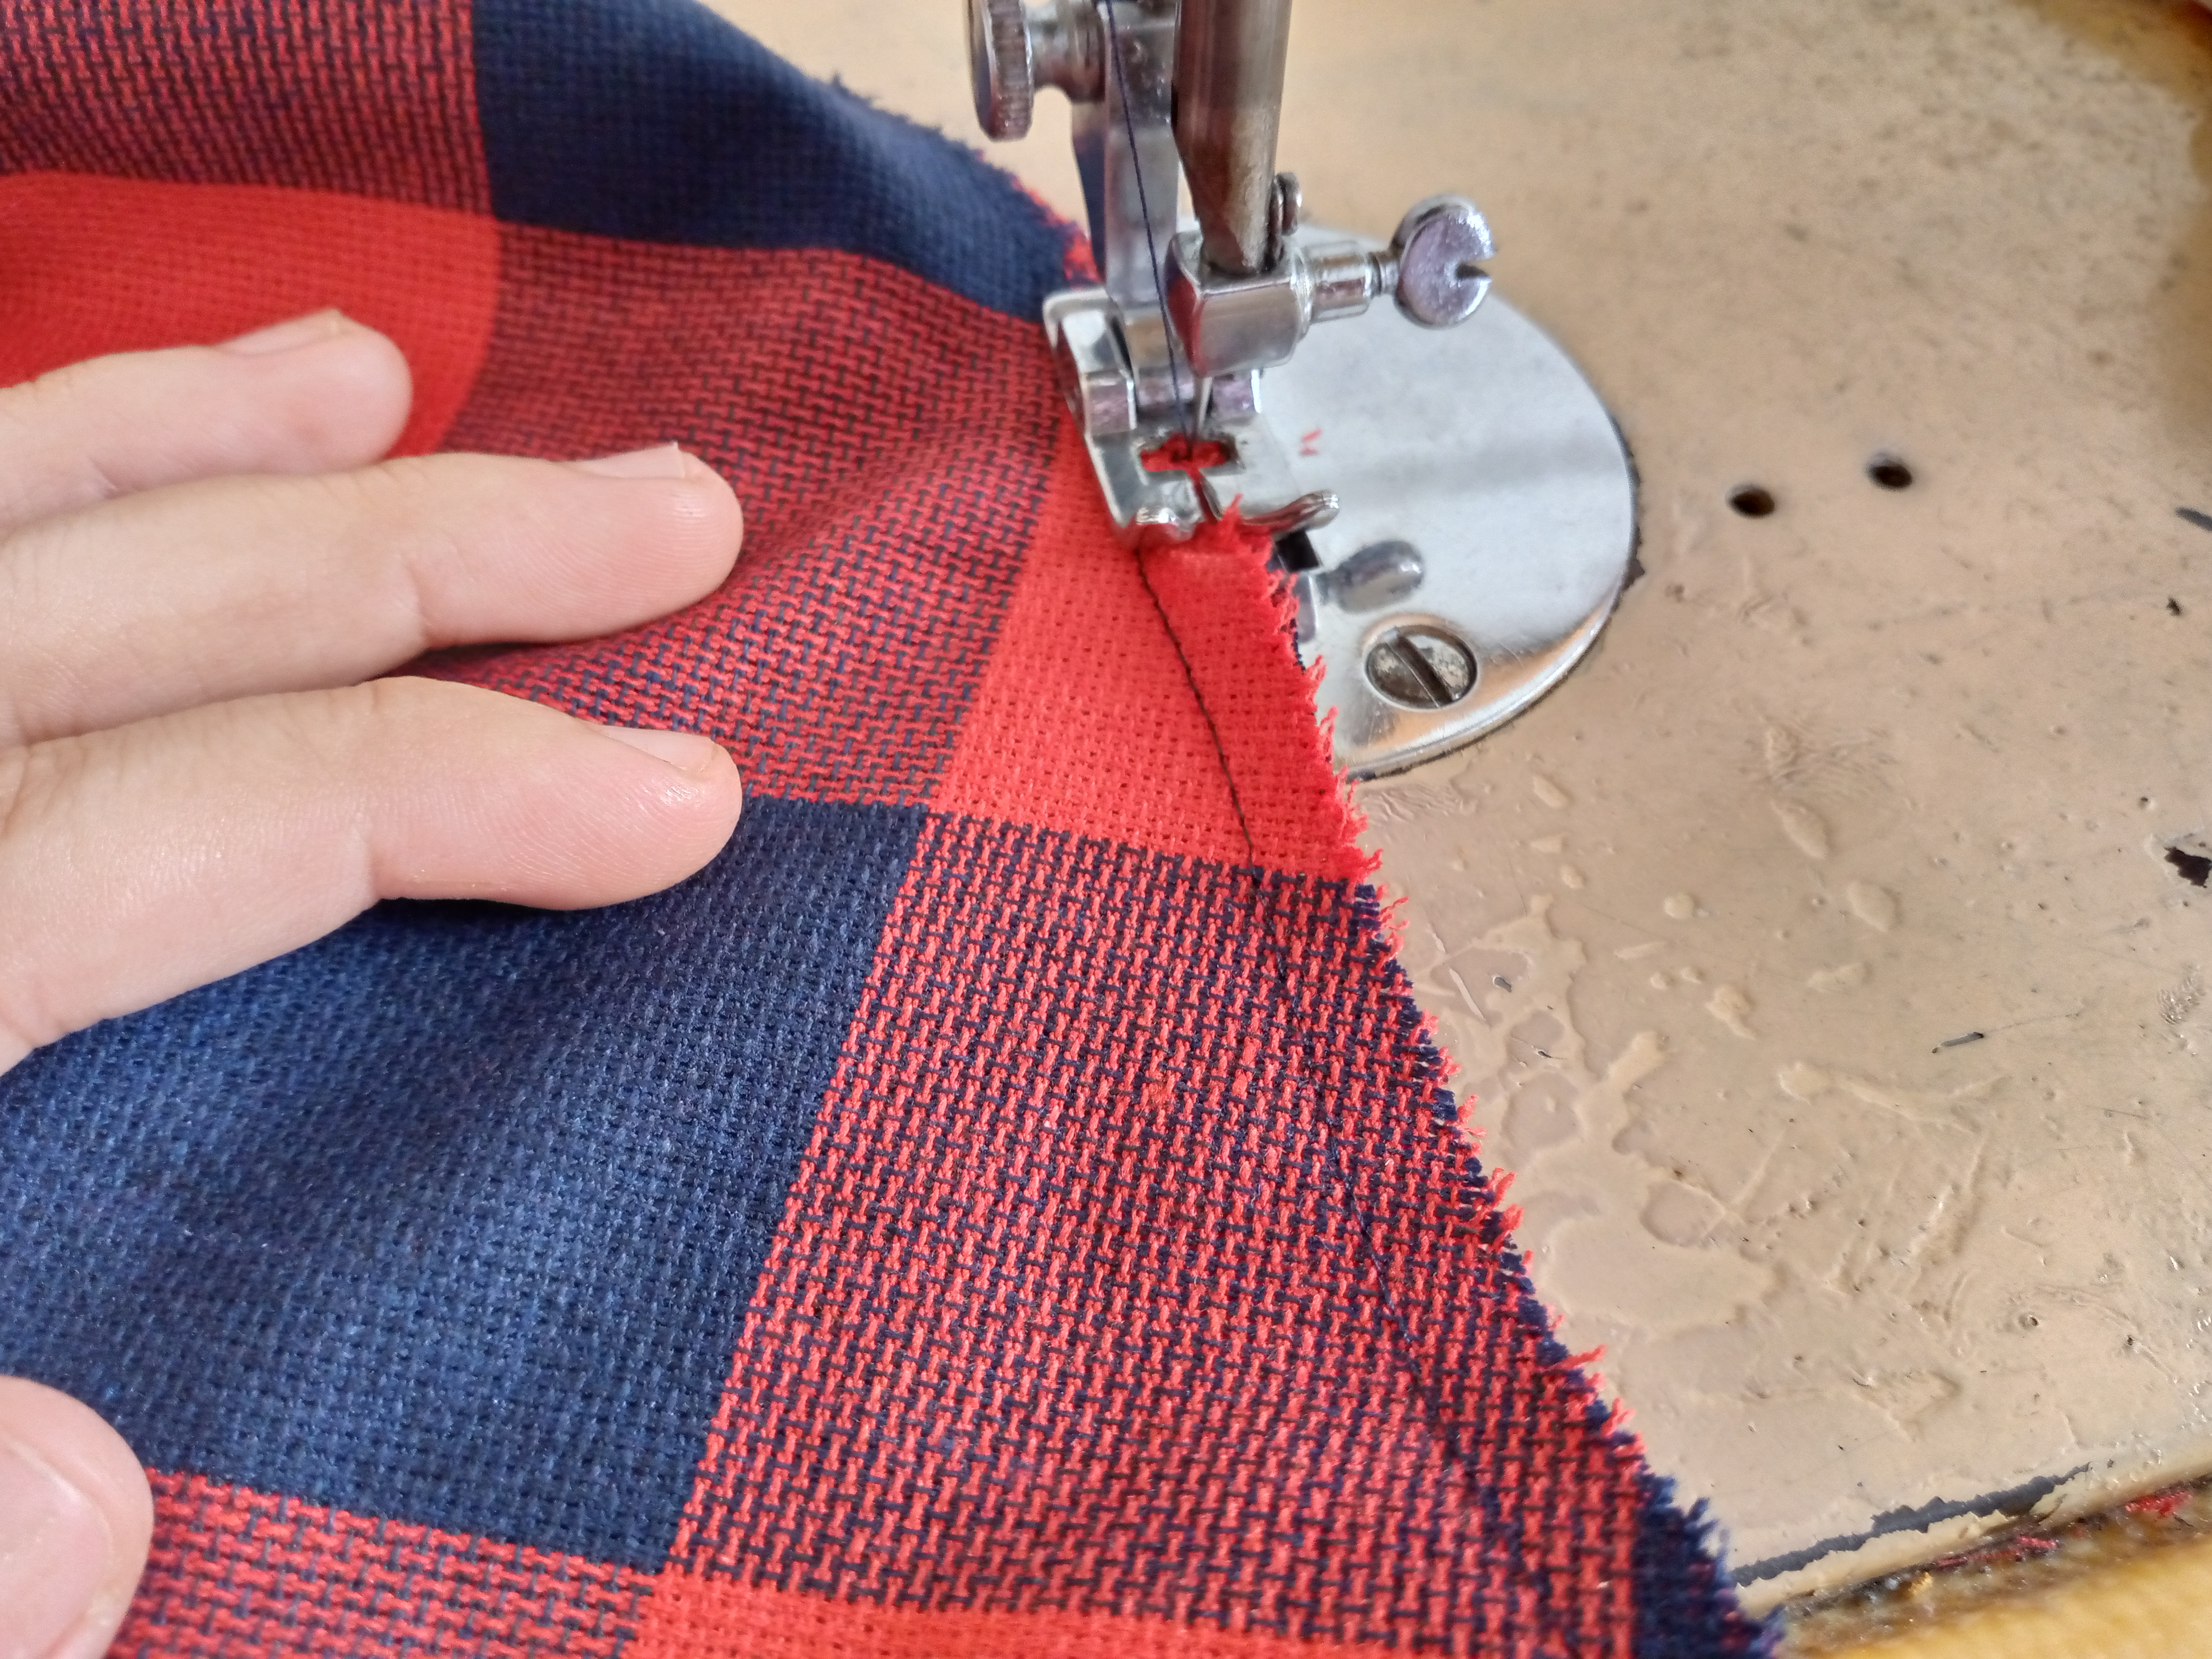
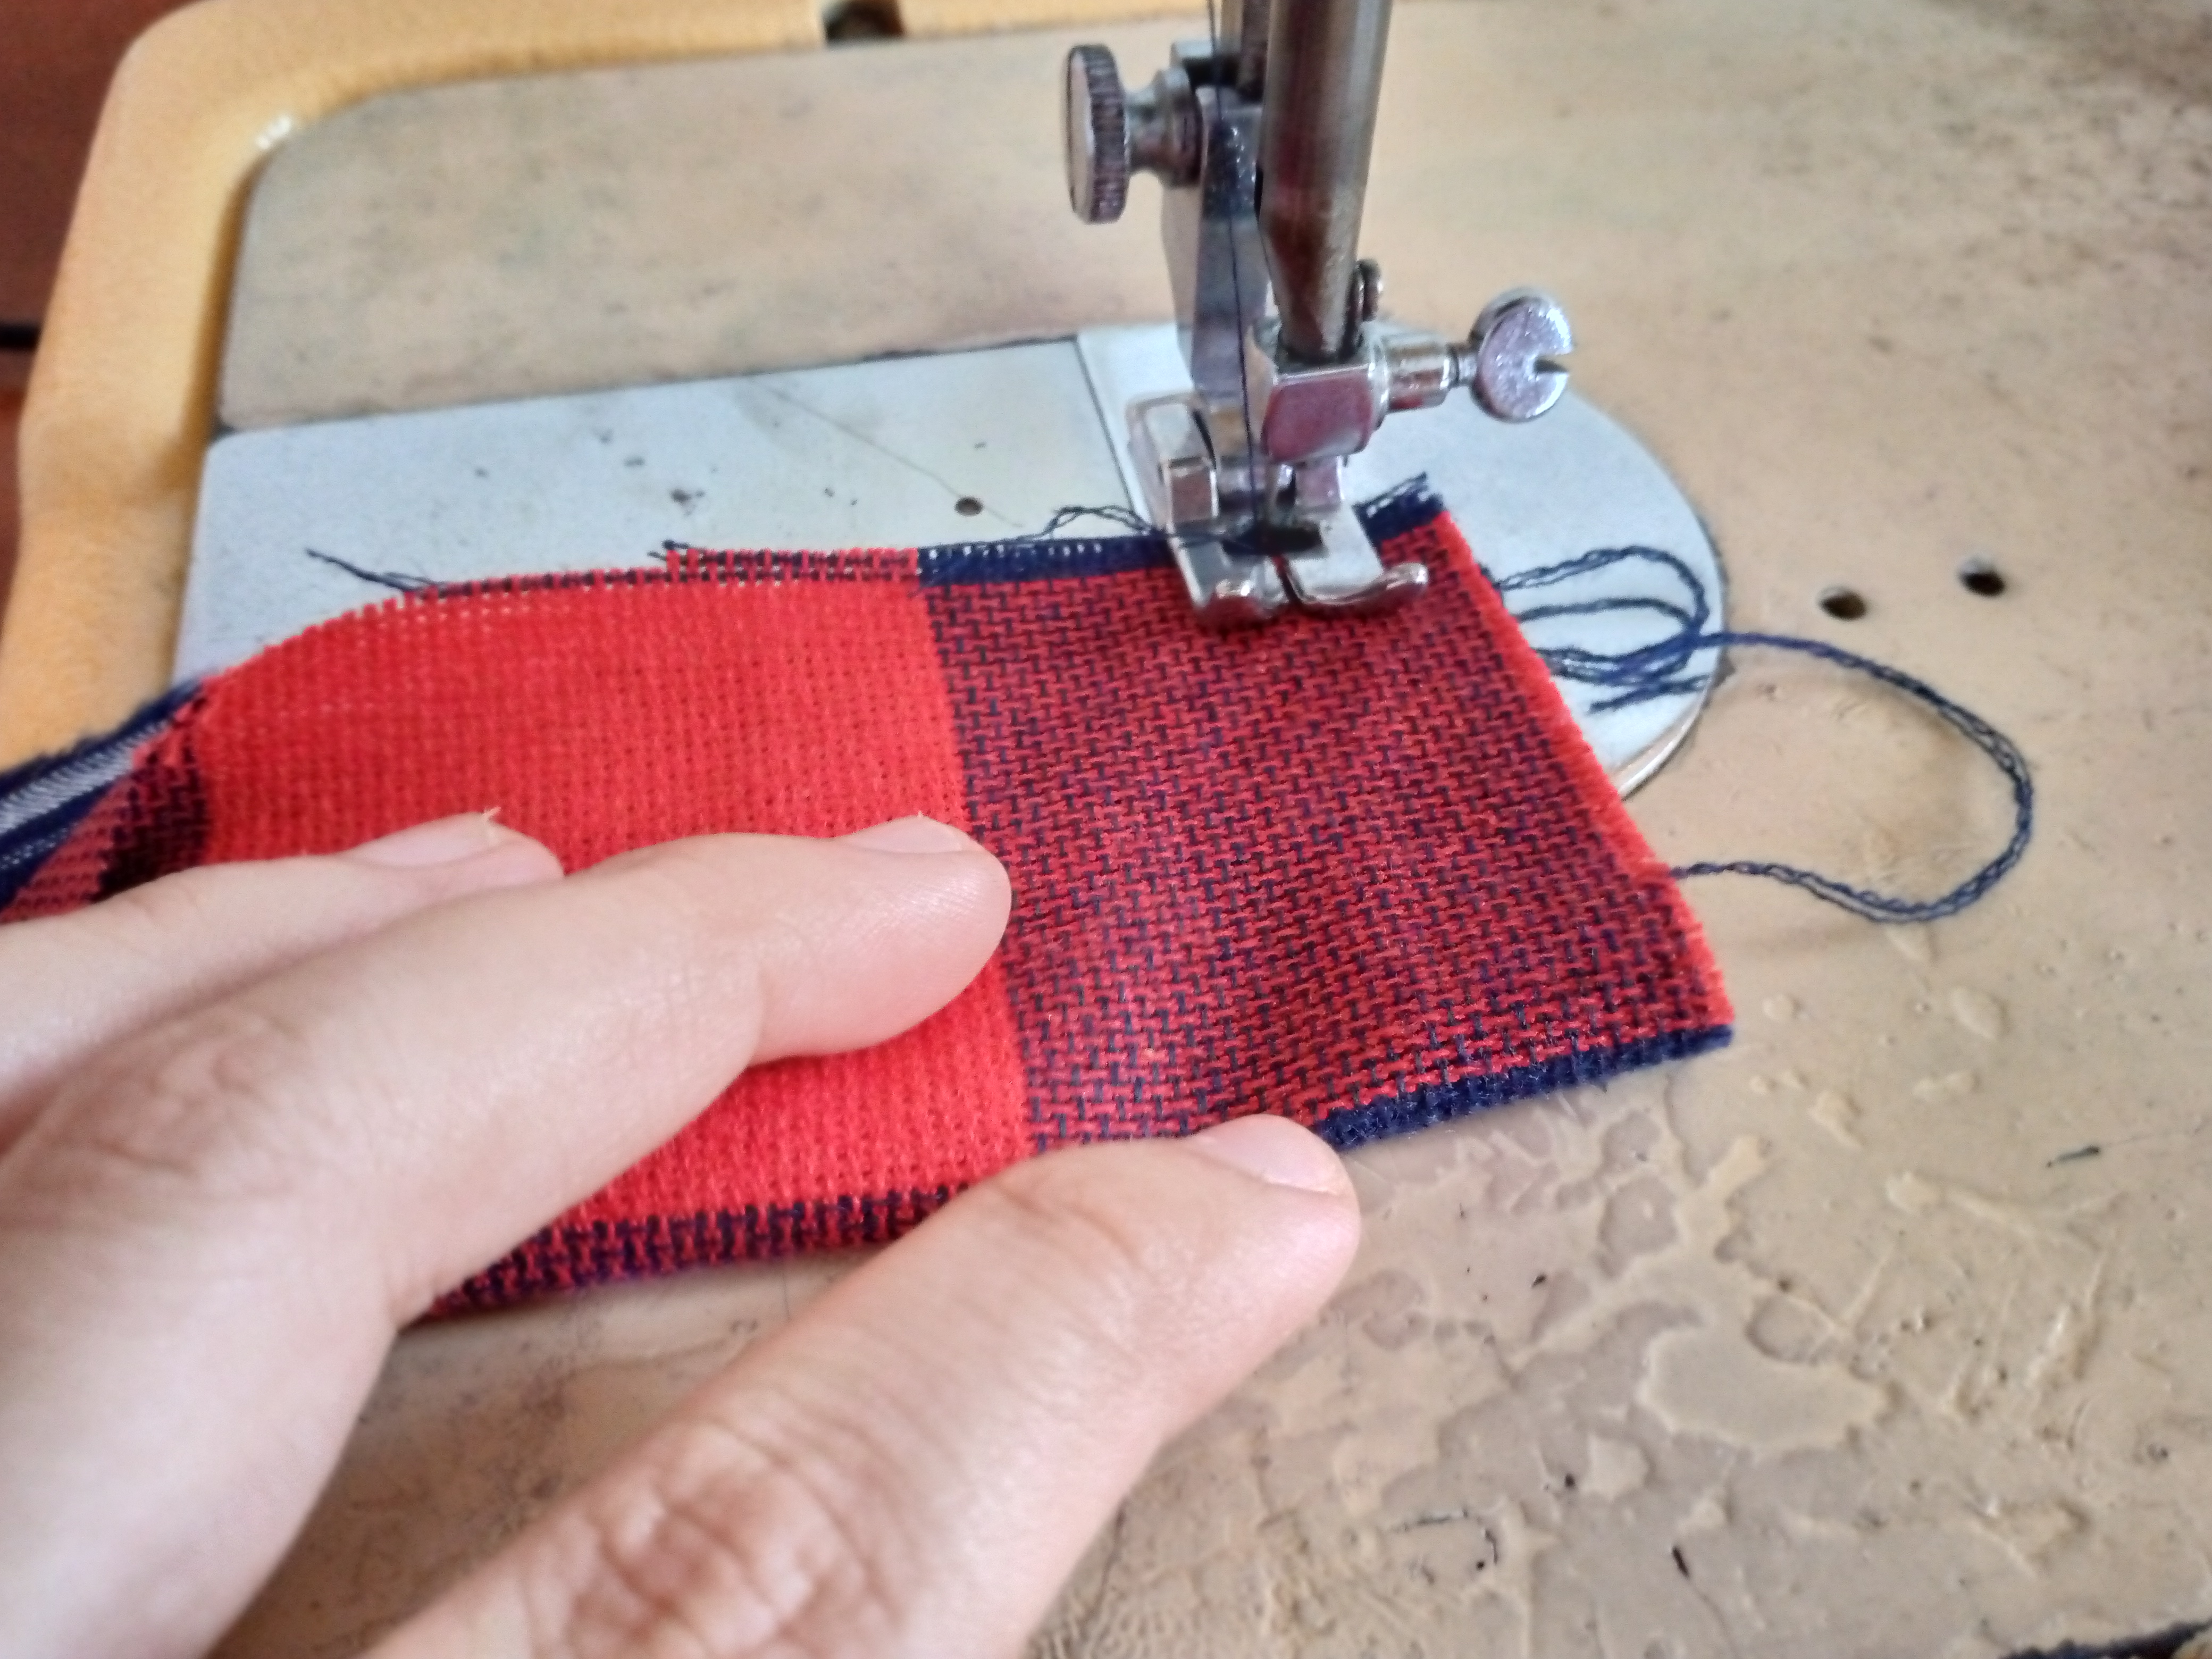
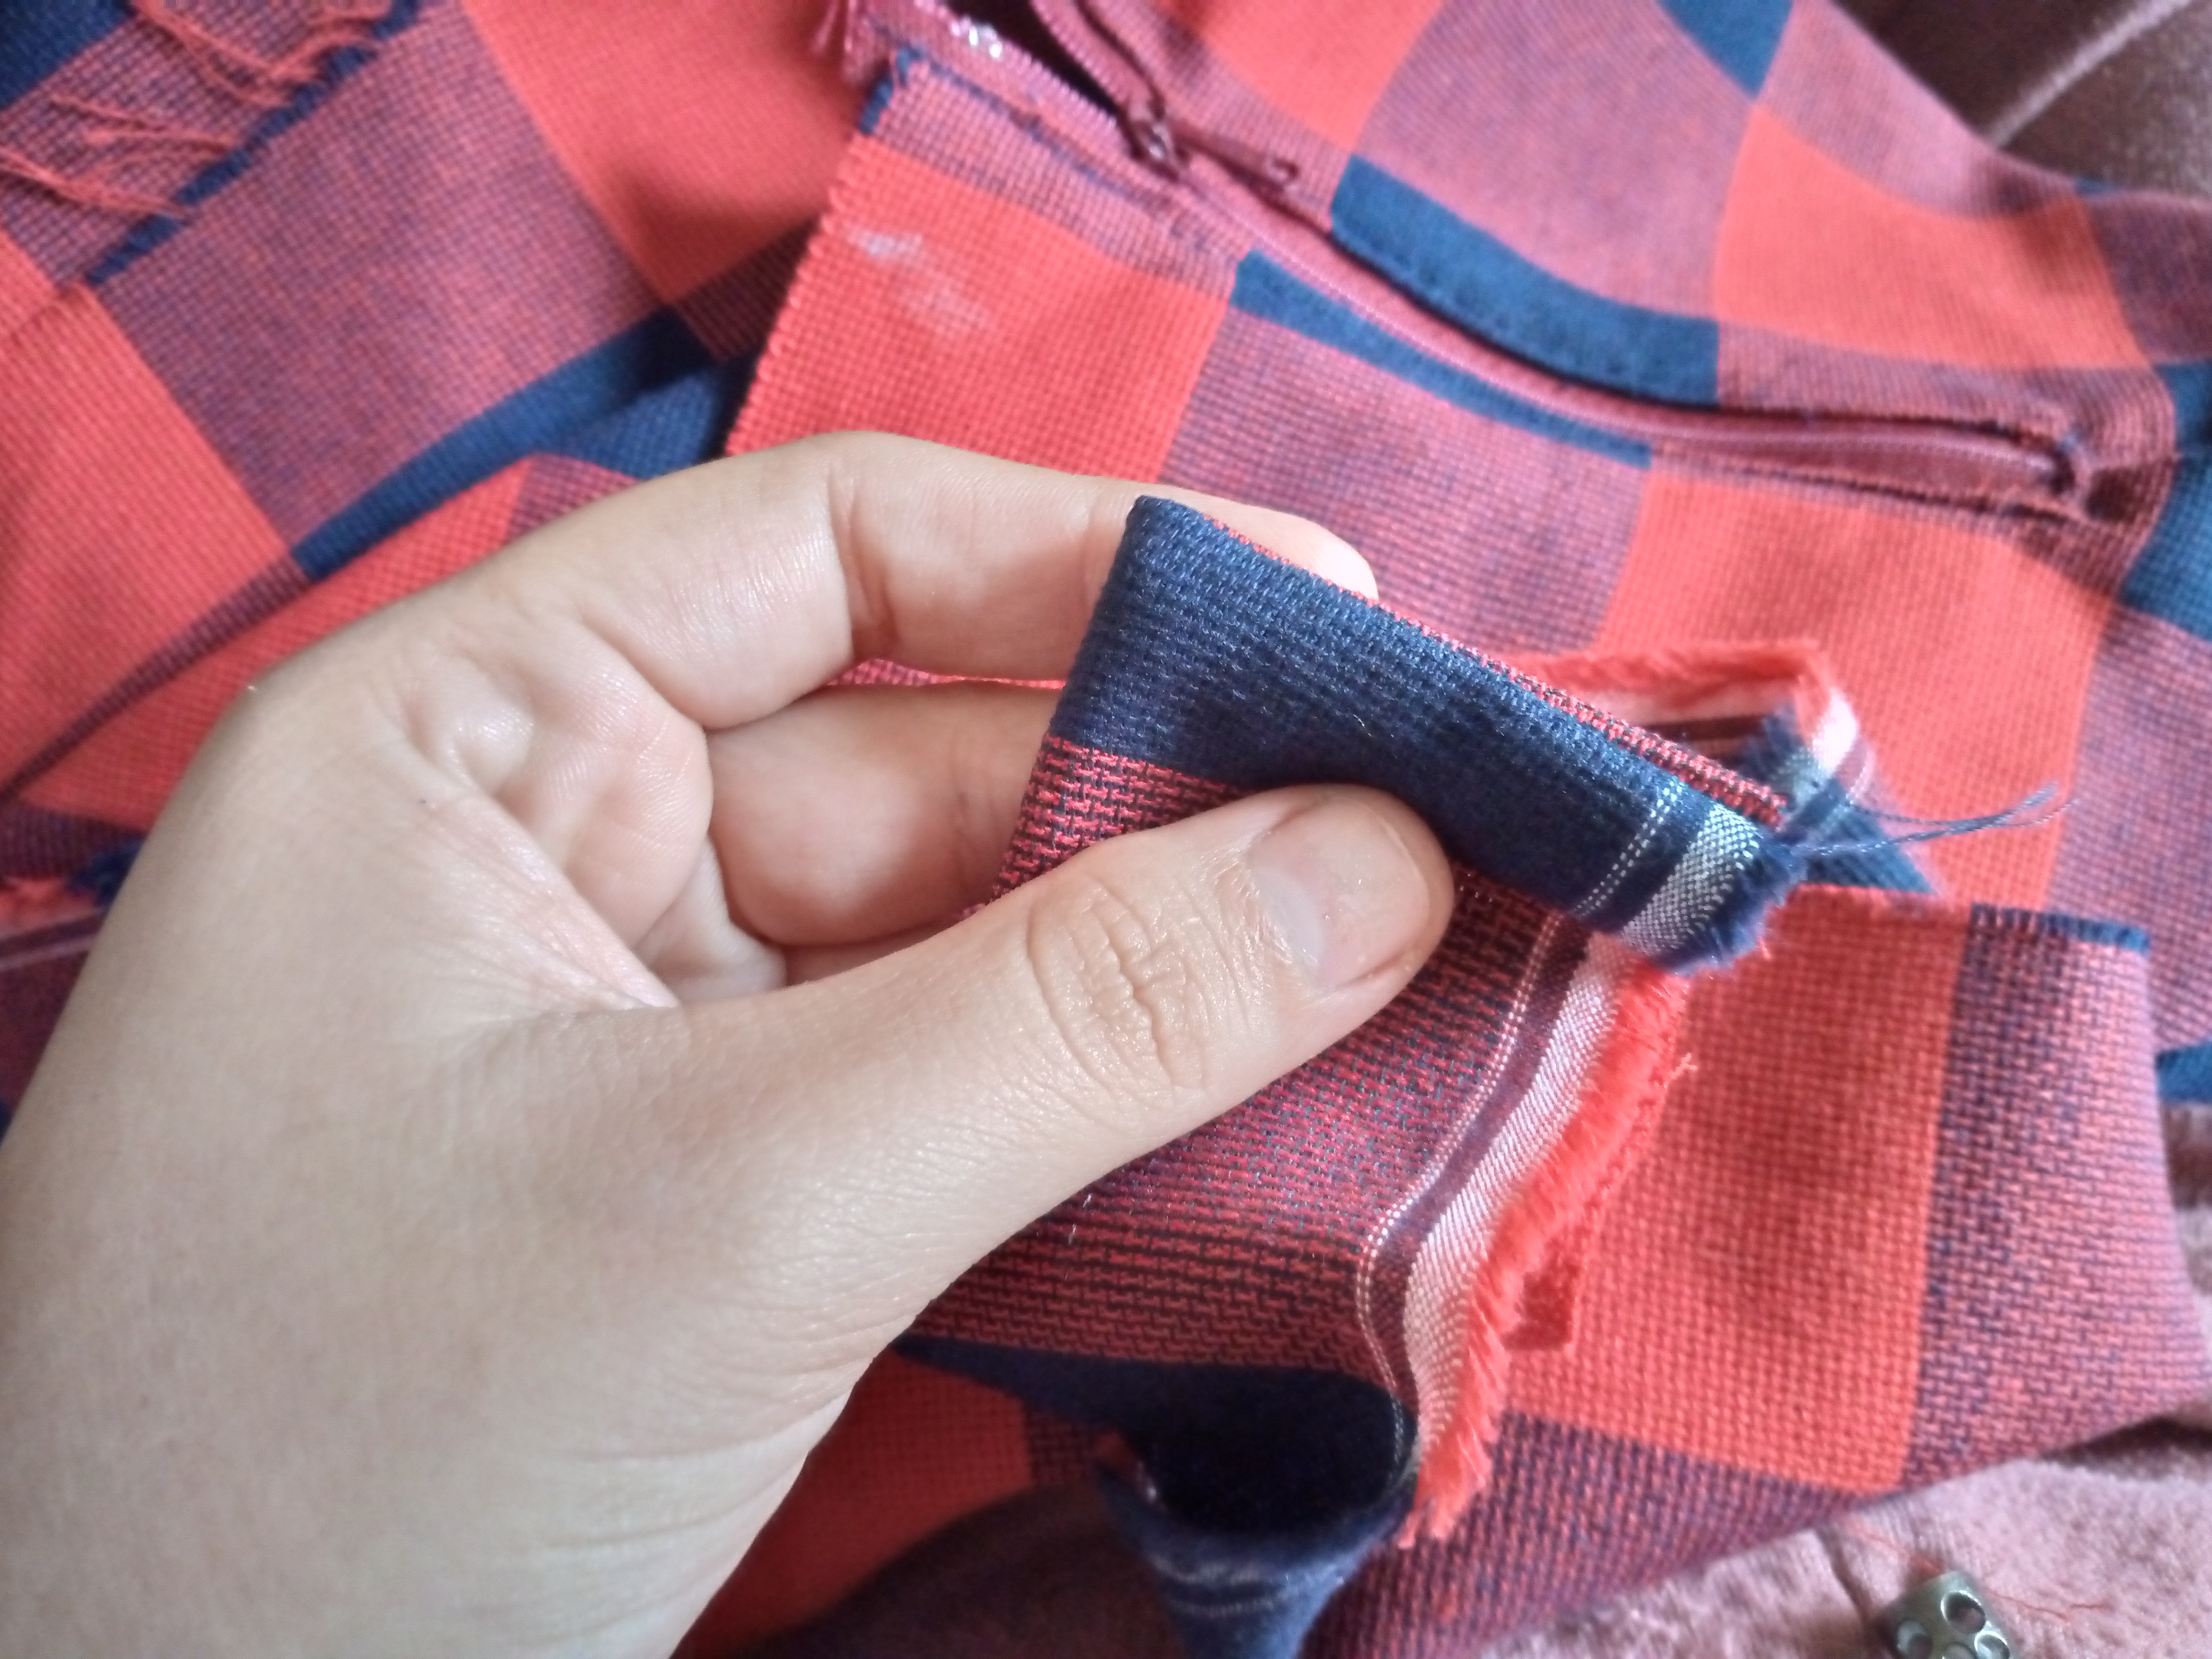
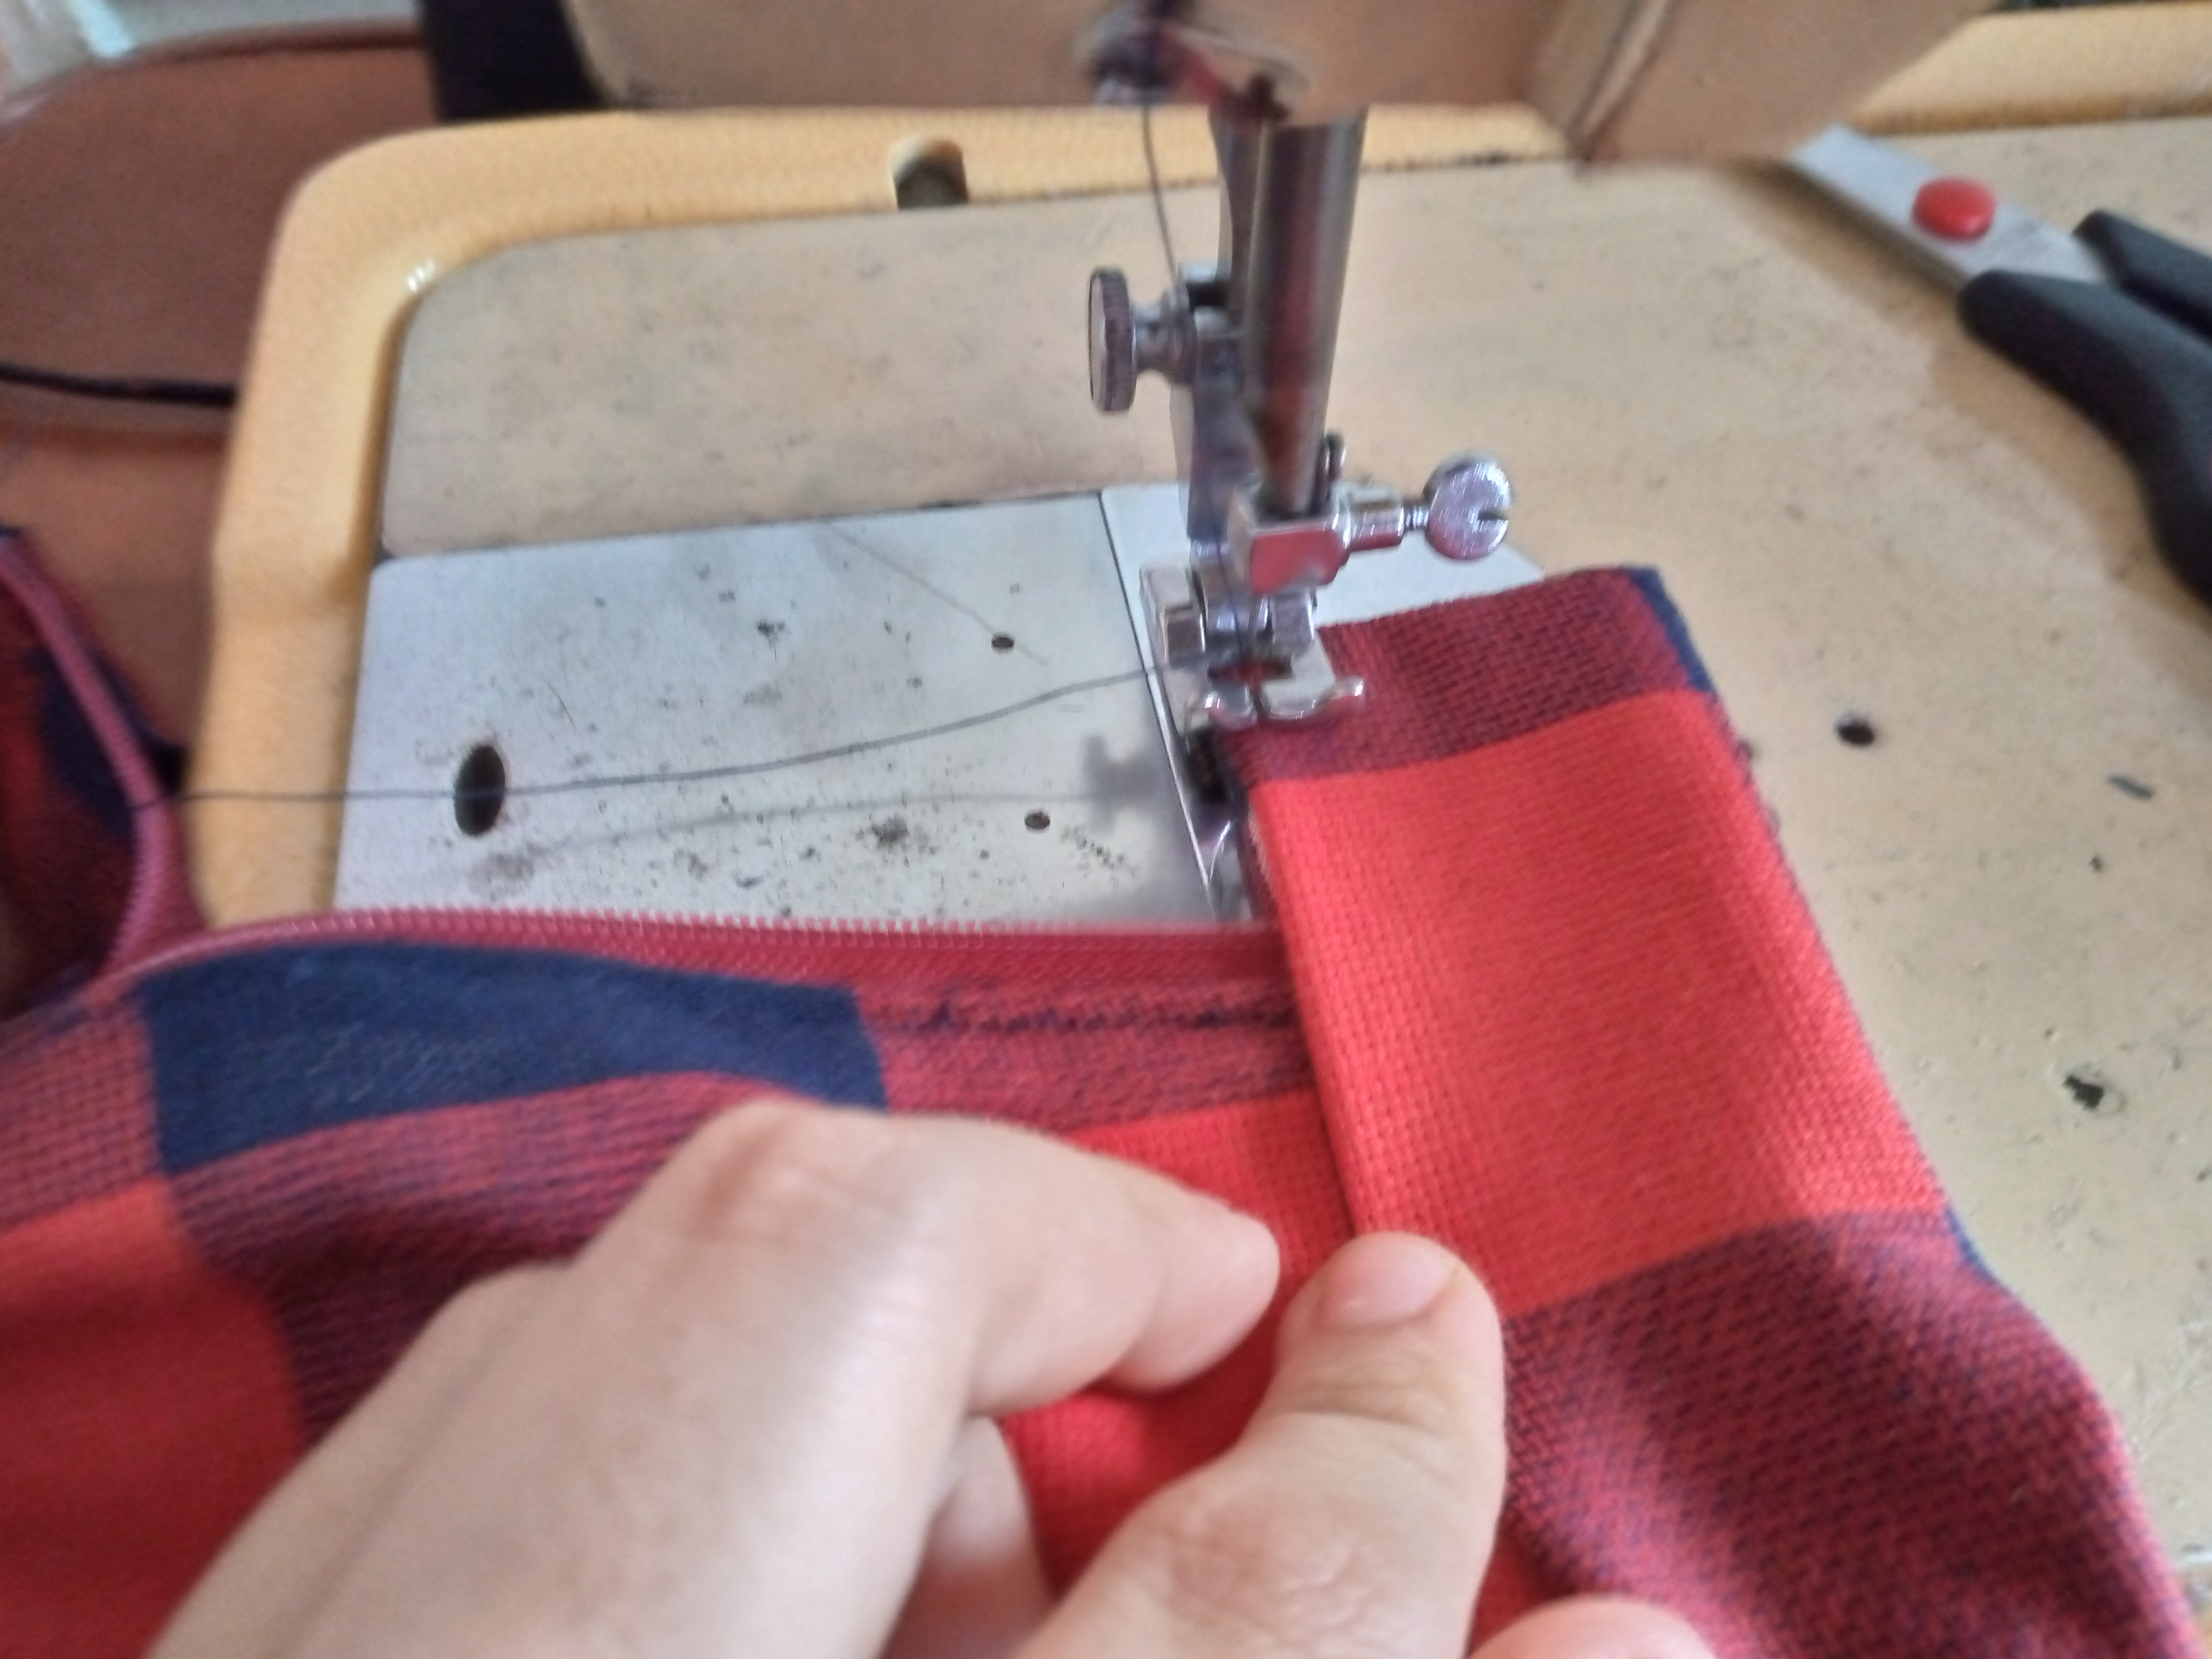
We proceed to sew the edges of the back part right where we will sew the zipper so that the threads of the fabric do not come out. We finish it with a zigzag stitch and we will be sewing the zipper on the left side and we will sew on the right side. Then we will go over it. This method for making a zipper is very simple to do.
Paso 03
Step 03
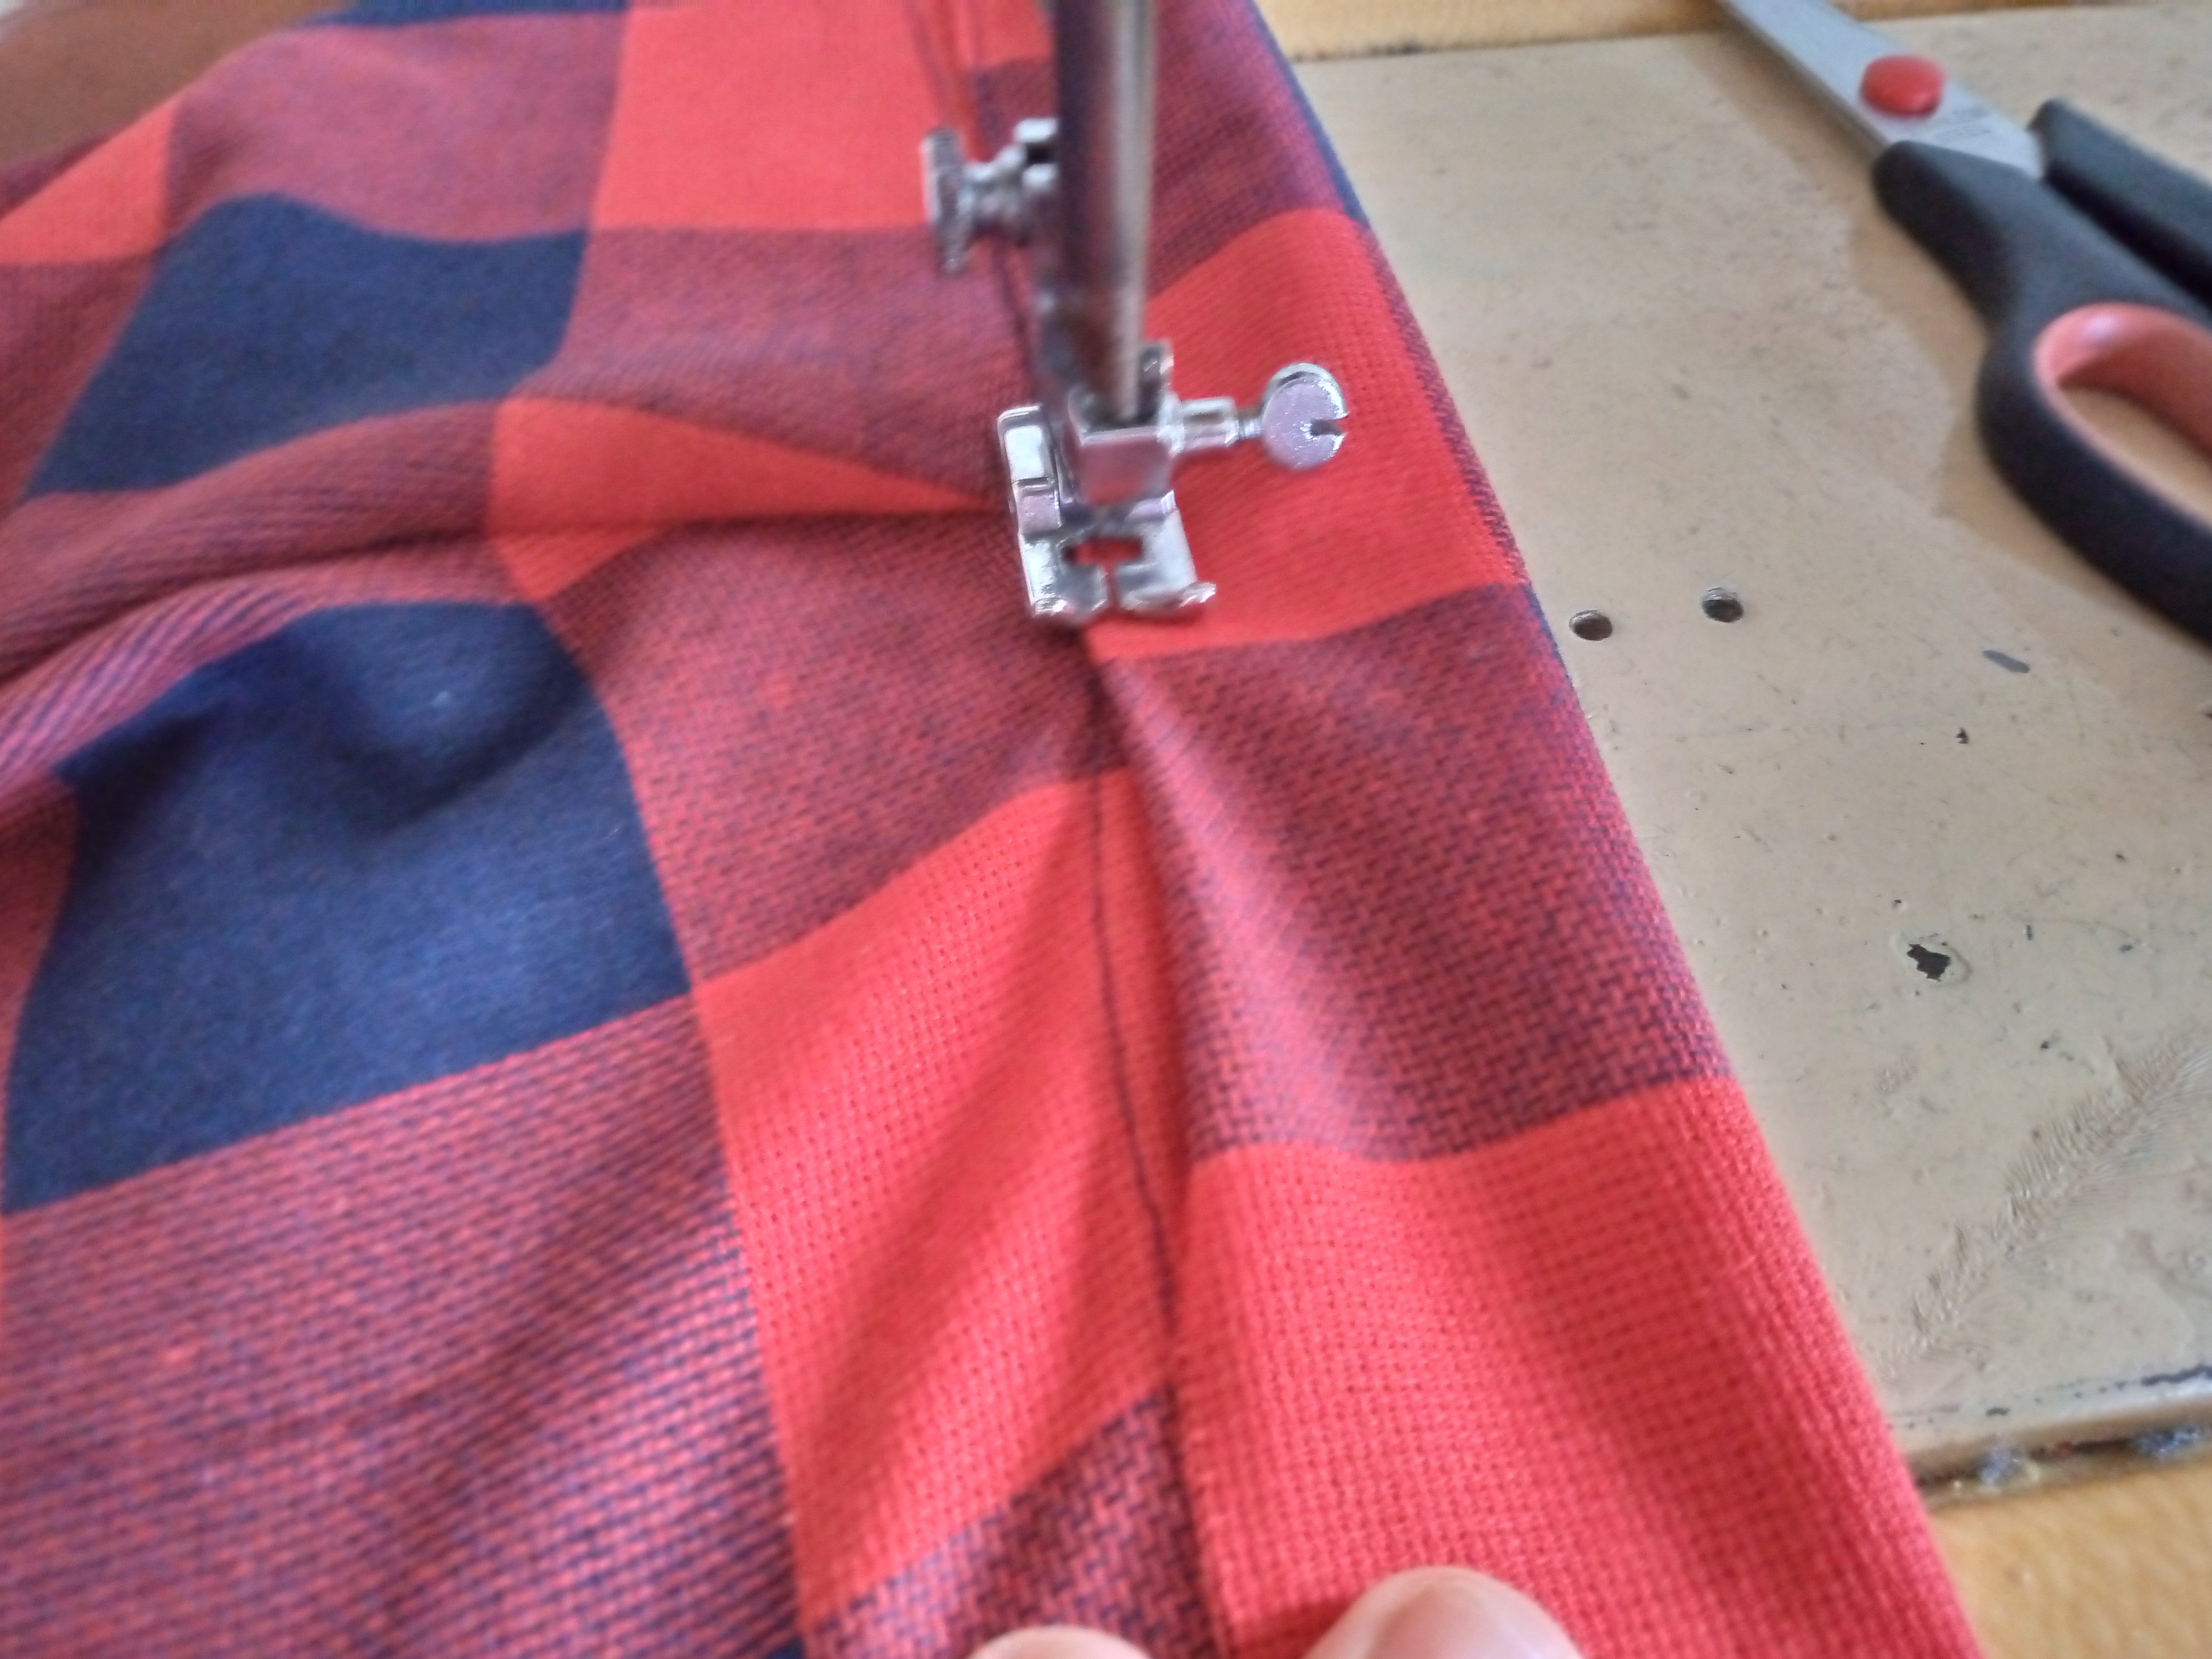
I proceed to sew the edge of my skirt. I will be sewing with a straight seam from top to bottom along the sides and then along the edge we will finish it with a zig zag.
Paso 04
Step 04
Once we have the exact measurement of our waist, leaving 1 cm more difference to the waistband for the buttonhole, we will seal the waistband at the ends on the bottom side and turn it over. We will be sewing it to the skirt from the inside out. We will sew the edge with a straight stitch and overlock the waistband.
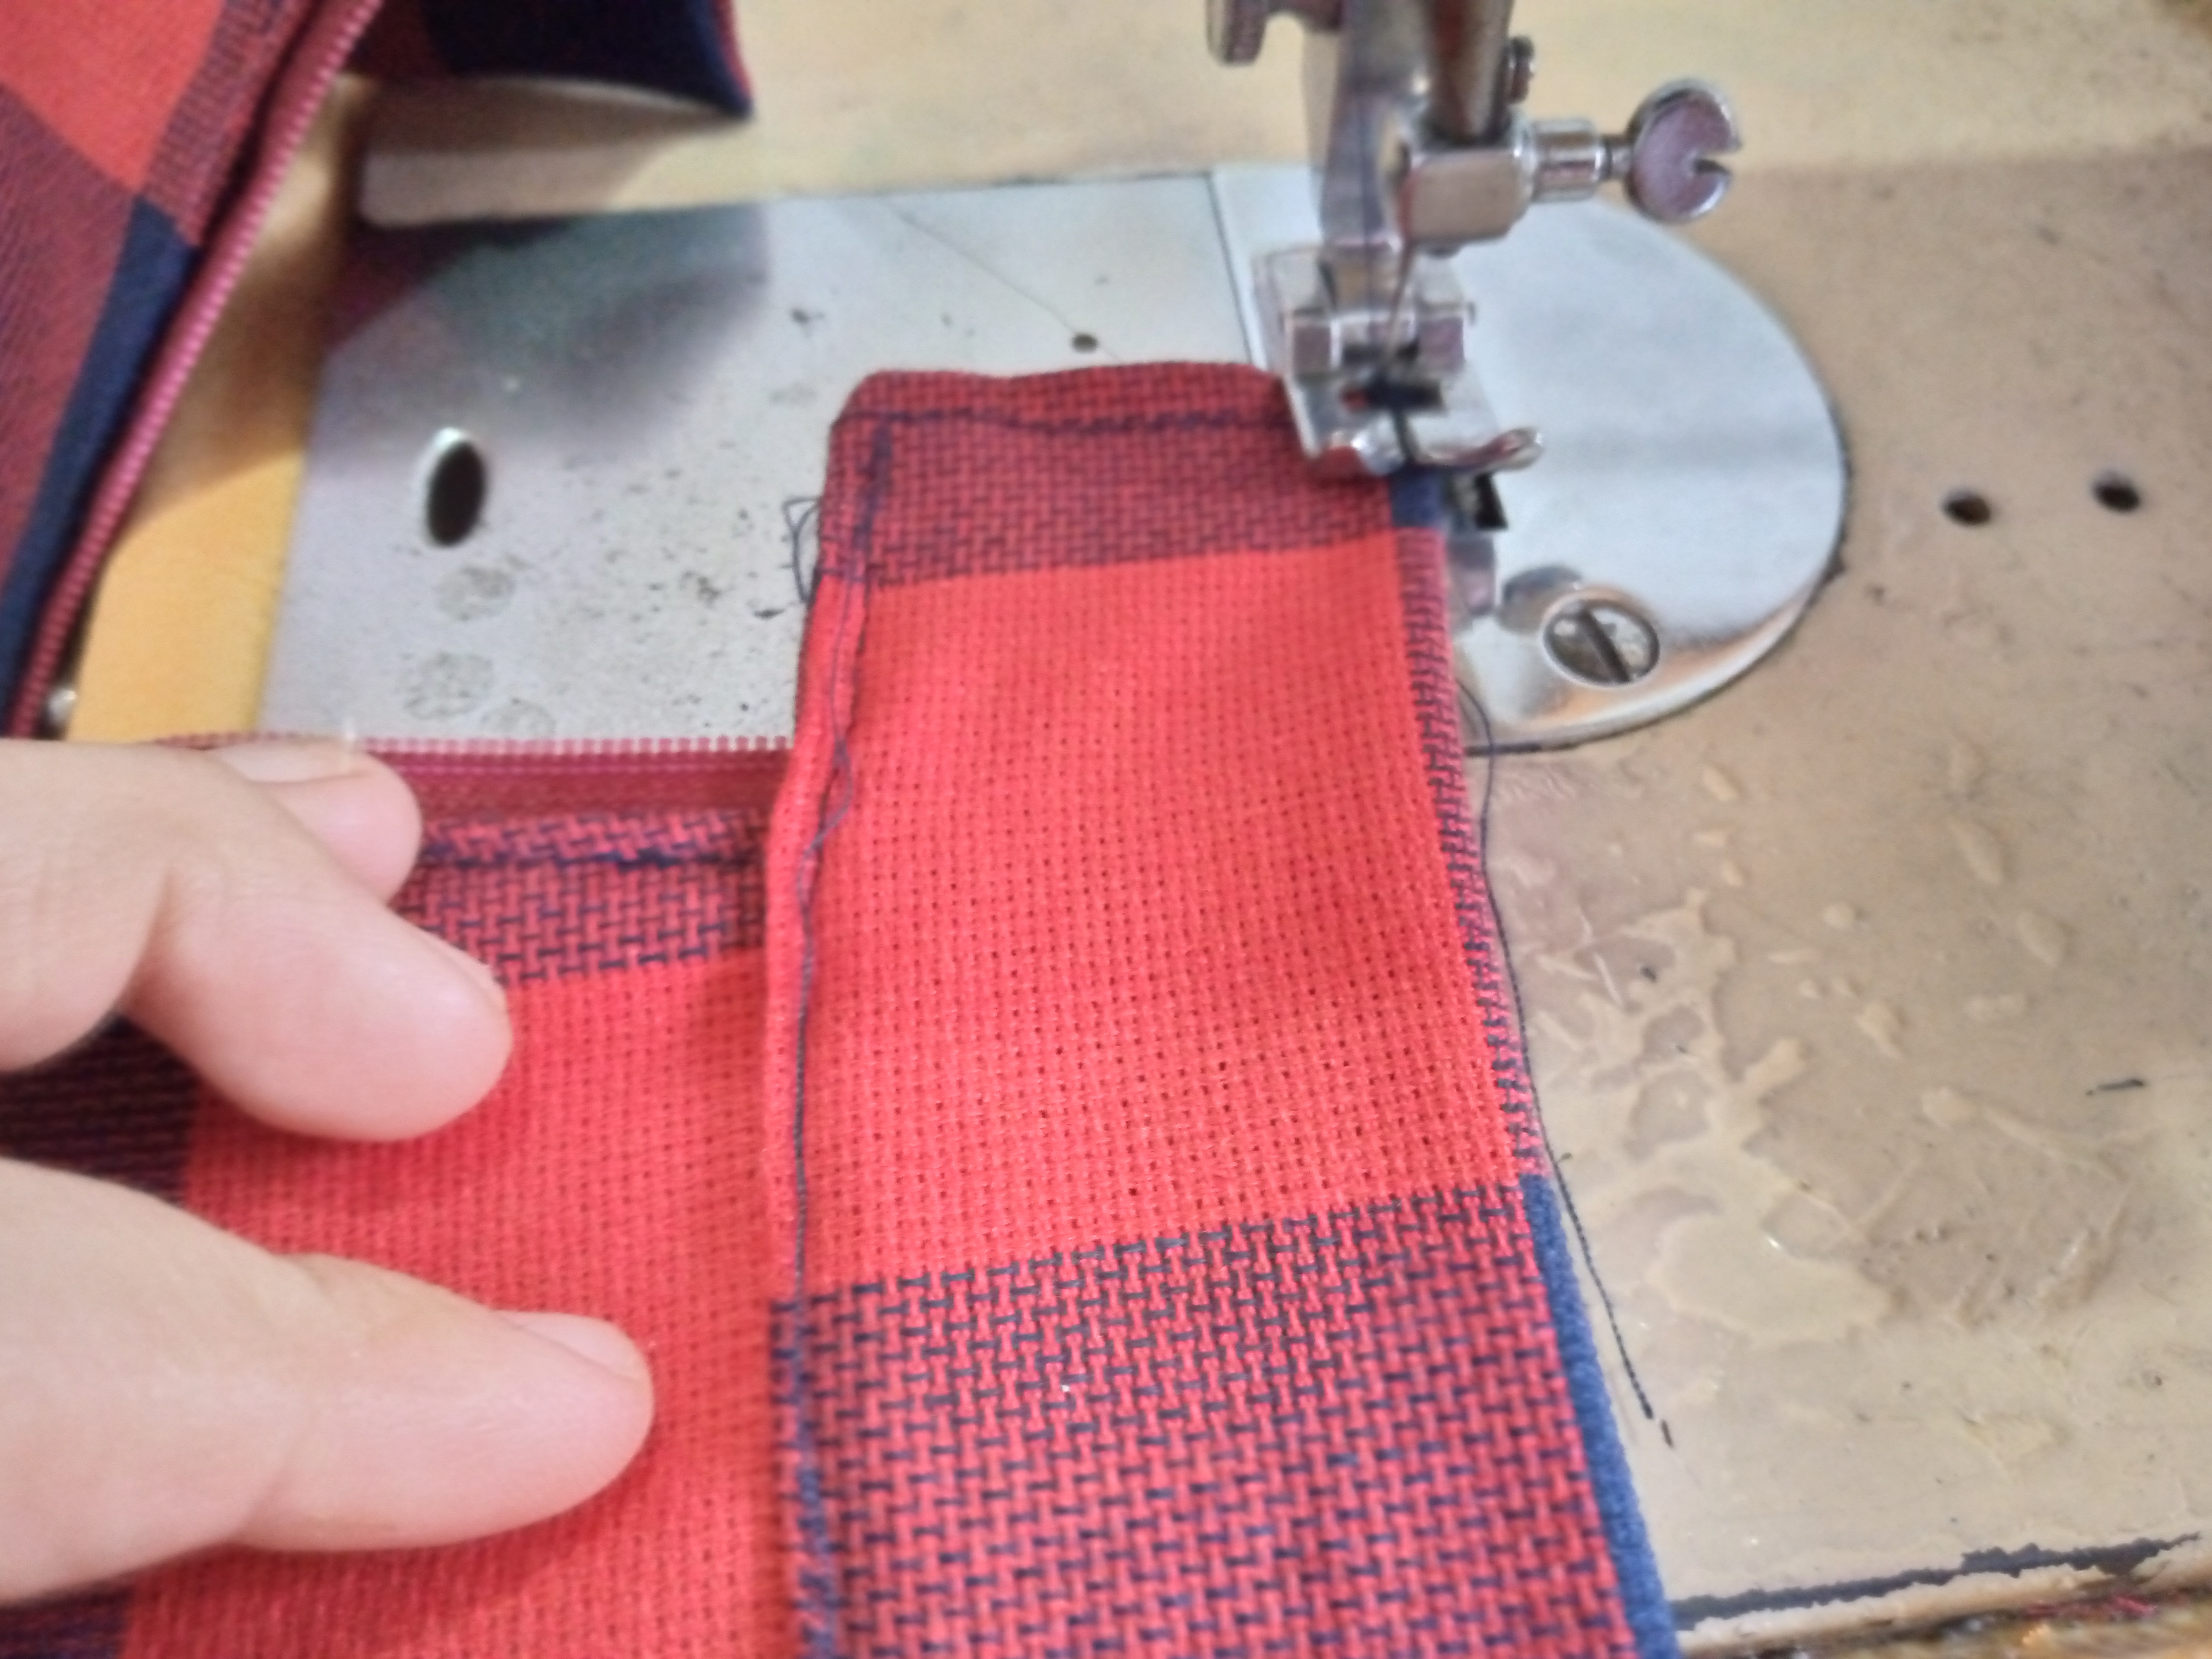
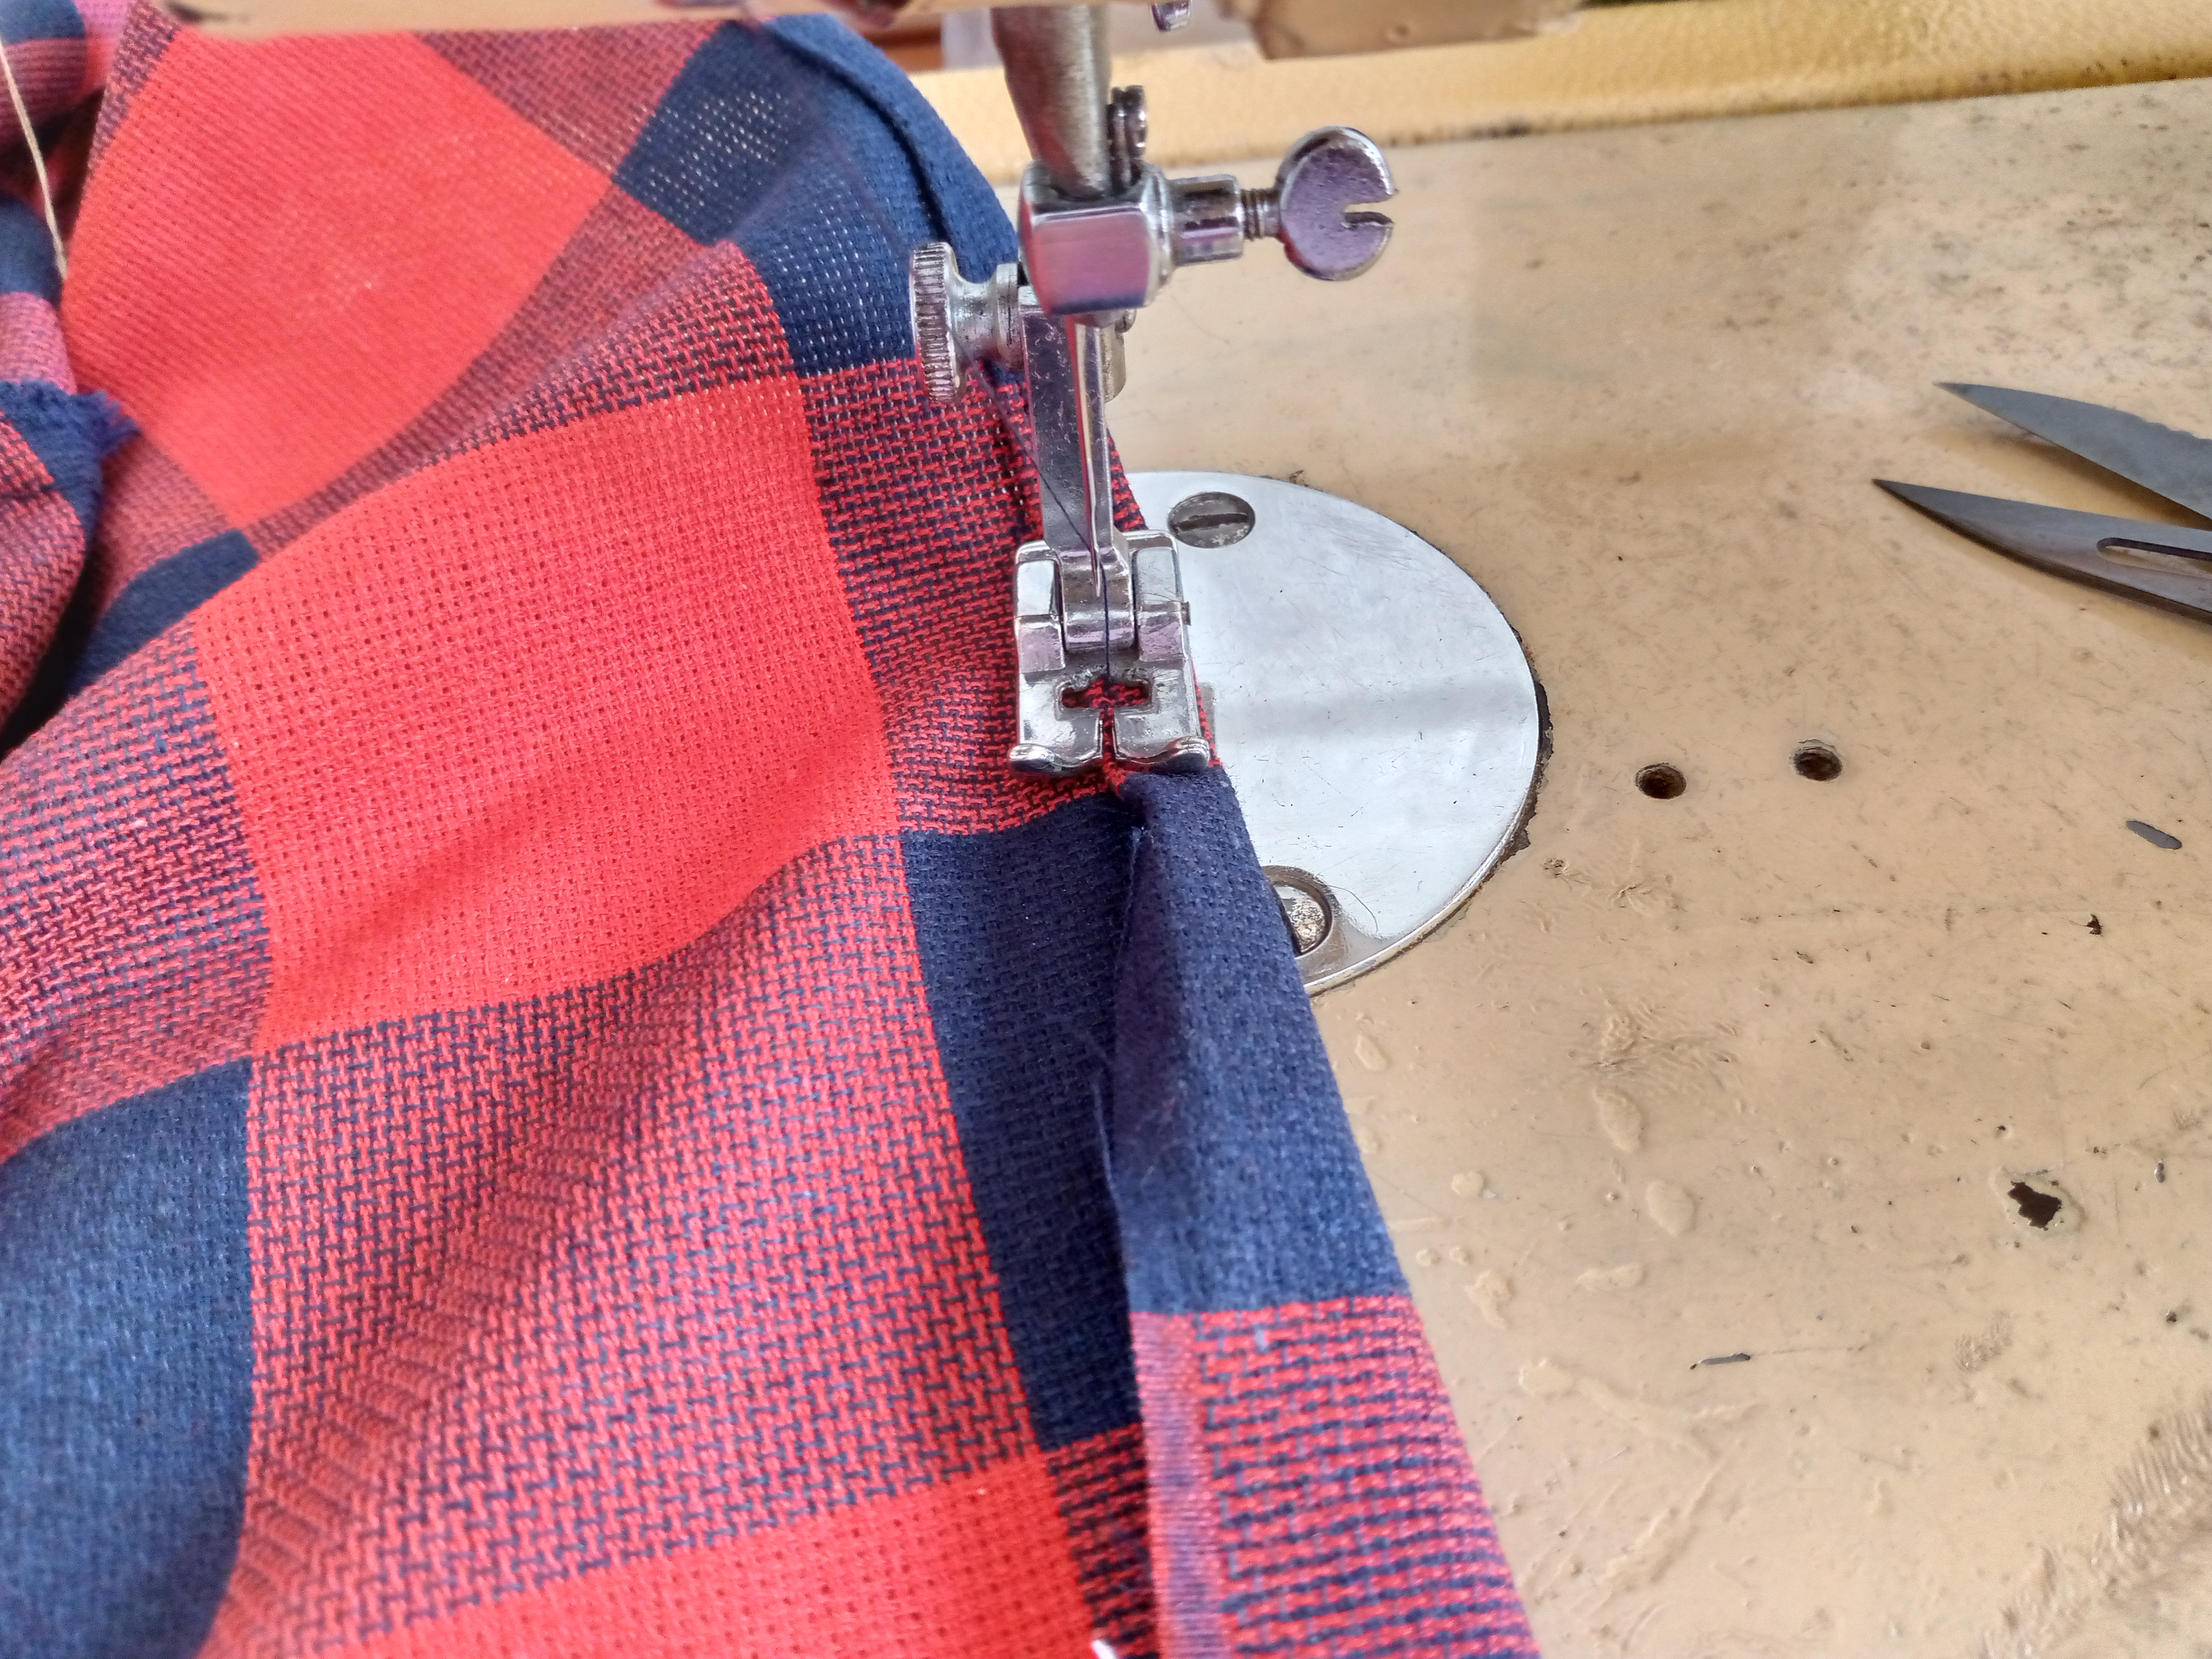
Paso 05
Step 05
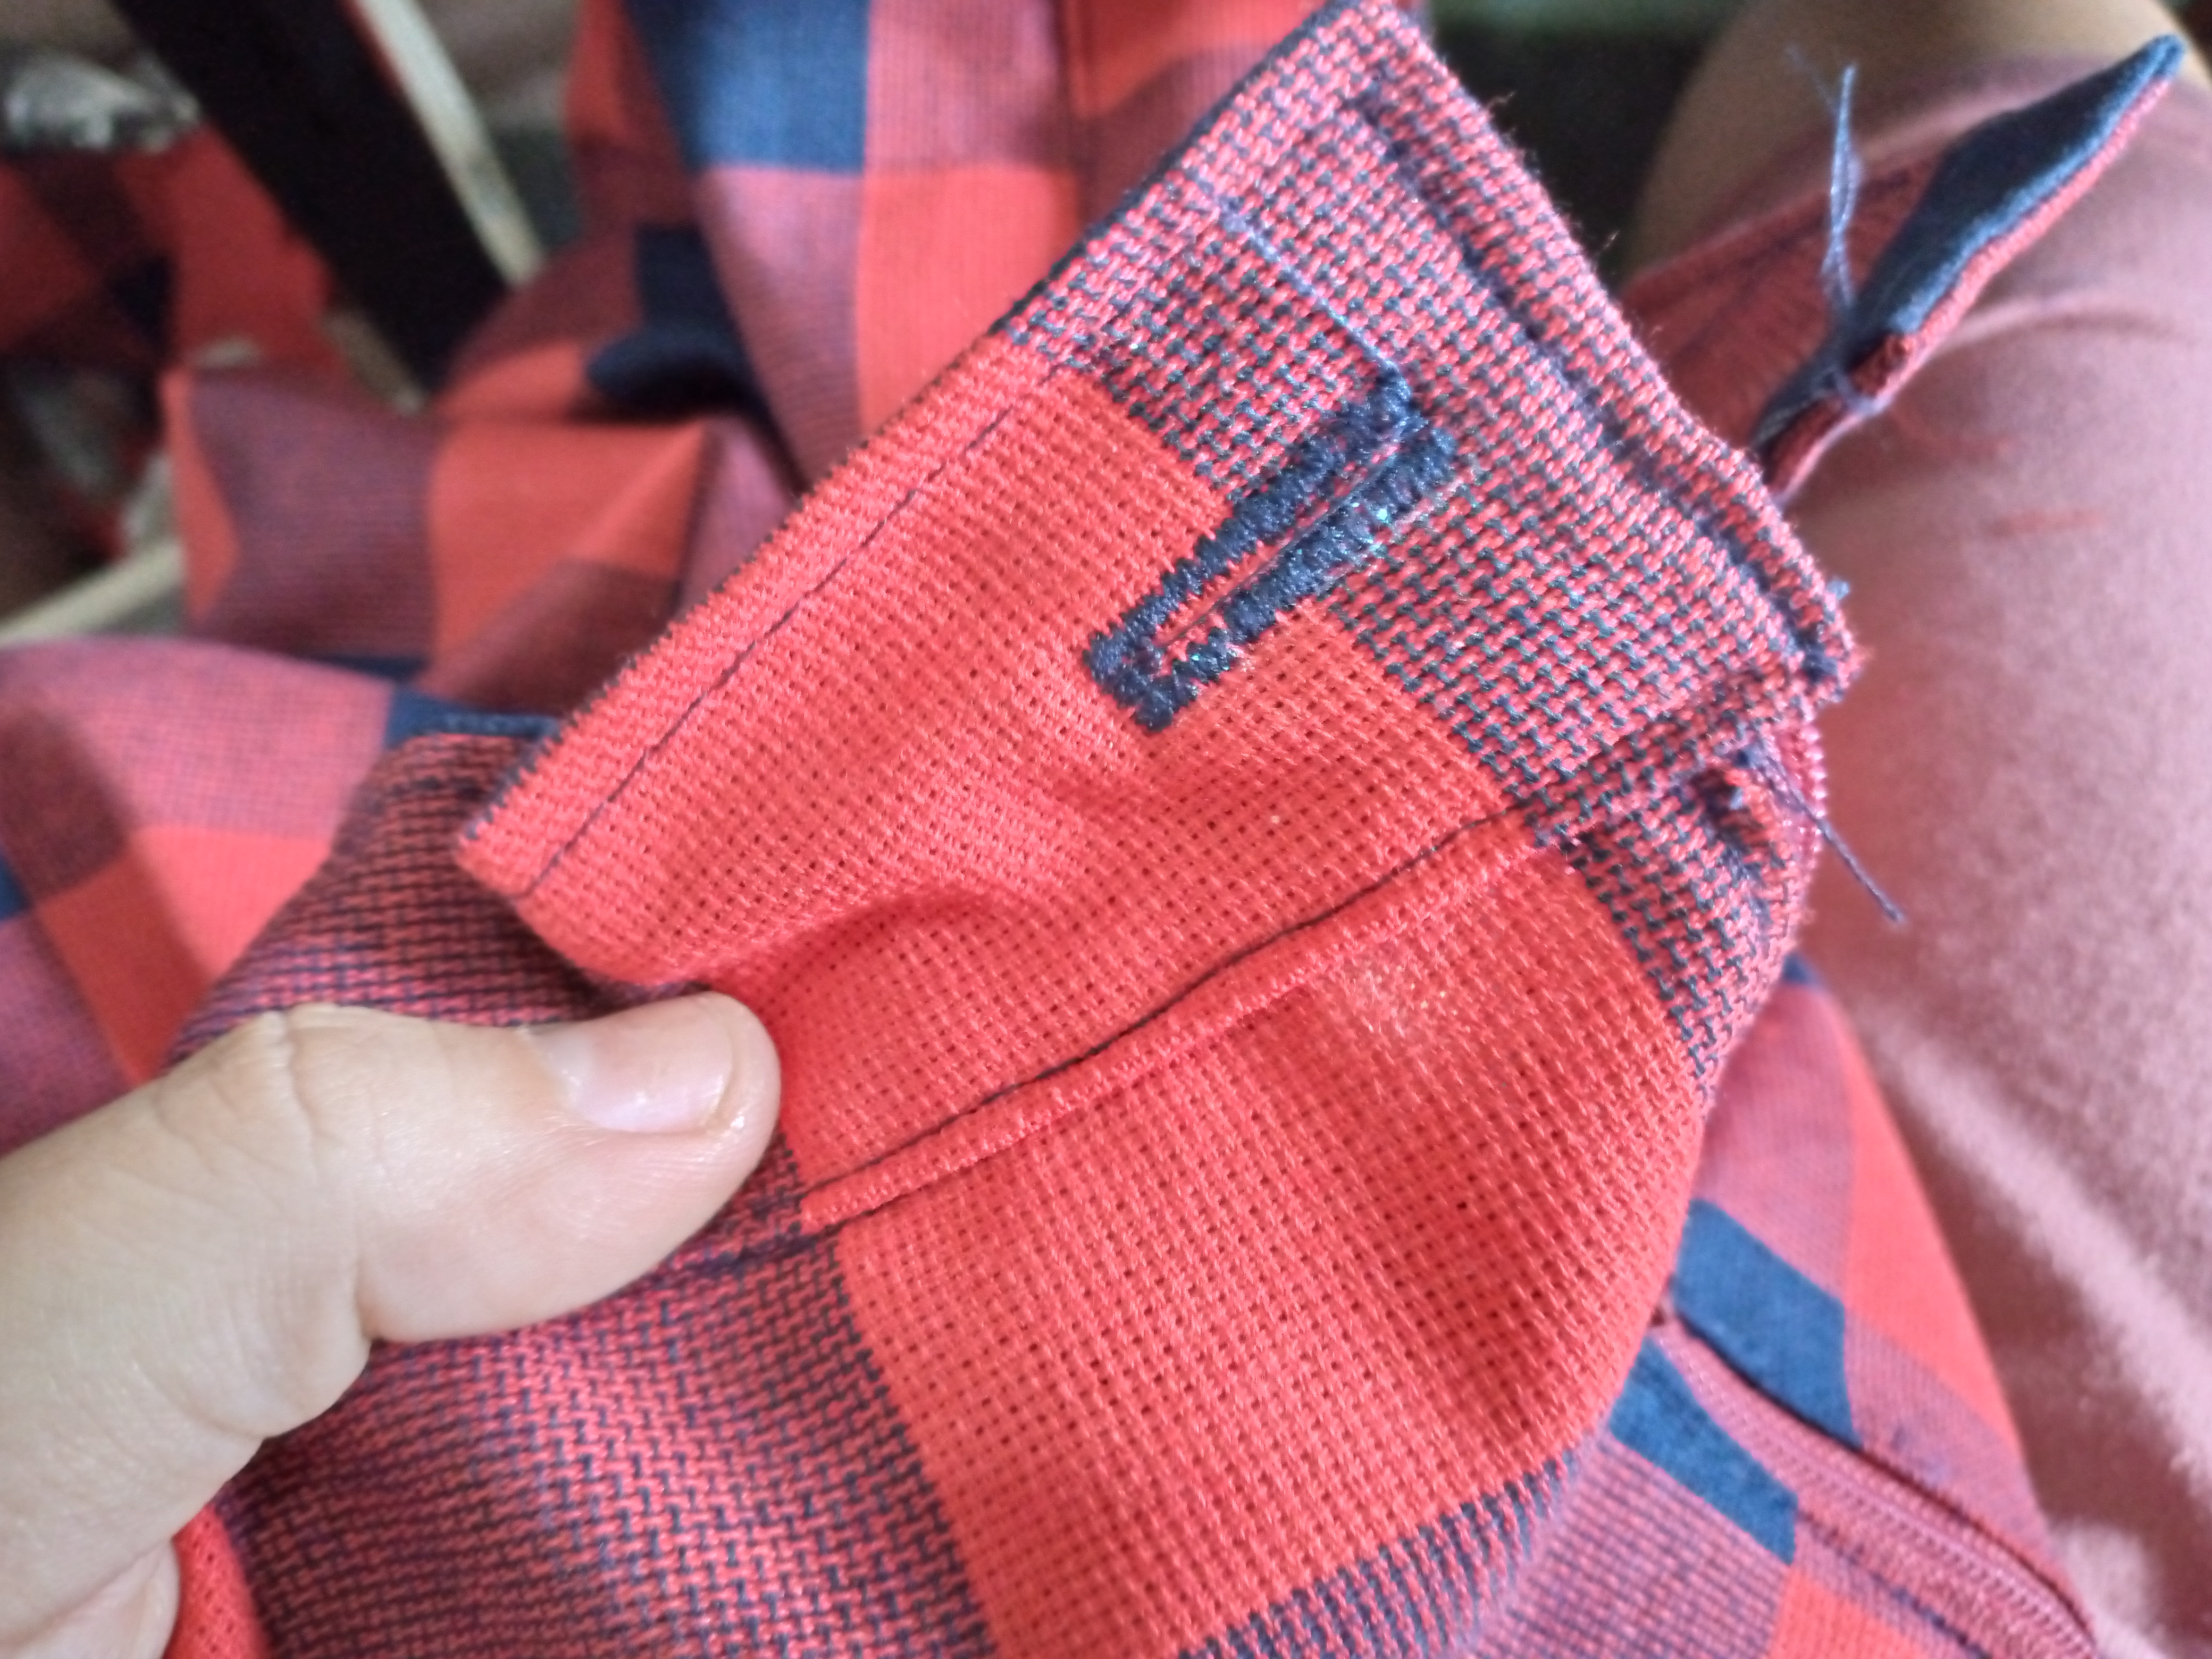
We finish by going over the other edge of our waistband so that it does not fold and it is time to sew our buttonhole on the left side of the skirt, then we sew the hem of about 1 cm down the edge of the skirt and then we sew the button in this way we finish the skirt.
.jpg)
Resultado:// Result:
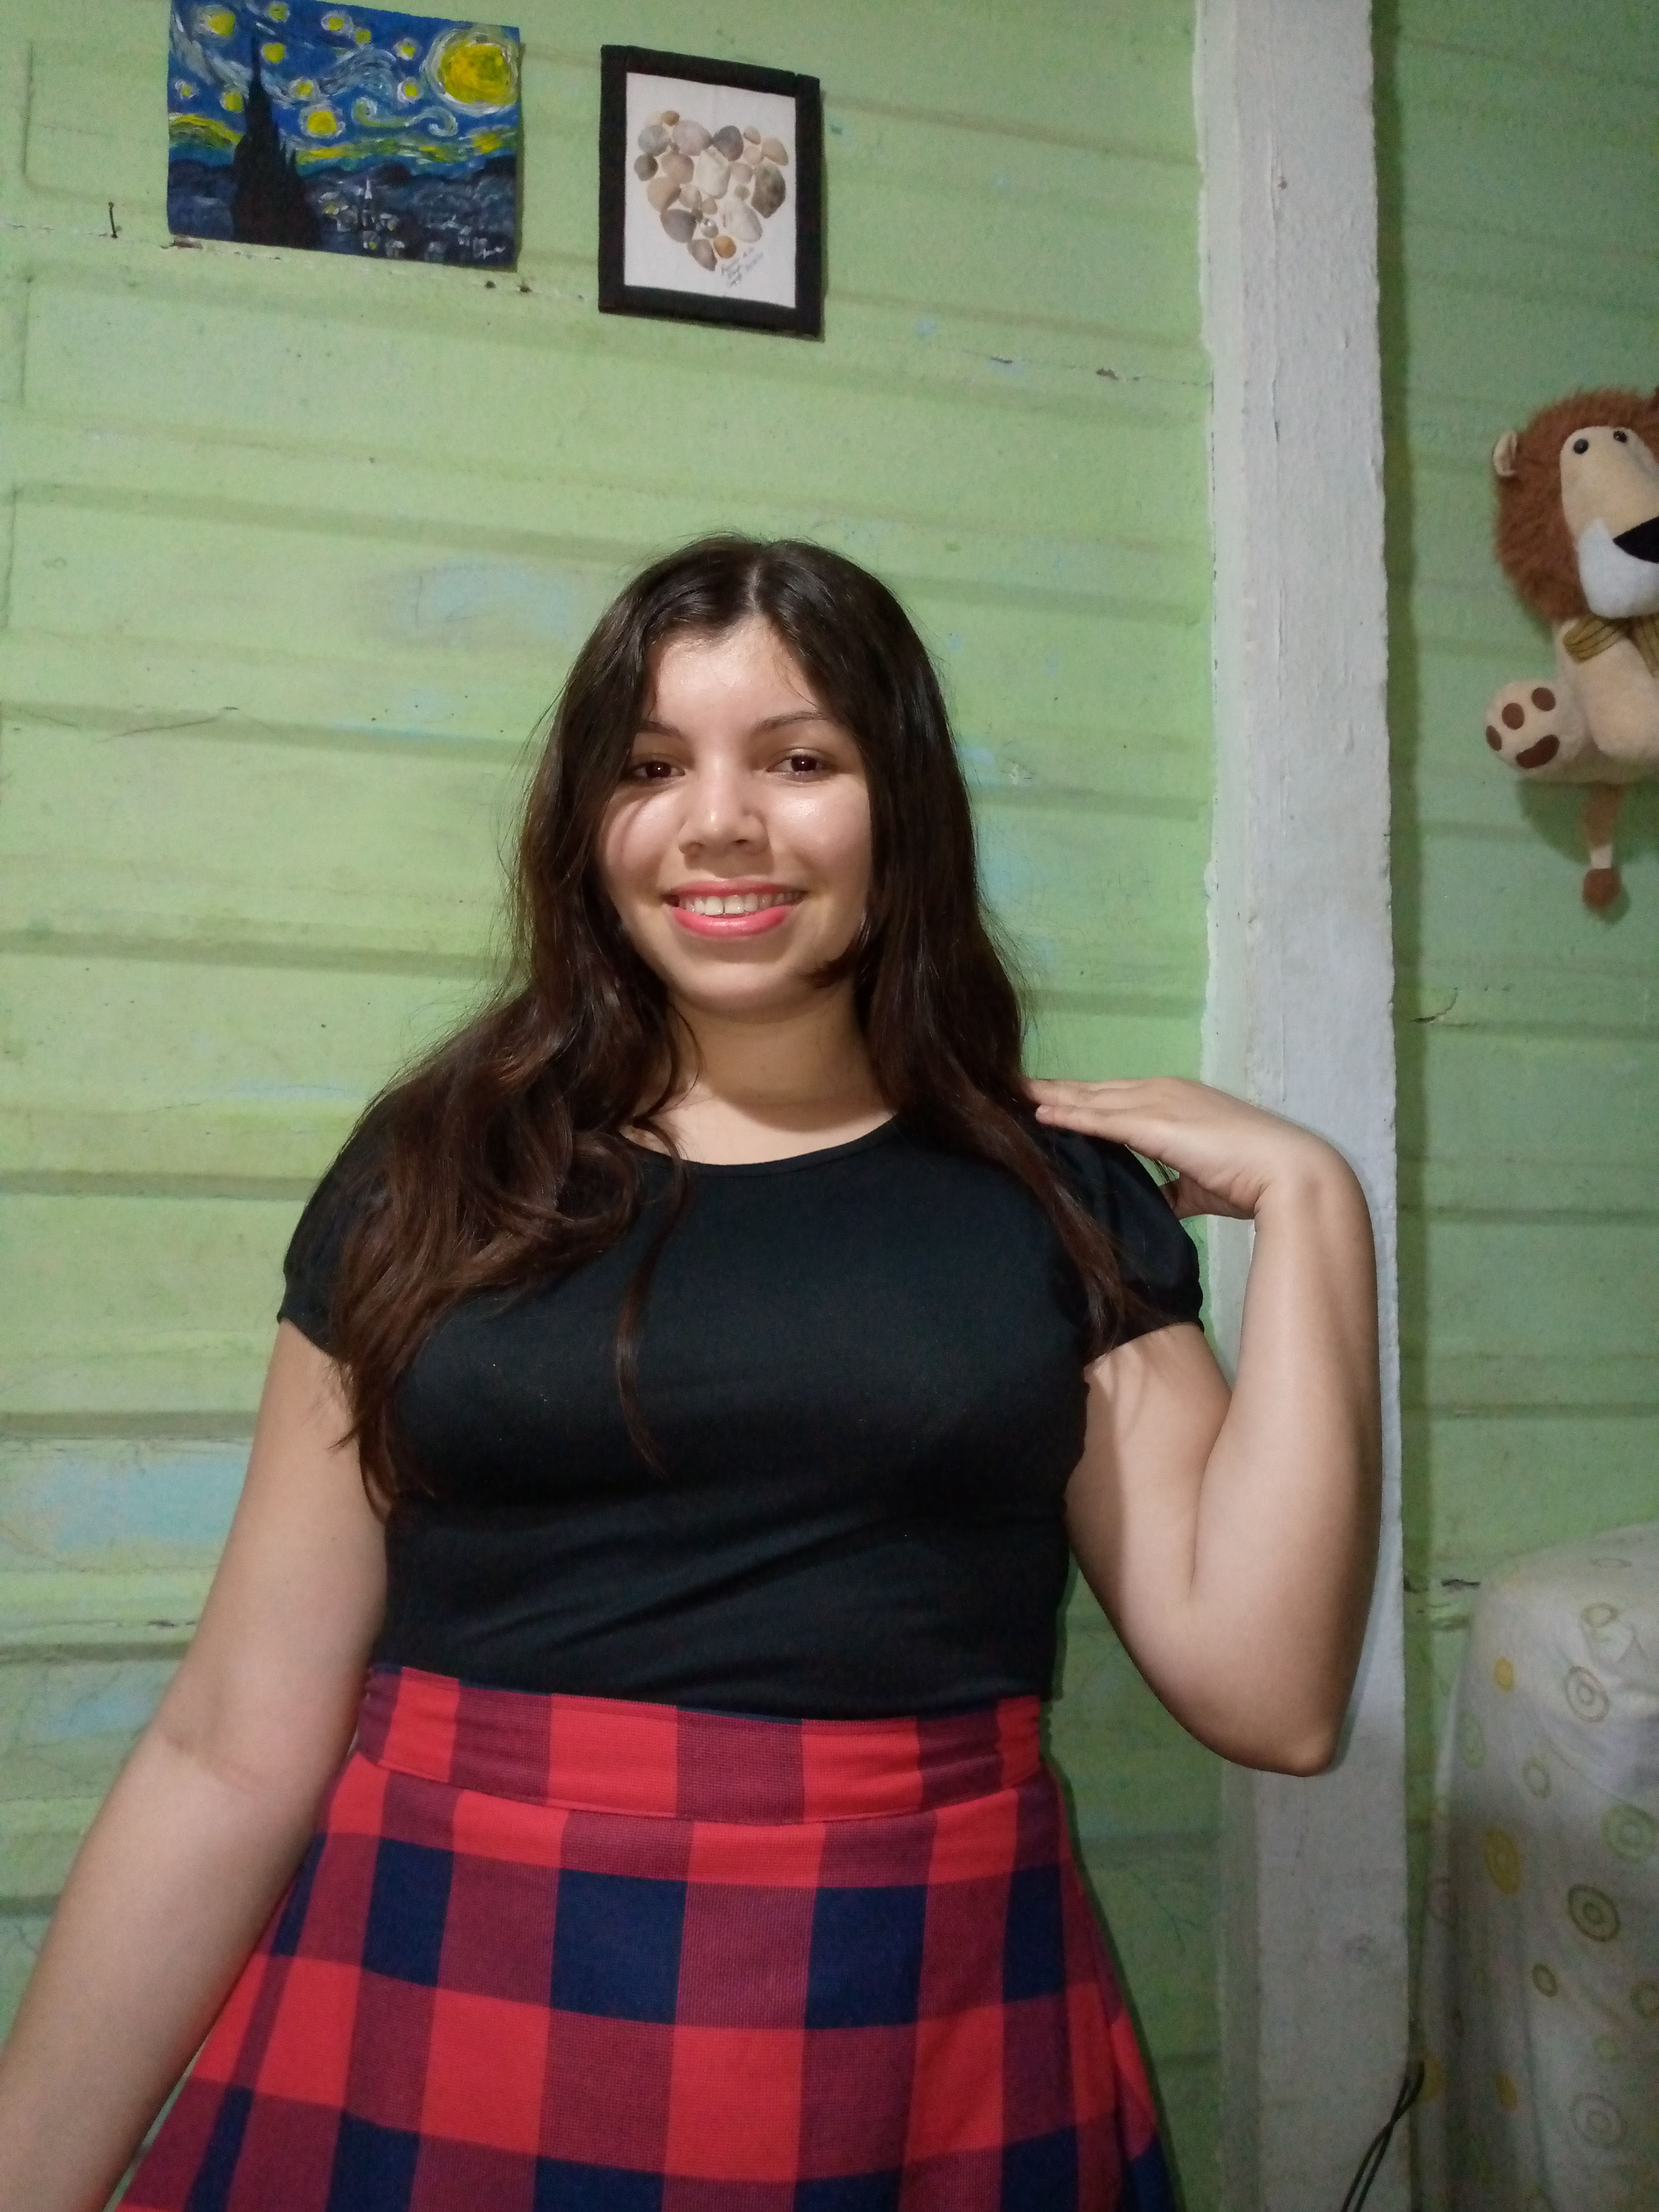
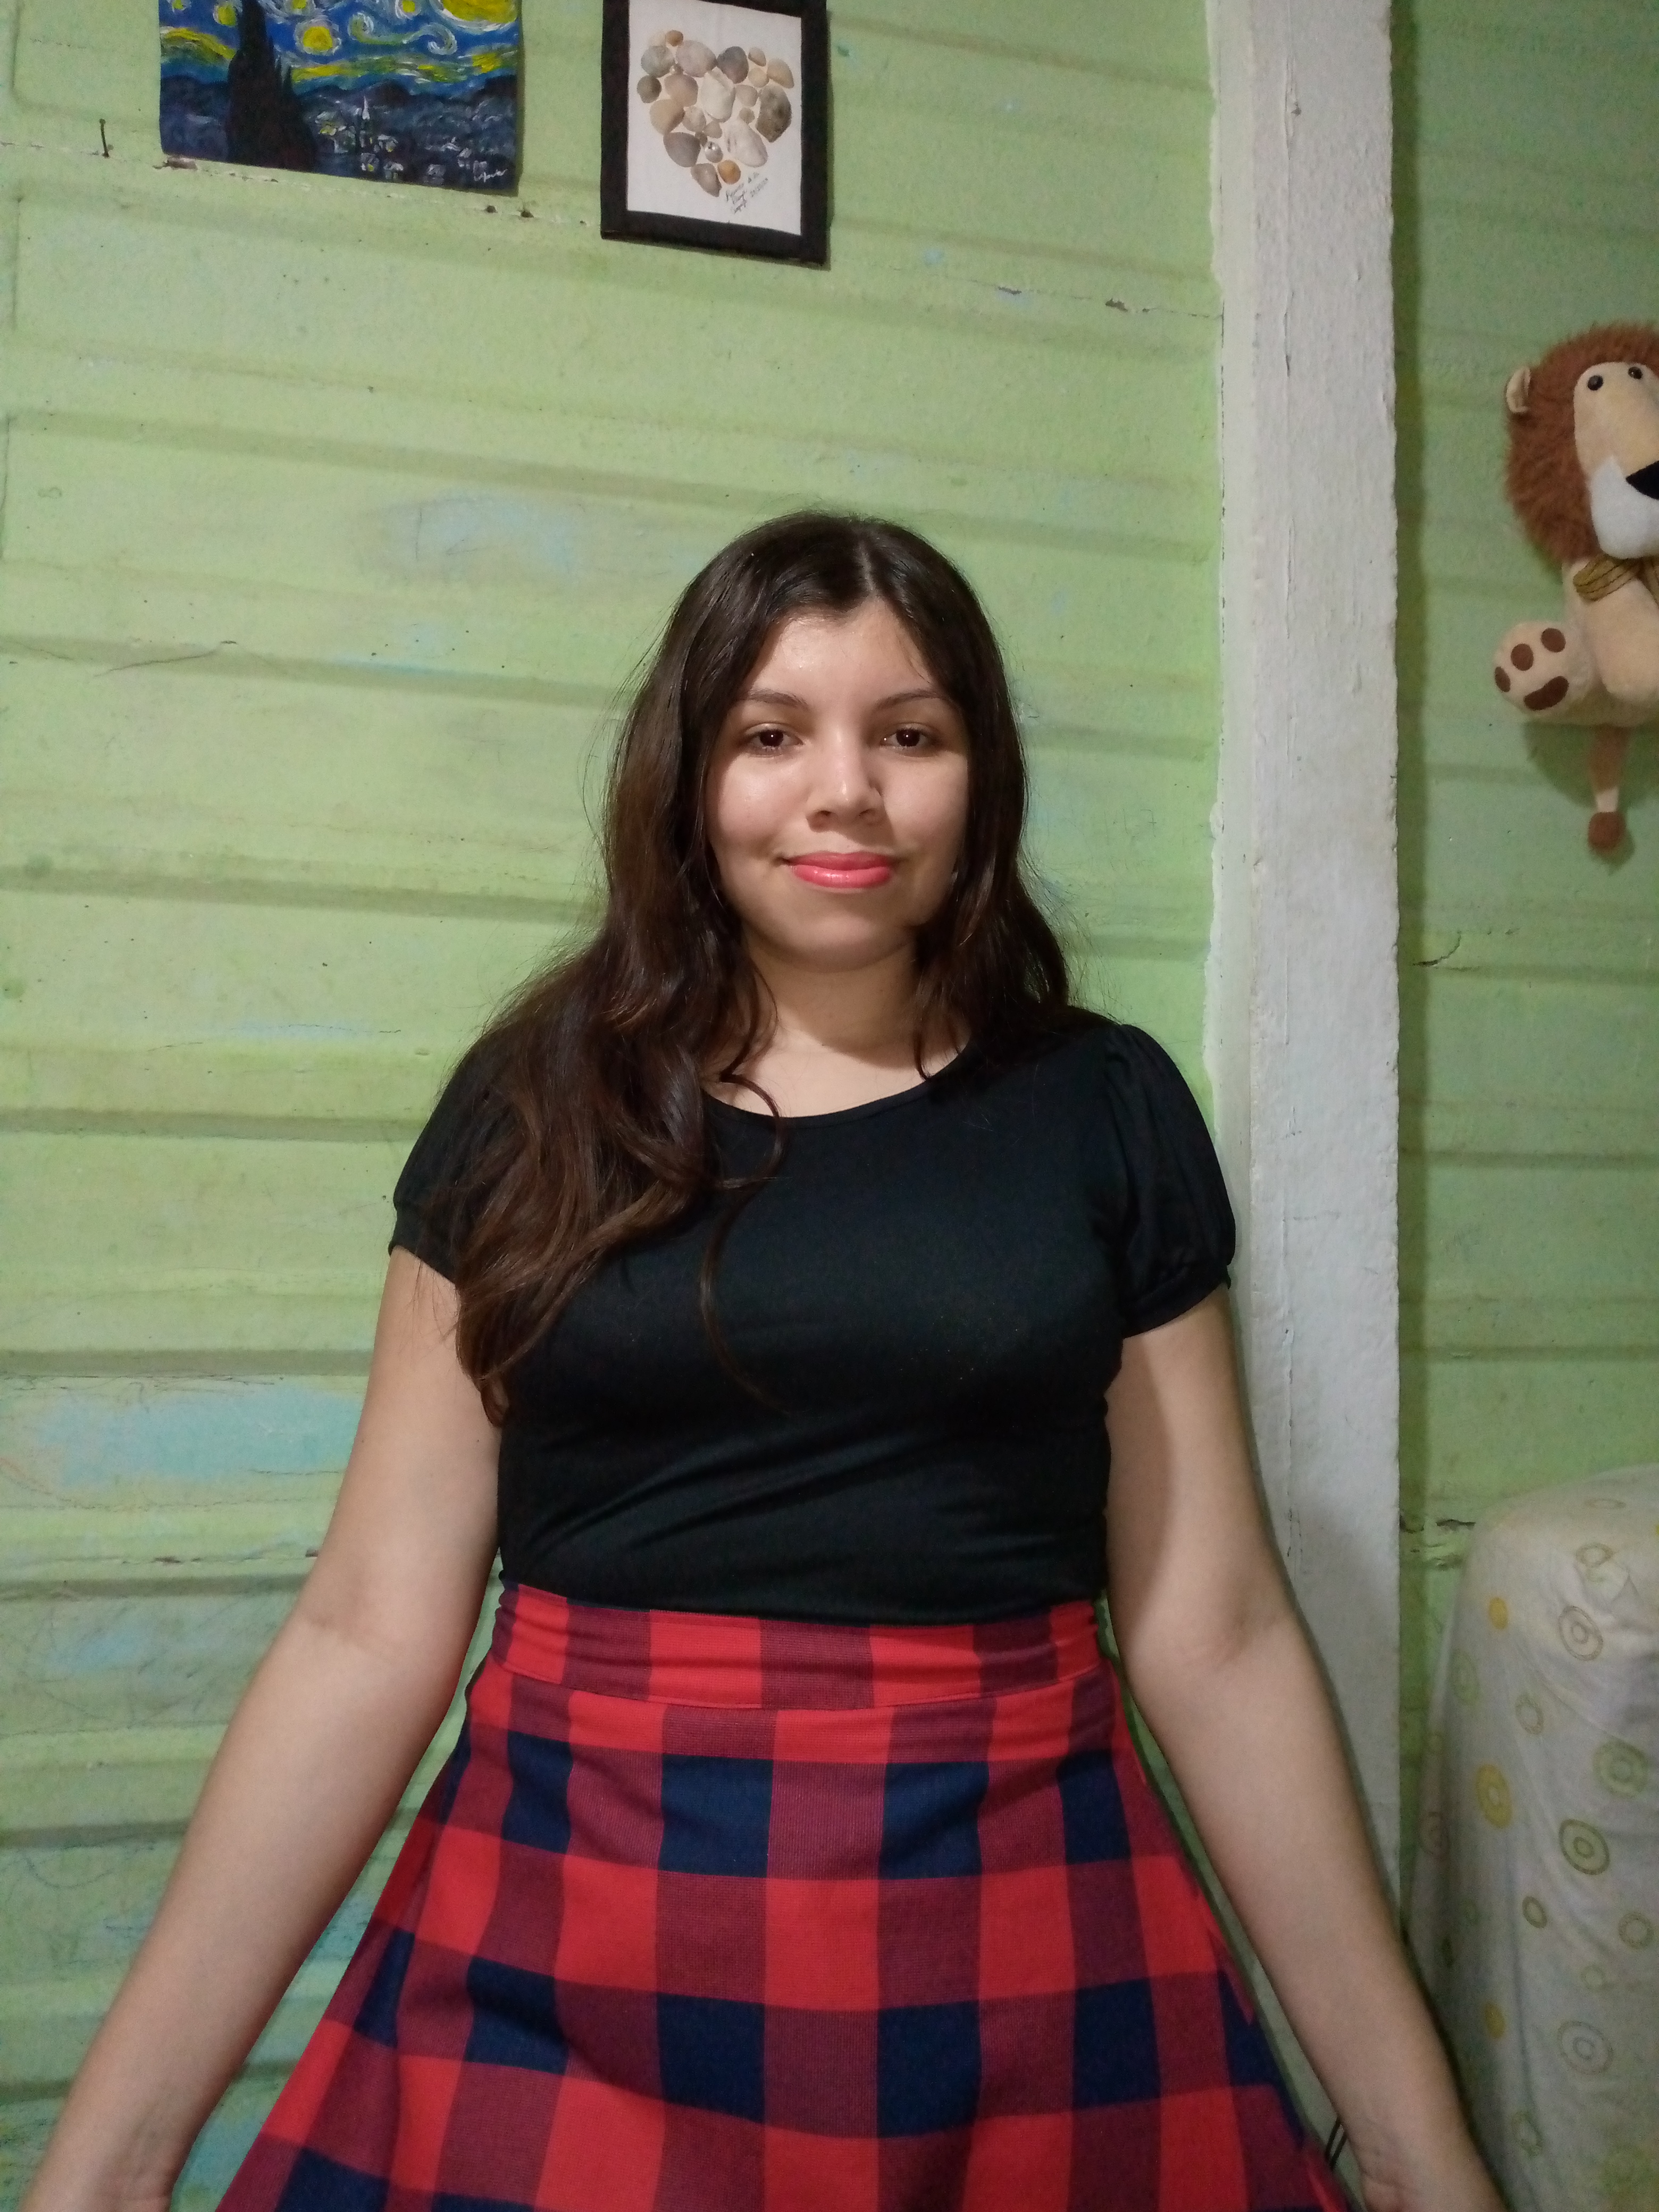
I hope you liked this beautiful skirt and I leave the results here friends, this skirt is very elegant because of the print it has and I plan to use it for meetings on Sundays, the fabric is super fresh and soft, I always recommend making your skirts with this type of fabric because one is more comfortable with this type of garment, thank you for getting to the end of this tutorial and I say goodbye to you, I'll read you in another next blog, see you, greetings and blessings.
.jpg)
.jpg)
Creating things with love 🌷❤️
🦋✨ All the images in this publication are my author ,📱taken with my TecnoSpark8C cell phone |📸Photos edited in PicsArt and Canva. Text translated in Google Translate.
I have always admired Scottish fabrics like the one you have used in making the skirt. It's perfect and fits you well. Thanks for sharing how to.
Thank you very much, my friend, I appreciate your comment.
You have a lot of talent and style to make this skirt model, thank you very much for choosing DIYHub to share it, your step by step pictures are an example to follow...
Good afternoon, thank you very much, I'm glad to know that, what a good comment from you, greetings
Améeee! Sobre todo la tela. ❤️ Gracias por el tutorial tan bien explicado, linda. 🌻✨
Muchas gracias amiga esa tela es hermosa y muy suave de muy buena calidad yo amo estas telas de cuadros por esa misma razón 😇
Greetings friend, it is very good your step by step of making this colorful skirt, we appreciate the great effort to create quality content for DIYHub Community.
Thanks @diyhub for support 👋🏻🥰
está bonito, buen trabajo!
it's nice, good job!
Que tal amiga gracias es bueno saber que te ha gustado ☺️
¡Felicitaciones!
Estás participando para optar a la mención especial que se efectuará el domingo 5 de enero del 2025 a las 8:00 pm (hora de Venezuela), gracias a la cual el autor del artículo seleccionado recibirá la cantidad de 1 HIVE transferida a su cuenta.
¡También has recibido 1 ENTROKEN! El token del PROYECTO ENTROPÍA impulsado por la plataforma Steem-Engine.
1. Invierte en el PROYECTO ENTROPÍA y recibe ganancias semanalmente. Entra aquí para más información.
2. Contáctanos en Discord: https://discord.gg/hkCjFeb
3. Suscríbete a nuestra COMUNIDADEntra aquí para más información sobre nuestro trail. y apoya al trail de @Entropia y así podrás ganar recompensas de curación de forma automática.
4. Visita nuestro canal de Youtube.
Atentamente
El equipo de curación del PROYECTO ENTROPÍA