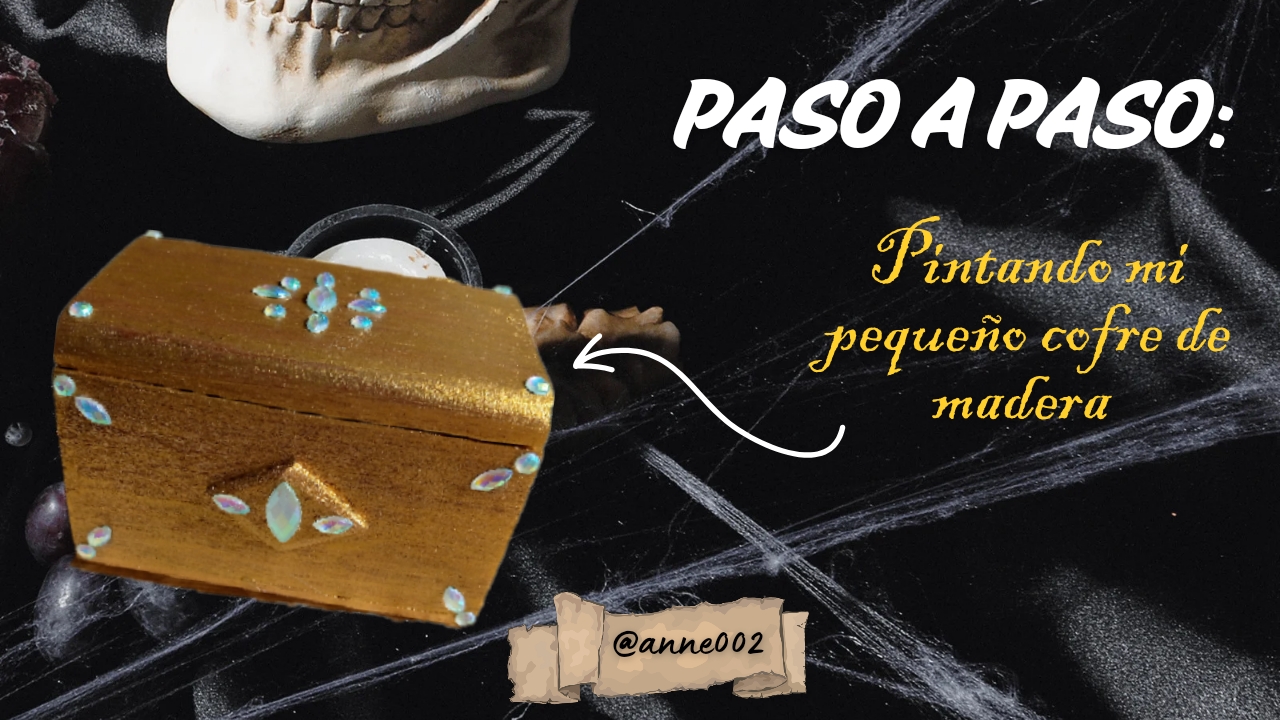
I had a wooden chest at home that my uncle gave me a few months ago. It is very small and I feel that it can be used to store collectibles such as coins, seashells and earrings. I like it because I can store those types of things and it also fits in any space where I put it. Today we will be giving it a little touch-up. We are going to transform it and paint it with one of those metallic gold paints that you can get in craft stores and thus give a new life to this little chest.
.jpg)
We will use some shiny stones that I had here at home also that are used for artistic makeup and that we will be using to put some details on it, I wanted to do it as a theme of those chests that appear in pirate movies but the truth is I couldn't get black paint only in this color, I feel that it doesn't look like a pirate chest but the gold one does give it that effect a little, so in this step by step we are going to be remodeling it and you will tell me what you think🤭, with this I welcome you to a new blog to a new tutorial and feel comfortable that we will begin with the hands on work below.
.jpg)
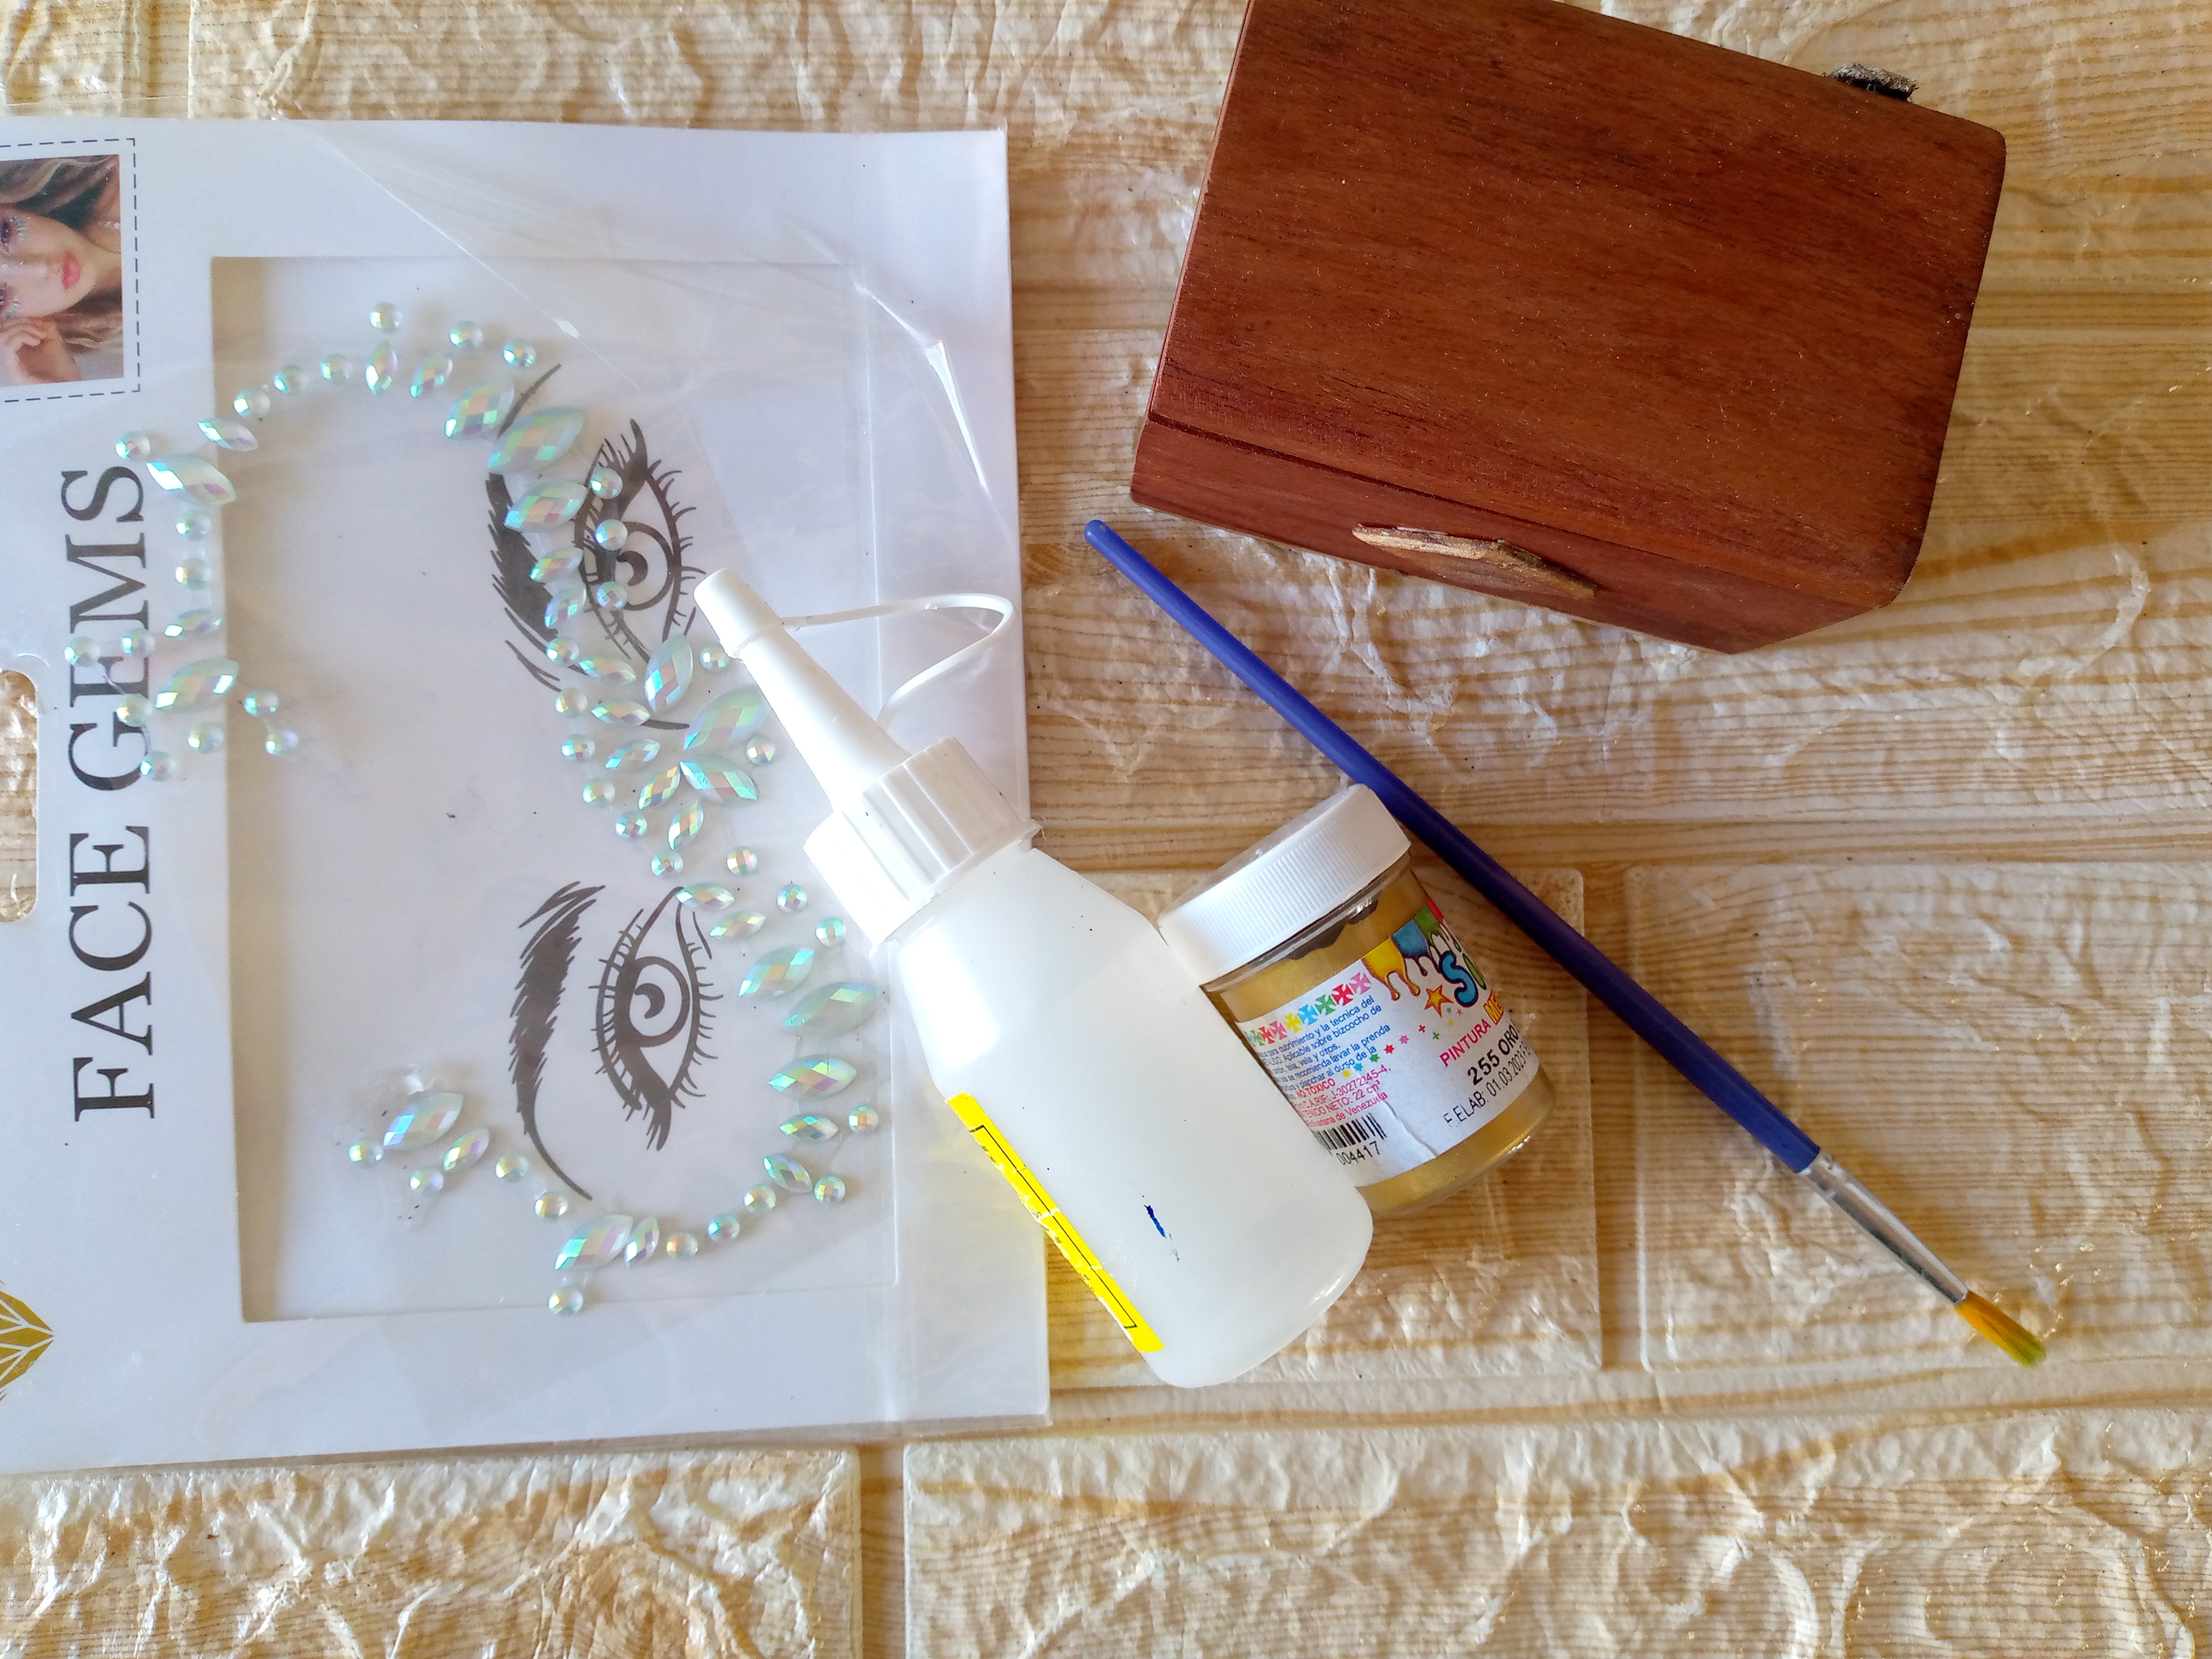
Materiales:// Materials:
- Pintura dorada tipo metalizada
- Piedritas brillantes de decoración
- Pinceles no tan gruesos
- Silicón
- Y nuestro cofre a pintar en este caso lo tenía así con la textura de madera sin ningun adorno
- Metallic gold paint
- Shiny decorative stones
- Not so thick brushes
- Silicone
- And in this case, I had our chest to paint like this with the wood texture without any decoration
.jpg)
Pasos a seguir://Steps to follow:

Paso 01
Step 01
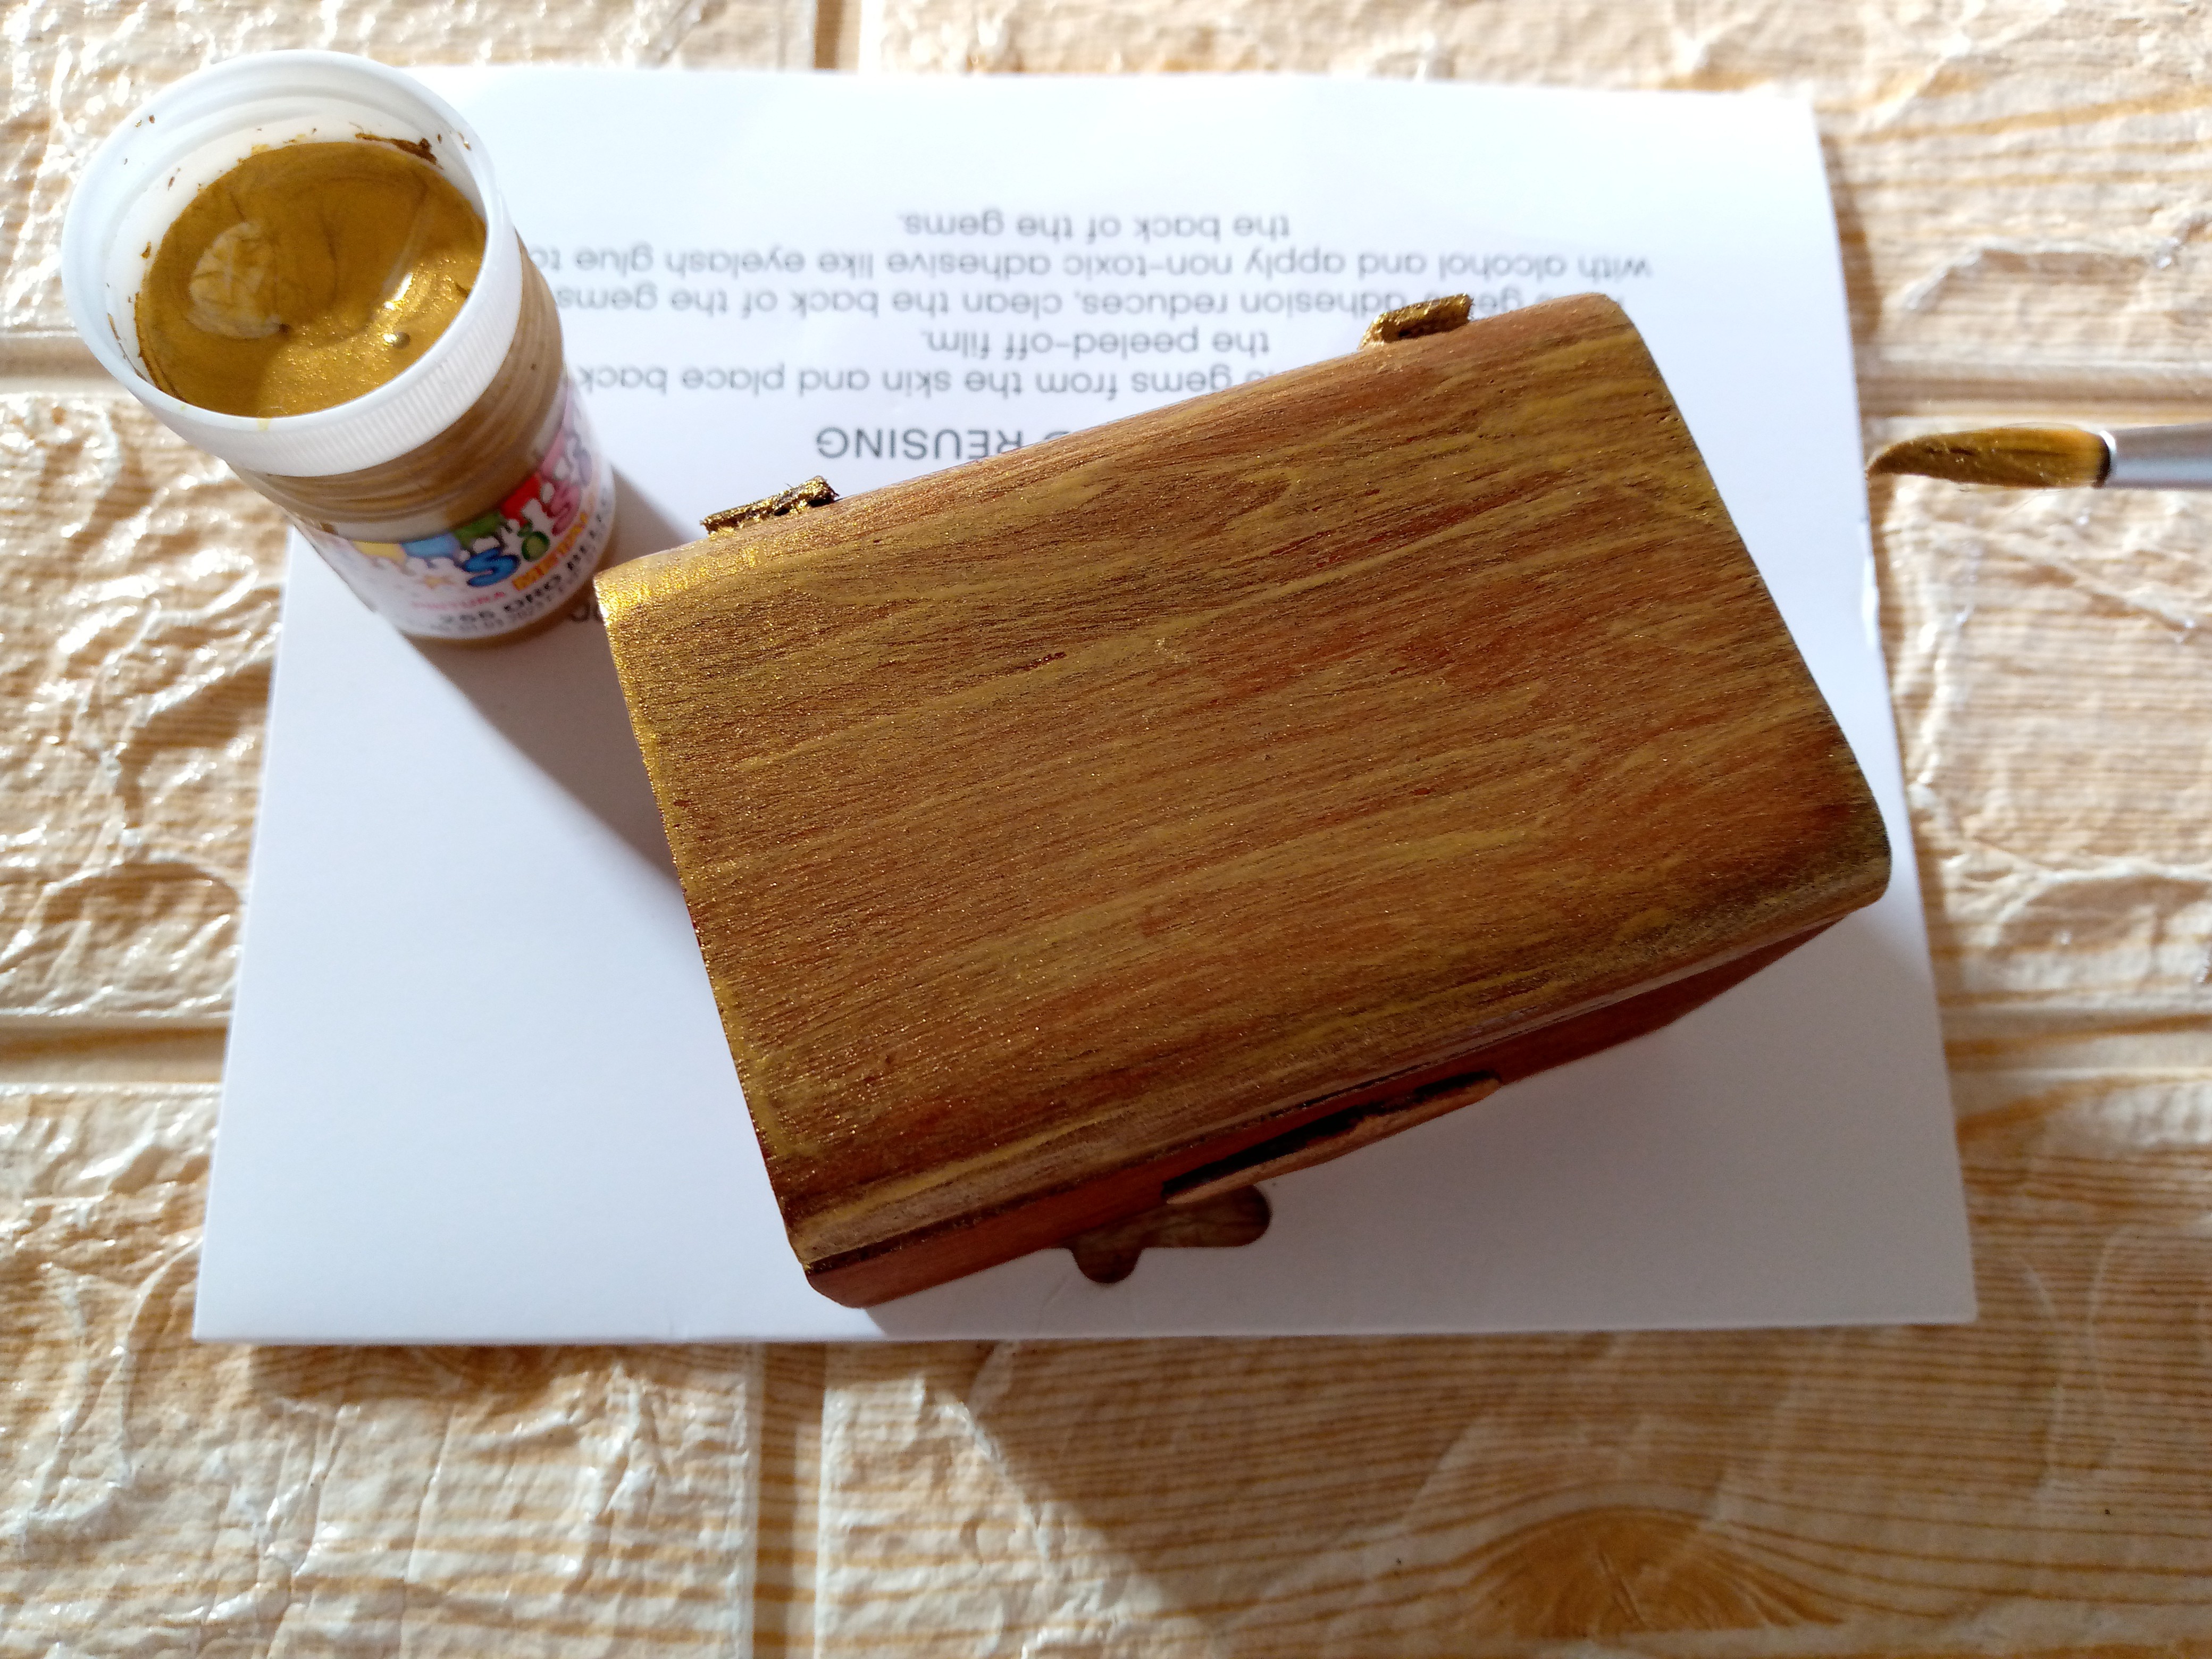
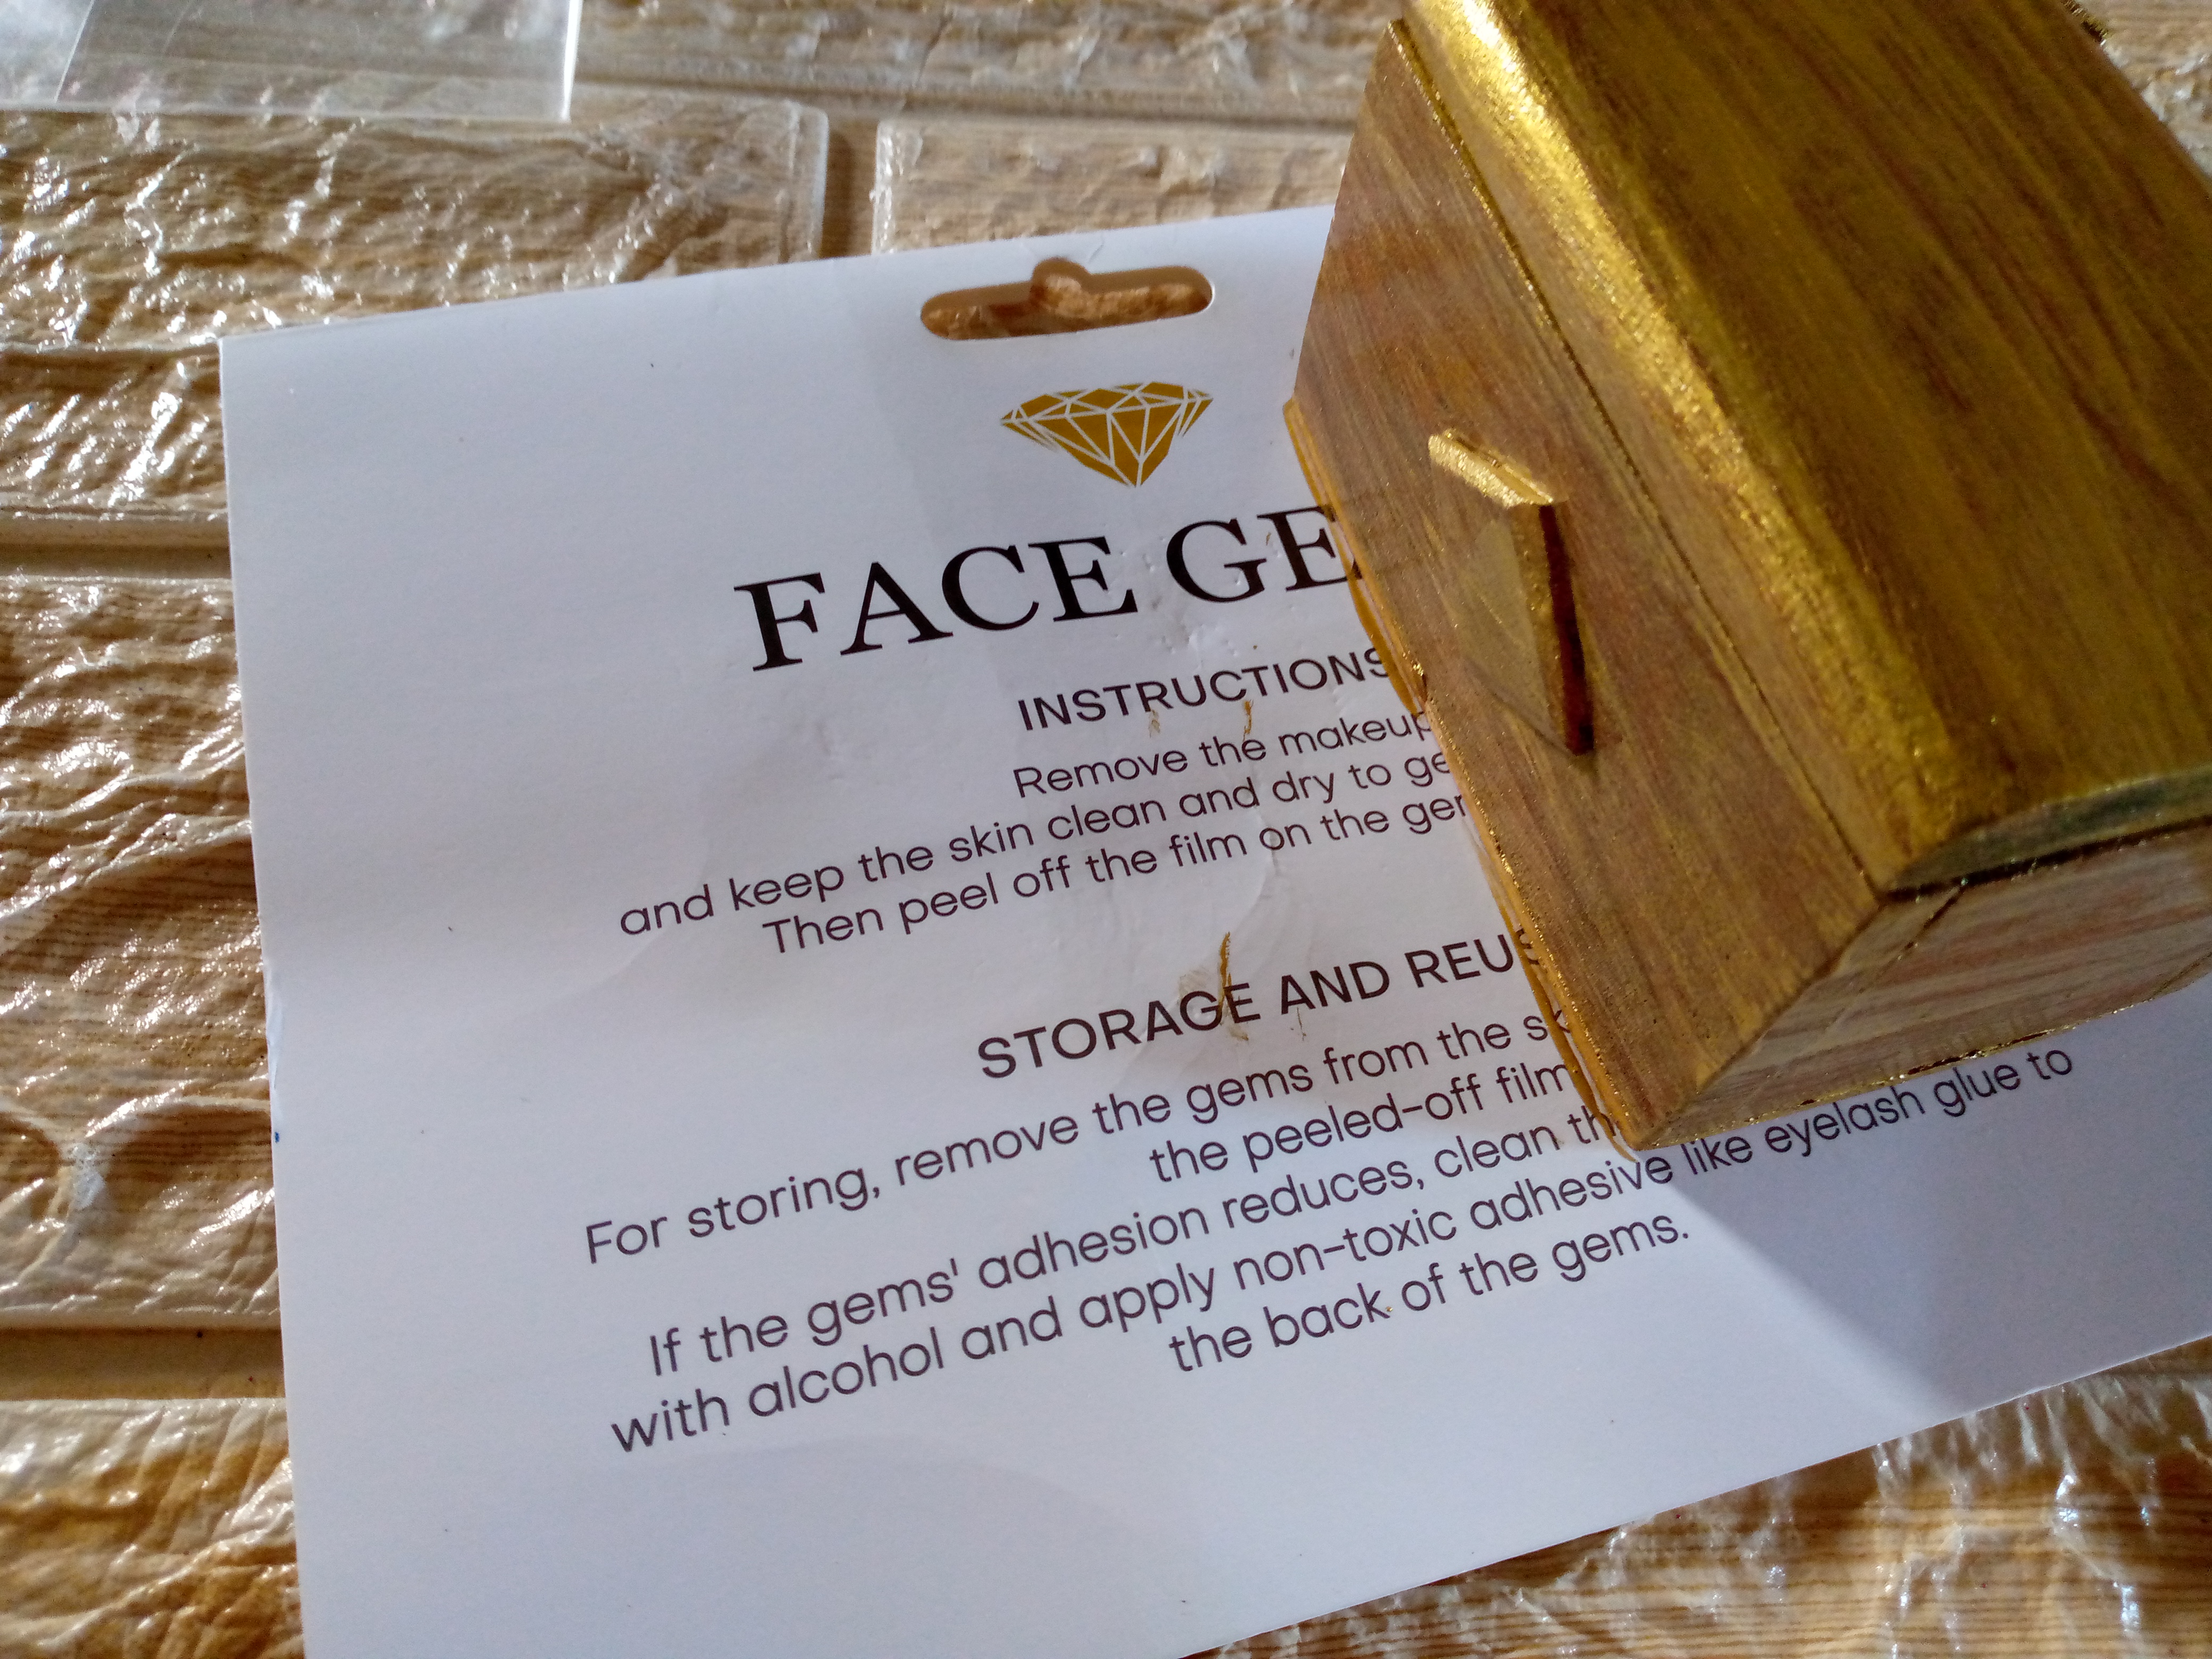
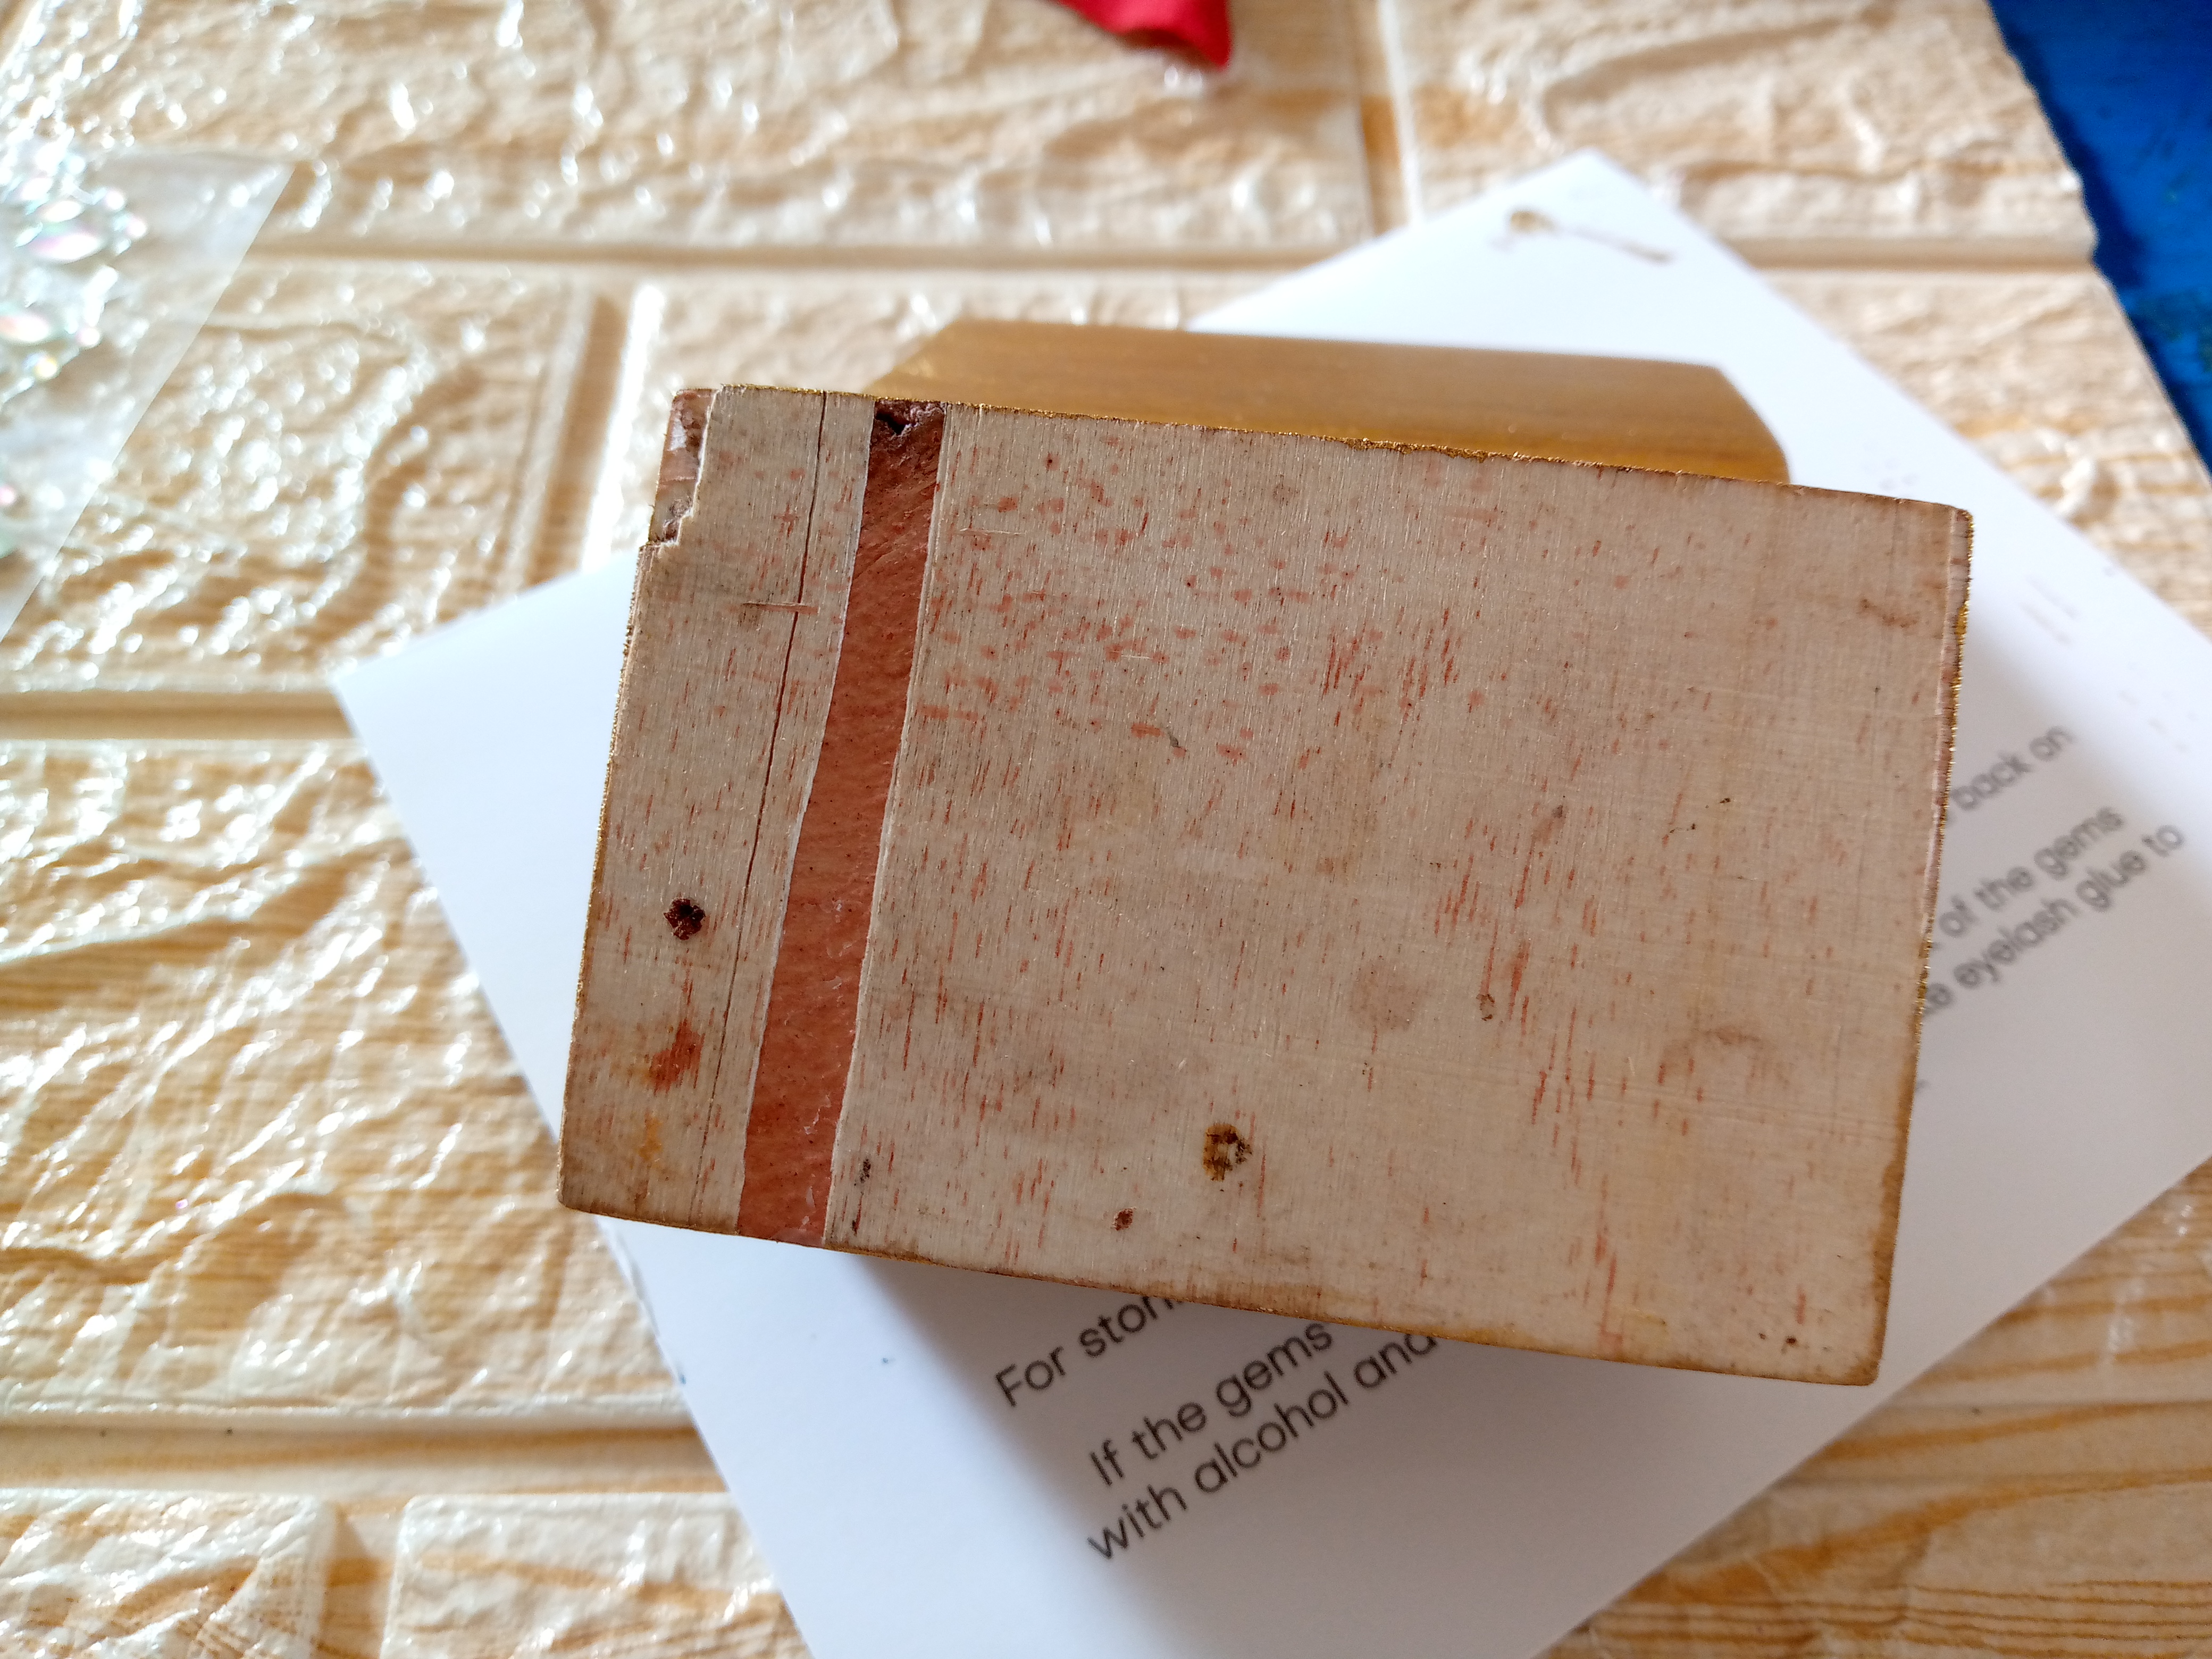
The first thing I did was paint the front view of my chest, as I mentioned I only had the wood and since this wood was smooth it was advisable to paint two layers, so I started with the first one I will paint the top, the edges of the sides and I could not forget to paint the side views of the lid, remember to paint everything with the first coat of paint, especially the surface since later we will paint with a second coat, if you are thinking of remodeling an object that you see that the paint does not adhere well, I recommend applying three coats, let the first one dry, apply the other, let it dry and finally add the last coat, it's that simple friends, this will make the surface of our object have the paint well integrated and the background that we want to cover will not be visible.

Paso 02
Step 02
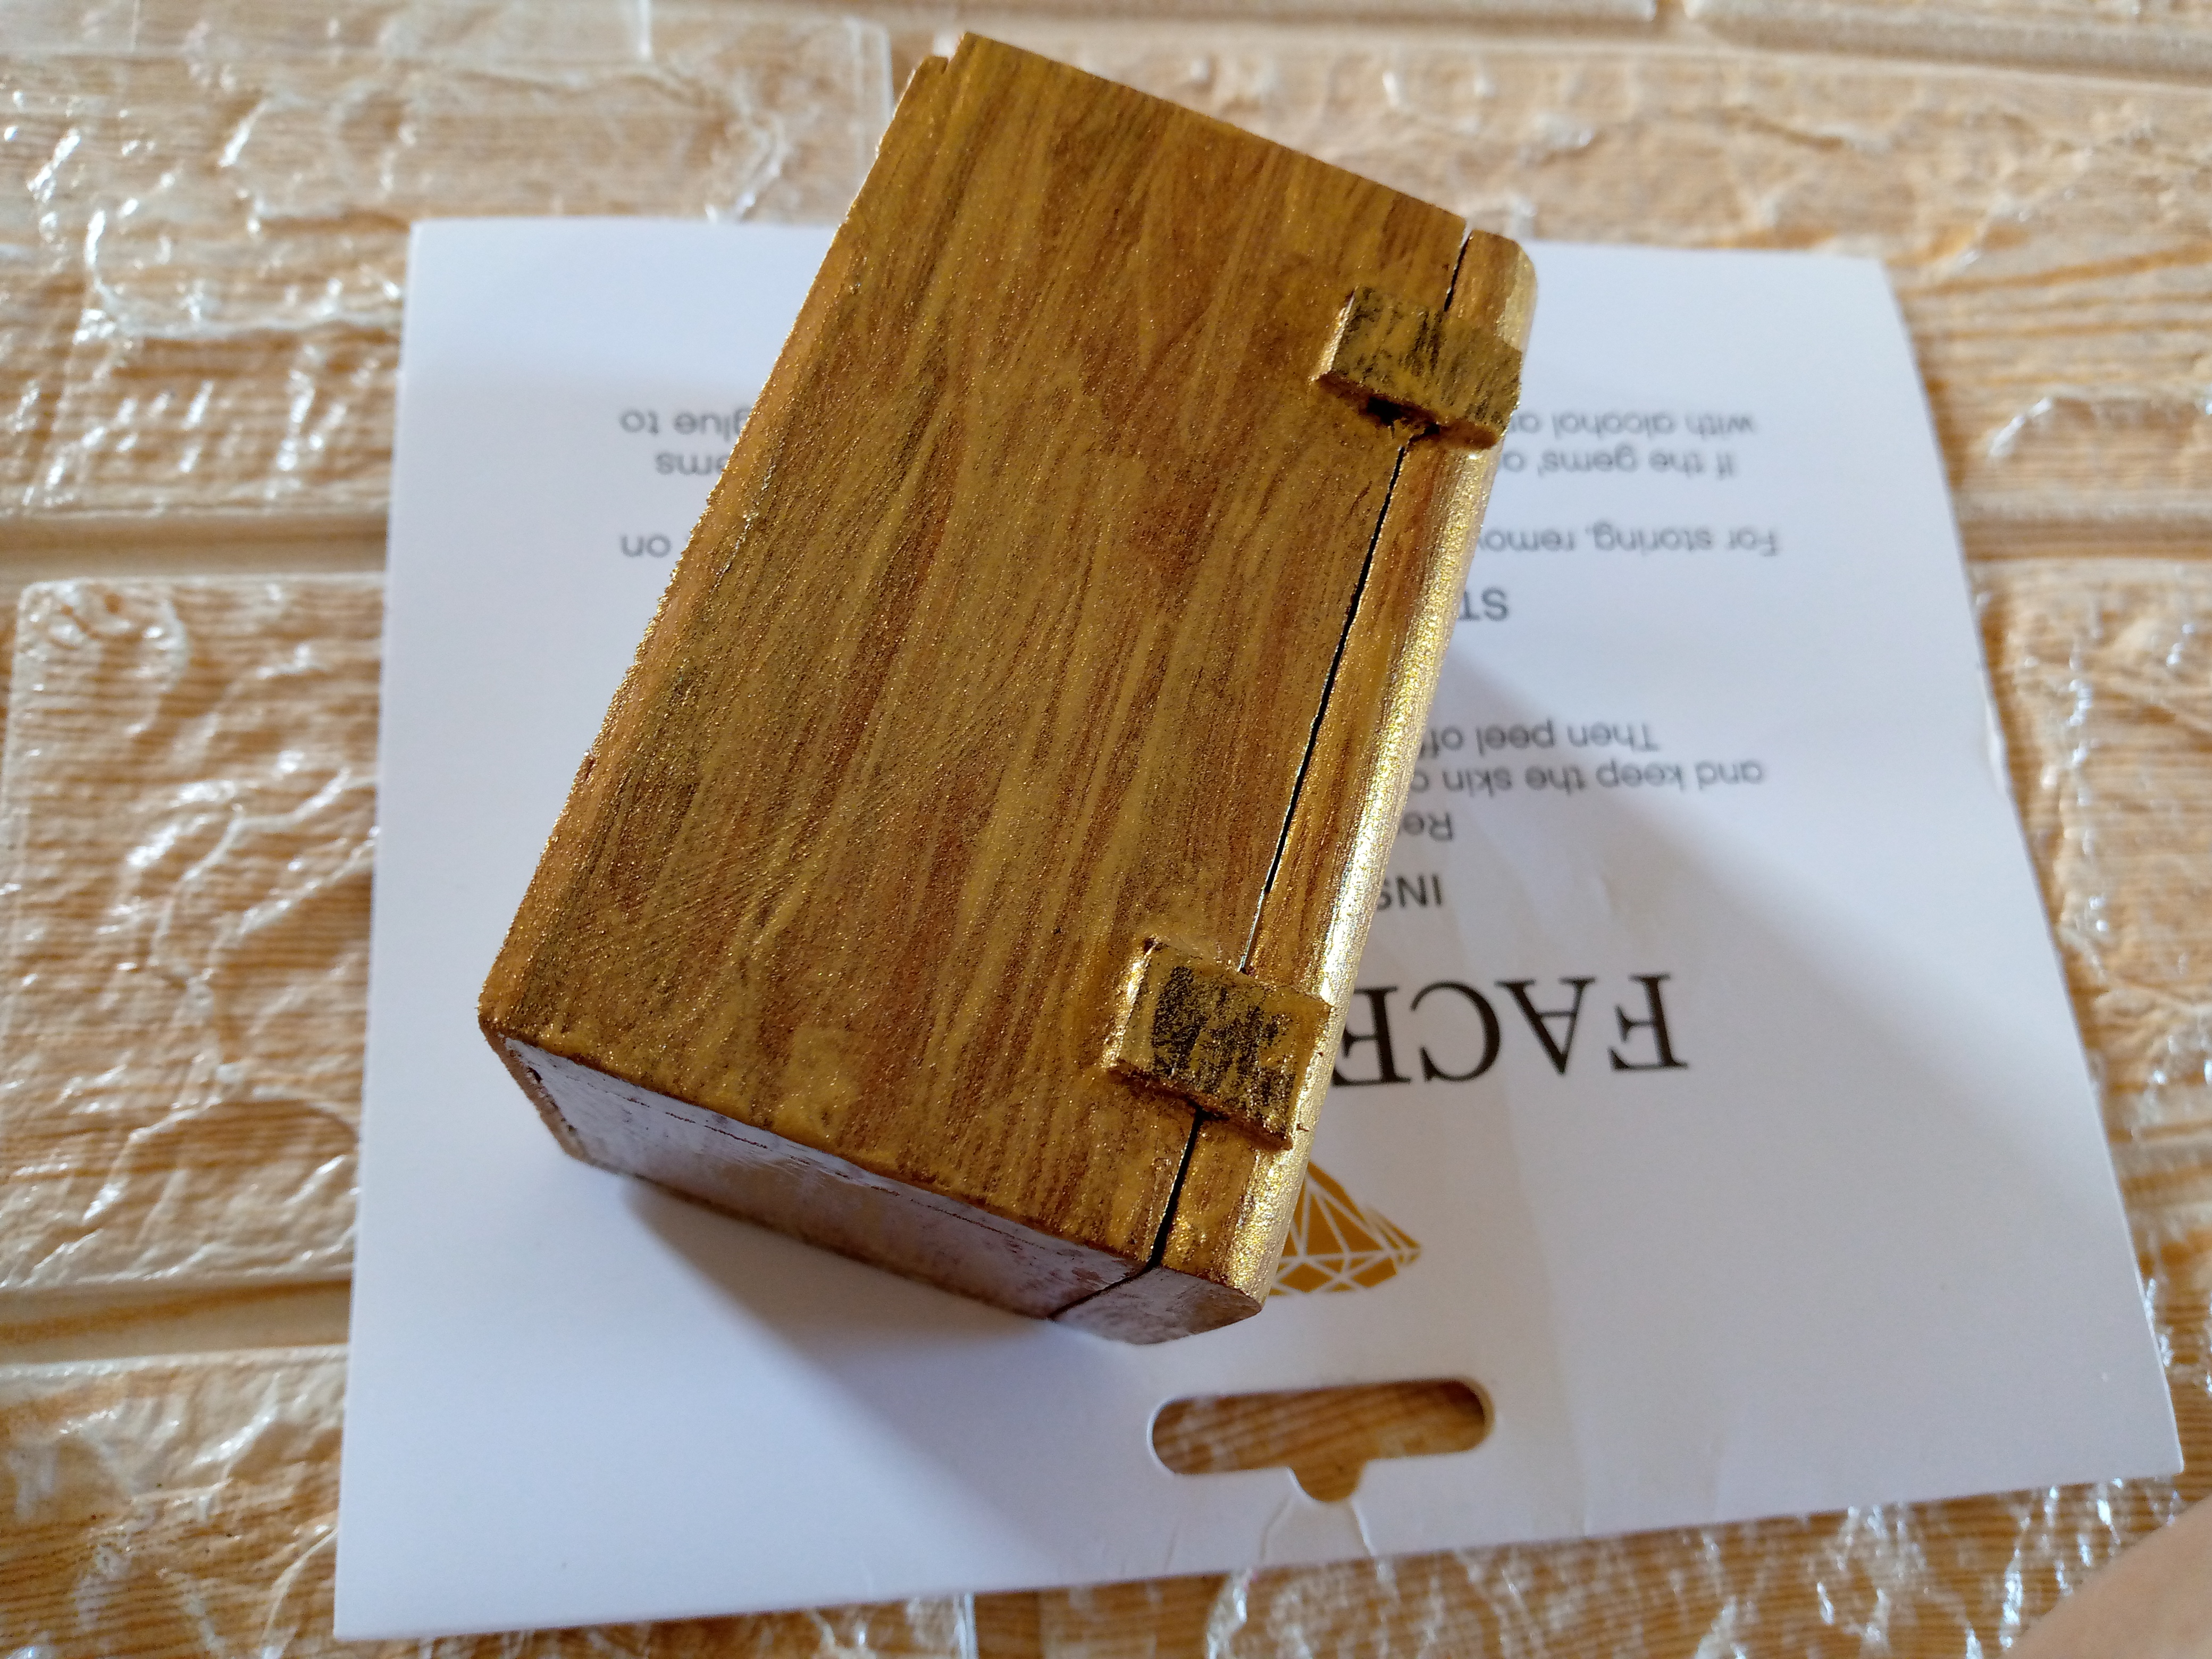
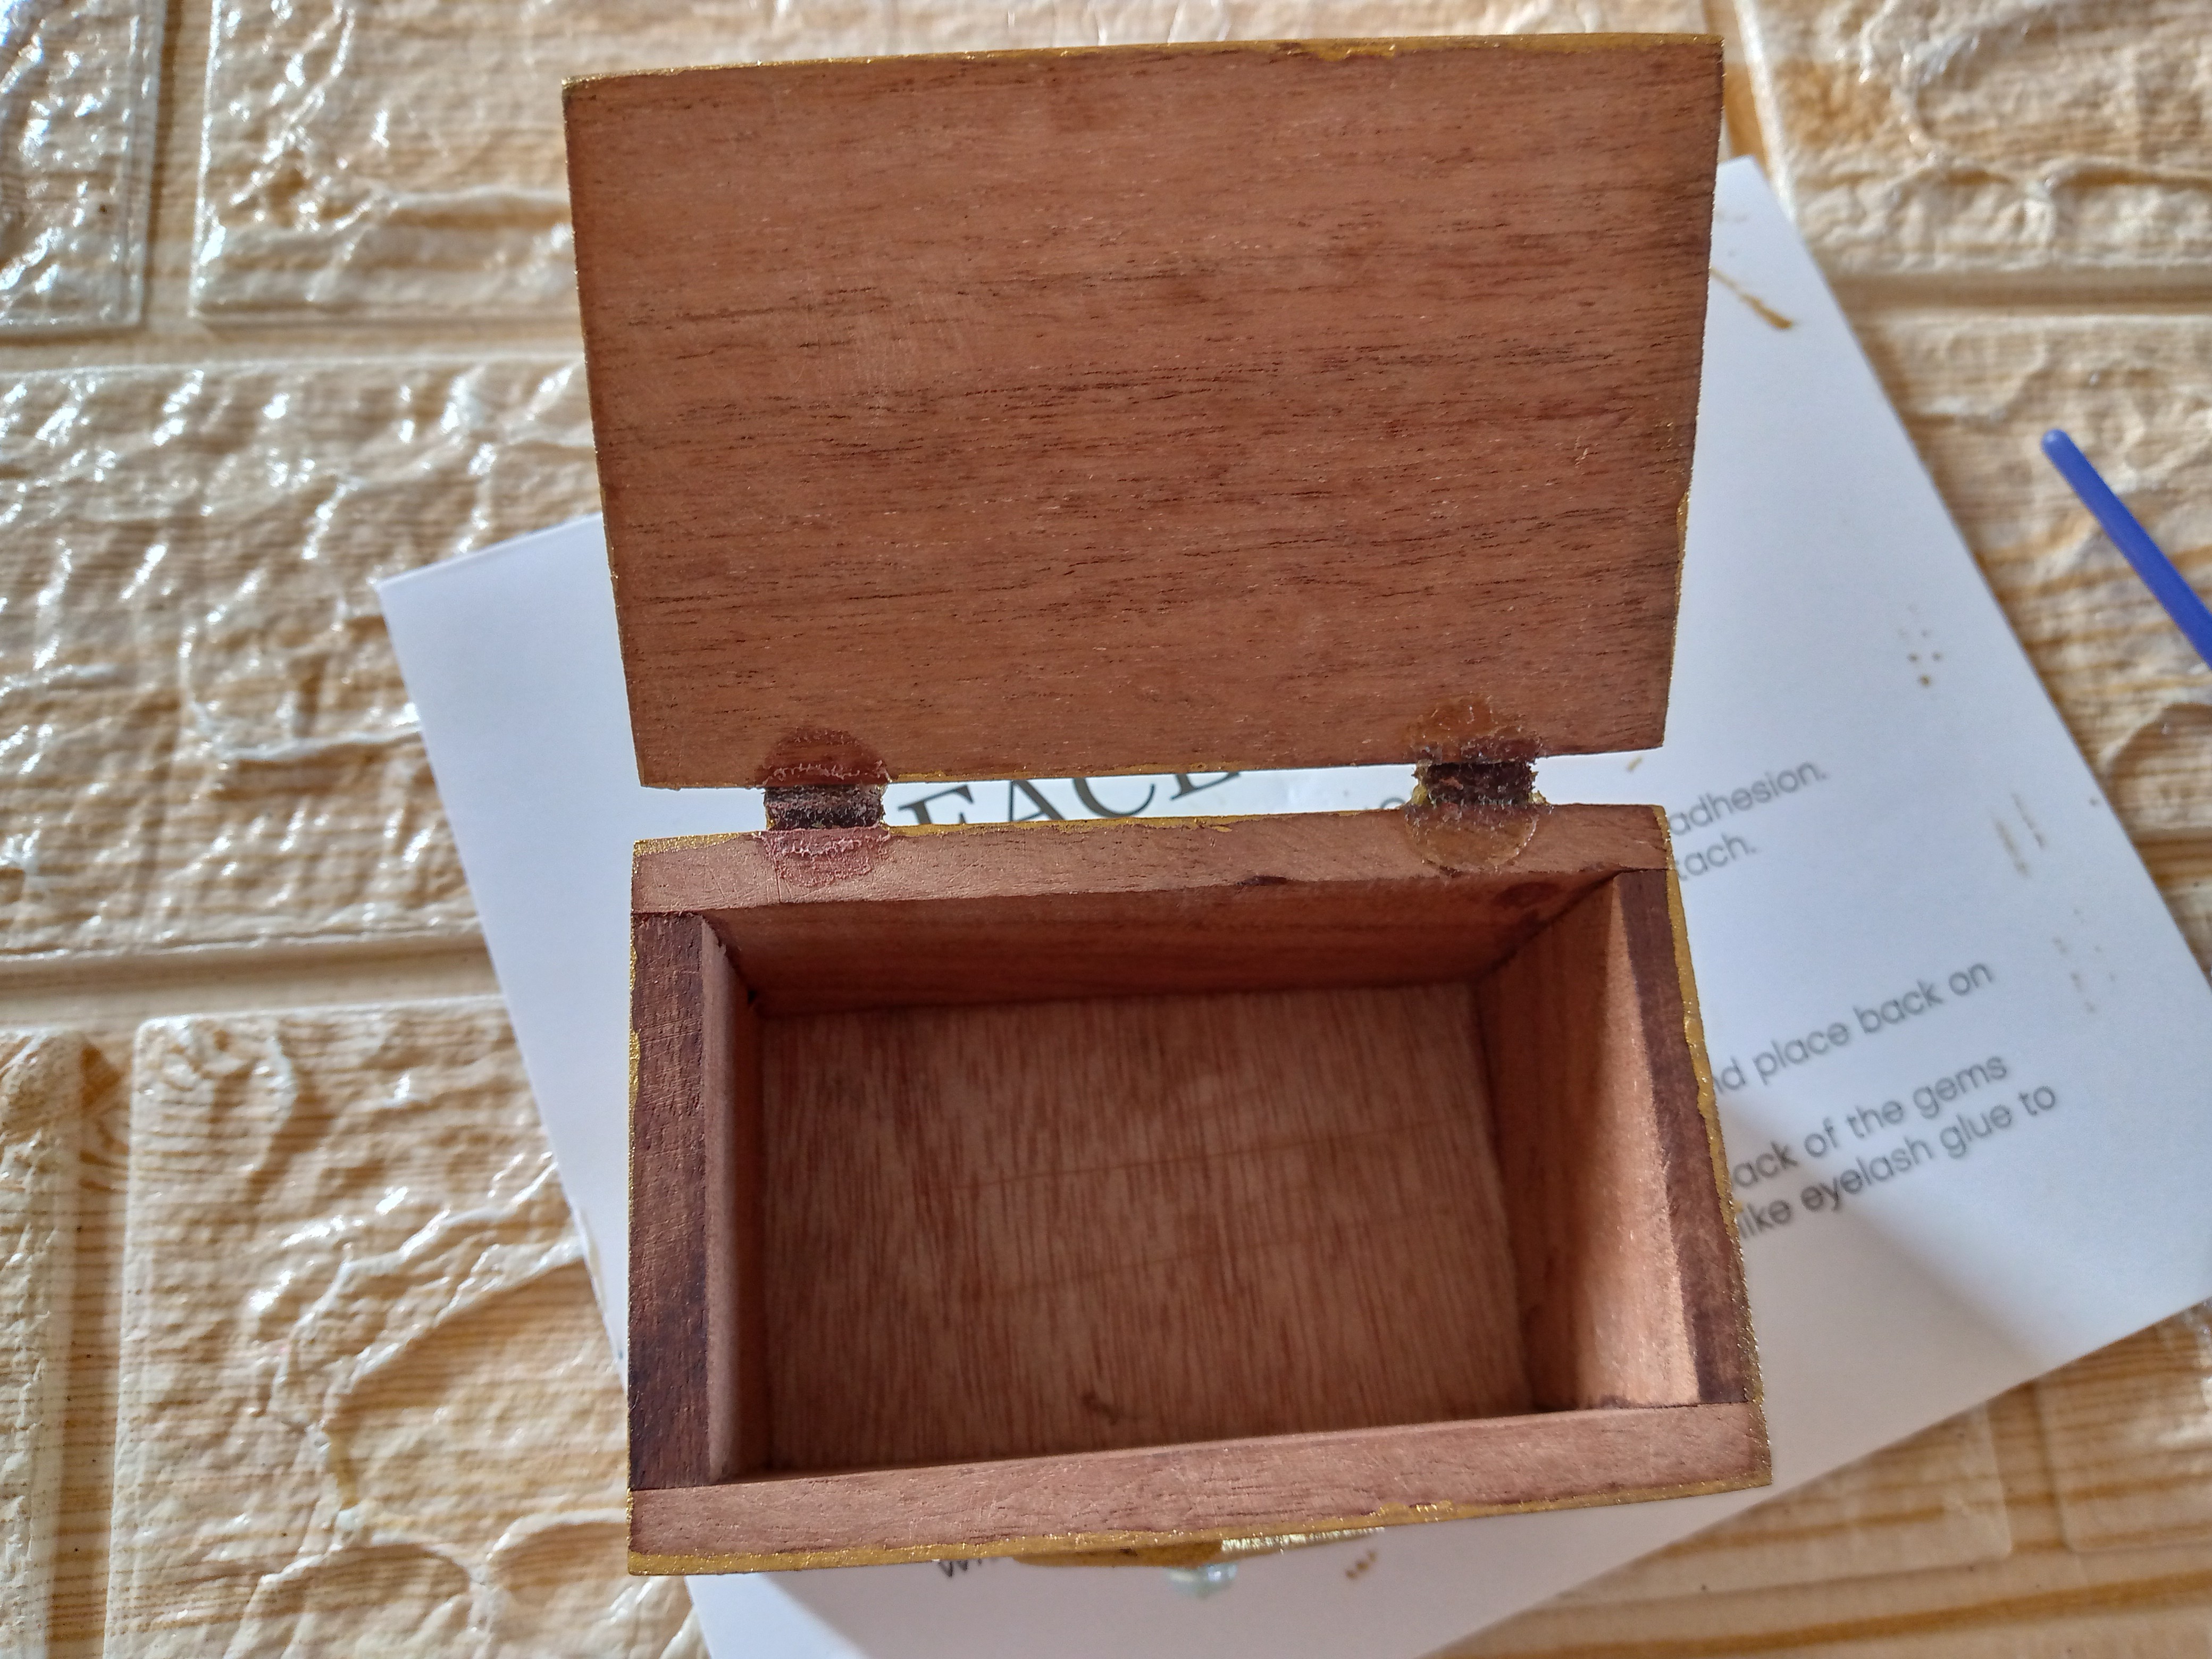
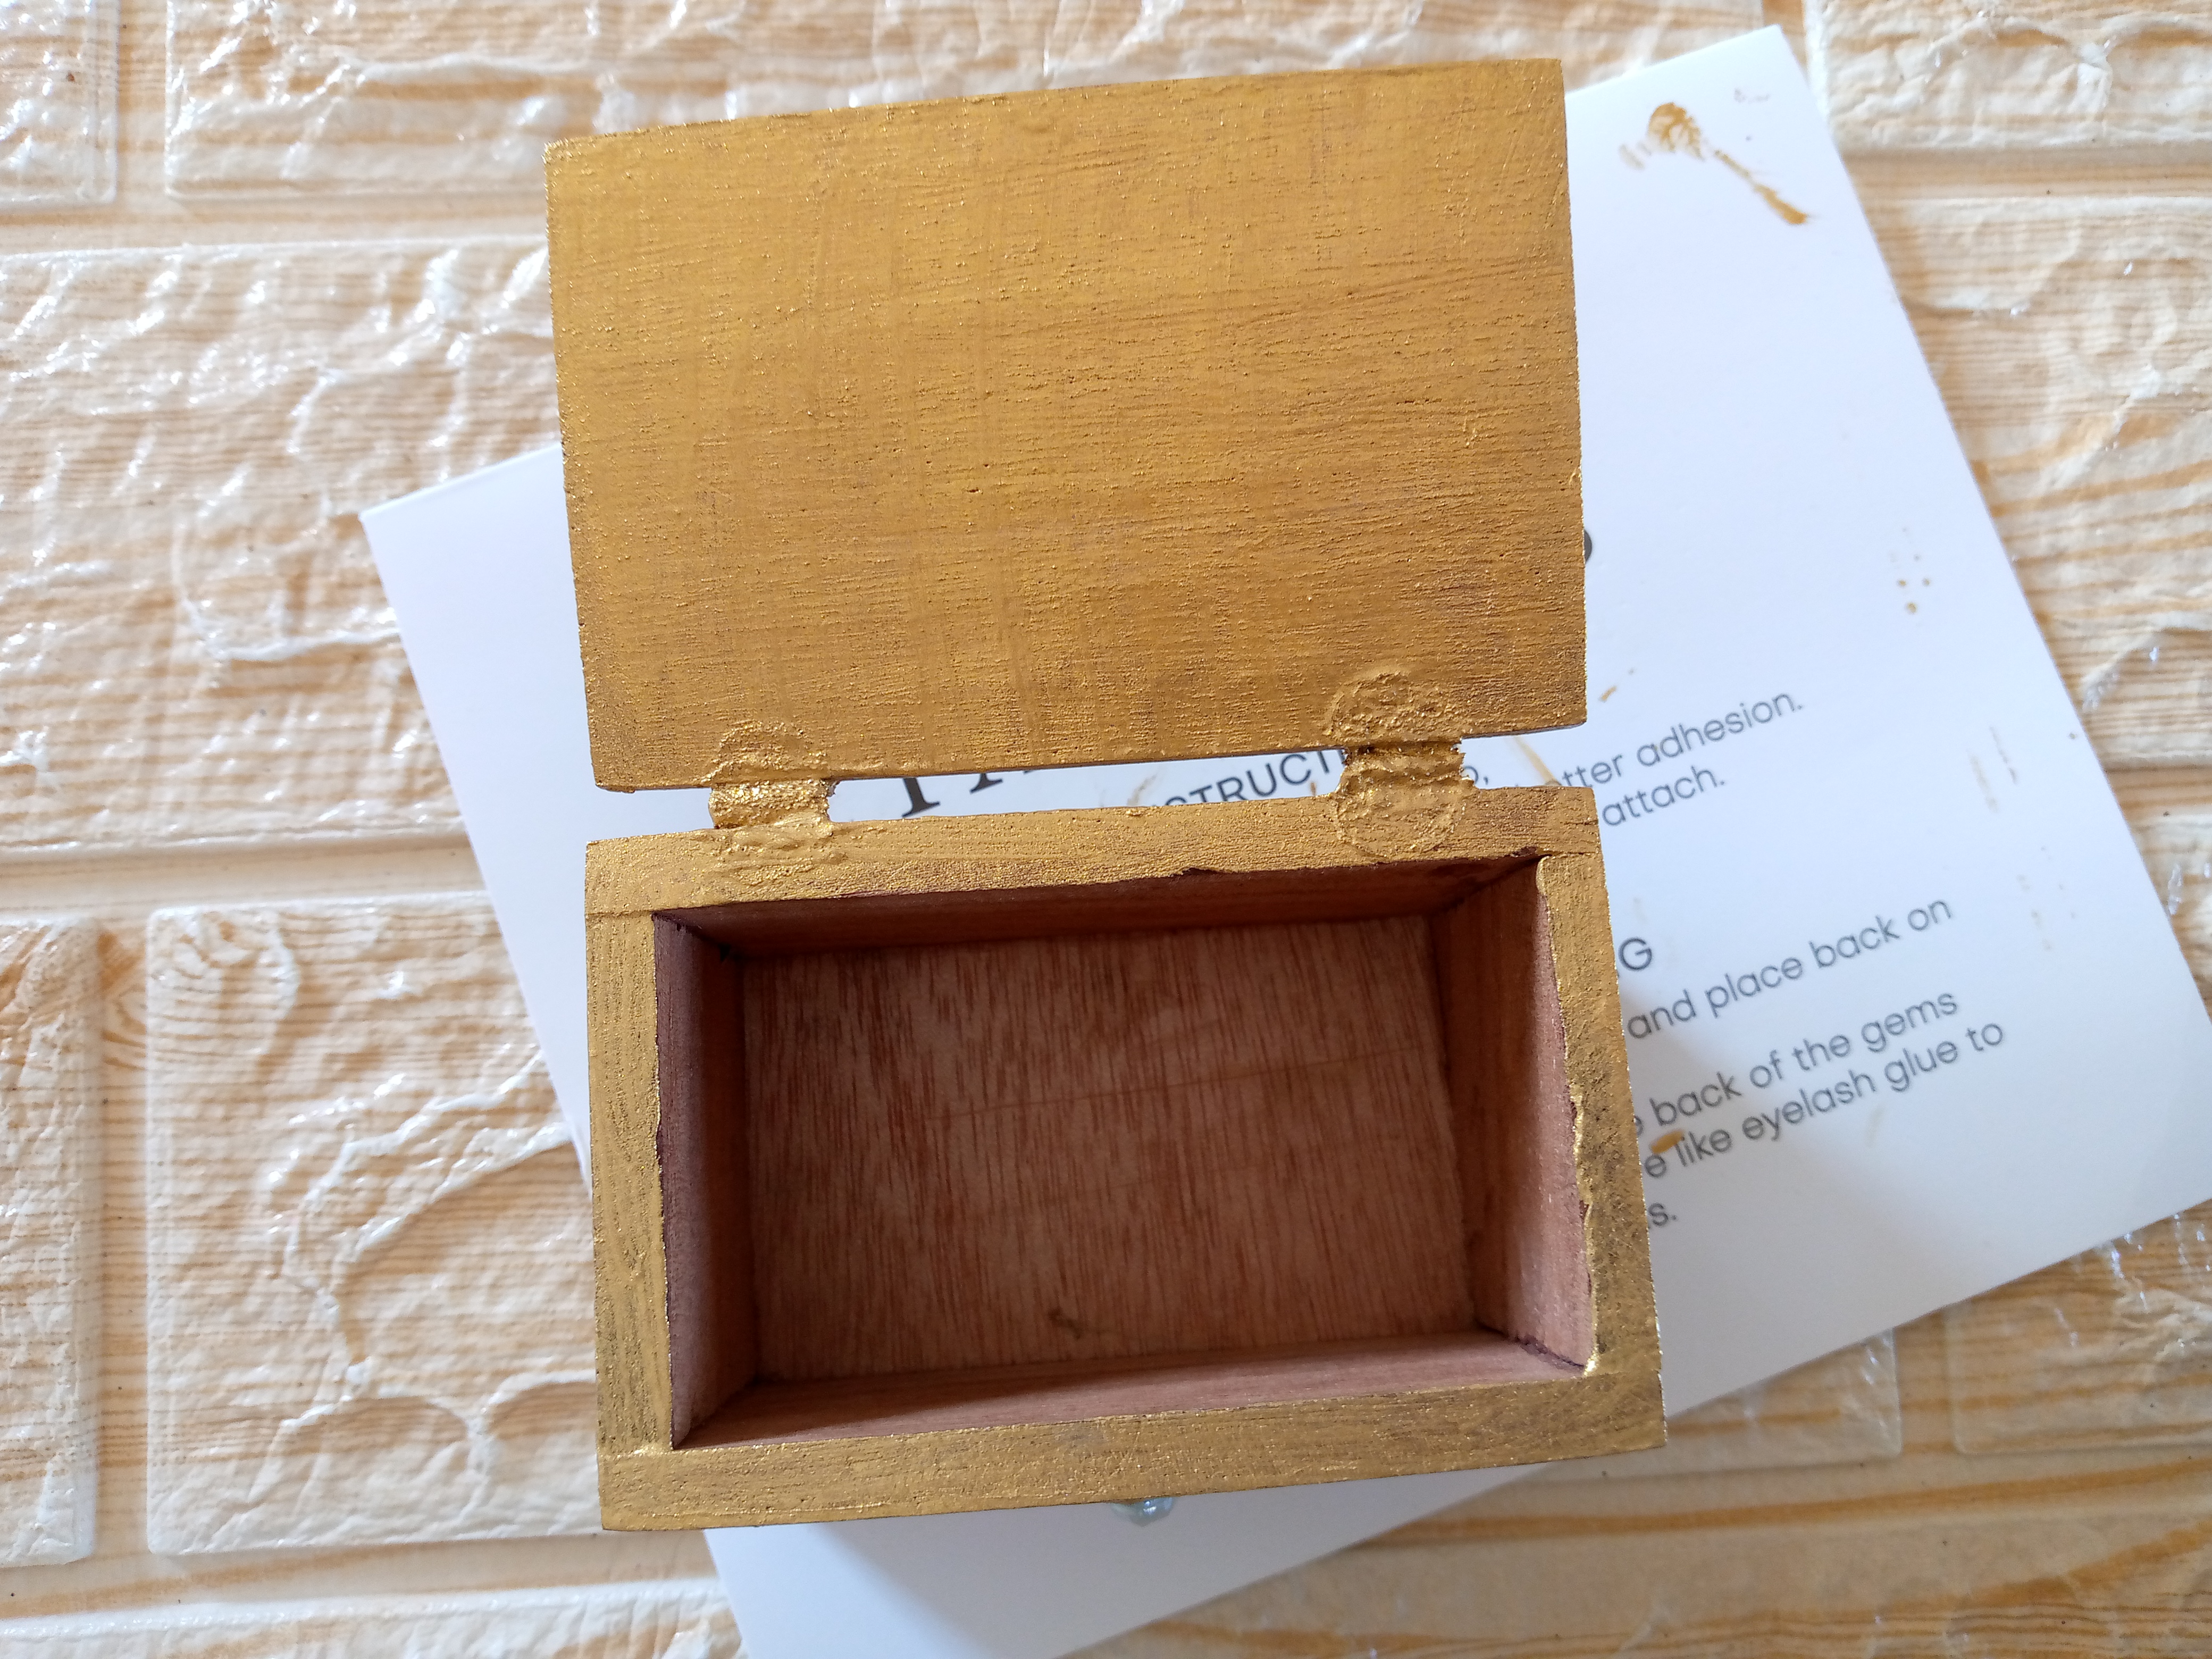
After I let it dry, it was time to apply paint to the inside, especially the lid and edges of the chest. I let it dry for about five minutes and then, in that same area, I applied two coats. I let it dry again so that the paint adhered to the surface very well. Then I painted the bottom of the chest and applied two coats of paint to it, just as I did with the others.
Paso 03
Step 03
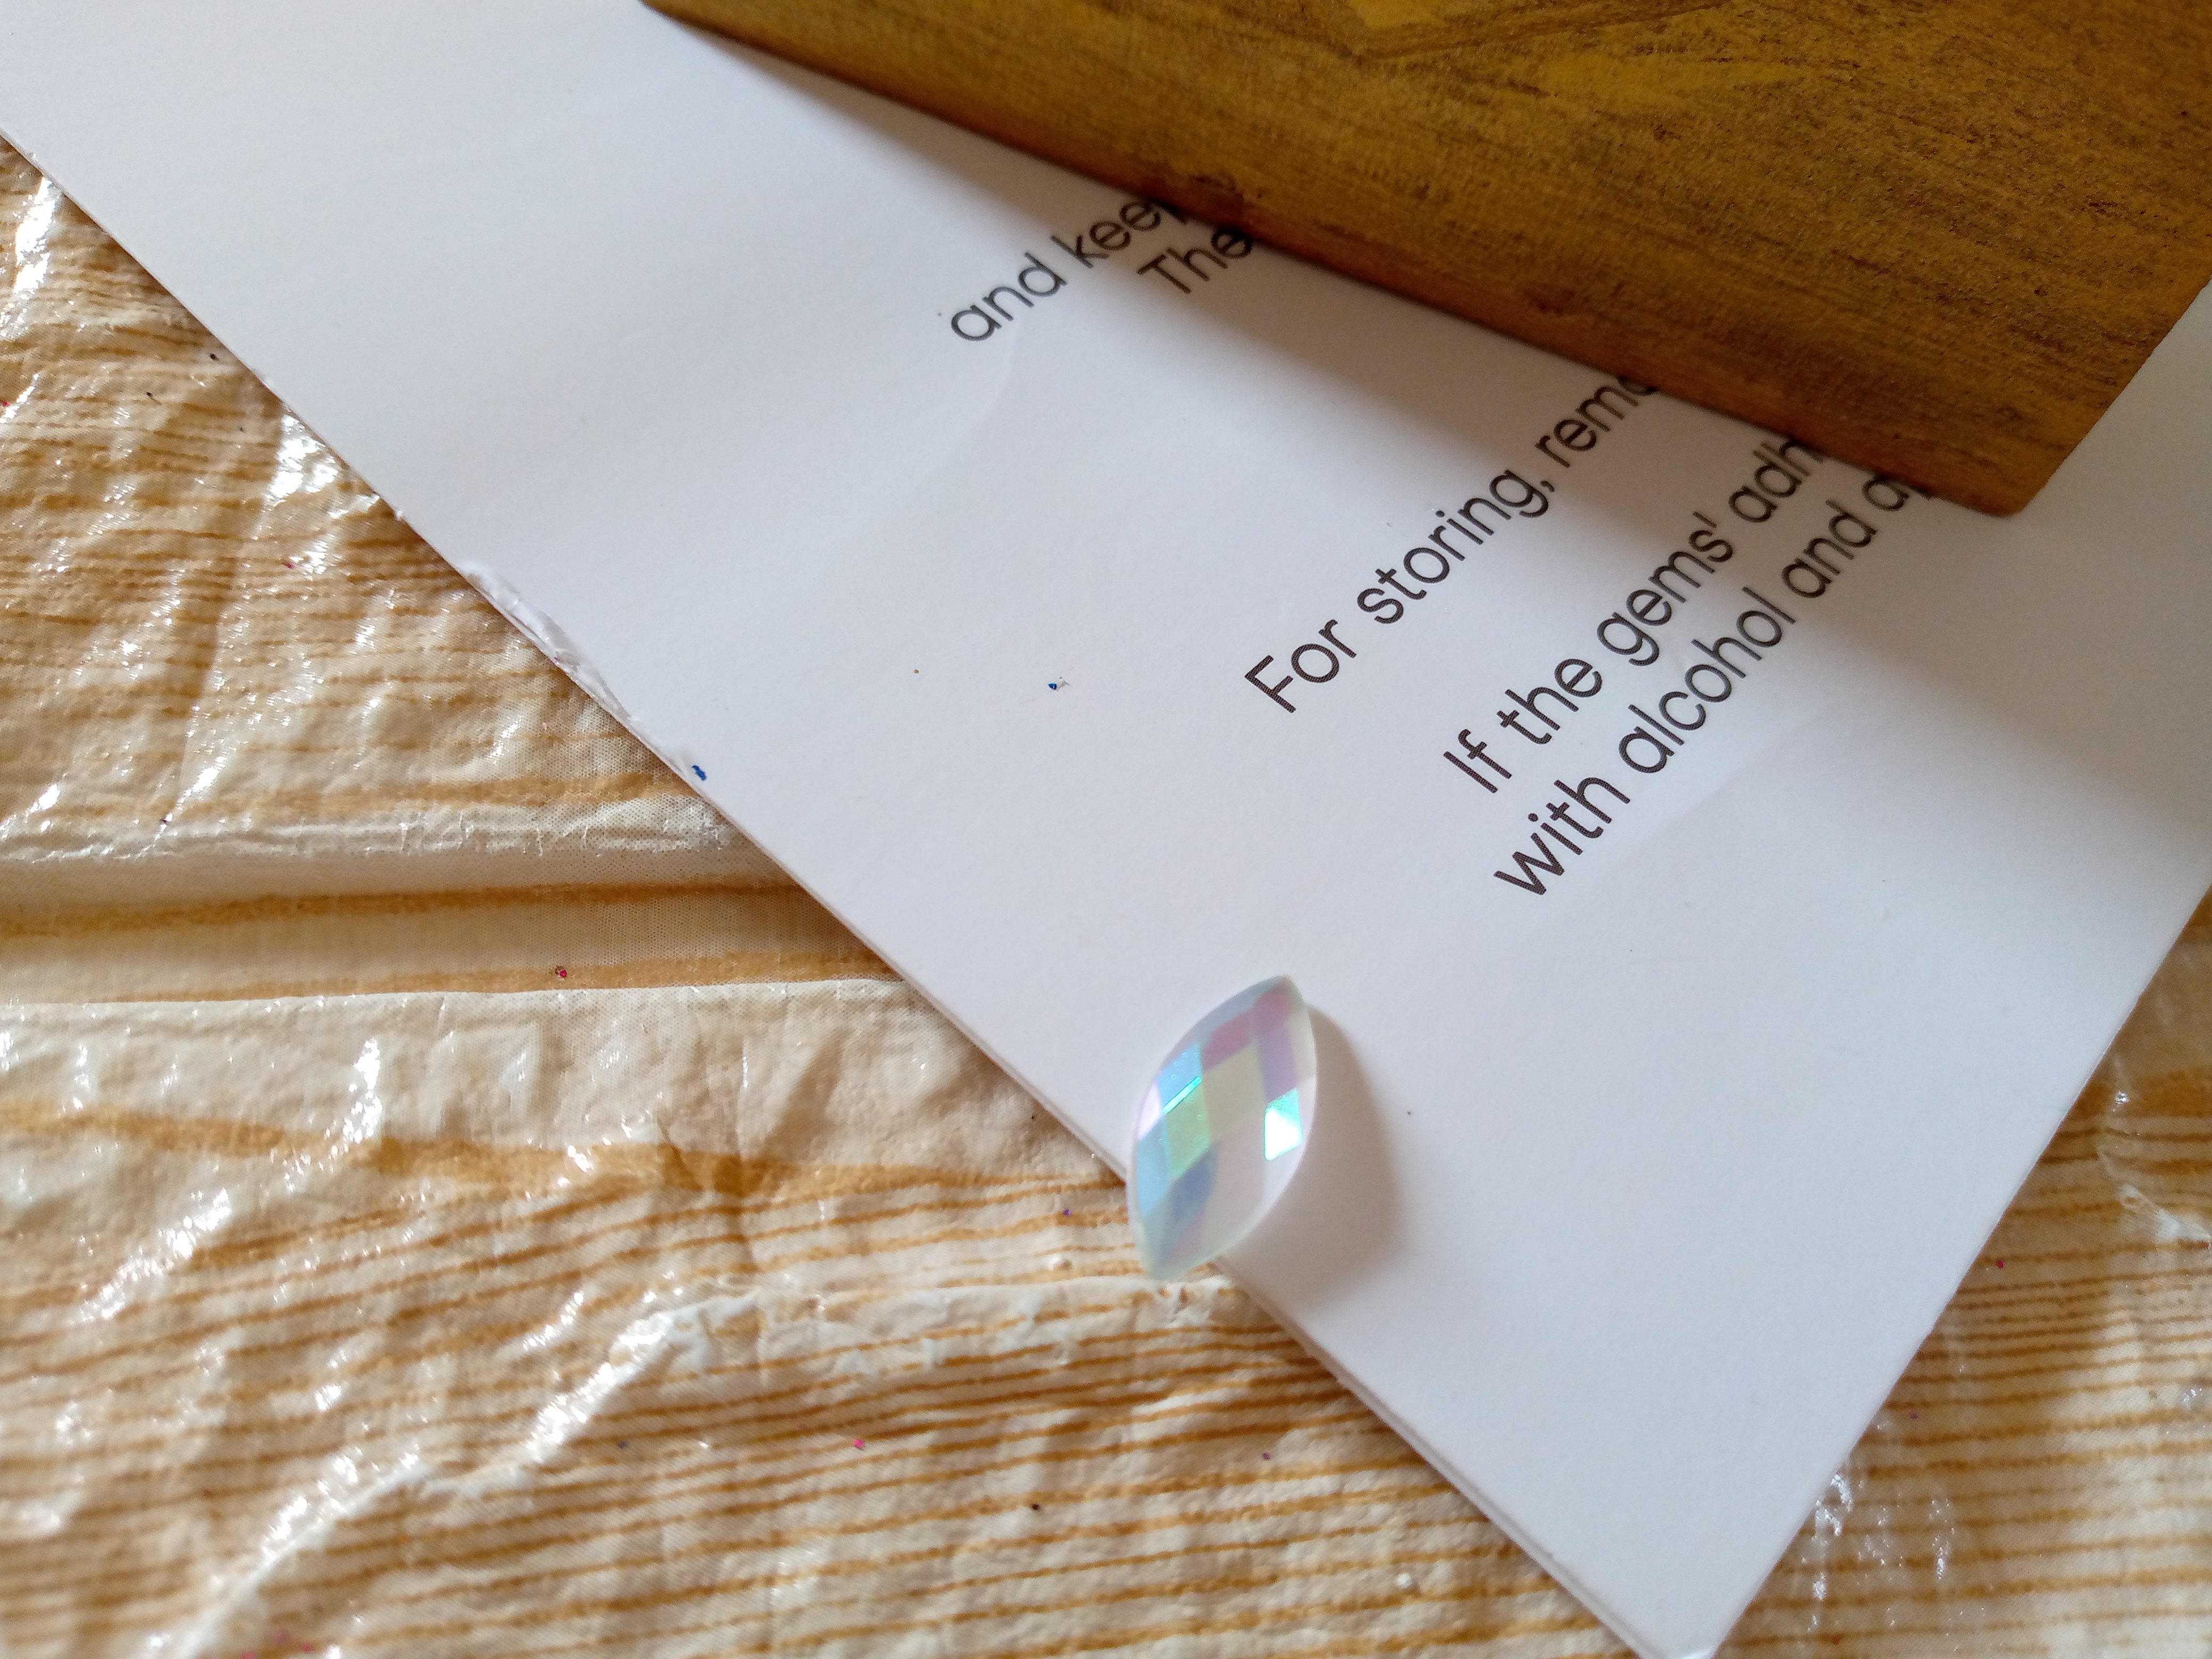
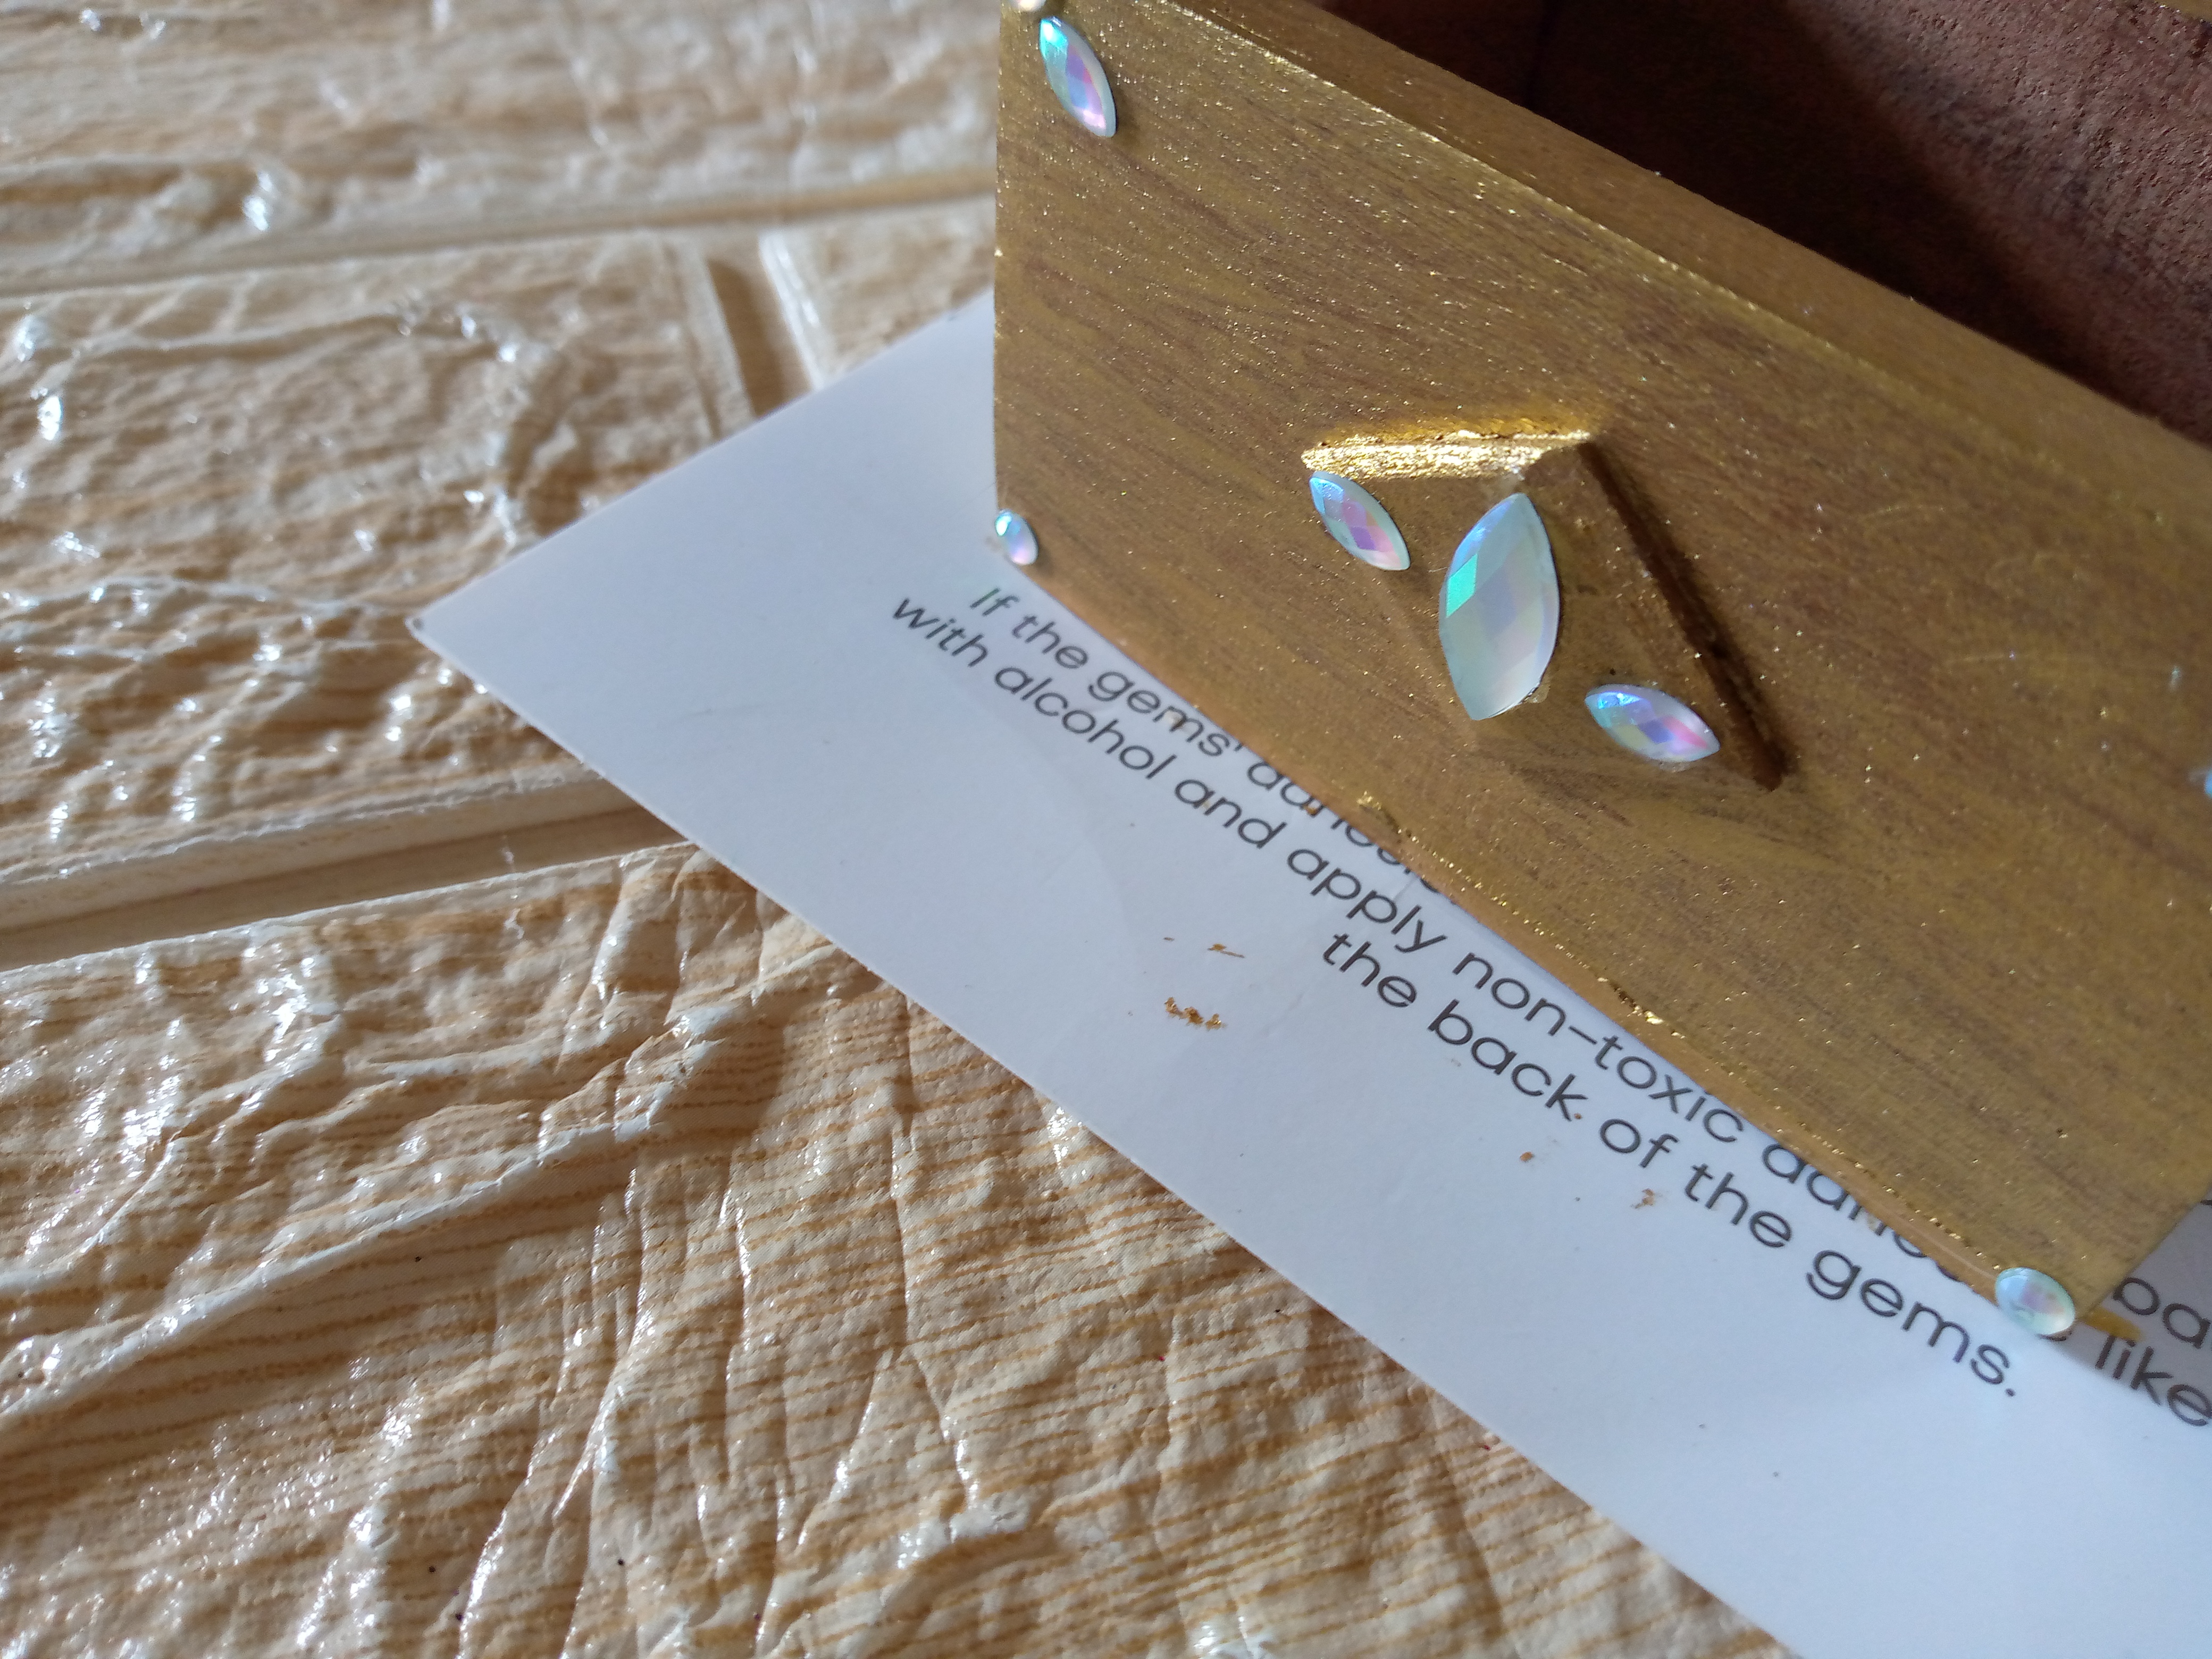
I went on to apply silicone to the part where I wanted to add the little stones to decorate the outside of this chest. These little stones look like shiny diamonds that I really liked. I placed a large one in the middle front part and then others in the four corners of the front part of my chest. Here it was already looking very pretty. I was loving how it looked and I wanted to finish it.
Paso 04
Step 04
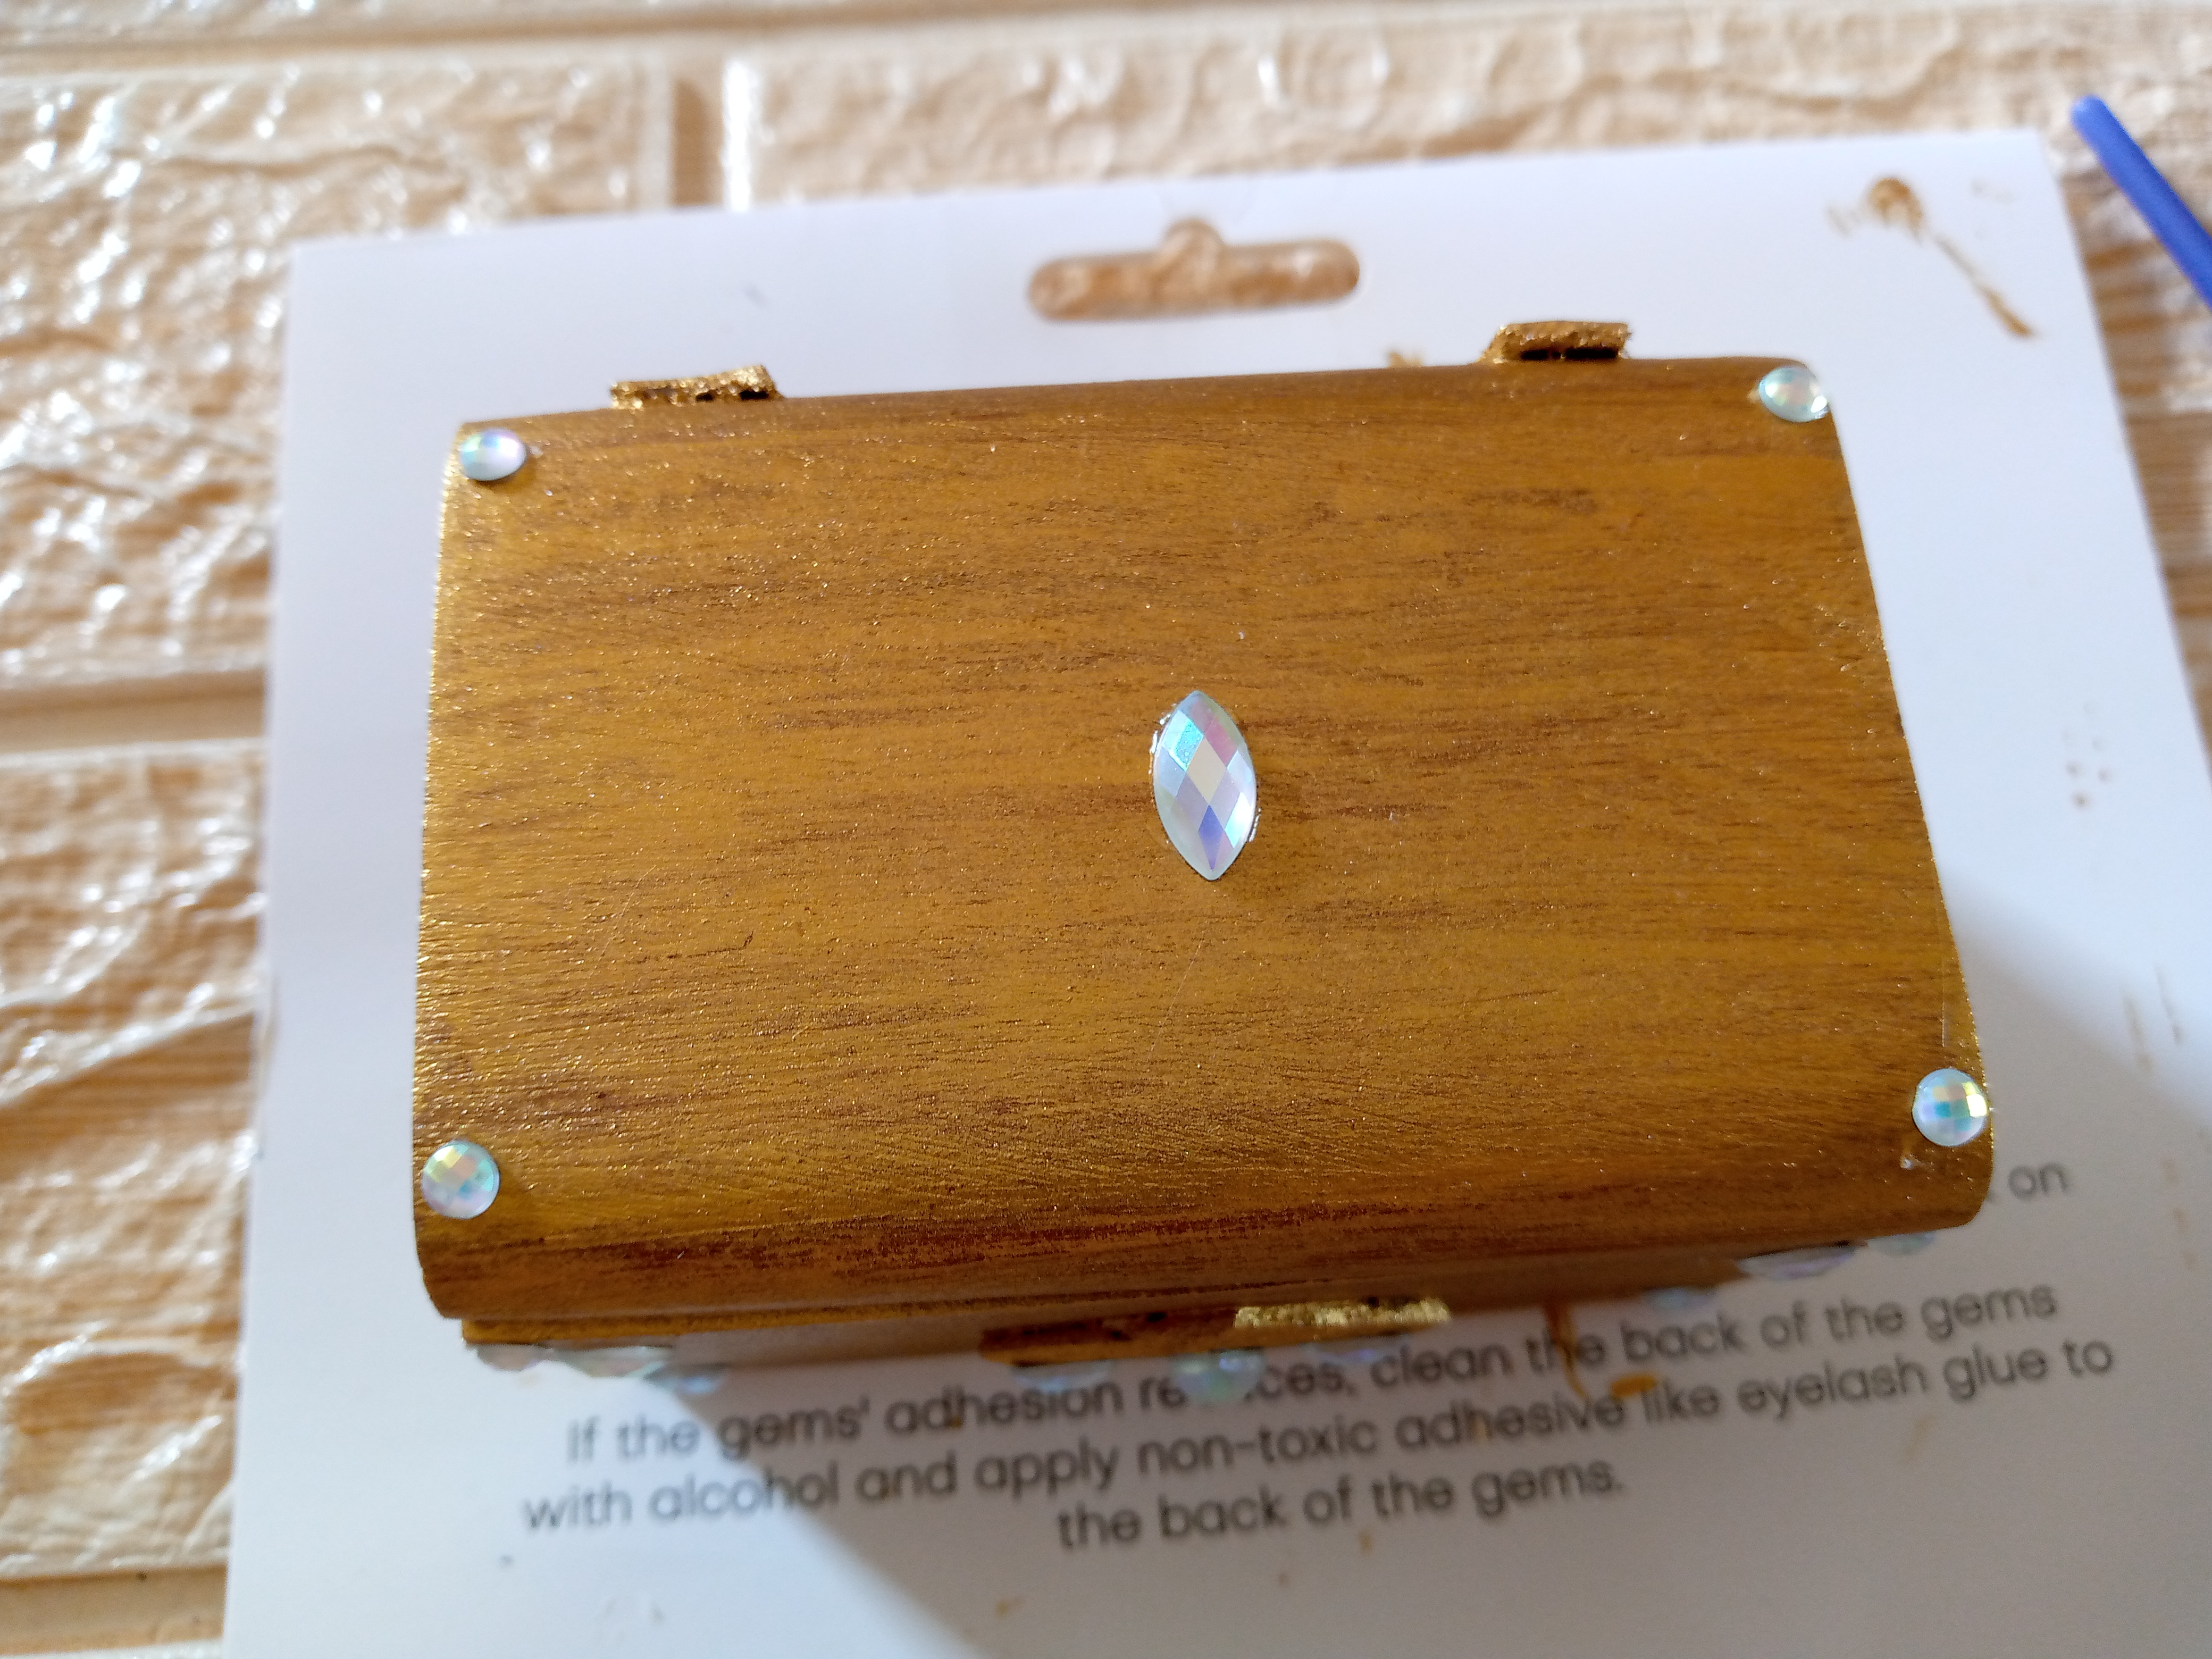
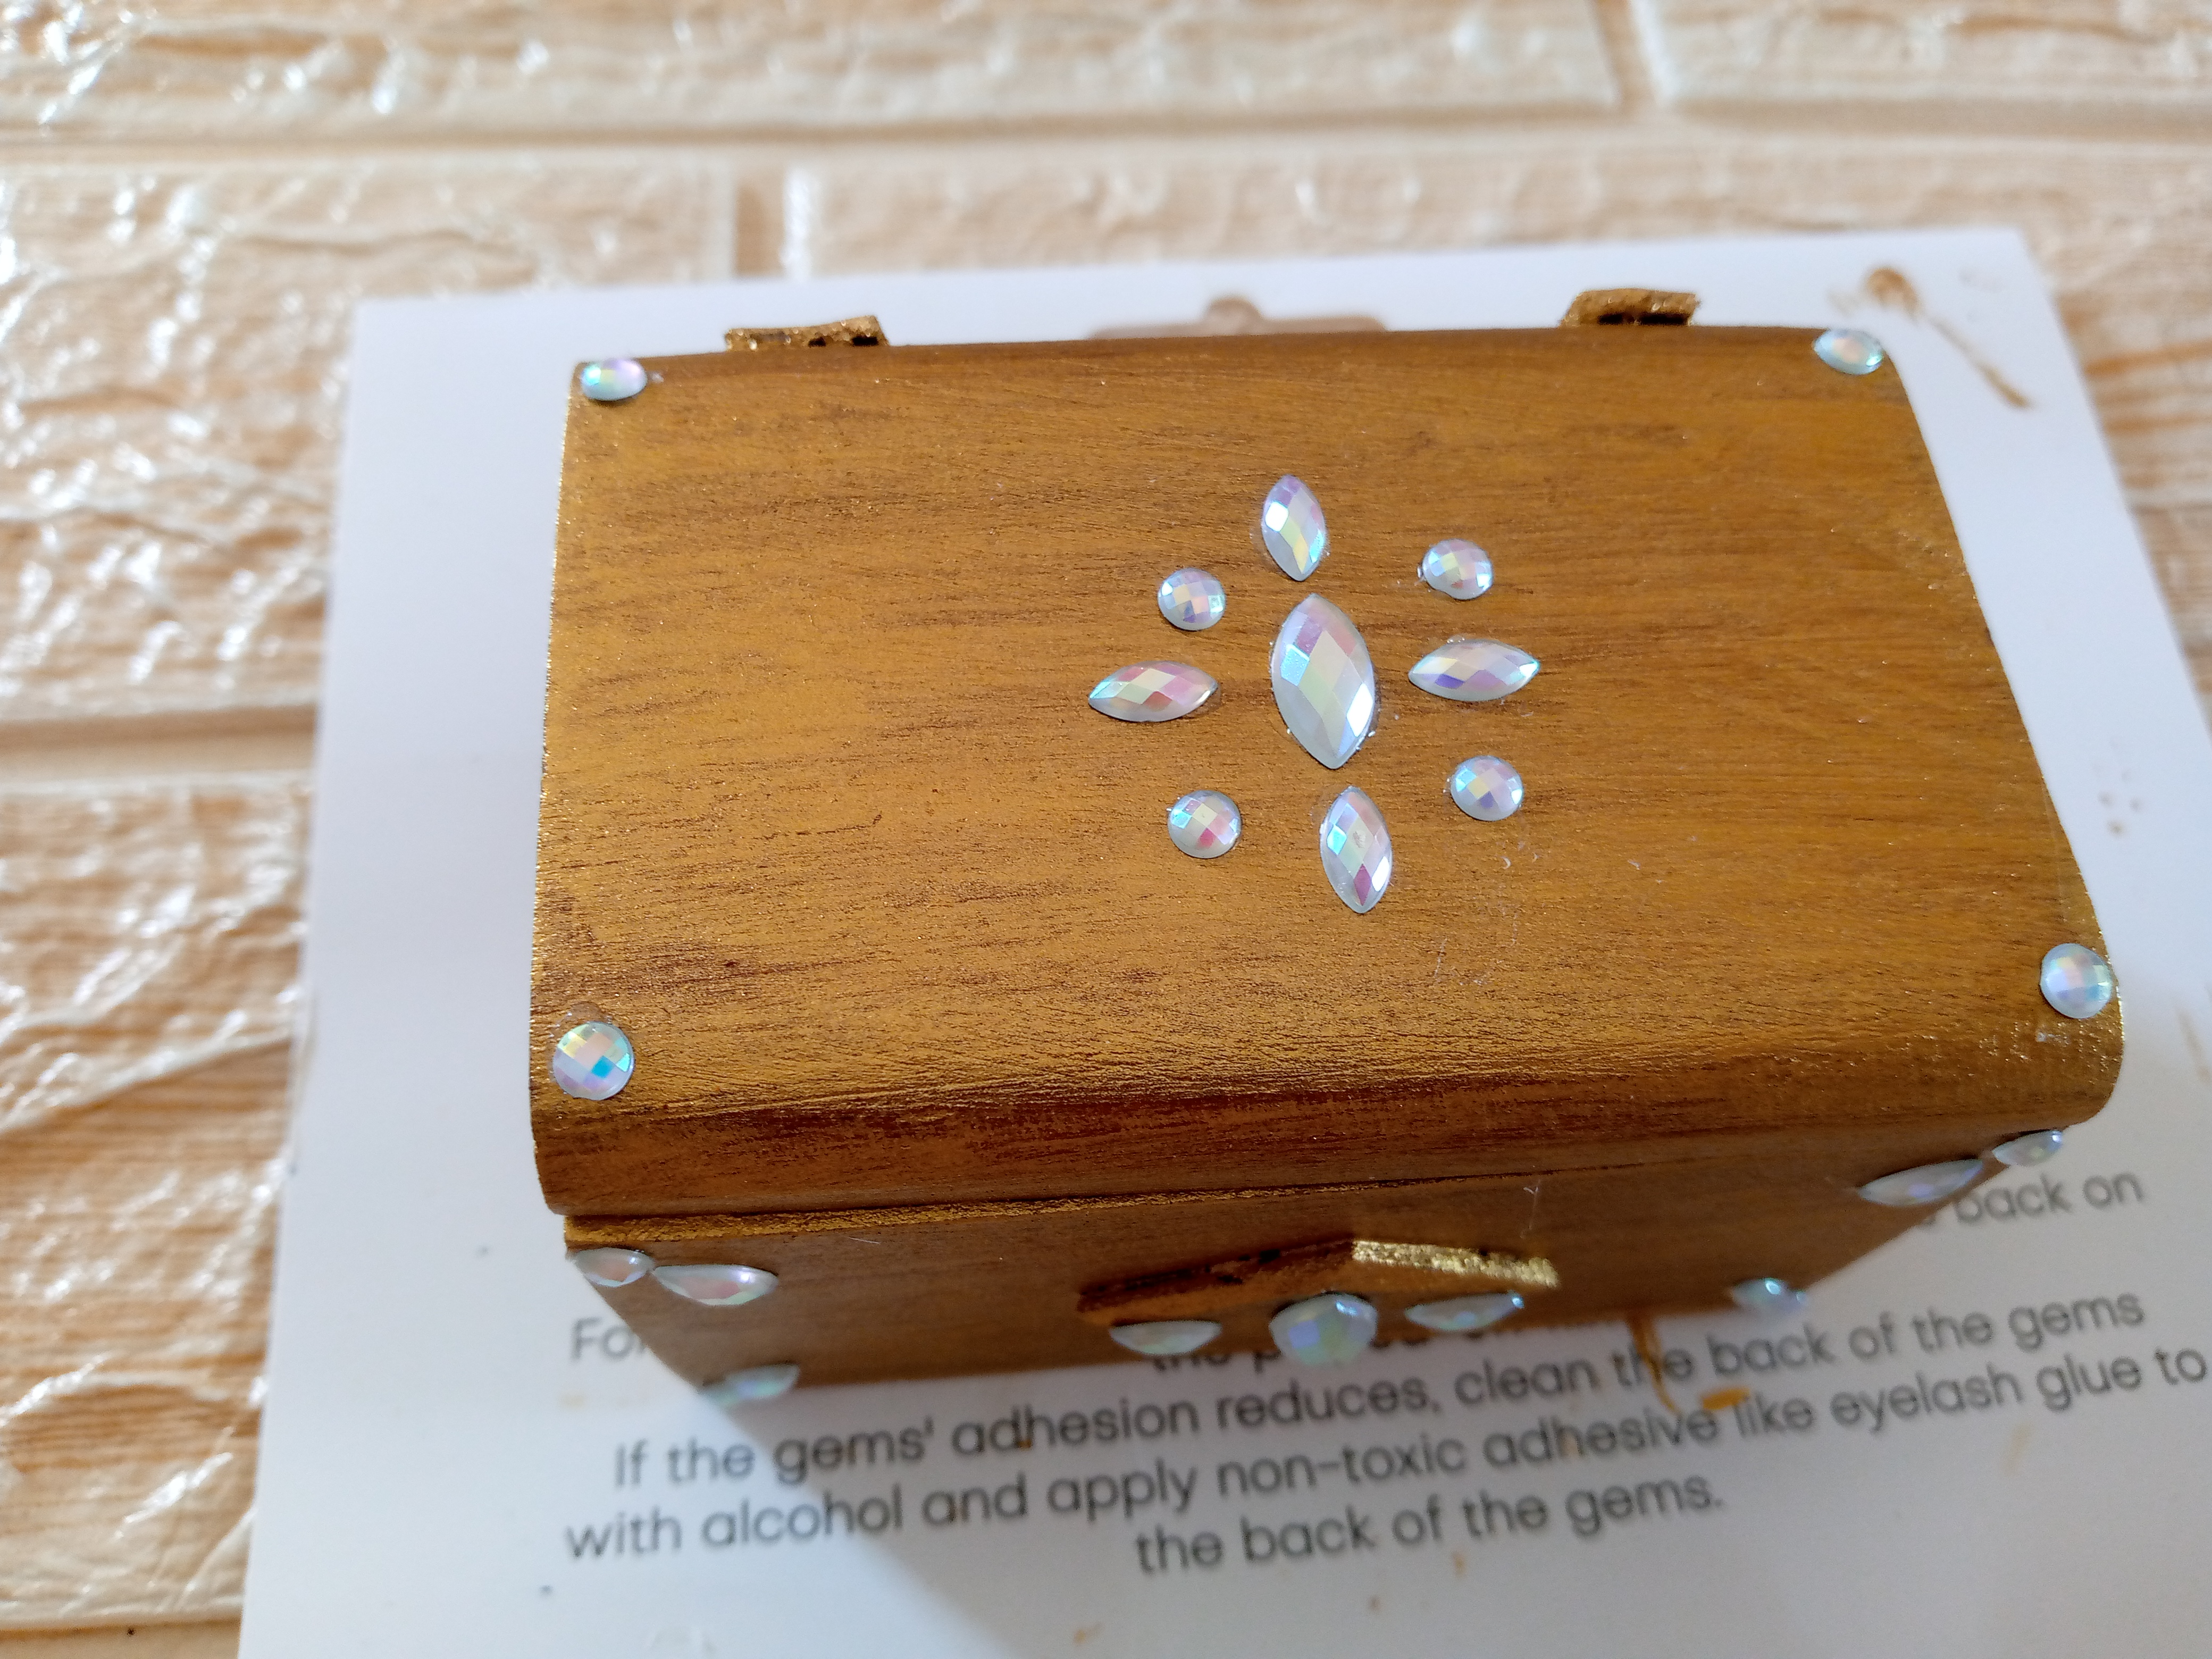
I finished up to this point of placing other little stones on the lid forming a flower with my little stones and I placed other smaller round ones on the corners of the lid. I let my silicone dry so that they could stick really well and now it's time to use this new remodeled chest.
.jpg)
Resultado:// Result:
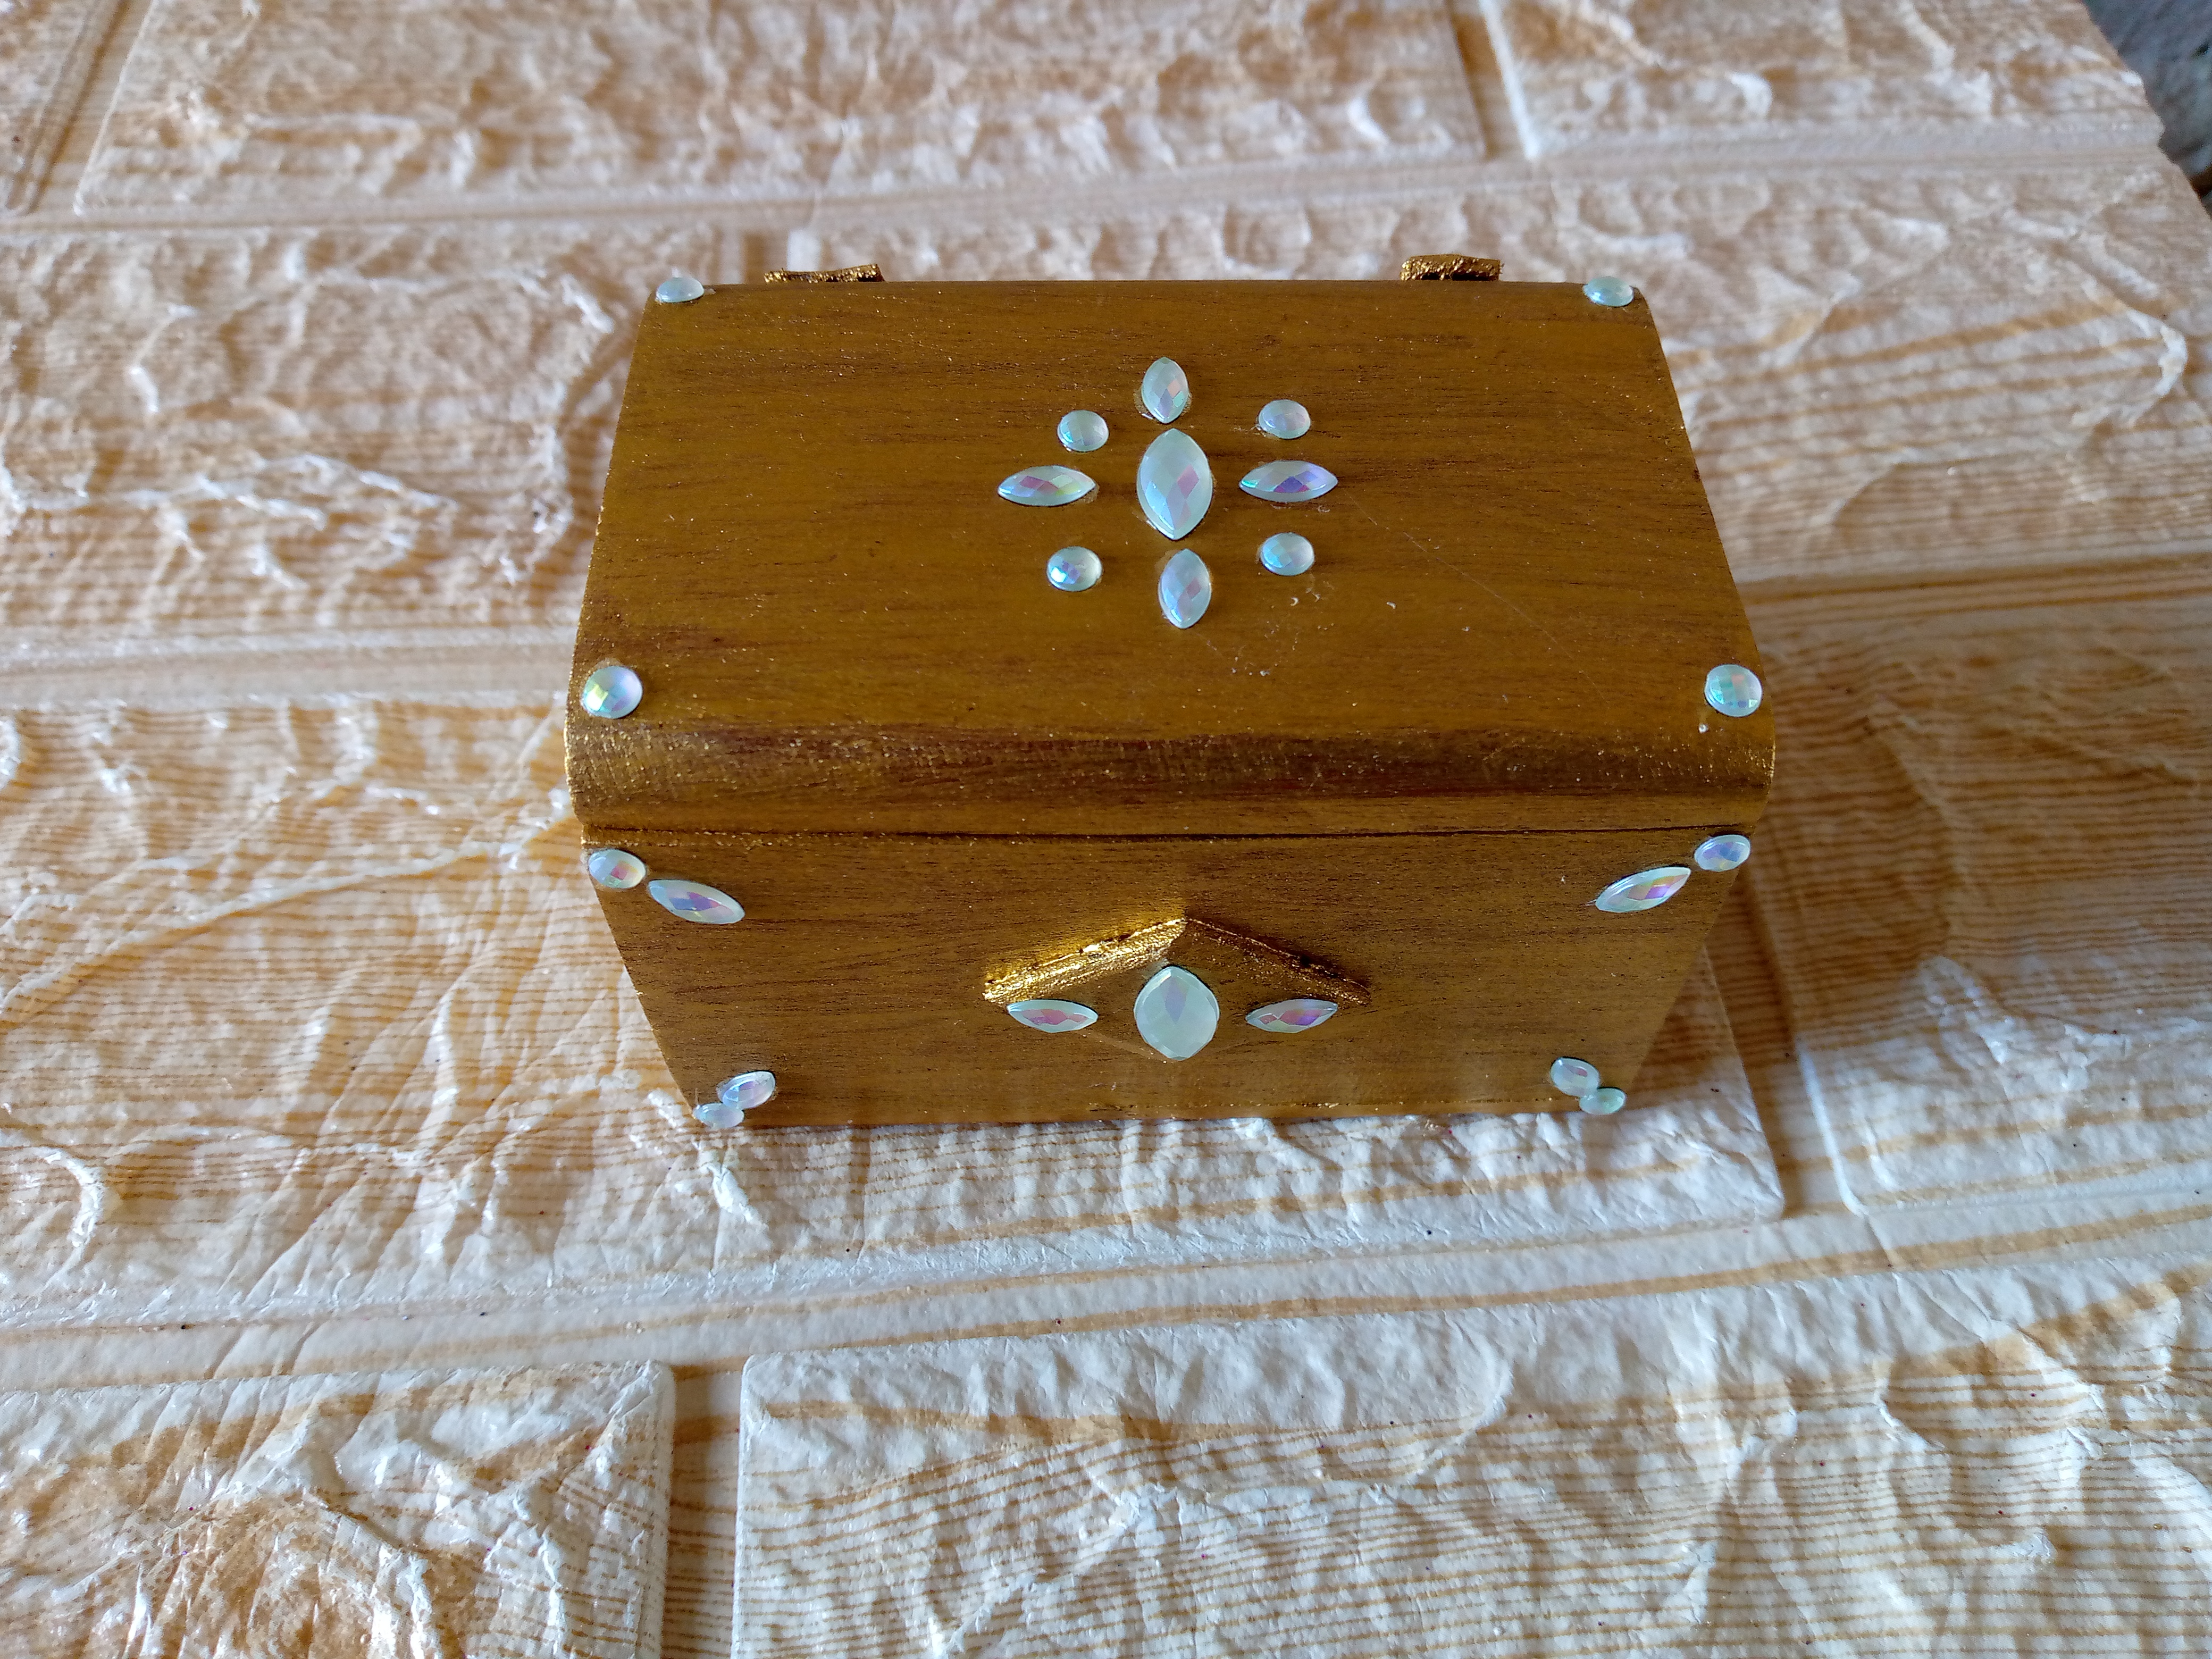
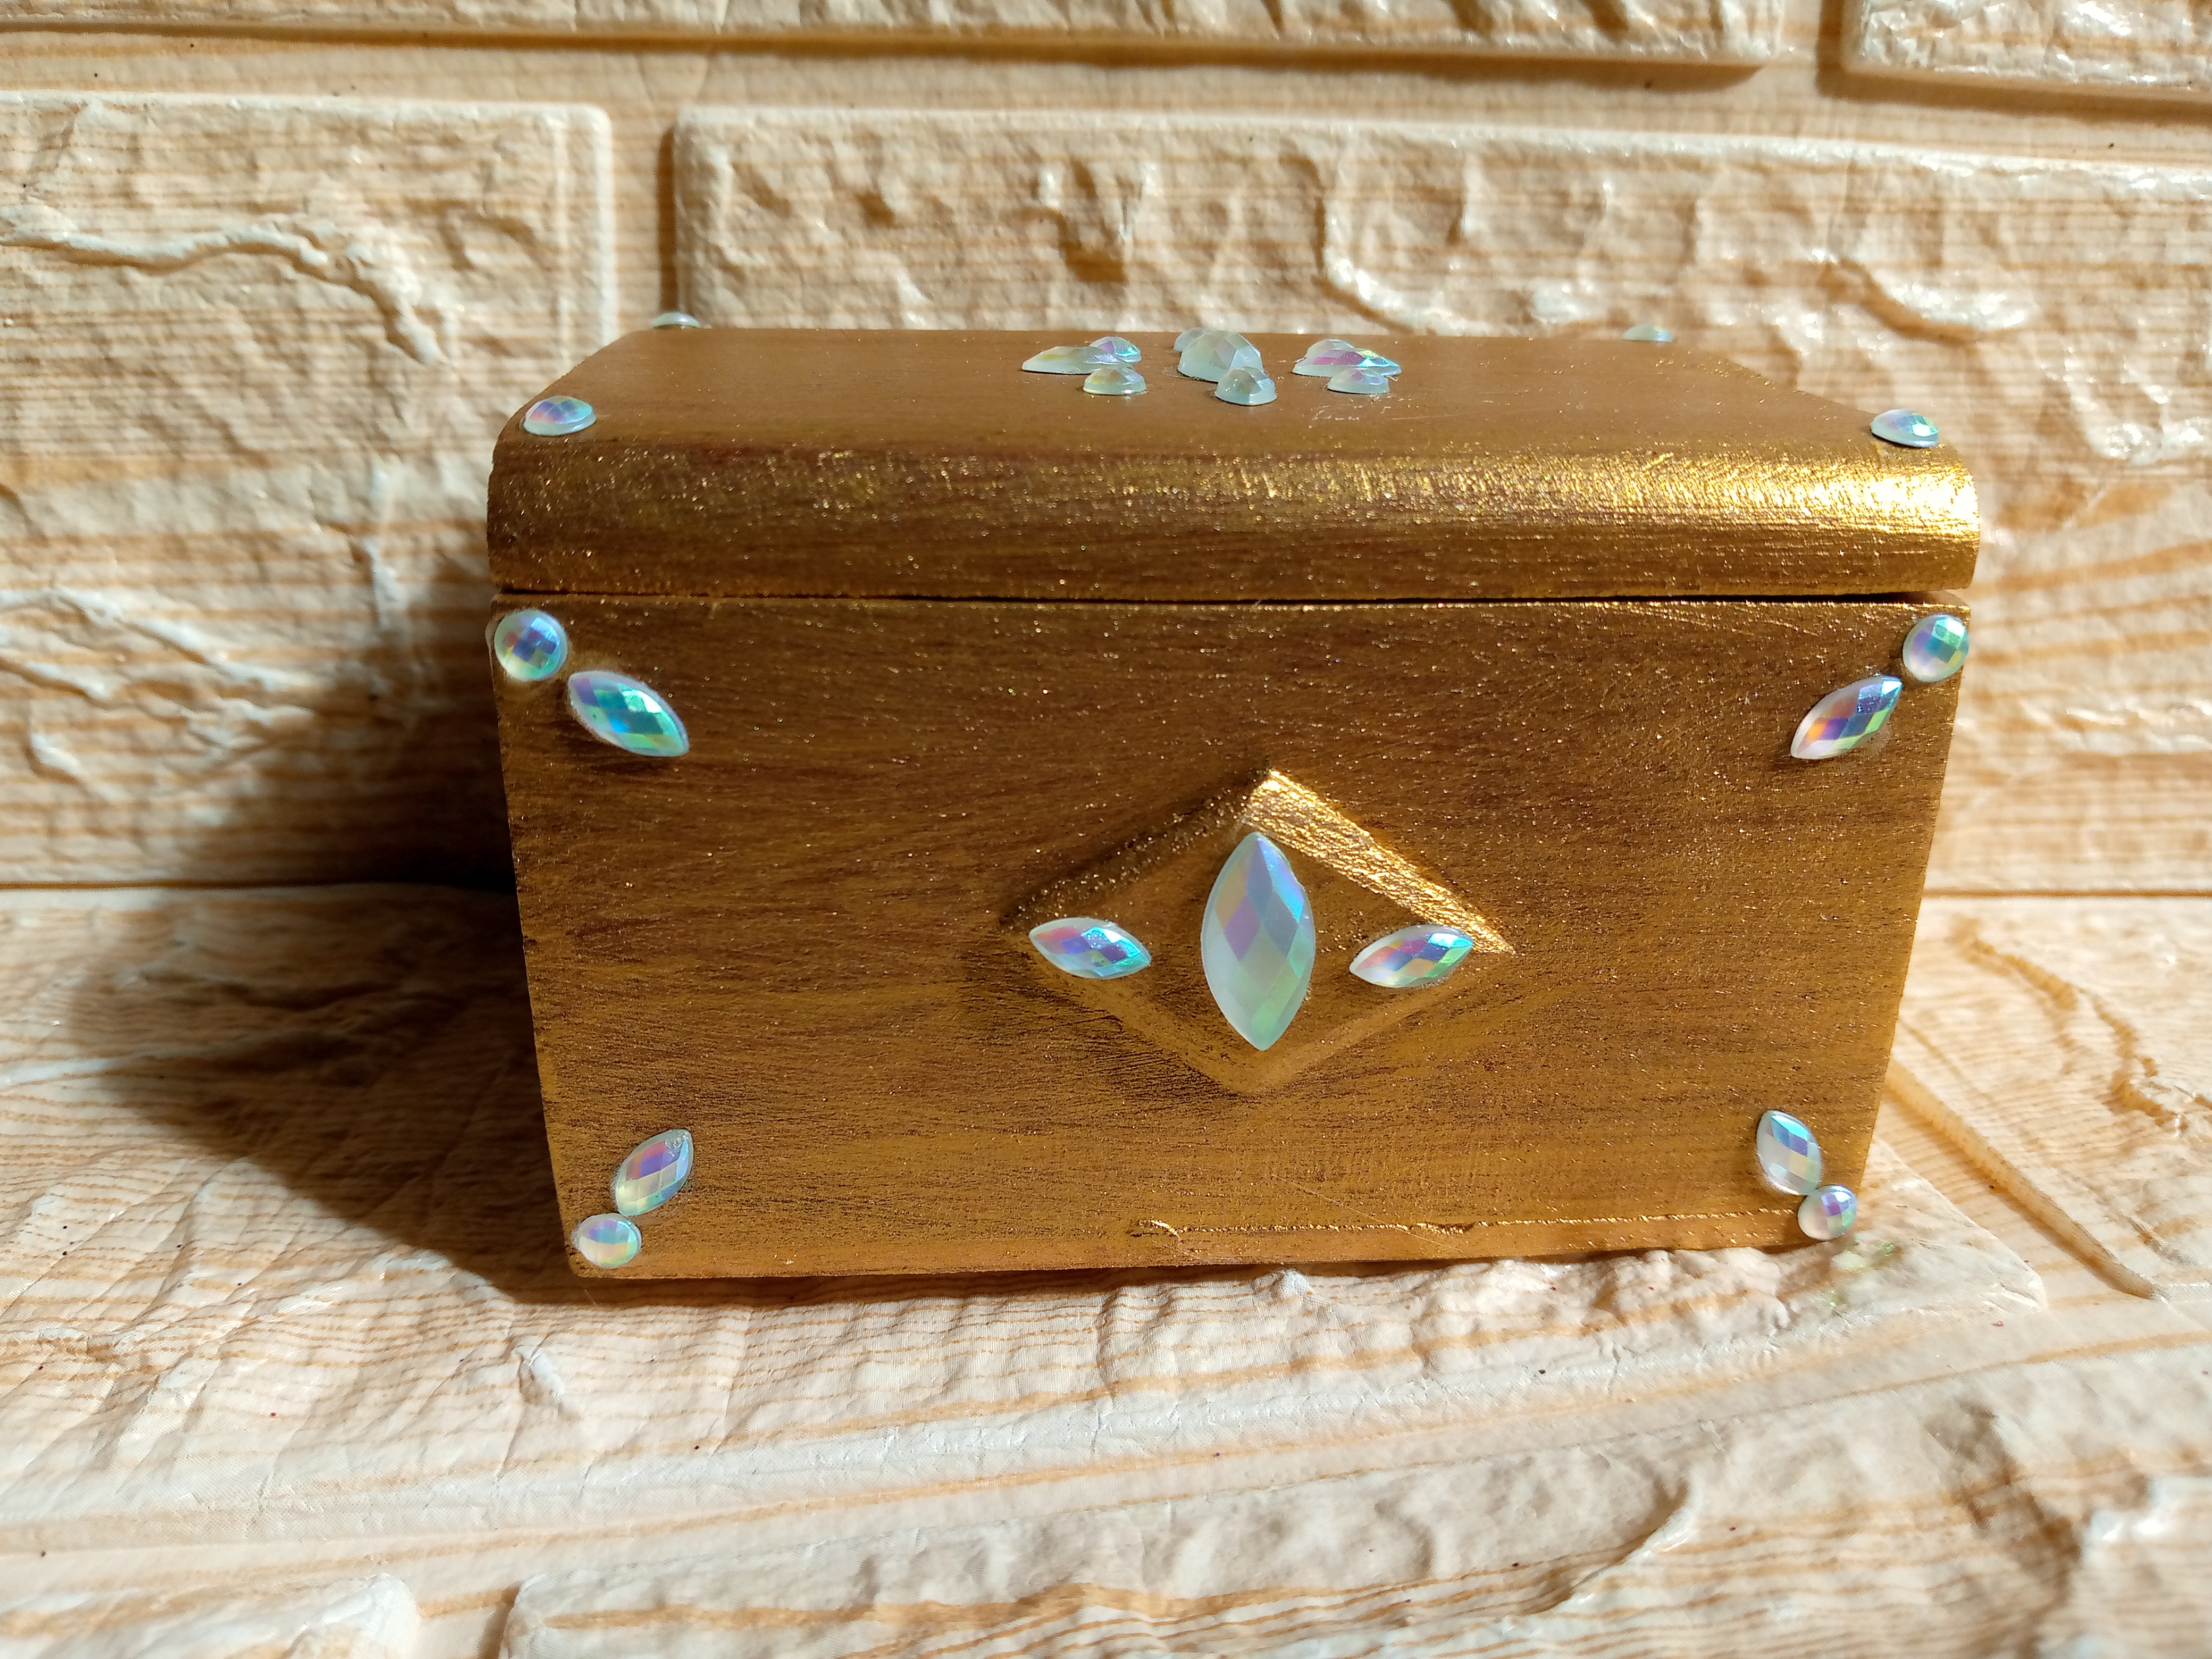
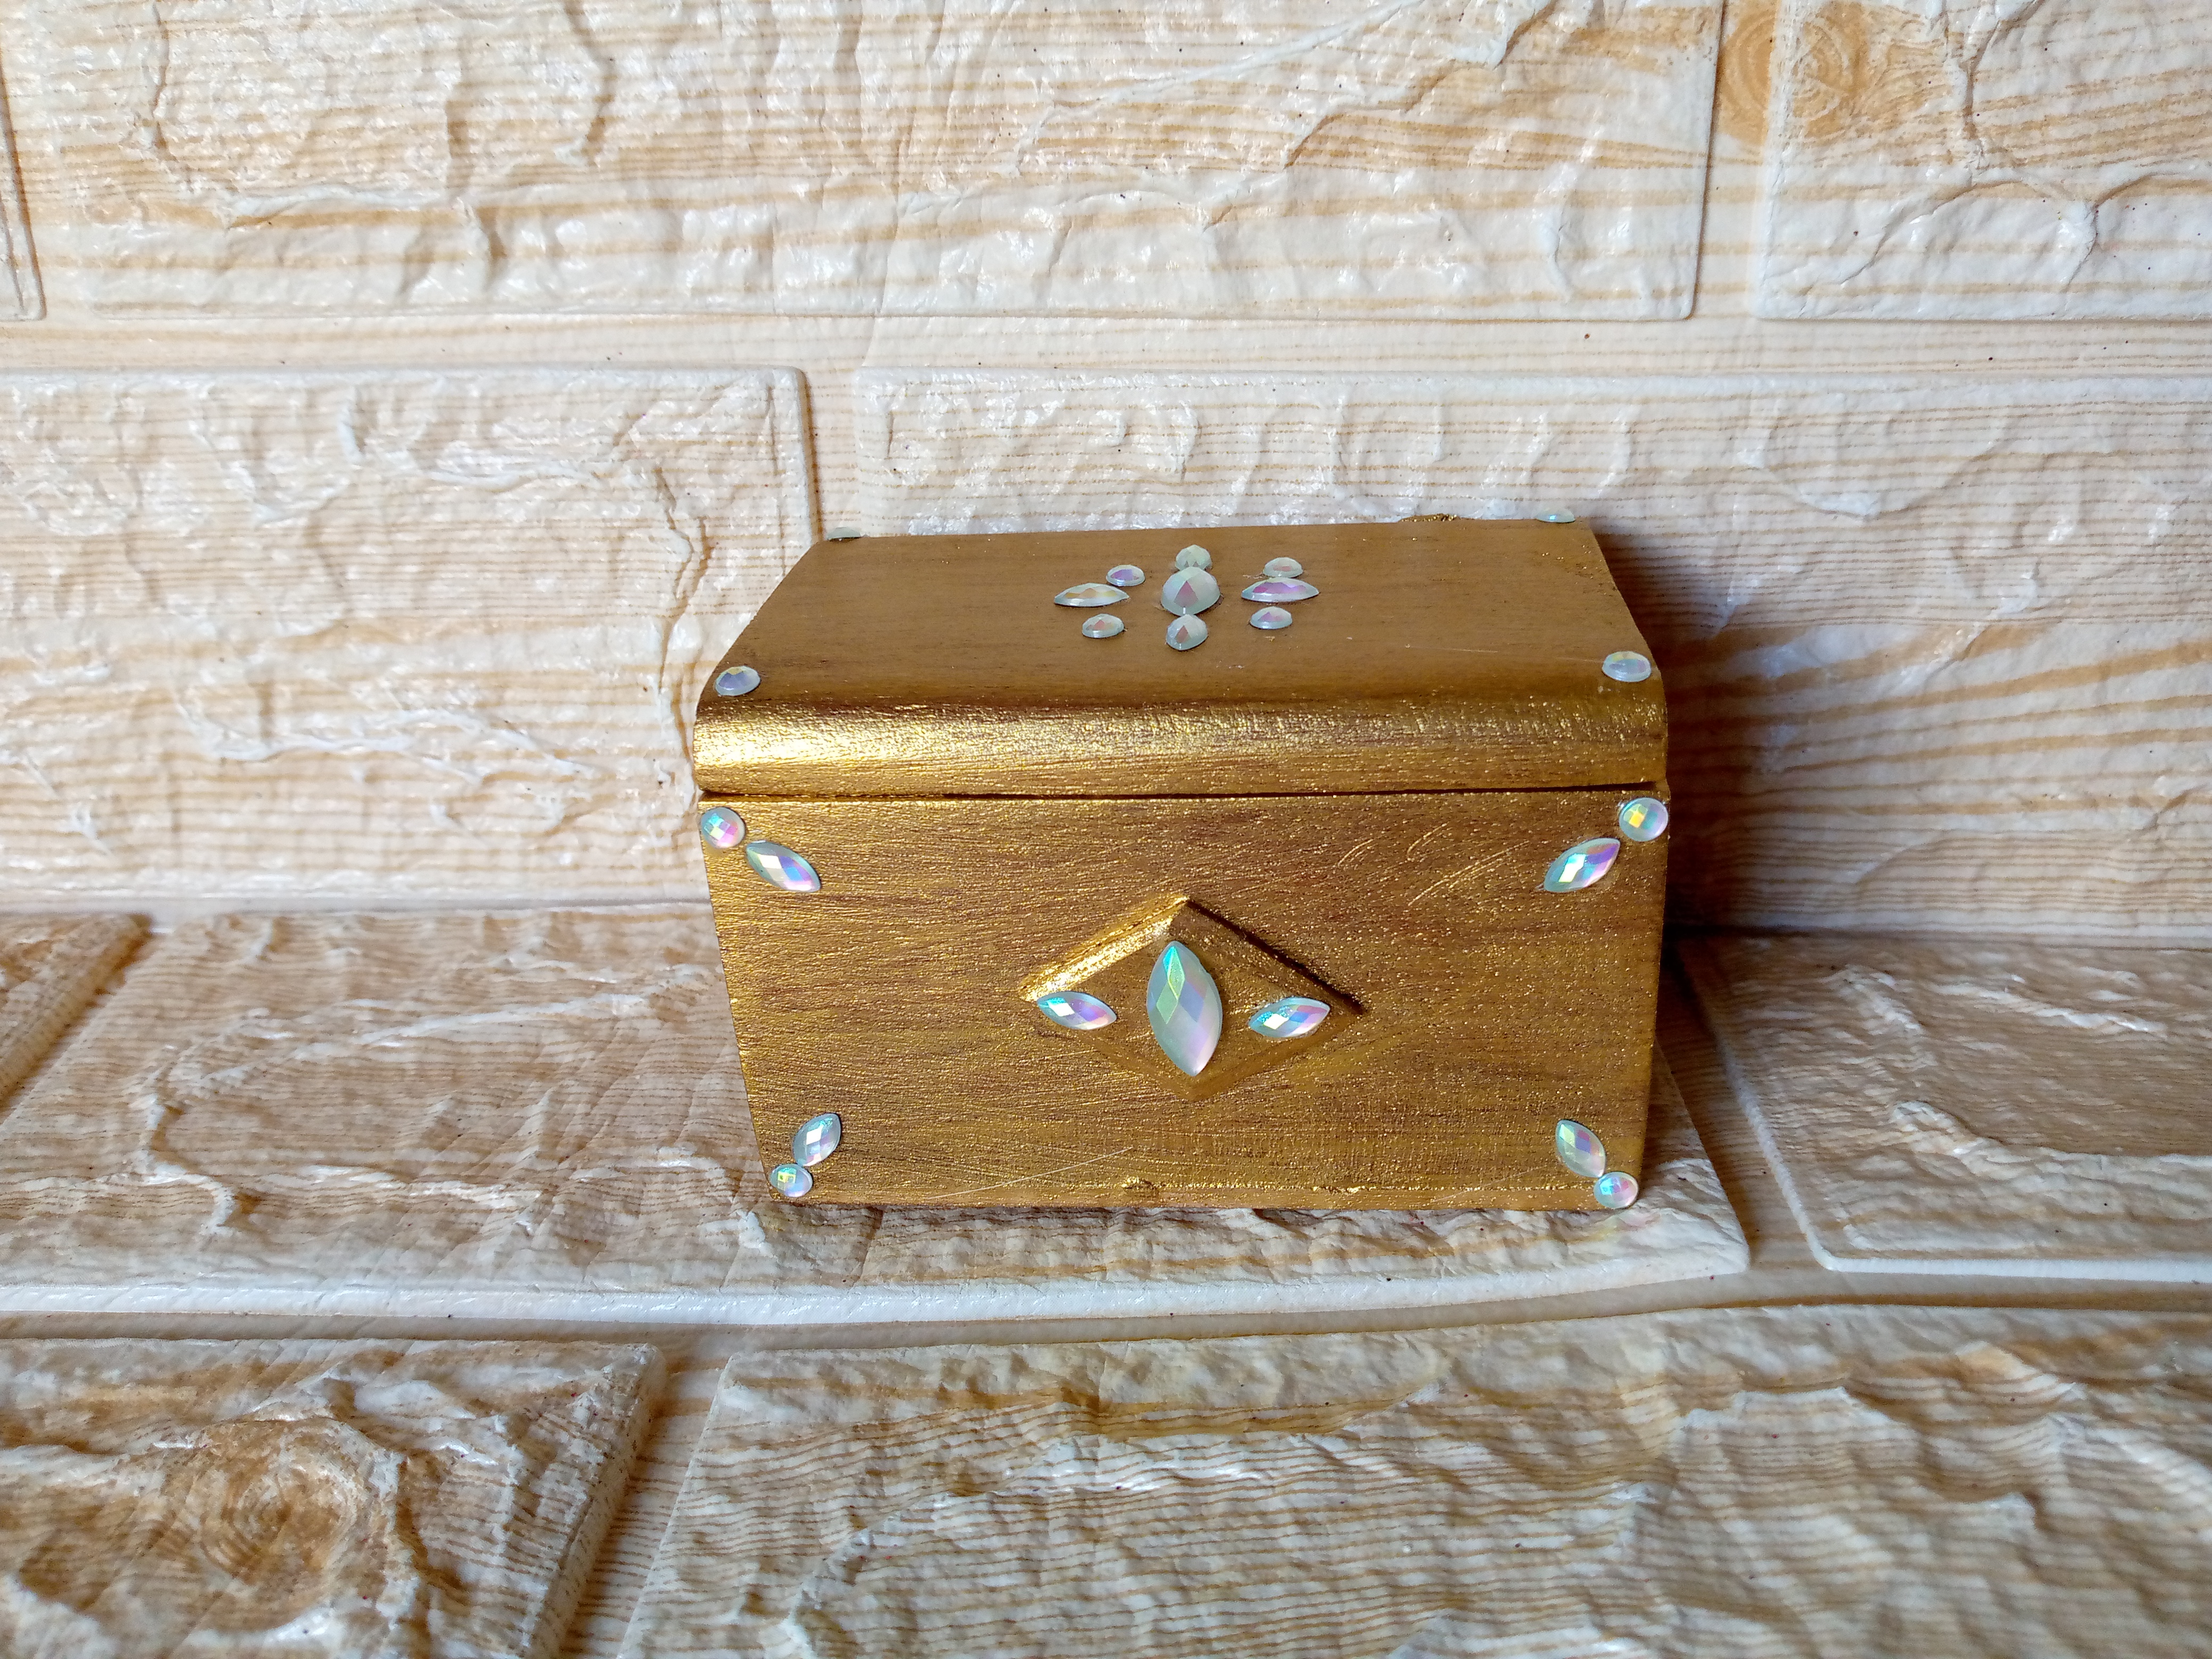
This is the view of my cute little chest, now finished and remodeled, it really needed a change in texture to the wood it had and I know that like me, my friends will also say that it needs more details but the truth is I couldn't think of any more ideas. Do you have any other ideas to remodel the next object? You can gladly let me know, and I hope you really liked this remodeling and here are the final results. Thank you for getting to the end of my blog, and I wish you a happy afternoon. See you in another tutorial 🥰.
.jpg)
Creating things with love 🌷❤️
🦋✨ All the images in this publication are my author ,📱taken with my TecnoSpark8C cell phone |📸Photos edited in PicsArt and Canva. Text translated in Google Translate.

This is absolutely fantastic and mind blowing, the transformation is indeed amazing and it so lovely how it becomes so beautifully crafted. Nicely done and great work
This pirate-themed chest transformation is stunning. The metallic gold paint and decorative stones give it a rich, treasure-like feel. Fantastic work on bringing new life to the wooden chest. Well done
It's good to know, thank you very much, my friend 😊 to know that you liked this idea and the community is incredible, thank you for supporting this work
This is incredible
Wow thank you for sharing this with us
Thanks friend for support 🥺😊