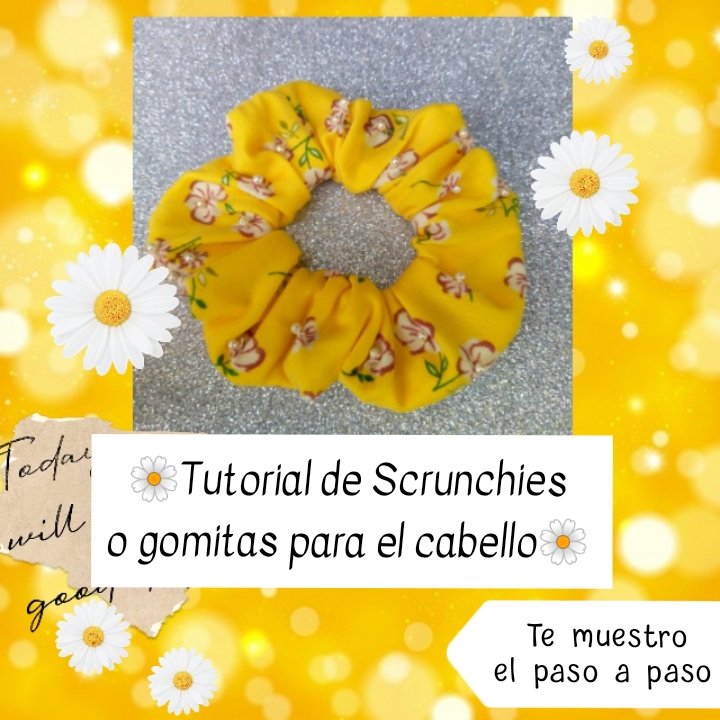
Hola Hola linda comunidad me animaría mucho saber que están pasando una semana excelente para todos y hayan tenido un bonito día ,me he decidido a compartirles un detalle muy bonito y sencillo que he hecho que son "Las Scrunchies" o gomitas de tela para sujetar el cabello ,en épocas de verano siempre se nos dificulta mucho realizar las cosas del hogar nosotras las mujeres porque batallamos mucho cuando hace mucho calor y nuestro cuerpo se empieza a sudar lo que hace que nuestro cabello estando suelto también se nos sude ,las scrunchies nos ayudan muchísimo a la hora de recogernos el cabello porque no lo marca ,maltrata o enreda,asi que son muy prácticas para usarlas en tiempo donde hace mucho mas calor de lo normal..
Antes de comenzar a realizar este paso a paso quiero explicarles que de antemano ya me he hecho mis moldes para realizar este trabajo de igual manera acá yo les dejo las medidas exactas para que ustedes también lo realicen en casita y no tengan problemas al hacerlo,bien a continuación les dejo los pasos de como lo he hecho,vamos.
%20(1).jpg)
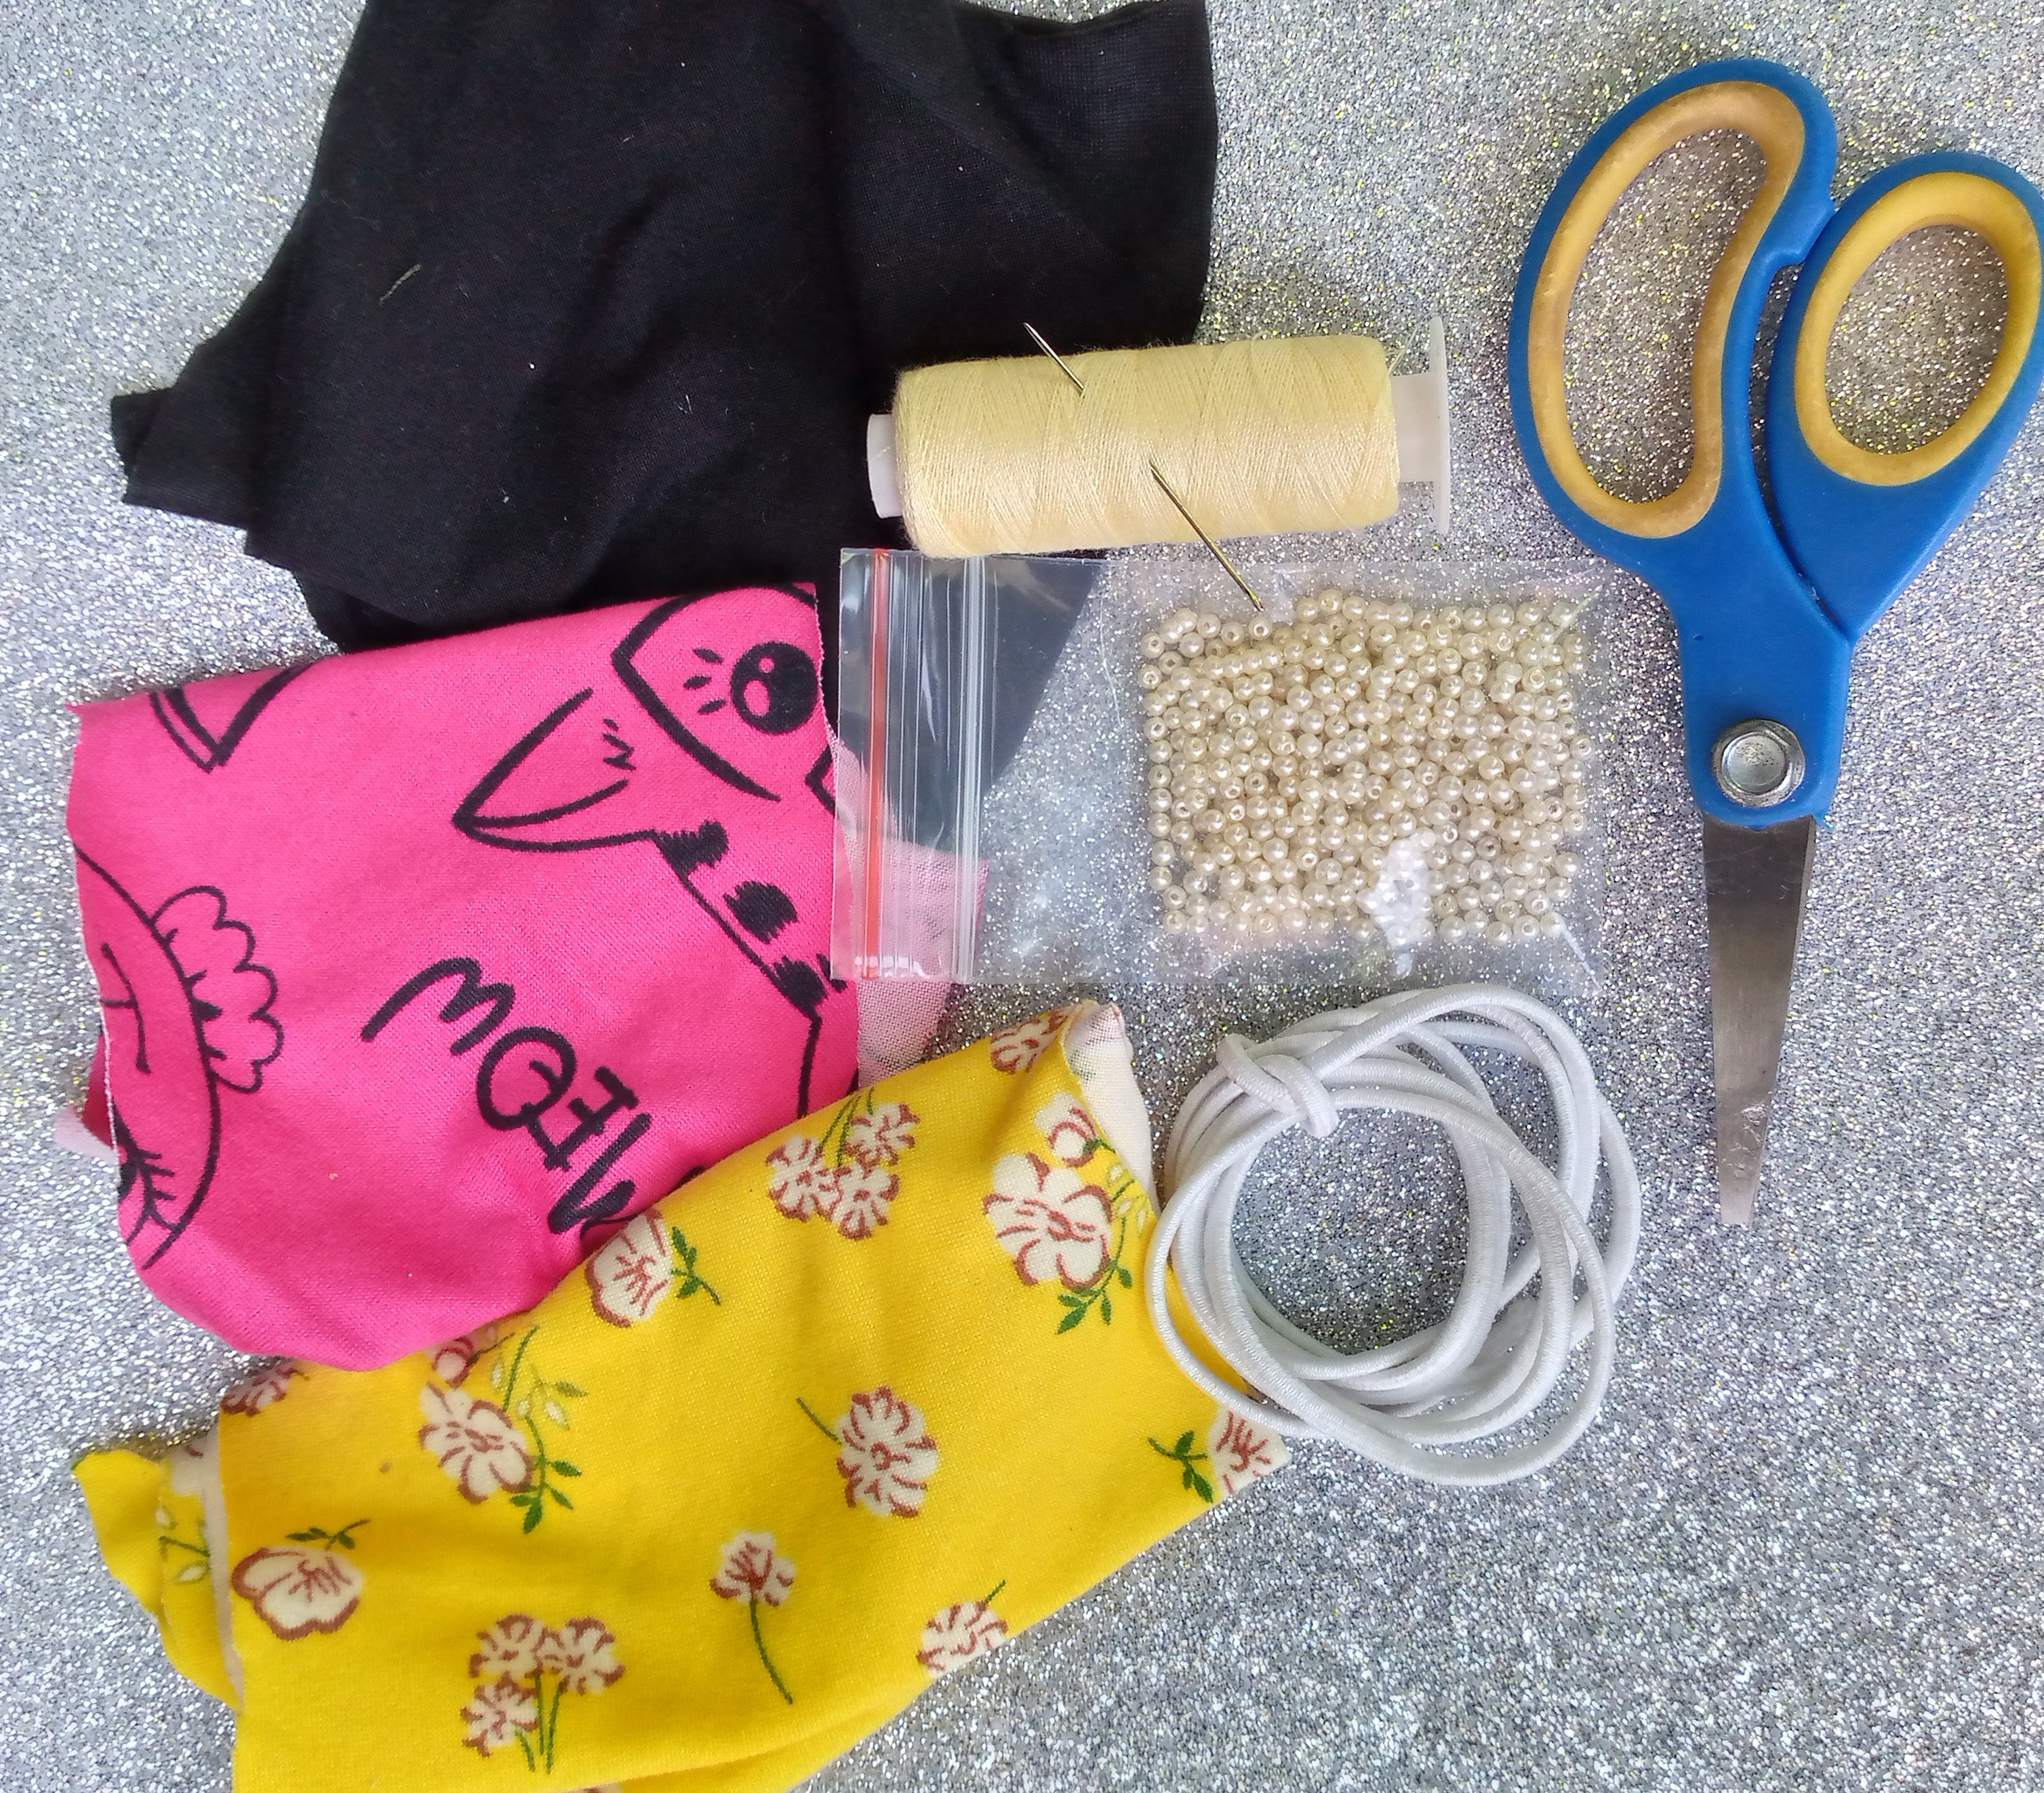
🌼Materiales que necesitas:🌼
- Recortes de telas estampados
- Tijeras
- Hilo y aguja
- Perlitas para decorar
- Elástico para gomas del cabello
🌼(PROCEDIMIENTO)🌼
Paso 01
Empezamos cortando en nuestra tela estampada un rectángulo de 47 cm de ancho x 8 cm de largo,luego lo cosemos bien sea a mano o máquina.


Paso 02
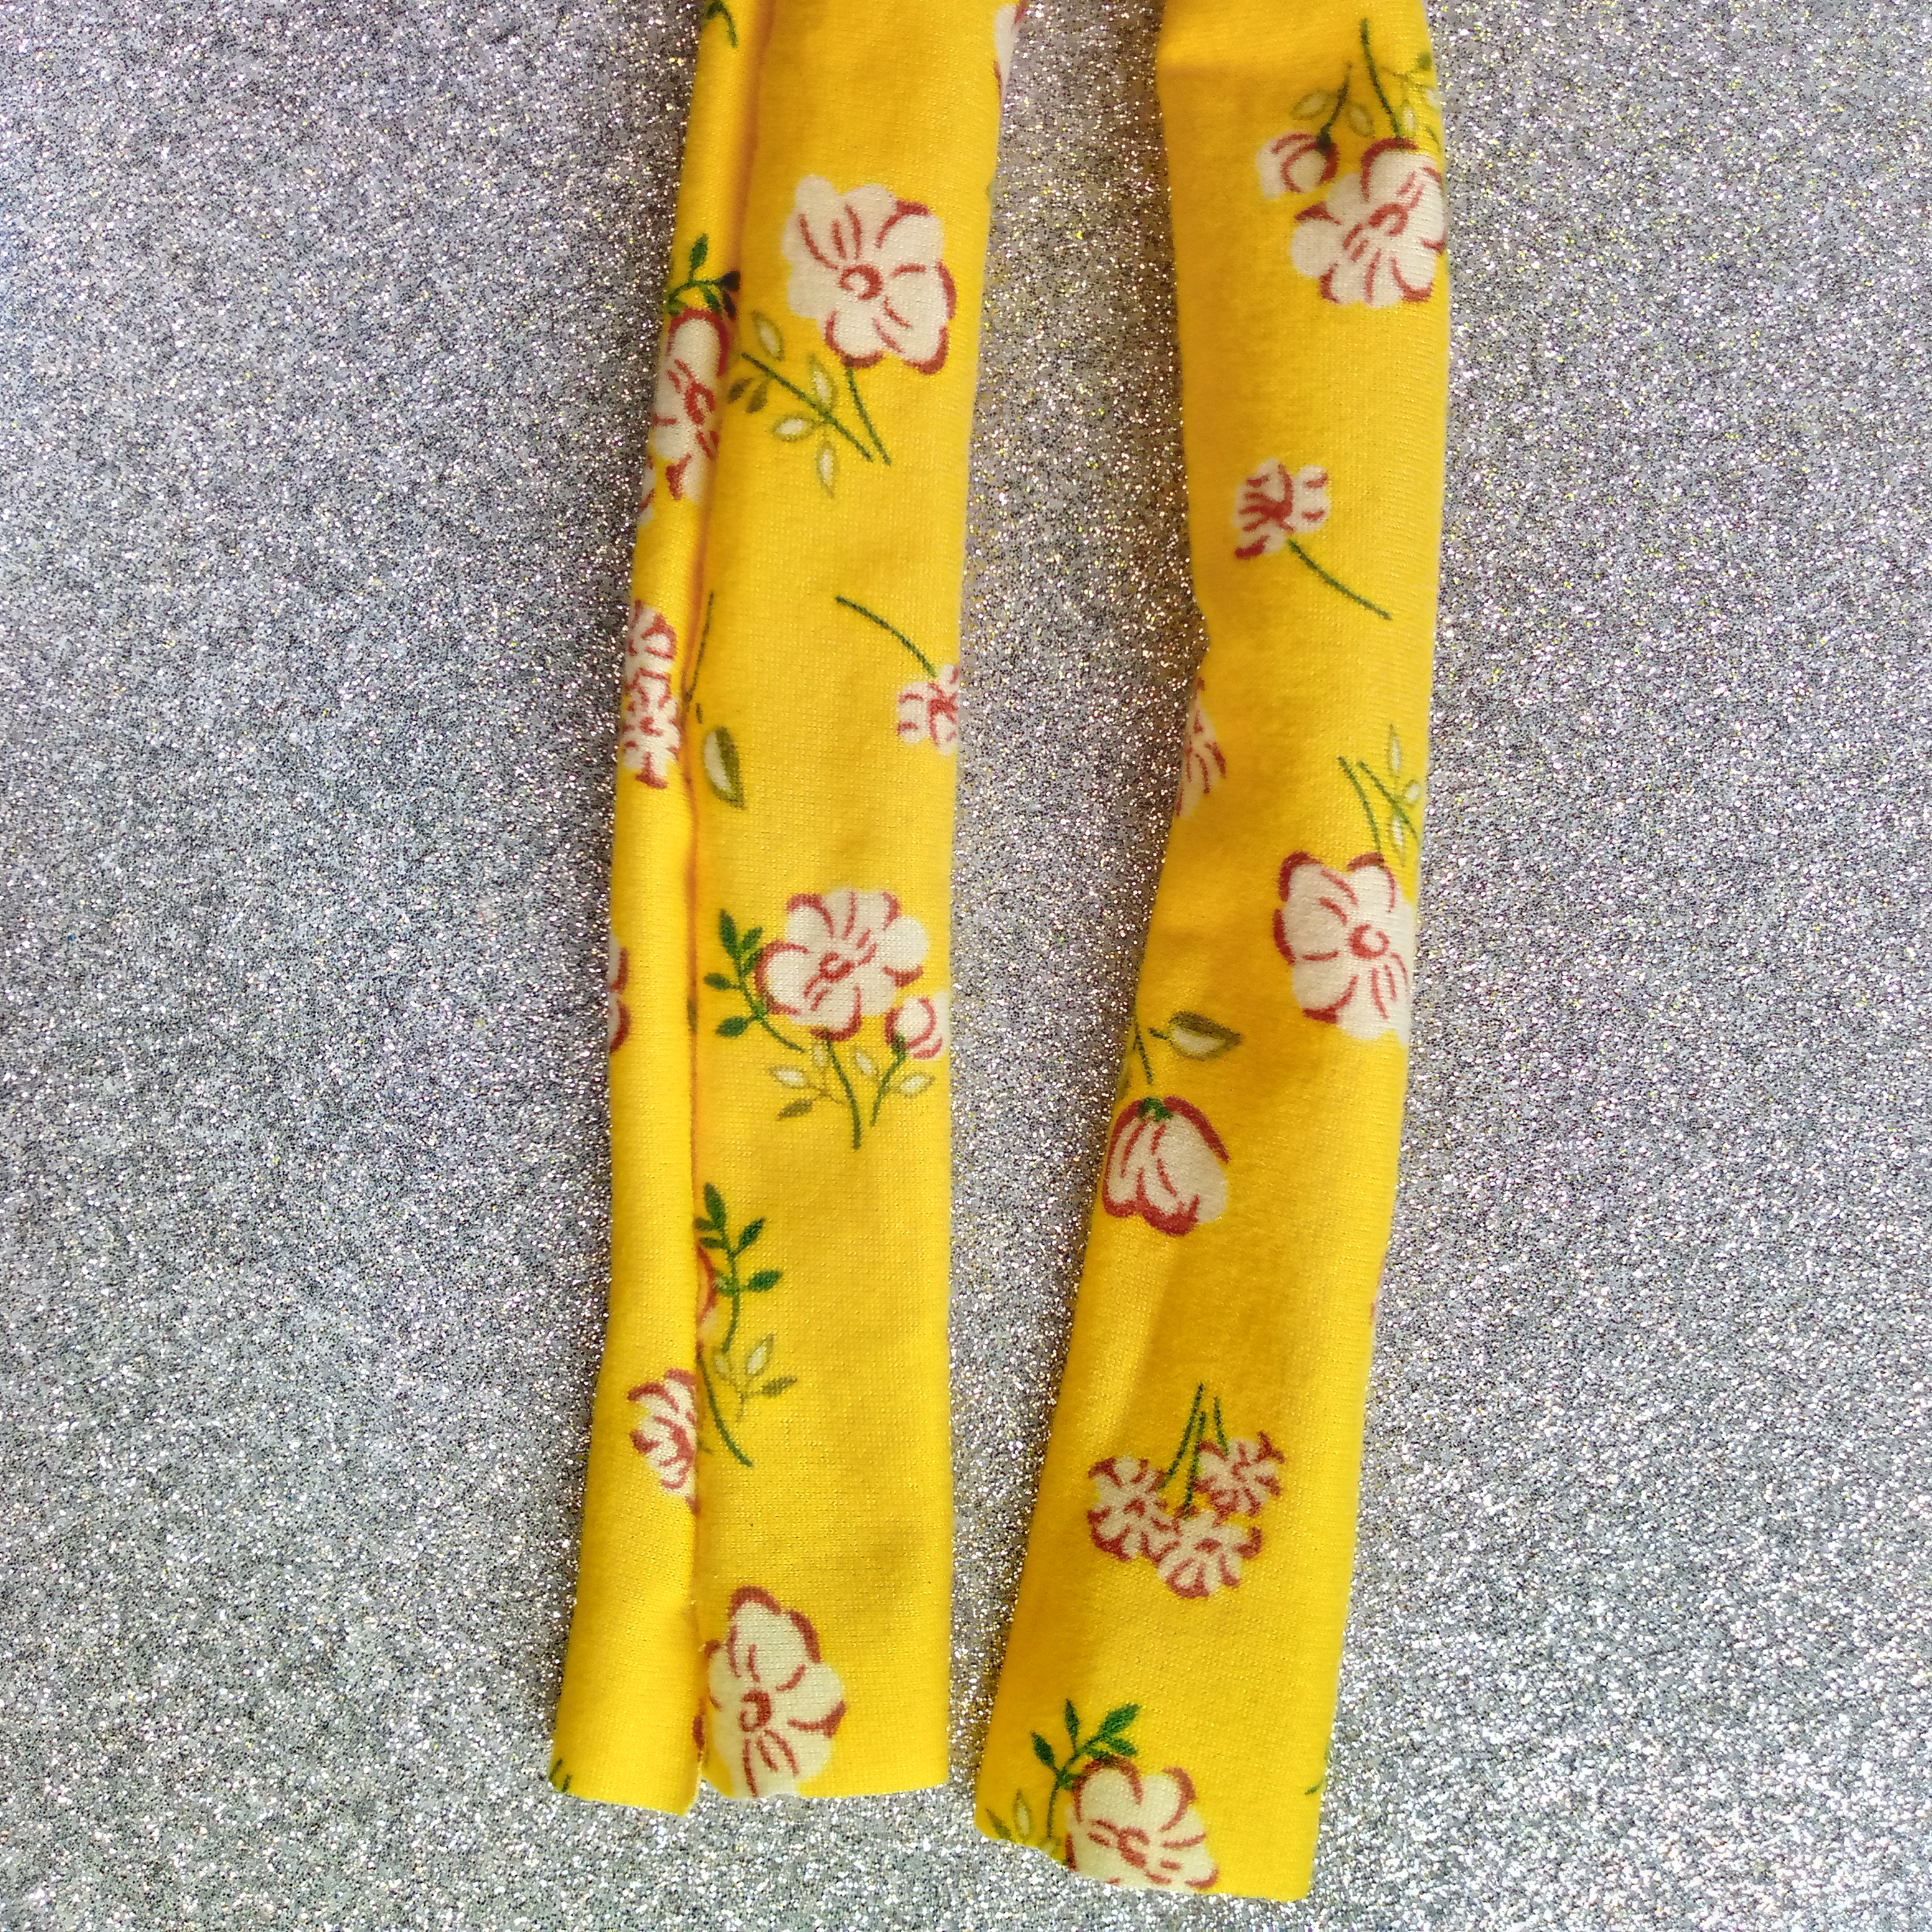
Cuando ya tengamos nuestro rectángulo cosido vamos a voltearlo con mucha paciencia luego unimos las dos puntas del lado contrario para coser ambas piezas así tal cual se muestra en las imágenes.

Paso 03
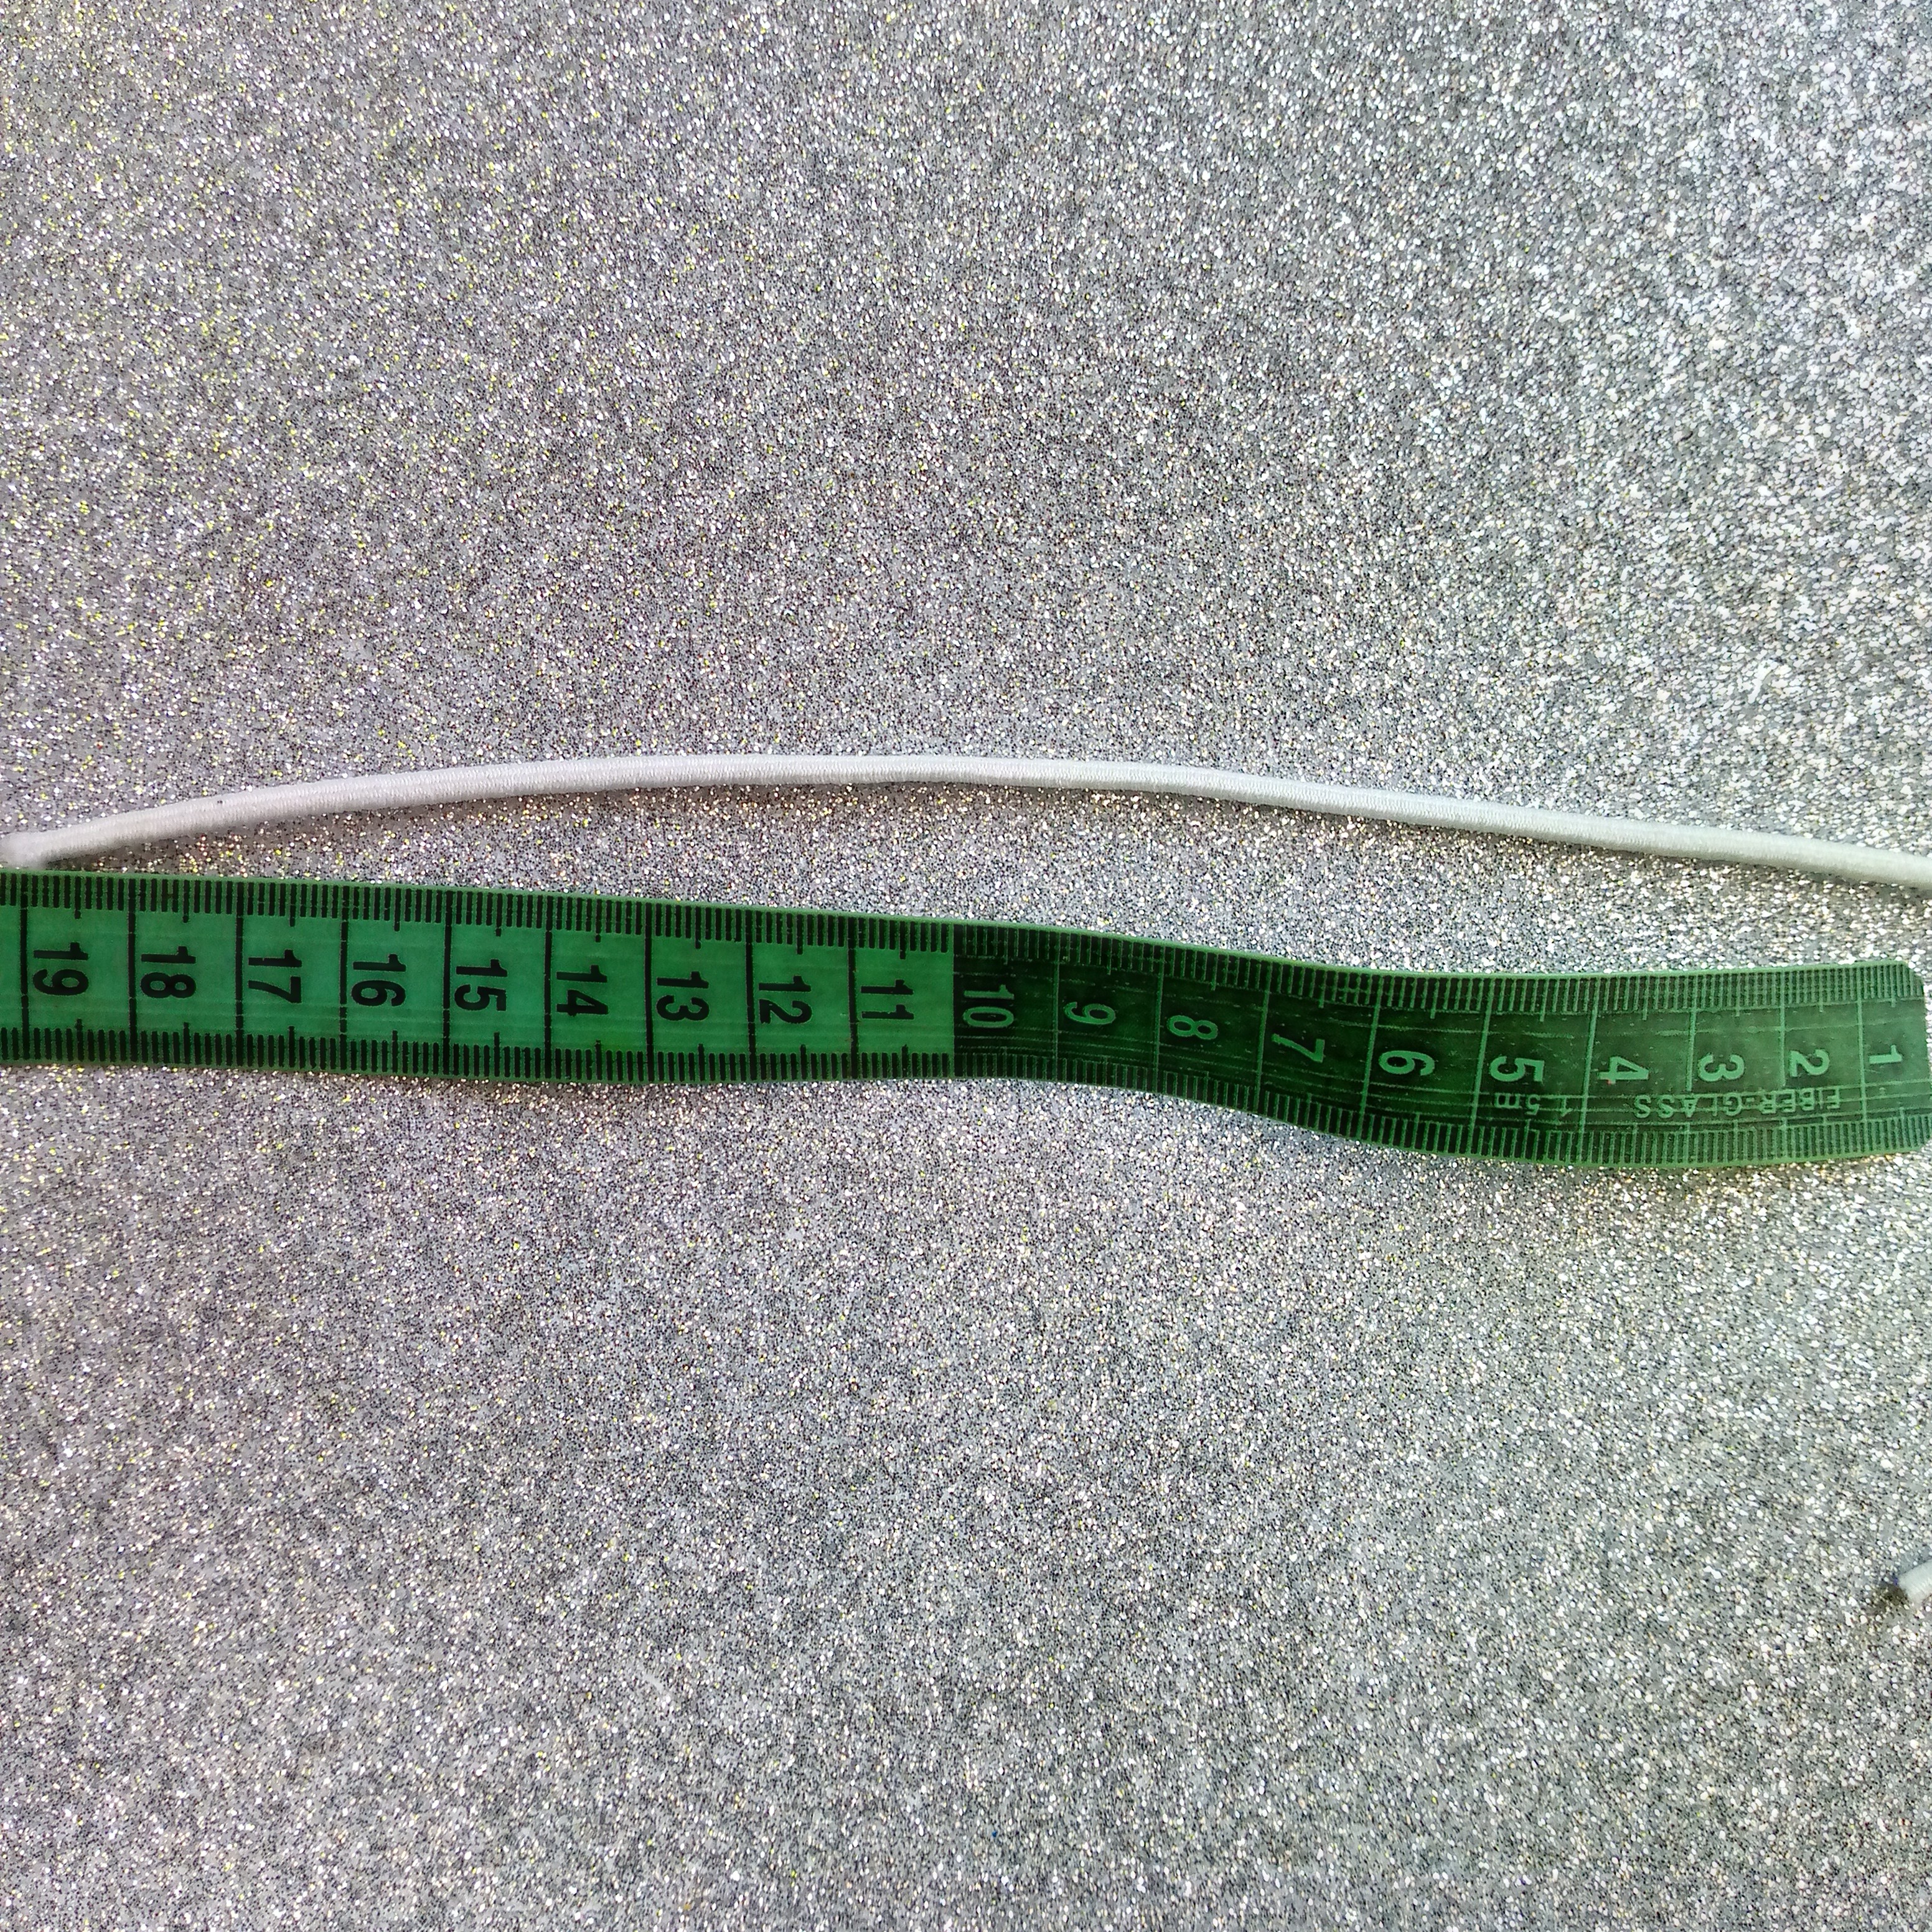
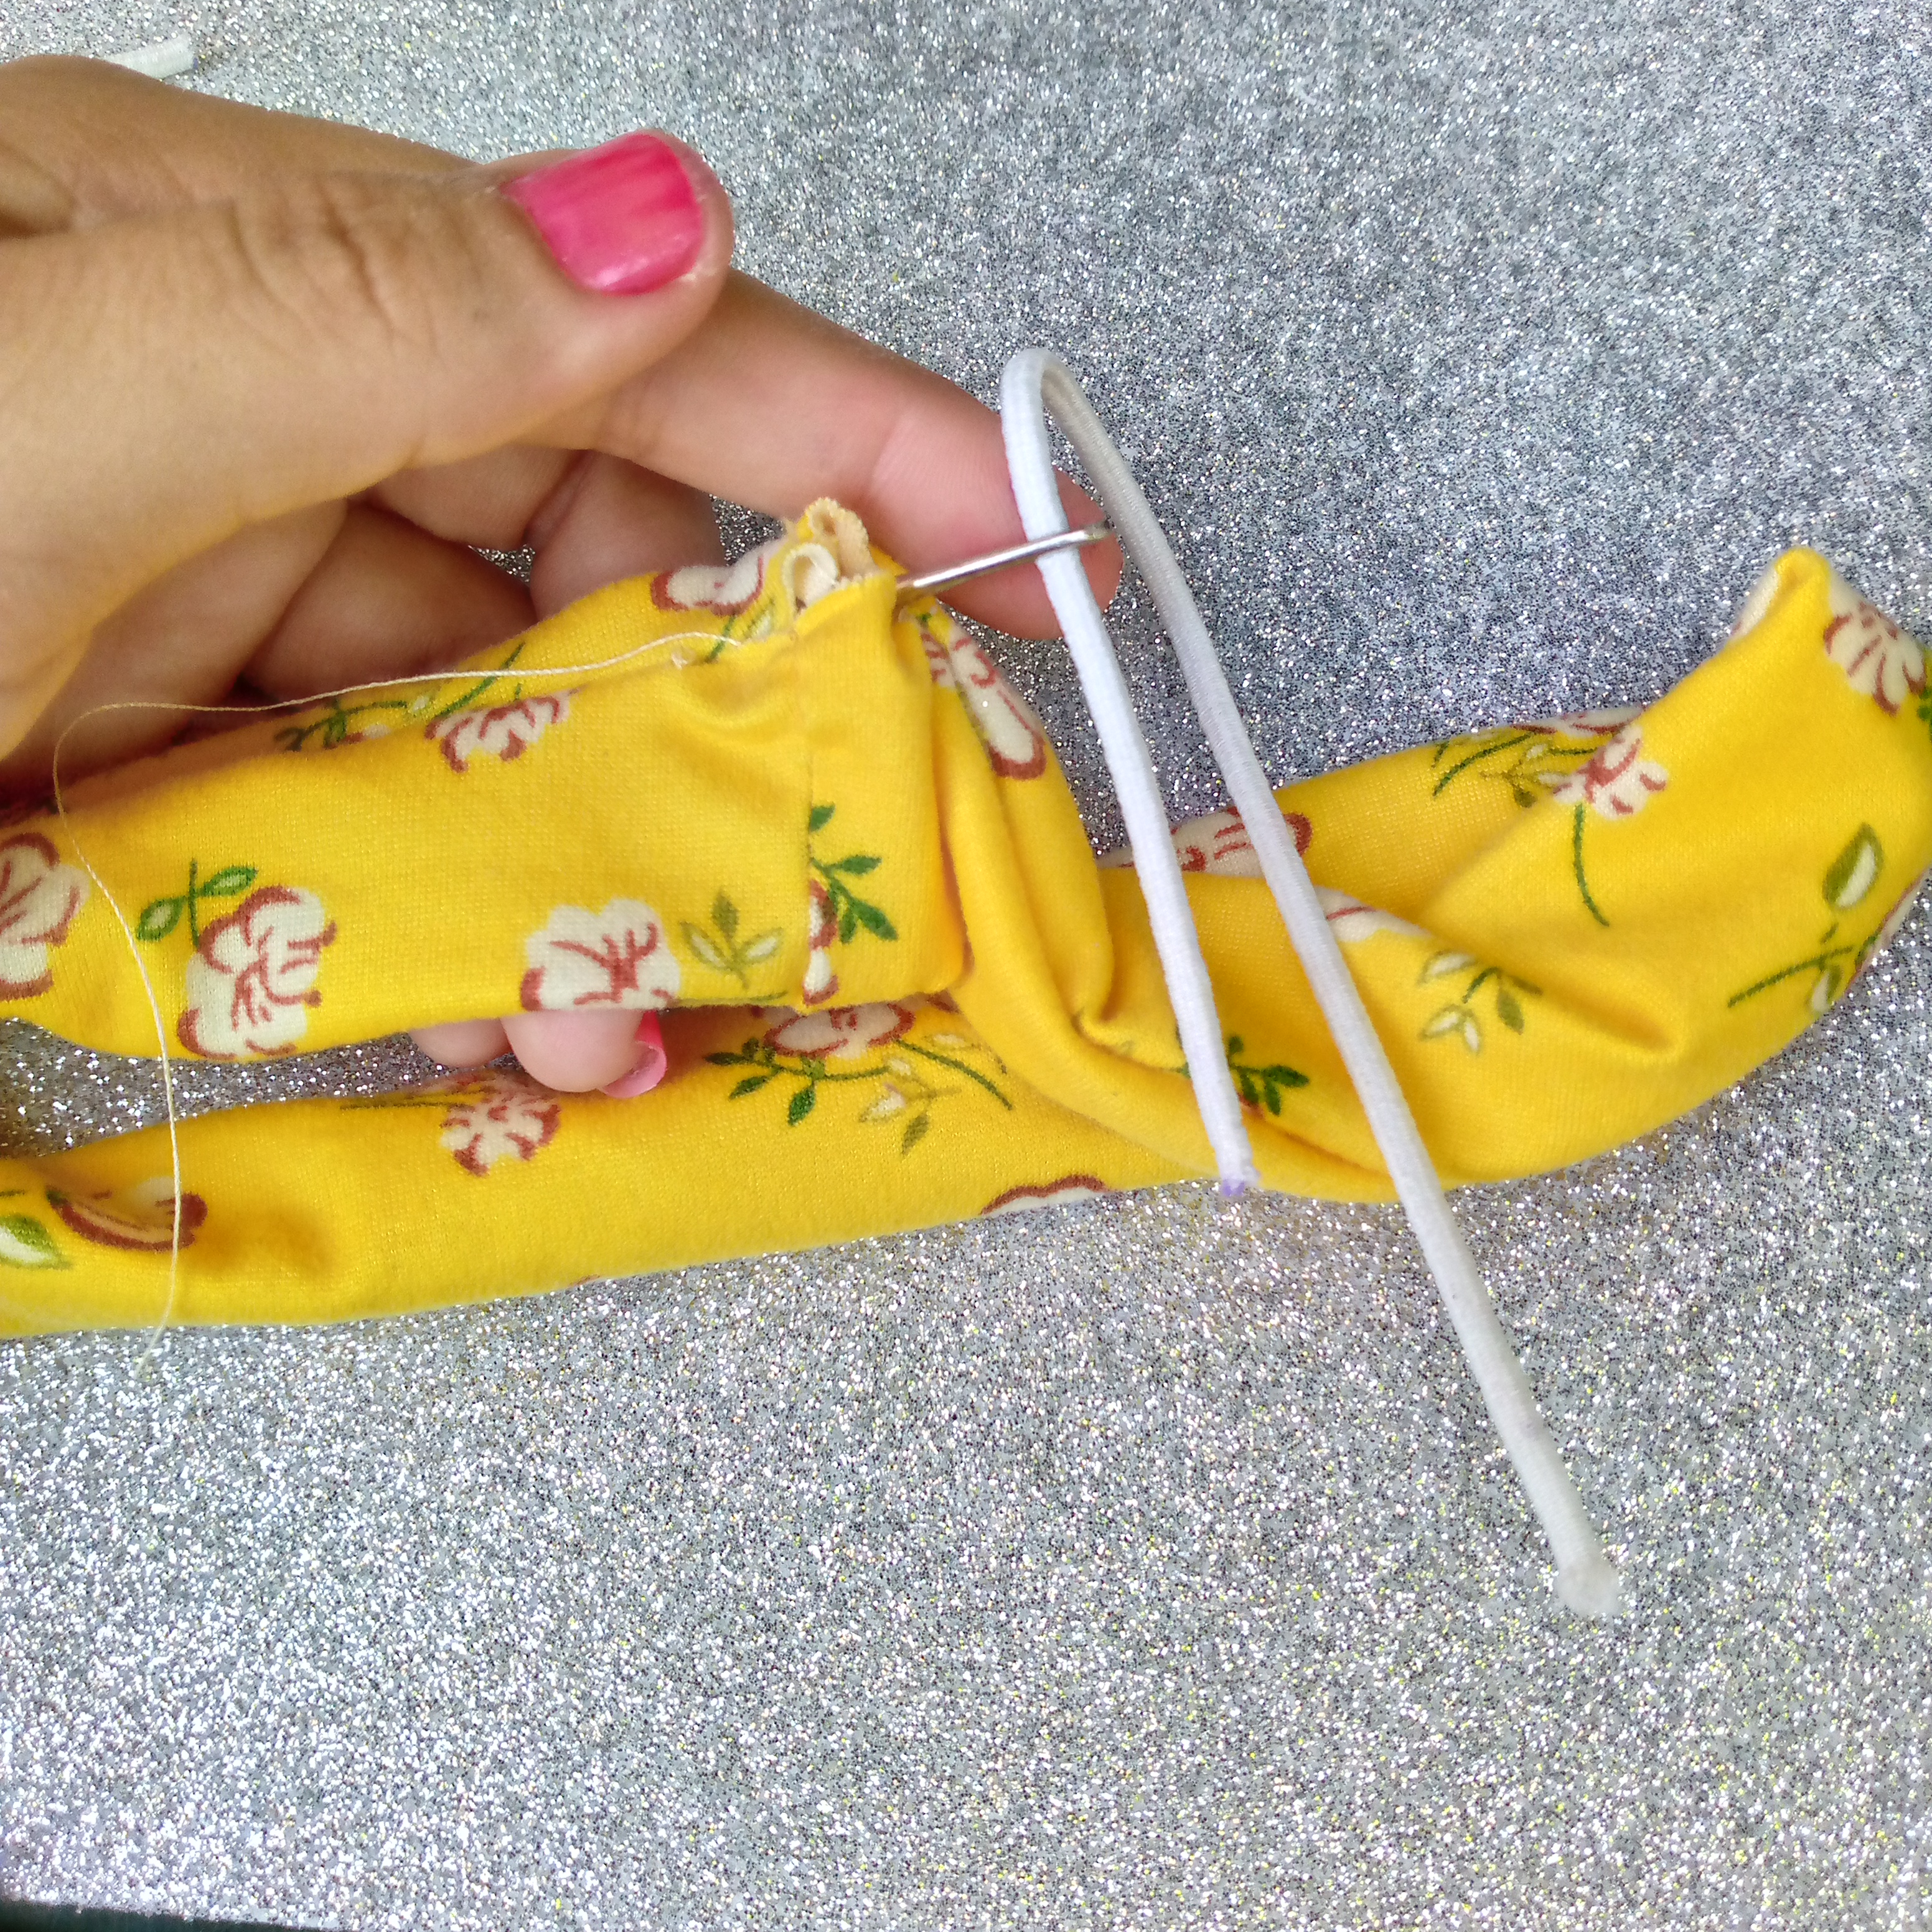
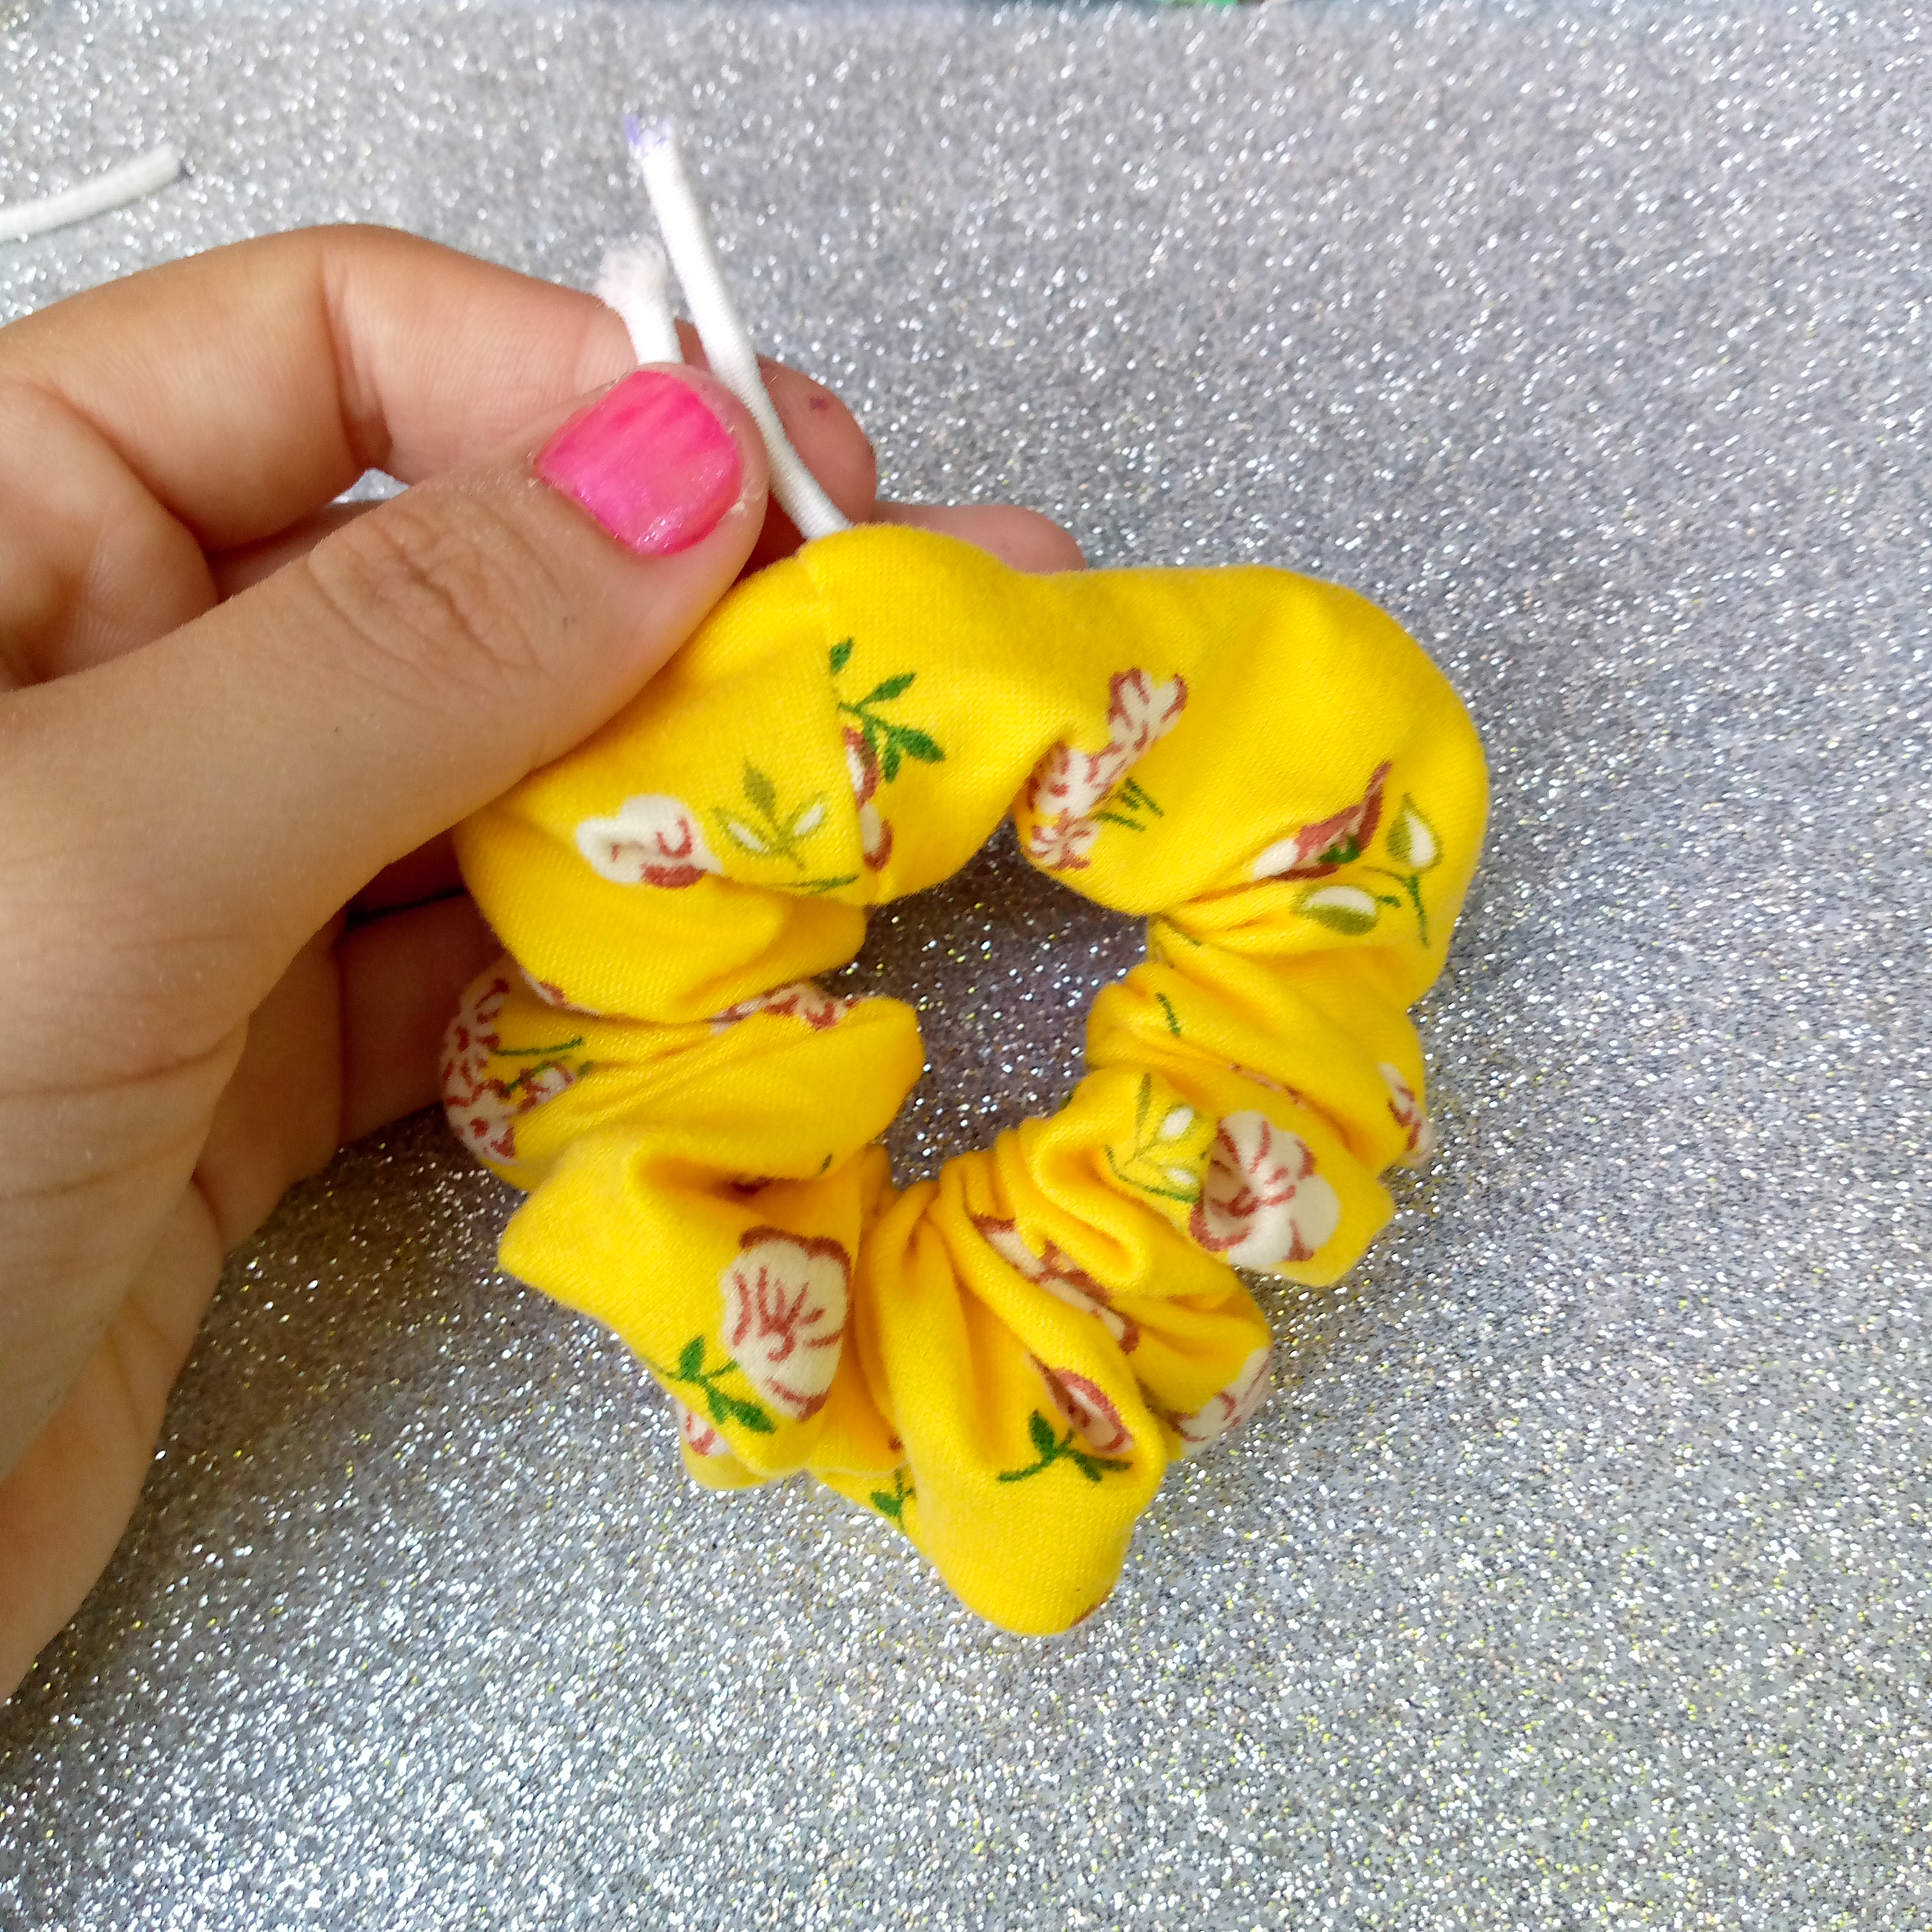
Para éste siguiente paso y muy importante vamos a proceder a cortar nuestra gomita,cortamos 19 cm de ella puedes colocarle 21 cm para hacerla mas grande y la metemos por nuestra tela ya cosida acá nos podemos ayudar con una aguja grande con cuidado para que no se nos vaya a soltar o salir la gomita de la aguja.
Paso 04
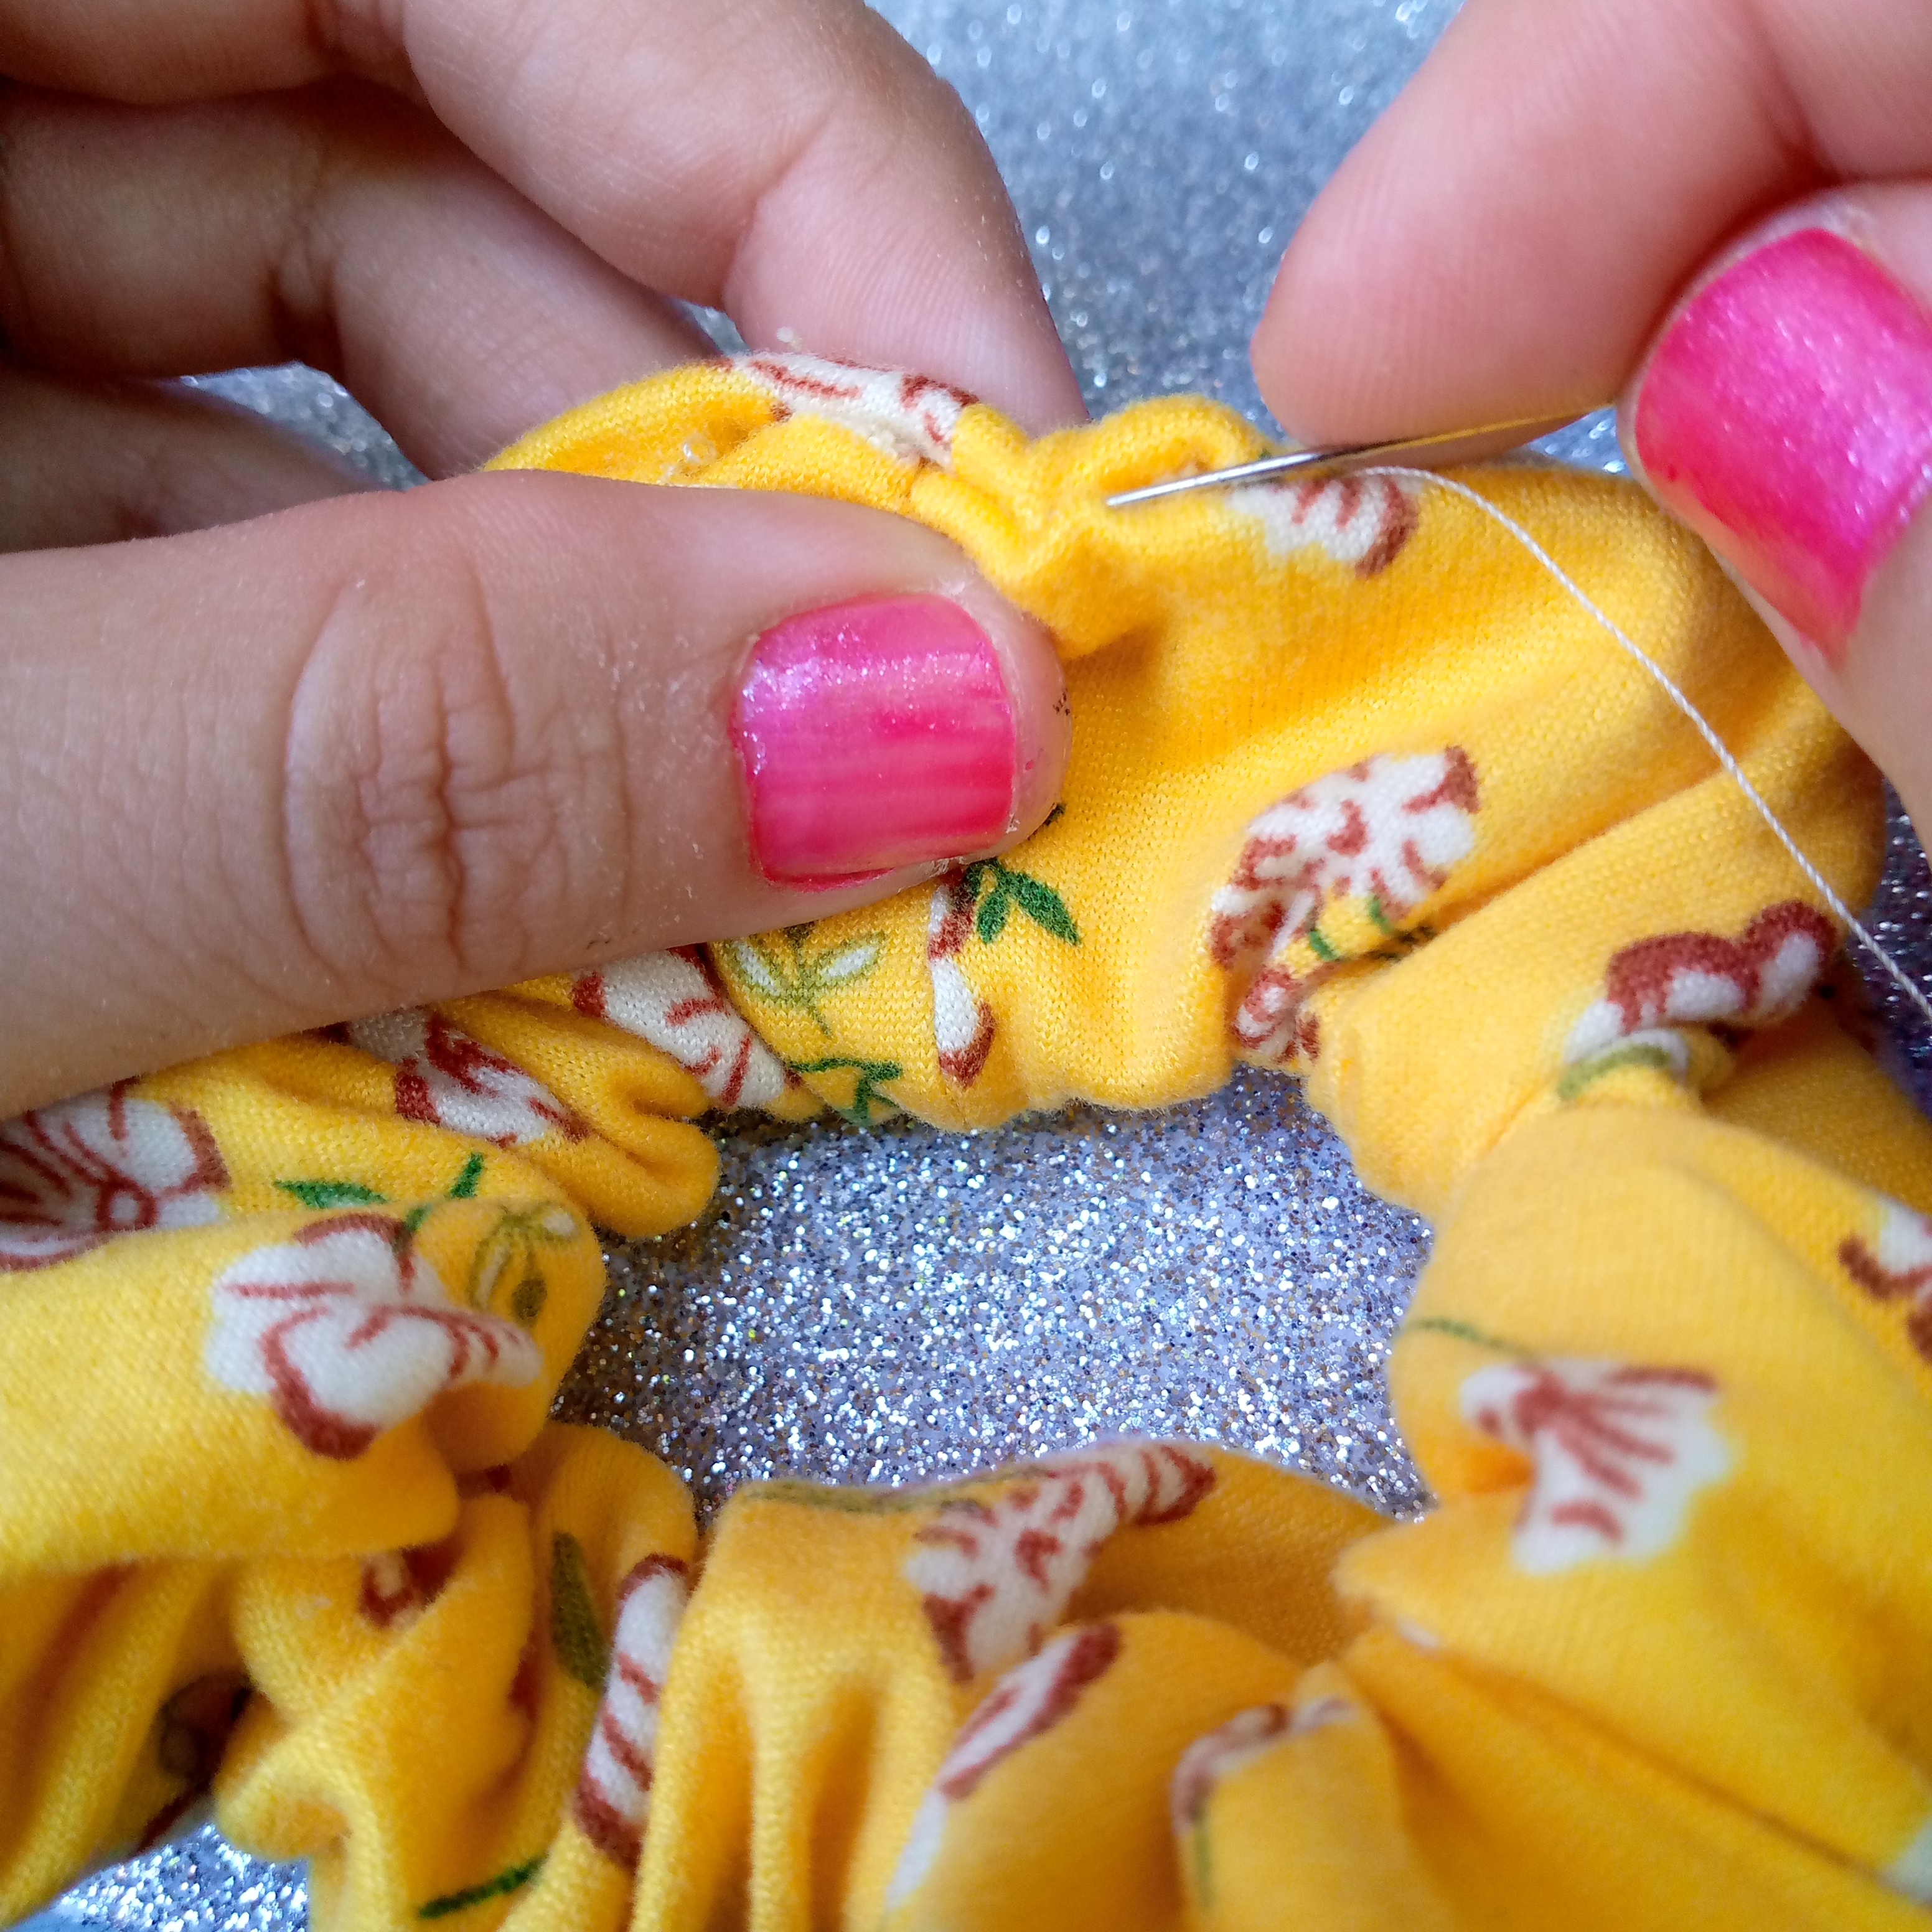
Bien ,una vez pasado nuestra gomita por dentro le hacemos un pequeño nudo para sujetarla y no se nos suelte , después de tenerla sujetada con el nudo vamos a realizar una pequeña costura en la parte de la tela donde nos quedó sin unir , siempre tratando de que nuestra costura no se vea y nos quede un acabado muy delicado y bonito .
.jpg)
Paso 05
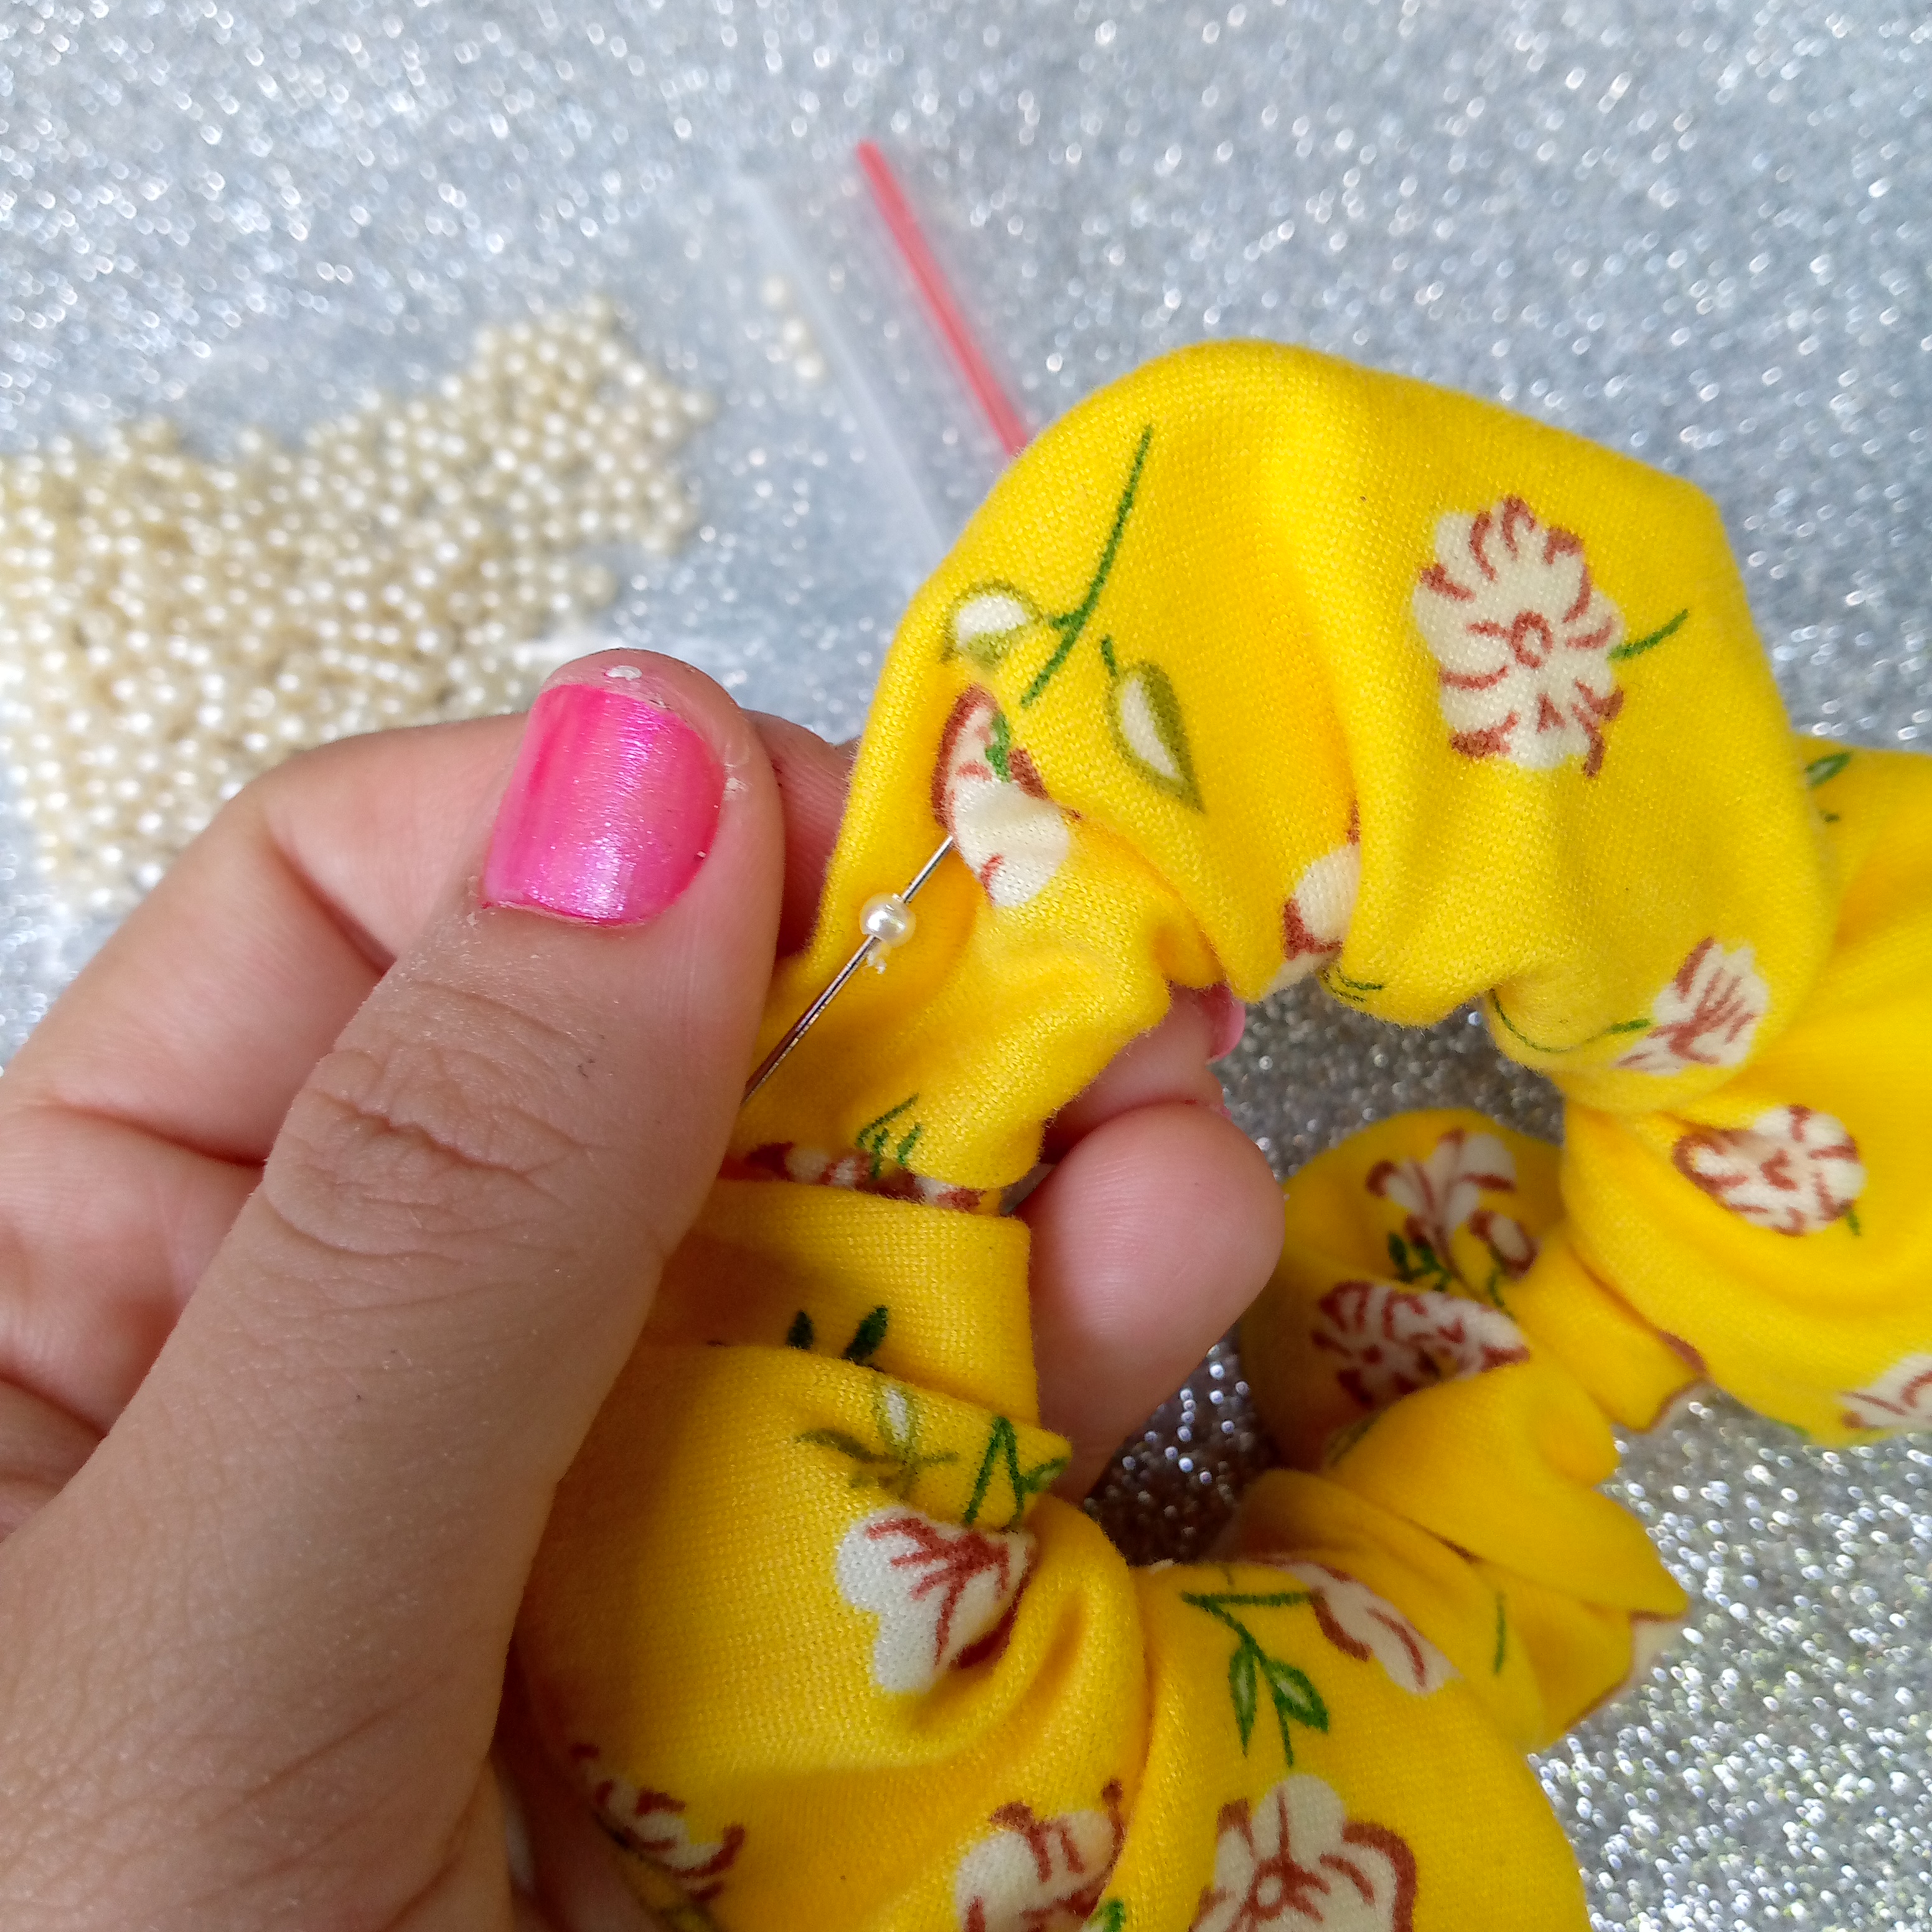
Cuando ya tengamos esto listo podemos dejar volar la imaginación decorando,en esta oportunidad lo hice con las perlitas chiquitas cosiendolas en cada florecita de la tela estampada ya que esto le aporta a la gomita un toque de delicadeza y ternura,asi nos queda entonces terminada nuestra Scrunchie.
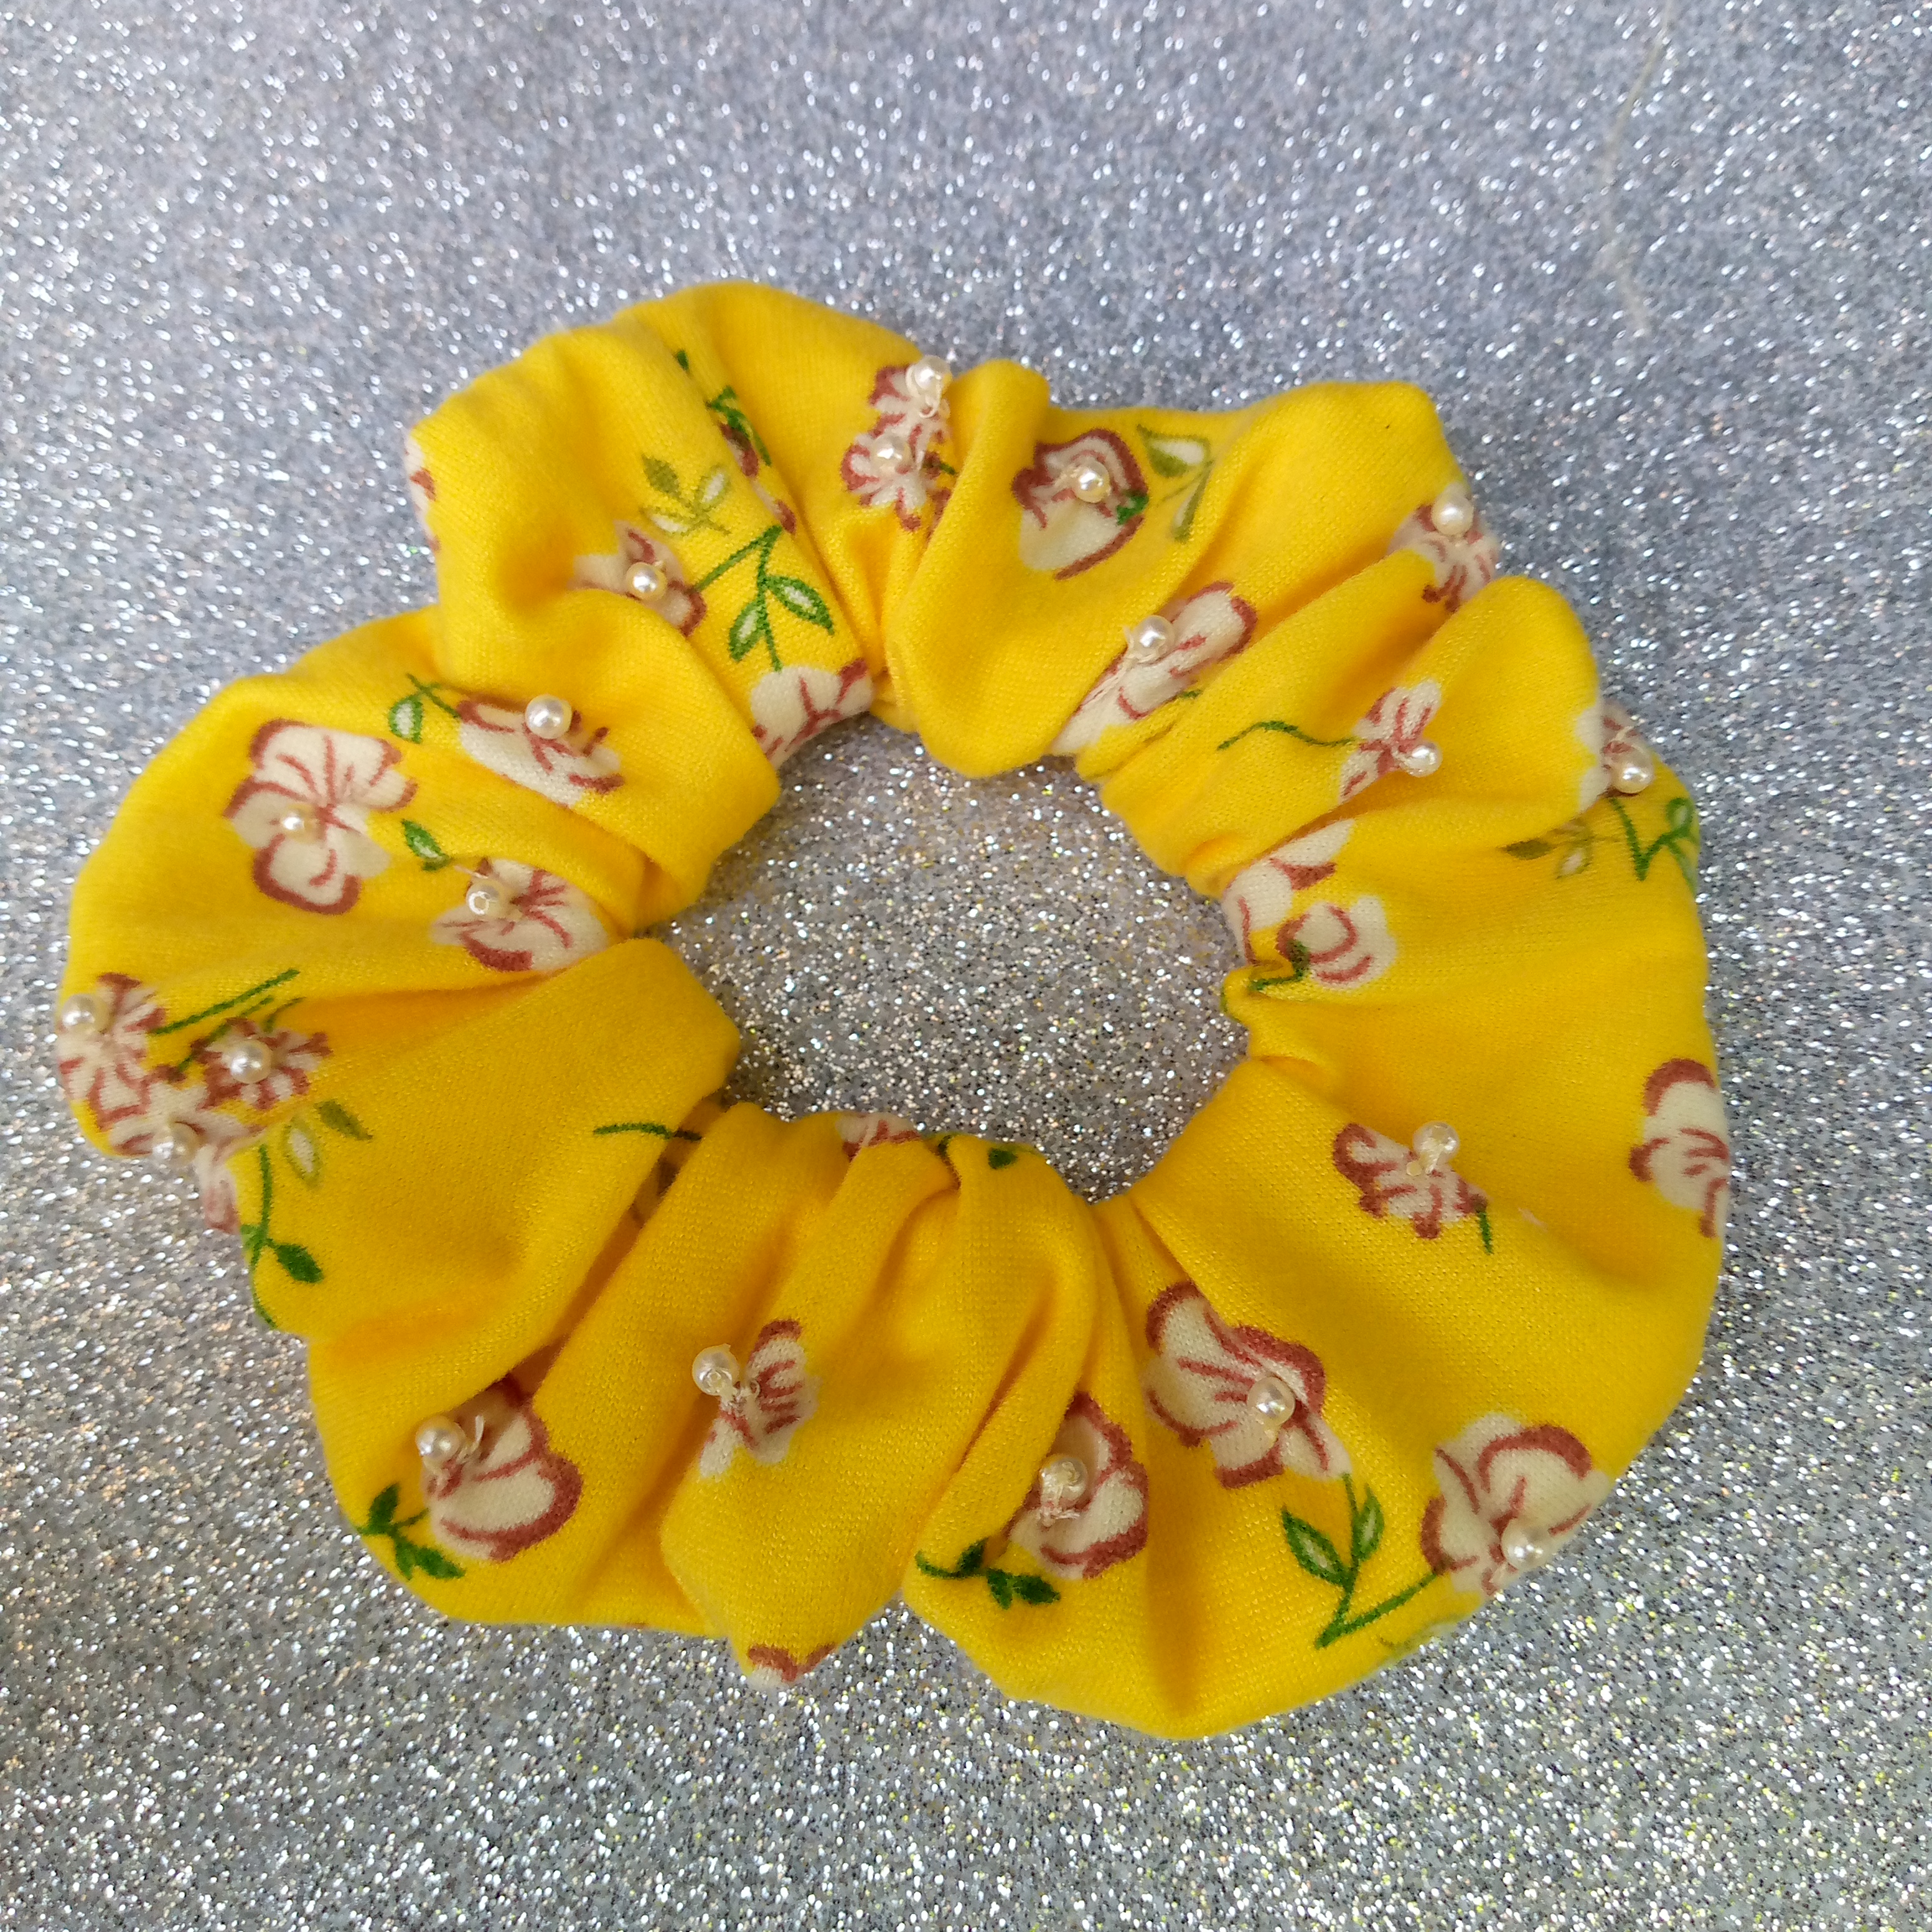
🌼Resultado!🌼
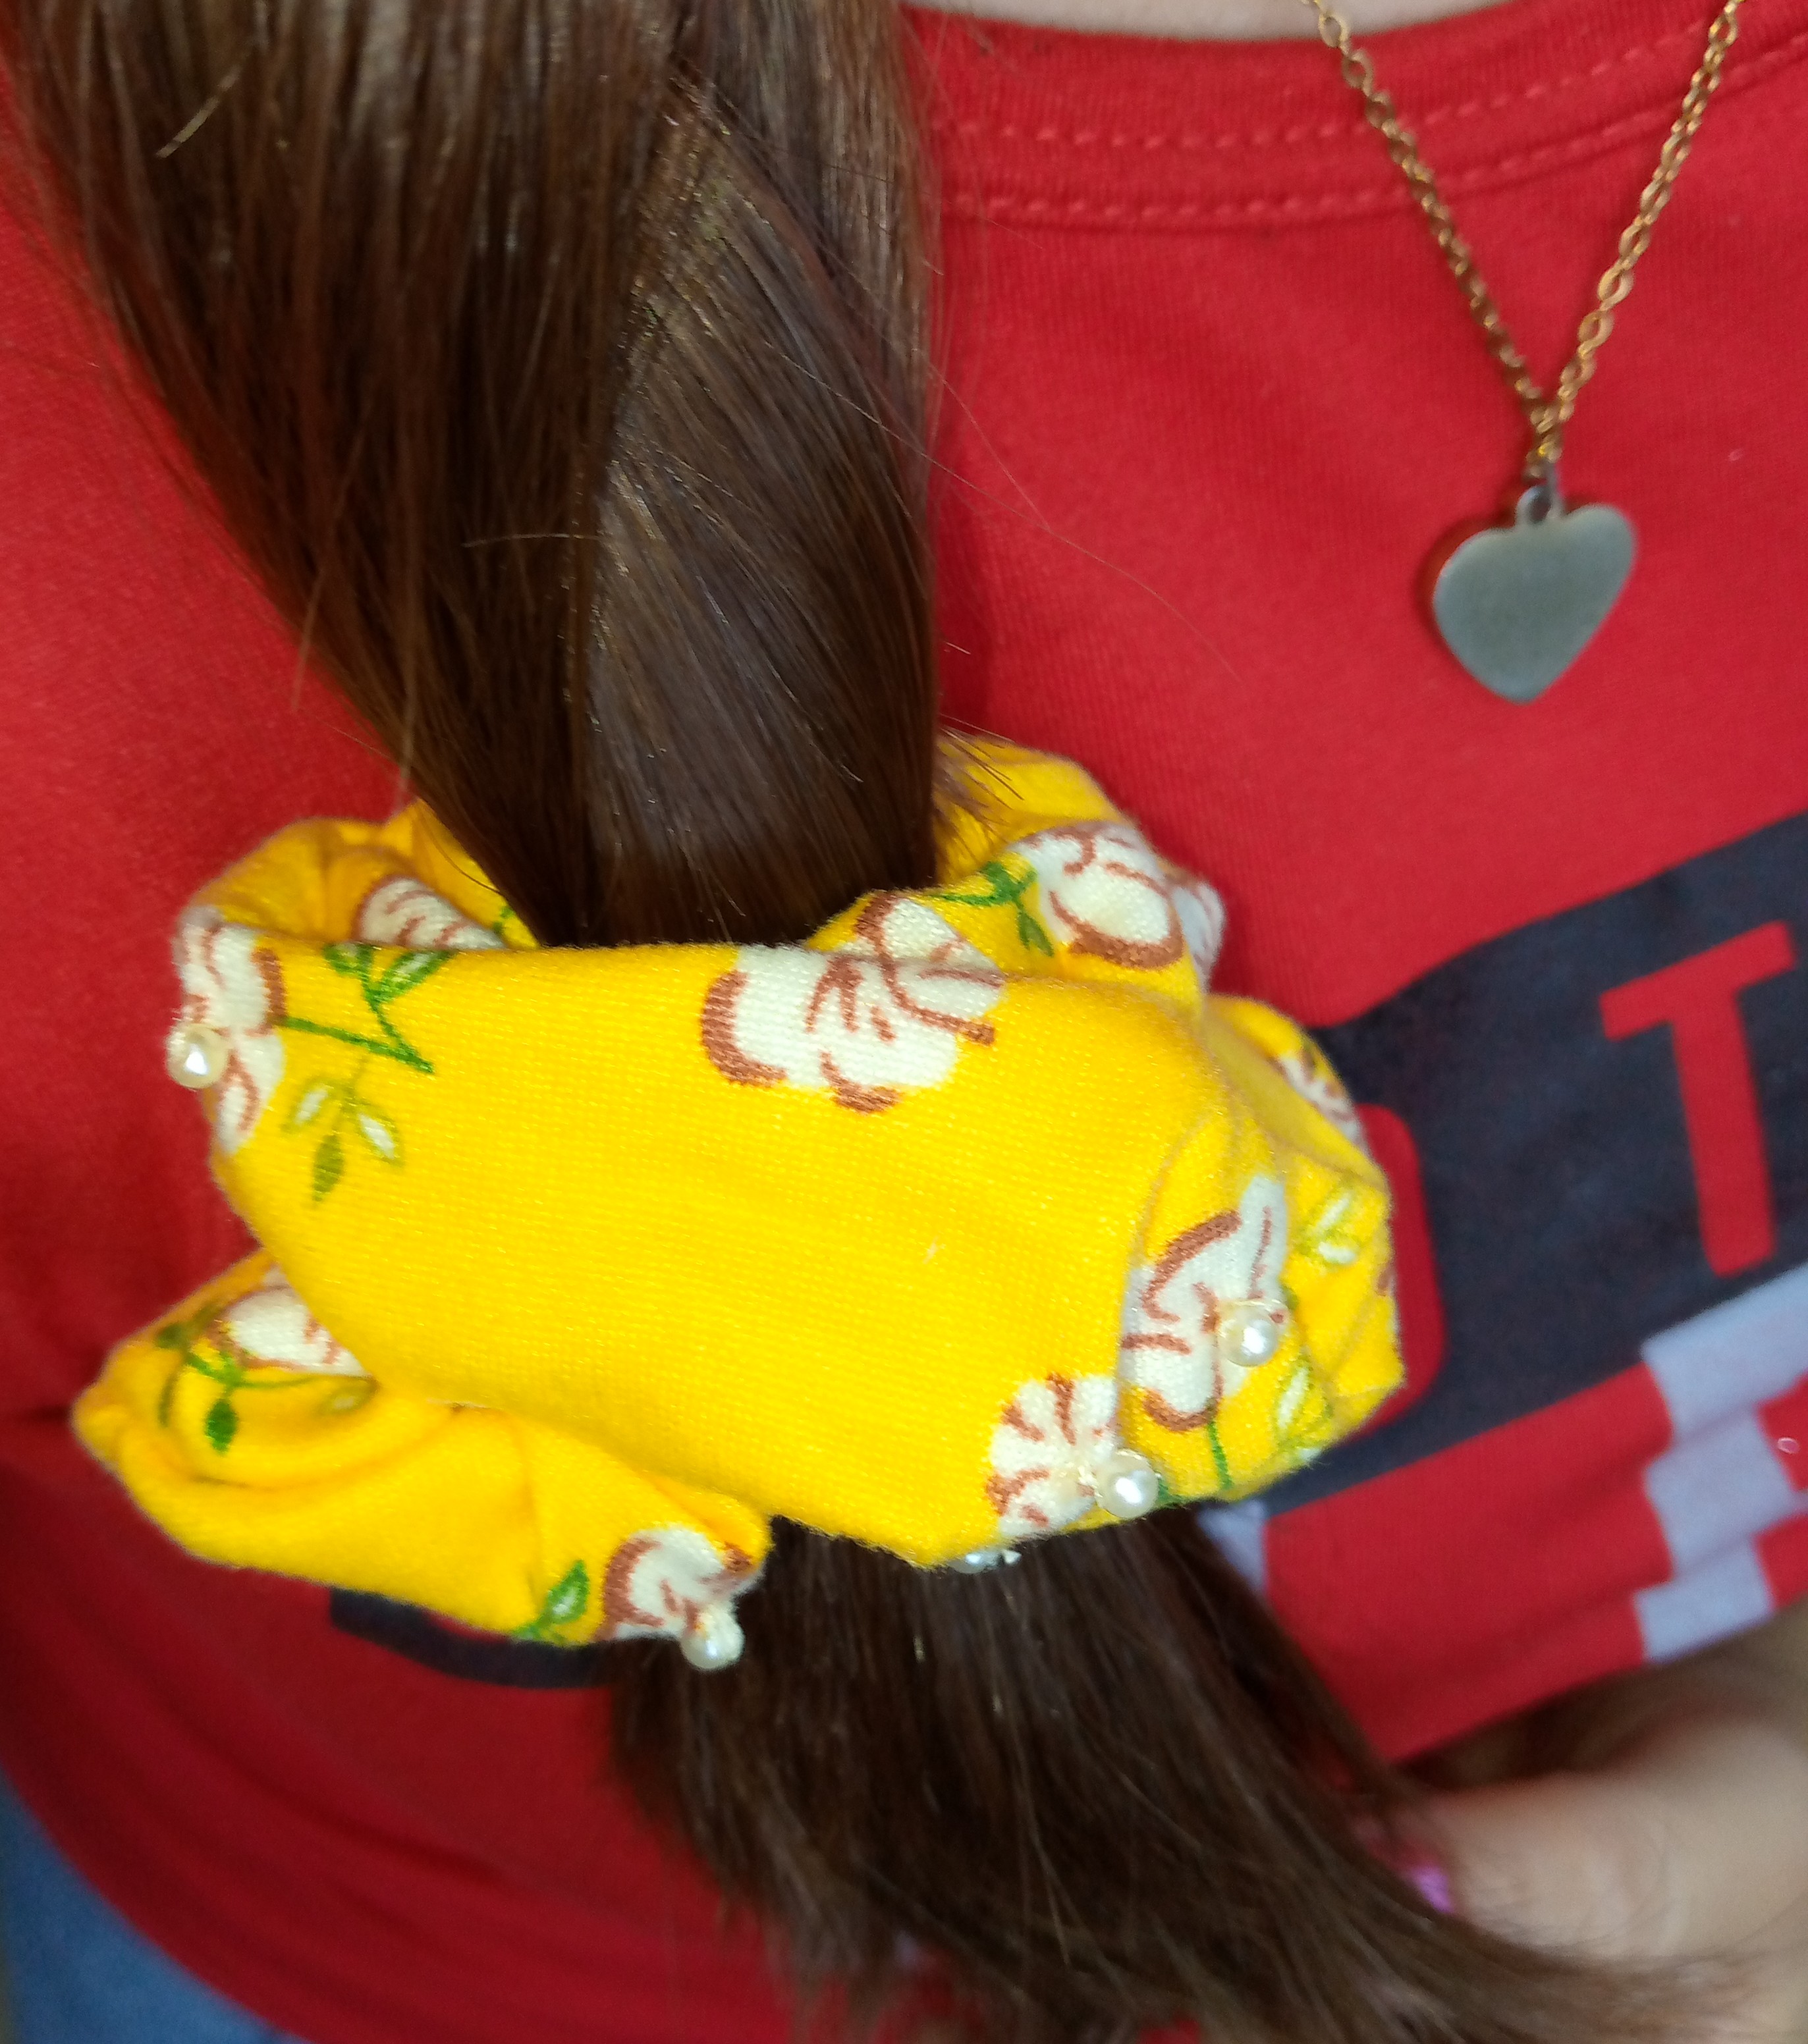
Las scrunchies son muy fáciles a la hora de realizar ya que no es un proceso que conste de muchas cosas para hacerlo es un detalle muy lindo que vas a amar mucho ,espero te diviertas realizando esta hermosa creación, gracias por llegar al final de este blog ,y te deseo una feliz y encantadora semana,nos vemos en otro próximo tutorial realizando cositas sencillas ,¡hasta pronto!.
.jpg)


Hello Hello, beautiful community, I would be very encouraged to know that everyone is having an excellent week and that they had a nice day. I have decided to share with you a very nice and simple detail that I have made, which are "Scrunchies" or fabric rubber bands to hold the hair, in summer times it is always very difficult for us women to do household things because we struggle a lot when it is very hot and our body starts to sweat which makes our hair when it is loose it also sweats, scrunchies help us a lot when it comes to putting up our hair because it doesn't mark, mistreat or tangle it, so they are very practical to use in weather where it is much hotter than normal..
Before starting to carry out this step by step I want to explain to you that I have already made my molds beforehand to carry out this work. In the same way, here I leave you the exact measurements so that you can also do it at home and not have problems doing it, well. Below I leave you the steps of how I did it, let's go.
%20(1).jpg)
🌼Materials you need:🌼
- Printed fabric scraps
- Scissors
- Needle and thread
- Pearls to decorate
- Elastic for hair ties
🌼(PROCEDURE)🌼
Paso 01
We start by cutting a 47 cm wide x 8 cm long rectangle out of our printed fabric, then we sew it either by hand or by machine.


Paso 02
When we have our rectangle sewn, we are going to turn it over very patiently then we join the two ends of the opposite side to sew both pieces as shown in the images.


Paso 03
For this next and very important step we are going to proceed to cut our rubber band, we cut 19 cm of it, you can add 21 cm to make it bigger and we put it through our already sewn fabric, here we can help ourselves with a large needle carefully so that it does not The rubber band is going to come loose or come off the needle.


Paso 04
Well, once we have put our elastic band inside, we make a small knot to hold it in place so that it does not come loose. After having it secured with the knot, we are going to make a small seam in the part of the fabric where it was left unjoined, always trying to so that our seam is not visible and we have a very delicate and beautiful finish.
.jpg)

Paso 05
When we have this ready we can let our imagination fly while decorating, on this occasion I did it with the small pearls sewing them on each flower of the printed fabric since this gives the rubber band a touch of delicacy and tenderness, so we are then finished with our Scrunchie.


🌼Result!🌼
The scrunchies are very easy to make since it is not a process that consists of many things to do it. It is a very nice detail that you are going to love a lot. I hope you have fun making this beautiful creation. Thank you for reaching the end of this blog. ,and I wish you a happy and lovely week, see you in another next tutorial doing simple things, see you soon!.
.jpg)
Congratulations @anne002! You have completed the following achievement on the Hive blockchain And have been rewarded with New badge(s)
Your next target is to reach 900 upvotes.
You can view your badges on your board and compare yourself to others in the Ranking
If you no longer want to receive notifications, reply to this comment with the word
STOPThis bands are so nice and colourful. Well done
Discord Server.This post has been manually curated by @steemflow from Indiaunited community. Join us on our
Do you know that you can earn a passive income by delegating to @indiaunited. We share more than 100 % of the curation rewards with the delegators in the form of IUC tokens. HP delegators and IUC token holders also get upto 20% additional vote weight.
Here are some handy links for delegations: 100HP, 250HP, 500HP, 1000HP.
100% of the rewards from this comment goes to the curator for their manual curation efforts. Please encourage the curator @steemflow by upvoting this comment and support the community by voting the posts made by @indiaunited.
Amiga que bonita te quedo, me encanta, me estoy animando hacer unas, la verdad lucen bellas. Gracias por compartir.
Hola bella si son hermosas y muy fáciles de hacer a mi también me encantan 😍
Te quedó muy bonita esta colita. Aquí en donde vivo las llamamos Moñeras. 🤭
🥰😍🤭