Hello my dear friends who love crafts, today I bring you a tutorial on how to make a beautiful hair garter. I made this garter with much love and dedication for my sister as a gift for this March 8 for women's day. You will see that it is very easy to make and you don't need so many materials. I will show you how to make it.
Hola mis queridos amigos amantes de las manualidades, en el día de hoy les traigo un tutorial de como realizar una hermosa liga para el cabello. Esta liga la hice con mucho amor y dedicación para mi hermana como regalo para este 8 de marzo por el día de la mujer. Ya verán que es muy sencillo de realizar y no necesitan tantos materiales. Enseguida les muestro como realizarla.
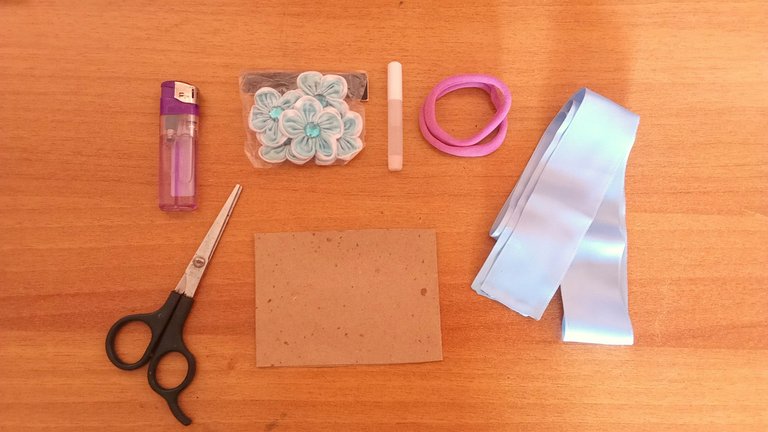
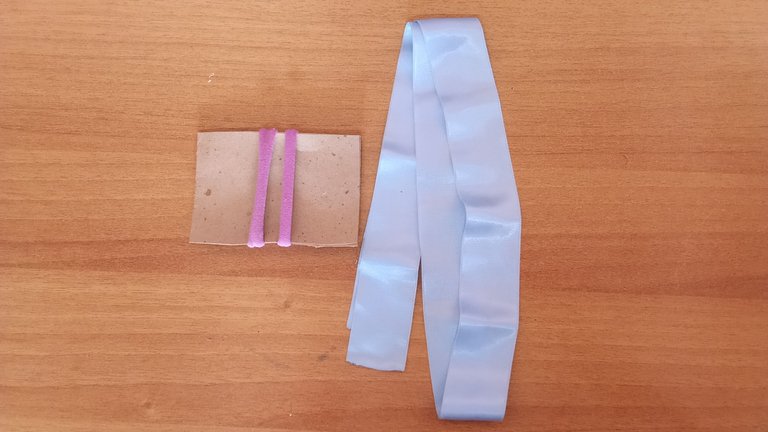
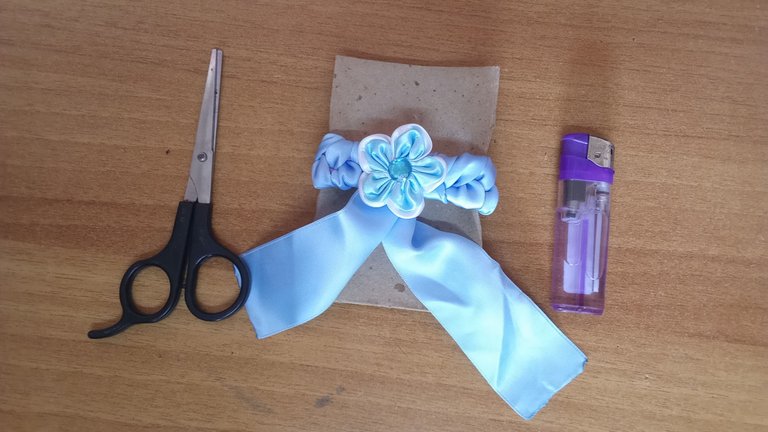
Materials//Materiales
2 thin hair bands//2 ligas finas de pelo
6 cm x 10 cm cardboard//Cartón de 6 cm x 10 cm
1 ribbon 1 meter long //1 cinta de 1 metro de largo
Floral ornament or ribbon//Adorno floral o lazo
Glue//Pegamento
Scissors//Tijeras
Lighter//Mechero
Step by step//Paso a paso
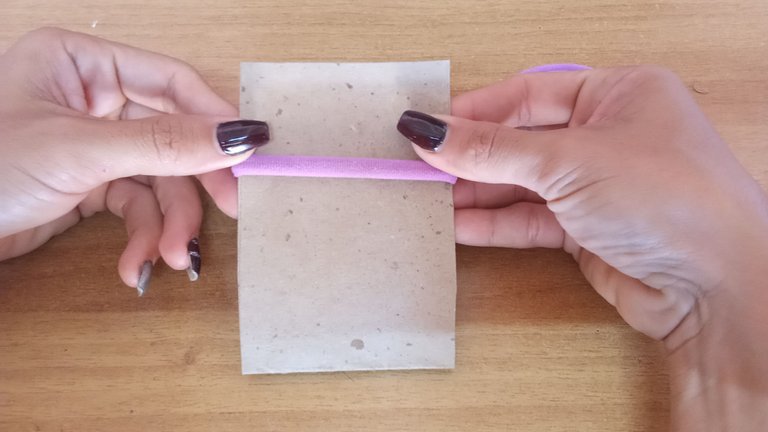
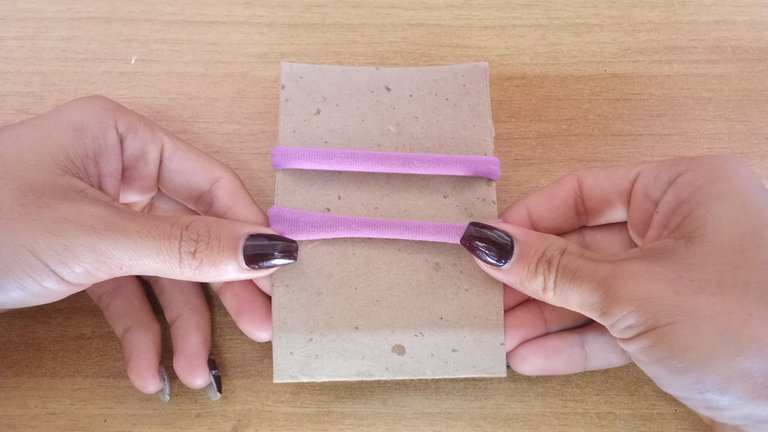
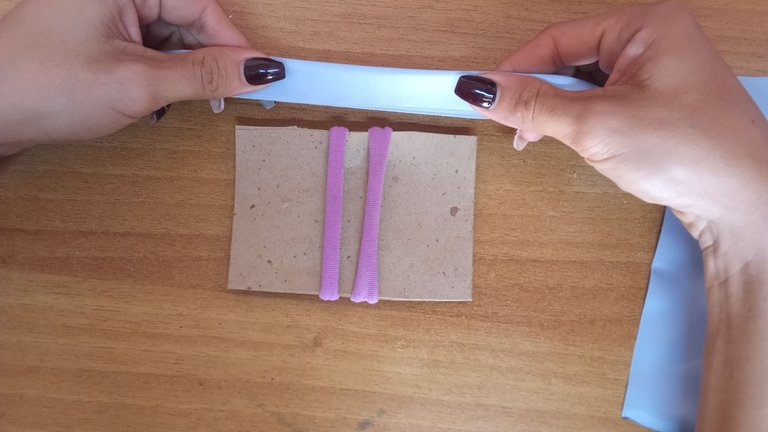
Step 1
The first thing to do is to place the two rubber bands on the narrower side of the cardboard in the middle, approximately 2 cm apart from each other.
Paso 1
Lo primero será poner las dos ligas por el lado más estrecho del cartón en el medio aproximadamente separadas 2 cm una de otra.
 |
 |
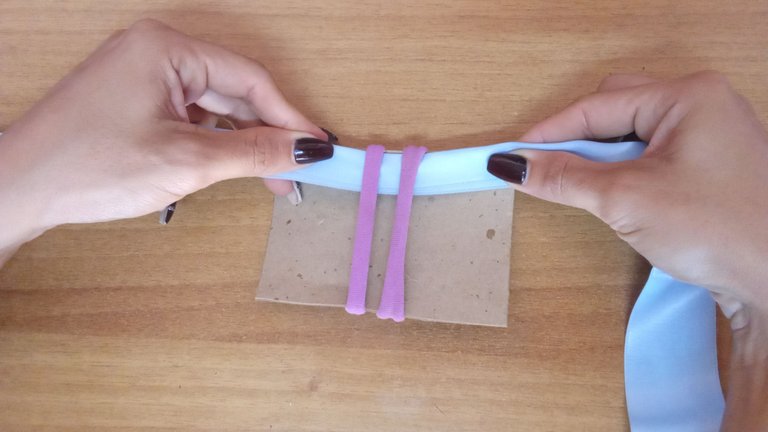
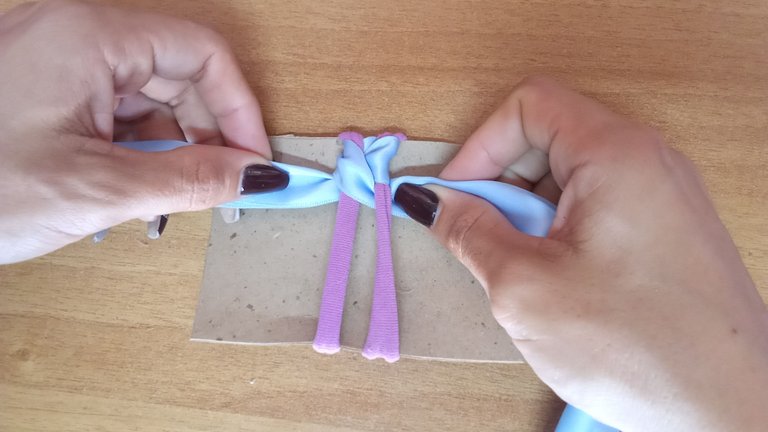
Step 2
Now pass the half-folded rubber band between the rubber bands and the cardboard leaving the same amount of date for each side.
Paso 2
Ahora se pasa la liga doblada a la mitad entre las ligas y el cartón dejando la misma cantidad de cita para cada lado.
 |
 |
 |
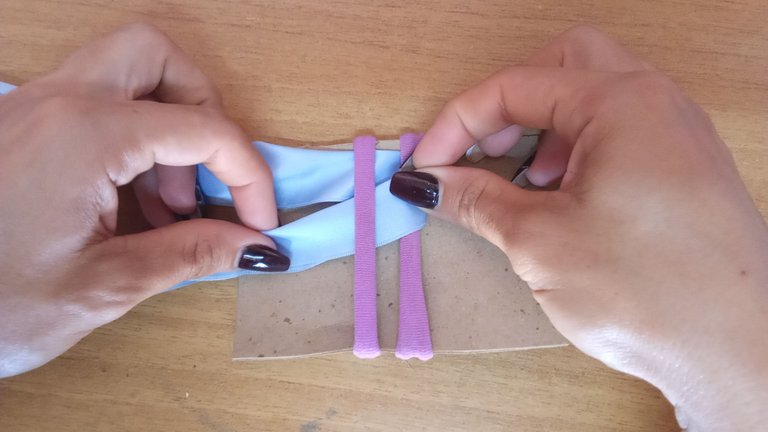
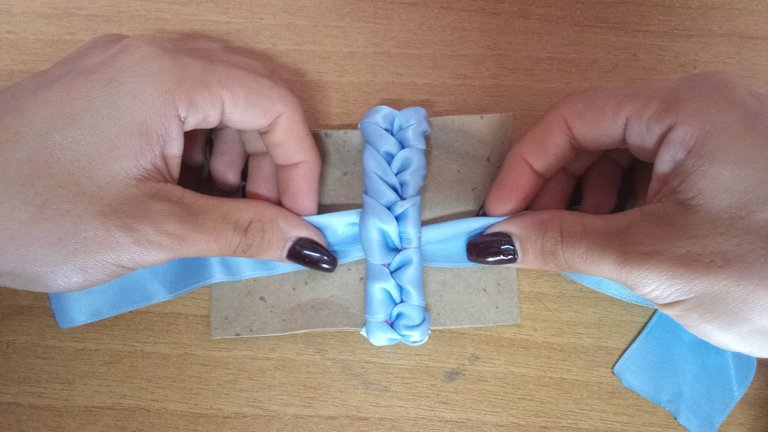
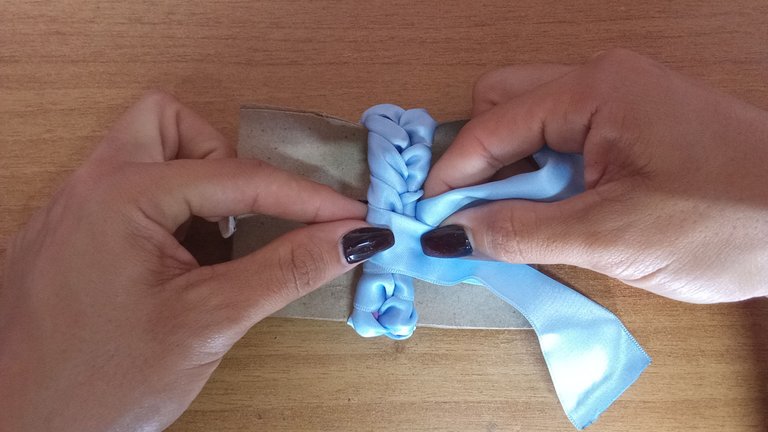
Step 3
Pass one of the ends of the ribbon over the loop on its side and under the loop on the opposite side and adjust it until the rest of the plush is covered. Be very careful not to leave any uncovered spaces.
Paso 3
Pasar uno de los extremos de la cinta por encima de la liga que está en su lado y por debajo de la liga del lado contrario y ajustar e ir haciéndolo así hasta cubrir el resto de las felpas. Hay que tener mucho cuidado para que no nos queden espacios sin cubrir.
 |
 |
 |
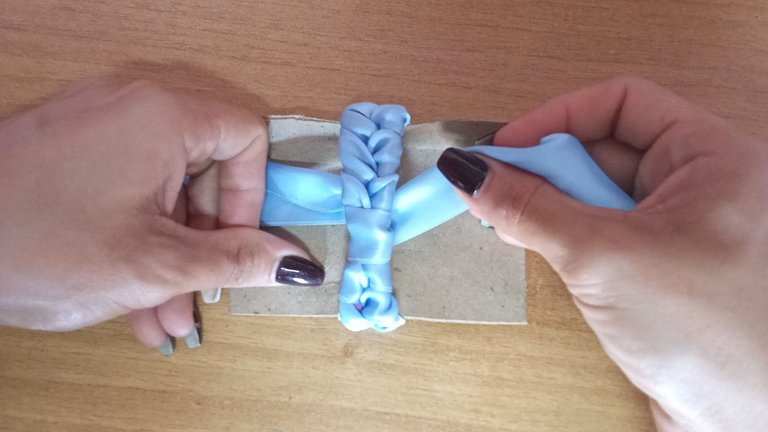
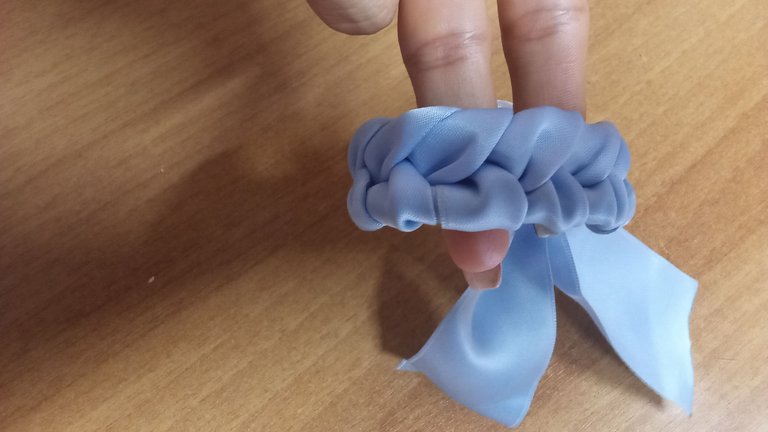
Step 4
Once the rubber bands are completely covered, turn one of the ends of the ribbon over the top of our ribbon and then underneath, this time covering both bands, then turn the other end of the ribbon to the same side and glue it with a dot of glue in the center.
Paso 4
Una vez estén las ligas cubiertas por completo darle la vuelta a uno de los extremos de la cinta pasándola por encima de nuestra liga y luego por debajo esta vez cubriendo ambas ligas para después pasar el otro extremo de la cinta a ese mismo lado y pegar con un punto de pegamento en el centro.
 |
 |
 |
 |
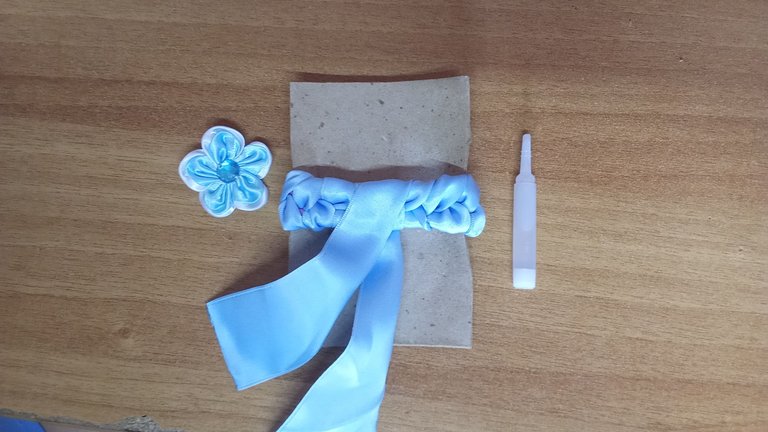
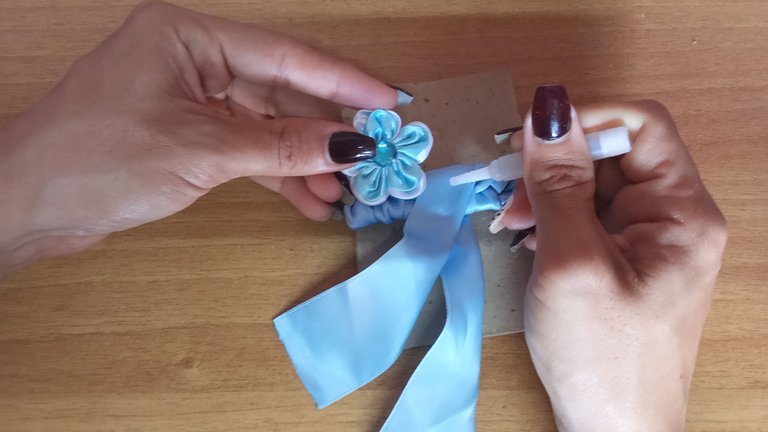
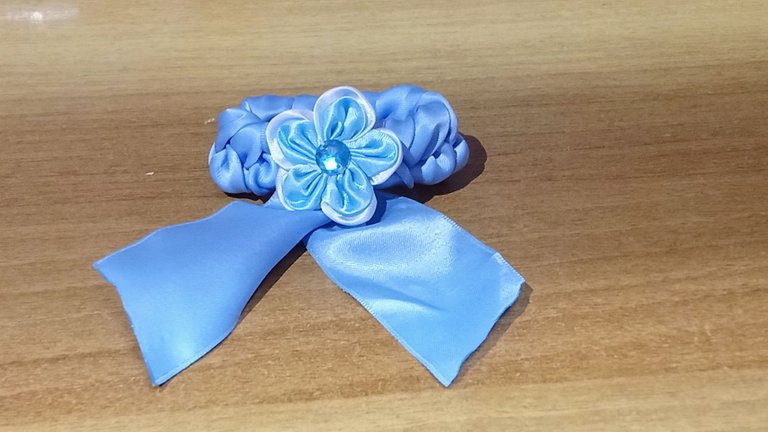
Step 5
The next step is to put a dot of glue in the center and glue a decorative flower on it, you can also use a ribbon or whatever you wish.
Paso 5
Lo siguiente será poner un punto de pegamento en el centro y pegarle una florecita decorativa, también pueden utilizar un lazo o lo que deseen.
 |
 |
 |
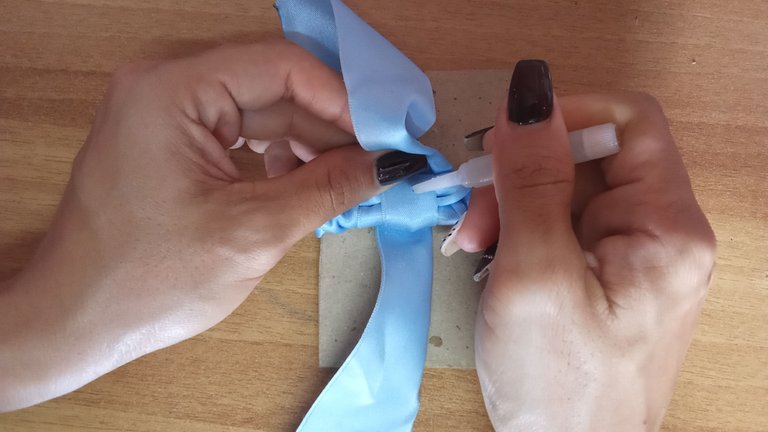
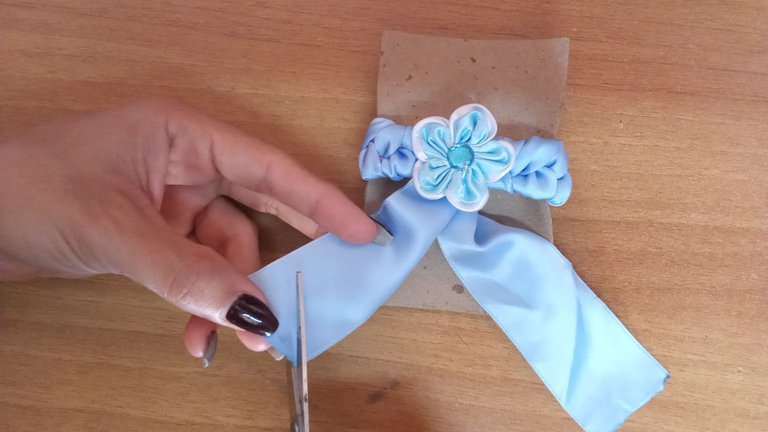
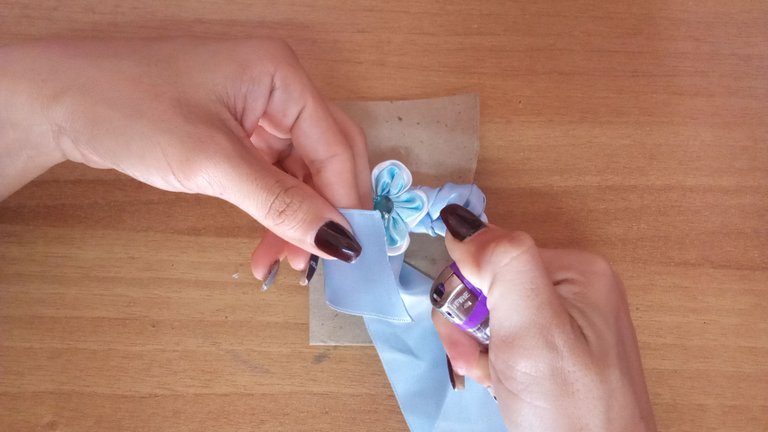
Step 6
Finally, with the scissors trim the ends of the ribbon so that they are the same length at a slant and pass with a lighter so that the ends do not fray.
Paso 6
Por último con la tijera recortar los extremos de la cinta para que queden del mismo largo en forma inclinada y pasar con un mechero para que no se deshilen los extremos.
 |
 |
 |
 |
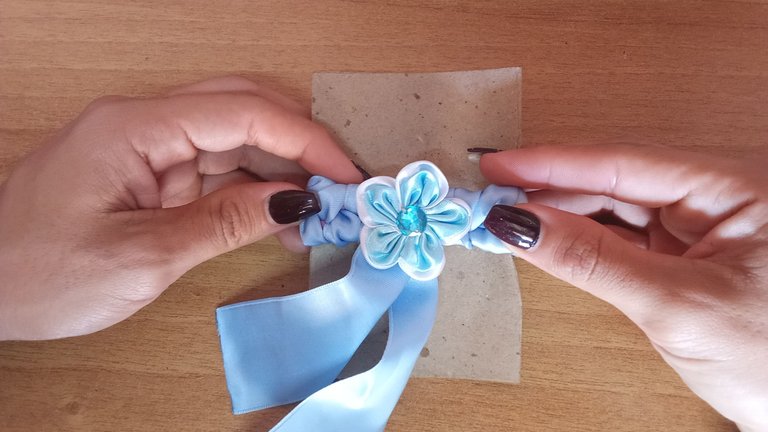
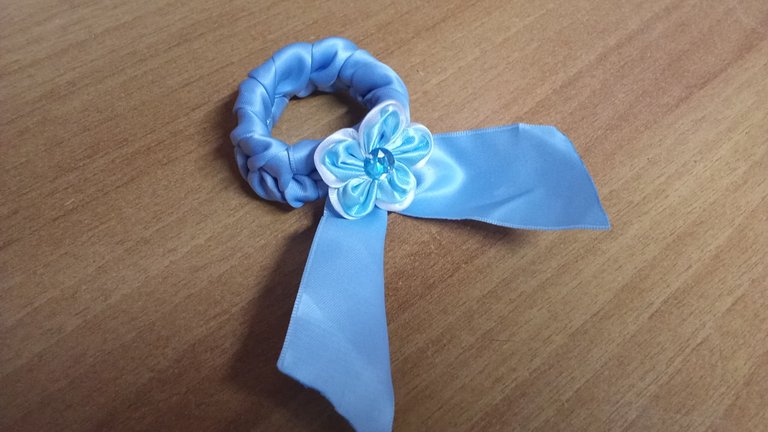
The cardboard is removed and we have our hair garter ready, decorated with a lot of dedication and unique for that special gift. I hope you liked it, let me know what you thought, I will be attentive to your comments.
Se retira el cartón y ya tenemos lista nuestra liga para el cabello decorada con mucha dedicación y única para ese regalo especial. Espero que les haya gustado, díganme que les pareció, estaré atenta a sus comentarios.
 |
 |
Créditos y Recursos//Credits and Resources
Translated by DeepL
Cover page created in Canva Pro
Images captured with my Samsung Galaxy F13
Wow my friend, your post is very pleasant and of great quality, an example to follow in our Diyhub community. Thank you very much for being the best of you and sharing it here, it is a great job 🙏
Thank you very much friend, I'm glad to hear that you liked it.
Pero que preciosa, la amé, de verdad que es muy fácil de hacer y el color que escogiste está delicado y hermoso, la hace lucir con más elegancia.😍🤗
Muchas gracias, la verdad que es muy fácil y queda bien.
https://bsky.app/profile/did:plc:rag2mftdy2alo7rtmyttmpk4/post/3ljtyifrijs2c
The rewards earned on this comment will go to the author of the blog post.https://bsky.app/profile/did:plc:rag2mftdy2alo7rtmyttmpk4/post/3ljtyifrijs2c
It looks very nice in that fabric and color.
Thank you very much.
❤️You are welcome, my dear.
Congratulations @arqyanedesings! You have completed the following achievement on the Hive blockchain And have been rewarded with New badge(s)
Your next target is to reach 1000 comments.
You can view your badges on your board and compare yourself to others in the Ranking
If you no longer want to receive notifications, reply to this comment with the word
STOPCheck out our last posts:
creativity shines through the hair garter. Well done.
Thank you very much 🤗.
I can give this a trial at leisure time
Nice creativity dear friend @arqyanedesings
Thank you very much 🤗.
que lindo, me encanta el azul, se ve genial!
how cute, love the blue, looks great!
Muchas gracias amiga.