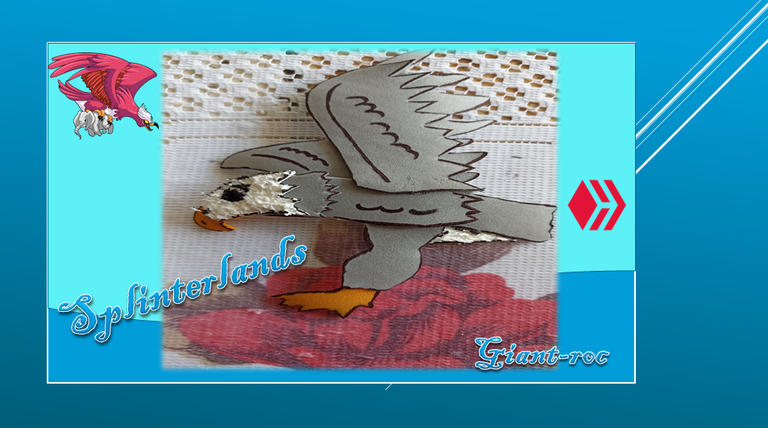
Espero que les guste, este estilo agradable para todos.Feliz inicio de semana, por aquí les Saluda @BRINDYSCHI, con mucho cariño para ustedes, después de un fin de semana trabajando aquí me encuentro una vez más para mostrarle mi creación en foami, en esta oportunidad realicé una Hermosa águila, carta de referencia GIANT-ROC, a continuación les mostraré el paso a paso.
WE BEGIN - COMENZAMOS
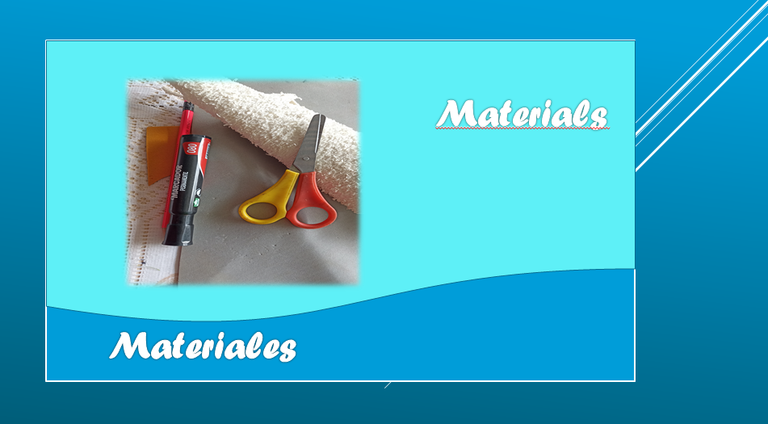
Materials:
Graphite pencil.
Silicon and scissors.
Black marker.
Gray foam.
White fluff foam.
Orange foami.
Lápiz grafito.
Silicon y tijera.
Marcador negro.
Foami gris.
Foami blanco de pelusas.
Foami anaranjado.
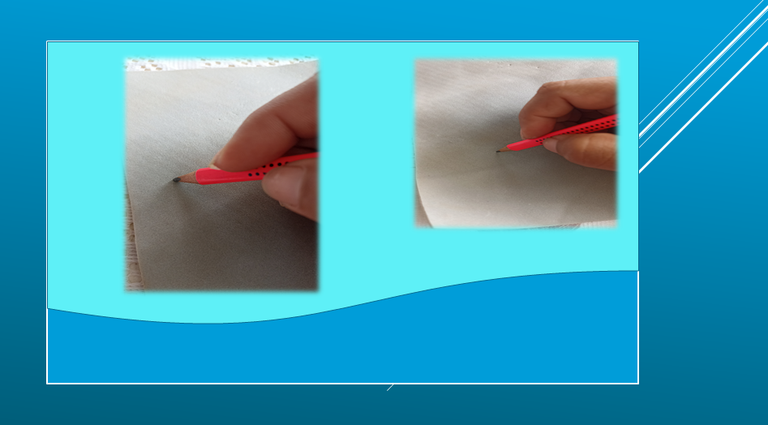
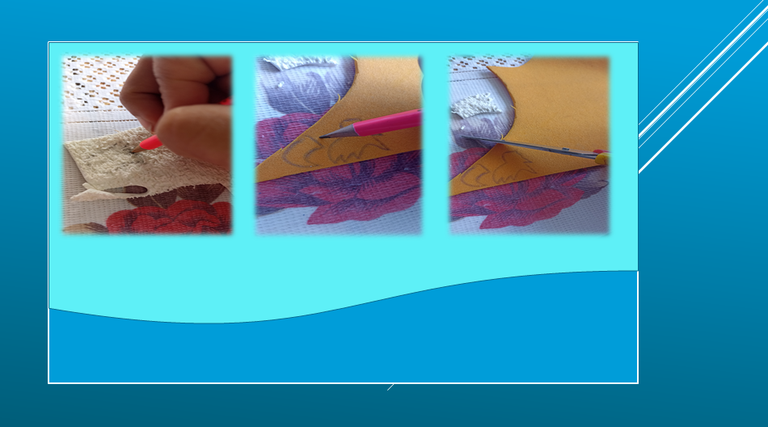
Paso 1:
Friends, I started using the gray foam and with the help of my graphite pencil I drew the silhouette of our eagle, its wings, which were two: the trunk, the outline of the legs and the tail. Having everything laid out, I cut out each one of them.
Amigos y amigas, comencé utilizando el foami gris y con ayuda de mi lápiz grafito dibujé la silueta de nuestra águila, sus alas, las cuales fueron dos: el tronco, el contorno de las patas y la cola. Al tener todo trazado, recorté cada una de ellas.
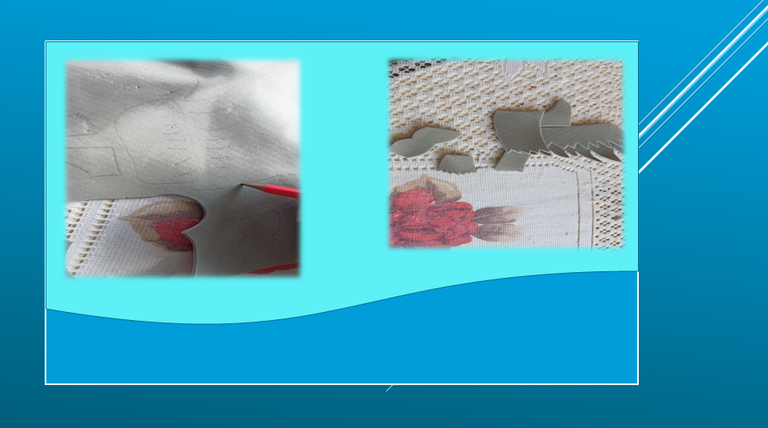
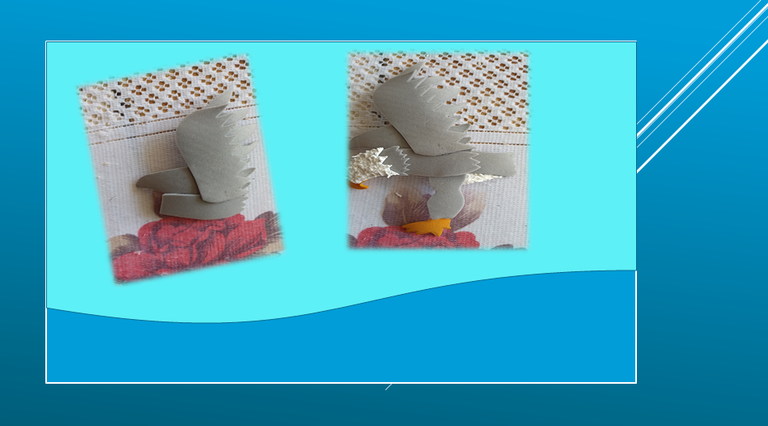
Paso 2:
As a second step, with the white fluff-textured foam I made the head and with the orange foam I created the beak of this eagle sculpture and, of course, I made the orange legs.
You can see it in the following images.
Como segundo paso, con el foami blanco de contextura de pelusa le realicé la cabeza y con el foami anaranjado cree el pico de esta escultura águila y, por supuesto, hice las patas anaranjadas.
Lo pueden observar en las siguientes imágenes.
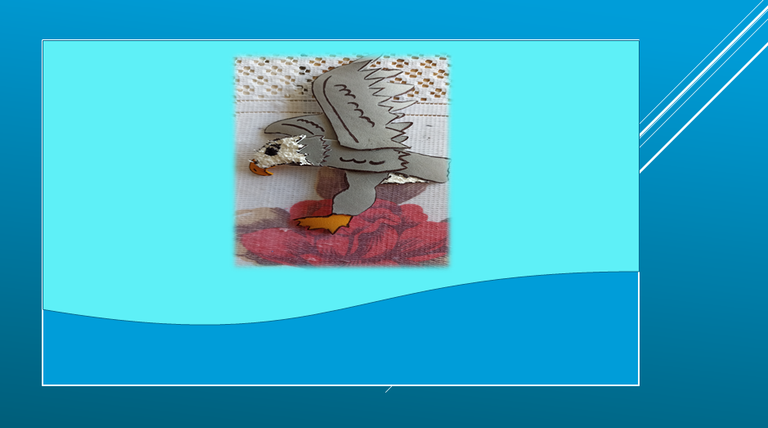
Paso 3:
As a third step, having all my parts ready, I assembled and formed my figure. It is very tender and beautiful.
It was wonderful and easy to make this creation, with a lot of love for you.
Enjoy it.
Como tercer paso, al tener todas mis partes listas, armé y formé mi figura. Es muy tierno y hermoso.
Fue maravilloso y fácil hacer esta creación, con mucho amor para ustedes.
Disfrútenlo.
Finished work.
Trabajo finalizado.

Fuente / Source:
Traductor
All photos are my property taken with my Oscal c70 Smartphone..📷
🌺 My name is @Brindyschi 🌺


Until a future opportunity
Success for all 👊
It looks pretty cool. It is good to see each step of making this. It shows your skills. Nice work! Keep it up!
Gracias es un honor
Thanks for sharing! - @isaria
