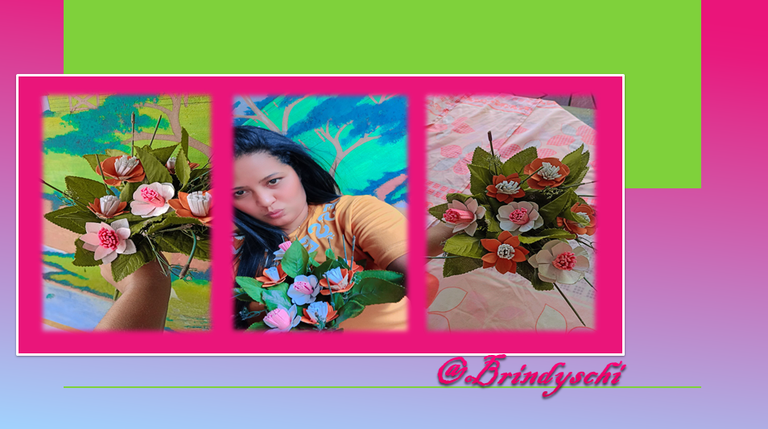
Aroma Friday, on this day I want to share with you a pleasant flower made with recycled material such as egg carton, and for this Friday I made the decision to reflect it with this beautiful flower, it is easy and it is an idea that you can enjoy by making it with The little ones in the house learn and are entertained, of course and above all a help to make this creation.
Without further ado, below is the step by step.
I hope you all like it.
Viernes de aroma, en este día quiero compartirle una grata flor realizada con material reciclaje como lo es el cartón de huevo, y para este día viernes tome la decisión de reflejarlo con esta Hermosa flor, es fácil y es una idea que puedan disfrutarla haciéndola con los pequeños de la casa, aprenden y se distraen, claro y sobre todo una ayuda para hacer esta creación.
Sin más, a continuación, el paso a paso.
Espero que les guste a todos.
WE BEGIN - COMENZAMOS
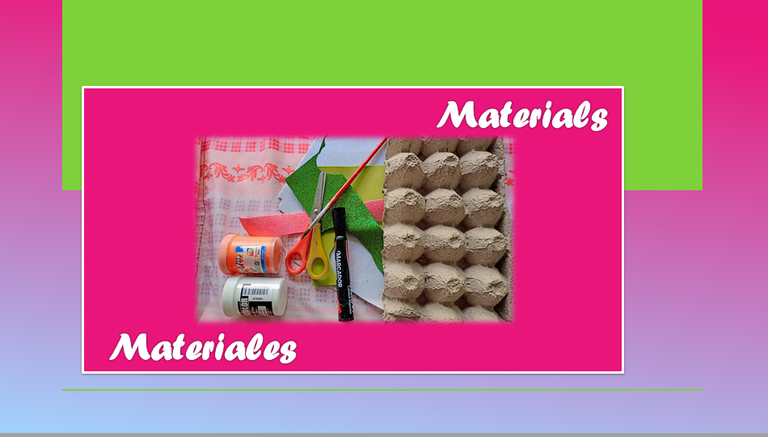
Materials:
Graphite pencil.
Silicon and scissors.
Black marker.
Egg carton.
Green frosty foam.
White frosted foam.
Pink frosty foam
Brush.
White cold paint.
Orange cold paint
Lápiz grafito.
Silicon y tijera.
Marcador negro.
Cartón de huevo.
Foami escarchado verde.
Foami escarchado blanco.
Foami escarchado rosado
Pincel.
Pintura al frio blanca.
Pintura al frio anaranjado
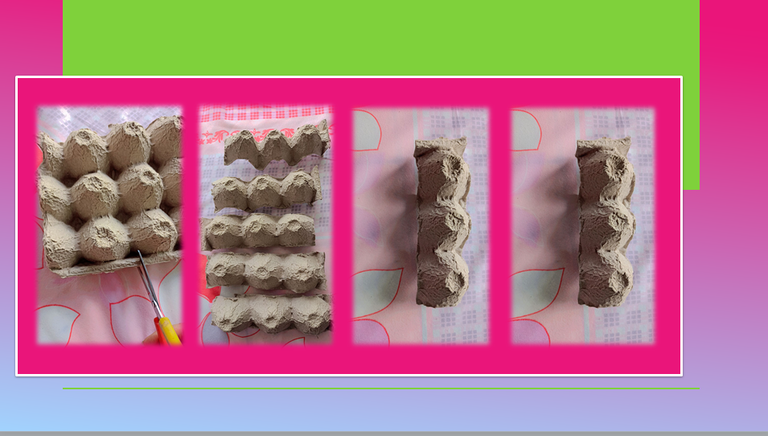
Step 1 / Paso 1:
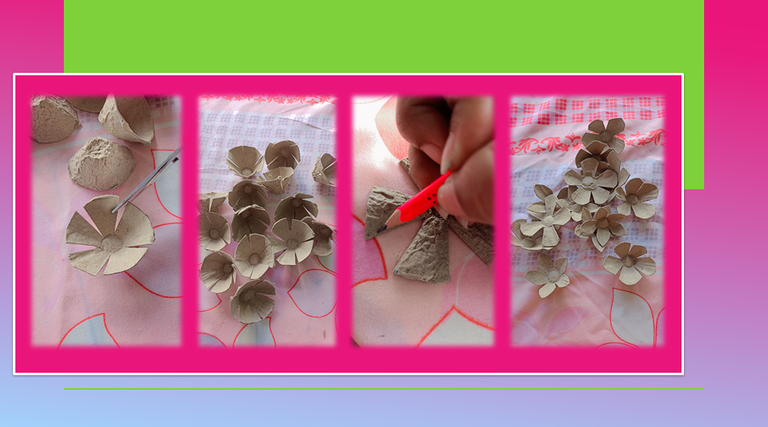
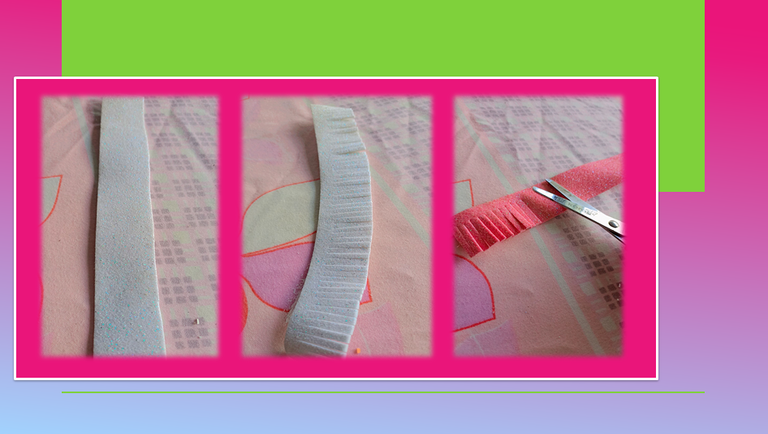
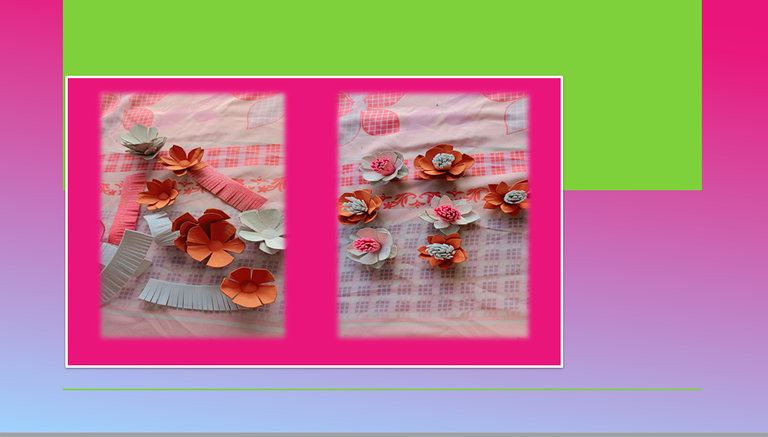
We started, the first thing I did was use the egg carton to cut out the strips and then divide each one, as shown in the images. Defining what each flower will be.
Comenzamos, lo primero que hice fue utilizar el cartón de huevo, para recortar las tiras y luego dividir cada una, así como se muestra en las imágenes. Definiendo lo que será cada flor.
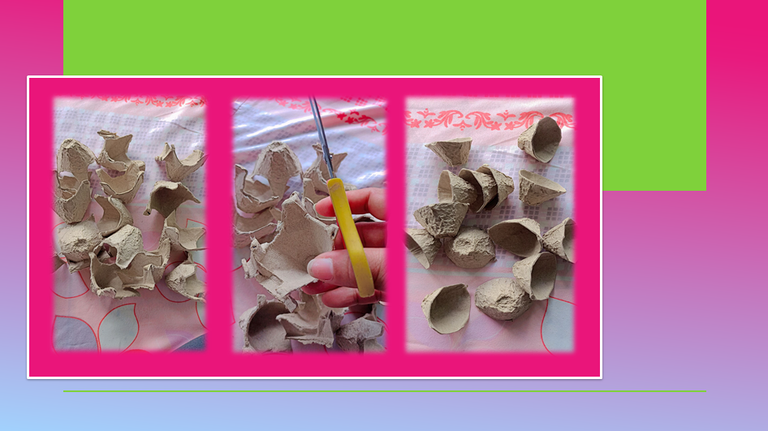
Step 2 / Paso 2:
As a second step, I cut out the divisions that the egg carton has by default according to that structure and then with a graphite pencil I made the marking to have the shape of each flower, cut out each one of them.
Images below.
Como segundo paso, las divisiones que tiene por defecto el cartón de huevo recorte por esa estructura y luego con un lápiz grafito le hice el marcado para tener la forma de cada flor, recorte cada una de ellas.
Imágenes a continuación.
Step 3 / Paso 3:
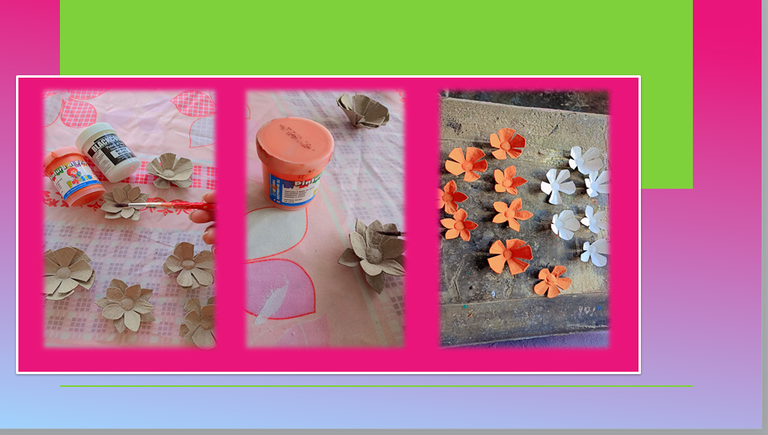
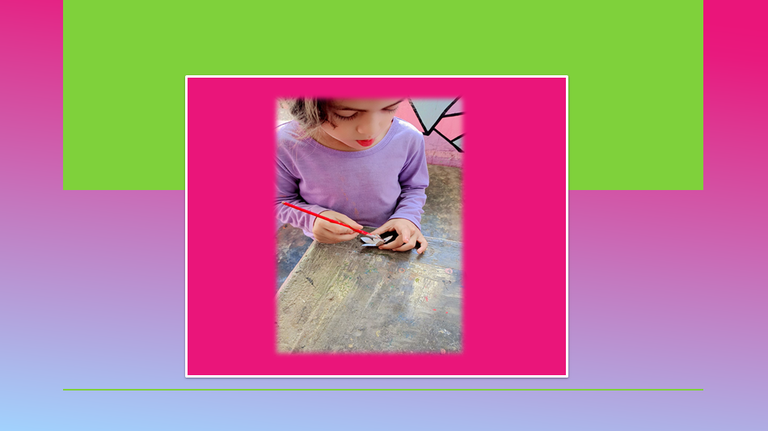
As a third step, I proceeded to paint them with white and orange cold paint. My beautiful daughter, upon seeing me making this creation, told me that she wanted to help, and my response was Sure, daughter, of course, you will see the images, how she helped me and how the work turned out.
Como tercer paso, procedí a pintarlas con la pintura al frío blanca y la de color anaranjado. Mi hermosa hija, al verme hacienda esta creación, me dijo que quería ayudar, y mi respuesta fue Claro, hija, por supuesto, ya verán las imágenes, cómo me ayudo y cómo quedo el trabajo.
Step 4 / Paso 4:
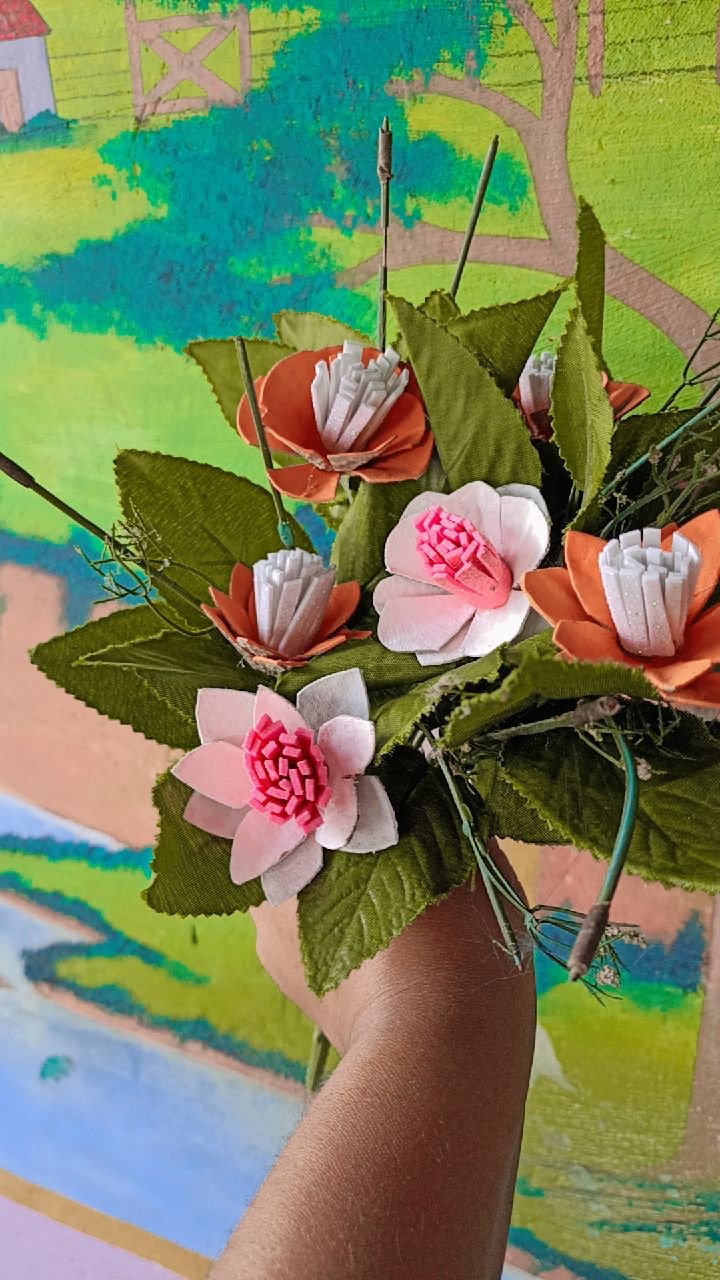
Fourth step, with the frosty, white and pink foami, I made the inside of the bud of these flowers.
Therefore, having everything ready, I finally glued it with silicone.
Enjoy it.
Cuarto paso, con los foami escarchados, blancos y rosados, le realicé la parte de adentro del capullo de estas flores.
Por consiguiente, al tener todo listo, finalmente pegué con silicon.
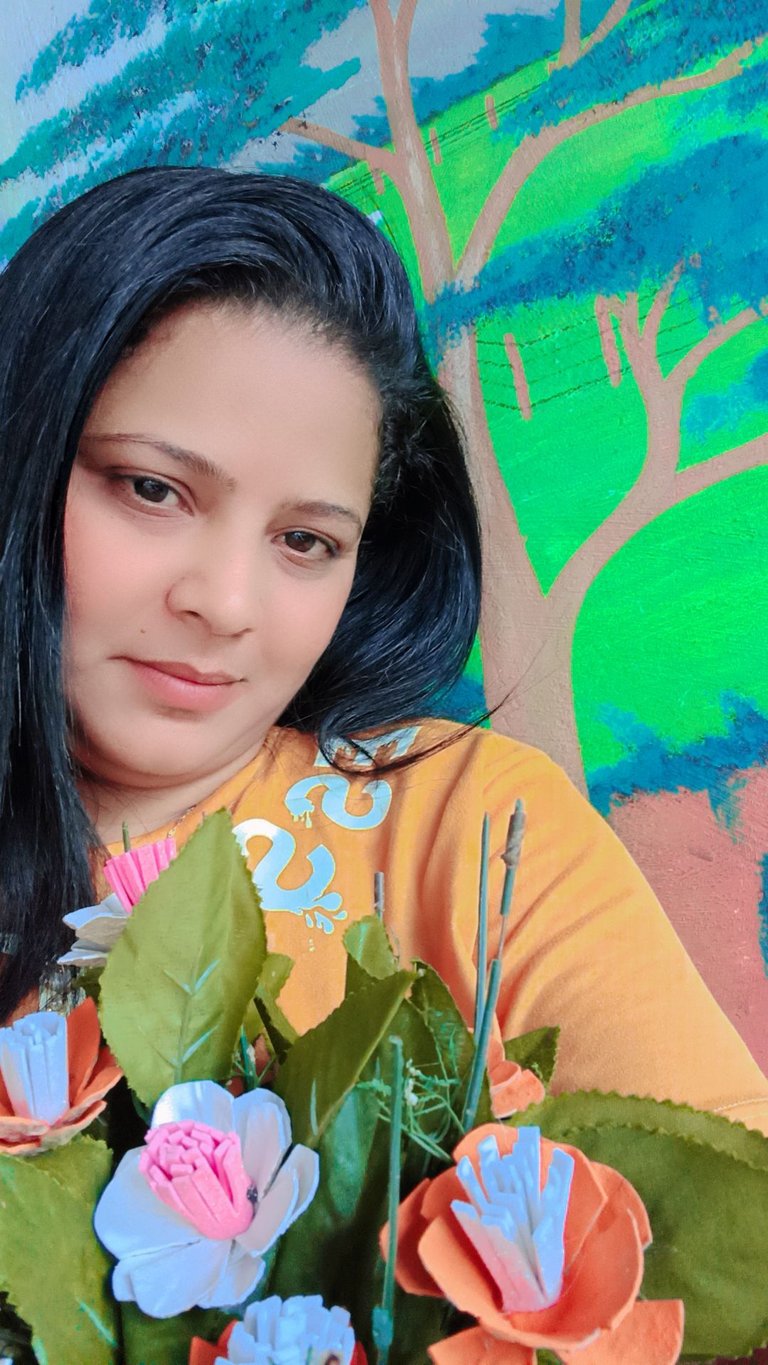
Disfrútenlo.

Fuente / Source:
Traductor
All photos are my property taken with my Oscal c70 Smartphone..📷
🌺 My name is @Brindyschi 🌺


Until a future opportunity
Success for all 👊
Que hermosas, me imagino que sin pintarlas debe quedar con un toque antiguo muy atractivo, que haría juego con esas hojas. No sabía que se podía hacer flores con esto, gracias por compartir. ✨
Gracias por el apoyo amigos
que bonito te quedo!
how beautiful it is!
Gracias amiga
The final result is impressive. It is fascinating to see how you made it. It shows your skill. Well done!
Muchas gracias... Me alegro que les gustó
Quedaron muy lindas las flores de cartón se ven estupenda para decorar....
Gracias bella
This is indeed very creative and beautiful. Nice work! Thanks for sharing
thanks, love