In my son's biology class they are learning about healthy eating. The teacher assigned the students presentations to talk about the topic.
To facilitate understanding each student must make support material to explain some concepts in a didactic way and show it to their classmates. So this became the perfect opportunity to put our creativity to work.
My son thought it would be a wonderful idea to make a model of an Eating guide spinning top, so we got to work on this project.
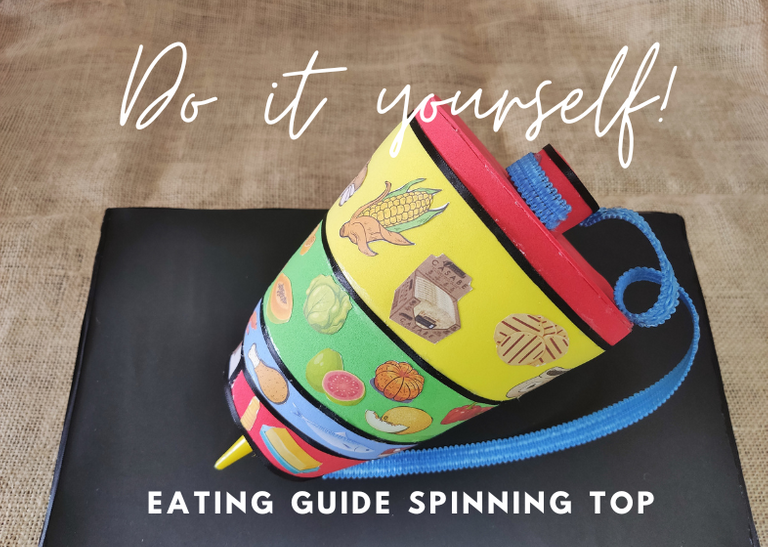

The healthy eating guidelines for the healthy population obey a group of recommendations that each country considers, always in agreement with WHO policies.
In the United States, the "food pyramid" is used as a visual representation of the foods to be consumed. This graphic representation indicates that the foods at the base are those that should be eaten in greater proportion. As one moves up the pyramid, the proportion of the food groups should decrease, as is the case with sugar and fats.
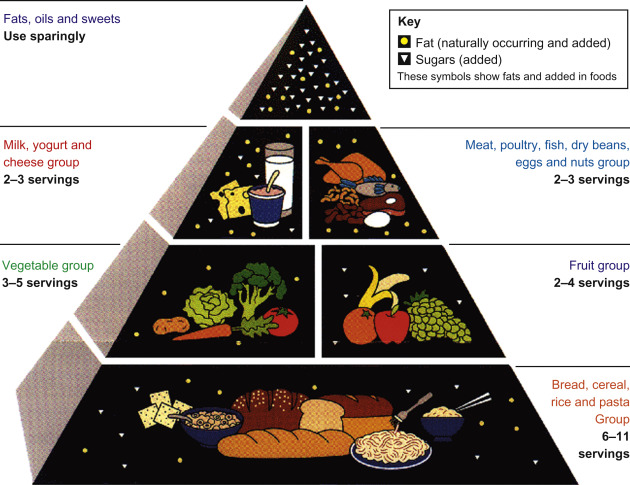
Other countries have different graphic representations. However, the principles of healthy nutritional recommendations are the same. The difference is to represent through images the native foods of each country according to the different food groups such as carbohydrates, proteins, and fats.
Japan and Venezuela use the graphic representation through "spinning top". Therefore this tutorial will show you how to make an eating guide spinning top for biology class following the healthy eating guidelines for the Venezuelan population.

|
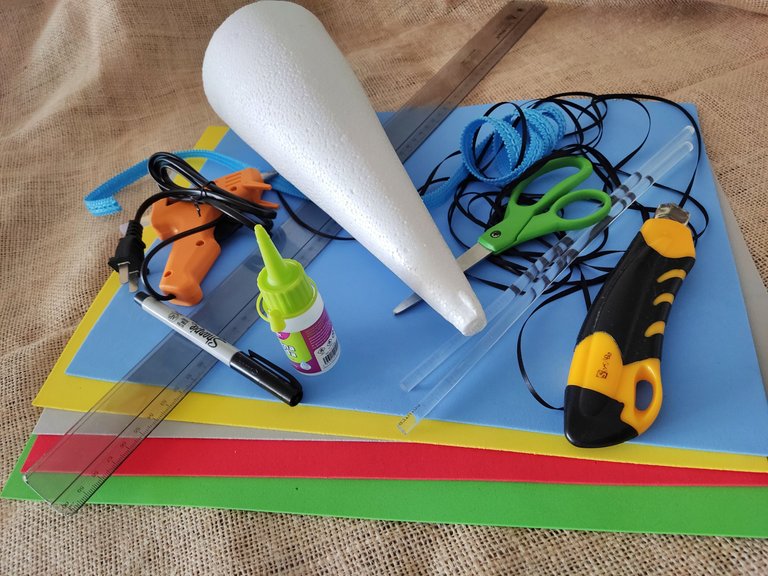

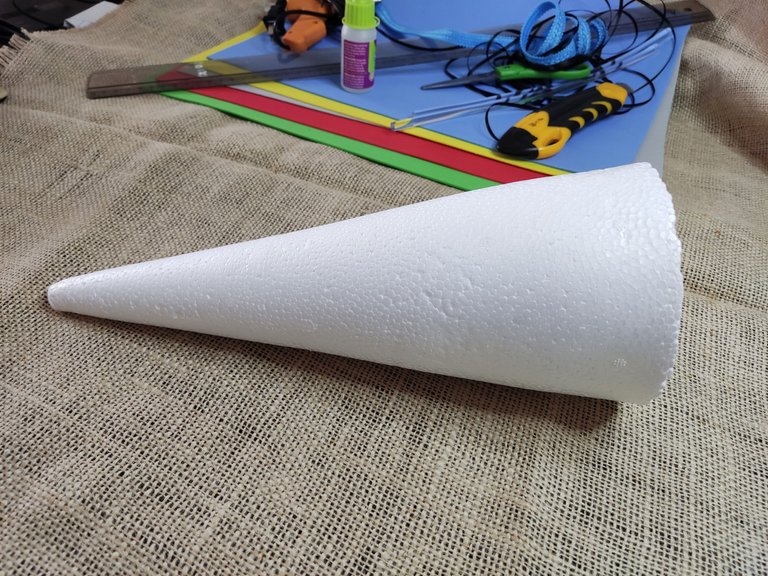
For this craft, you can use 40 centimeters high.
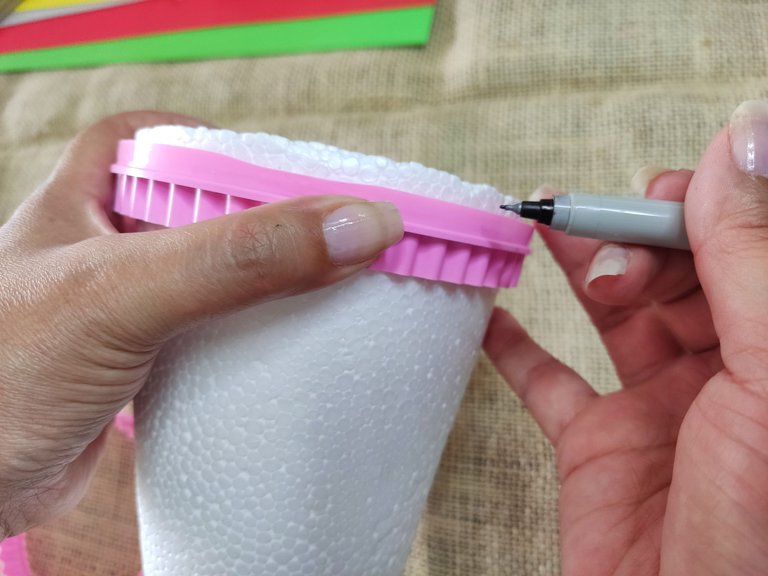
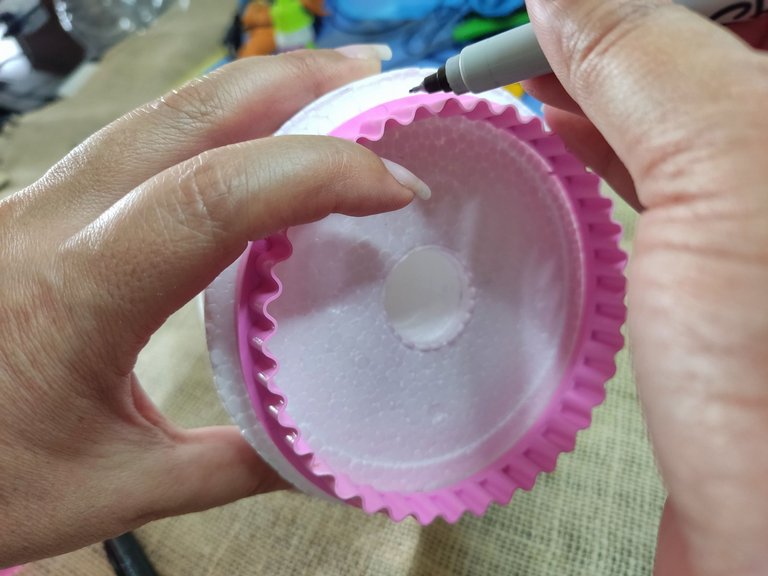
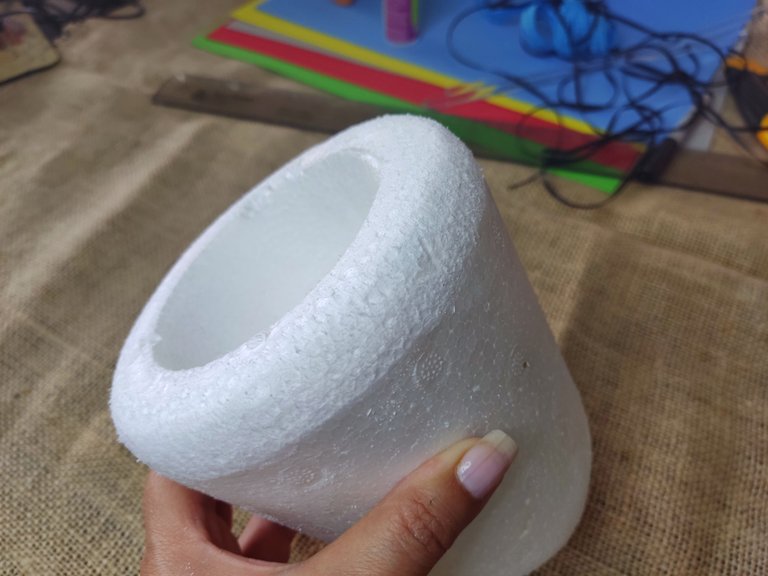
Draw a couple of lines on the upper edge. You can guide yourself with a circular object. I used cookie cutters. These are used to mark the polystyrene cone.
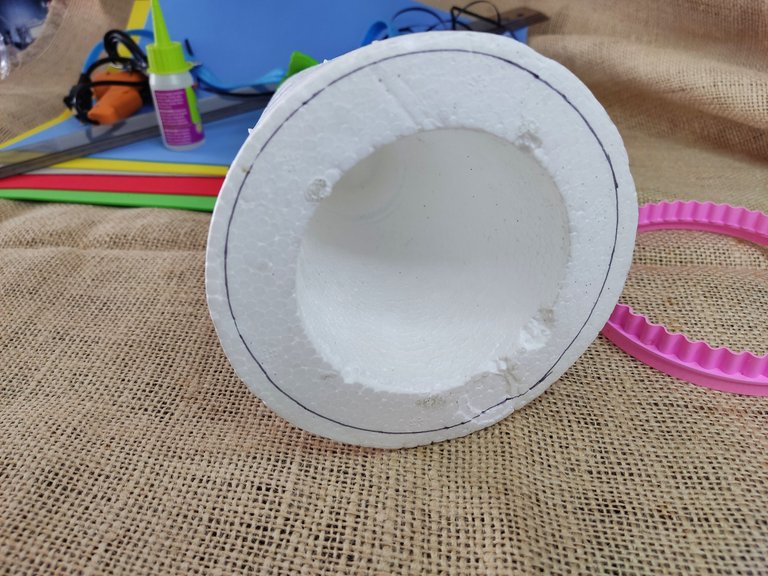
Measure 16 centimeters from the top edge toward the tip of the cone. Draw a line around the circumference of the cone.
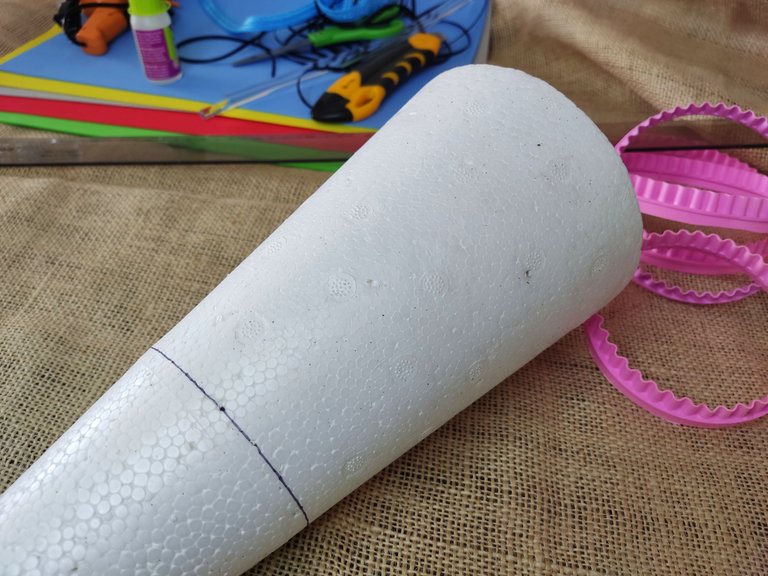
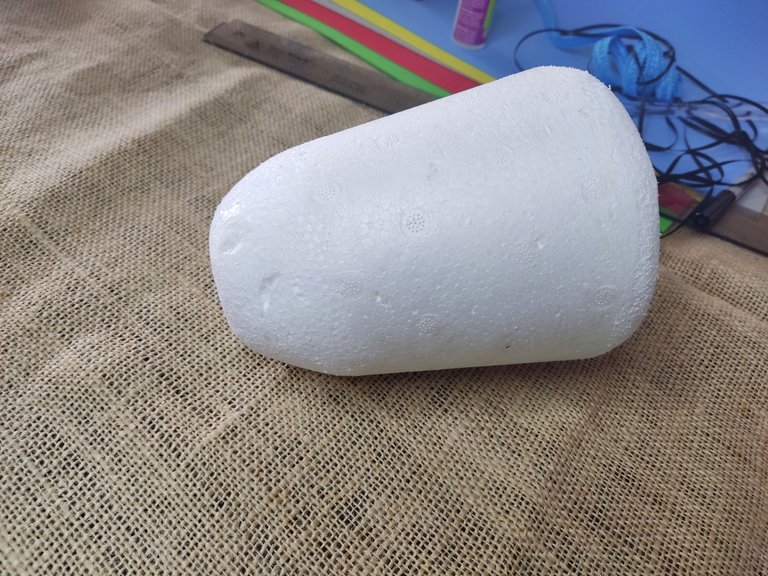
Using a cutter or sharp knife, cut off the tip of the cone and round off the top edge. To make this task easier, you can heat the knife blade.
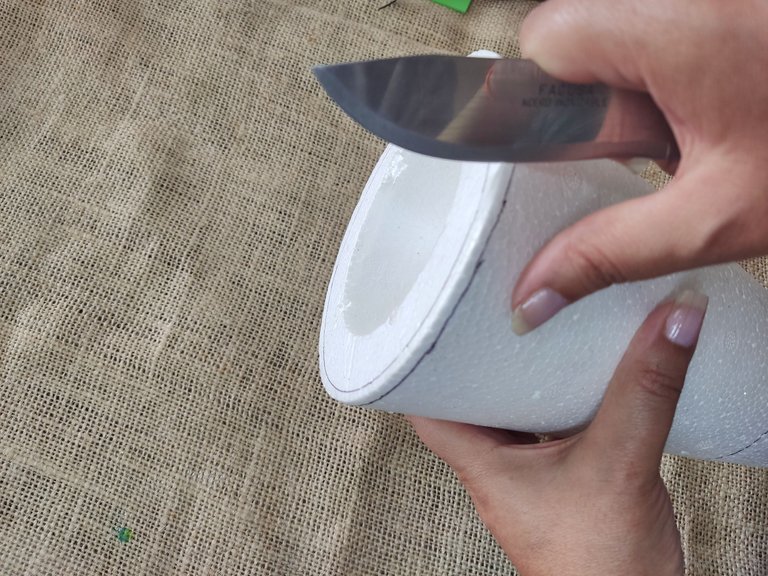
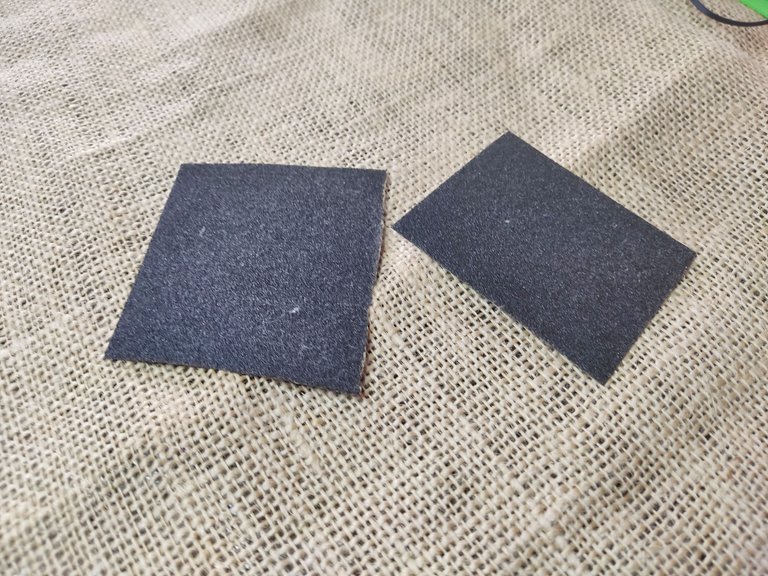
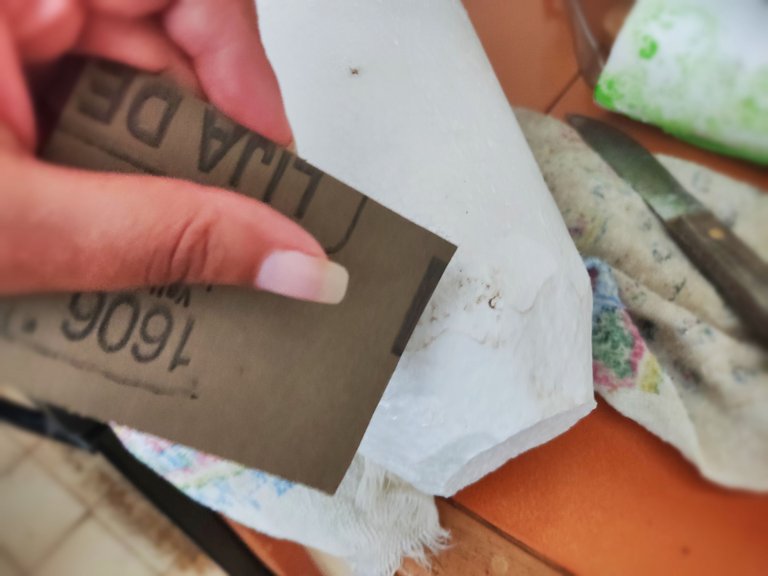
Sand the bottom surface of the cone. Try to give the tip a rounded shape. Also, sand the top edge to give it a roundness.
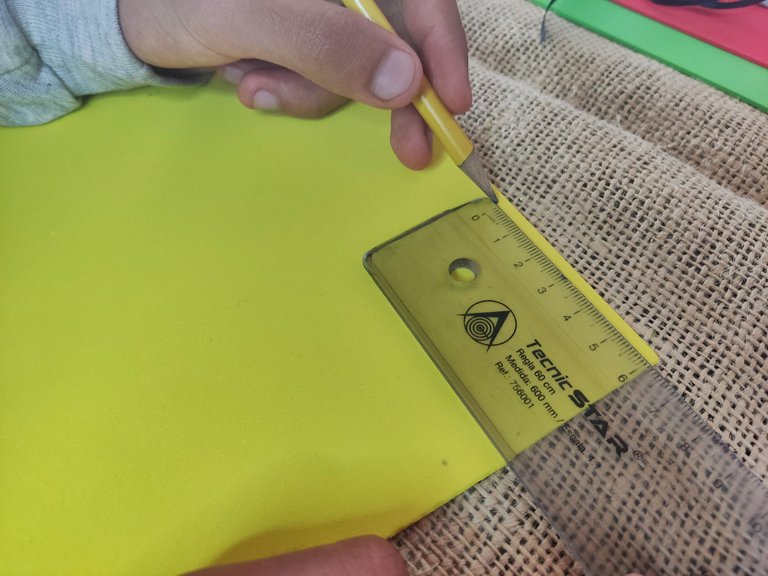
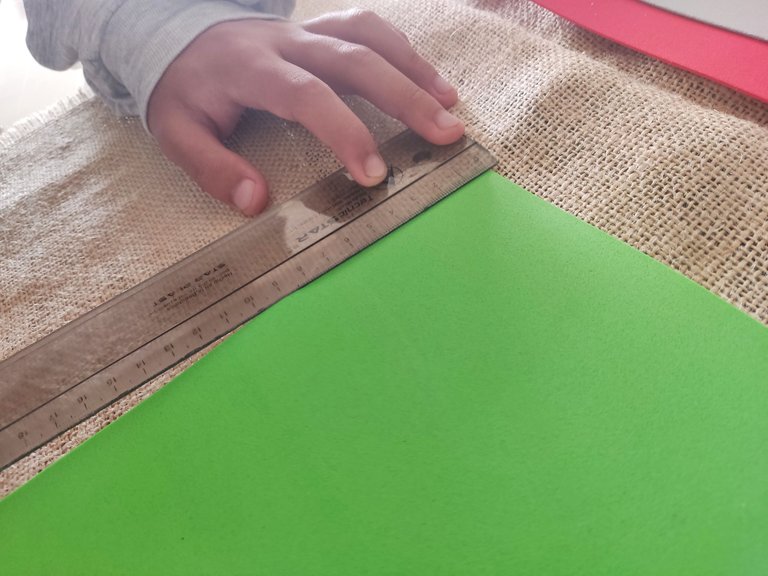
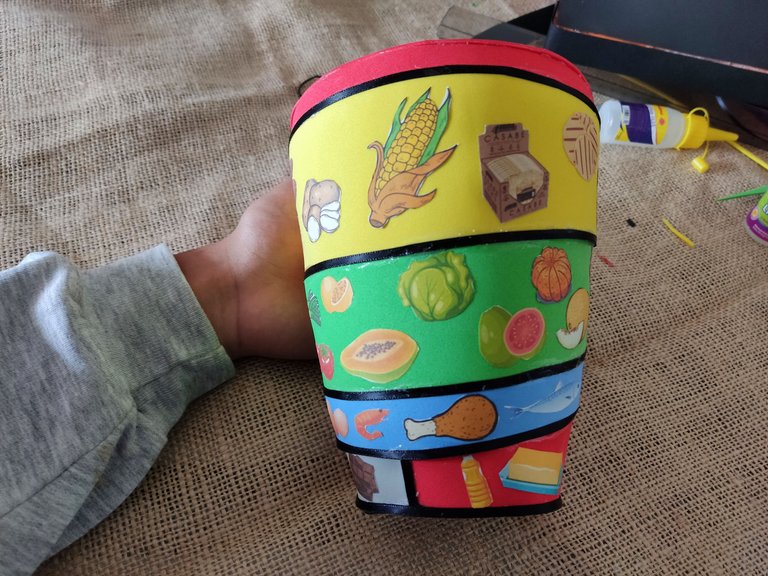
Take the foam sheets and cut ribbons of different sizes to represent the proportion of the food groups. For the yellow color, cut a strip 6 centimeters wide. For the green color, 4.5 centimeters. The blue color 3.5 centimeters, and the gray and red colors 2 centimeters, respectively.
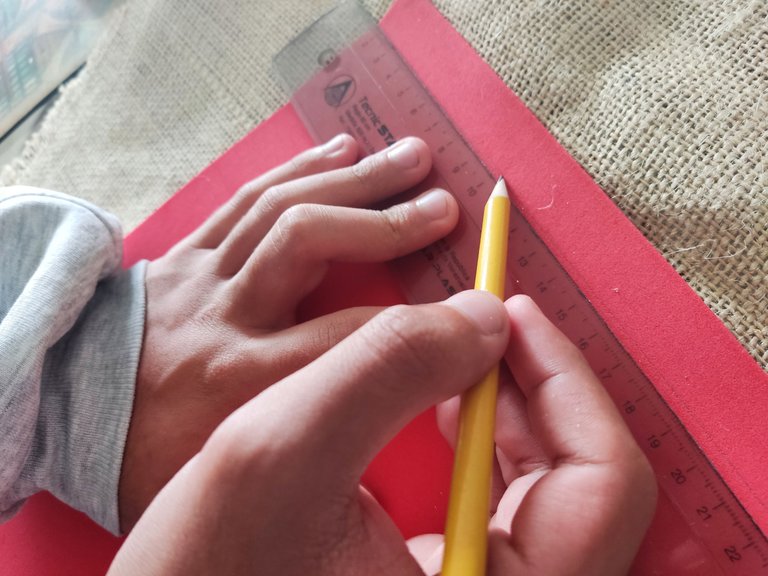
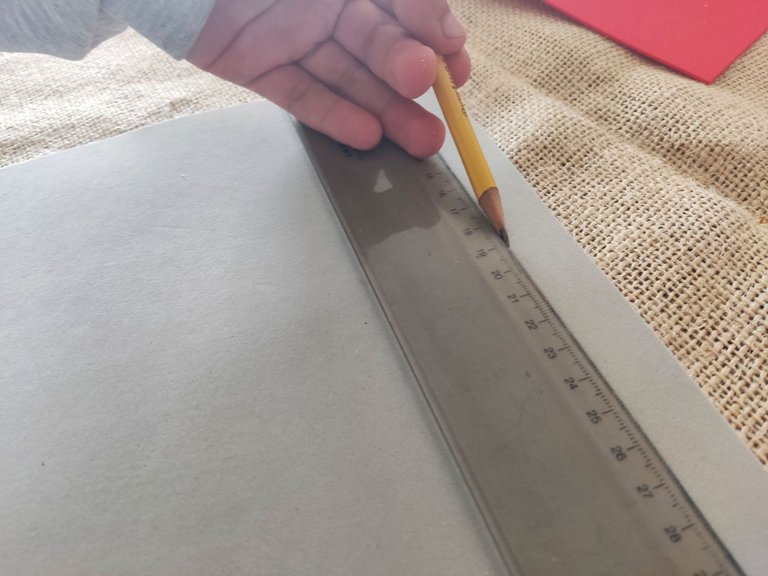
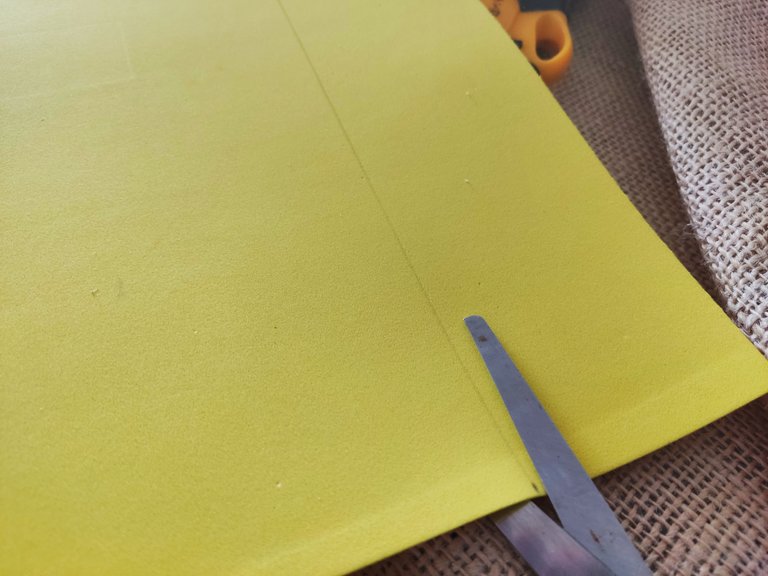
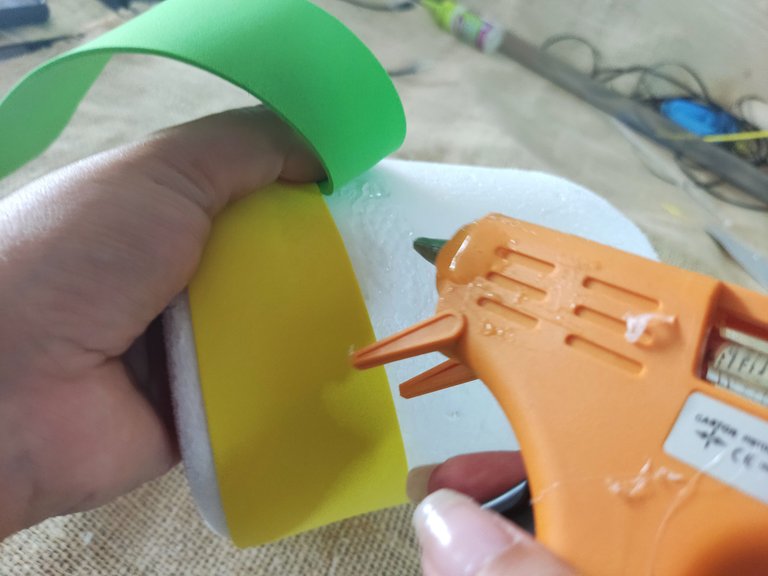
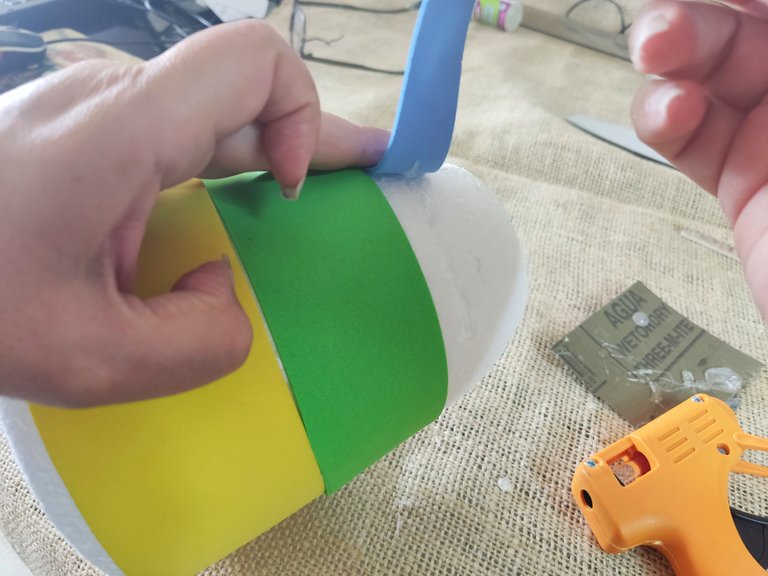
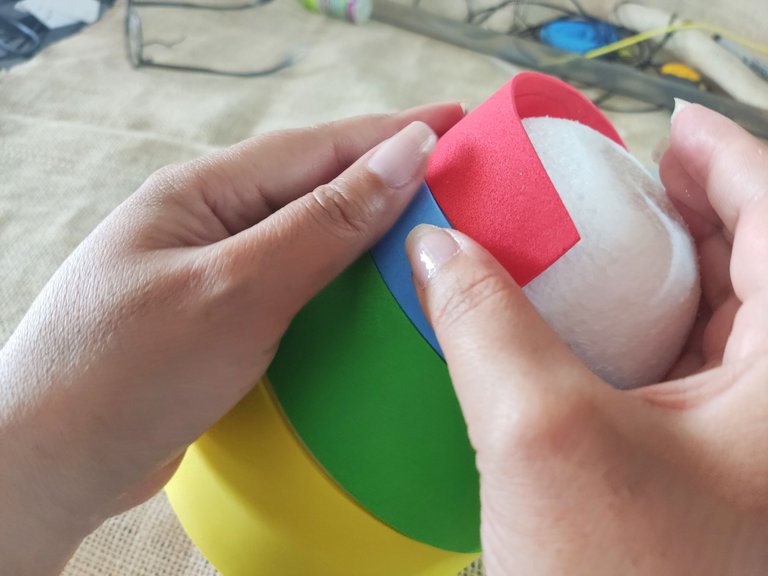
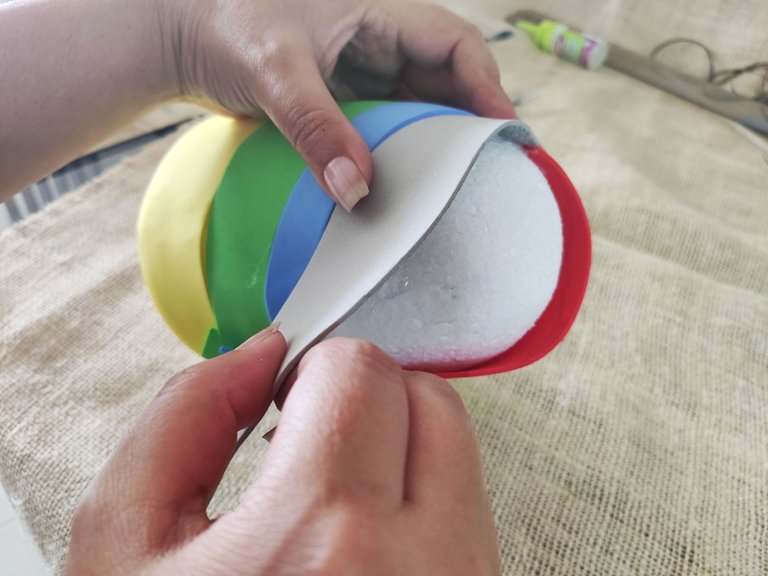
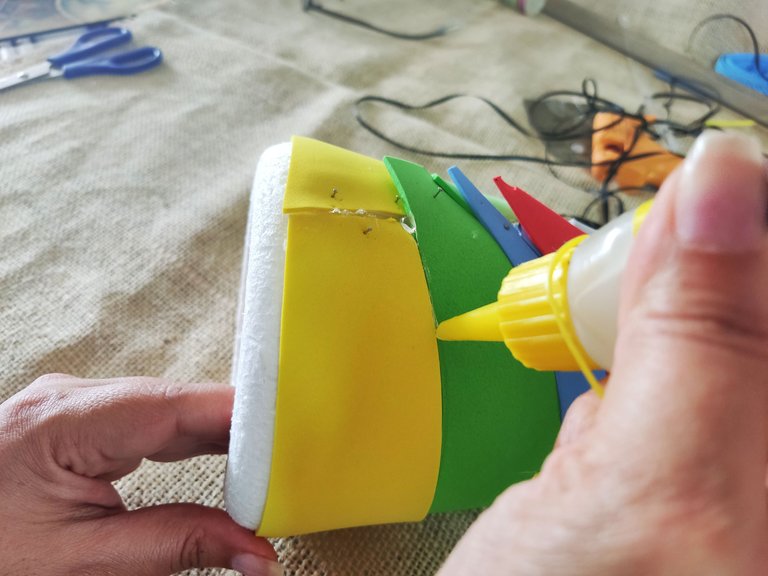
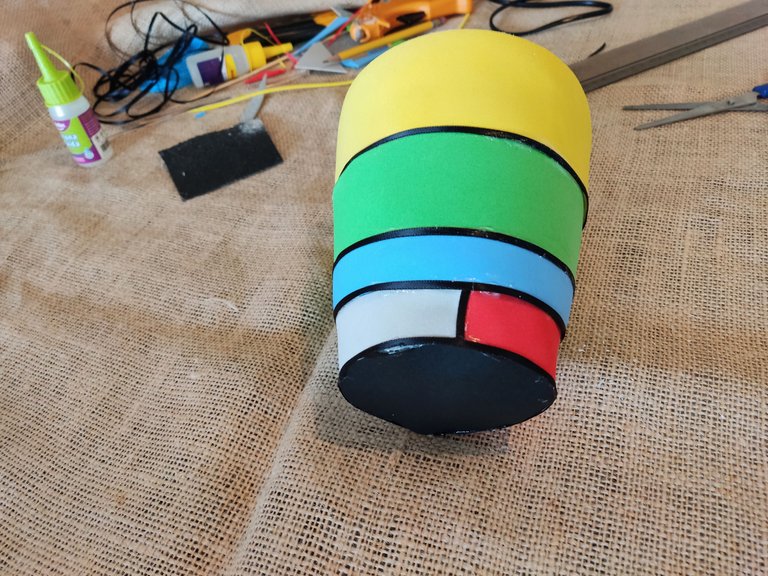
Using the silicone gun, glue each ribbon around the polystyrene structure. Place the yellow ribbon first, then the green, the blue, and finally the gray and the red. Remember that the last section is divided into two colors. To make the work easier, you can hold one end of the ribbon with pins and remove them.
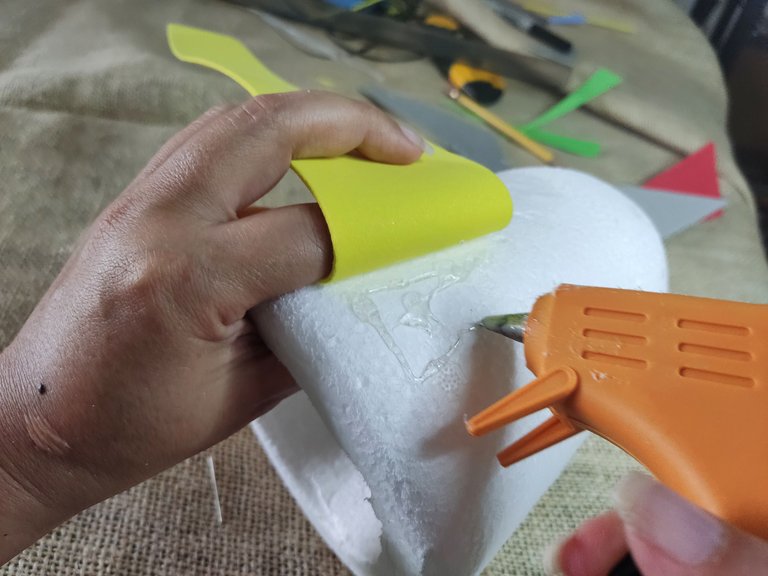
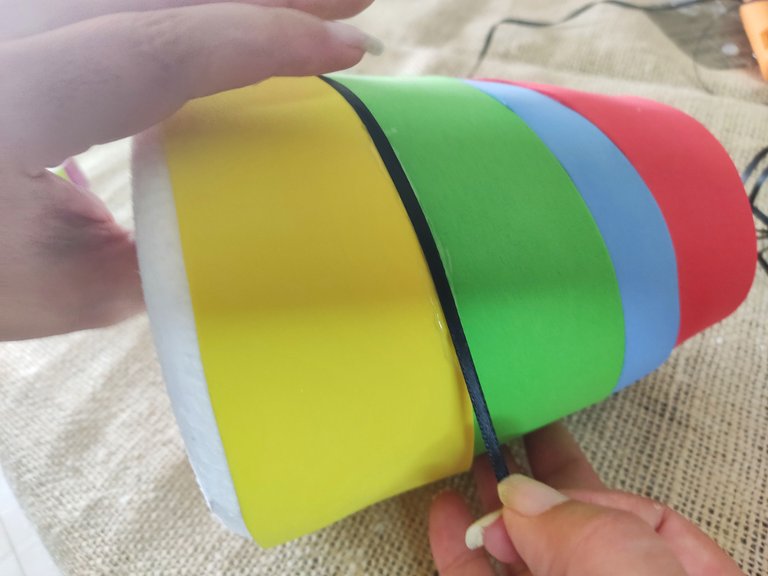
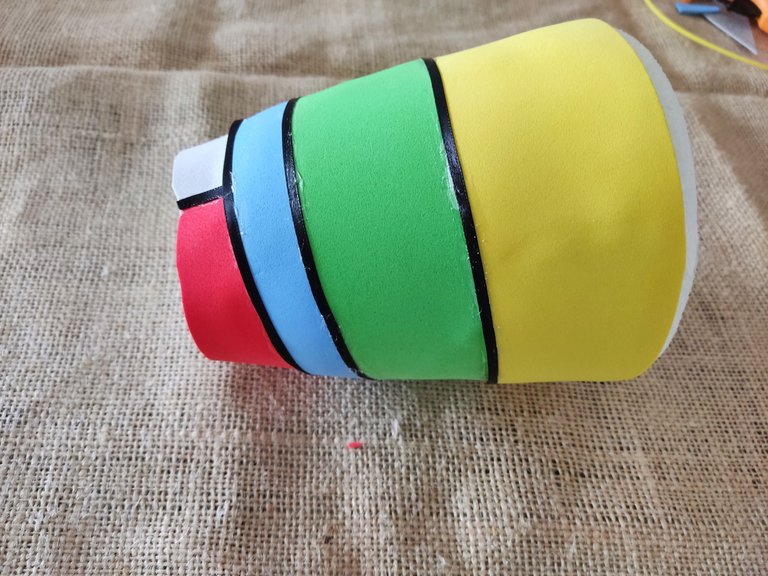
To demarcate well each color segment of the eating spinning top, use a thin black ribbon. Glue the tape on the edge of each color. Use liquid silicone to do this step.
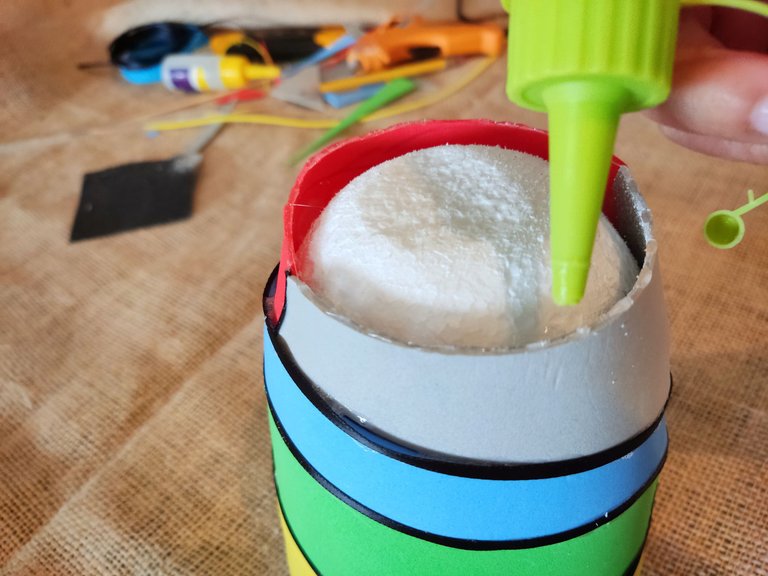
To cover the top of the spinning top, cut a circle of red foam of the diameter that covers this surface well. You can cut a 1-centimeter wide ribbon to cover the edge where the yellow ribbon starts. Glue these pieces with a silicone gun.
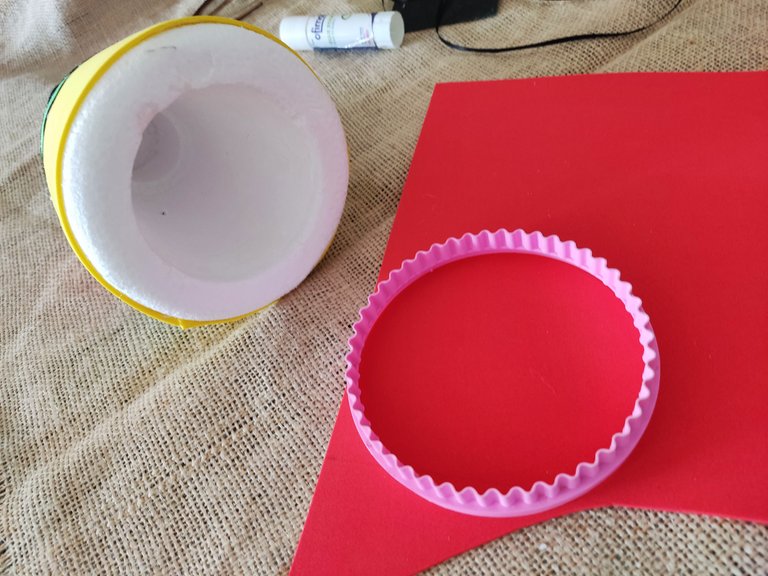
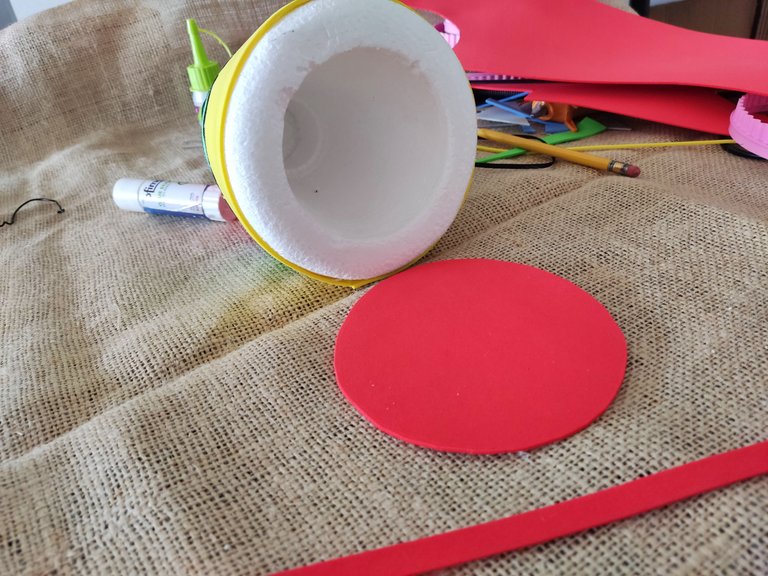
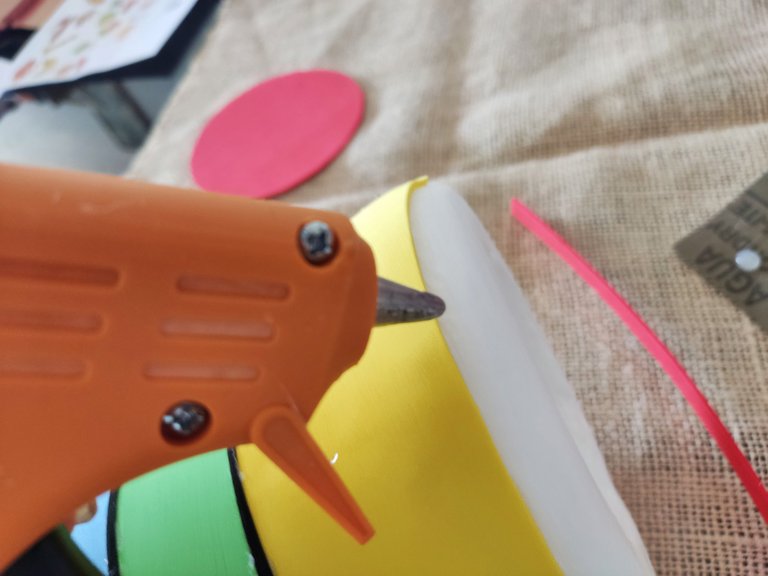
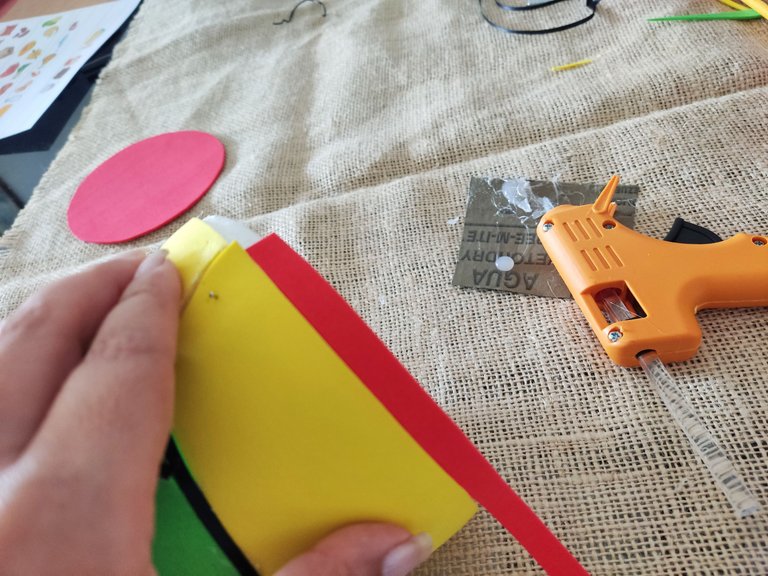
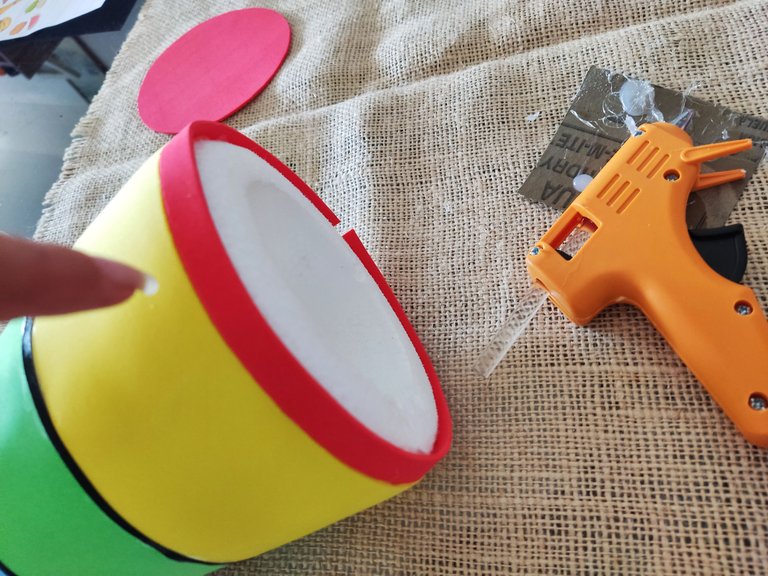
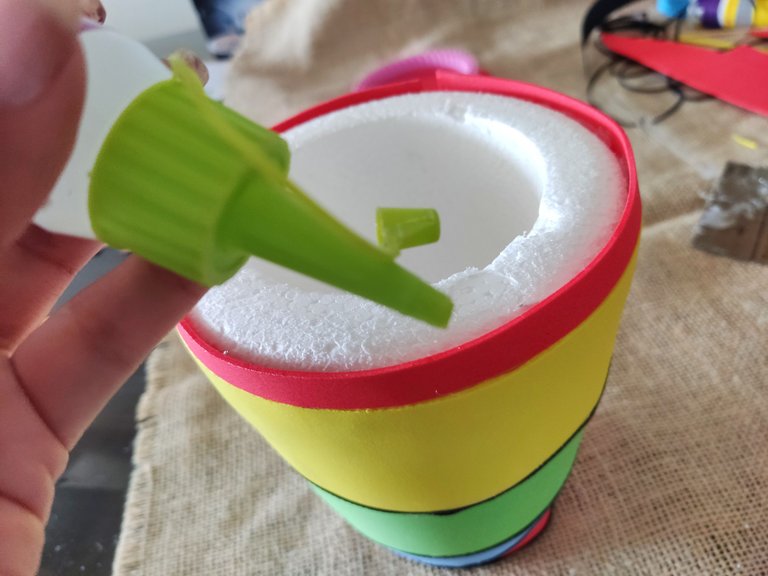
To make the top of the spinning top, use a plastic lid and cover it with red foam. To fix the foam, use silicone.
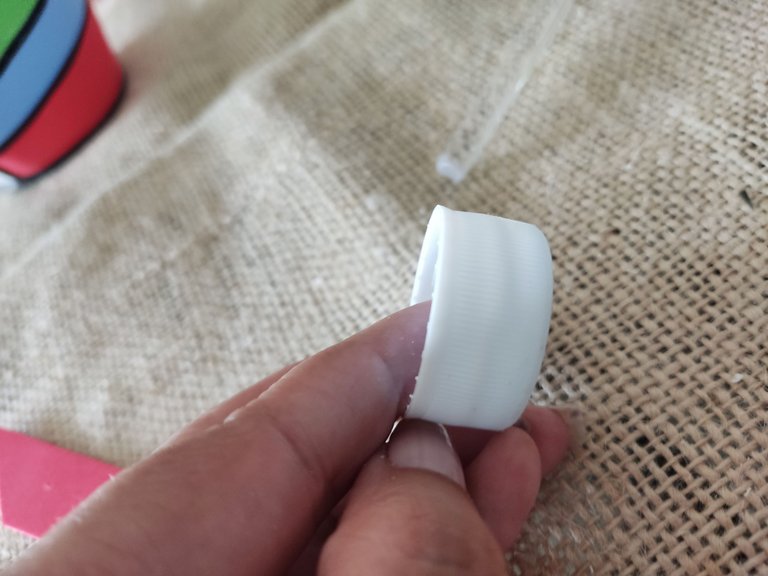
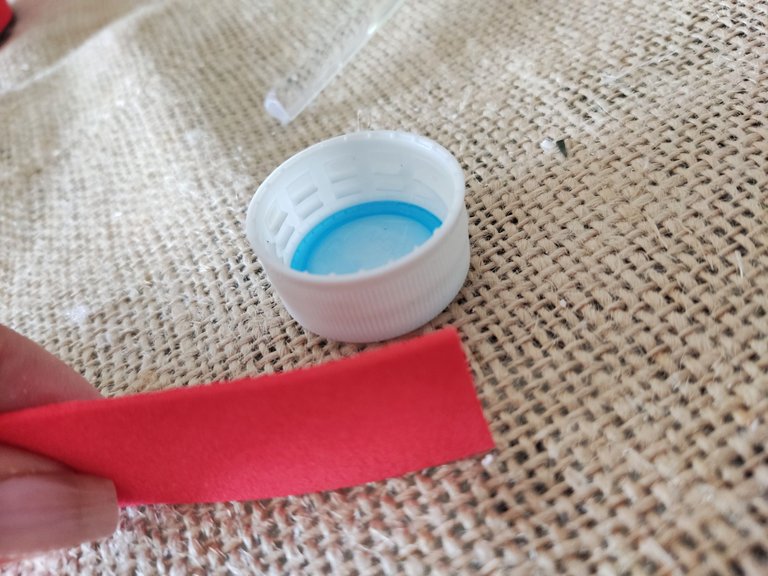
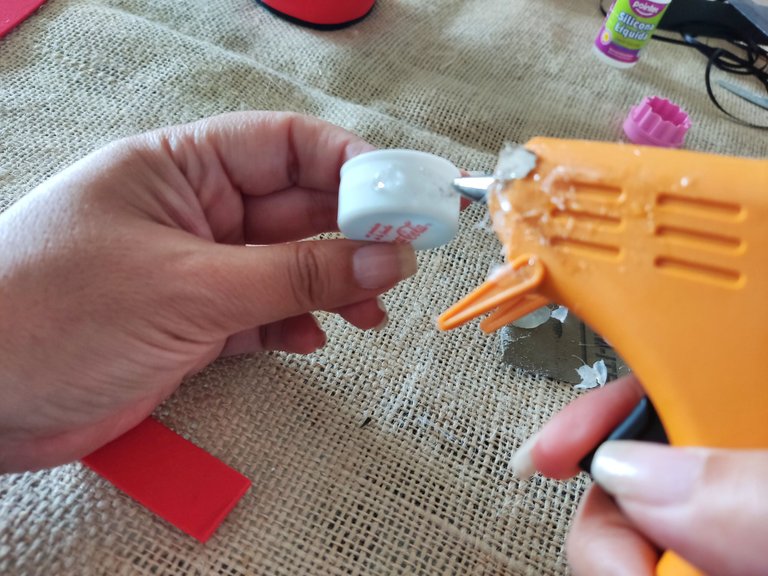
Border the top of the lid with a black ribbon and glue it with silicone. Once the plastic lid is lined, glue it to the top of the top of the spinning top.
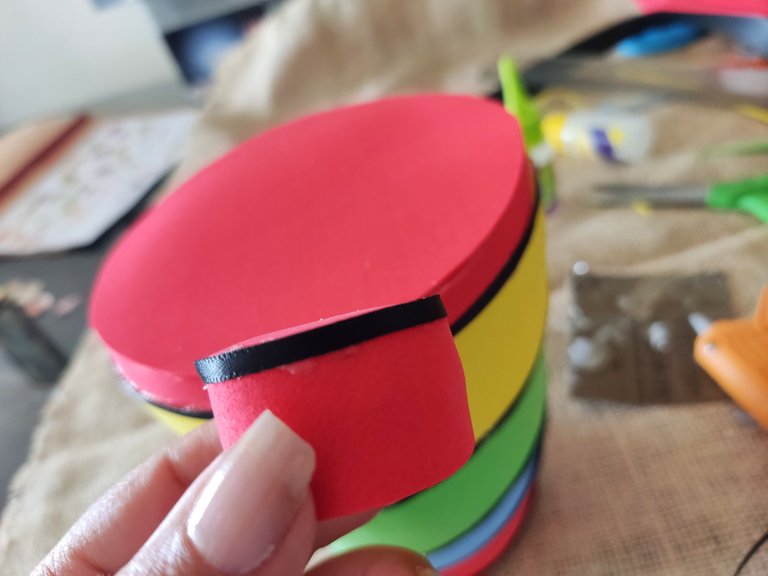
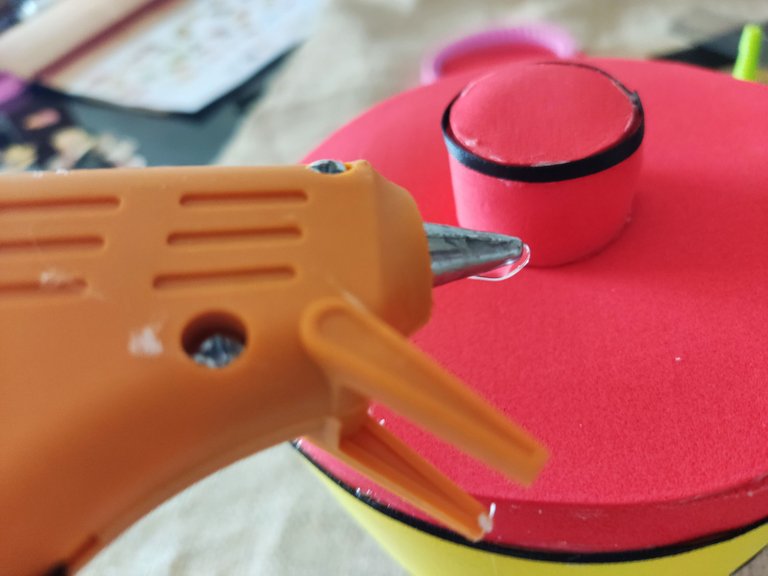
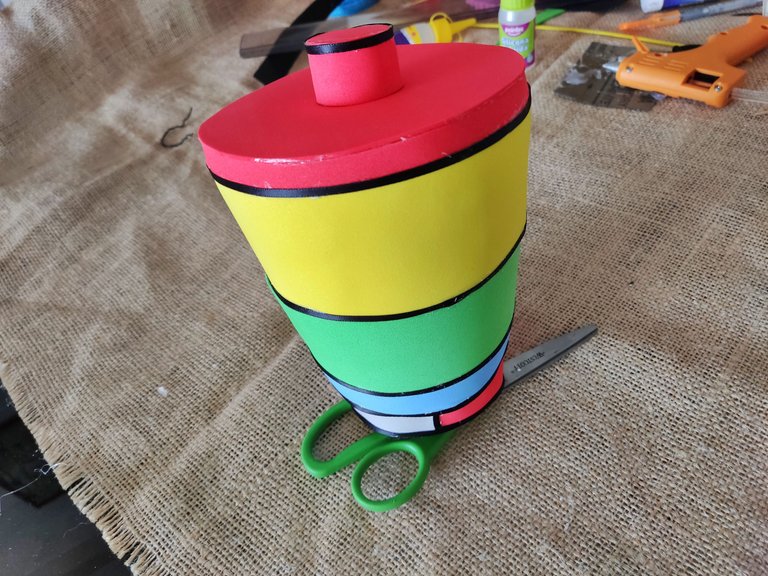
__
To make the top of the top, cut a circle of black cardboard to cover the bottom. Glue it using liquid silicone.
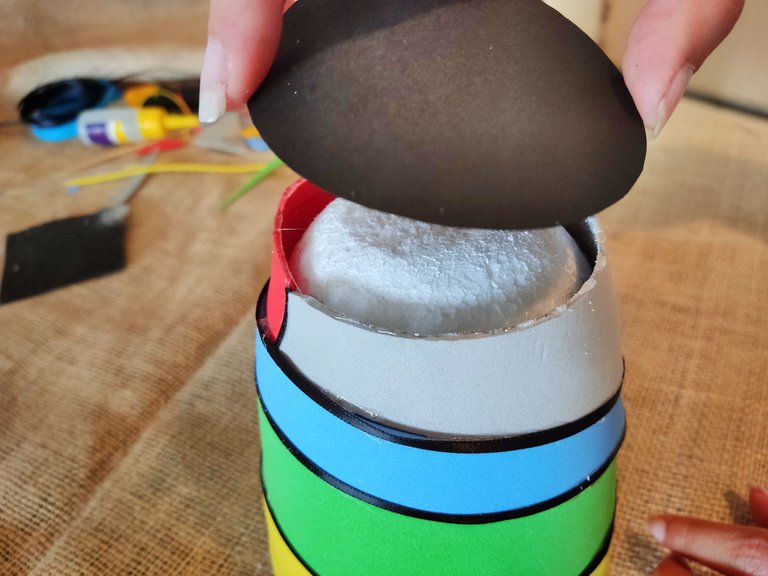
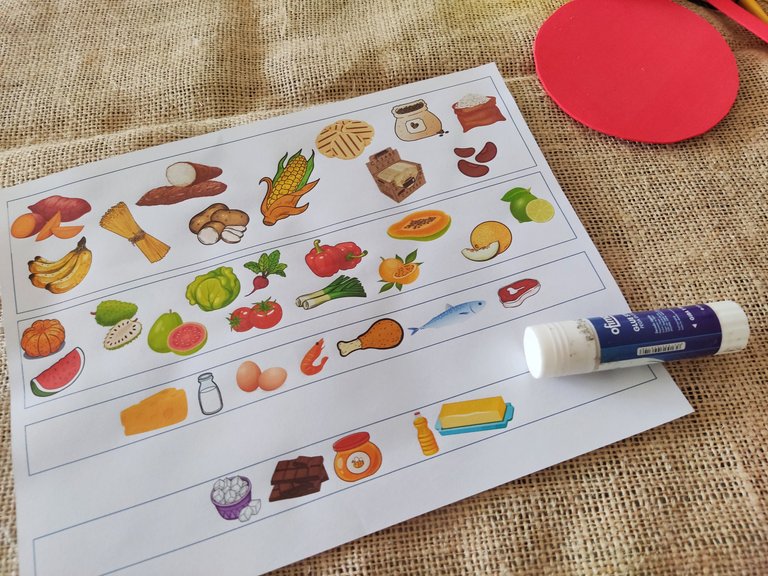
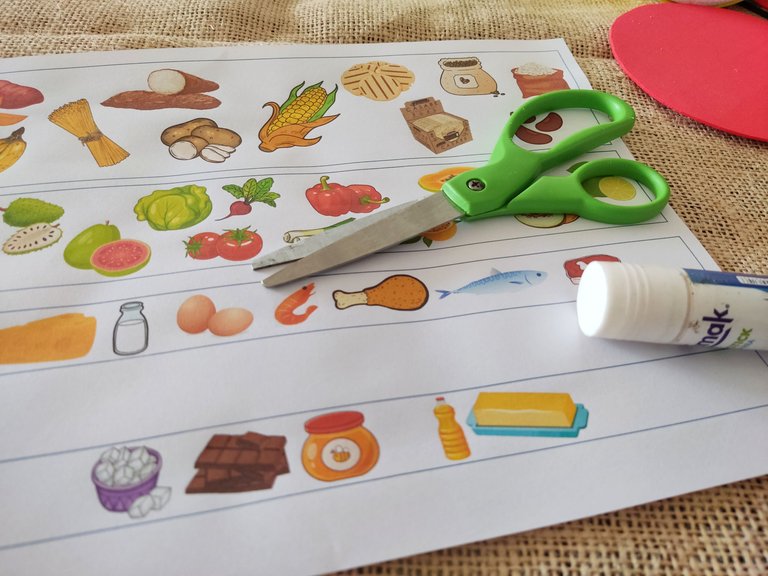
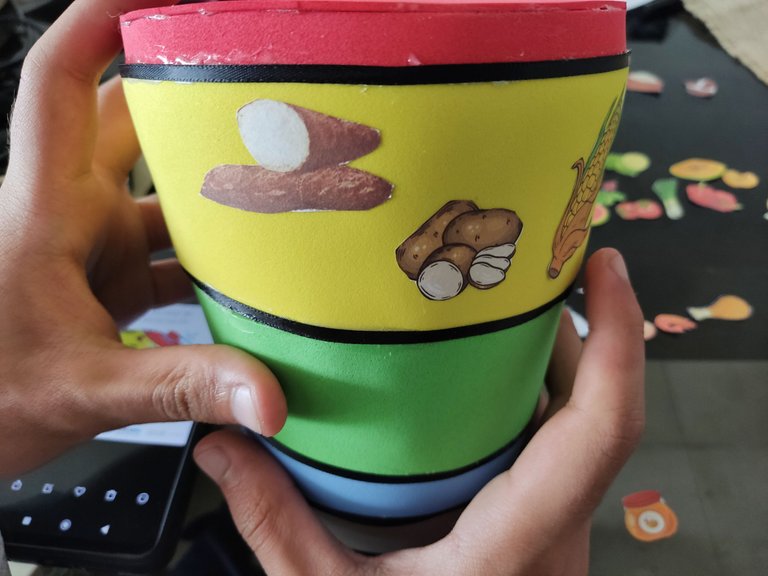
Cut out the images of the foods previously printed and glue them with glue sticks. Remember that in the yellow ribbon are the carbohydrates, in the green ribbon the fruits and vegetables, in the blue ribbon the proteins, in the red ribbon the fats, and in the gray ribbon the sugars.
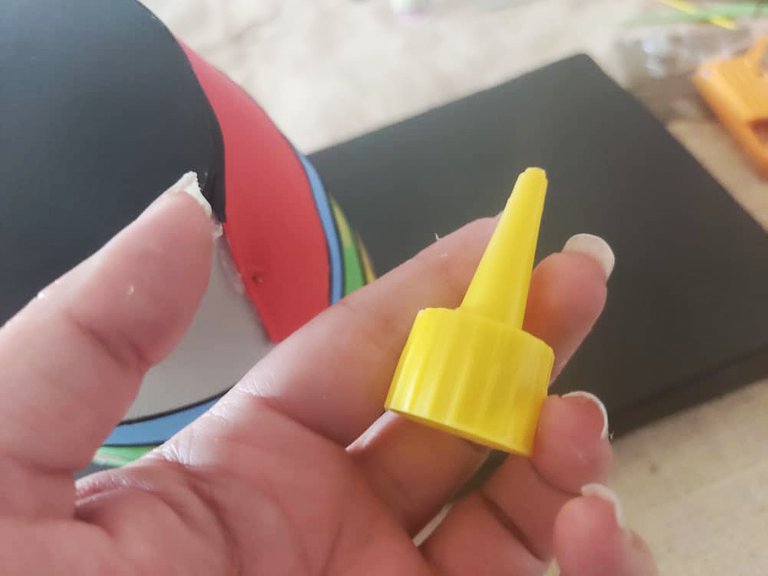
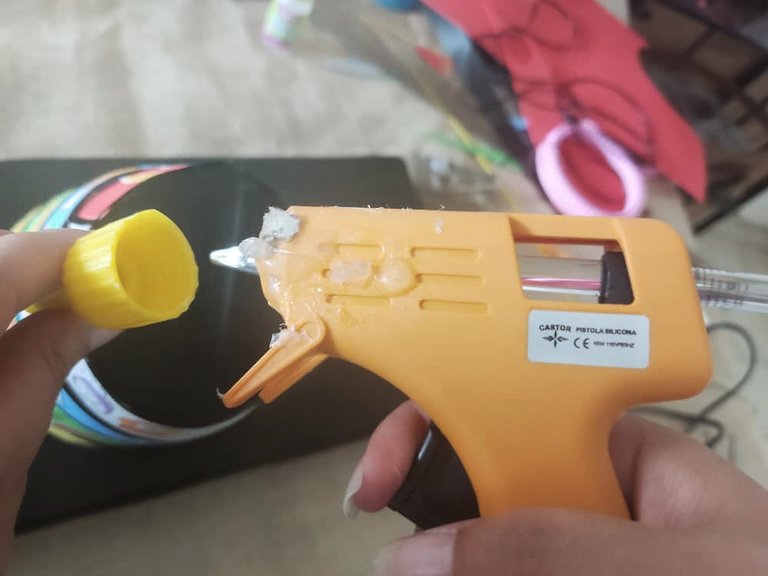
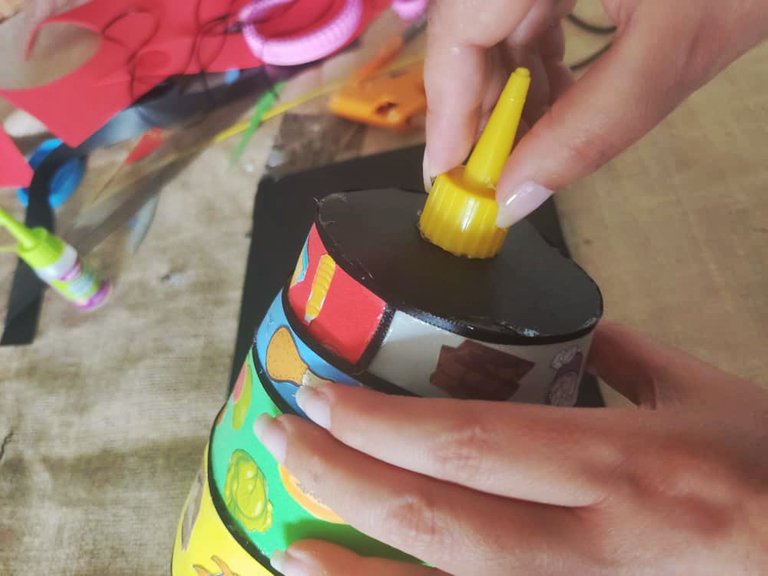
The tip can be made by gluing on a plastic lid. I used one from a container of liquid silicone that had run out some time ago.
Something important that should not be missing is the representation of water in the daily diet. To achieve this effect, glue a blue ribbon around the top of the spinning top. Use a ribbon that is firm but flexible at the same time so that it can hold well.
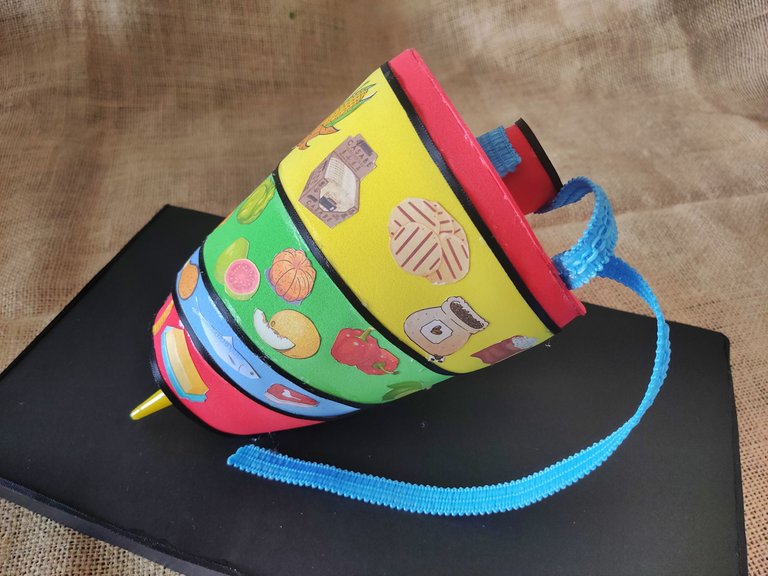

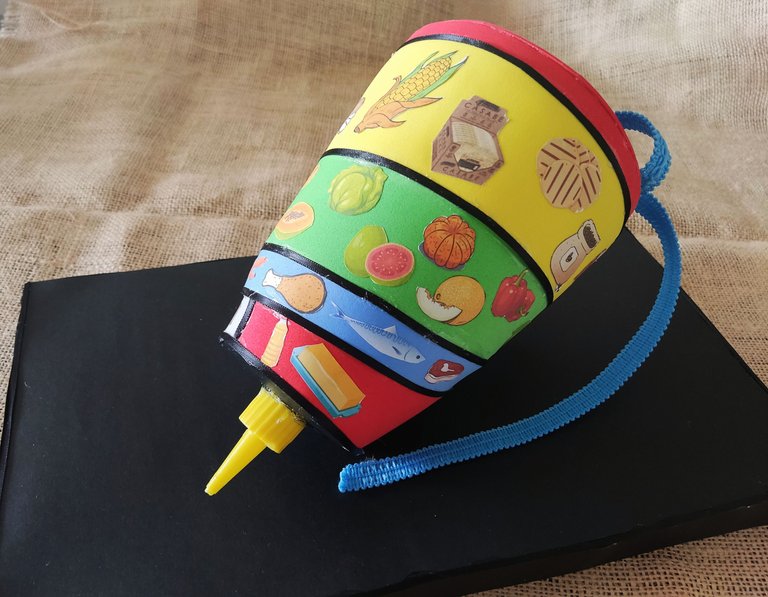
It was a fun and educational project as it was an excellent opportunity to explain to my son why we should eat a variety of foods, their function in our body, and in what proportion.
If you liked how our Eating guide spinning top turned out, leave me a comment.

All images are property of the author
(Camera cell phone: POCO X3 Pro, Xiaomi)
The author's original text in Spanish was translated into English using DeepL


Muy buen trabajo ....mucha creatividad
Muchas gracias, espero hayas disfrutado de este post 😃
HTTP is in use instead of HTTPS and no protocol redirection is in place. Do not enter sensitive information in this website as your data won't be encrypted.
Read about HTTP unsafety: [1] [2]
_ Vote for our WITNESS to support this FREE service!
Hi @keys-defender,
The post is edited following your recommendation. Thank you very much for the warning!
Articles:
- !phishing command and universal script
- !scam, !unsafe and !info commands
_ Vote for our WITNESS to support this FREE service!
- !phishing {link}
- !scam {link}
- !unsafe {link}
- !hacked @{user}
- !recovered @{user}
- !info
Sorry, I was not aware of this rule. It is already corrected! I will keep this in mind. Thank you very much for your comments!
No worries it's not a rule. It's just a warning in case something dangerous is there. It does not seem the case for this situation :)