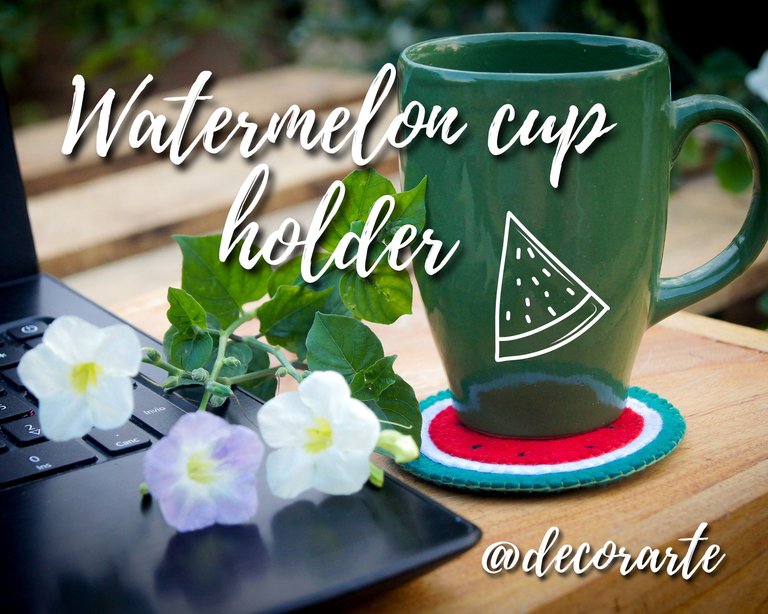
Today I bring you a very simple and easy to reproduce tutorial. I encourage you to go ahead and add some color to your table in five easy steps. This glass holder can accompany a family dinner or drinks with friends, in any case, you can show off with these charming and useful accessories.
Hoy les traigo un tutorial muy sencillo y fácil de reproducir. Los exhorto a que se animen y añadan un poco de color a su mesa en cinco sencillos pasos. Esta porta vasos pueden acompañar una cena familiar o unas bebidas entre amigos, en cualquier caso, puedes lucirte con estos encantadores y útiles accesorios.
🍉Materials:
Felt:
-red
-white
-green
Threads of corresponding colors
🍉Materiales:
Fieltro:
-rojo
-blanco
-verde
Hilos de los colores correspondientes
Procedure:
Procedimiento:
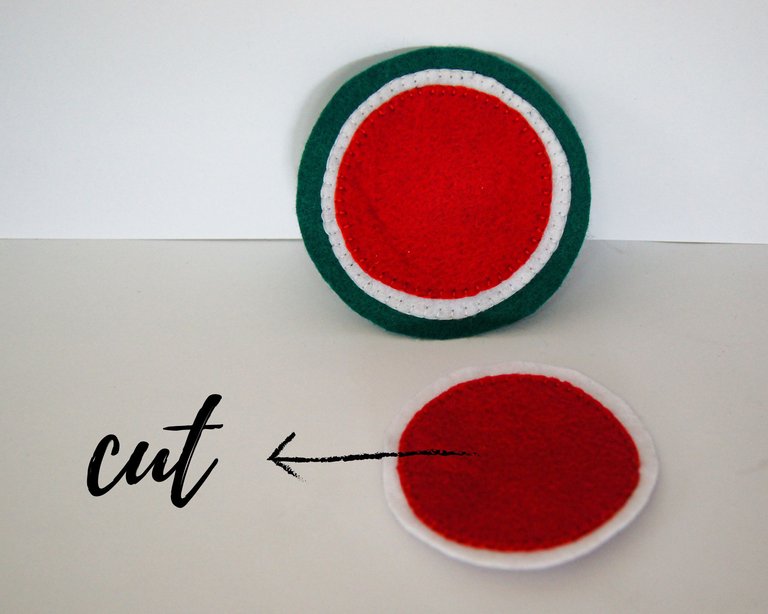
🍉Step 1:
Cut three circles with a size difference in their circumference of about 7mm. One of each color respecting the watermelon pattern. The circumference can be the size of your glasses, using red as a sample and then adding the rest of the colors to make the design stand out.
(For the circumference, use a compass or any similar tool).
🍉Paso 1:
Cortar tres círculos con una diferencia de tamaño en su circunferencia de unos 7mm. Uno de cada color respetando el patrón de las sandias. La circunferencia puede ser de la medida de tus vasos usando el rojo como muestra y luego se añaden el resto de colores para que sobresalga el diseño.
(Para la circunferencia auxiliarse de un compás o cualquier herramienta similar).
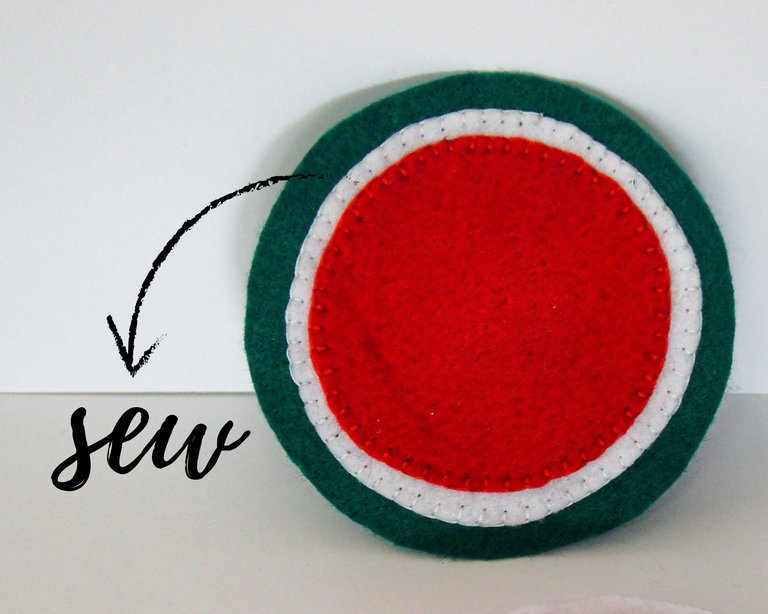
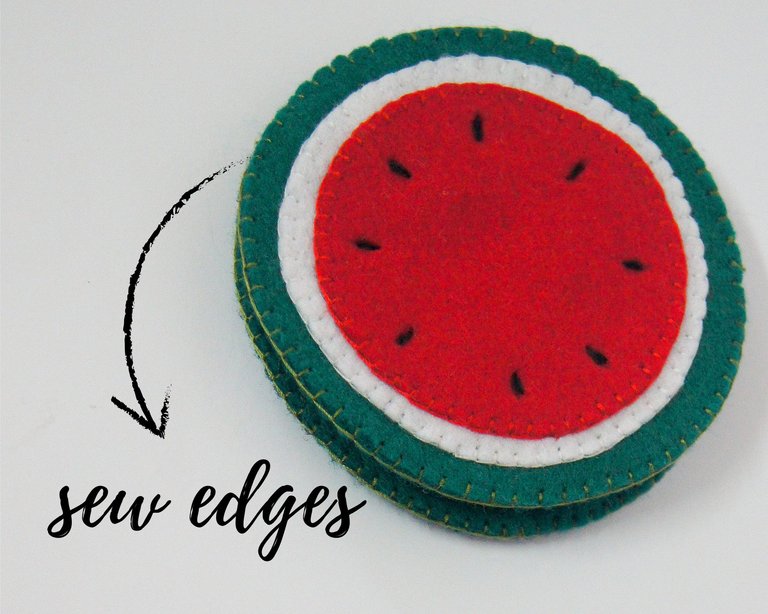
🍉Step2:
Sew the edges with the blanket stitch to secure the piece to which it belongs. Take into account the color pattern, red front, white middle and green background. In this way and with the corresponding threads we join the three pieces.
🍉Paso2:
Coser con la puntada festón los bordes para fijar la pieza a la que le corresponde. Tener en cuenta el patrón de colores, delantero rojo, intermedio blanco y fondo verde. De esta manera y con los hilos correspondientes unimos las tres piezas.
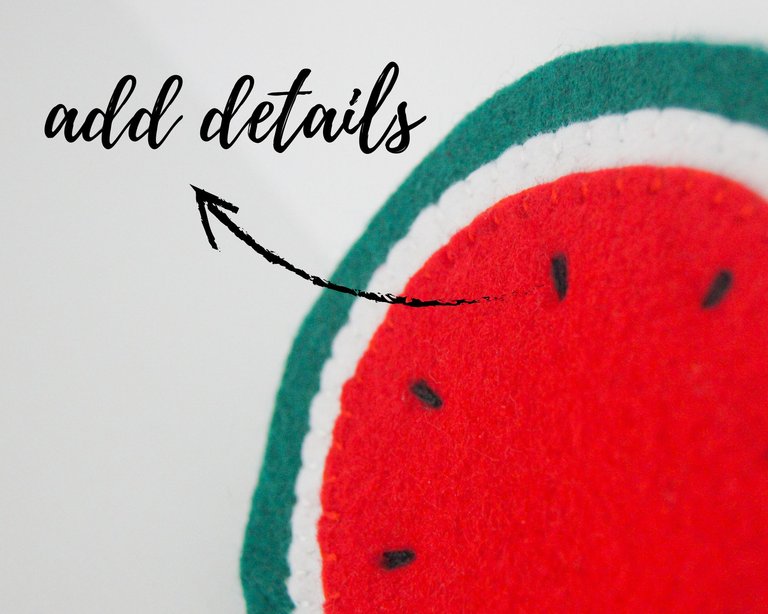
🍉Step 3:
With black thread we added the details simulating the watermelon seeds to the first layer. Stitching in the same place until you get the right thickness.
(If you prefer, you can add these details before joining the red circle with the rest so that the stitches are hidden behind that layer).
🍉Paso 3:
Con hilo negro añadimos a la primera capa los detalles simulando las semillas de la sandía. Dando unas puntadas en el mismo lugar hasta que obtenga el grosor adecuado.
(Si lo prefiere puede añadir estos detalles antes de unir el círculo rojo con el resto para que las puntadas queden ocultas detrás de esa capa).
🍉Step 4:
Sew the edges with a blanket stitch of the bottom layer, that is, the green one to add a better finish and prevent it from wearing out with use and washing.
(If you don't know how to do this stitch, you can leave it in the comments and I'll make a tutorial for it).
🍉Paso 4:
Coser los bordes con puntada festón de la capa fondo, es decir, la verde para añadir un mejor acabado y evitar que con el uso y lavado se desgaste.
(si no sabe hacer esta puntada puede dejarlo en los comentarios y hago un tutorial para ello).
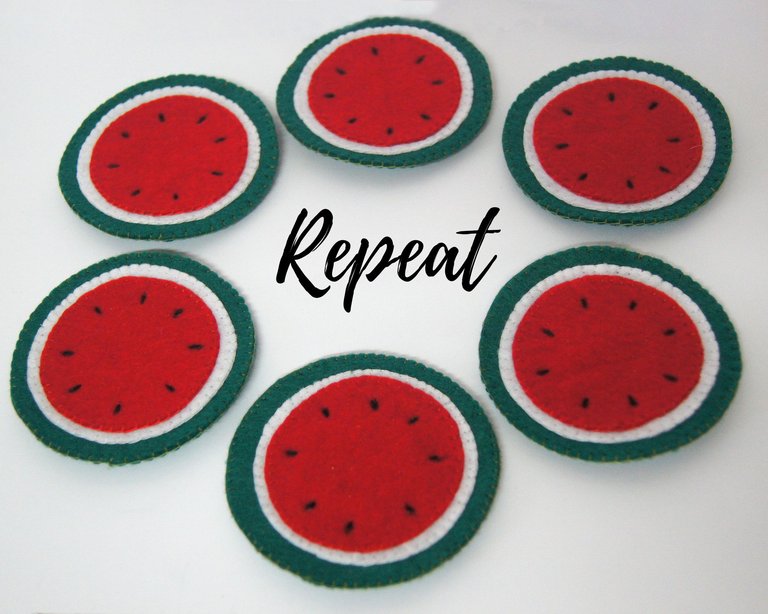
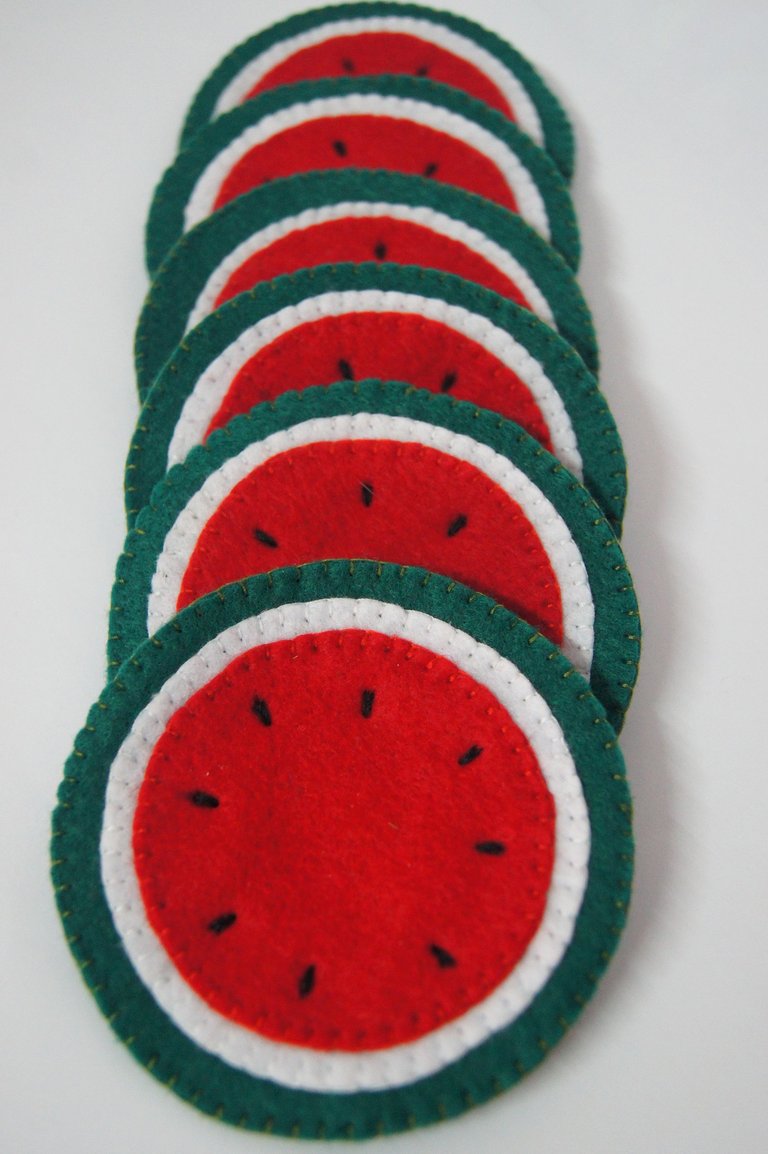
🍉Step 5.
Repeat the action 5 more times, there will be a total of six pieces left. You can obviously make whatever you need, even with larger measurements make plate holders and complete the set for a summer table.
🍉Paso 5.
Repetir la acción 5 veces más, quedaran en total seis piezas. Puede hacer las que necesite obviamente, incluso con medidas más grandes hacer porta platos y completa el juego para una mesa de verano.
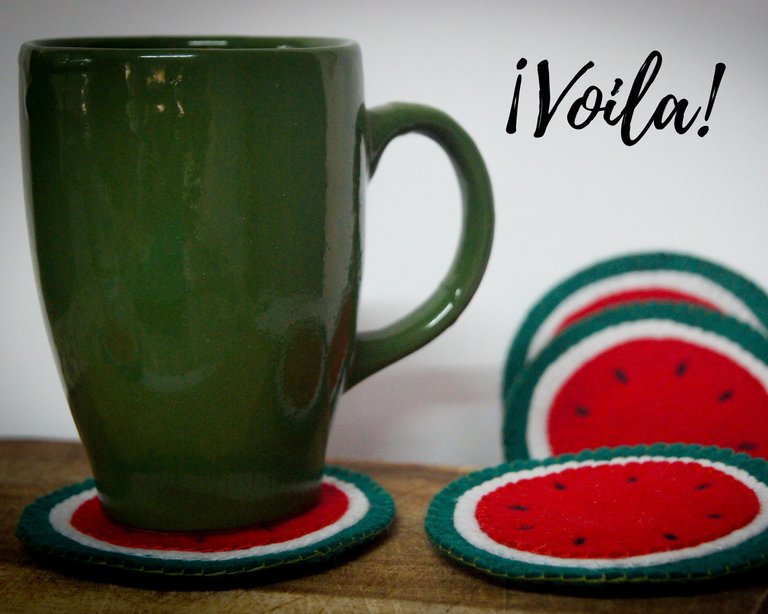

This is how it turned out, I hope you like it and that the tutorial is useful to you. Be creative and add your own touch. In my case I usually keep things quite simple, but you can add little leaves or any other detail that occurs to you. Also, I wanted to mention that if you don't have felt you can use this step by step with fabric and it will be just as useful.
Bye.
Así quedó, espero que les guste y que les sirva el tutorial. Sean creativos y añadan su propio toque. En mi caso suelo hacer las cosas bastante sencillas, pero ustedes pueden añadir hojitas u otro detalle que se les ocurra. Además, quería mencionar que si no tienen fieltro pueden usar este paso a paso con tela y va ser igual de útil.
Chau.
This watermelon coaster tutorial is such a fun idea! I love how easy it looks to make, and the steps are super clear. The idea of adding the black thread for watermelon seeds is really cool, it gives it a nice detail! I also like that you can make larger ones for plates to complete the set for a summer table – it would look awesome at family dinners or when friends come over. I also like how you kept it simple, but it’s great that you mentioned we can add little leaves or other decorations if we want. If I don’t have felt, I think I will try fabric like you suggested. By the way, how long did it take you to finish one coaster?
Thank you very much. I am not clear, but only one should not exceed 15min for me. 🍉🙏
I loved. Beautiful ♥️👌
Gracias. Embullate y haz unos.
Sencillo y muy facil tienes razón, saludos de parte de la curación manual del testigo de @hispapro a tu excelente contenido
Muchas gracias por el apoyo. Un saludo
Me gusta mucho y lo bueno es que ese punto de la orilla yo lo sé hacer
Genial, eso se puede decir que lo más difícil y ya lo tienes. Con ese punto es quw hago la mayoría de mis manualidsdes con fieltro. Un saludo, gracias por comentar. 🙏🏻❤️
Congratulations @decorarte! You have completed the following achievement on the Hive blockchain And have been rewarded with New badge(s)
Your next target is to reach 100 upvotes.
You can view your badges on your board and compare yourself to others in the Ranking
If you no longer want to receive notifications, reply to this comment with the word
STOPCheck out our last posts: