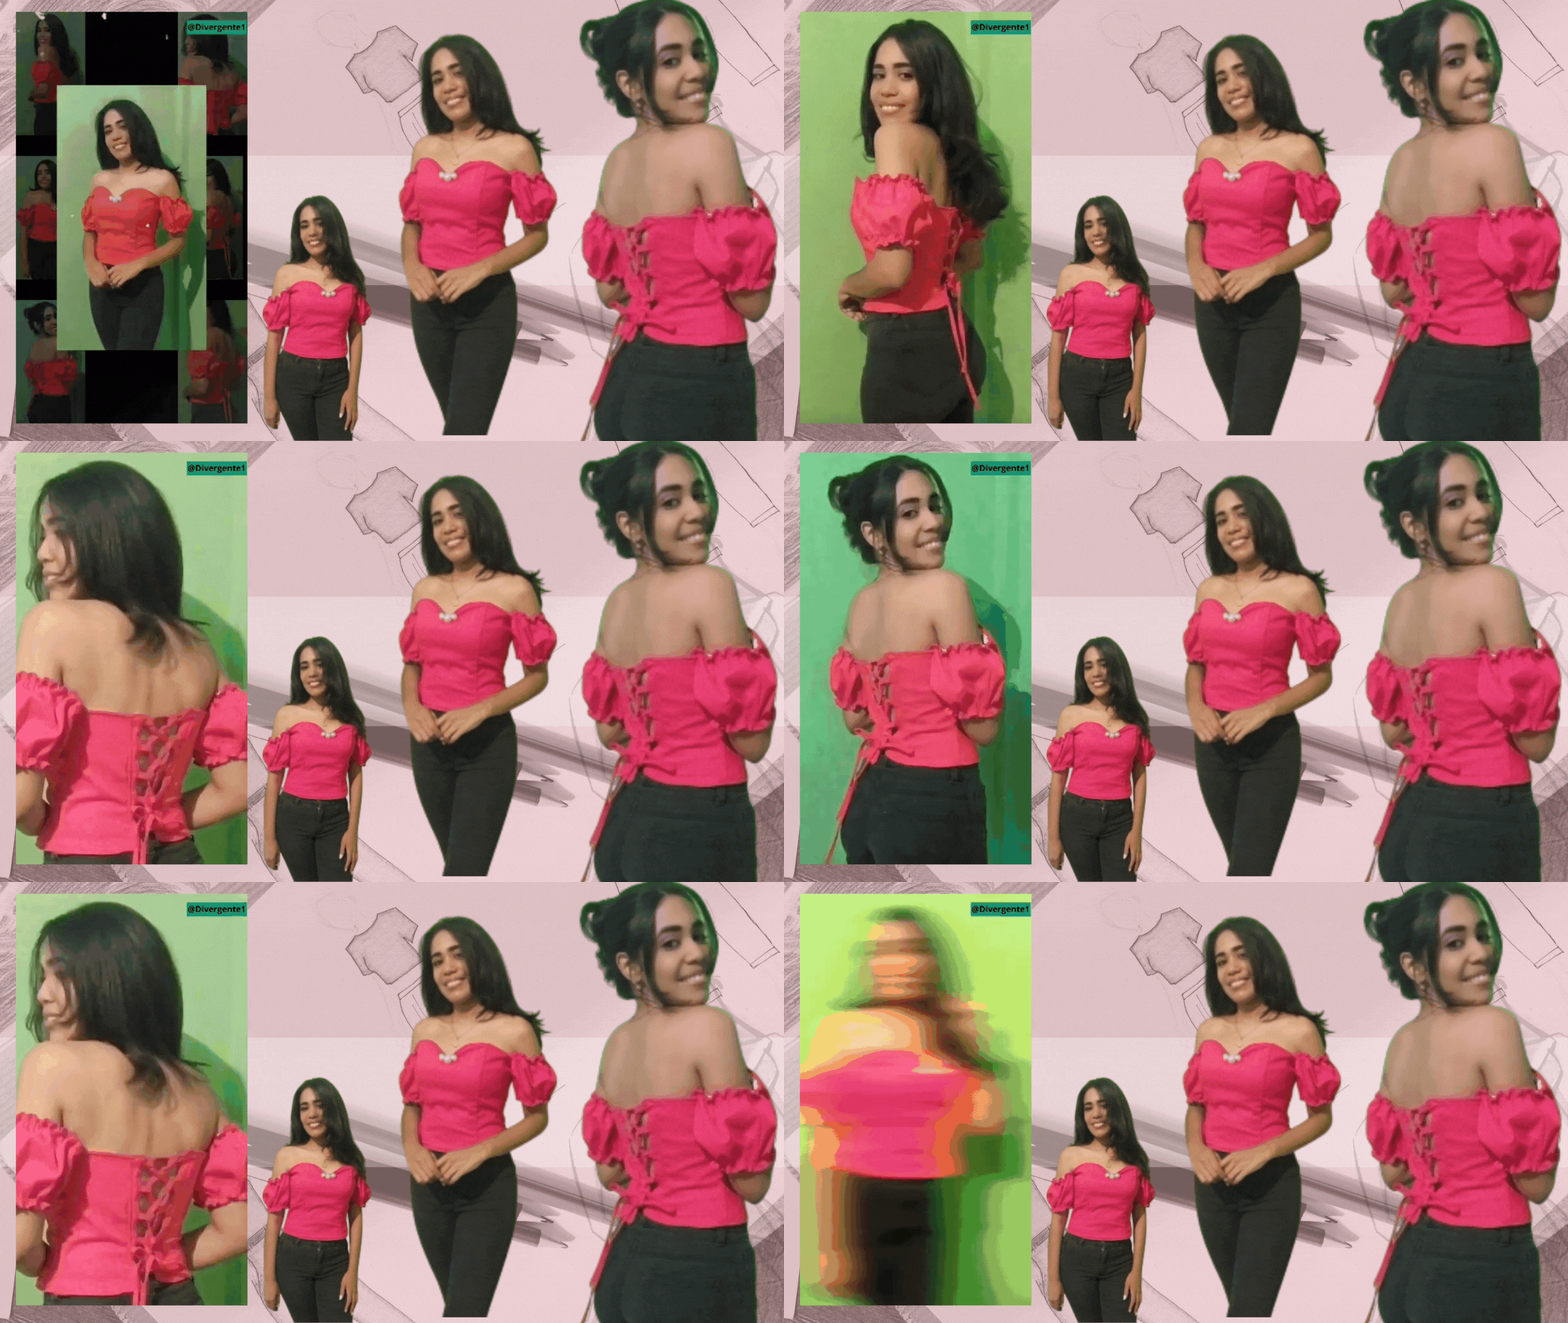
Have a great start of the week, friend of Hive! May the energies of the universe, peace and love flood your lives.

Today I want to present you a design dedicated to romance and to one of the garments that has prevailed for years in the female wardrobe. The corset, of Italian origin, was at first a garment used by royalty specifically for men, and then became the favorite garment of women.
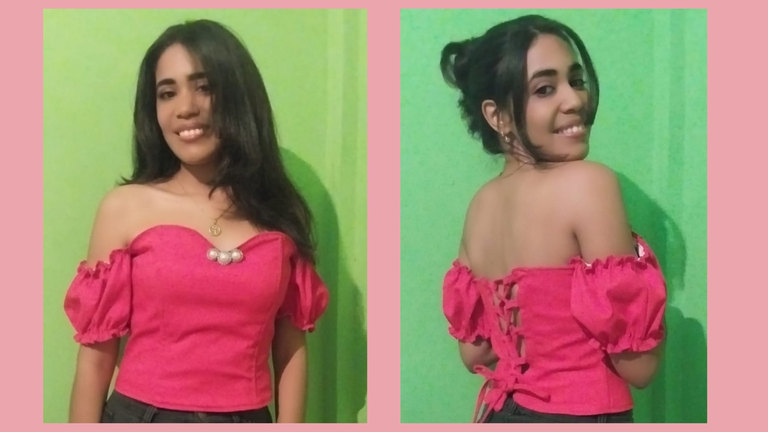
It is a garment that manages to fit the body through the cut and fit of the whales that are attached to the body.
The design that I want to present is a model of corset with sleeves and an adjustable ribbon in the back of a red color with a romantic design that fits the body, I hope you like it!
Materials
- 🌹 Drill fabric 1.50 meters
- 🌹 Sewing machine
- 🌹 Red thread
- 🌹Elastic
- 🌹 Rods or Whales
- 🌹 Decorative buttons
- 🌹 Pins
Step by Step
1
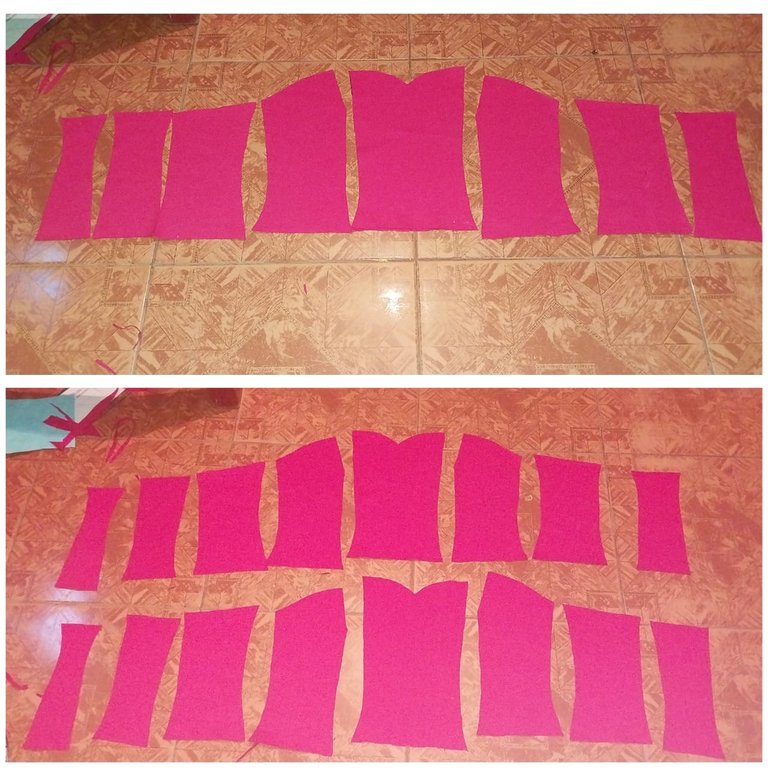
We start with the cutting of the pieces to form the corset. Each of these pieces must be replicated, that is to say, the corset will have a double layer.
2
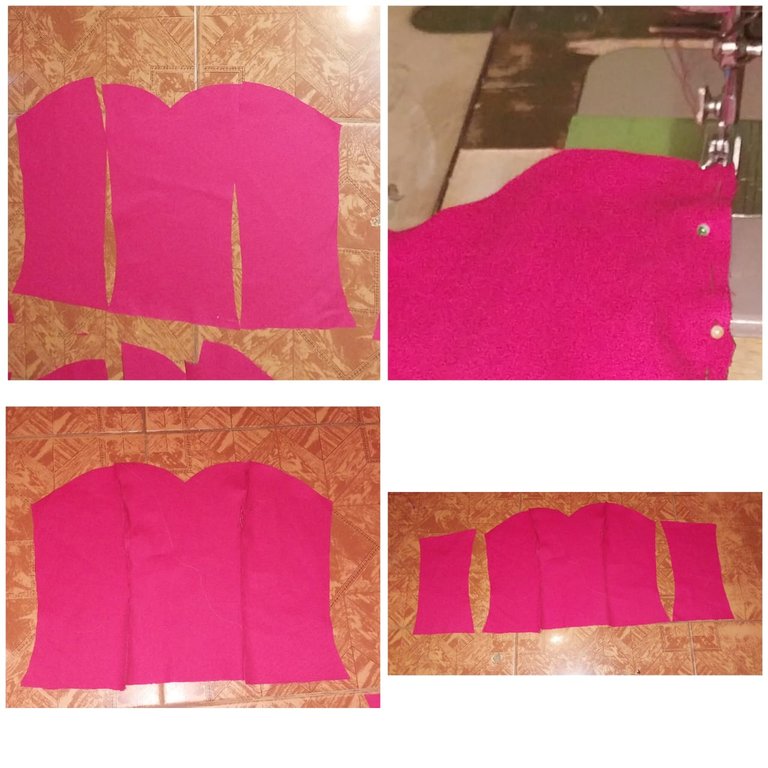
We start by sewing the center and side pieces together! Then we add the third pattern to the seam of our center pattern.
3
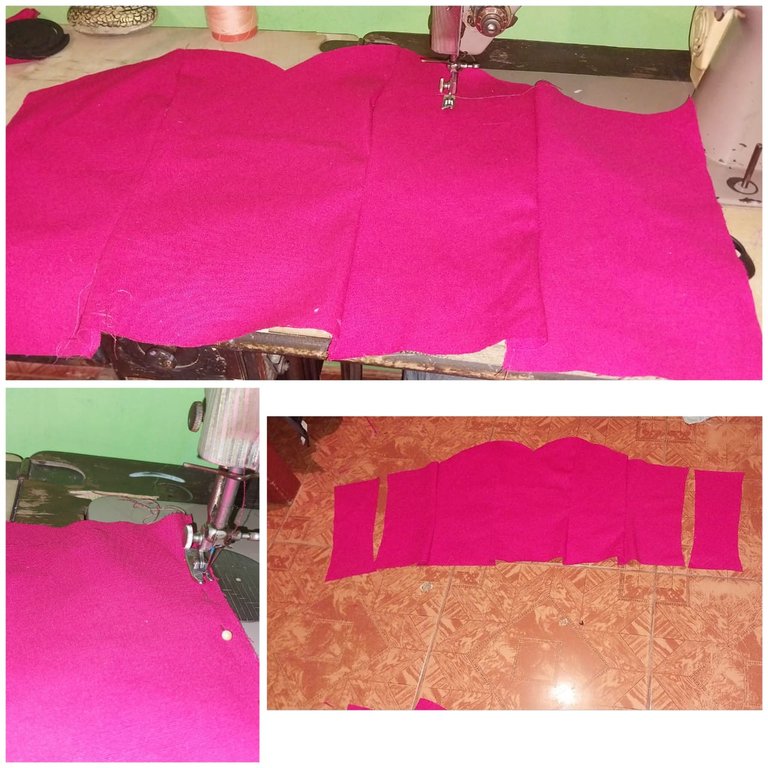
Finally we add the last two pieces on both sides to our corset.
4
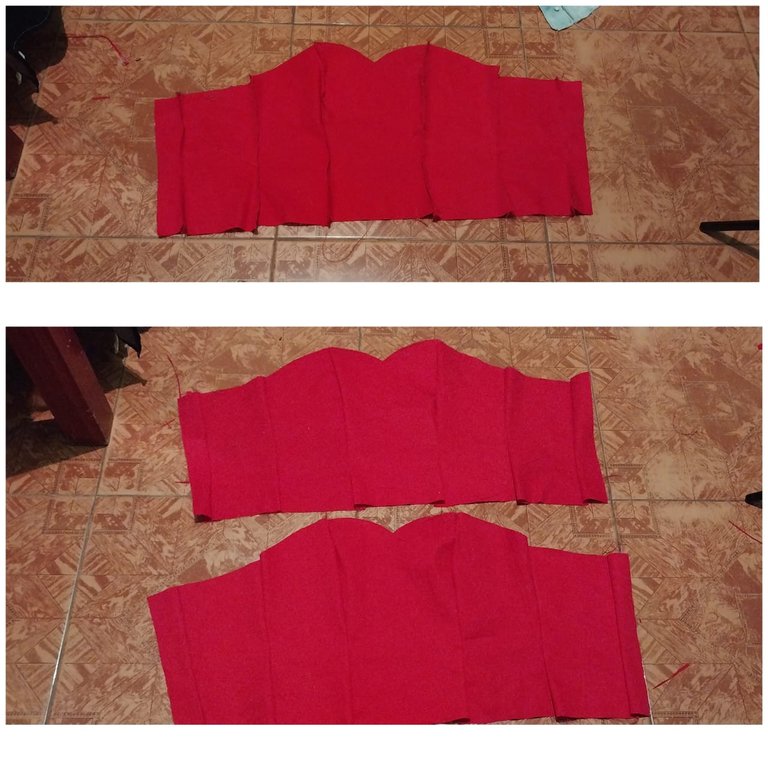
Then we must sew the second pattern, or the second skin of the corset. When sewing this should be placed on top of the first design of the corset, so that it will be sewn face to face.
5
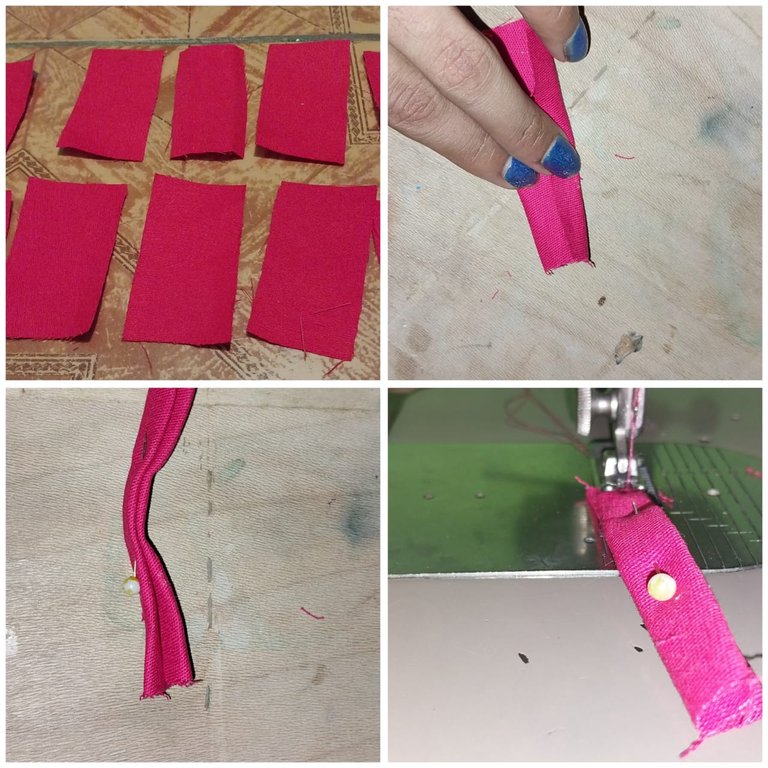
Then we must create the ears of the corset starting from small rectangles of 3cm X 5cm, fold these in half at both ends and then sew!
6
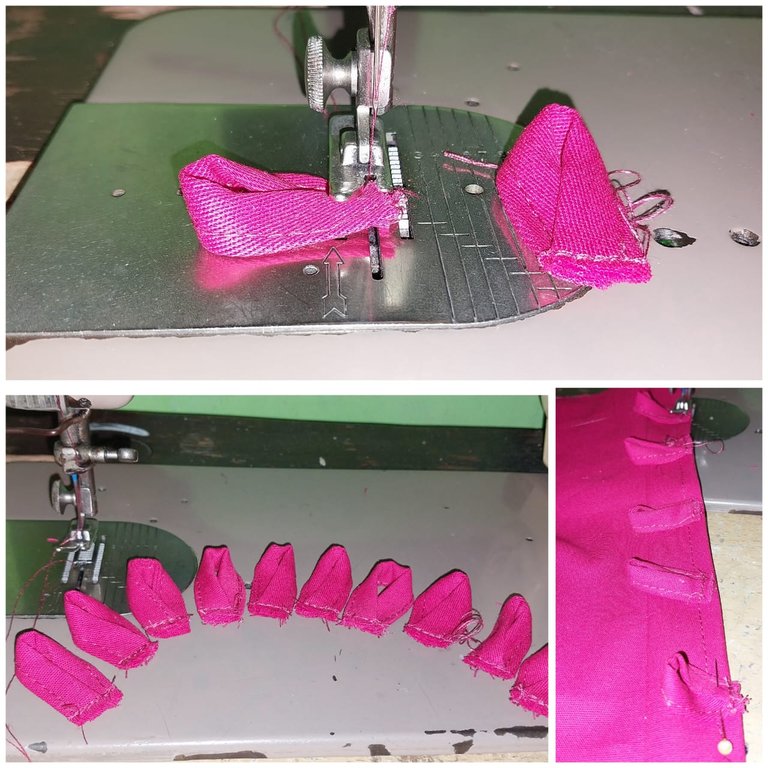
Once cooked we must join both ends and sew them together to form the “ears” of the corset. Then with the help of pins we must sew 5 at each end of the garment.
7
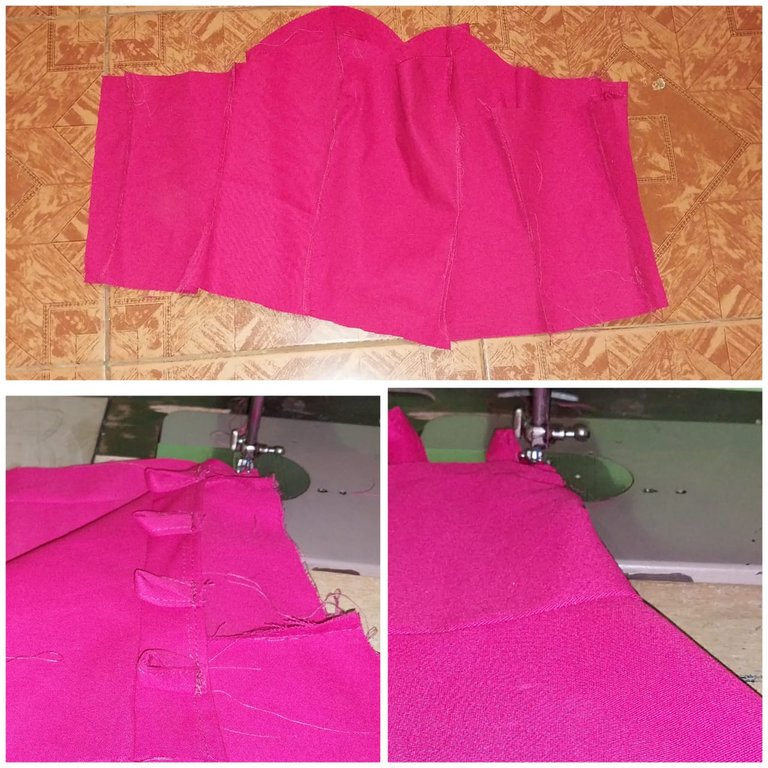
Once both sides are sewn, we must stitch a backstitch on the edge of the garment at the top of the design.
8
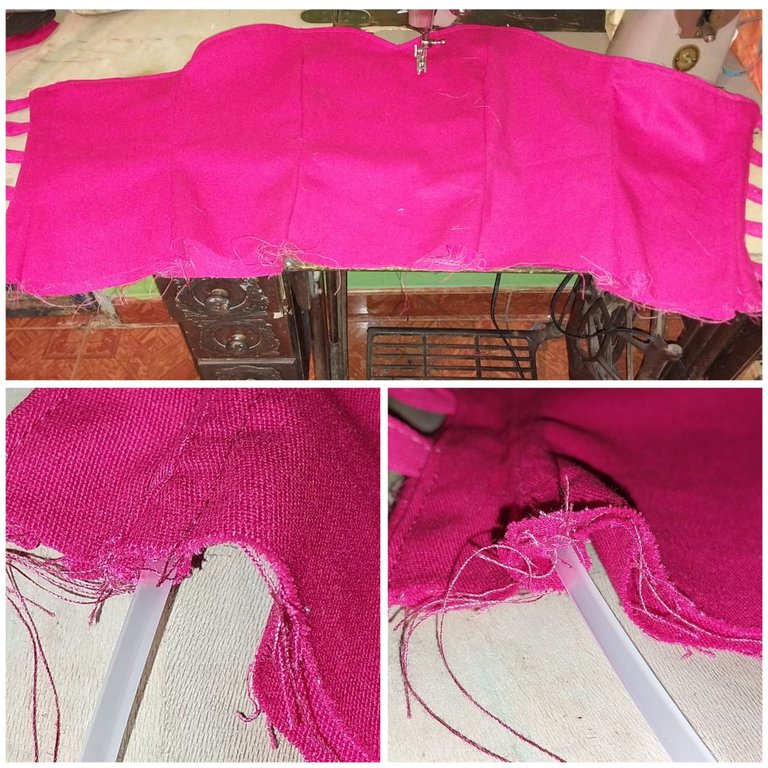
Then we stitch close to the junction of each seam of the pieces and then we must introduce the rods or whales.
9
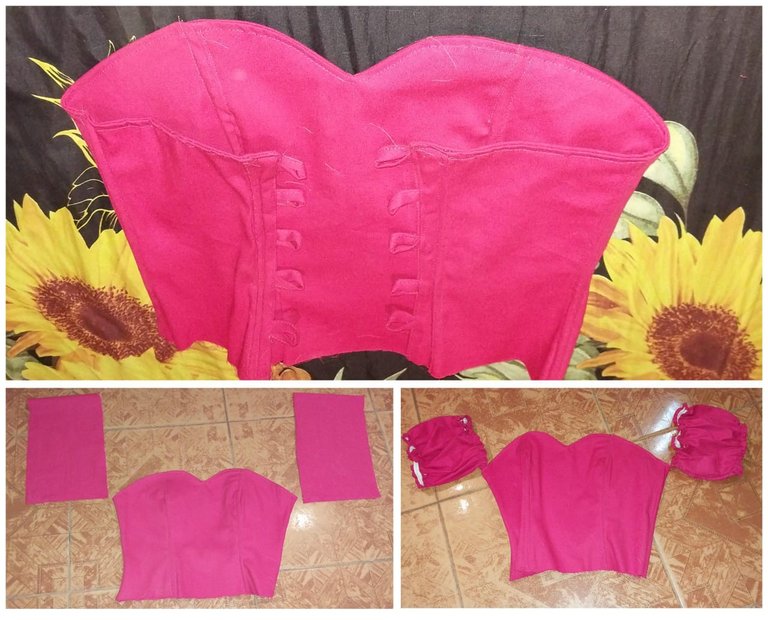
Here you can see the design of the corset, then we create both sleeves on each side forming two rectangles of 80 cm X 35 cm.
10
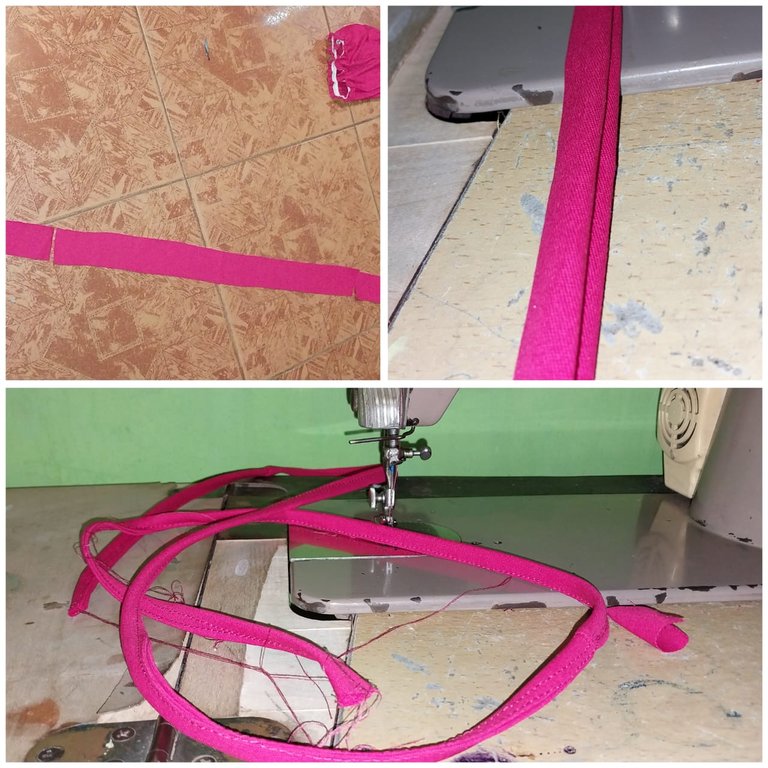
Then we create the ribbons by sewing a thin ribbon of red fabric.
11
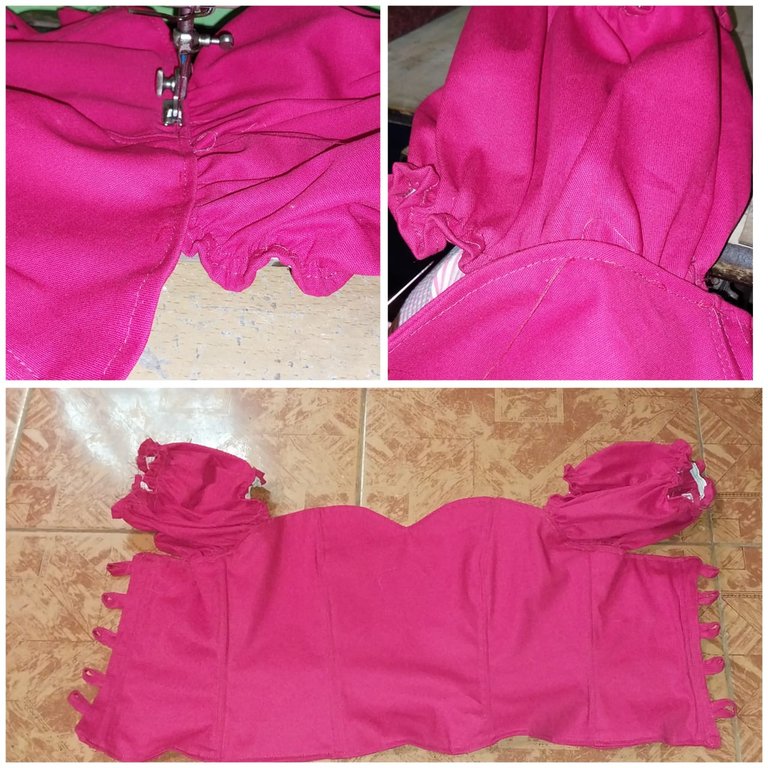
Then we attach the sleeves at each end of the blouse, just in the armhole area.
12
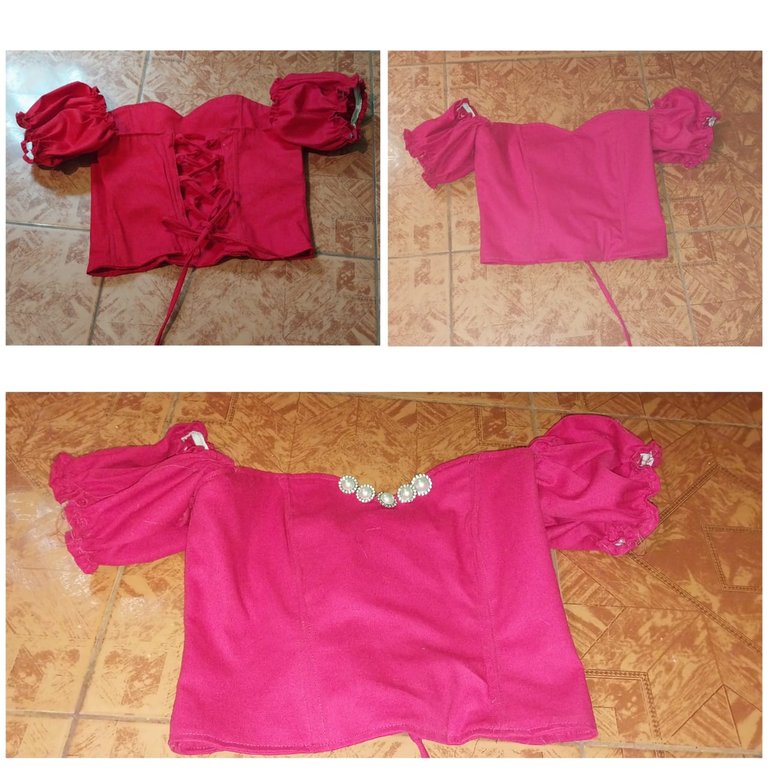
We insert the ribbon crosswise and also add the decorative buttons in the central area of the garment.
I hope you like it! Thank you very much Hive family for your support. I hope you liked the final result. I also leave you this link divergent1 informative about the cut and patterns of this design in one of my previous posts.
Thank you very much Hive!

- Images belong to me
- Translator: Deepl Traslator
- Editing: Canva

¡Que tengas un genial inicio de semana, amigo de Hive! Que las energías del universo, la paz y el amor inunden sus vidas.

Hoy quiero presentarles un diseño dedicado al romance y a una de las prendas que ha prevalecido durante años en el vestuario femenino. El corsé, de origen italiano, fue en un principio una prenda utilizada por la realeza especificamente en los hombres, hasta luego convertirse en la prenda preferida de las mujeres.

Constituido por varillas o ballenas es una prenda que logra ajustarse al cuerpo a través del corte y el ajuste de las ballenas que se ciñen en el cuerpo.
El diseño que quiero presentarles es un modelo de corset con mangas y una cinta ajustable en la parte trasera de un color rojo con un diseño romántico que se ajusta al cuerpo, espero que les guste!
Materiales
- 🌹 Tela Drill 1,50 metros
- 🌹 Maquina de coser
- 🌹 Hilo rojo
- 🌹 Elástica
- 🌹 Varillas o Ballenas
- 🌹 Botones decorativos
- 🌹 Alfileres
Paso a Paso
1

Iniciamos con el corte de las piezas para formar el corsé, Cada una de estas piezas deben ser replicadas, es decir tendra el corset una capa doble.
2

Iniciamos uniendo a través de costura las pieza central y las laterales! Luego añadimos el tercer modelo a la costura de nuestro modelo central.
3

Finalmente añadimos las os ultimas piezas en ambos laterales en nuestro corsé.
4

Luego debemos coser el segundo modelo, o la segunda piel del corsé. al momento de coser esta se debe poner por enceima del primer diseño del corsé, de modo que se va a coser cara con cara.
5

Luego debemos crear la orejas del corset partiendo de pequeños rectángulos de 3cm X 5cm, doblamos estas a la mitad a tares de ambos extremos y luego cosemos!
6

Una vez cocidos debemos unir ambas puntas o extremos y coser estos para formar las "orejas" del corset. Luego con la ayuda de alfileres debemos coser 5 en cada extremo de la prenda.
7

Una vez que se cose ambas caras, debemos hacer un pespunte en el borde de la prenda en la parte superior del diseño.
8

Luego pasamos costura cerca de la unión de cada costura de las piezas y luego debemos introducir la varillas o ballenas.
9

Aqui se puede apreciar el diseño del corsé, Luego le creamos ambas mangas en cada lateral formando dos rectagulos de 80 cm X 35 cm.
10

Luego creamos las cintas pasando costura a una cinta fina de tela roja.
11

Luego fijamos las mangas en cada extremo de la blusa, justo en zona de la sisa.
12

Introducimos la cinta de forma cruzada y además añadimos los botones decorativos en la zona central de la prenda.
Espero que les guste! Muchas gracias familia de Hive por su apoyo.Espero que les haya gustado el resultado final. También les dejo este link divergente1 informativo sobre el corte y los patrones de este diseño en una de mis publicaciones anteriores.
Muchas gracias Hive!

- Las imágenes me pertenecen
- Traductor: Deelp traslator
- Edicion: Canva
Very cool work ☺👌👌👌🦊 when I look at the pictures, it seems to be easy, but at the same time, I know that it is not easy to do, every cut has to be precise and neatly sewn, and here I can see it beautifully that you do it easily and quickly with your experience. ☺👌👌👌🌺 very cool .
Thank you very much for your motivating words.
Thank you!! 😇😇🤗🤗
I love this beautiful corset top and it really looks good on you. Thanks for sharing.
Thanks my friend 💕
You're welcome dear friend. 🤗
To keep up with the times we must have a sense of fashion. I like your fashion sense very much. The dress you have created is very fashionable and suits you well. Who does not want to have such a gorgeous and outstanding outlook. I really like your creation process. You have described everything in details, you look very nice. Many thanks for sharing this with us.🌷🌷❤️
Thank you very much friend for your kind words!
Look at some really nice photos my friend
If I hadn't seen all the steps you took to sew this dress I would have said it was a beautiful dress, but in reality it is an artistic masterpiece. !ALIVE
Thank you very much for the kind words and support! Regards
Muy creativo y te queda precioso. Excelente trabajo 🥰👍
Muchas gracias amiga! Saludos
It came out very nicely. This is a very creative work.
Thanks you ecency!
🤗
está muy bonito, me encanto el estilo y color jeje
it's very nice, I love the style and color hehe
Muchas gracias amiga! Saludos y exitos
This is really nice and you did it flawlessly
Thanks very much . 🙌🙏
Your corset design looks nice and you look so beautiful in it, well done and thanks for sharing.
Thank you Diyhub 💕
Wow cuánta dedicación le has puesto, te quedó muy lindo!
Thank you very much friend!