Greetings friends hivers, I wish you a happy year full of blessings.
In these days of sharing and enjoying one of the most beautiful times of the year, you can not miss the details for those special people in our lives.
I wanted to make this envelope because the size fits perfectly for a detail that I needed to wrap. Because of the particularity of the piece it was necessary to create something with the right measures.
Making use of the available materials I thought about what I could do with them and thus make a simple envelope, but made with love for a very special person.
It is certainly something simple and easy to do, we can always create from the materials we have at home, the design is to taste, it's just a matter of trying and enjoy the process.
🎄Materials:🎄
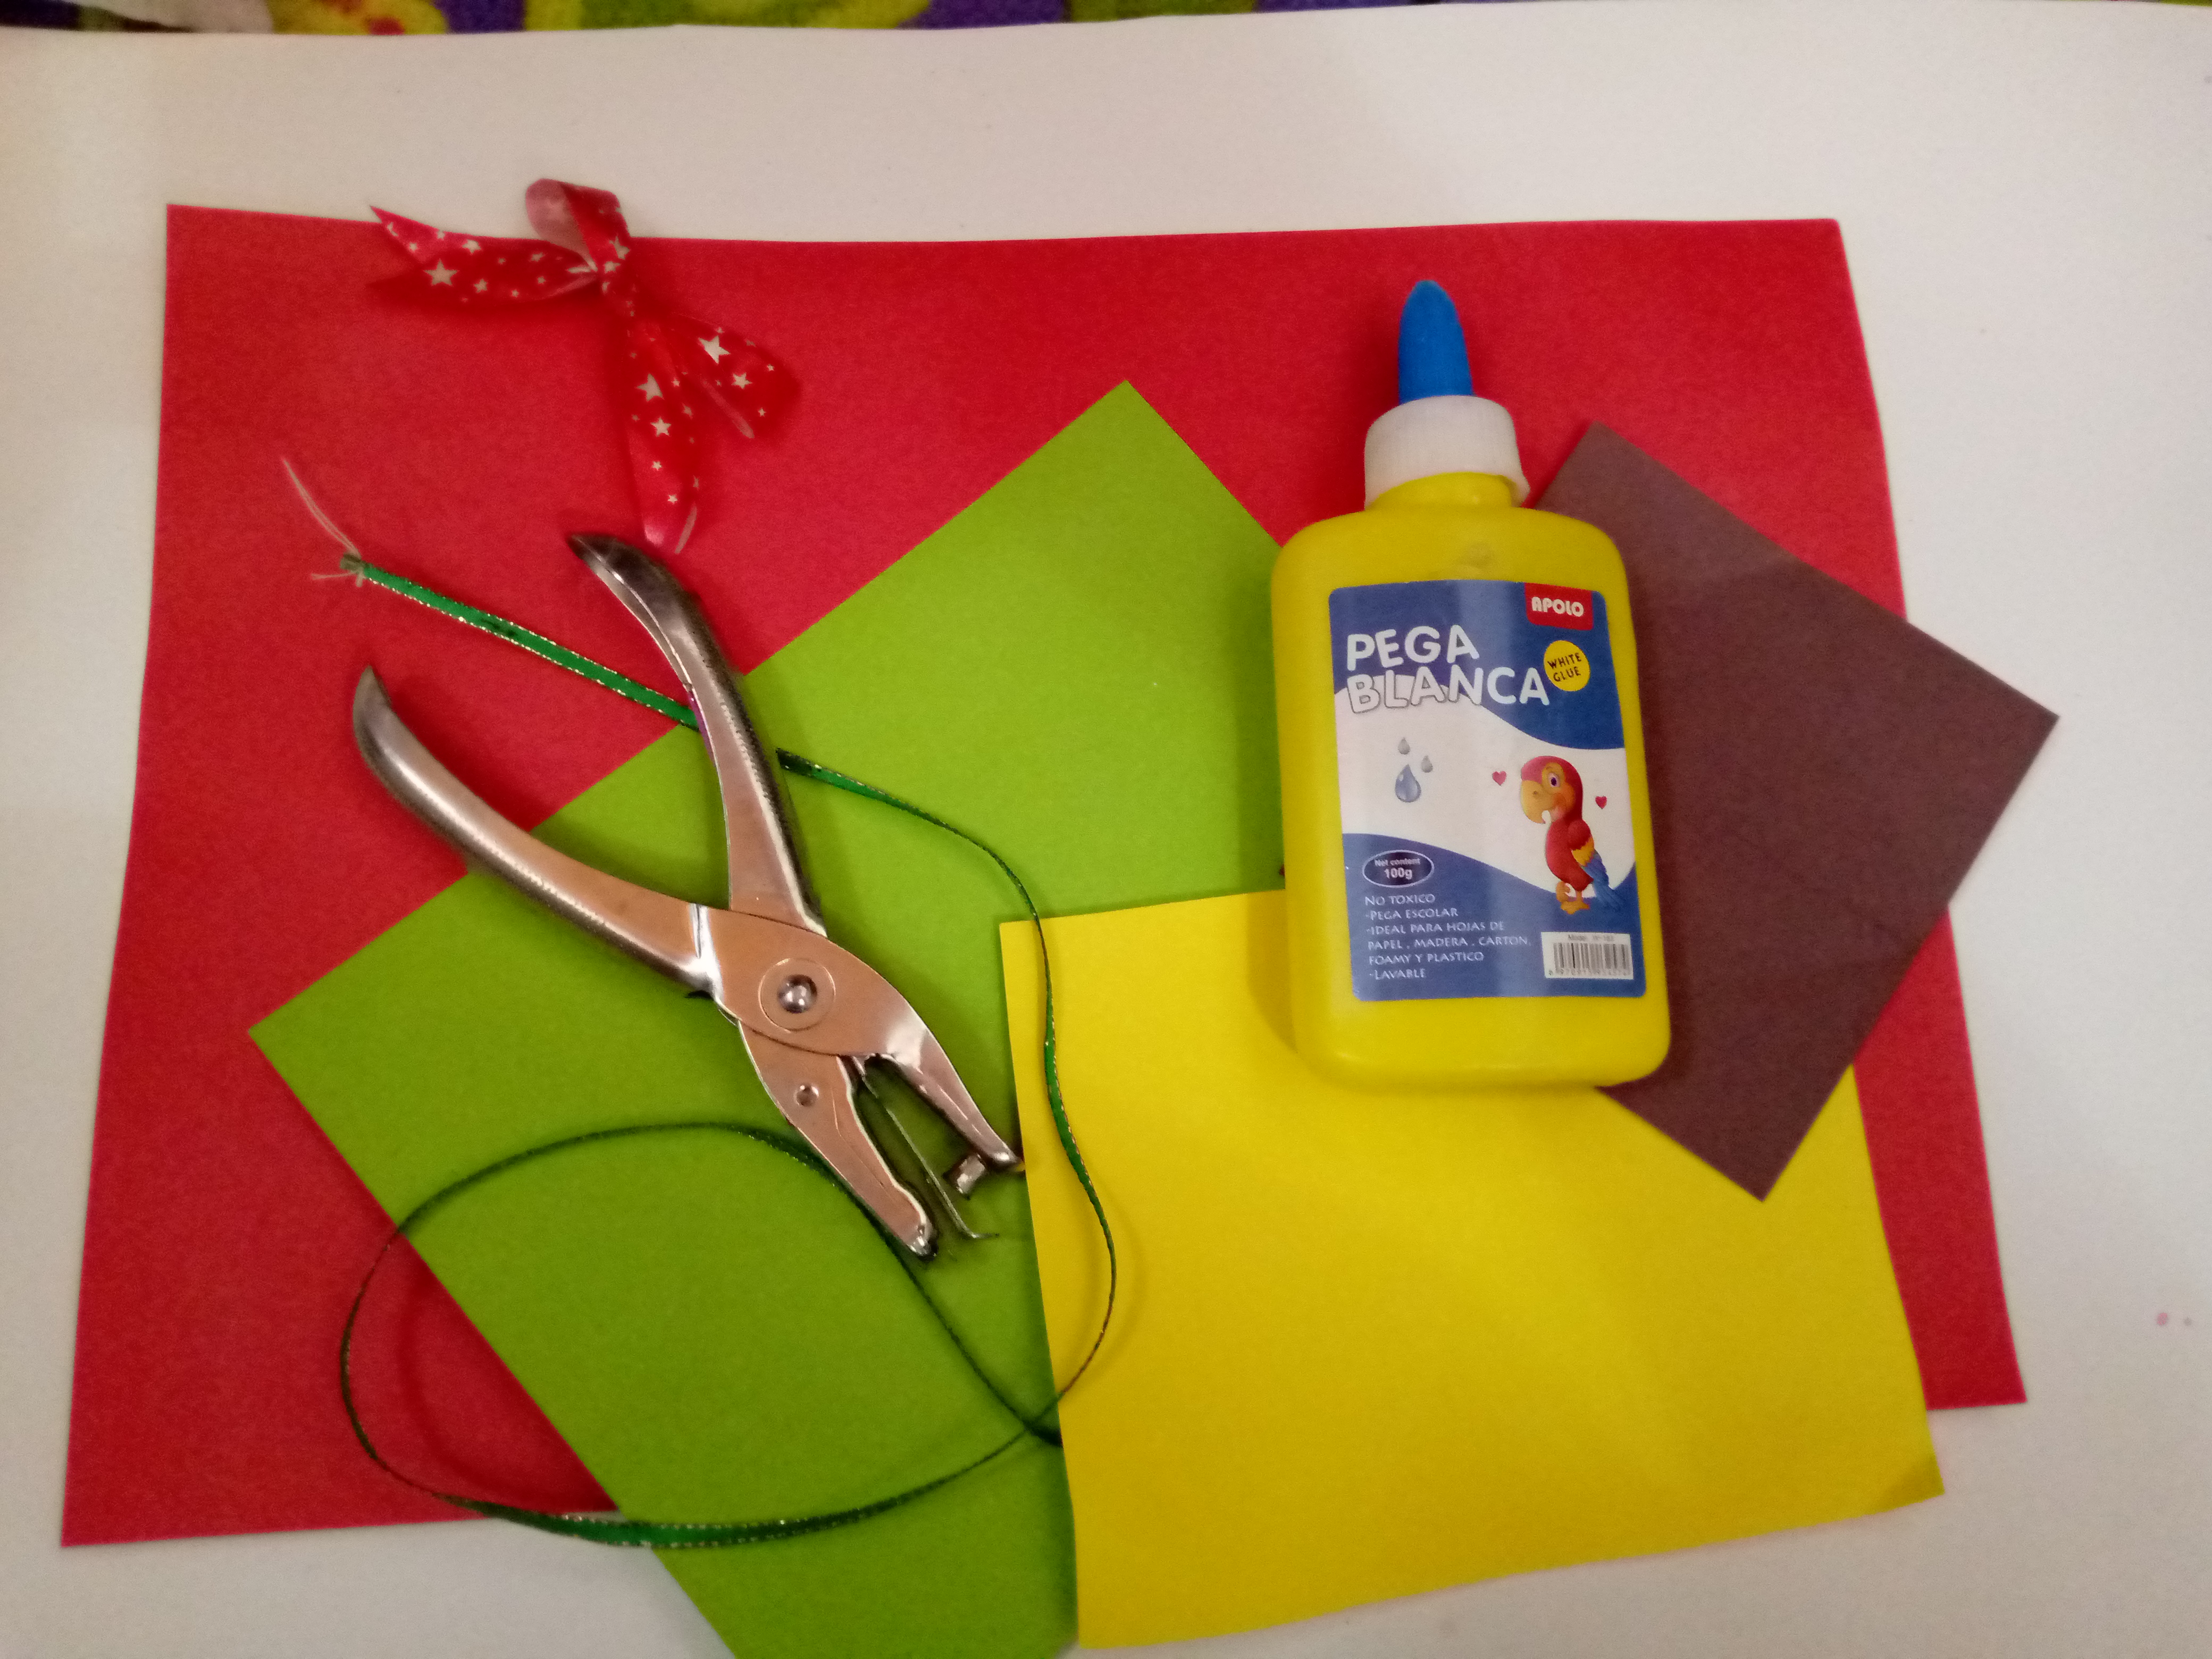
- Red, green, yellow and brown construction paper.
- White glue
- Scissors
- Green satin ribbon
- Hole punch
- Sequins
- A ribbon bow
🎄Making:🎄
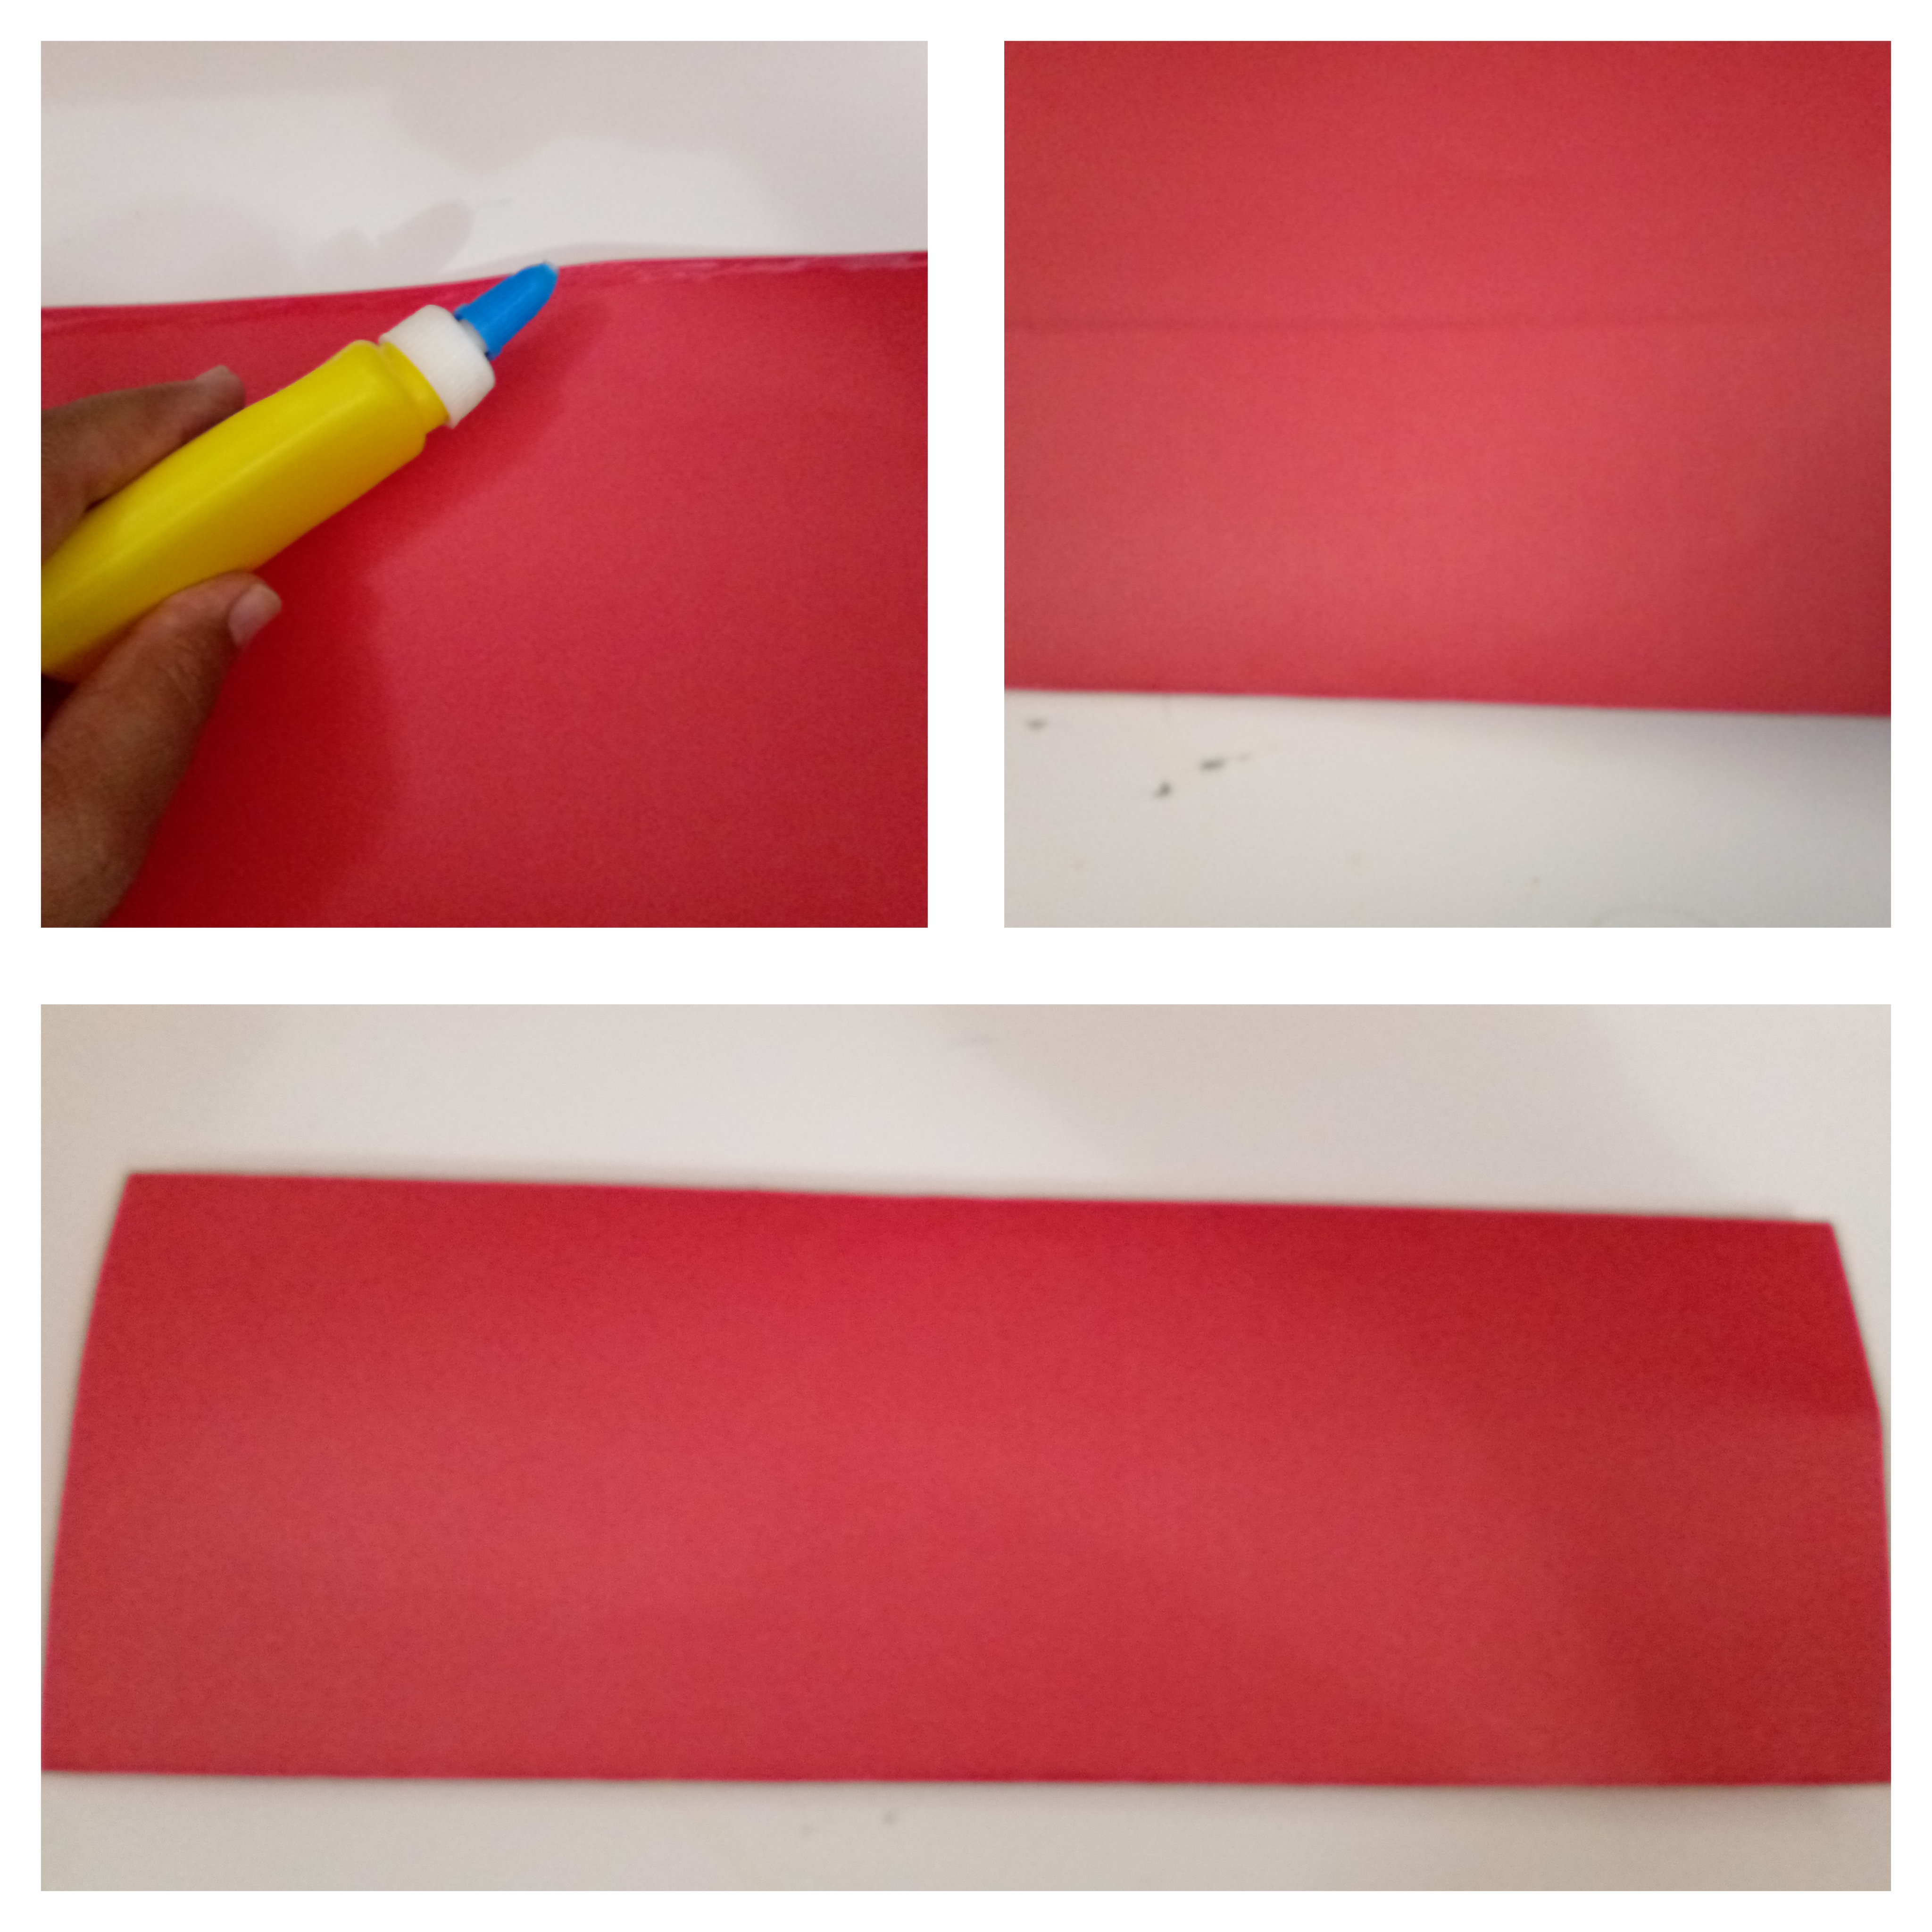
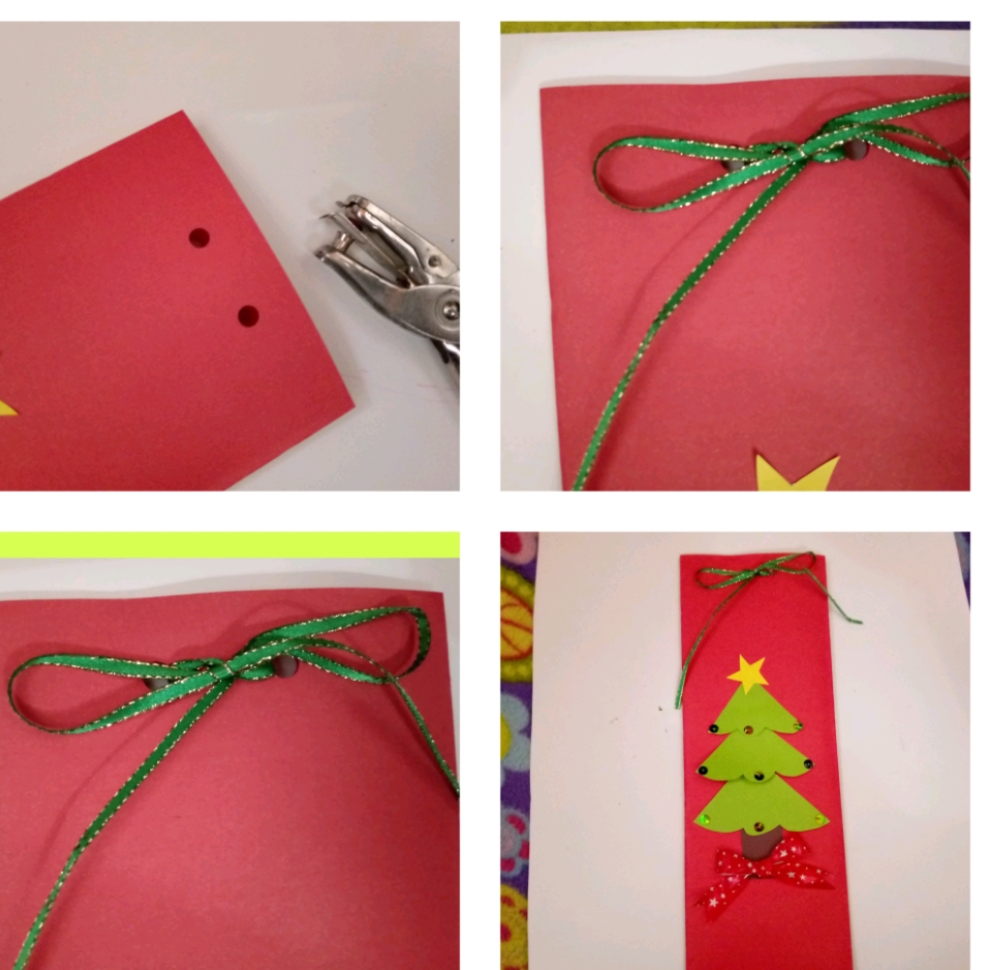
I started by folding a red construction paper and applied glue along the edge to join both ends and close to form the envelope, I left the joint at the back. After joining the sides I applied glue on one of the ends to close the envelope.
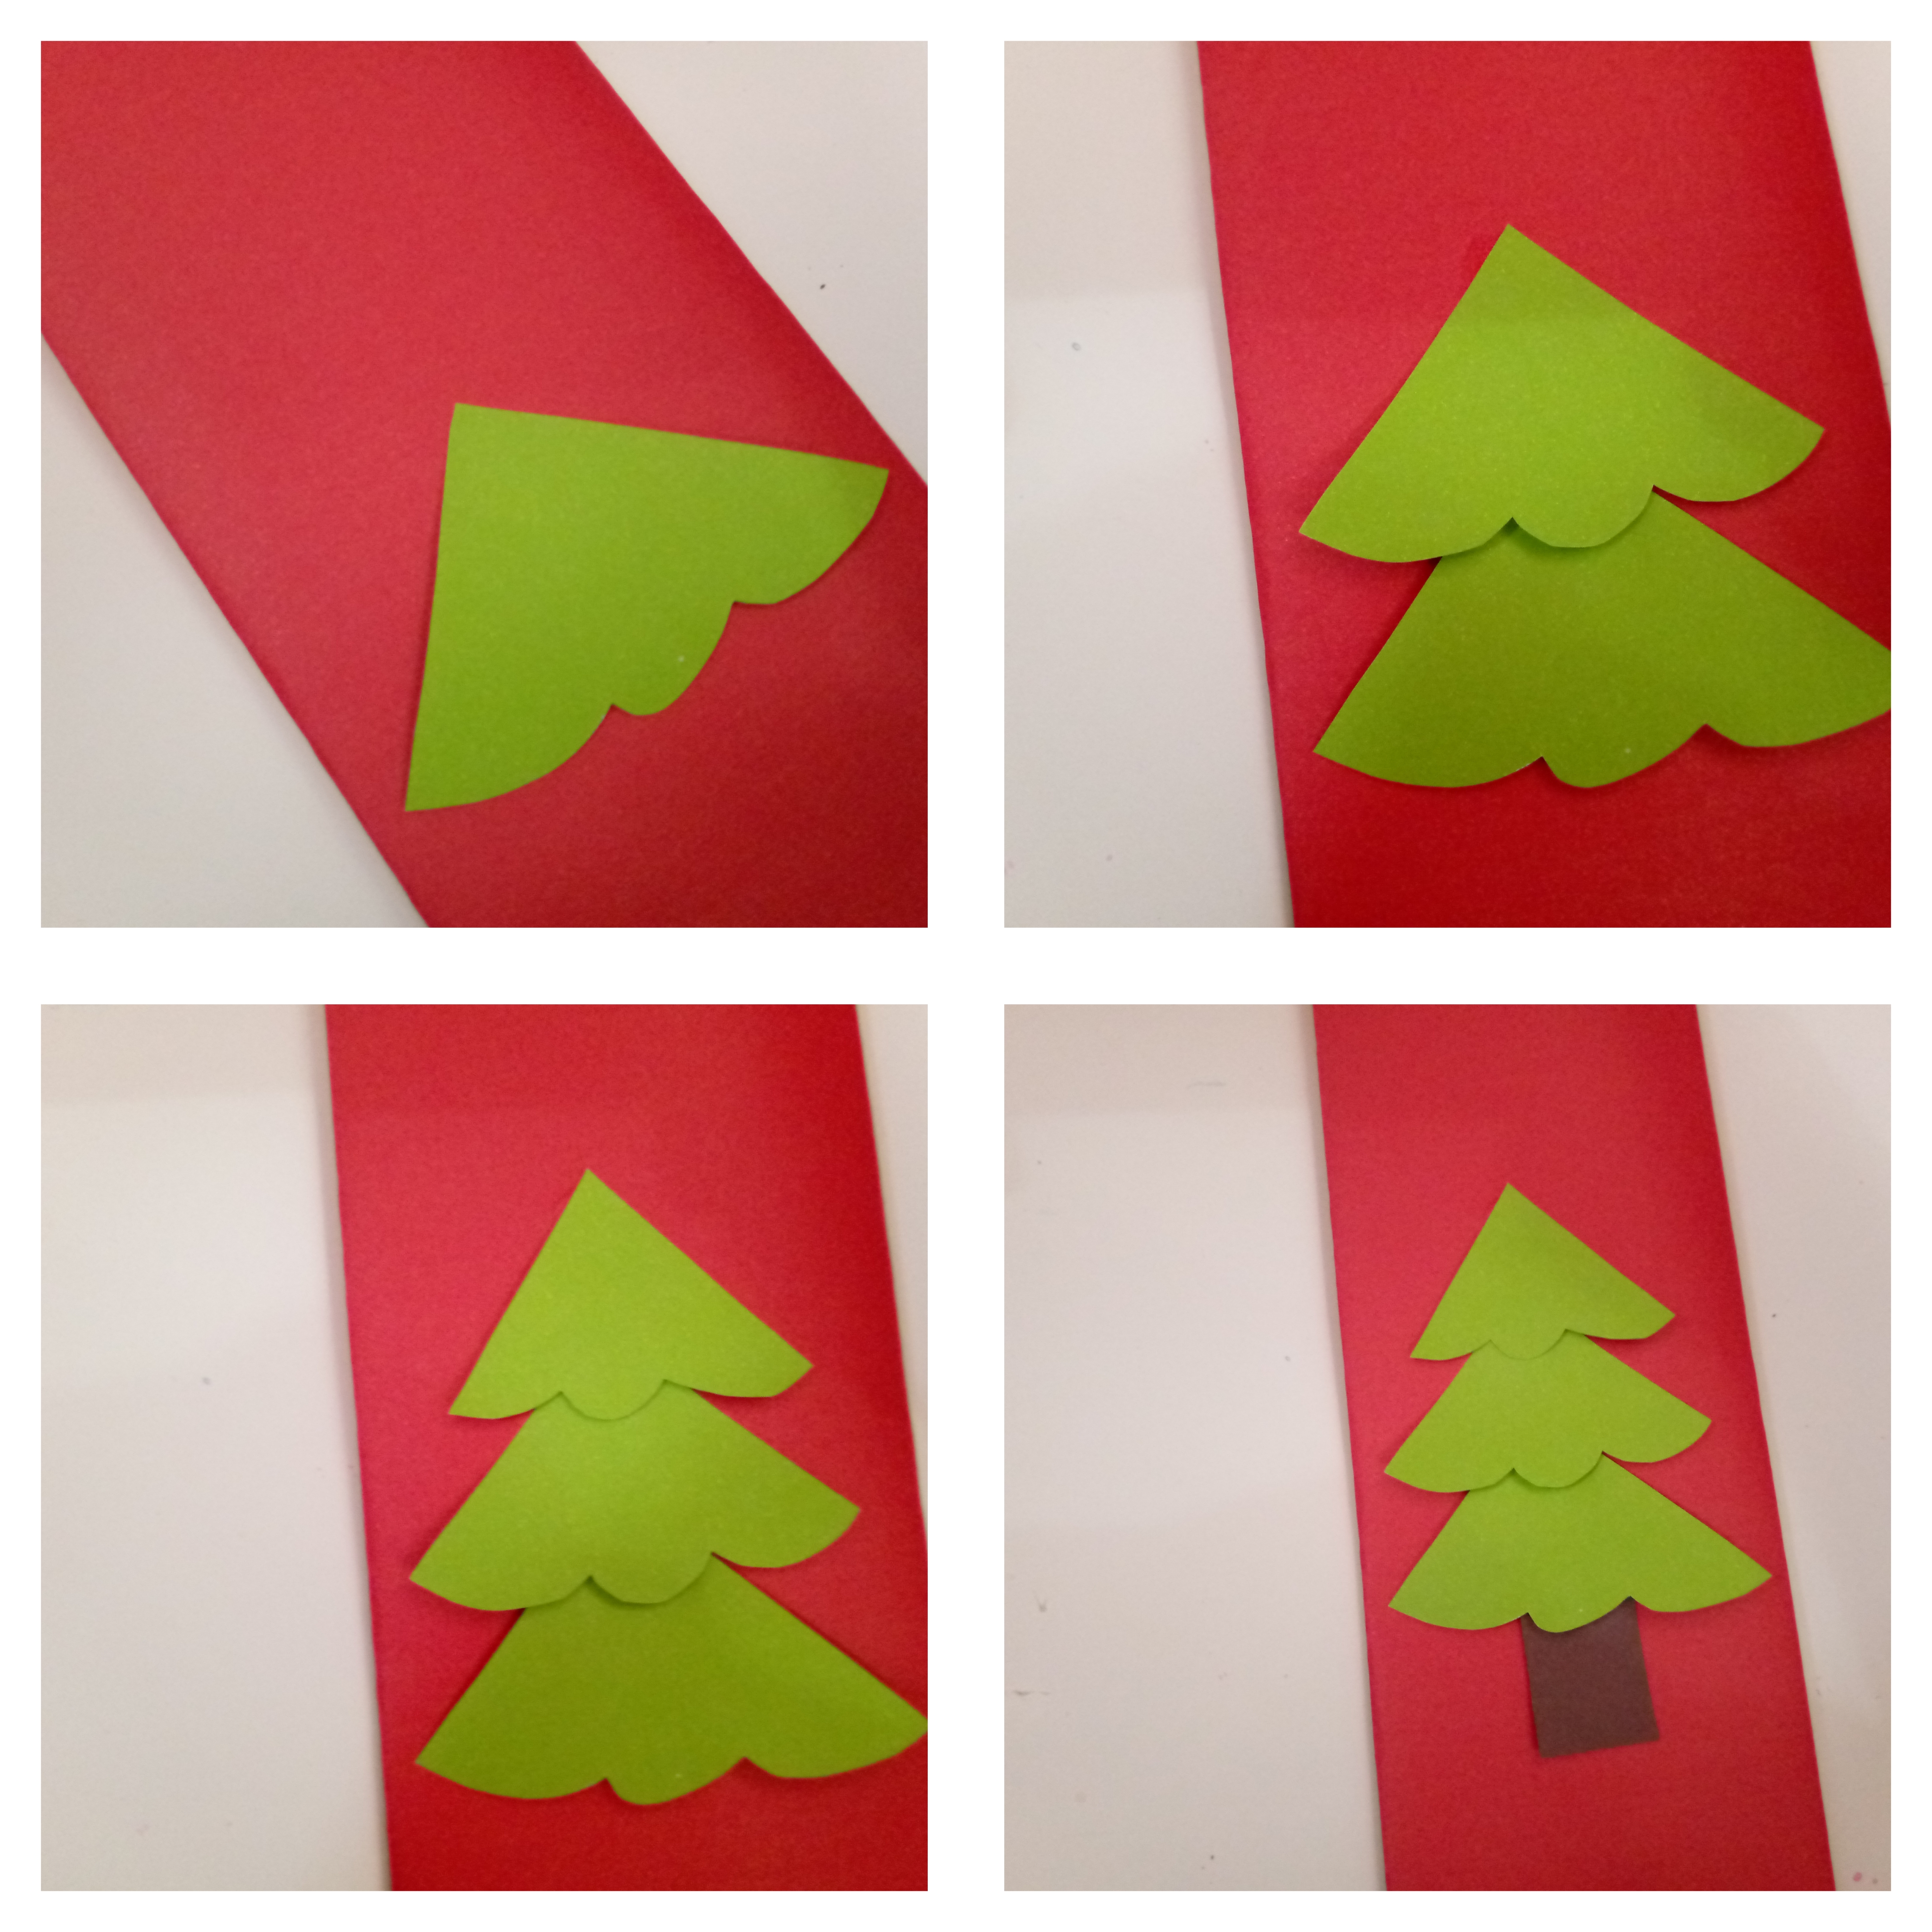
After the envelope was ready, I let it dry and cut out the pieces of the tree, using green cardboard for the foliage and brown for the trunk.

At this point I glued the pieces of the tree on the front of the envelope, I began to form the tree by placing the pieces from top to bottom, I put glue only on the top decade piece, this with the intention that the tree is detached from the envelope.
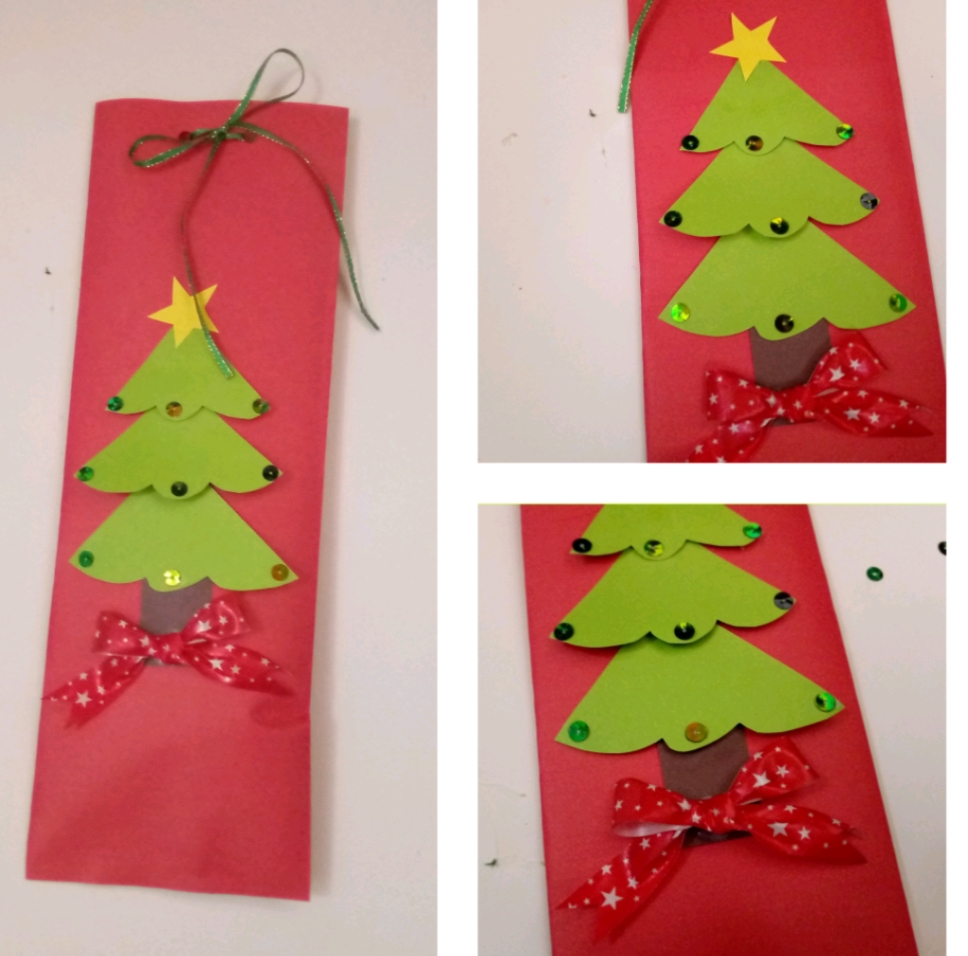
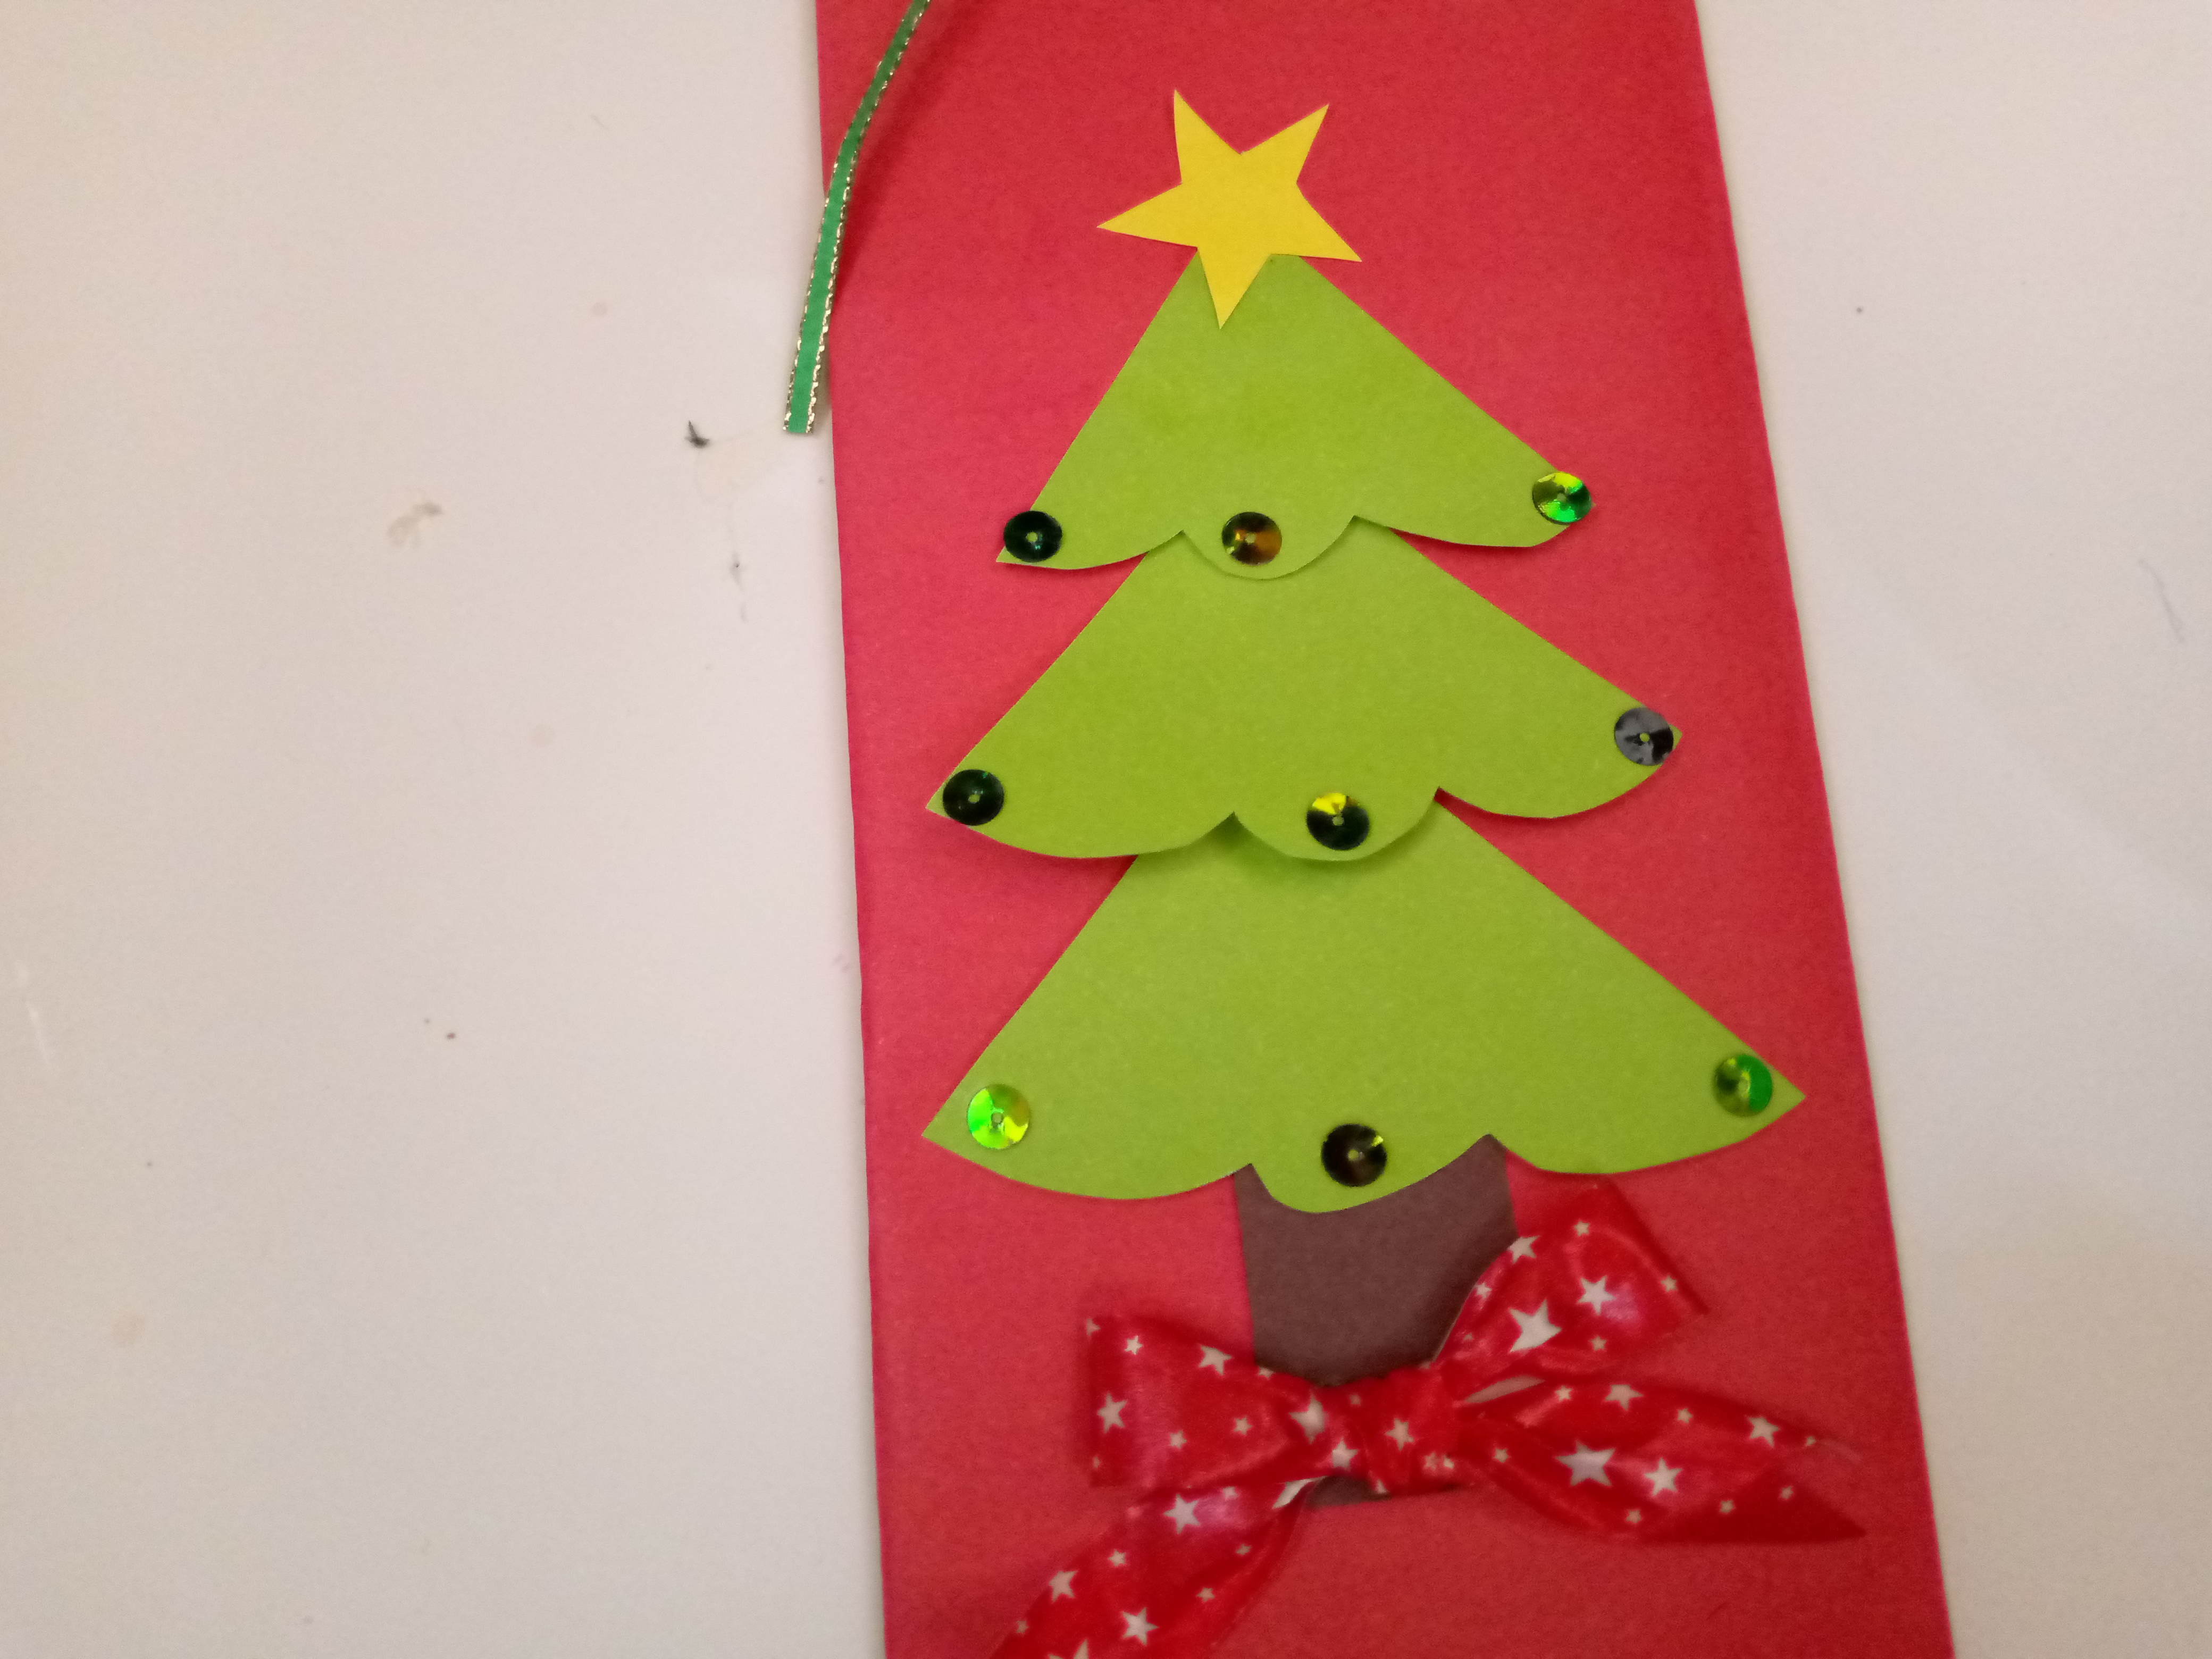
Once the tree was made, I placed a yellow construction paper star on it and distributed some sequins. I also placed a bow on the tree trunk.

Finally, I perforated the top of the envelope and then inserted a satin ribbon to close the envelope, forming a bow.
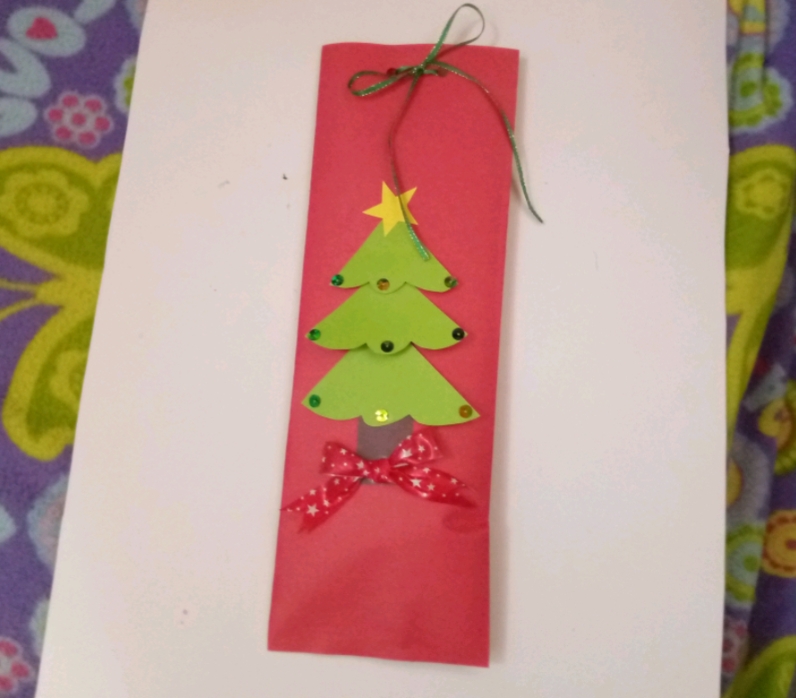
This is how the Christmas envelope turned out
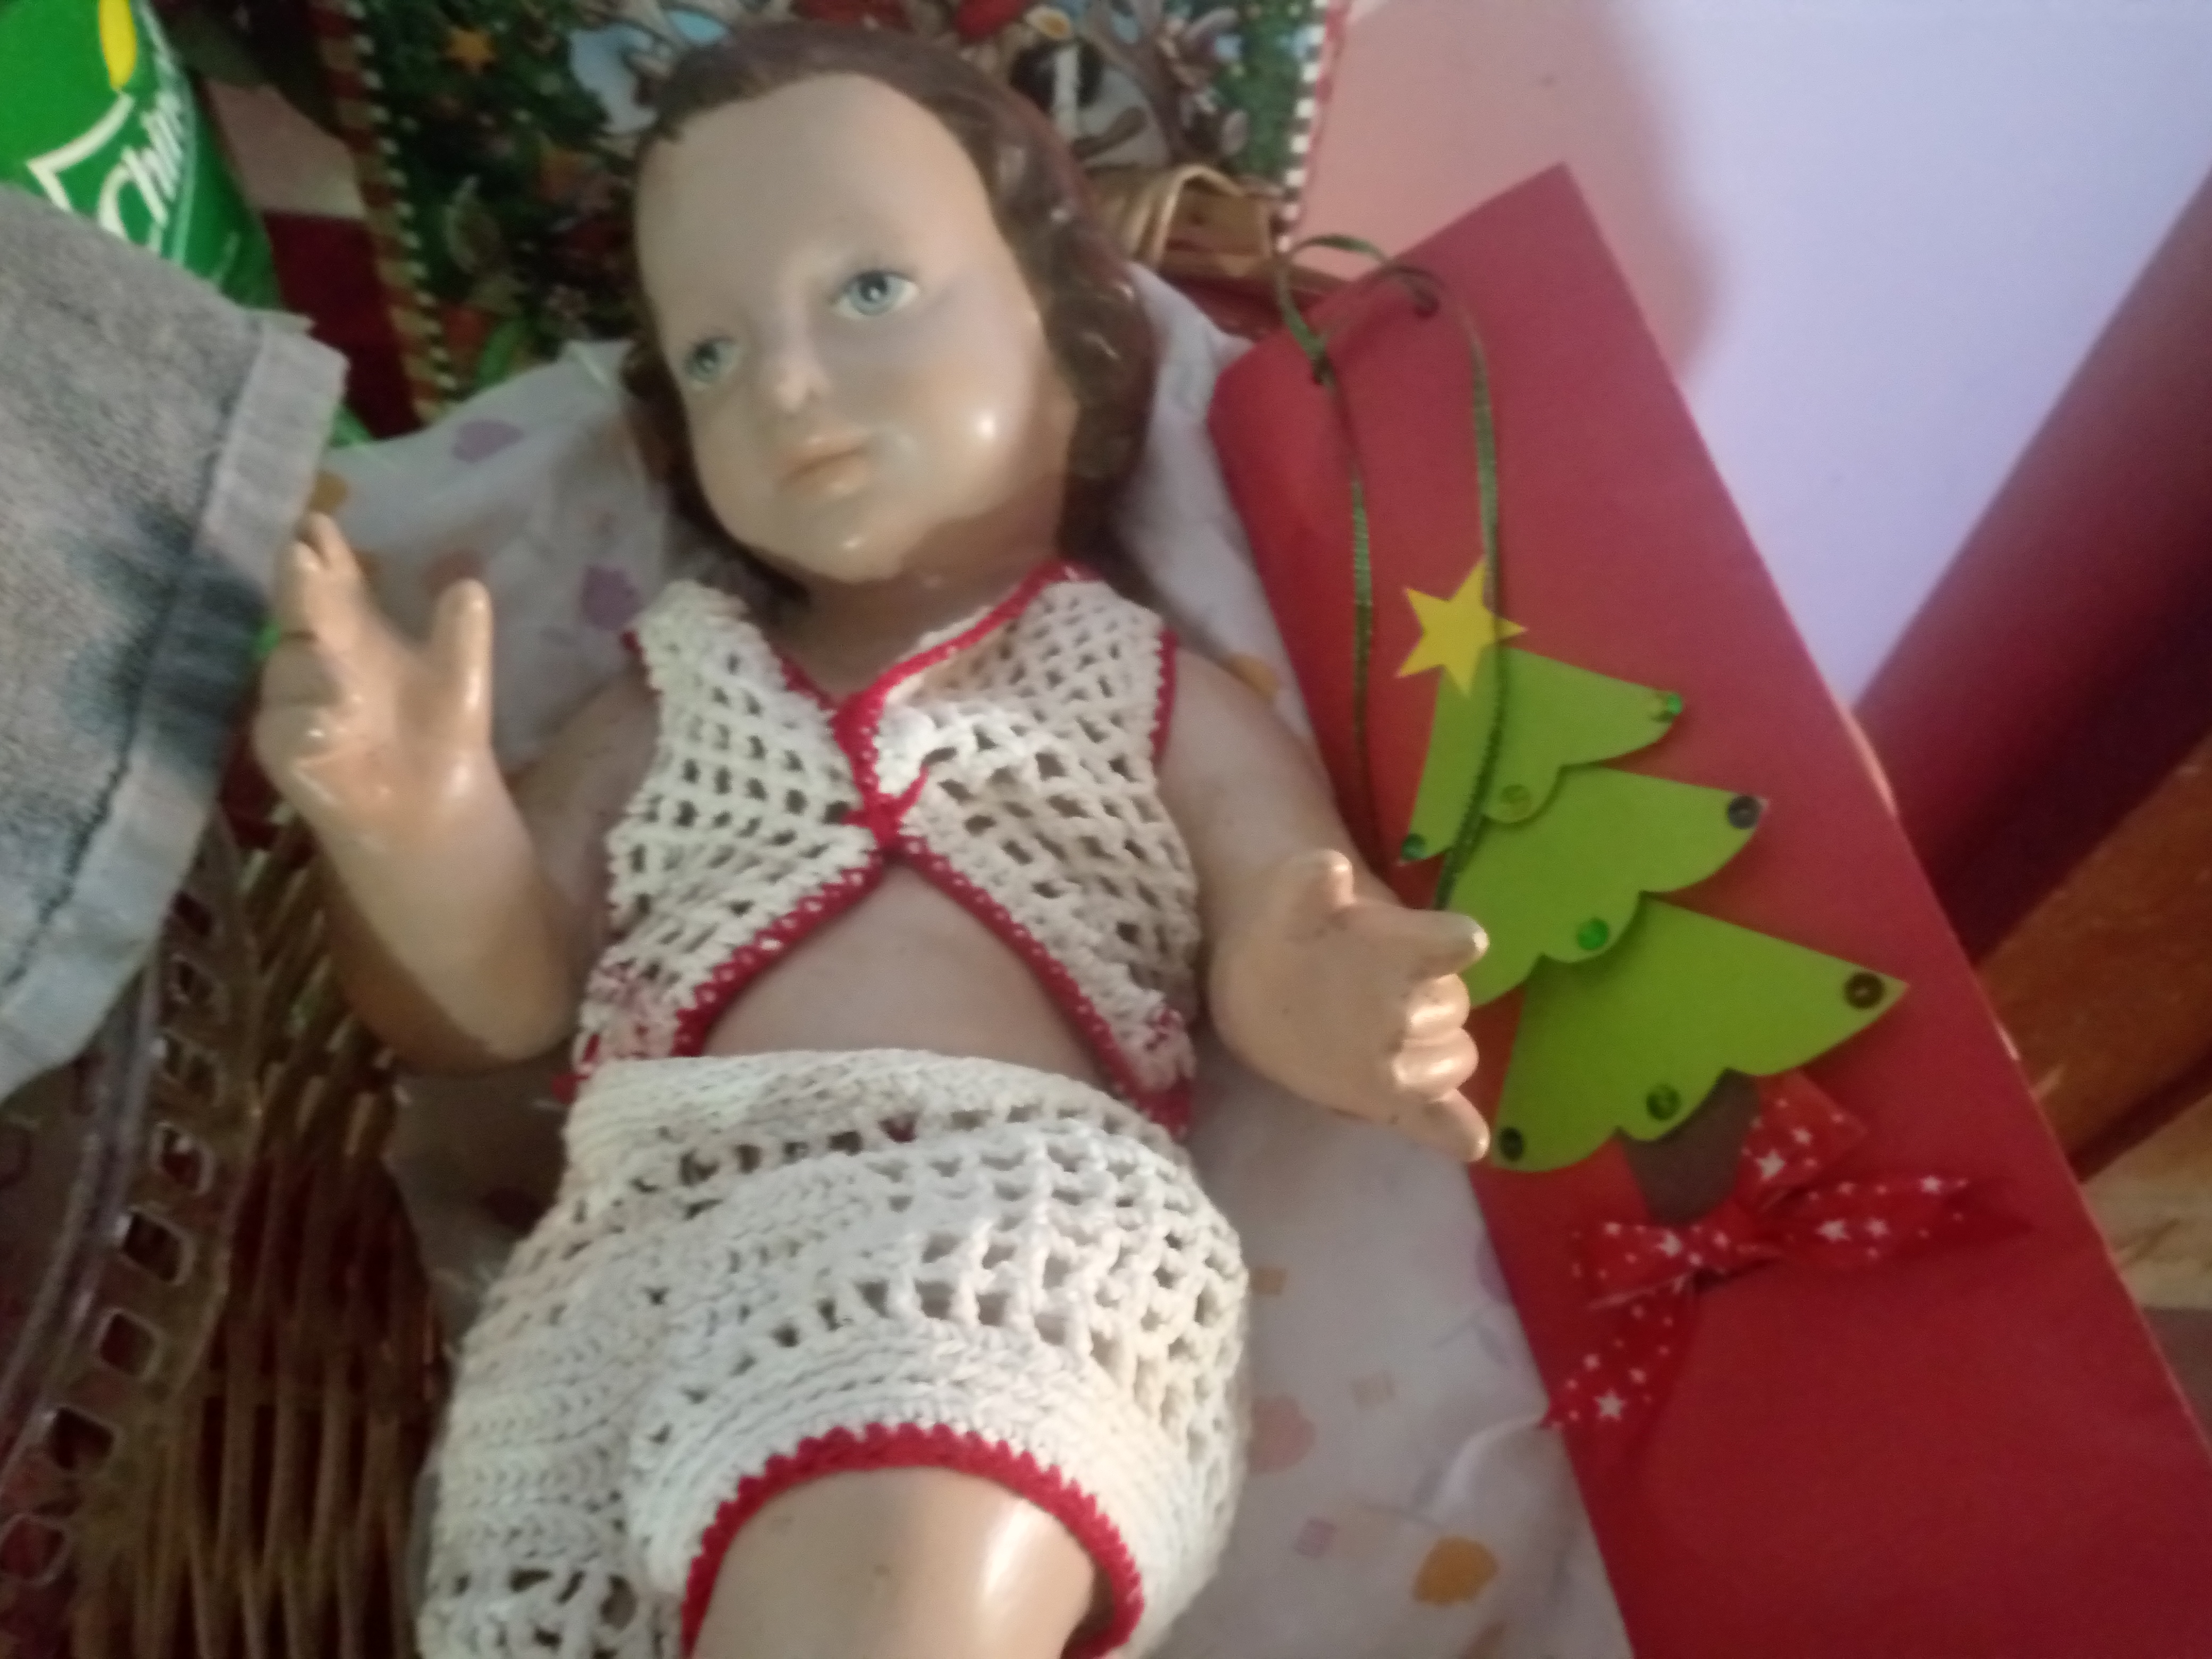
My friend placed her detail next to the Baby Jesus....
Life is Art...
Thanks for reading me. See you in the next post @dorada
Images captured with mobile device tecno pova
Translation
Español
Saludos amigos hivers, les deseo un feliz año cargado de bendiciones.
En estos días de compartir y disfrutar de una de las épocas más hermosas del año, no pueden faltar los detalles para esos seres especiales en nuestra vida.
Quise realizar este sobre porque el tamaño se ajusta perfecto para un detalle que necesitaba envolver. Por la particularidad de la pieza era necesario crear algo con las medidas adecuadas.
Haciendo uso de los materiales disponibles pensé en lo que podría realizar con ellos y así realizar un sobre sencillo, pero hecho con mucho cariño para una persona muy especial.
Sin duda es algo sencillo y fácil de realizar, siempre podemos crear partiendo de los materiales con los cuales contamos en casa, el diseño es a gusto, es solo cuestión de intentarlo y disfrutar el proceso.
🎄Materiales:🎄
- Cartulina de construcción de color rojo, verde, amarillo y marrón.
- Pega blanca
- Tijera
- Cinta de raso color verde
- Perforadora
- Lentejuelas
- Un lazo de cinta
🎄Elaboración:🎄
Comencé doblando una cartulina rojo y apliqué pegamento por el borde para unir ambos extremos y cerrar para formar el sobre, la unión la dejé por la parte posterior. Luego de unir los laterales apliqué pegamento en uno de los extremos para cerrar.
Luego de tener el sobre listo lo dejé secar y mientras recorté las piezas del árbol, utilizando la cartulina verde para el follaje y marrón para el tronco.
En este momento pegué las piezas del árbol en parte frontal del sobre, comencé a formar el árbol colocando las piezas de arriba hacia abajo, coloqué pegamento solo en la parte superior década pieza, esto con la intención que el árbol quede despegado del sobre.
Una vez realizado el árbol le coloqué una estrella cartulina de construcción amarillo y distribuí algunas lentejuelas para Además le coloqué un lazo en el tronco del árbol.
Para finalizar realicé perforaciones en la parte superior del sobre y luego introduje una cinta de raso para cerrar el sobre, formando un lazo
Así quedó el sobre navideño
Mi amiga colocó su detalle al lado del Niño Jesús...
La Vida es Arte...
Gracias por leerme. Nos encontraremos en el próximo post de @dorada
Imágenes capturadas con dispositivo móvil tecno pova
Traducción
Hola @dorada, es una excelente idea para entregar el obsequio, me ha pasado que por la forma o tamaño del regalo resulta difícil envolverlo,hacer un sobre me parece genial y muy original.
Feliz año 2025! 🎉🥂
The results are very good, this can be used as an idea for next Christmas.