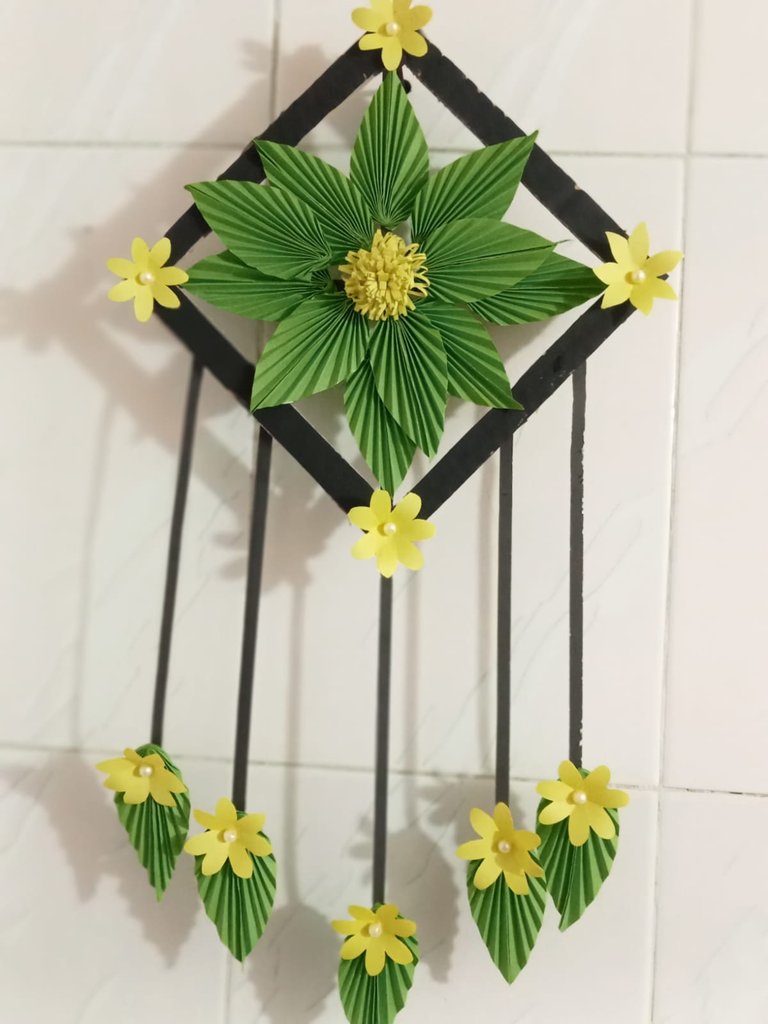
Greetings to the creative users of this wonderful community @diyhub, how are you doing and I hope all of you are doing okay and well. It's been a while since I posted something based on decorations so today I decided to craft a wall hanging decor made from coloured paper. Crafting DIY wall hanging decor is a fulfilling and creative activity that allows individuals to express their artistic skills while enhancing the aesthetics appeal of their living space. And now without wasting much time here's how I crafted this wall hanging decor.
MATERIALS NEEDED
• Colored paper
• Cardboard
• Scissors
• Cutter
• bead's
• Glue
MAKING PROCESS
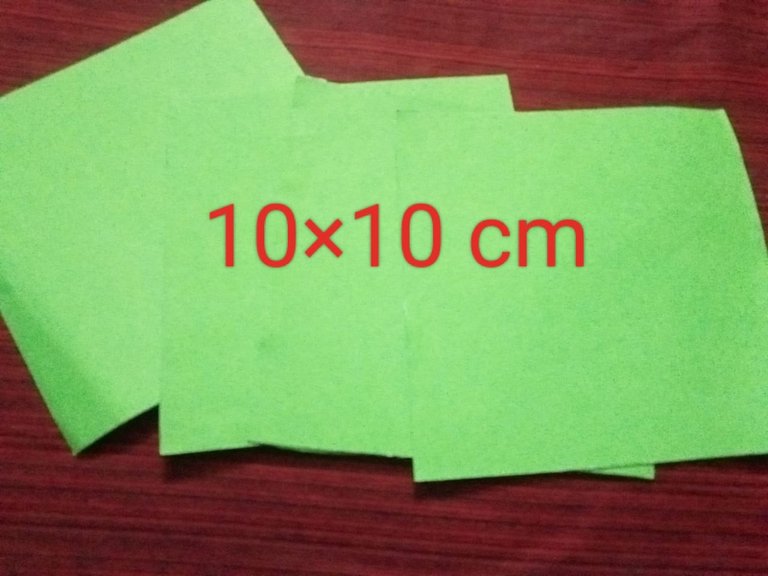
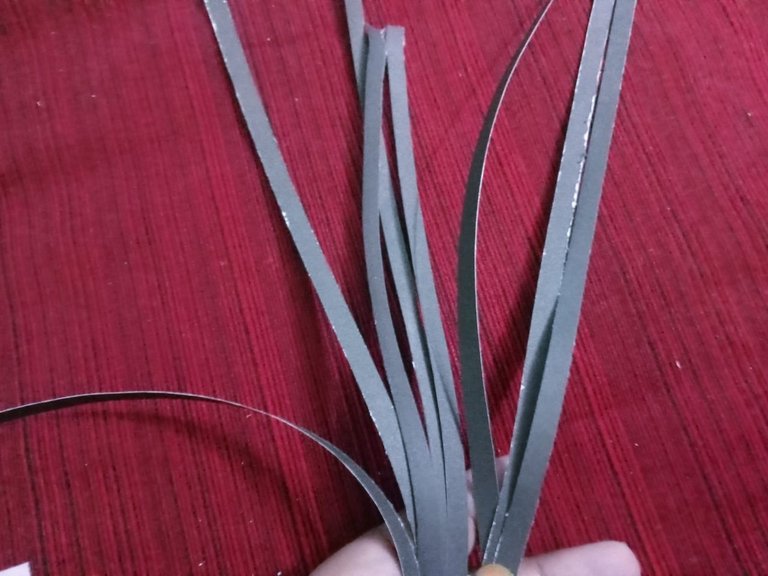
First I measured 10cm x 10cm on my green coloured paper and cut it off, then I folded it in half and cut it off.

step 2
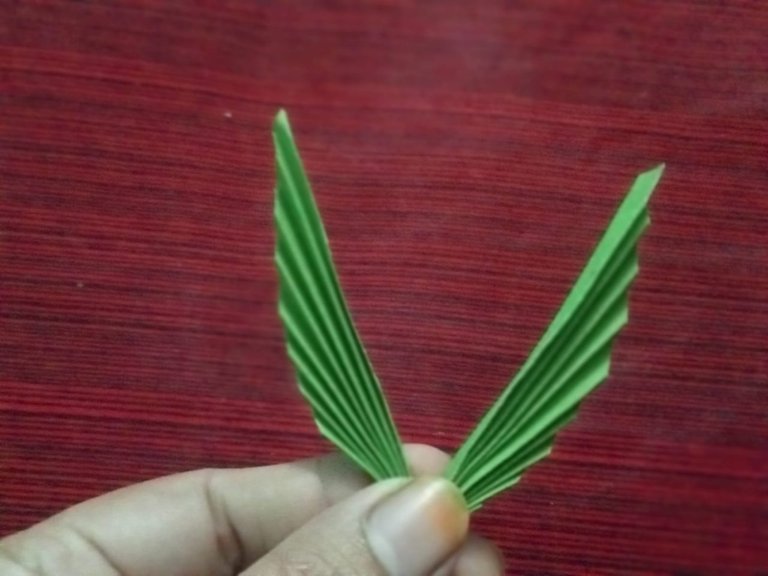
After doing that, I then folded it very beautifully and gum the edges of the folded paper together to make a green leaf as shown below.

step 3
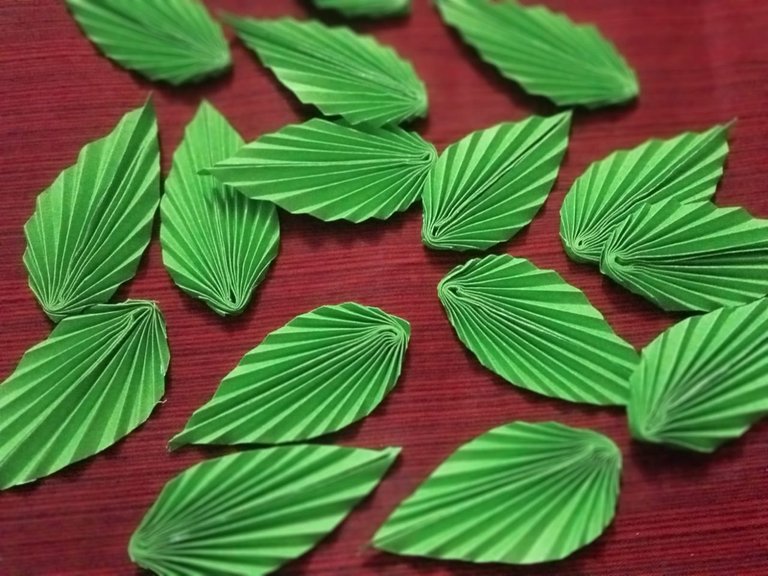
I then made several green leaves as well.
step 4
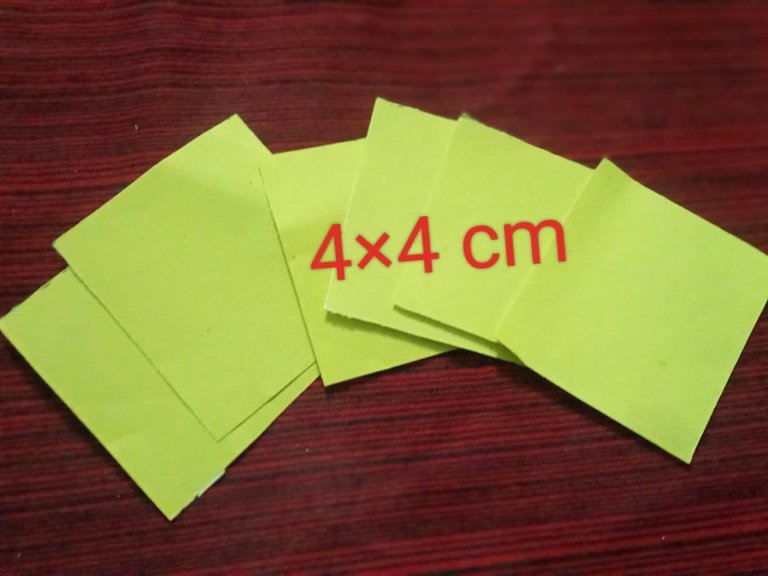
After making the green leaves, I then went ahead to measure 4cm x 4cm on my yellow coloured paper and cut it out and then I folded it.
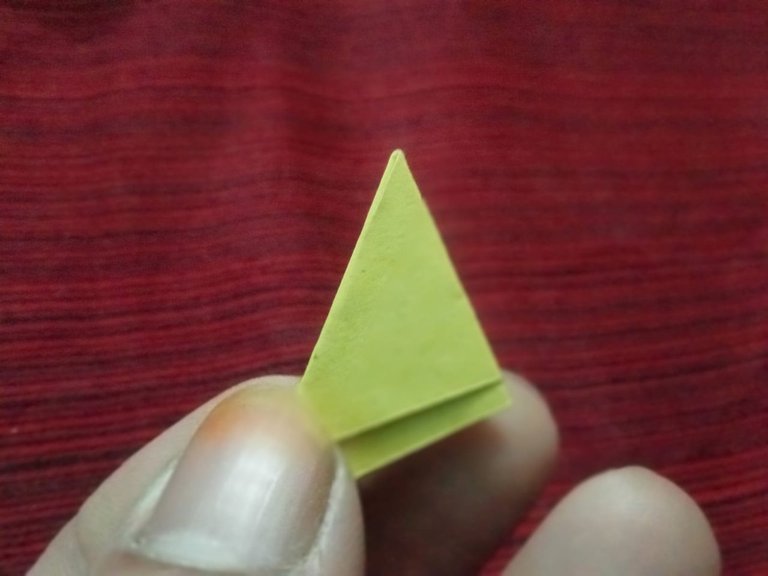
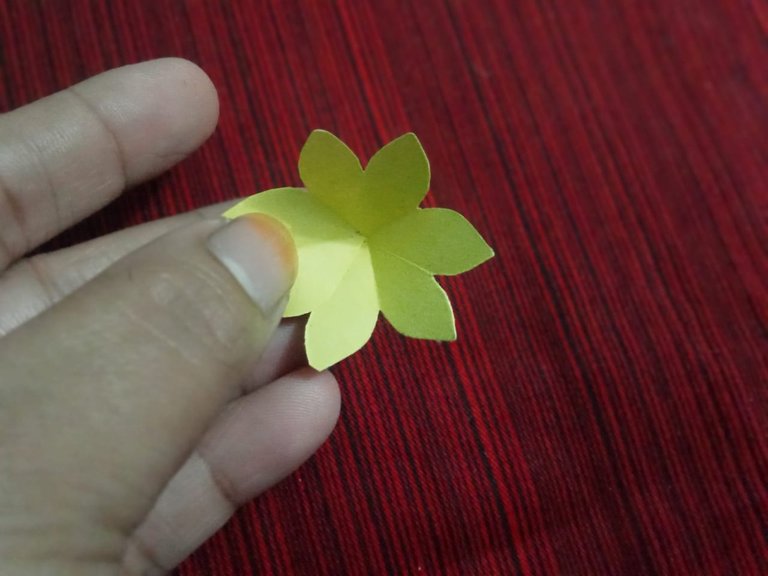
step 5
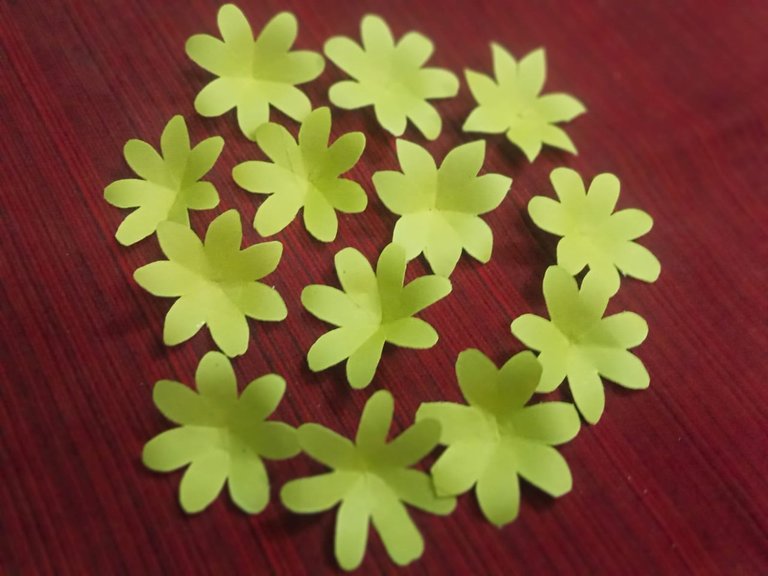
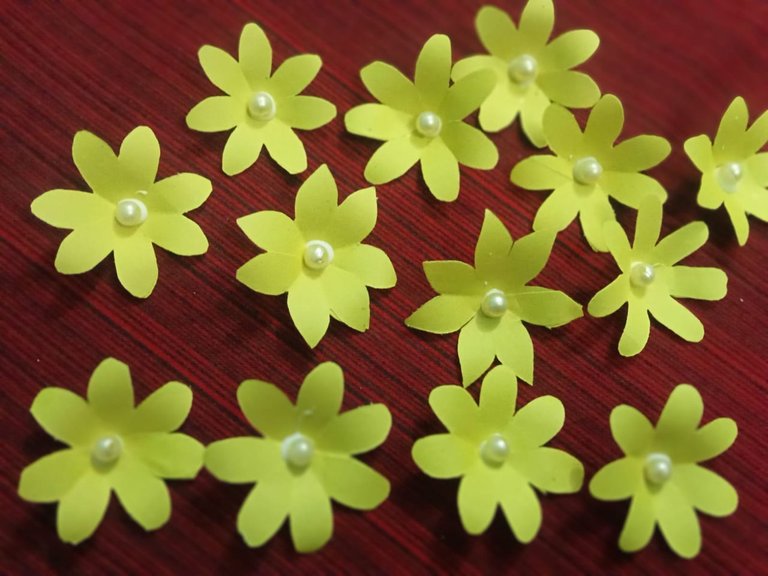
I then cut the folded paper to give me a flower and I also made multiple pieces of flowers using the same process.
step 6
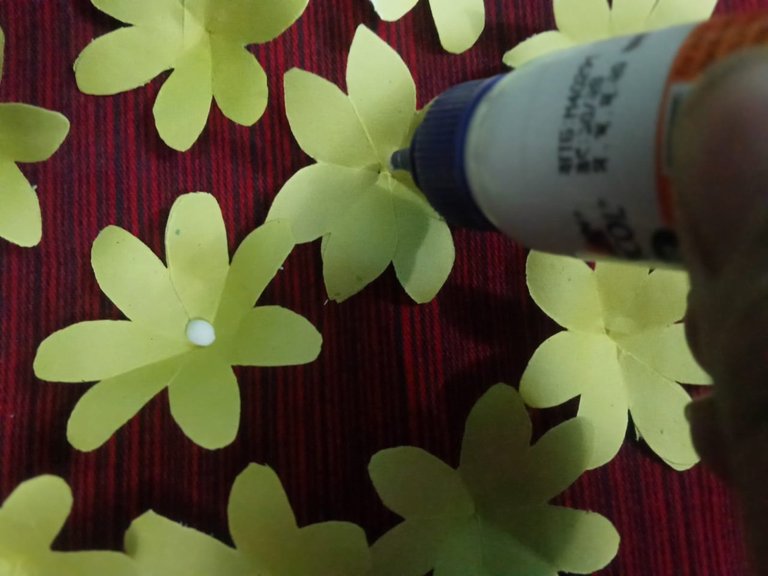
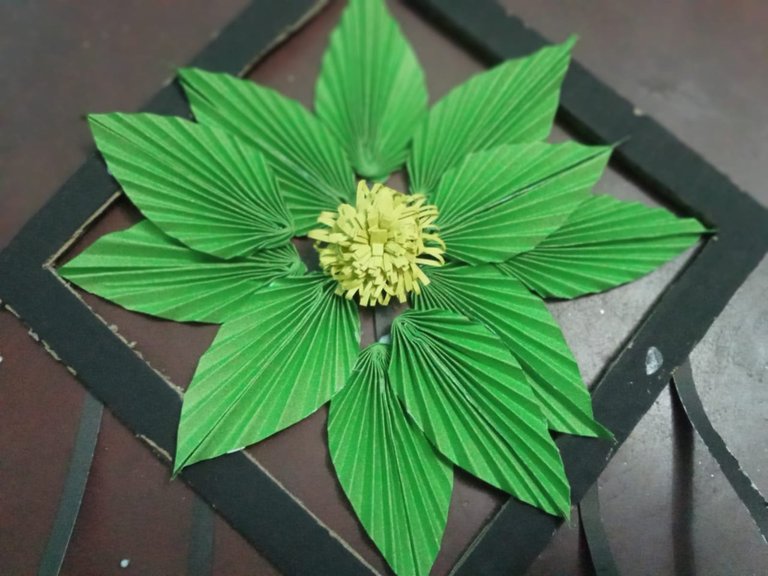
After I made the flowers, I then gum my bead's to the middle of the flower.
step 7
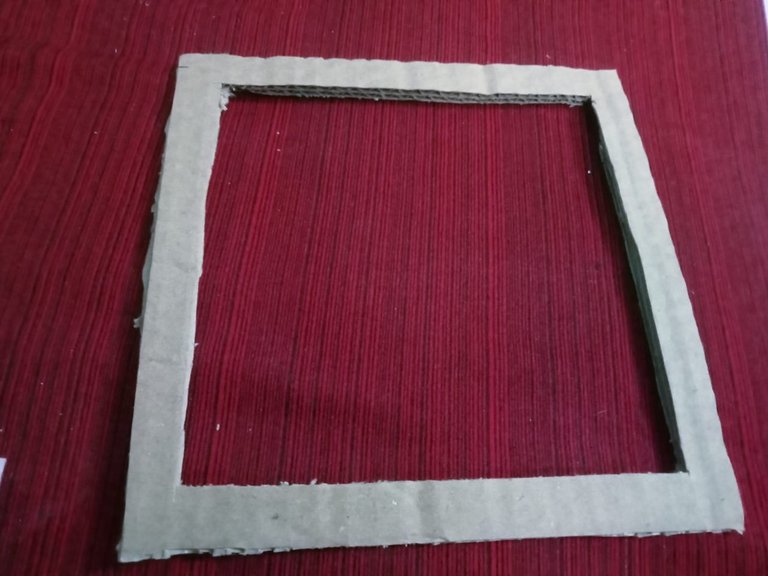
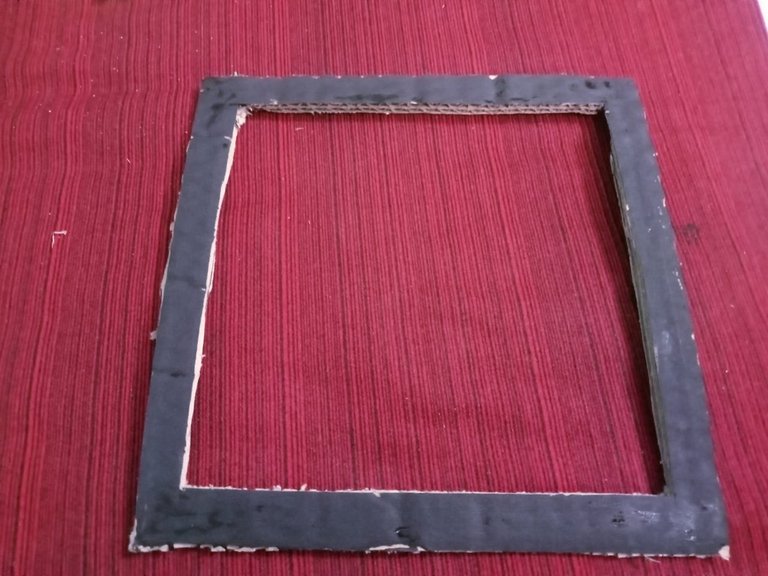
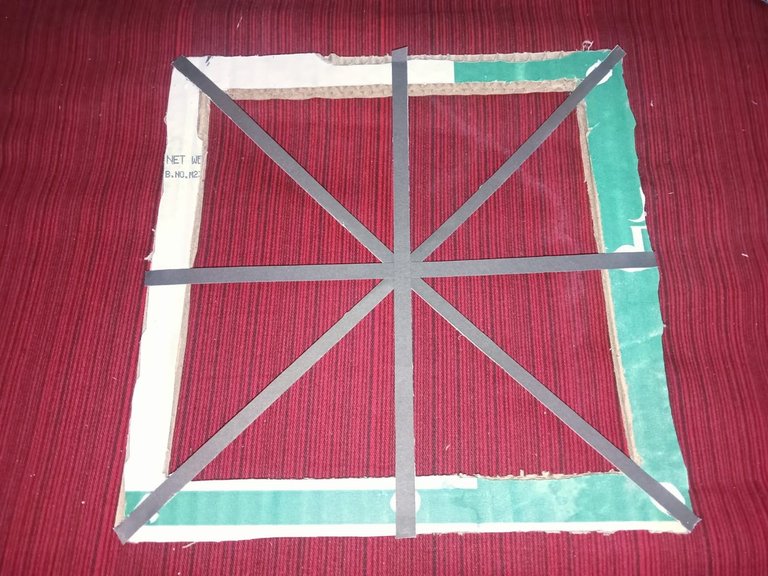
Here I made a square frame from cardboard and coloured it black using my black colour
step 8
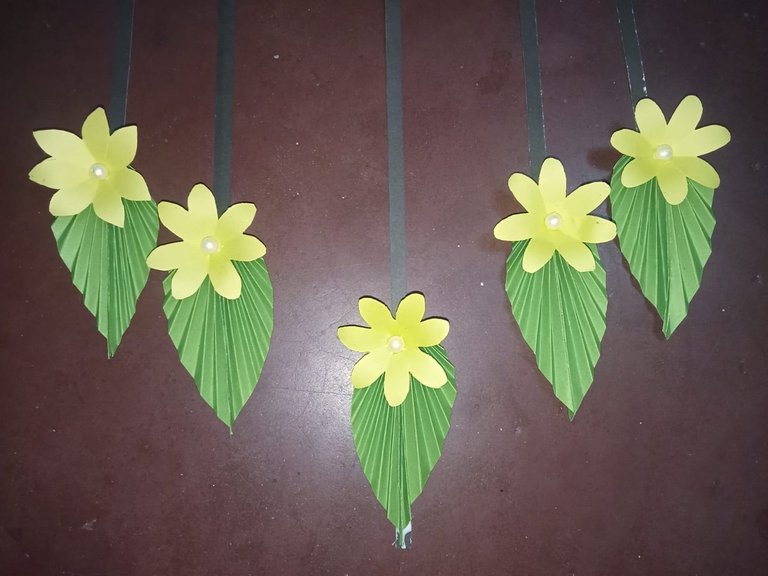
After doing that, I then cut my black colour paper into thin stripes and I attached it to the cardboard with gum and I then started gumming my green leaves to the cardboard stripes.
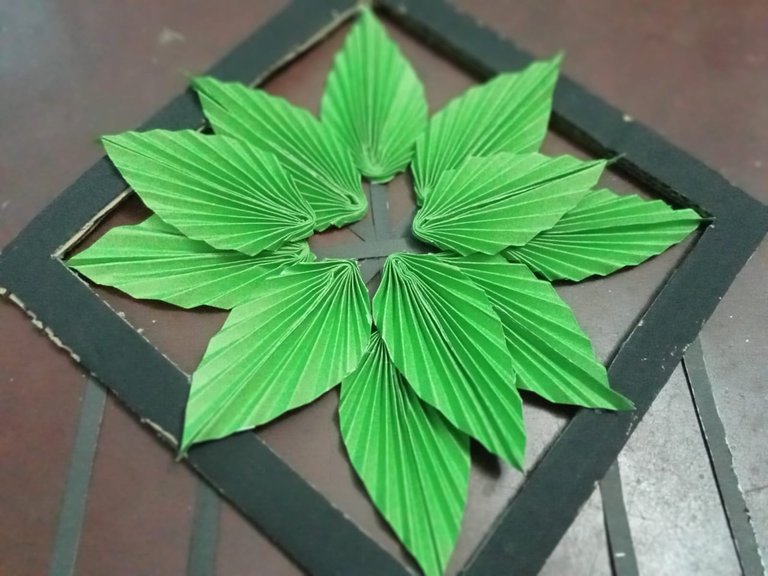
step 9
After attaching all the leaves to the cardboard, I then cut out a flower from yellow paper and gum it in the middle of the empty space of my craft. Now the upper part of the wall decor is complete. Then I attached the flower and the leaves to the bottom part of the wall hanging
step 10
After doing everything, my wall hanging decor is now ready and here's my final result.
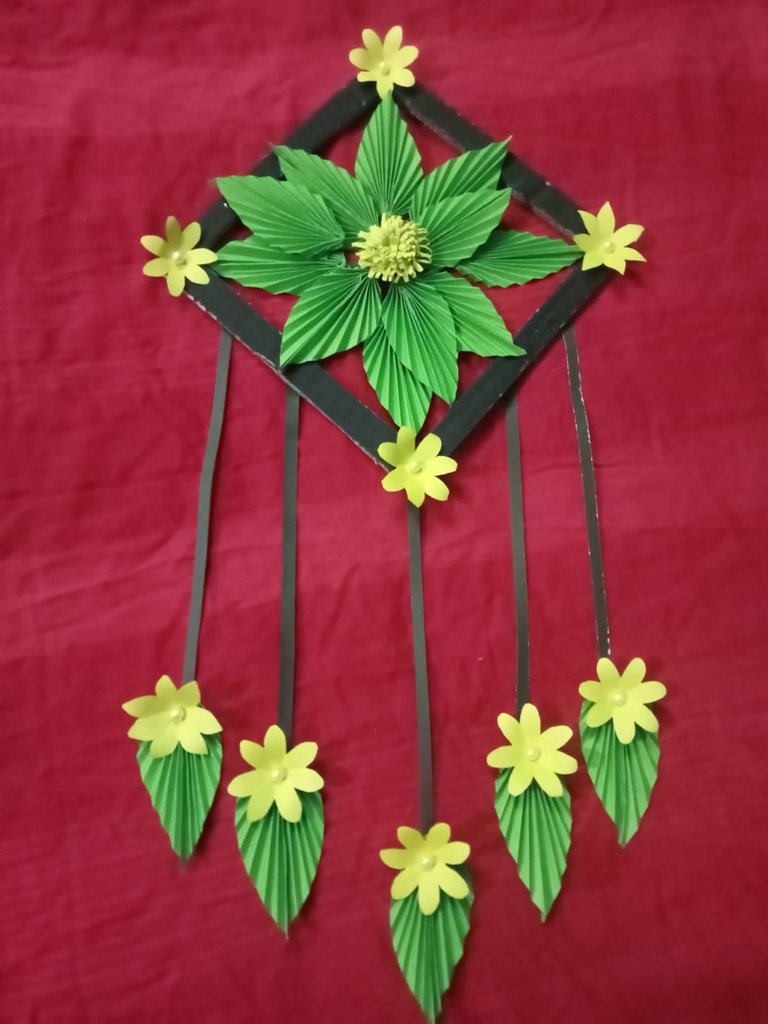
Making this diy wall hanging craft was a delightful and rewarding process. It combines creativity, sustainability and functionality into one engaging project. I hope you all liked the craft and enjoyed reading through, until next time.
I love this work brother, you put a lot of effort and it shows in the beauty of the final result, thanks for sharing it, especially in our DIYHub community...
Thank you and am glad you liked it.
A wonderful walmate has been prepared by your own skill. Inspired by some unique flowers, this wallmat is a unique technique for room decoration. It is this kind of art that people enjoy looking at and appreciate the artists.
Thank you for your encouraging words, it really means a lot to me that you have shared your thoughts on my post. Thanks once again.
Yes my pleasure you are always most welcome
the end result is very beautiful, I like it.
Thank you
You're welcome.
Another fine piece of decoration. This one offers great aesthetic.
Thank you for such nice words, am glad you liked it.
Hello! I ordered a lamp from them recently, and while it looked gorgeous online, there was a slight delay in shipping. I ended up reaching out to twinklingtree customer support just to make sure everything was on track. Honestly, they weren’t too bad—just make sure you’re ready to give them all the details, like your order number and purchase date. The lamp eventually arrived, and it’s been a cute addition to my living room. I’d say it’s worth it, but be prepared for minor hiccups along the way!
You did a great job it's look beautifull
Thank you for stopping by and commenting.
Congratulations @eberechi01! You have completed the following achievement on the Hive blockchain And have been rewarded with New badge(s)
Your next target is to reach 900 comments.
You can view your badges on your board and compare yourself to others in the Ranking
If you no longer want to receive notifications, reply to this comment with the word
STOPVery beautiful, and I like the color
Thank you, am glad you liked it
I'm simply aww with your creativity. This is another beautiful piece, and it makes a great deco on your wall.
Thank you for stopping by at my post and sharing your thoughts, am glad you liked it.
You are welcome 🤗 keep up the great work.
que creativo está bueno para decorar!
how creative it is good for decorating!