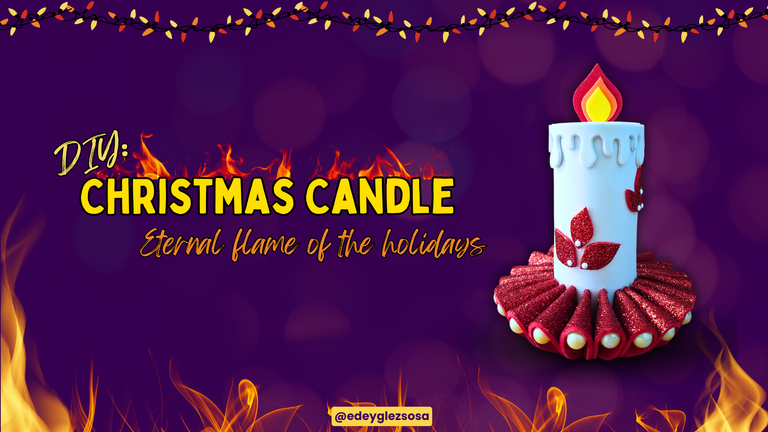
4 Elements.Among the four main elements there is one that is feared by some and adored by others. This element is a creator of life and at the same time it is capable of destroying everything in its path if used in a bad way or for selfish purposes. Yes, I am referring to fire. Fire, its light and heat were the driving force behind society as we know it today. Because of the importance of this element, I want to pay tribute to it through a craft that will also serve me to participate in the @diyhub community contest, which has the theme
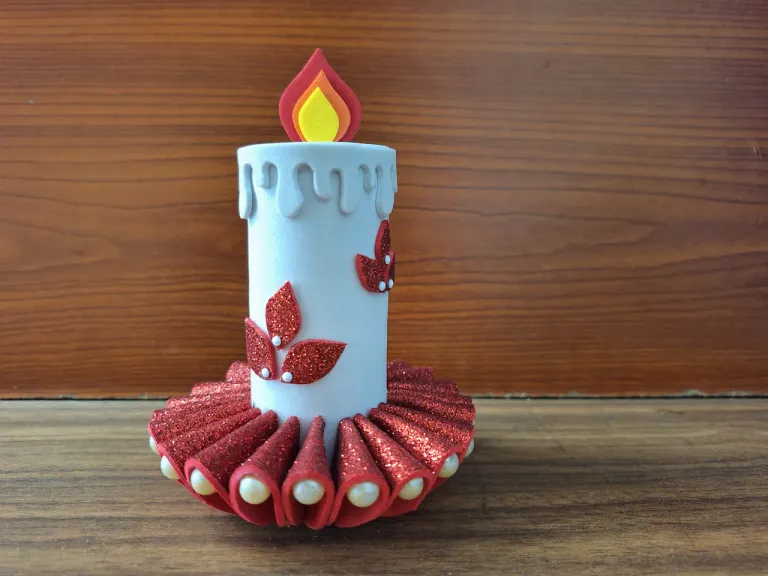
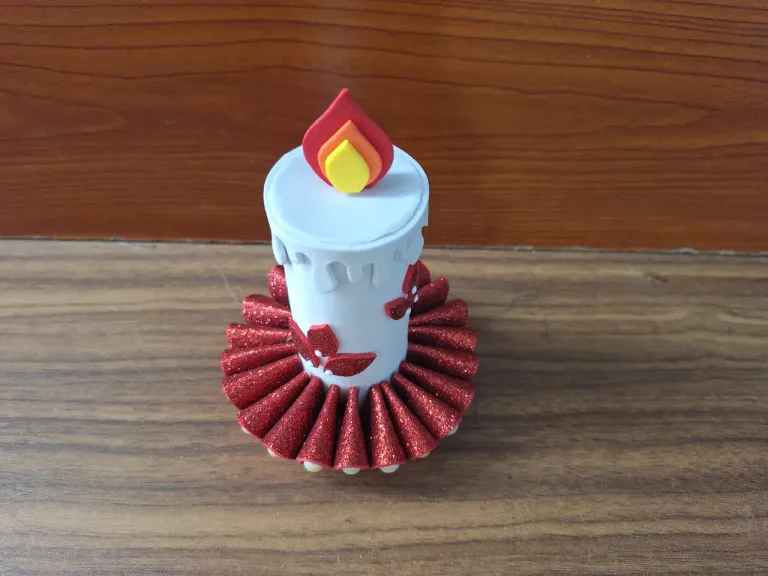
The craft consists of a Christmas candle that, as I said earlier, pays homage to the element of fire, but is also linked to the upcoming dates. This decoration is intended primarily as a centerpiece and was made using a cardboard tube and sheets of different colored fomi.
4 Elements.Entre los cuatro principales elementos hay uno que es temido por algunos y adorado por otros. Este elemento es creador de vida a la vez que es capaz de destruir todo a su paso si se emplea de mala manera o con fines egoístas. Sí, me refiero al fuego. El fuego, su luz y su calor fueron el motor impulsor de la sociedad como la conocemos actualmente. Debido a la importancia de este elemento, quiero hacerle un homenaje a través de una manualidad que a la vez me servirá para participar en el concurso de la comunidad @diyhub, el cual lleva por tema
La manualidad consiste en una vela navideña que, como dije anteriormente, hace homenaje al elemento del fuego, pero que también está vinculada a las fechas venideras. Esta decoración está pensada como centro de mesa principalmente y fue elaborada utilizando un tubo de cartón y láminas de fomi de distintos colores.
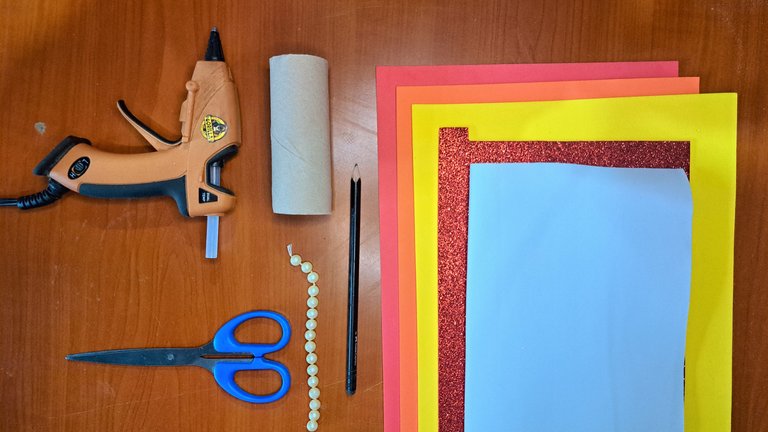
Materials // Materiales
| ✔️ Red, orange and yellow plain fomi | ✔️ Fomi liso rojo, naranja y amarillo |
| ✔️ Red frosted fomi | ✔️ Fomi escarchado rojo |
| ✔️ Cardboard tube | ✔️ Tubo de cartón |
| ✔️ Scissors and pencil | ✔️ Tijera y lápiz |
| ✔️ White pearls and semi-pearls | ✔️ Perlas y semi-perlas blancas |
| ✔️ Hot silicone | ✔️ Silicona caliente |
Step by step // Paso a paso
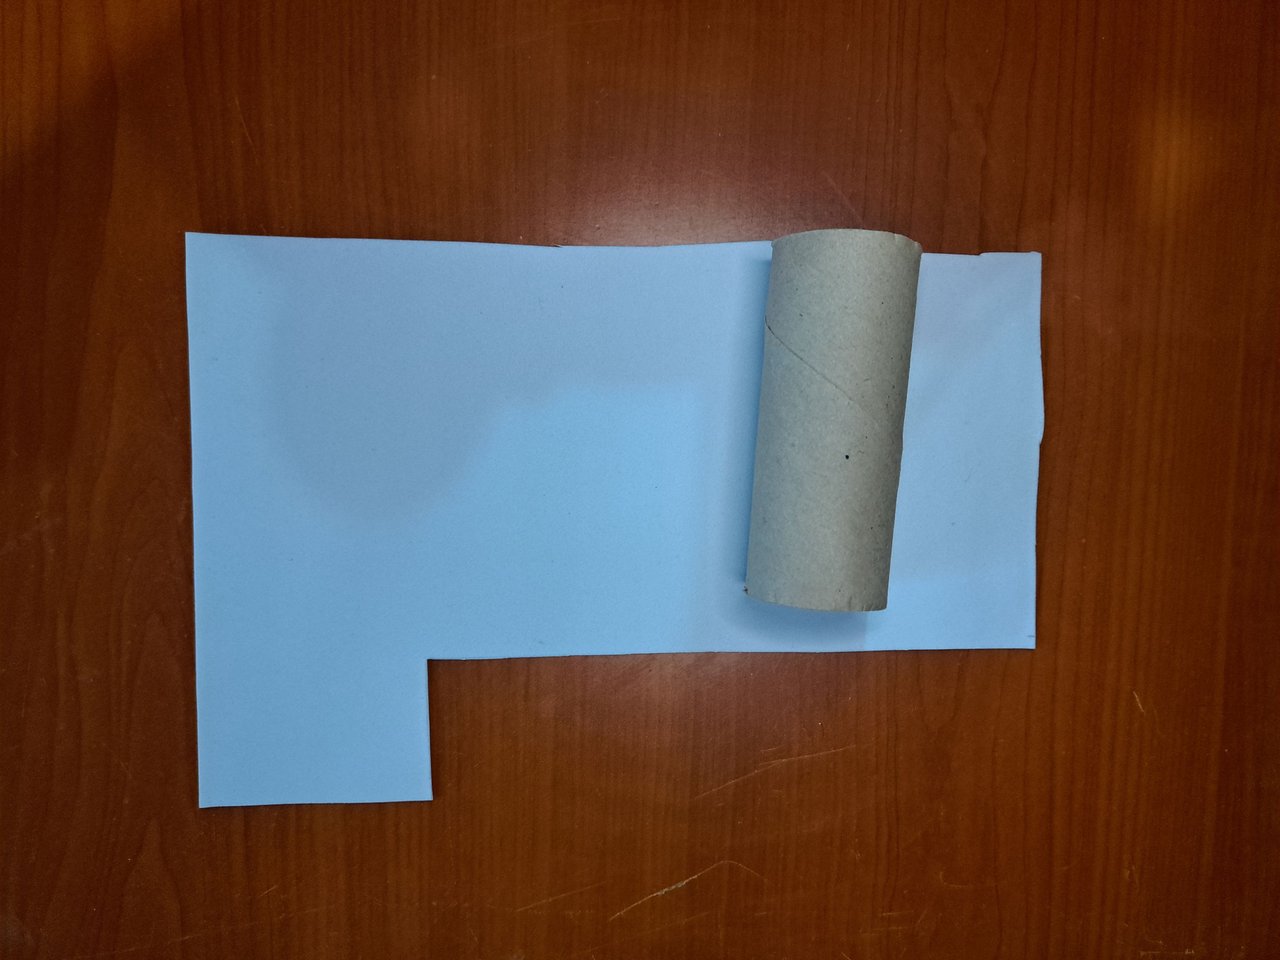
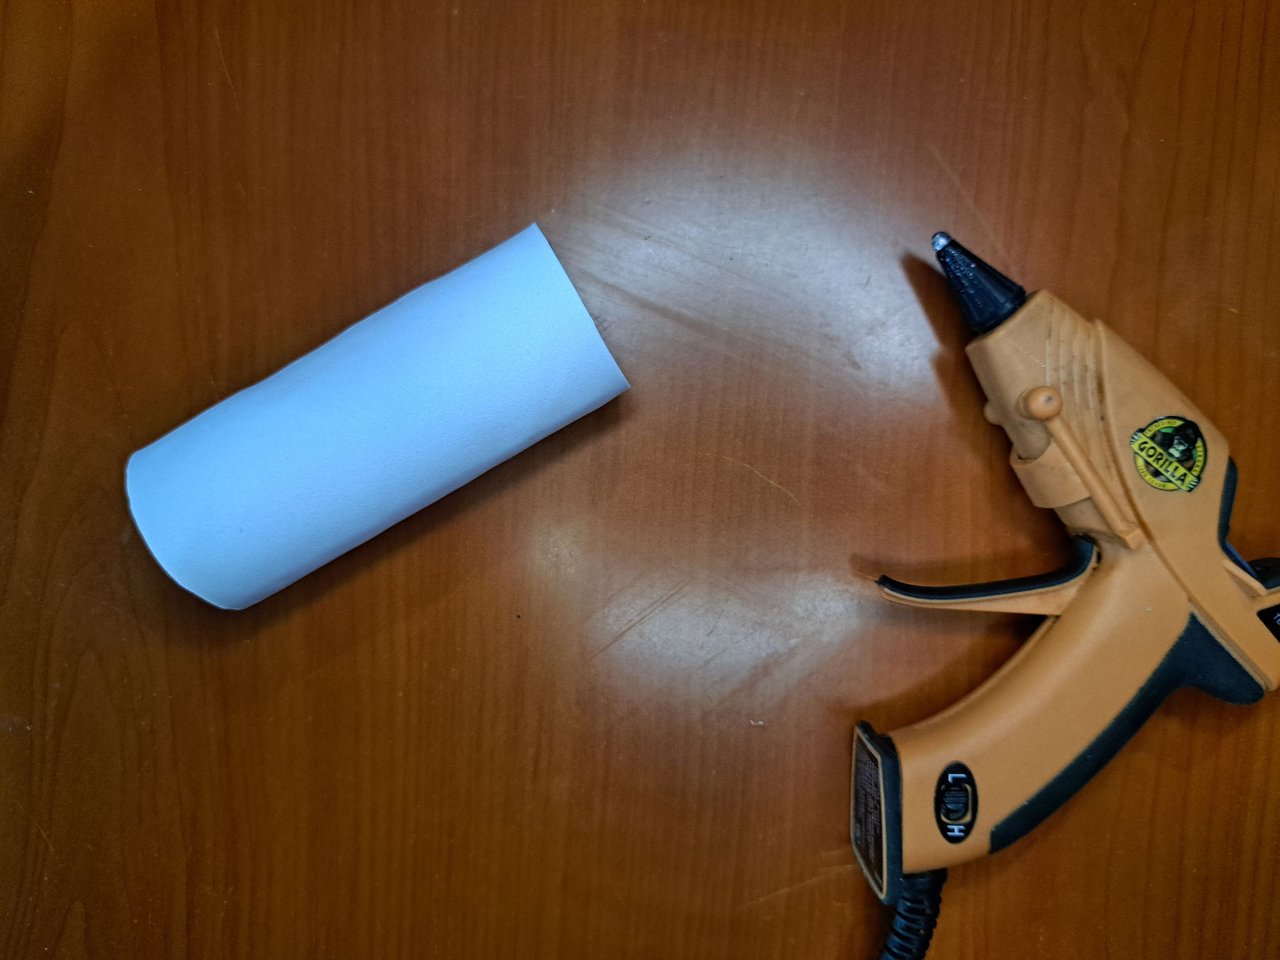
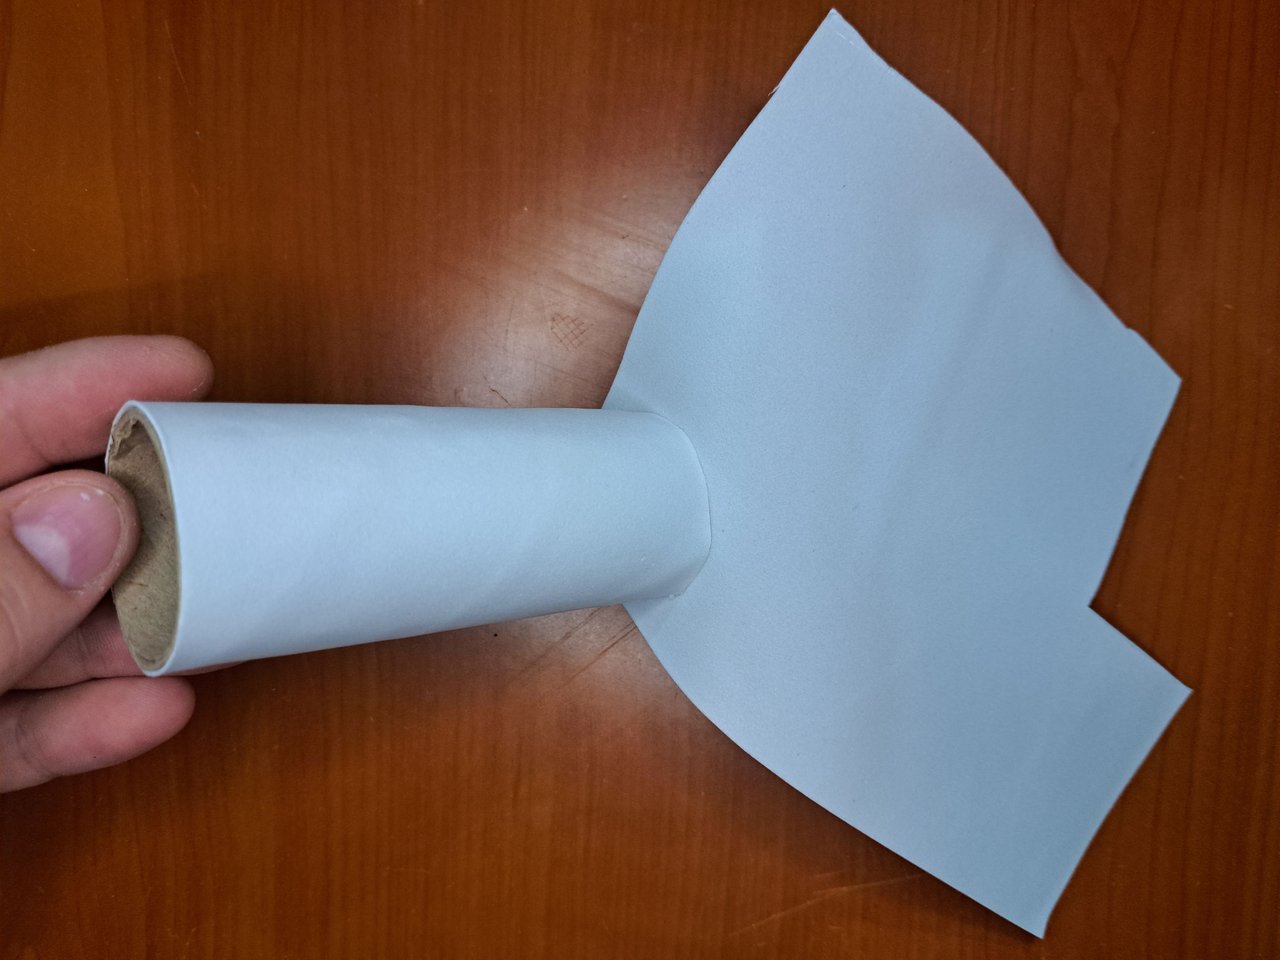
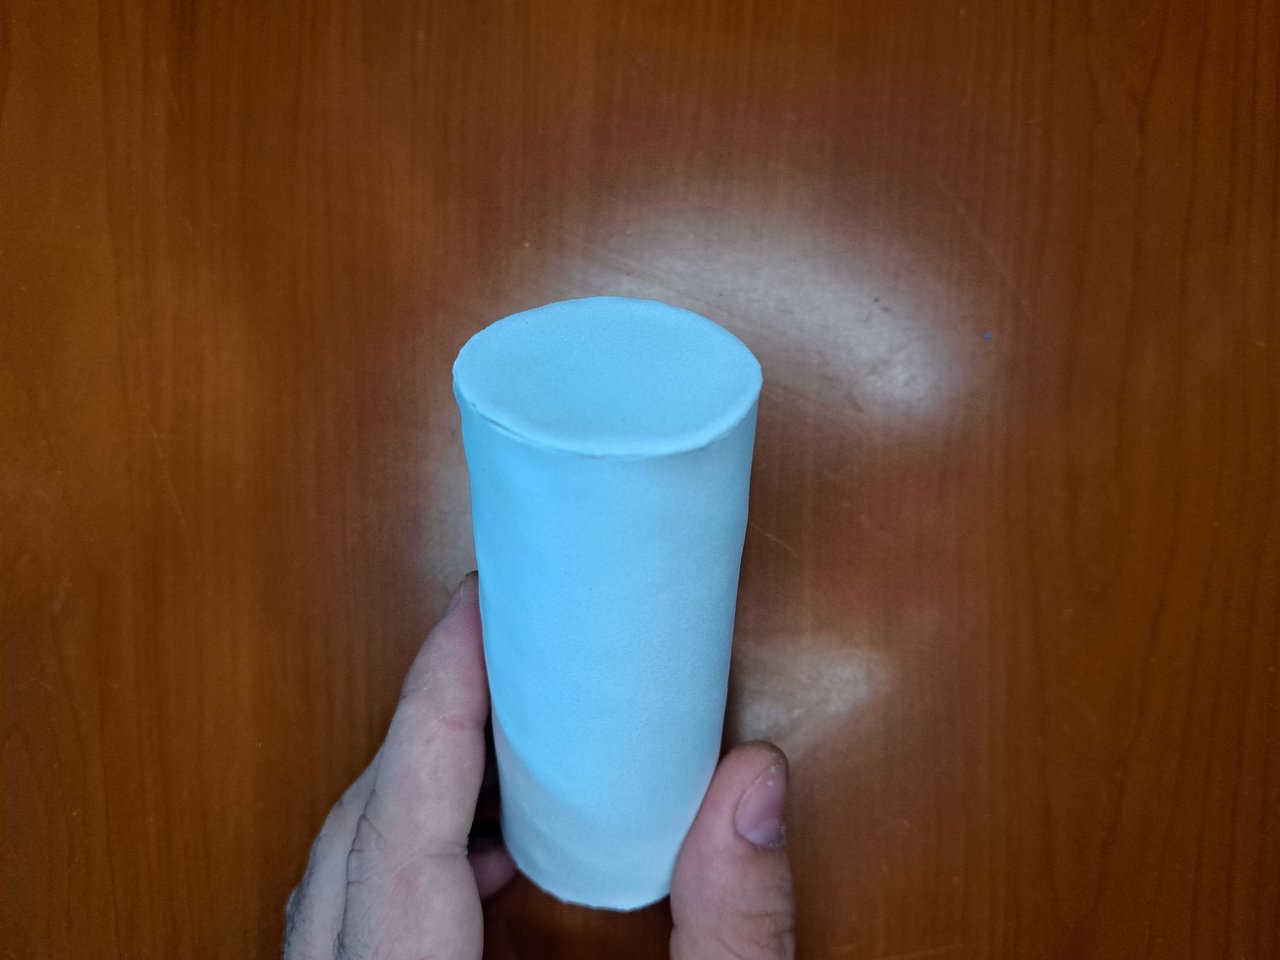
1️⃣ The first thing to do is to choose a cardboard tube with even edges and a suitable height and thickness to line it with white fomi. Depending on the dimensions of the tube, will be the dimensions of the candle.
Lo primero será escoger un tubo de cartón con los bordes parejos y con una altura y grosor adecuados para forrarlo con fomi blanco. En dependencia de las dimensiones del tubo, serán las dimensiones de la vela.
 |
 |
 |
 |
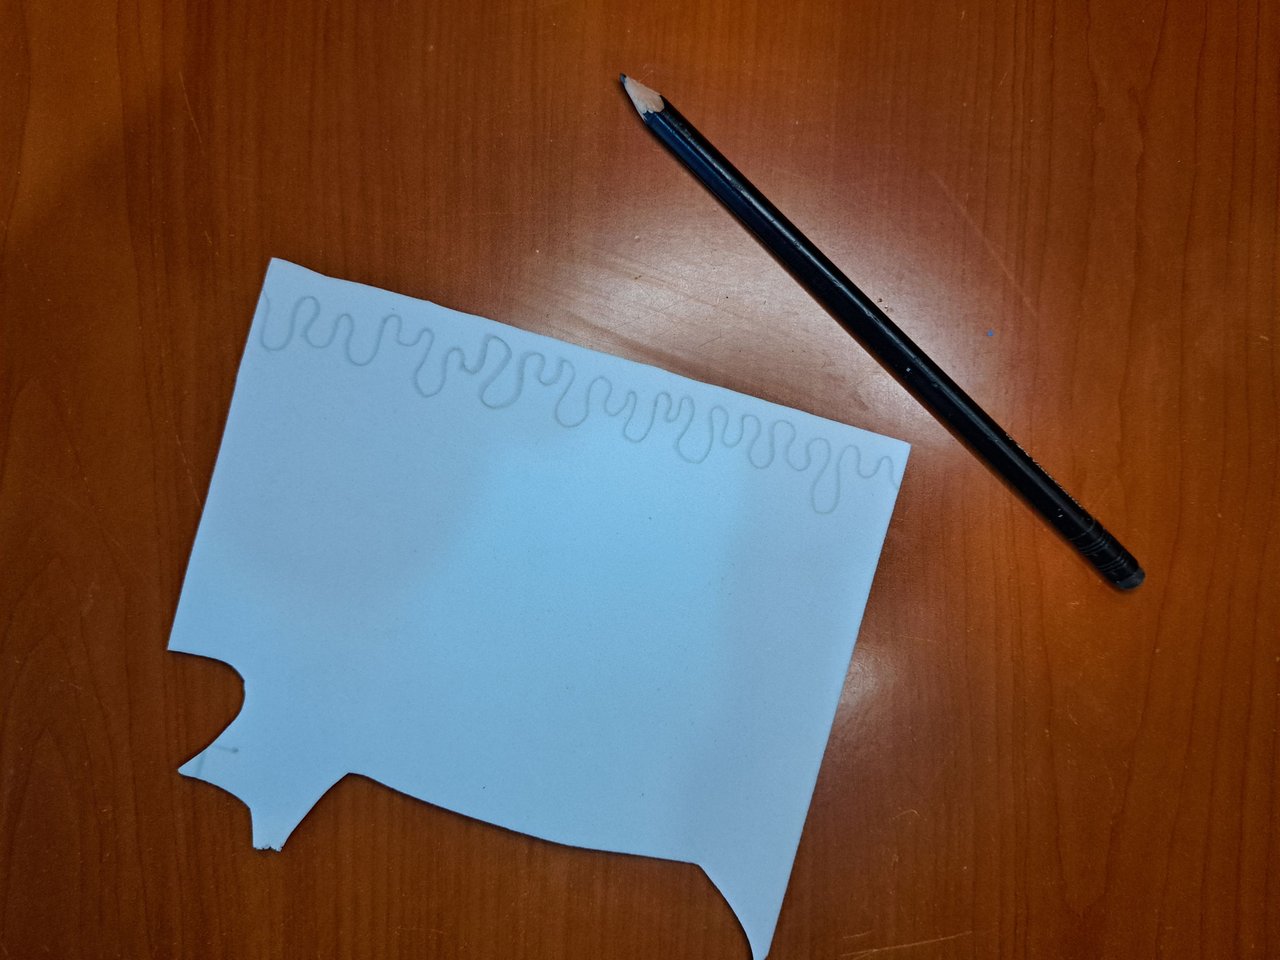
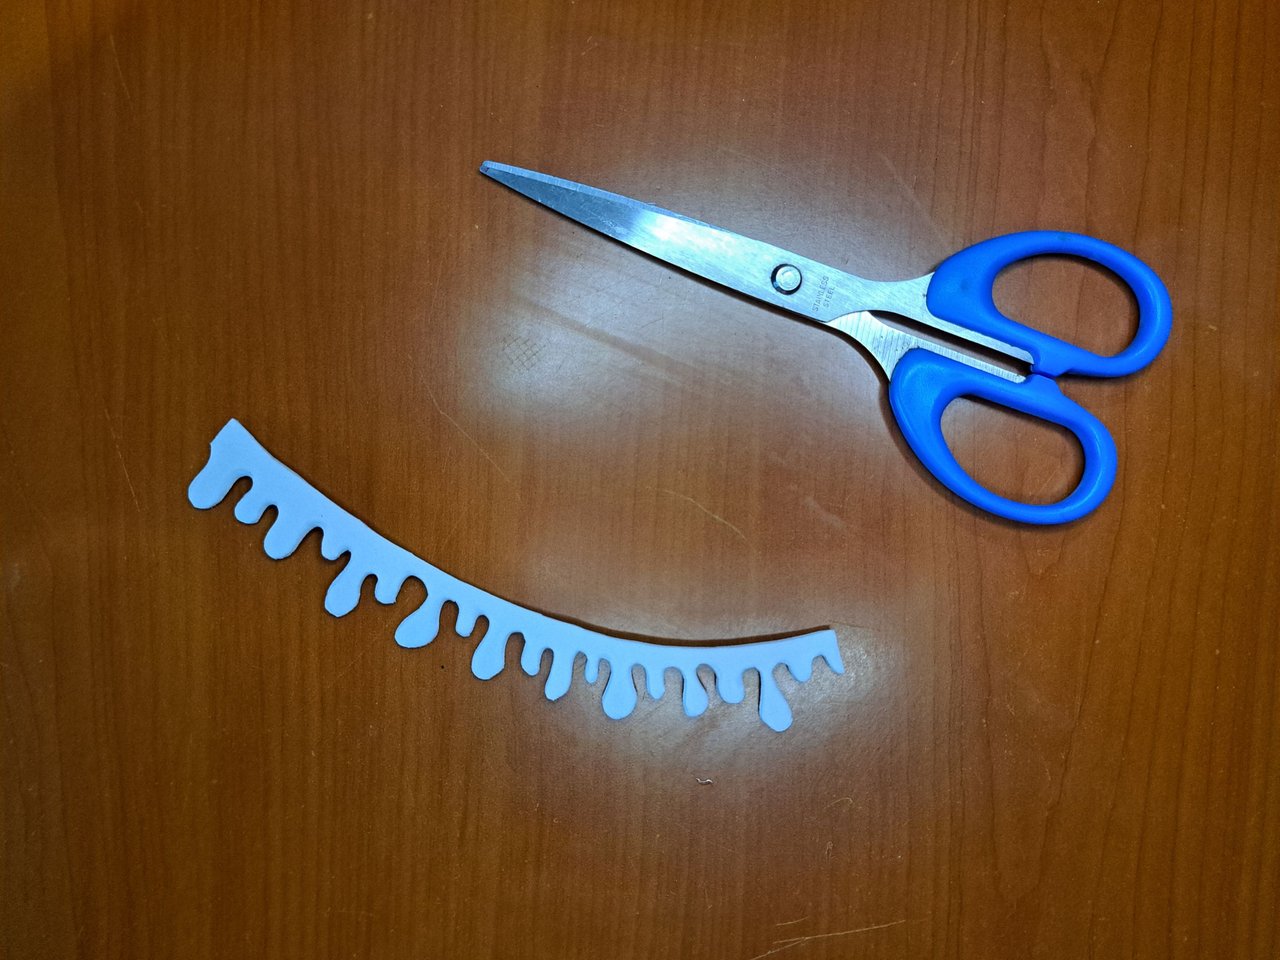
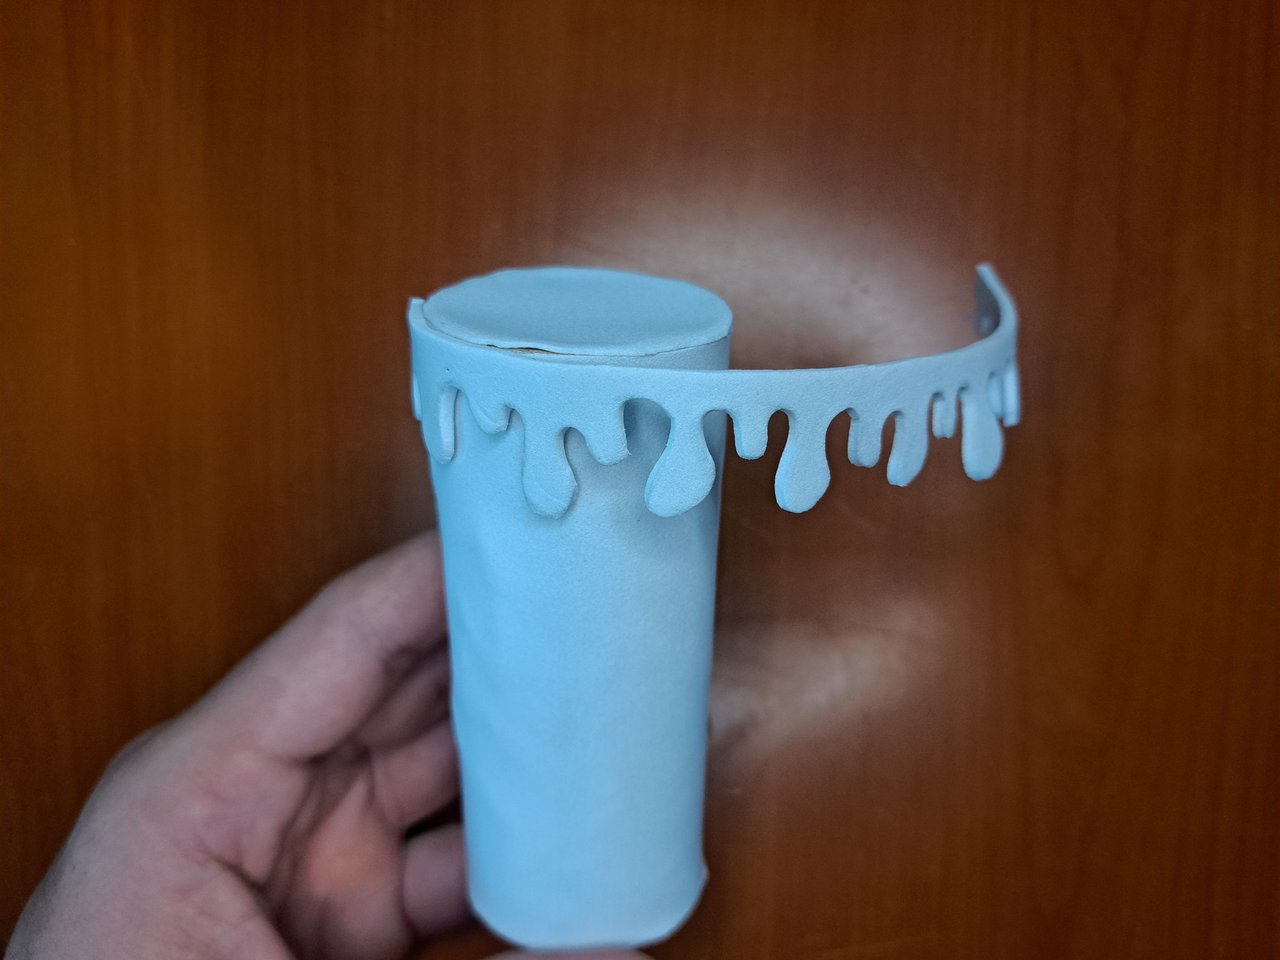
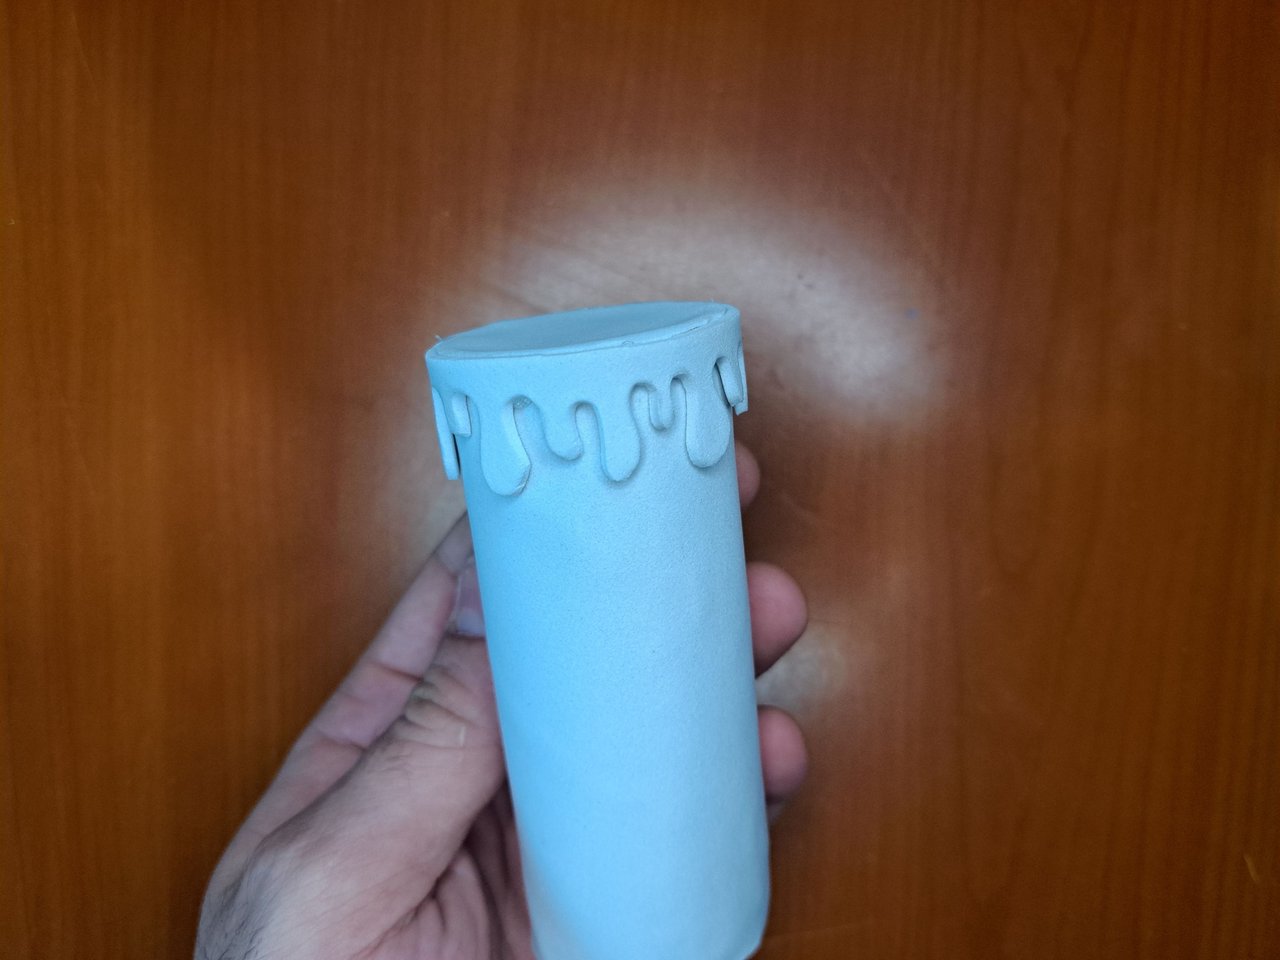
2️⃣ Then, on a thicker piece of fomi, I drew wavy lines that resembled the candle wax melting. I cut out the drawn pattern and glued it to the top edge of the candle body.
Luego, en un pedazo de fomi más grueso, dibujé unas líneas onduladas que asemejaban la cera de la vela derritiéndose. Recorté el patrón dibujado y lo pegué en el borde superior del cuerpo de la vela.
 |
 |
 |
 |
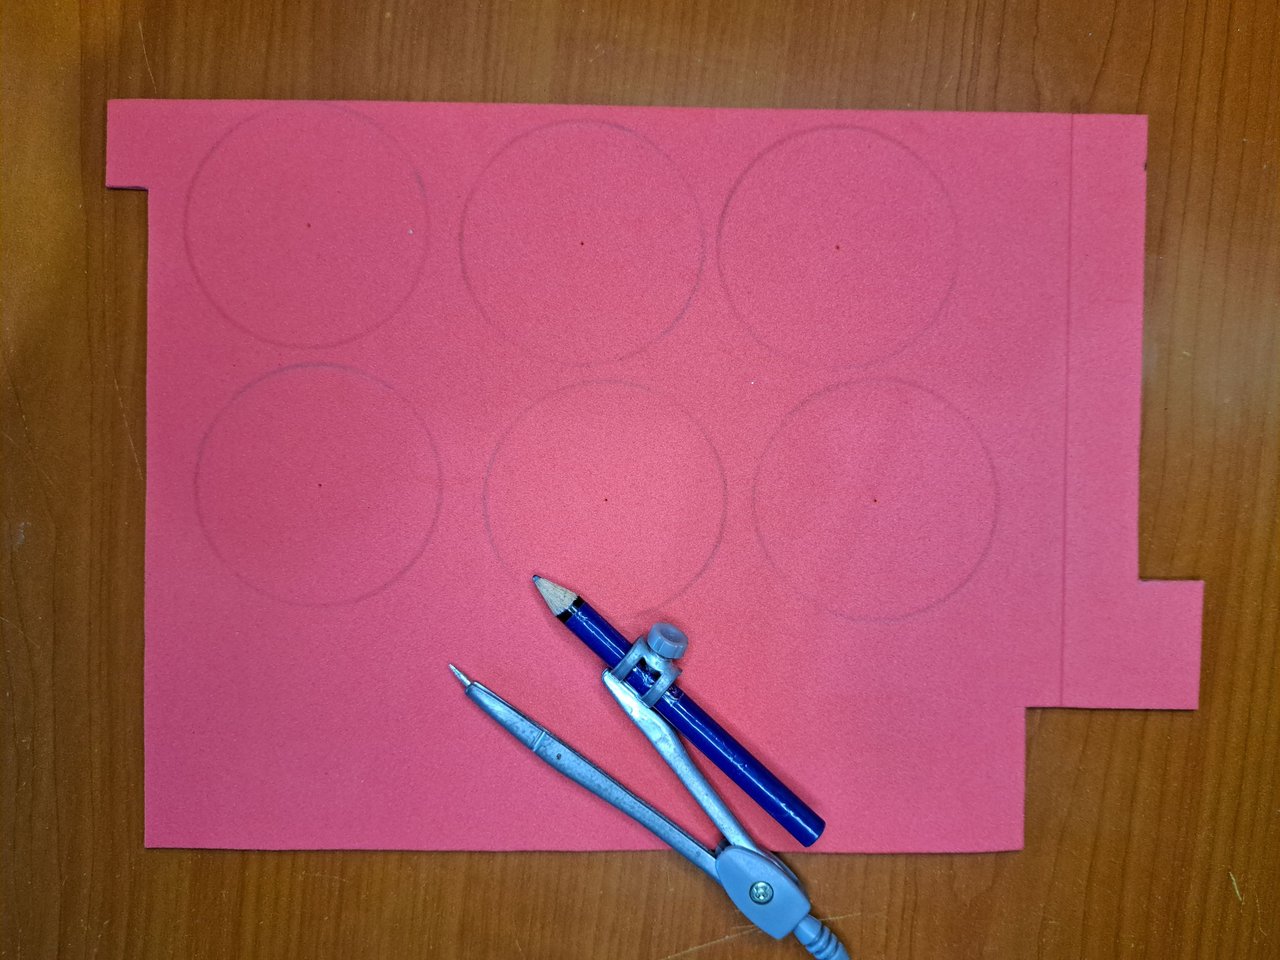
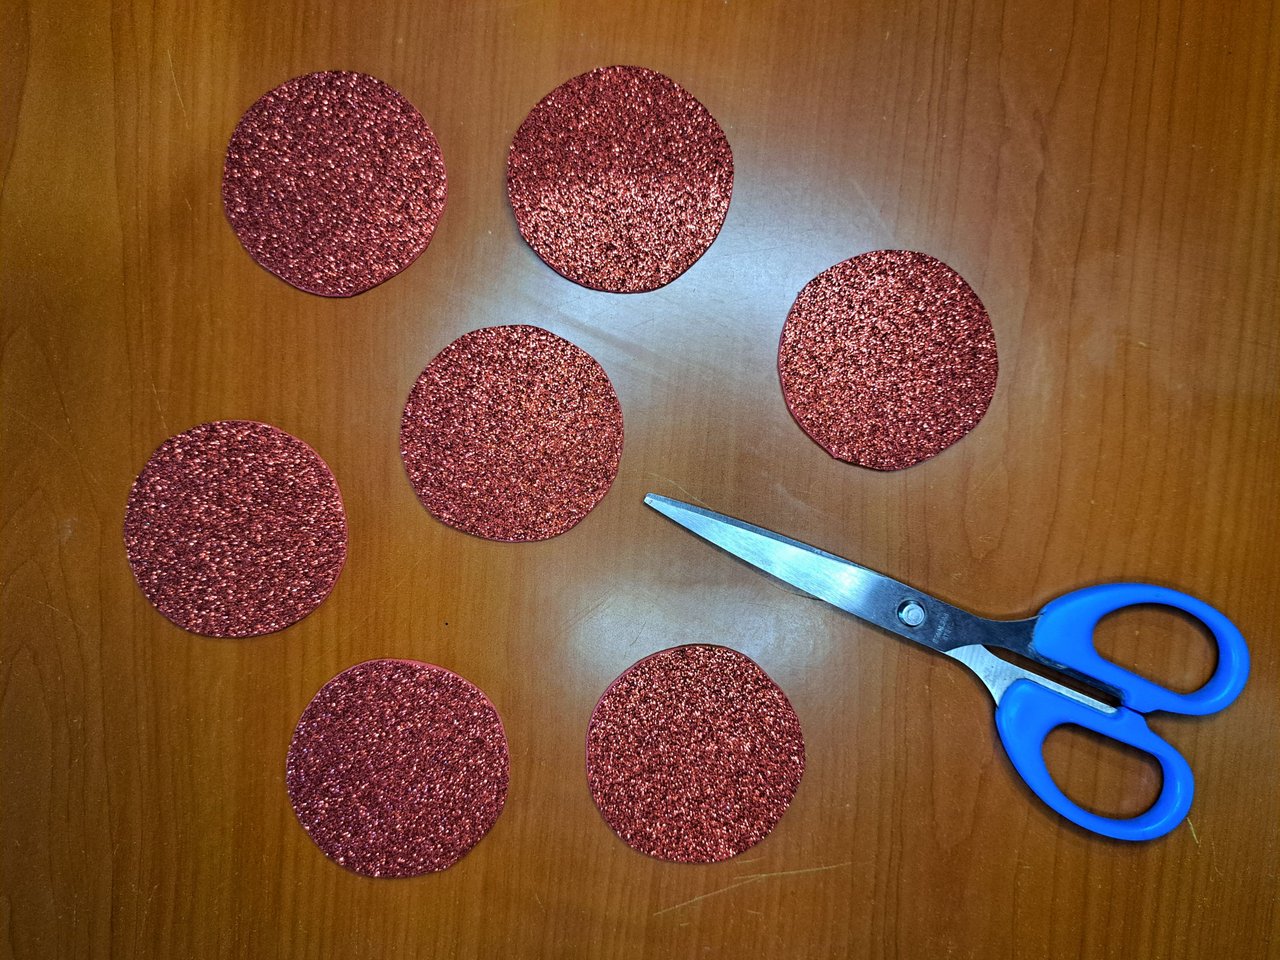
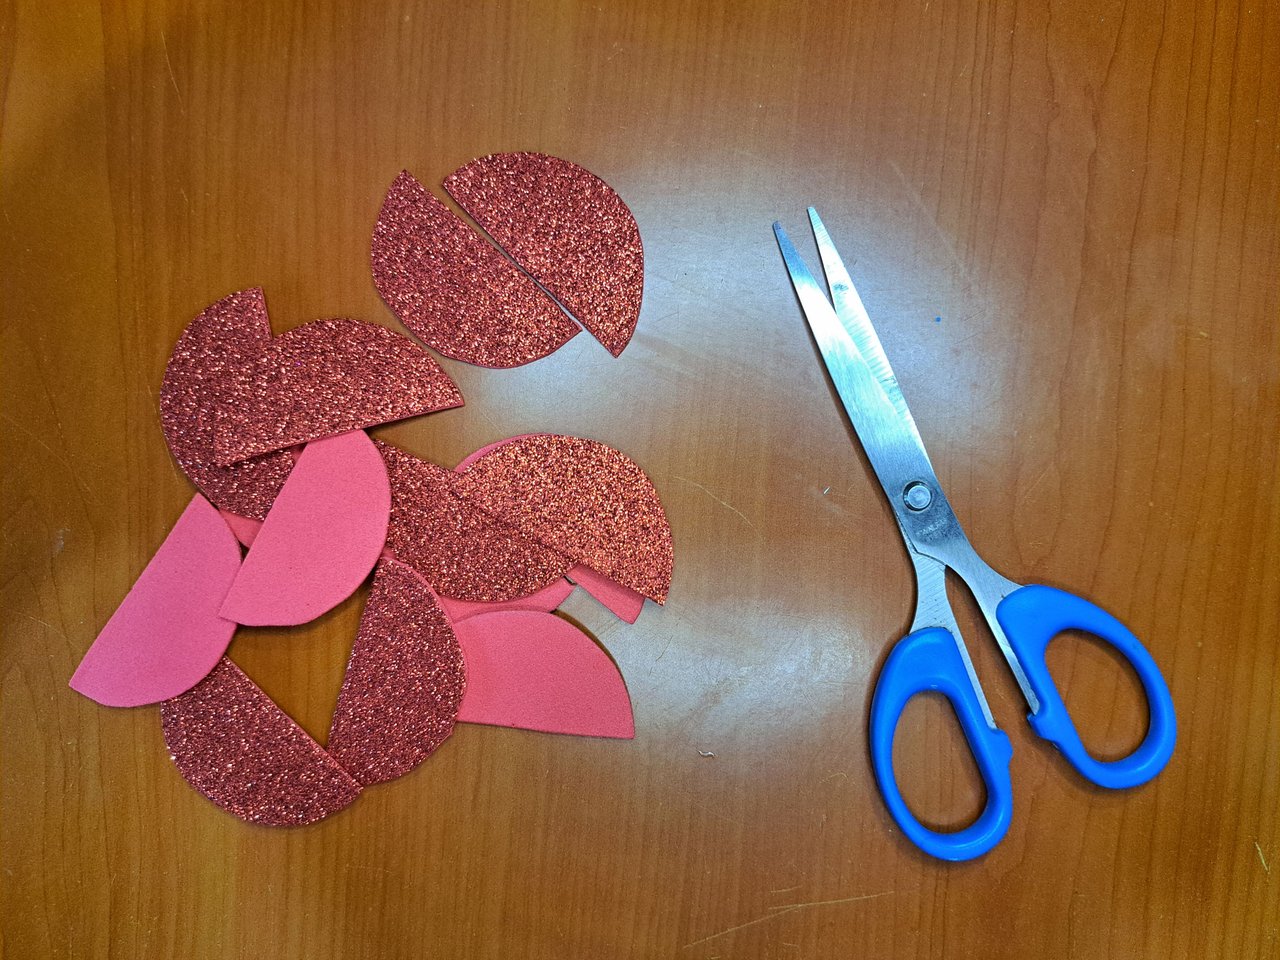
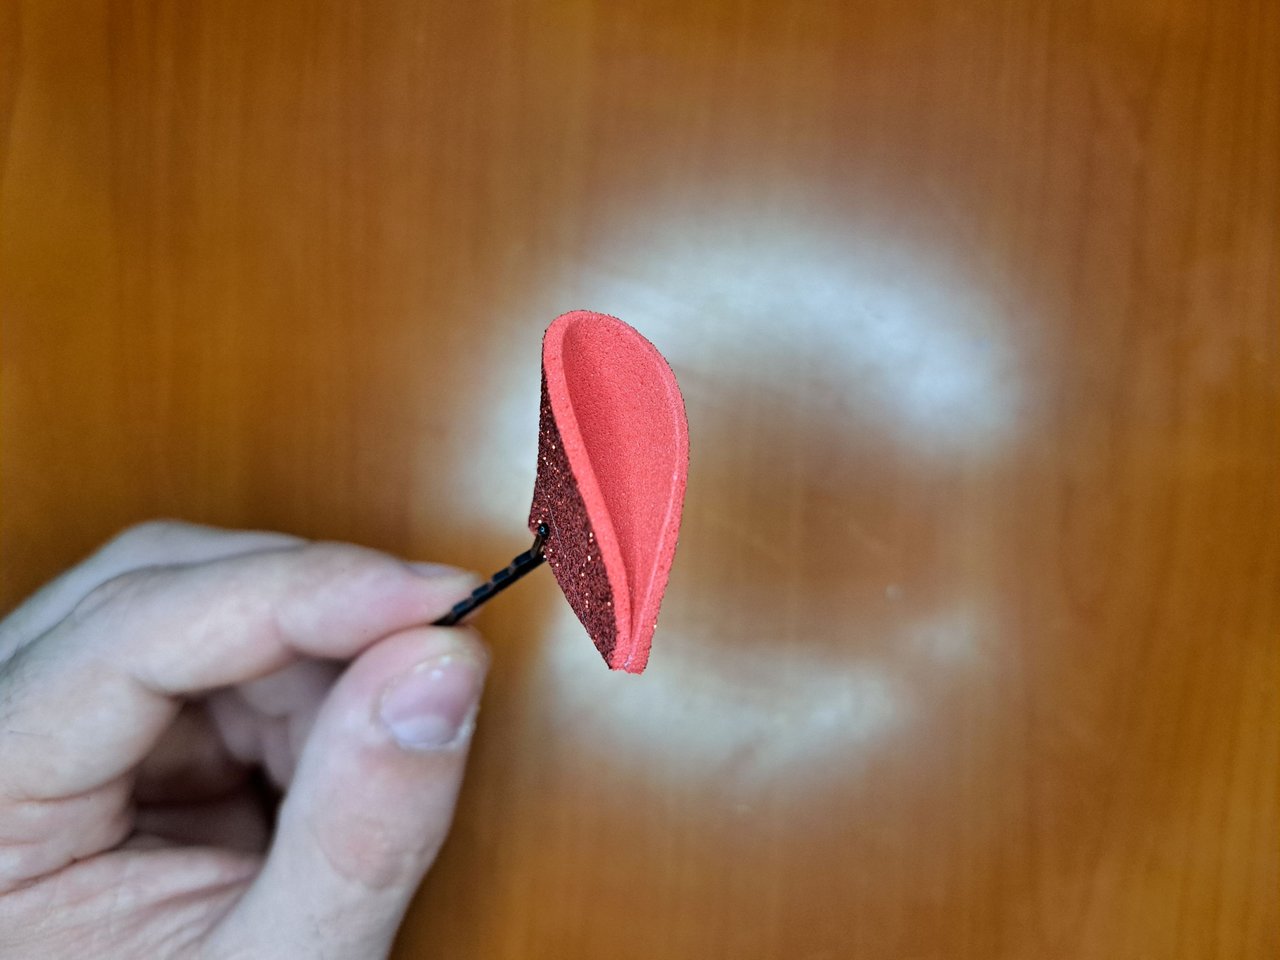
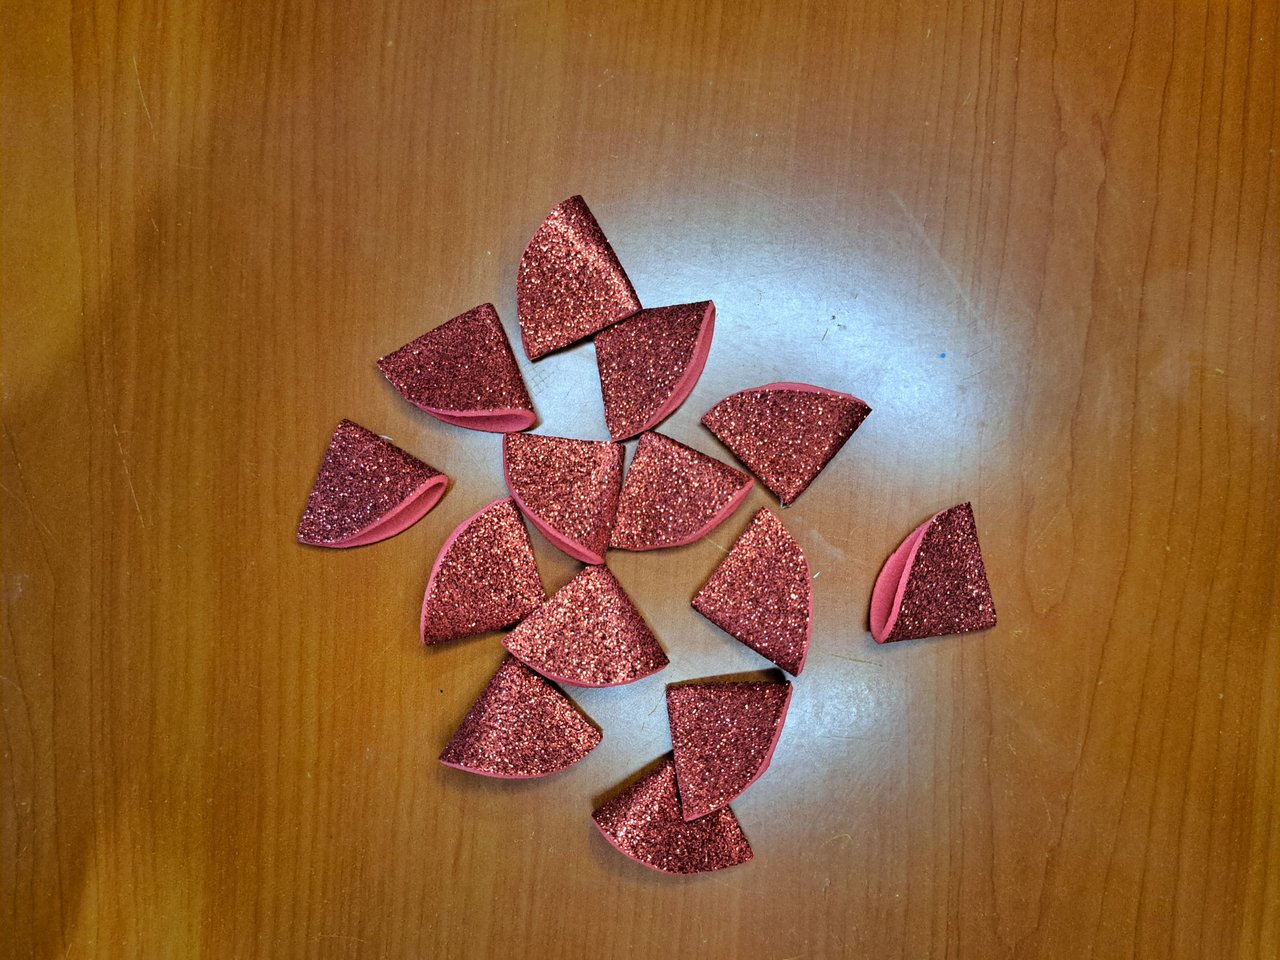
3️⃣ On a sheet of frosted red fomi, draw 8 circles of 6 cm in diameter. Then cut each circle in half and glue the corners of each half on the straight side, thus forming triangles.
En una lámina de fomi rojo escarchado, dibuje 8 círculos de 6 cm de diámetro. Luego, corte cada círculo por la mitad y pegue las esquinas de cada mitad por la parte recta, formando así unos triángulos.
 |
 |
 |
 |
 |
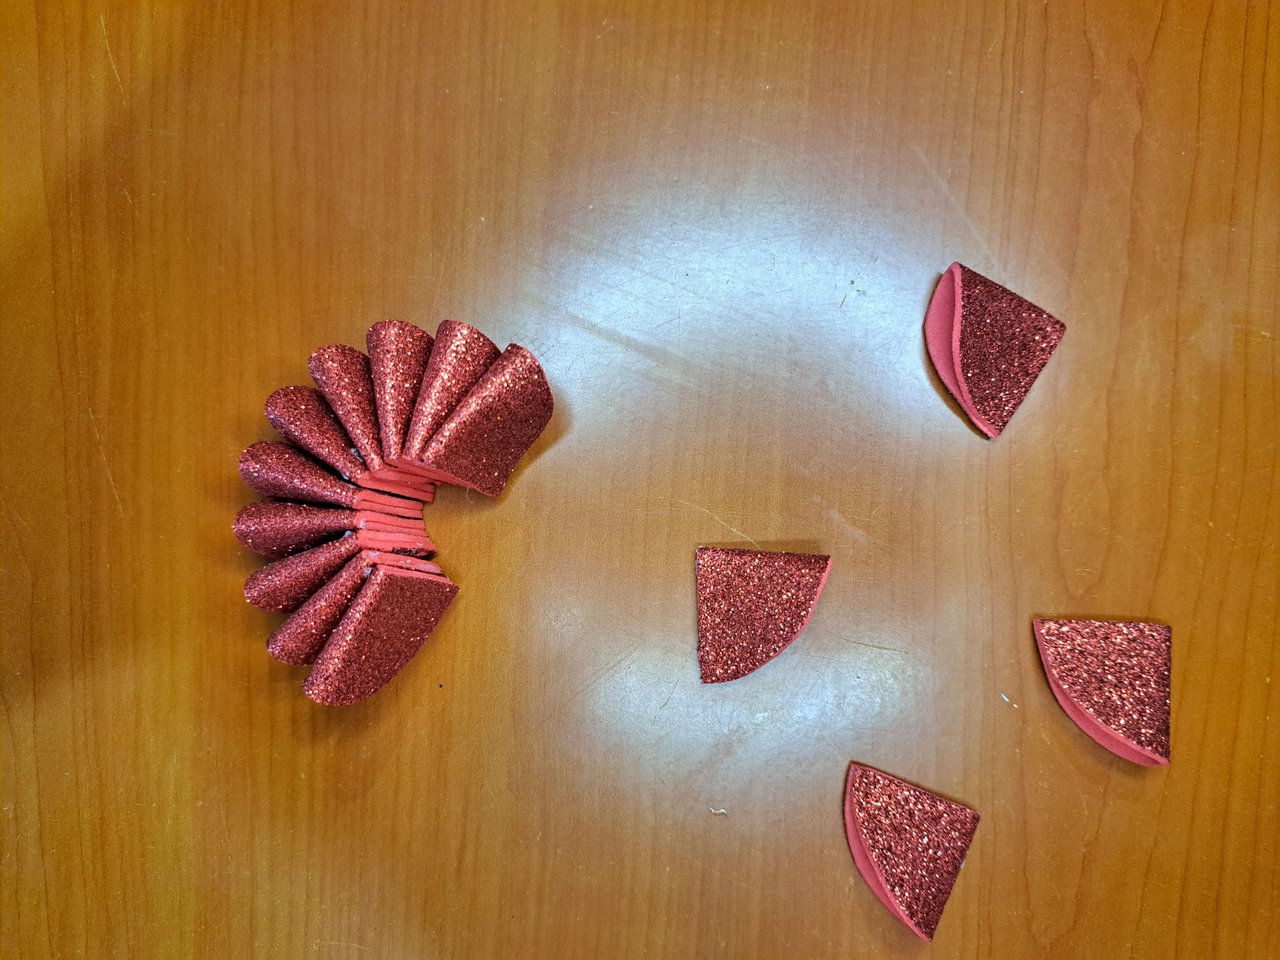
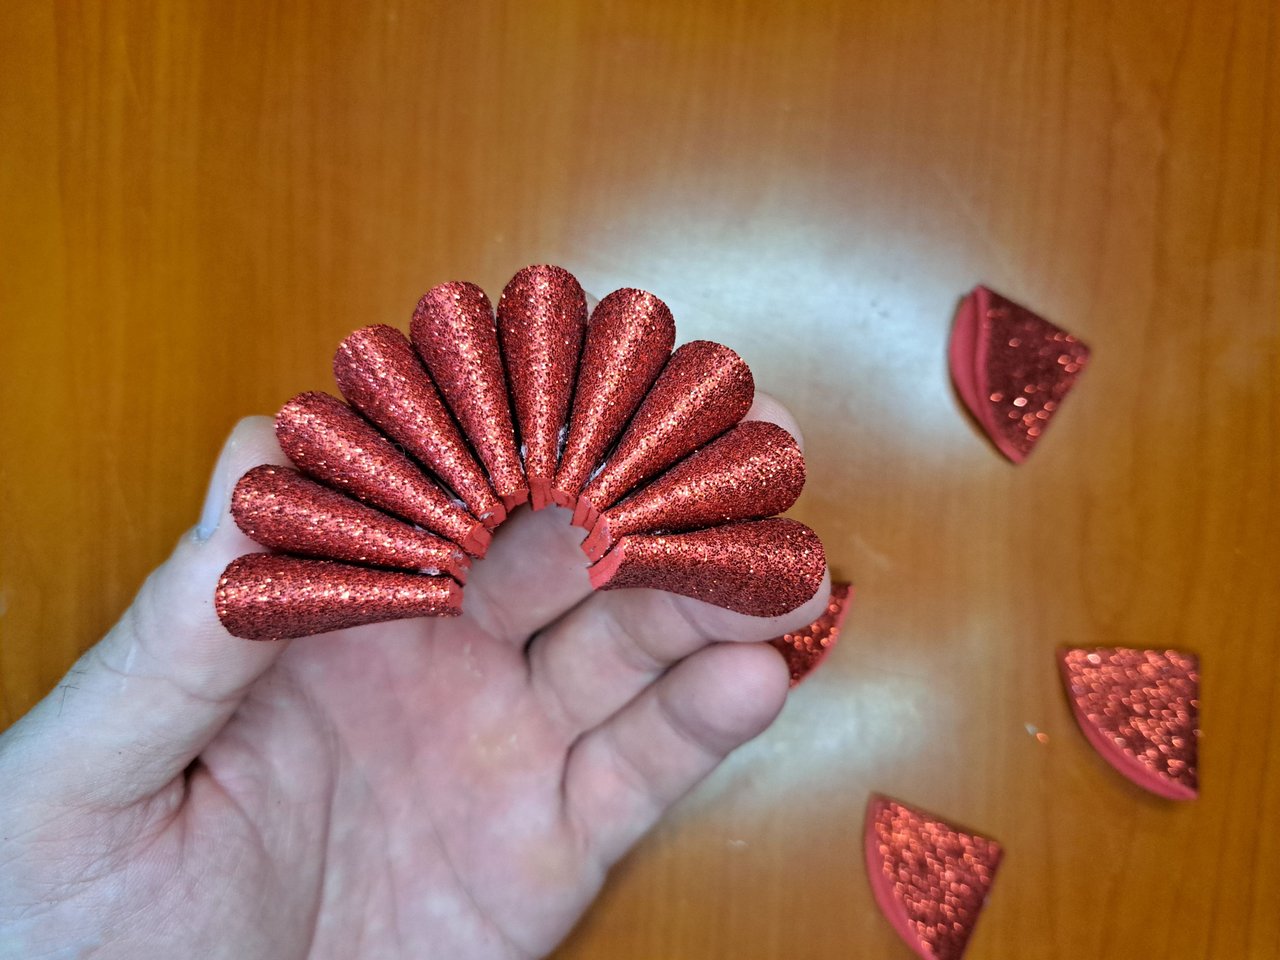
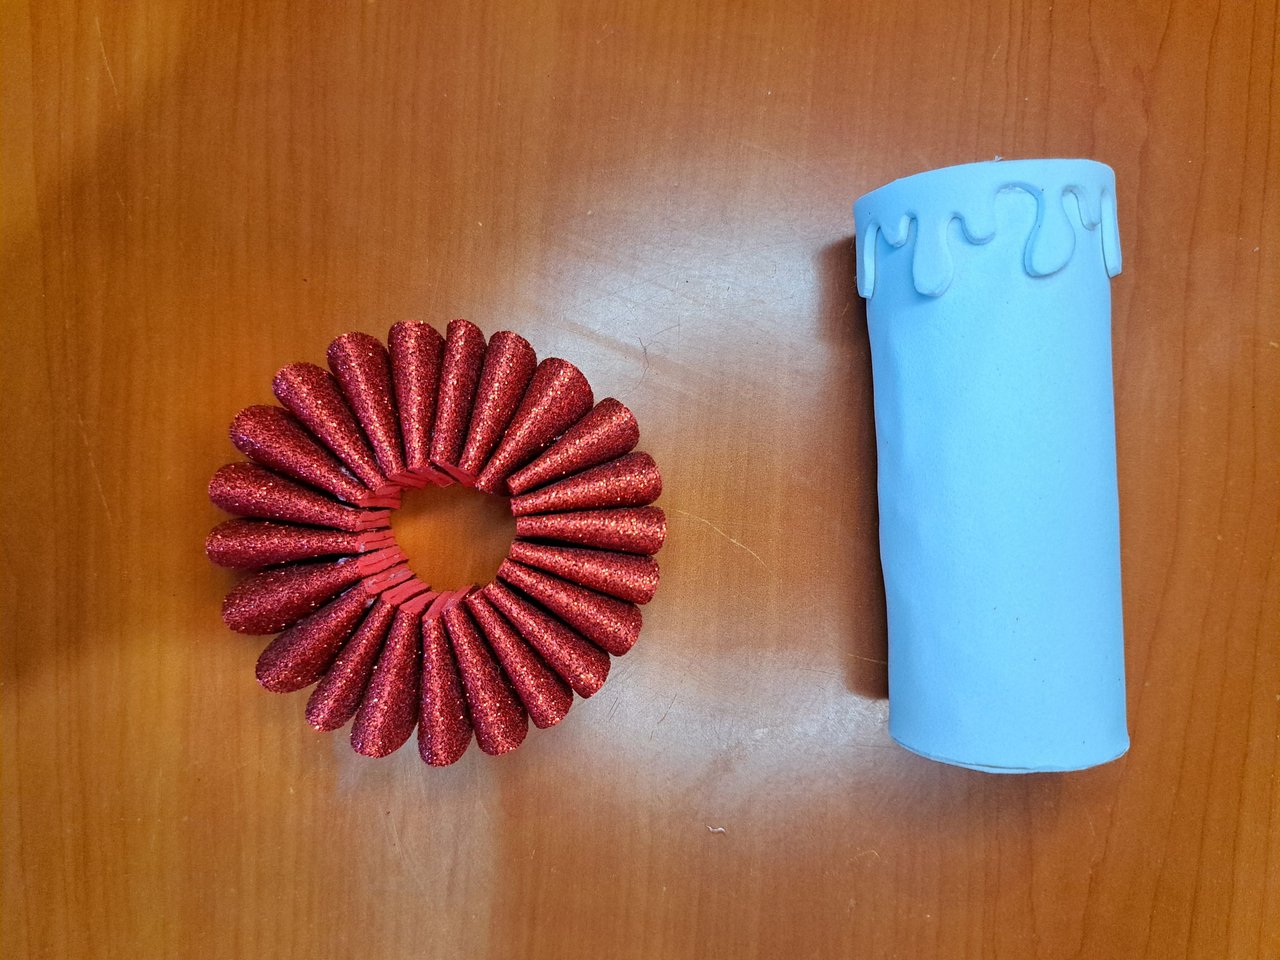
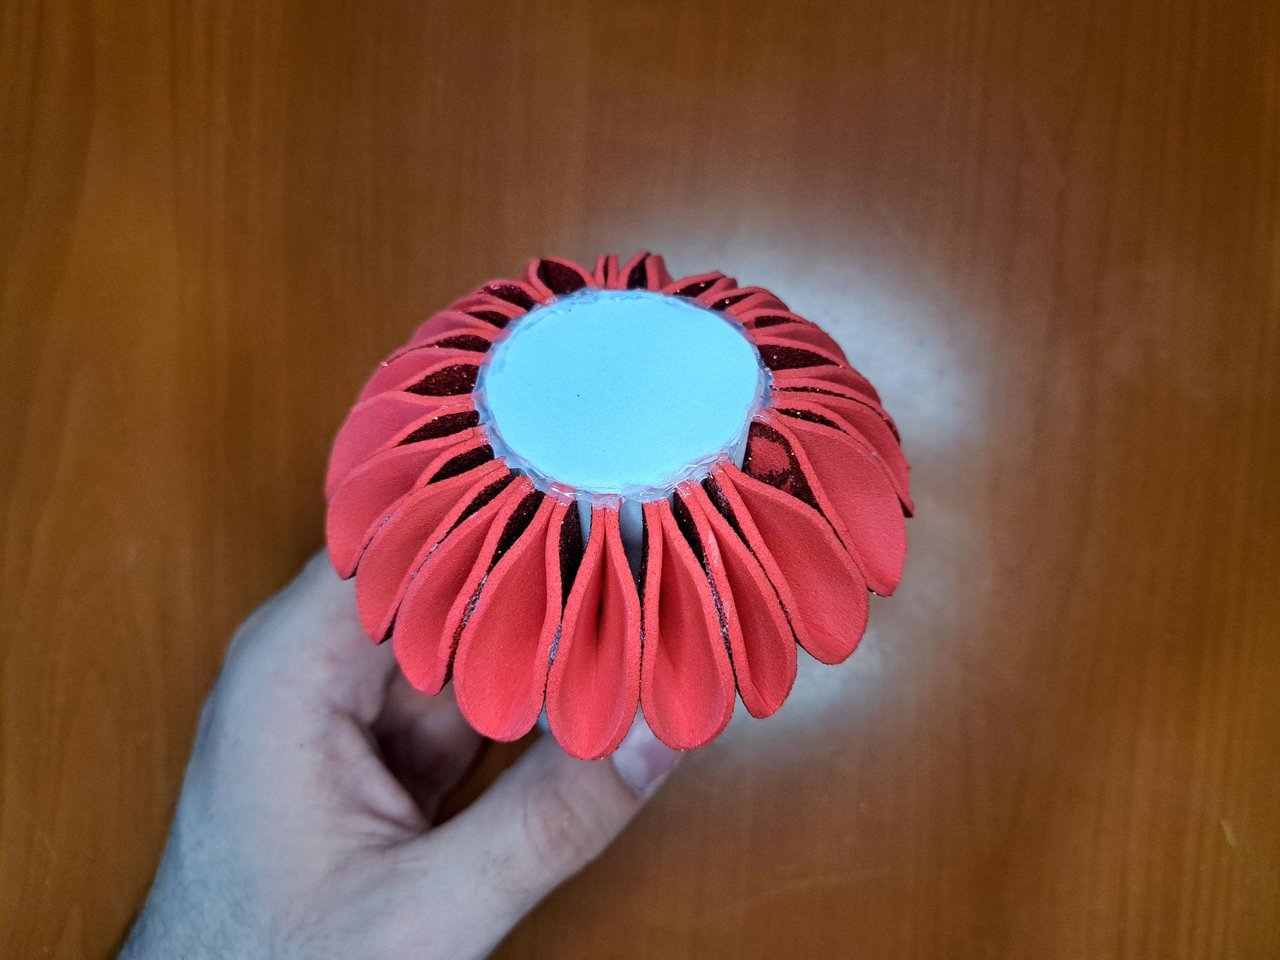
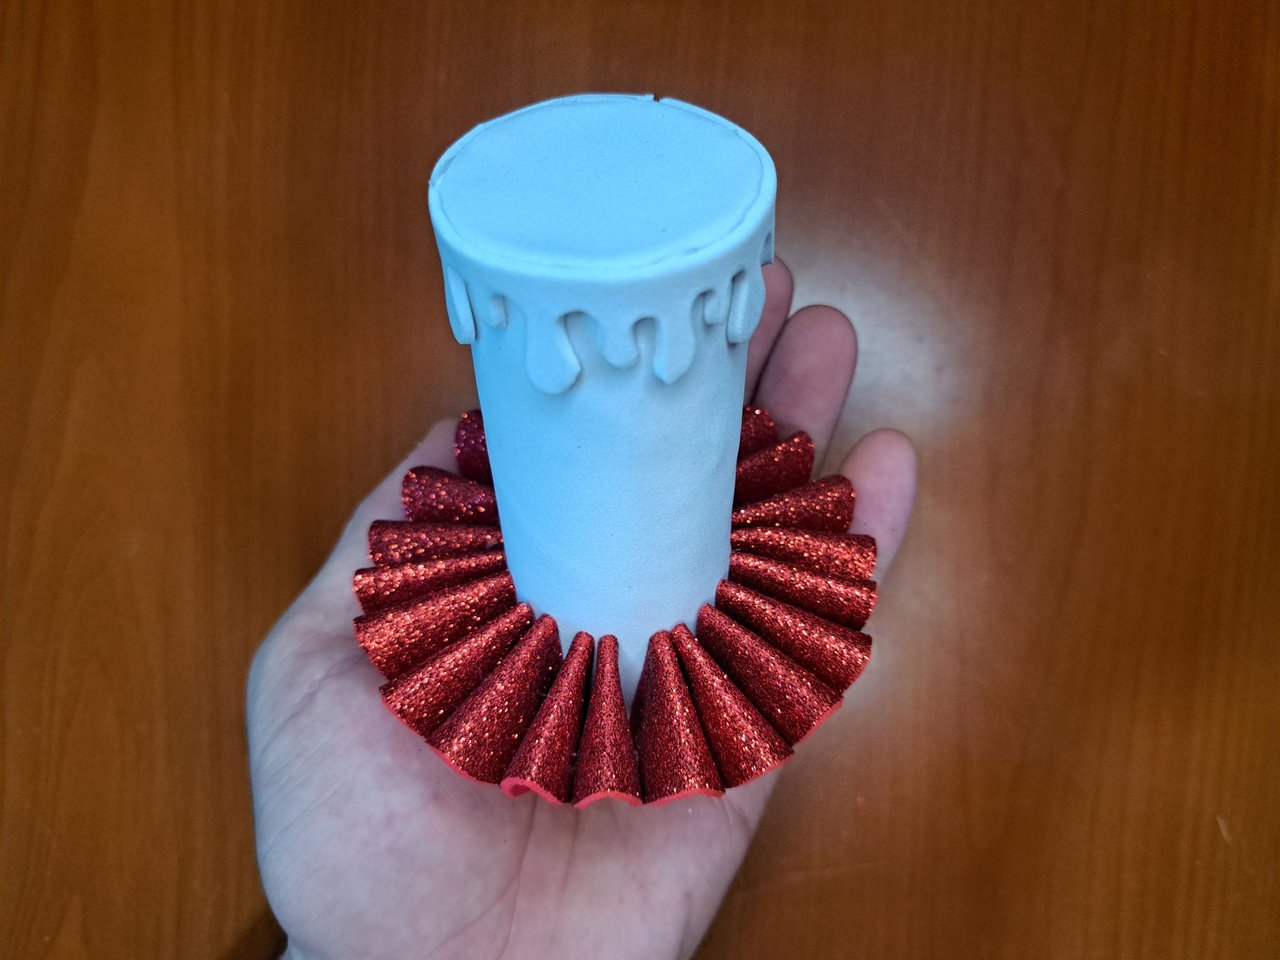
4️⃣ Then I glued each triangle side by side on the outside and with the edge facing up. Once all the triangles were glued, I closed the circumference and inserted the body of the candle inside and then glued it in place.
A continuación fui pegando cada triángulo uno al lado de otro por la parte exterior y con el borde hacia arriba. Una vez pegados todos los triángulos, cerré la circunferencia e introduje el cuerpo de la vela en su interior para posteriormente pegarla en su lugar.
 |
 |
 |
 |
 |
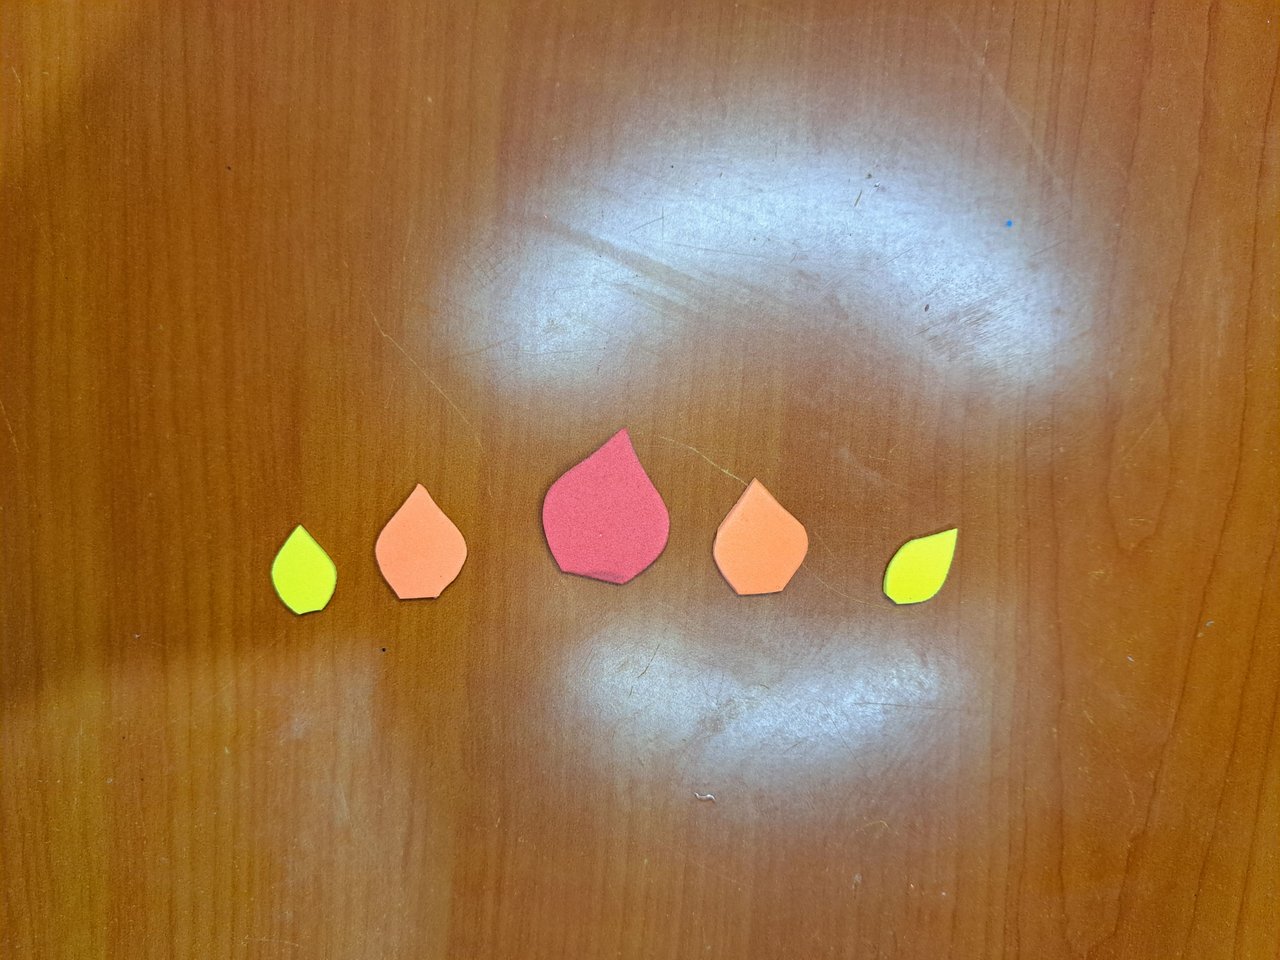
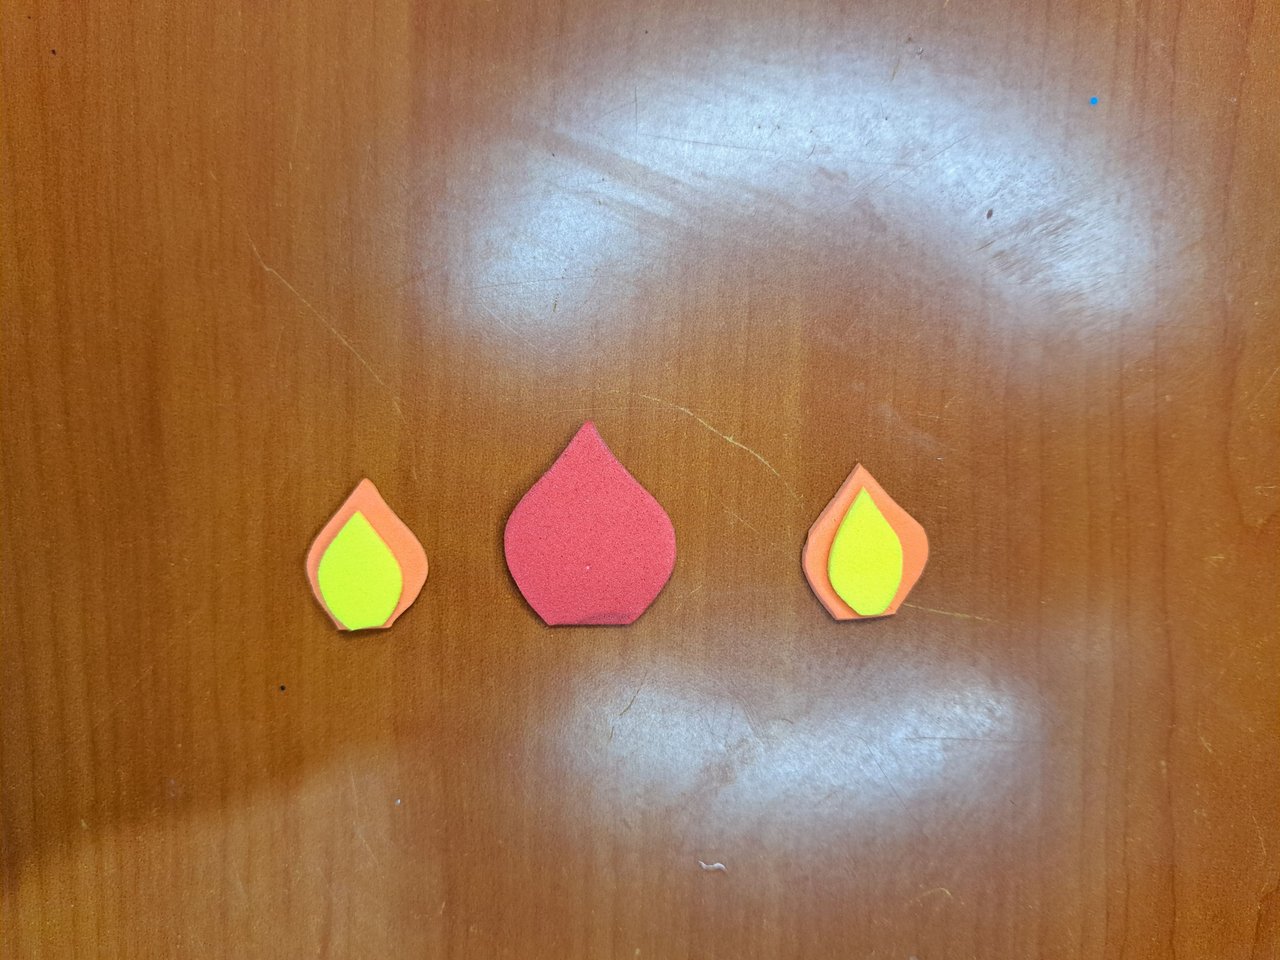
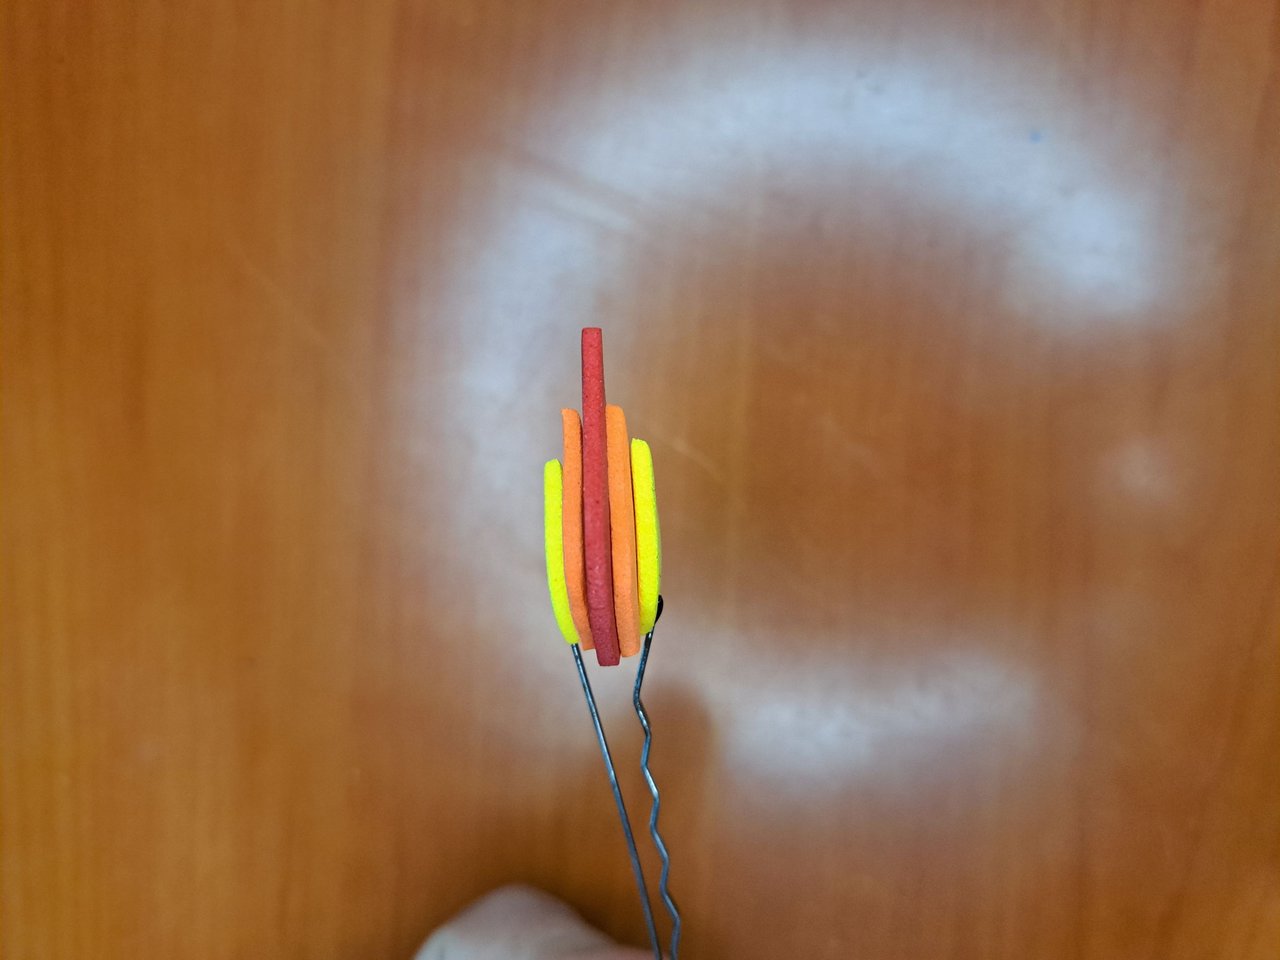
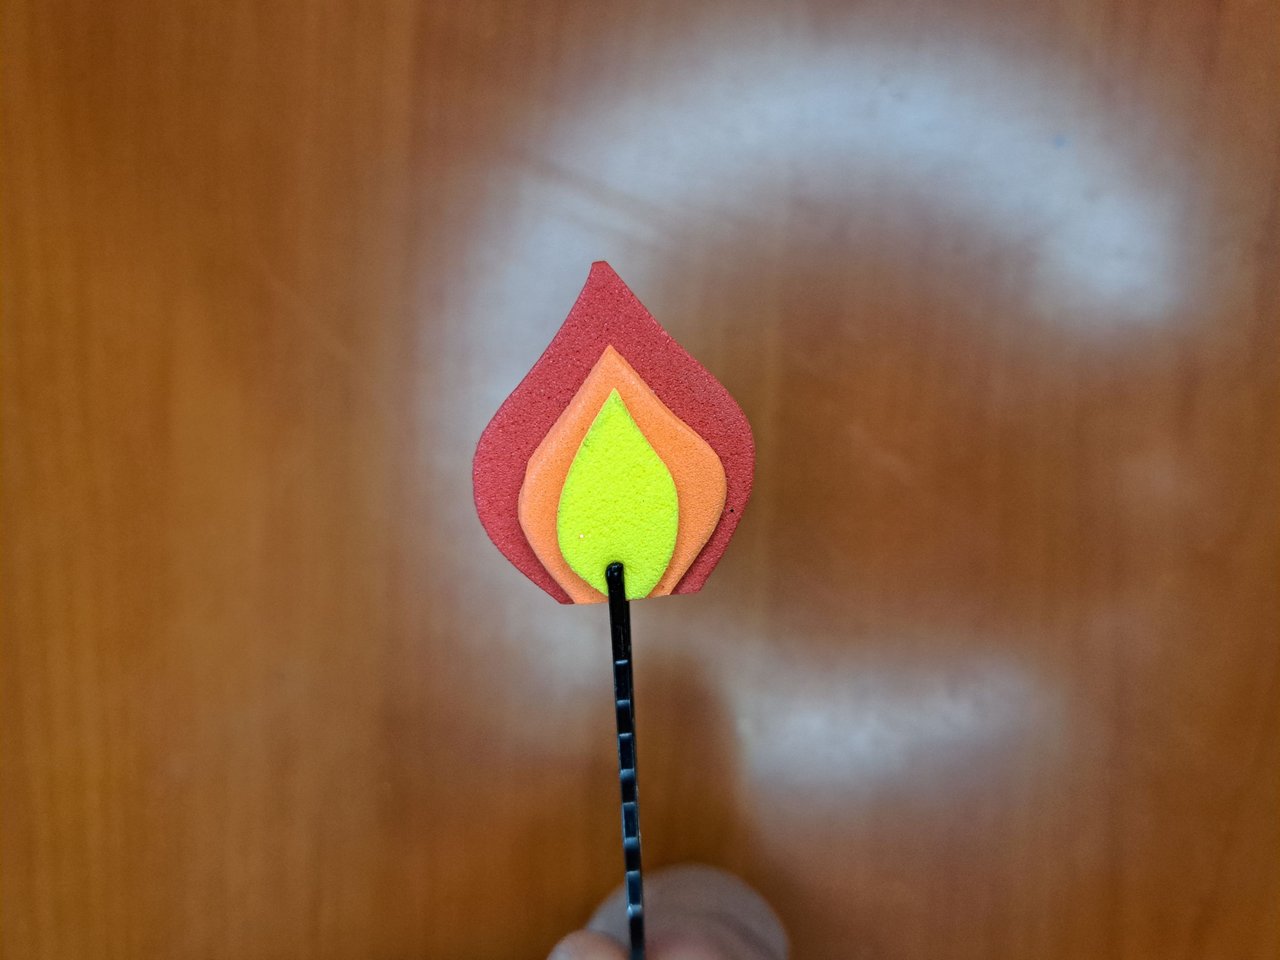
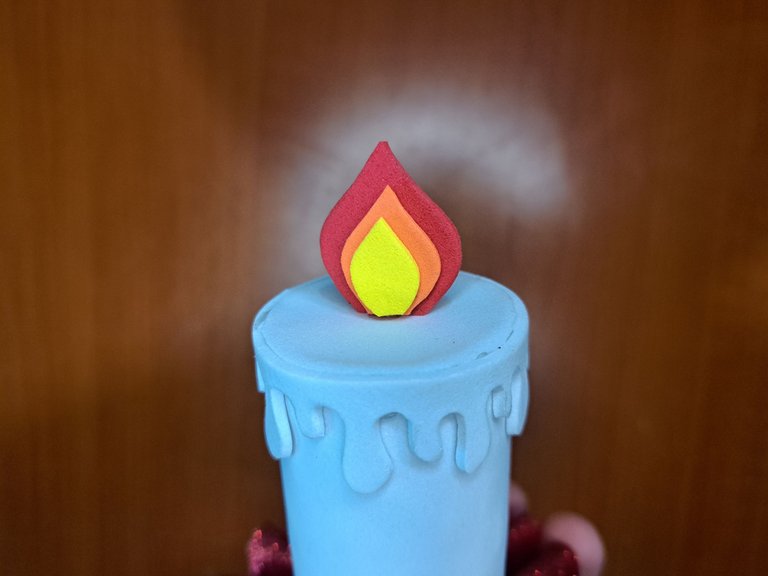
5️⃣ On the plain red, orange and yellow fomi sheets I drew the silhouette of some flames, but in different sizes. In total there were one red, two orange and two yellow flames. I glued the flames together from smallest to largest, obtaining a fire appearance visible both from the front and the back. Next, I glued the flame to the top of the candle.
En las láminas de fomi liso, rojo, naranja y amarillo dibujé la silueta de unas llamas, pero en distintos tamaños. En total fueron una llama roja, dos naranjas y dos amarillas. Fui pegando las llamas entre sí de menor a mayor, obteniendo un aspecto de fuego visible tanto por delante como por detrás. Seguidamente, pegué la llama en la parte superior de la vela.
 |
 |
 |
 |
 |
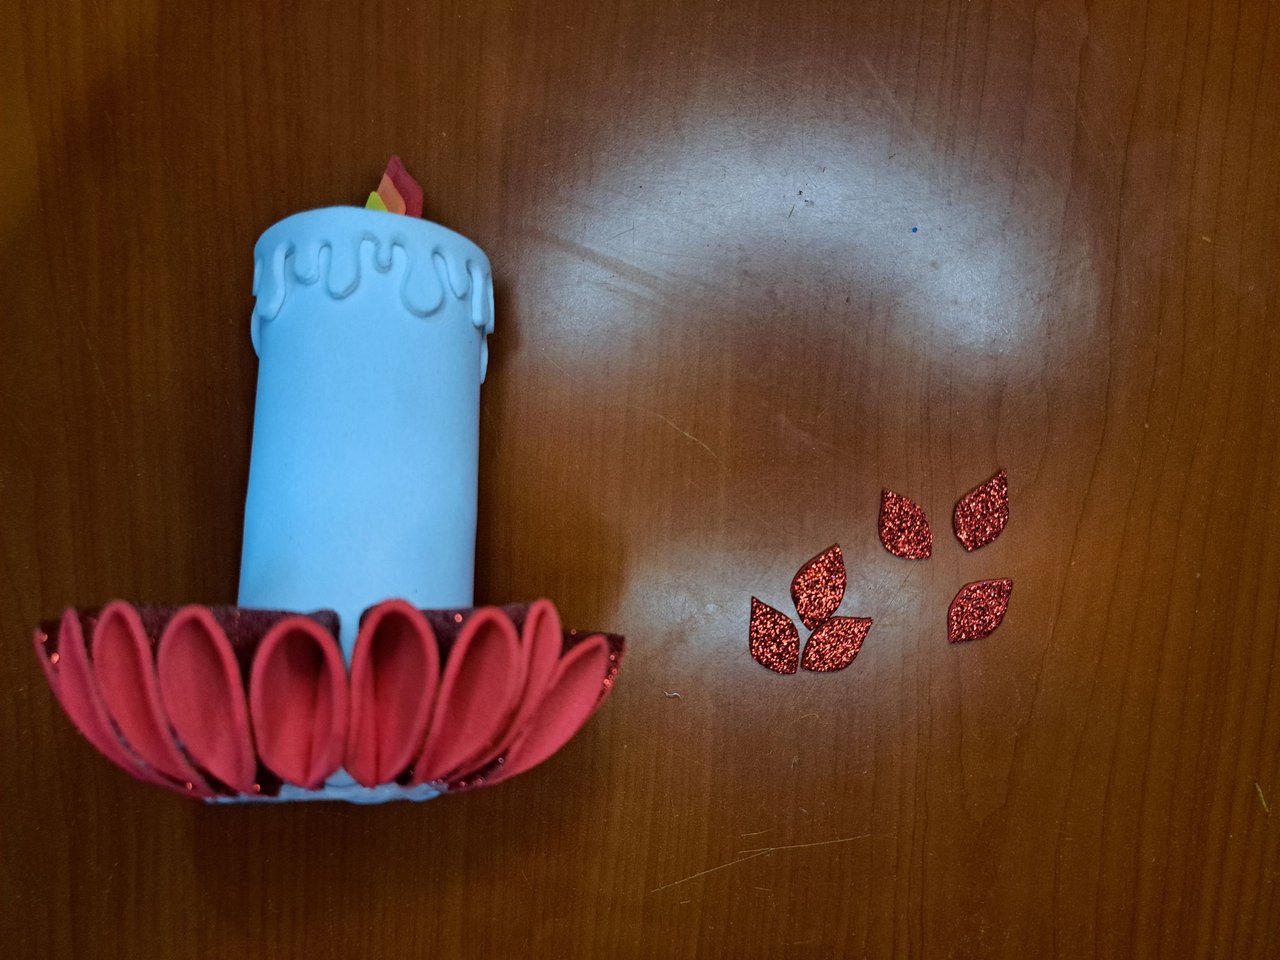
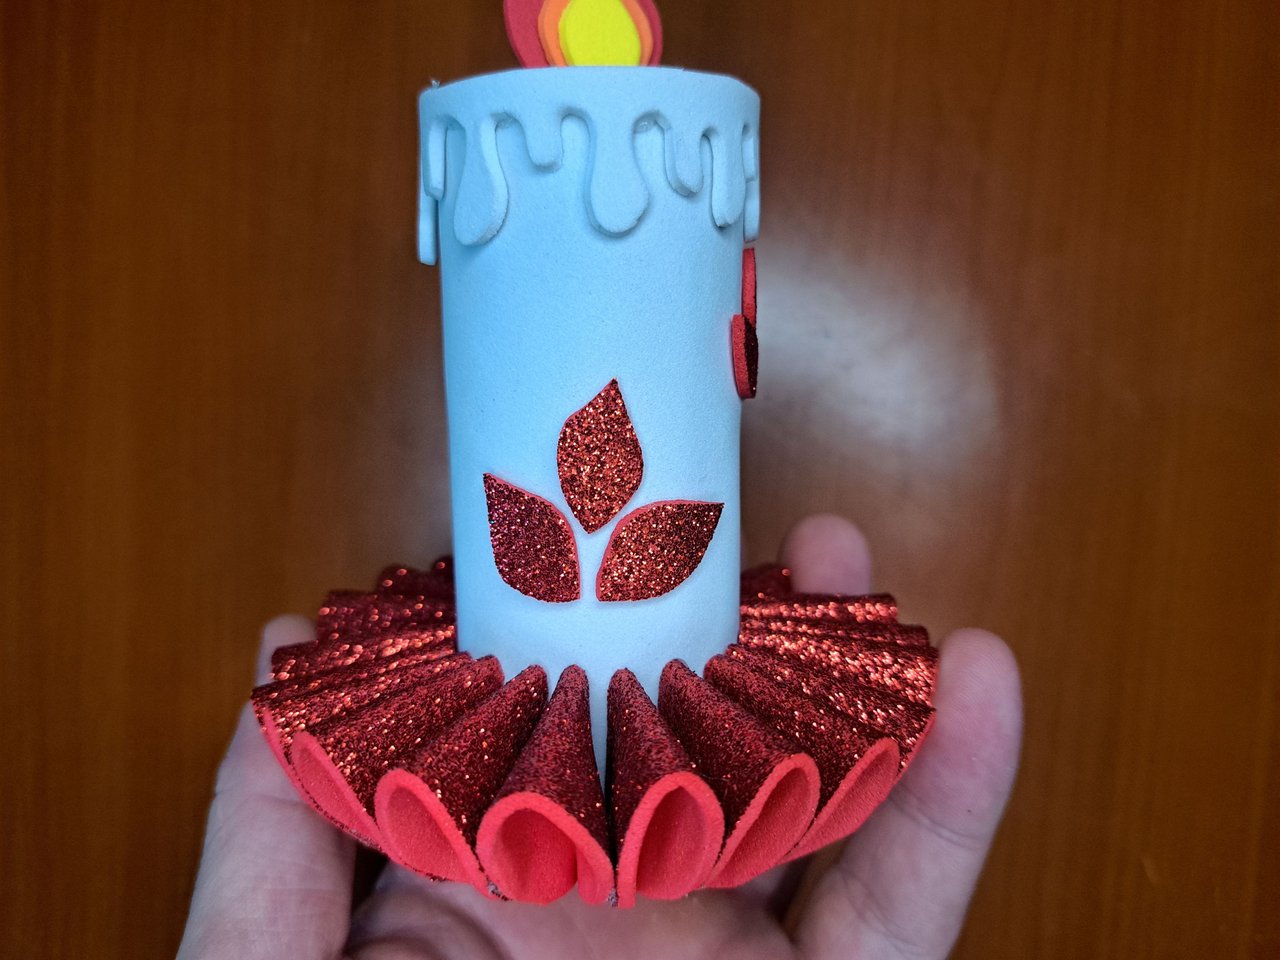
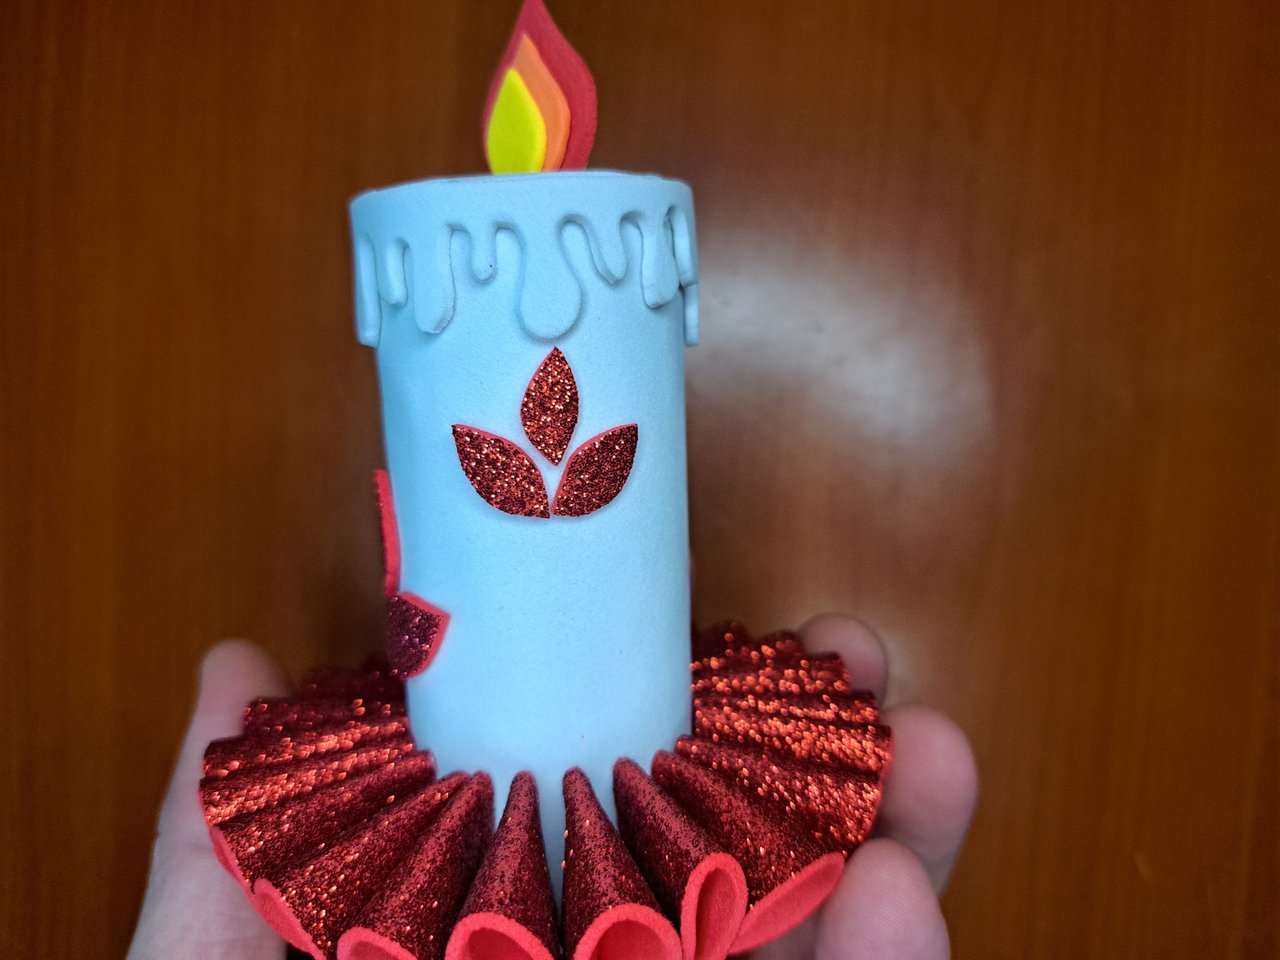
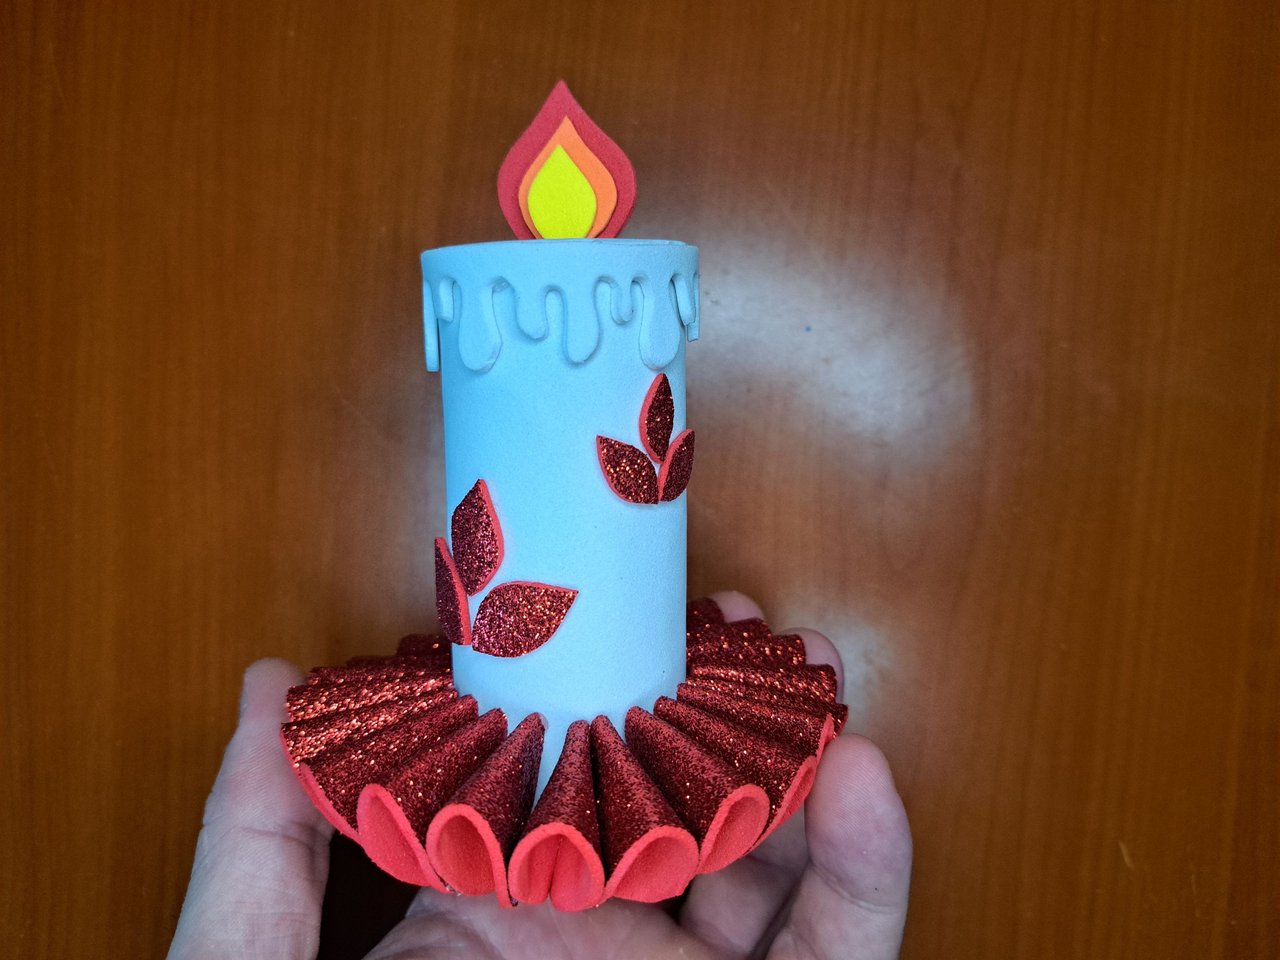
6️⃣ The structure of the candle was ready, so I moved on to the decorations. I used the rest of the red frosted fomi to cut out some small pieces in the shape of a leaf and glued them 3 by 3 around the whole body of the candle.
Ya la estructura de la vela estaba lista, así que pasé a las decoraciones. Utilicé el resto de fomi escarchado rojo para recortar unas piezas pequeñas con la forma de una hoja y las pegué de 3 en 3 alrededor de todo el cuerpo de la vela.
 |
 |
 |
 |
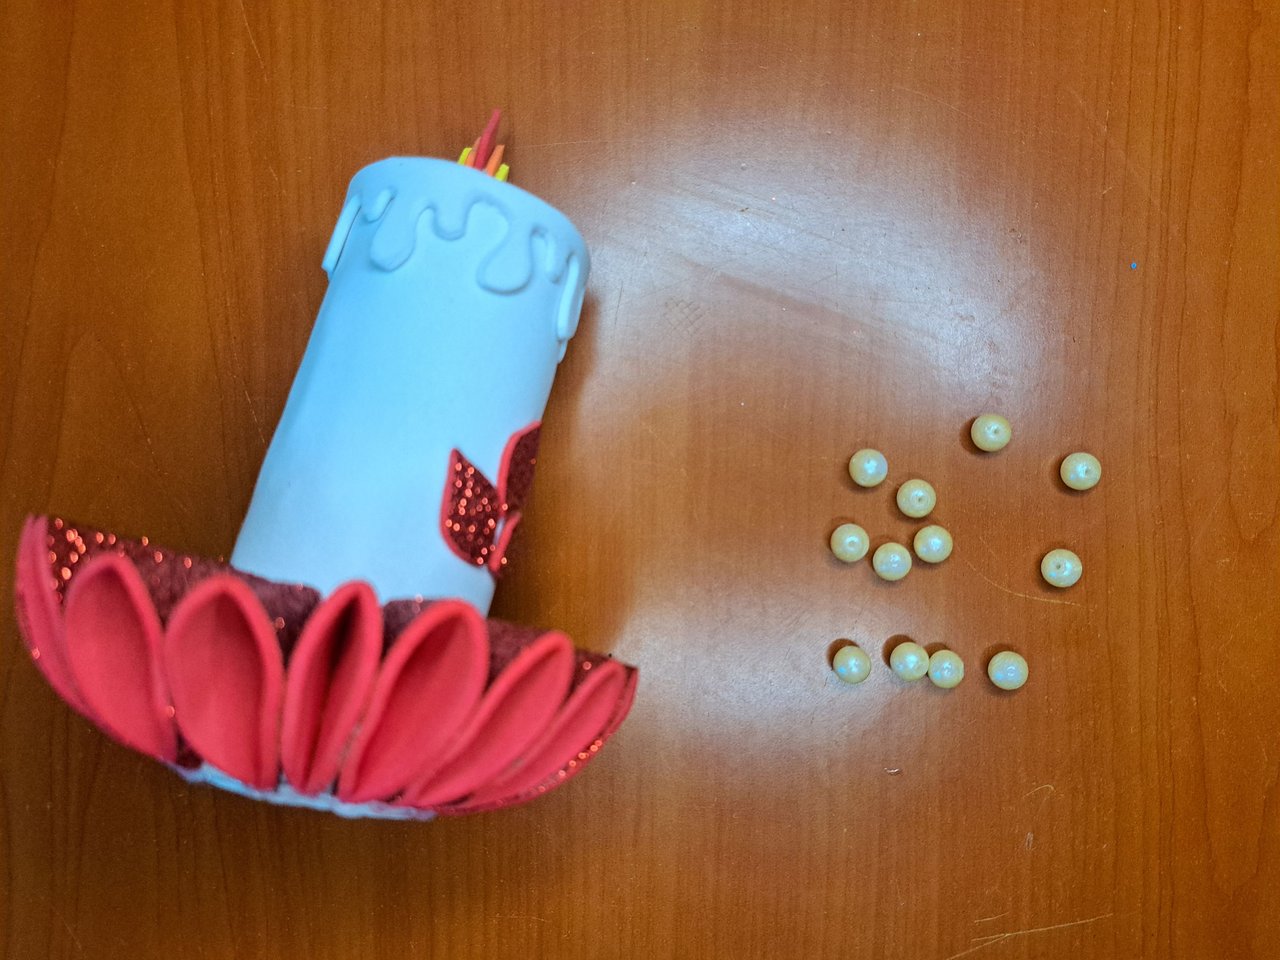
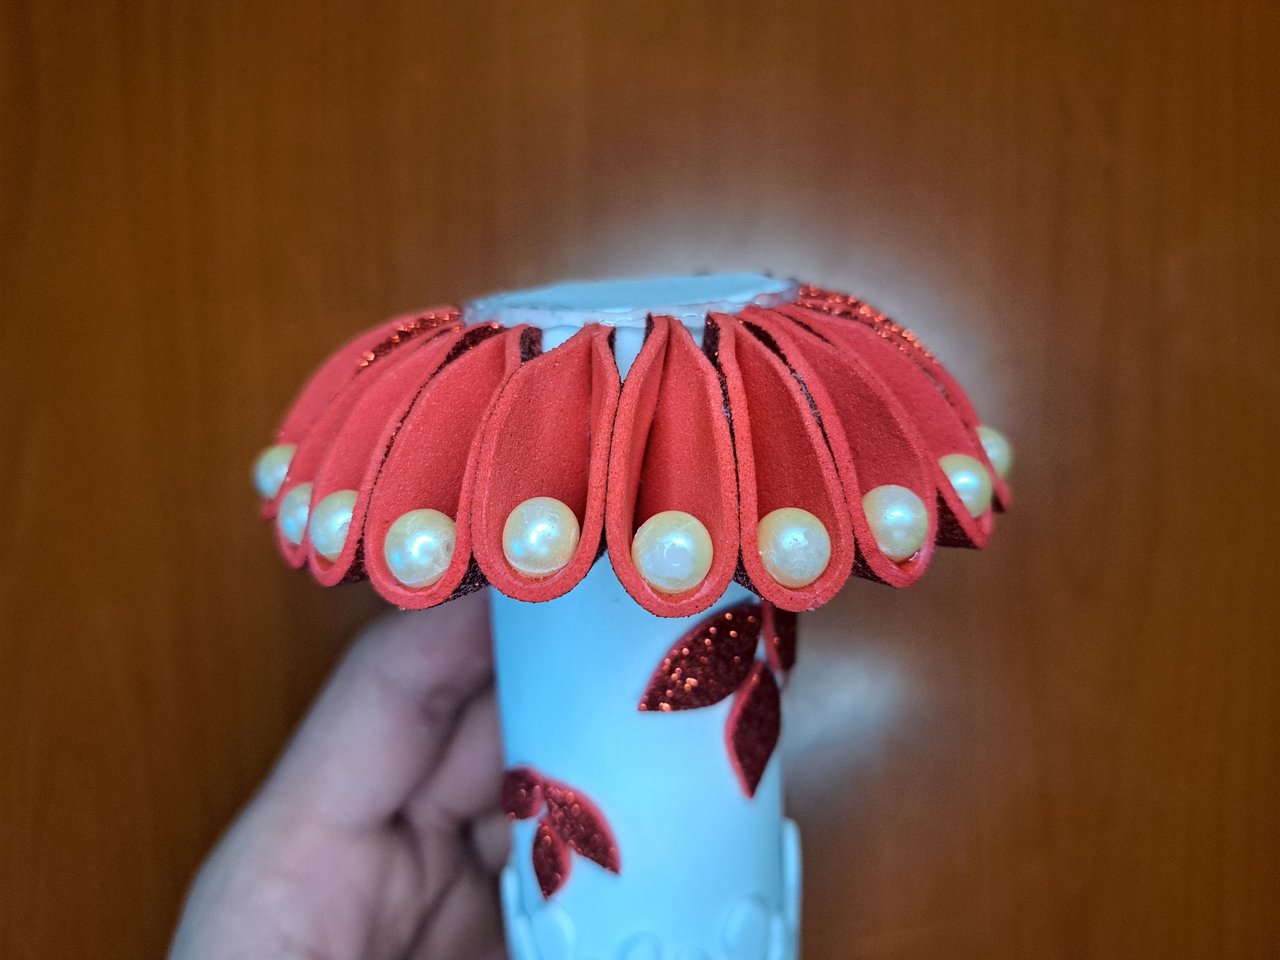
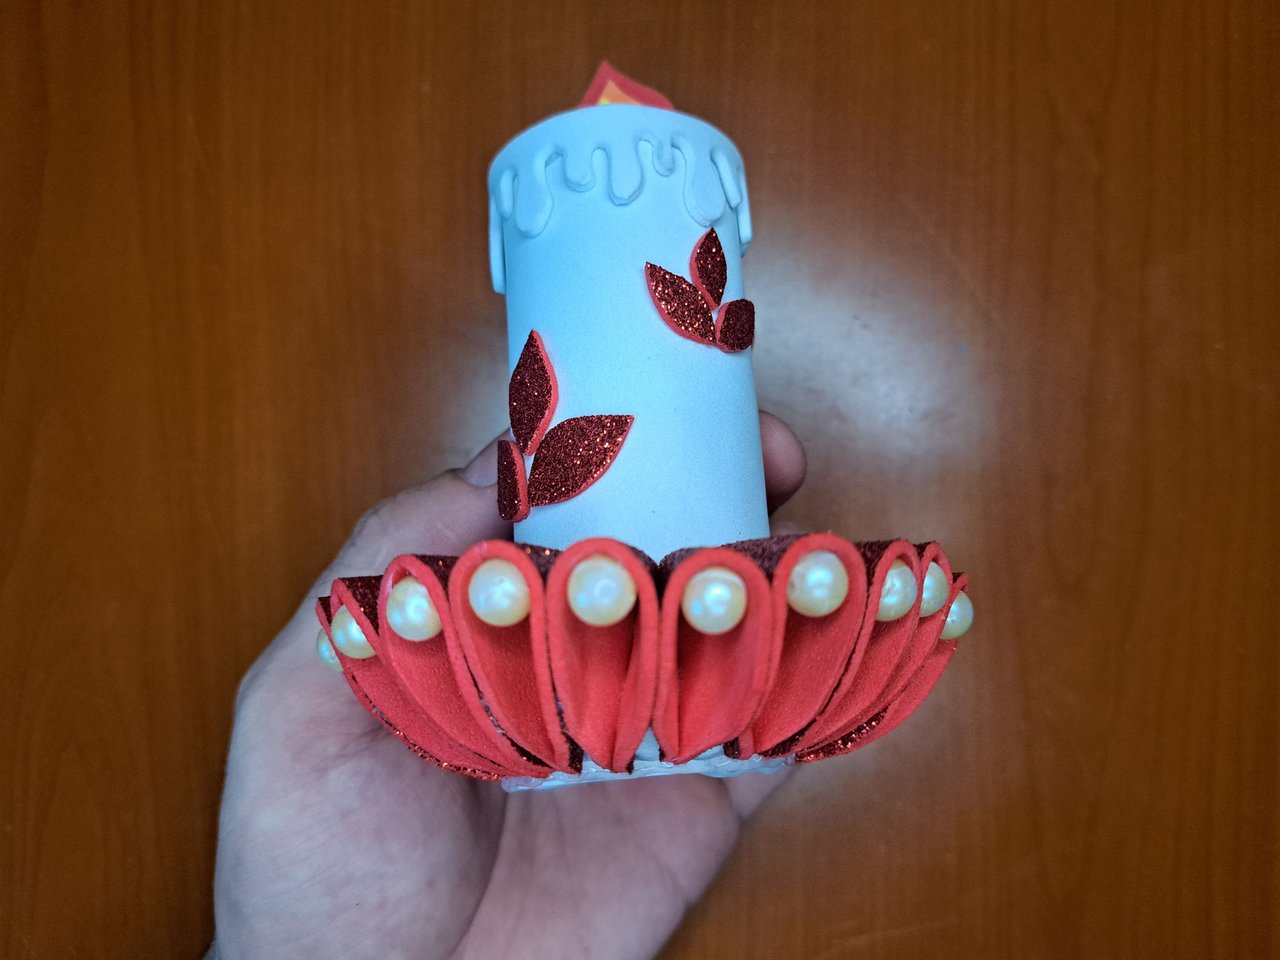
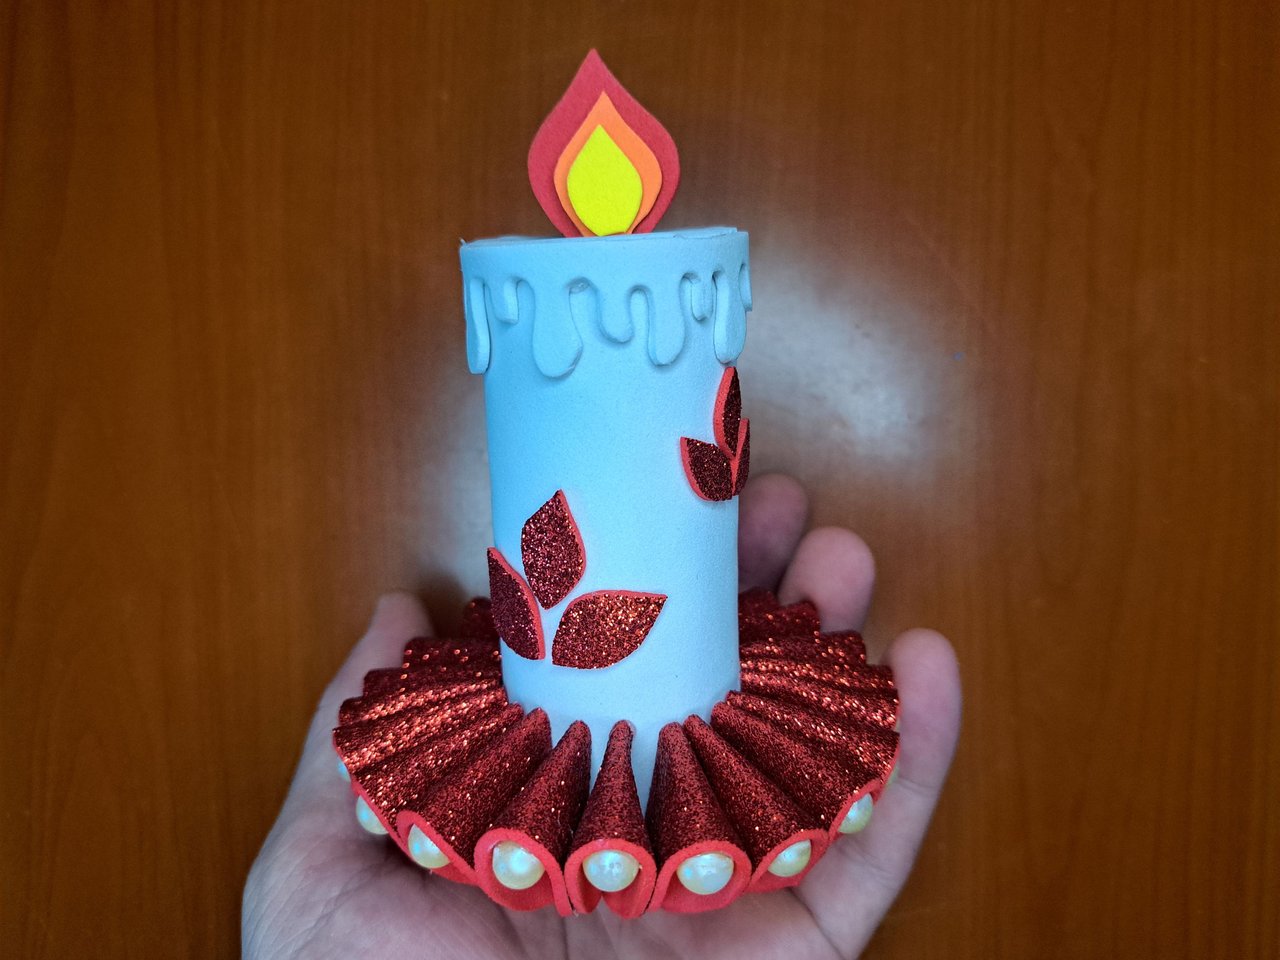
7️⃣ On the inside of the frosted red border I glued a pearl inside each of the ripples on the base. Fun fact, my wife says, it looks like the candle is wearing a ballet tutu.
En la parte interior del borde rojo escarchado pegué una perla dentro de cada una de las ondulaciones de la base. Dato curioso, dice mi esposa, que parece que la vela tiene puesto un tutú de ballet.
 |
 |
 |
 |
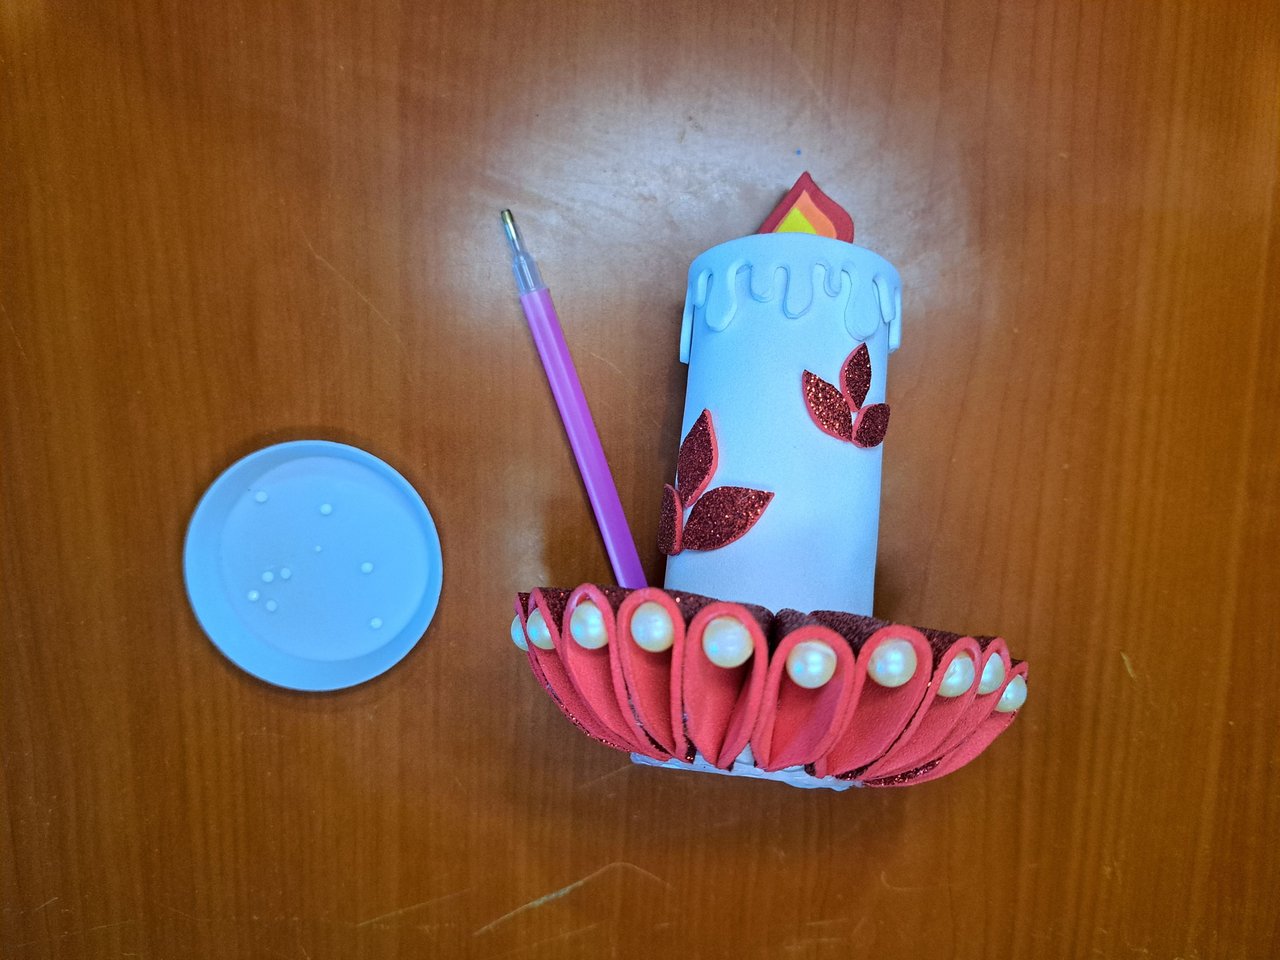
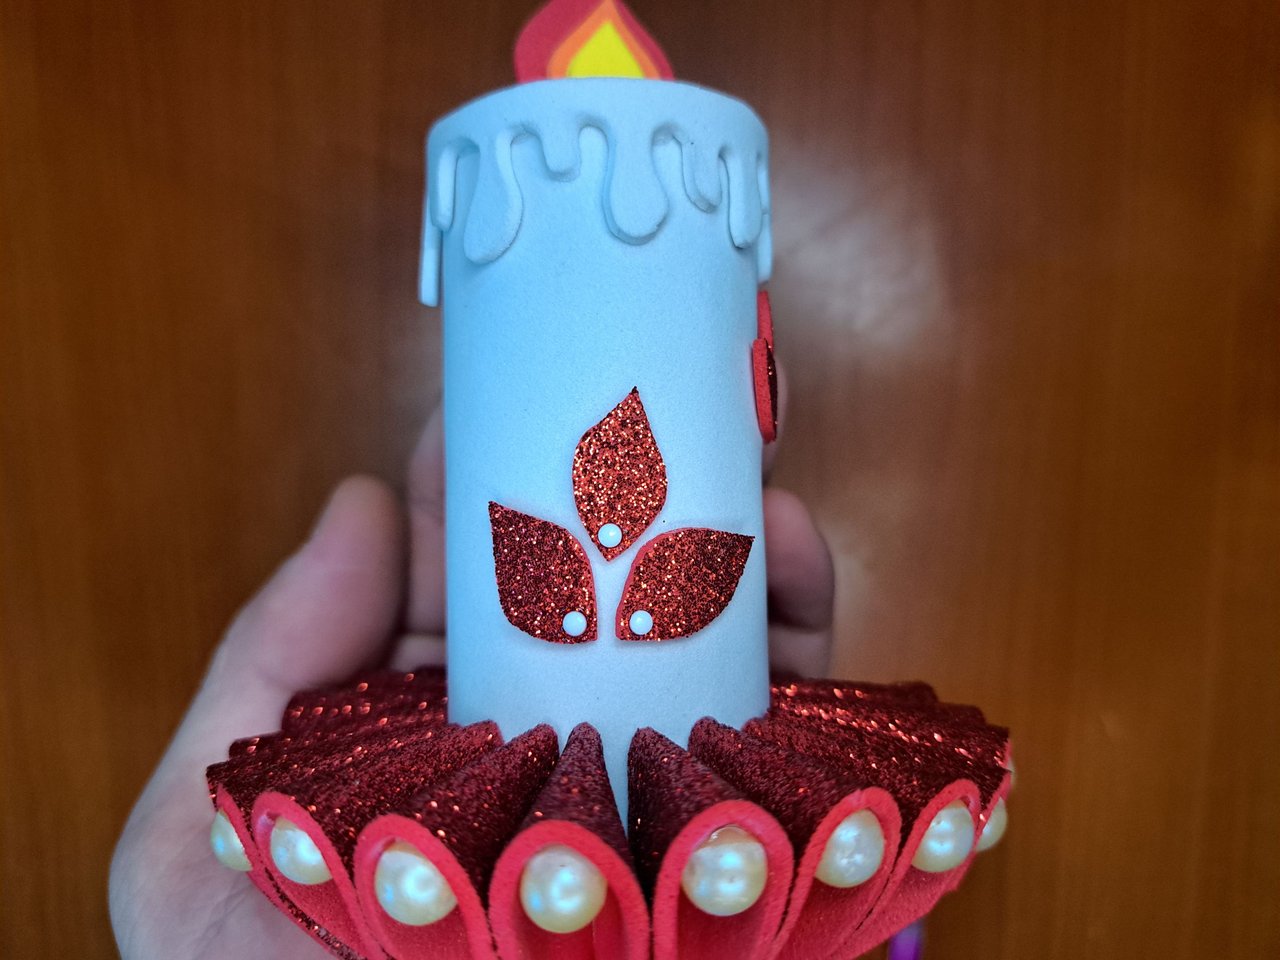
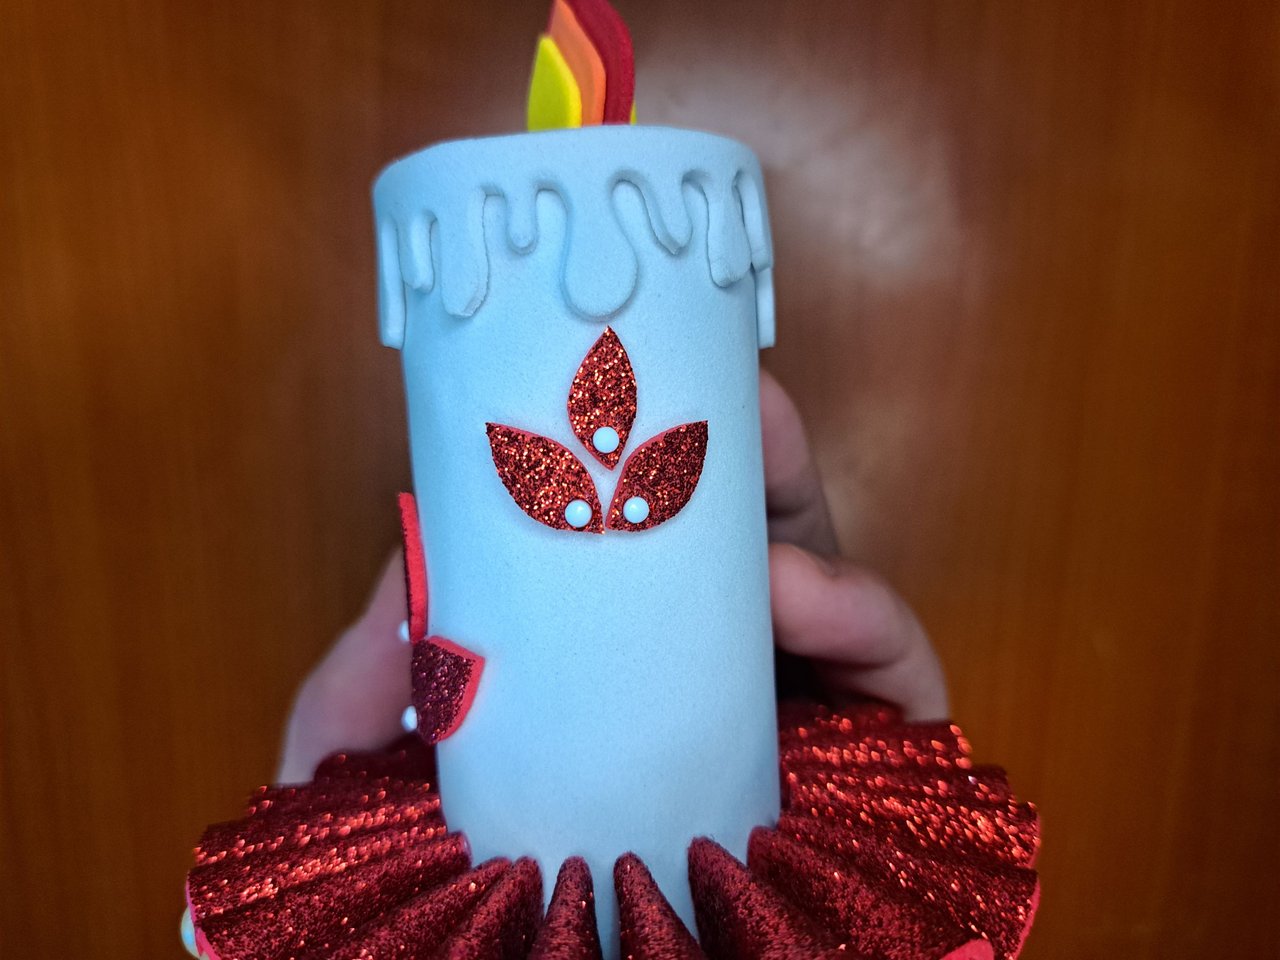
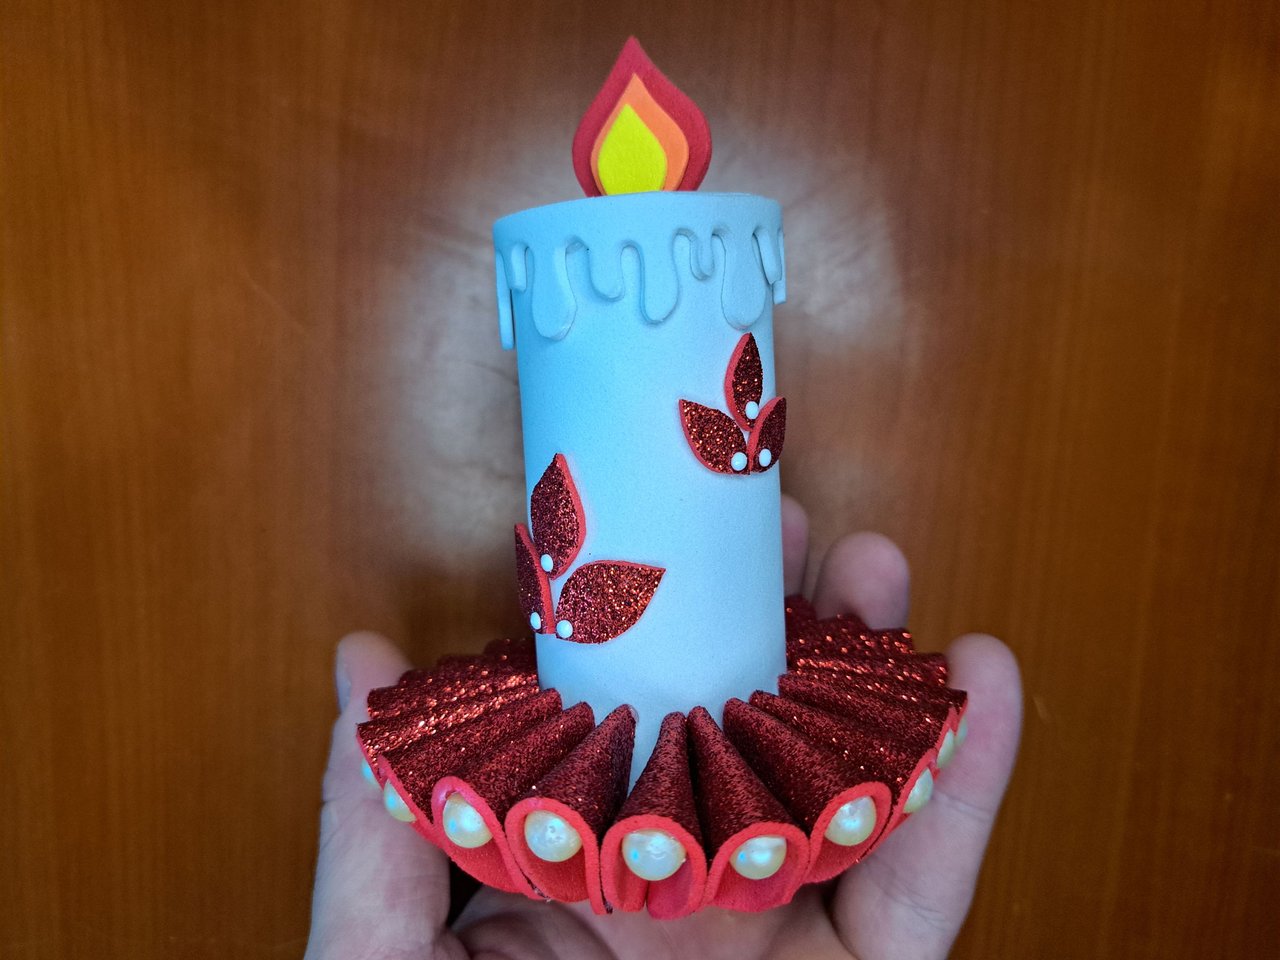
8️⃣ To finish and give it a more elegant touch, I decided to glue some white semi-pearls on the base of each of the figures that I had previously glued on the body of the candle.
Para finalizar y darle un toque un poco más elegante, decidí pegarle unas semi-perlas blancas en la base de cada una de las figuras que había pegado anteriormente en el cuerpo de la vela.
 |
 |
 |
 |
Finished Work // Trabajo Terminado
This way the Christmas candle would be ready. I wanted to make the step by step tutorial a little different than usual and tell the procedure in the form of an anecdote. I don't know if this way it will be better understood, and if so, let me know in the comments. In the meantime, I bid you a happy and prosperous day. See you next time.
De esta forma estaría lista la vela navideña. He querido hacer el paso a paso del tutorial un poco distinto a lo habitual y narrar el procedimiento en forma de anécdota. No sé si así se entienda mejor, y de ser así, háganmelo saber en los comentarios. Por lo pronto, me despido deseándoles una feliz y próspera jornada. Hasta la próxima.
 |  |

Thank you very much for reading my post. If you liked it, please leave a comment and consider following me so you don't miss my next posts. I'd love to know your opinion and your thoughts about the topic I discussed in this post, see you in the next one!

Credits and Resources // Créditos y Recursos
Cover page created in Canva
Translated by DeepL
Images captured with my Samsung Galaxy A53


Cover page created in Canva
Translated by DeepL
Images captured with my Samsung Galaxy A53


Que linda manualidad, y con muy pocos materiales. Yo haría de diferentes tamaños para colocar en varias zonas de la casa..
Una muy buena opción. También se pueden hacer varias y unirlas antes de colocarles el borde de fomi escarchado.
Awesome Edey! It's really nice to see your work. You put a lot of emphasis on details, and that makes you stand out with your little works of art. Thanks for choosing DIYHub to share it...
Thank you for your beautiful comment. It is a pleasure for me to have a creative space where I can show my handicrafts.
Quedo muy lindo este diseño amigo lo mejor }es que puedes unir la temporada de diciembre con el concurso muy inteligente y super util. Saludos y mucha suerte
Me encanta esta decoración en forma de vela, te quedó muy elegante, especial para las decoraciones navideñas, te felicito y te deseo mucha suerte en el concurso 🔥🥰
Muy bella quedó 😍, la simulación de la cera derritiéndose se ve genial.
Son pequeños detalles que le aportan mucho a la elaboración. 🤗
Hermoso 🤐
Thanks 🤗
This is so creative.
Thanks for the support 🤗
You were born to bring light to our community! Wow, the quality of your work is very high, thank you very much for giving your best and sharing it on DIYHub, you are an example to follow as a content creator.
Thank you very much for all the support and for such beautiful words. It is a real pleasure for me to share my creations in the community.
Lovely
muy lindo y facil, saludos
Gracias, me alegra saber que te gustó.
You have so much clarity in your hands if I would start making something I never ended up making perfectly so dumb of me
Btw this is best entry wish you best of luck for contest
Thank you for your good wishes and for such a nice comment.