Greetings friends of the community.
This time I will share with you a craft that arose from a repair I had to do a few days ago in my home. It turns out that I had to change one of the double electrical switches that control two lights in the house and, as this switch is located in a focal point of the room, I decided to give it a little colorful touch.
The decoration I bring you today is normally known as “suichera”, although it is clear to me that this is a combination of two words from different languages. So I'll just refer to it as a decoration for a power switch. But hey, the important thing is that it is made entirely out of fomi and no complex techniques are used, which makes it very easy to replicate. Of course, to do so you must follow the step by step tutorial below.
Saludos amigos de la comunidad.
En esta ocasión compartiré con ustedes una manualidad que surgió a partir de una reparación que tuve que hacer hace unos días en mi hogar. Resulta que tuve que cambiar uno de los interruptores eléctricos dobles que controlan dos luces de la casa y, como dicho interruptor está ubicado en un lugar focal de la sala, decidí darle un pequeño toque colorido.
La decoración que les traigo hoy se conoce normalmente como "suichera", aunque me queda claro que eso es una combinación de dos palabras de distintos idiomas. Así que me referiré a ella como decoración para interruptor de corriente. Pero bueno, lo importante es que está elaborada en su totalidad con fomi y no se emplean técnicas complejas, lo cual la hace muy fácil de replicar. Claro, para ello debes seguir paso a paso el tutorial que te dejo a continuación.
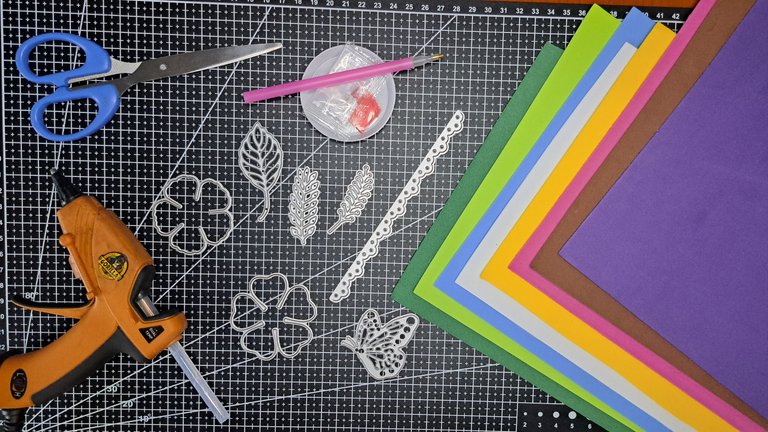
Materials // Materiales
| ✔️ Plain blue, green, white, yellow, orange, white and pink Fomi | ✔️ Fomi liso azul, verde, blanco, amarillo, naranja y rosa |
| ✔️ Purple frosted fomi | ✔️ Fomi escarchado violeta |
| ✔️ Flower and butterfly shaped metal dies | ✔️ Troqueles metálicos con forma de flor y mariposa |
| ✔️ Metal dies with leaf shape and embroidery | ✔️ Troqueles metálicos con forma de hoja y bordado |
| ✔️ White and tricolor pearl stockings | ✔️ Medias perlas blancas y tricolores |
| ✔️ Scissors | ✔️ Tijeras |
| ✔️ Hot silicone | ✔️ Silicona caliente |
Step by step // Paso a paso
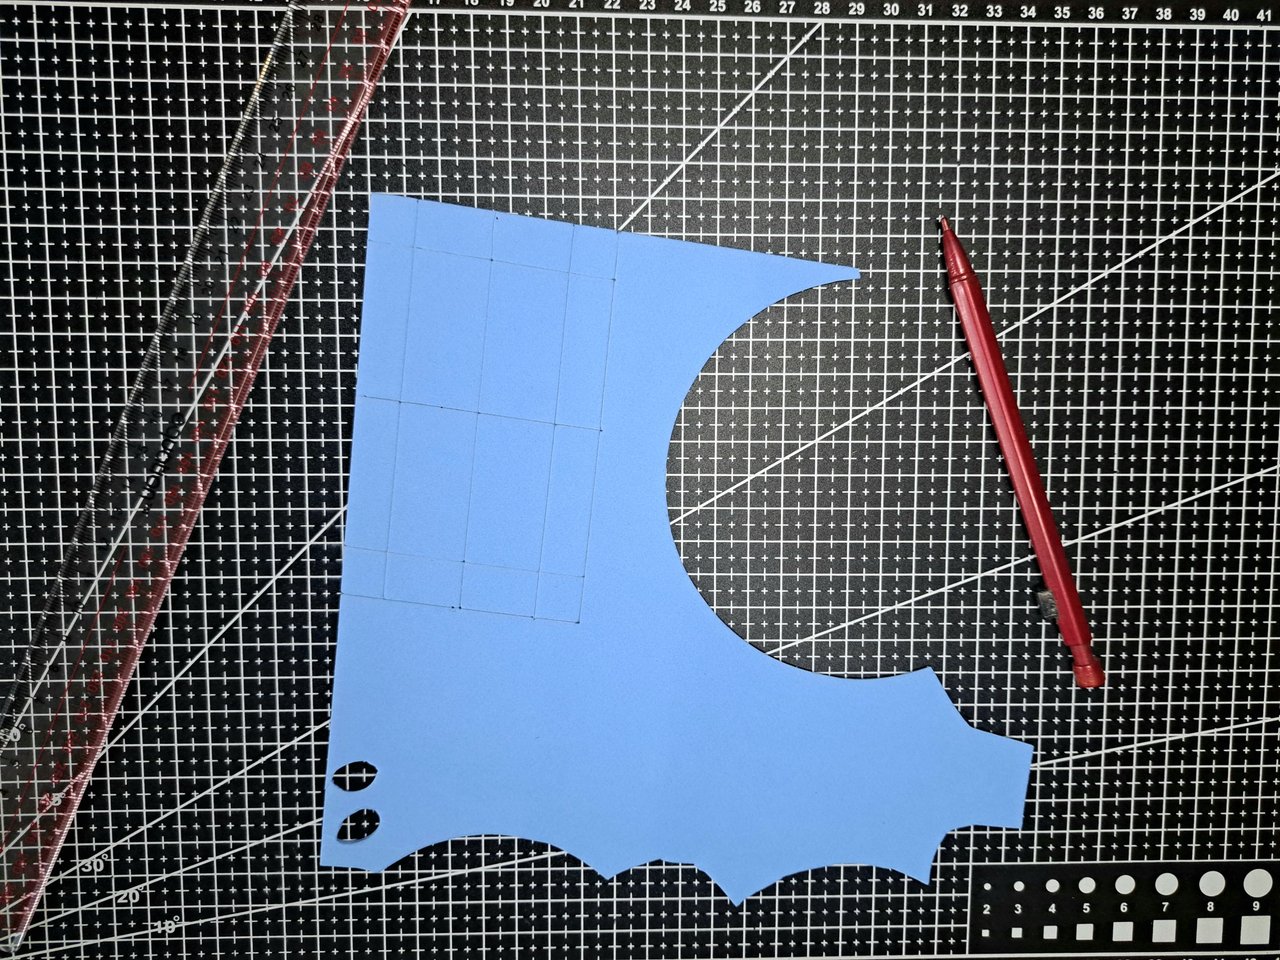
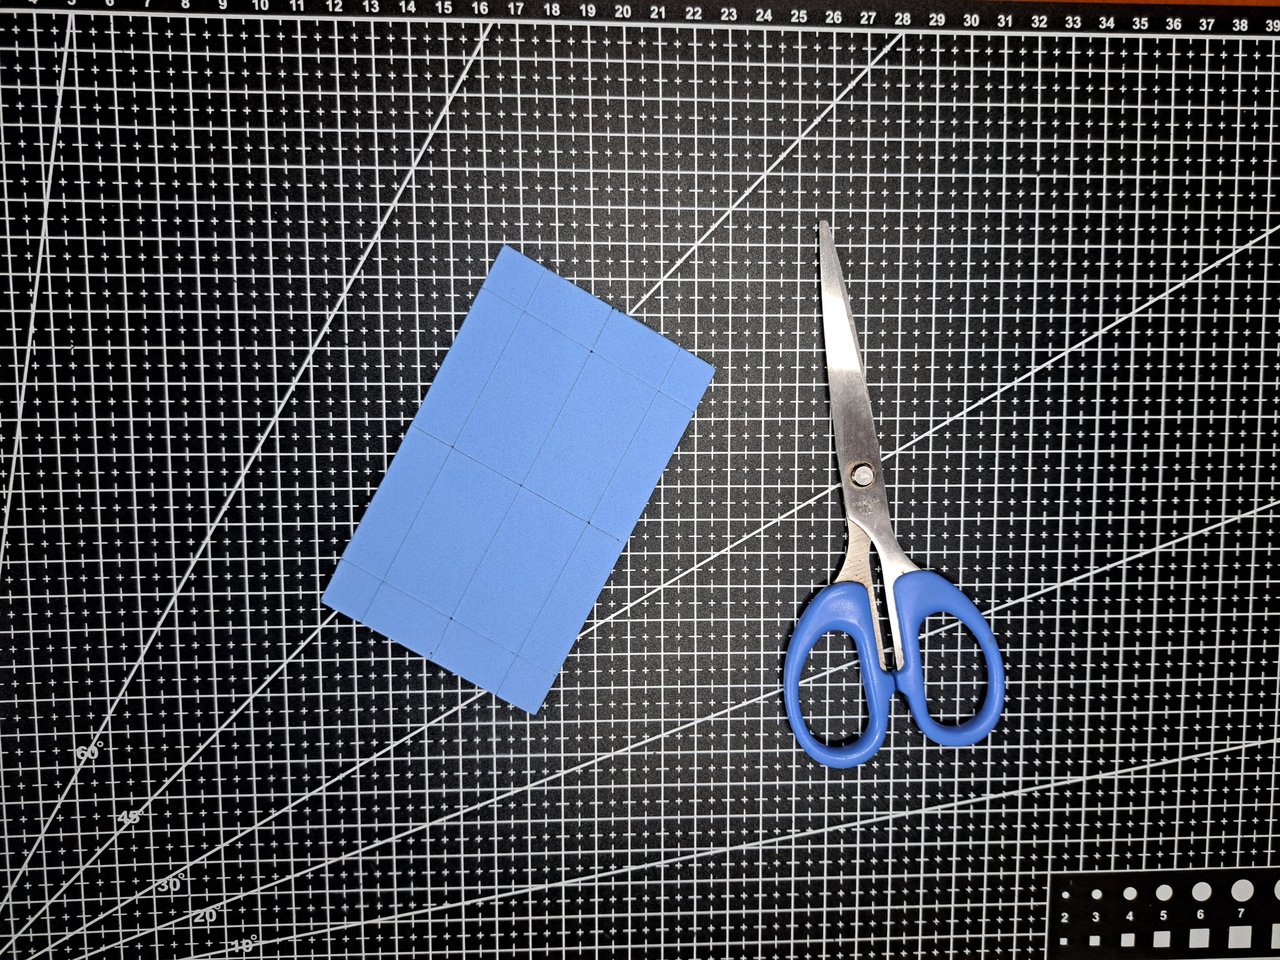
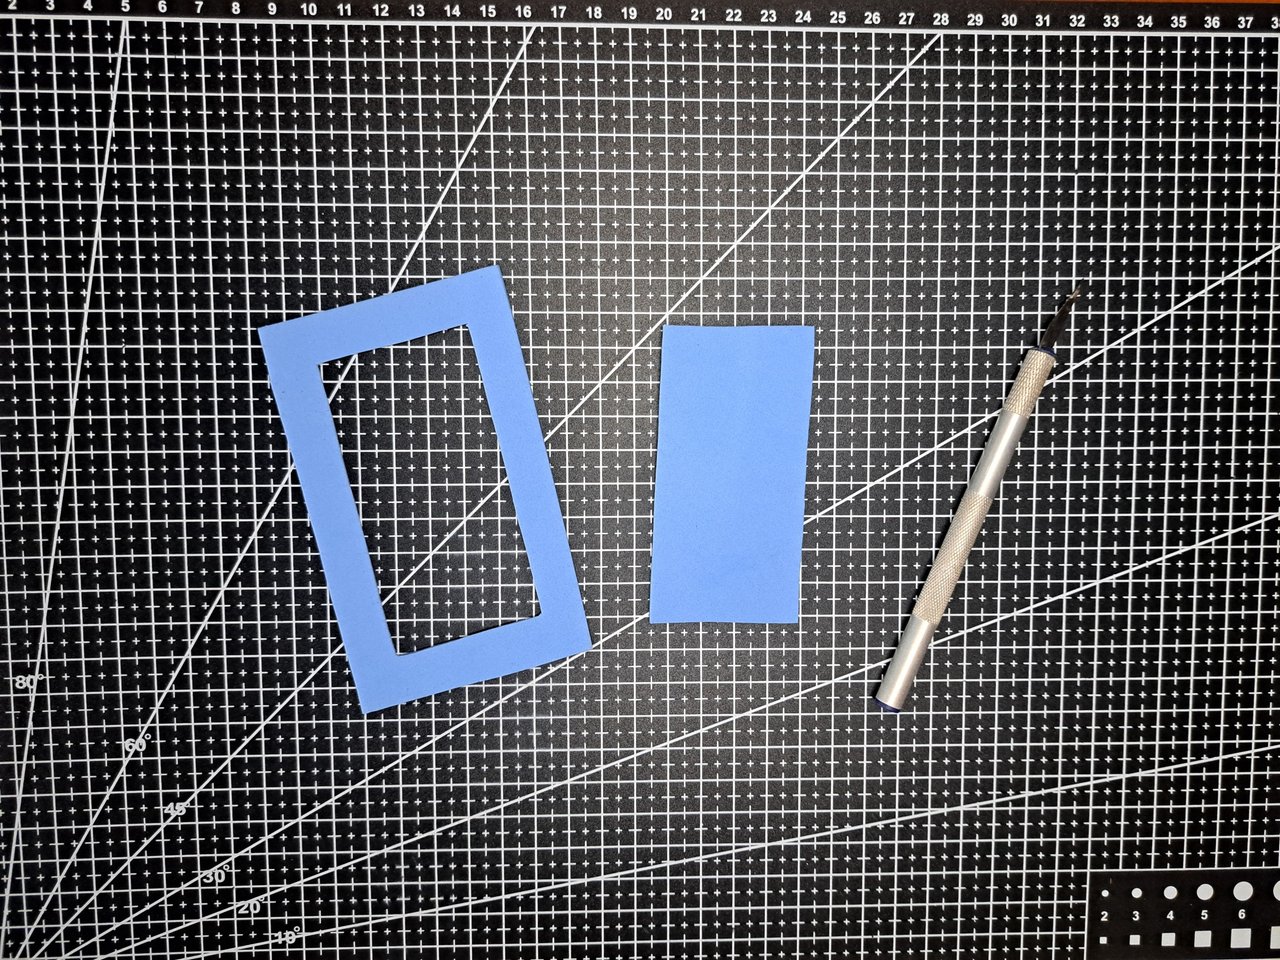
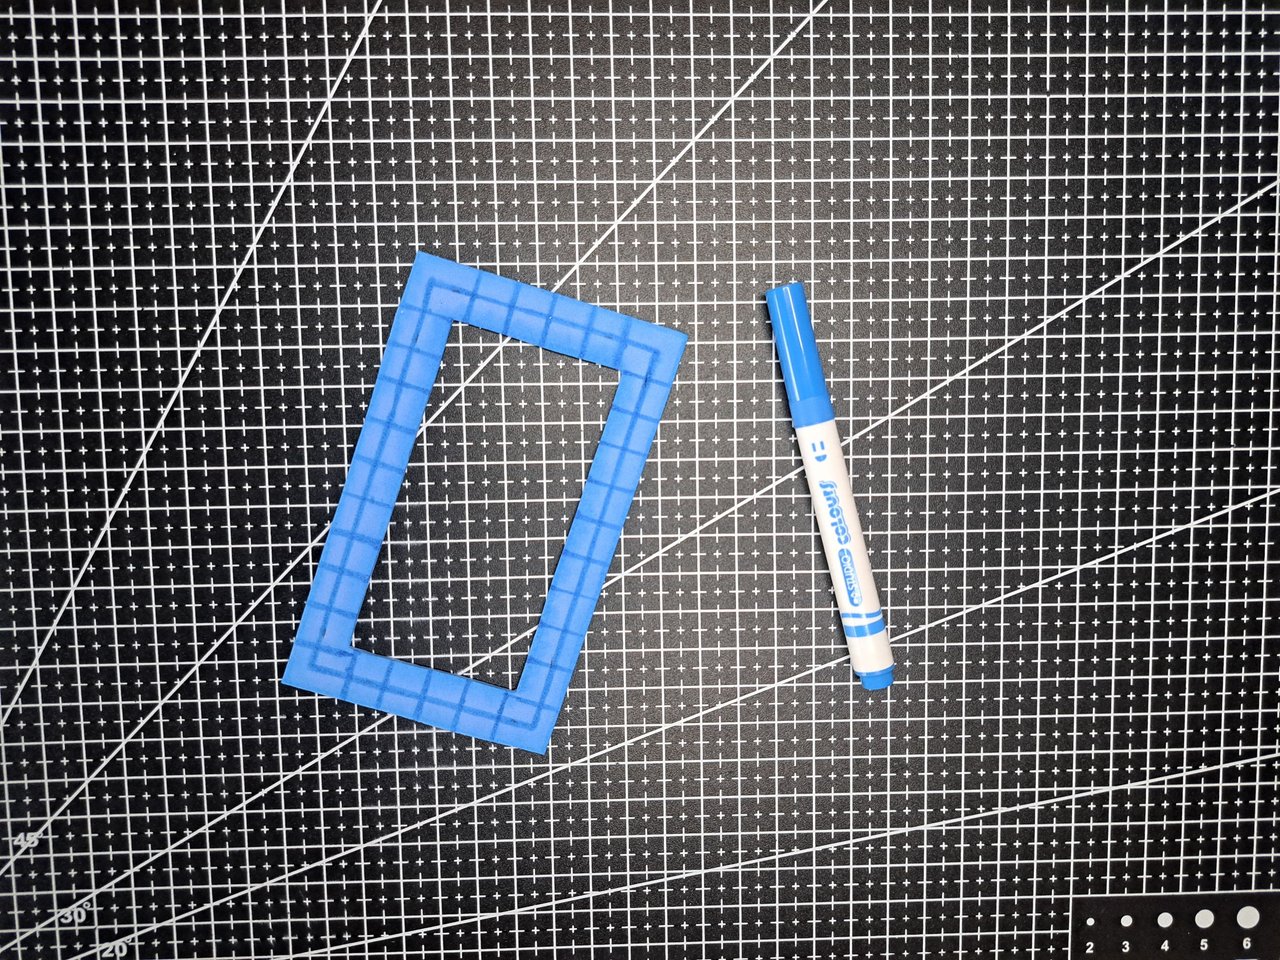
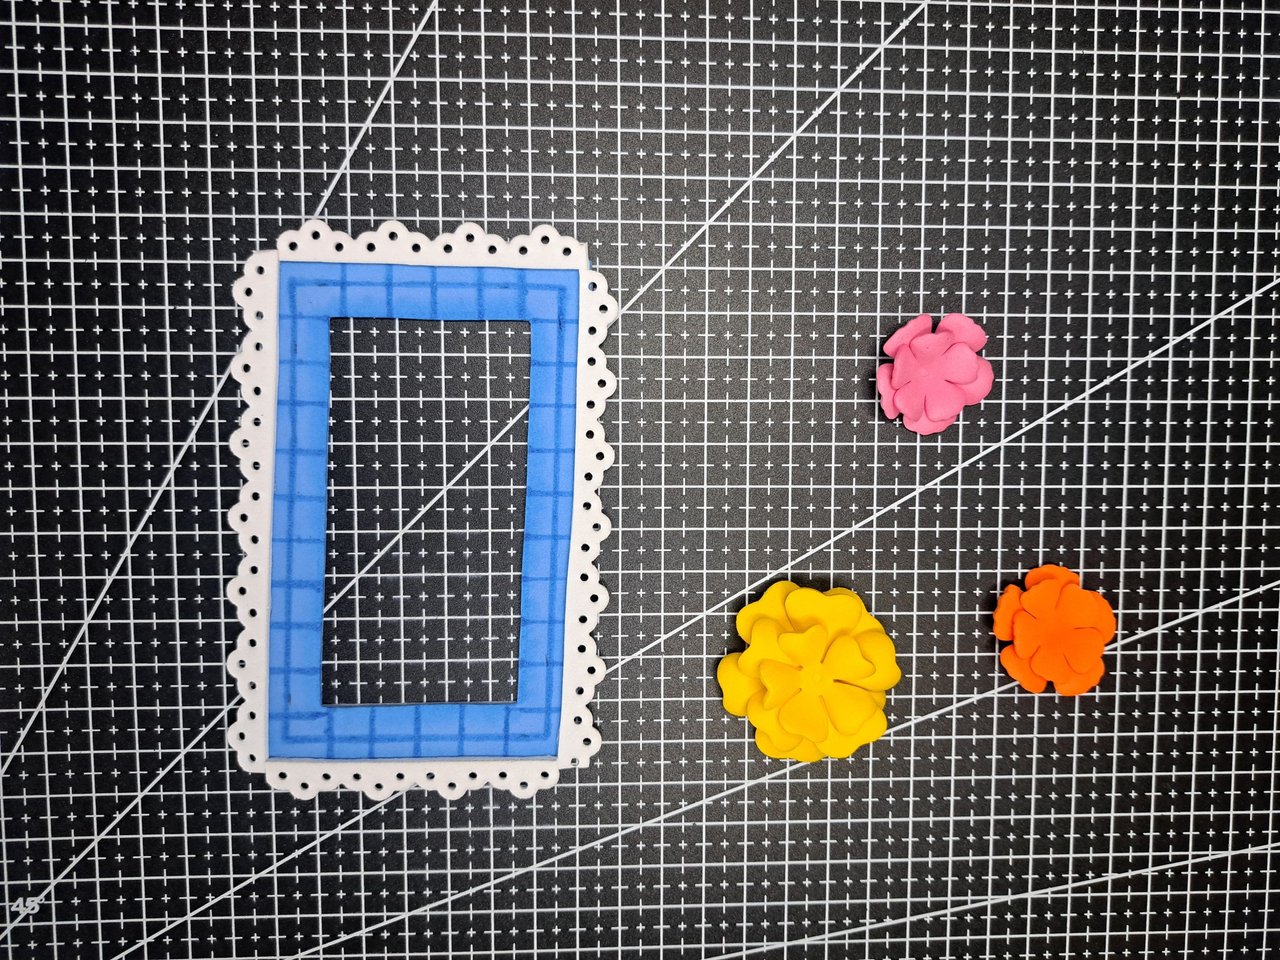
1️⃣ I will start by measuring and marking the lines that I will cut out to form the light blue fomi frame. The measurements are 11.5 cm long by 7 cm wide on the outside and 4.4 cm x 8.8 cm on the inside. Once cut out, I will have the area on which I will decorate and place the flowers.
Comenzaré midiendo y marcando las líneas que recortaré para formar el marco de fomi azul claro. Las medidas son 11,5 cm de largo por 7 cm de ancho en la parte exterior y en la interior 4,4 cm x 8,8 cm. Una vez recortado, me quedará la zona sobre la que decoraré y colocaré las flores.
 |
 |
 |
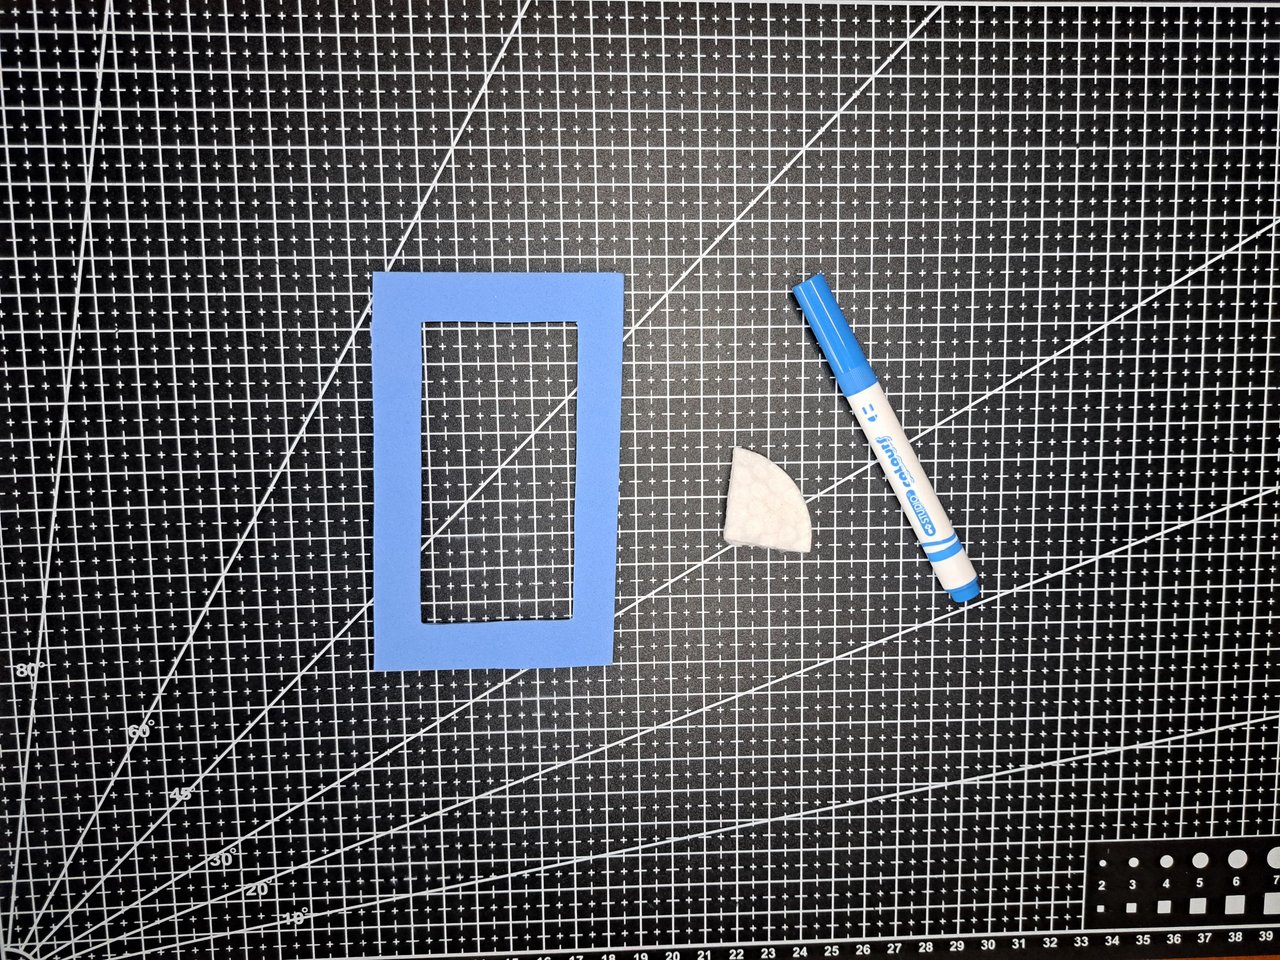
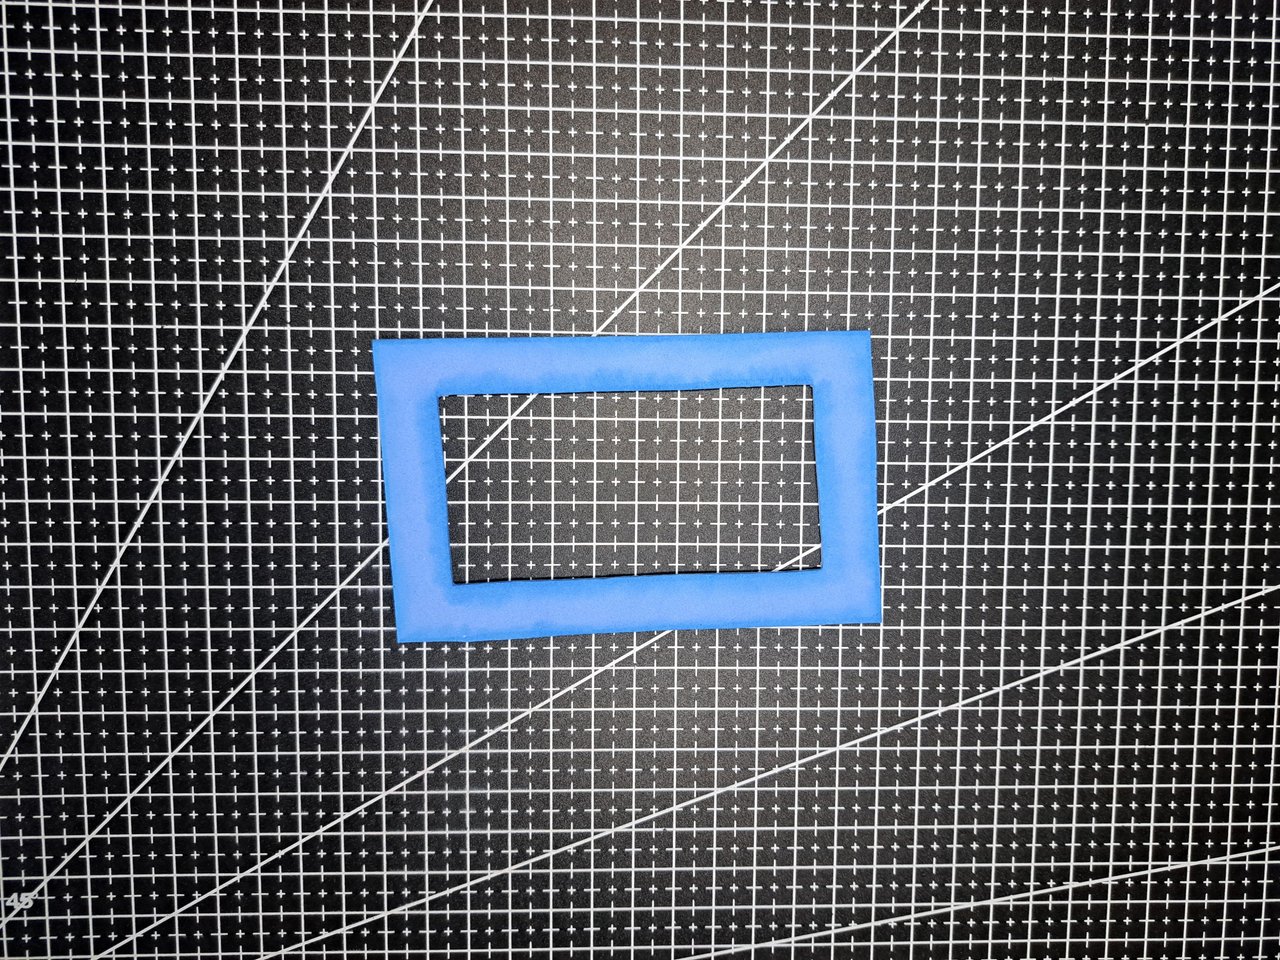
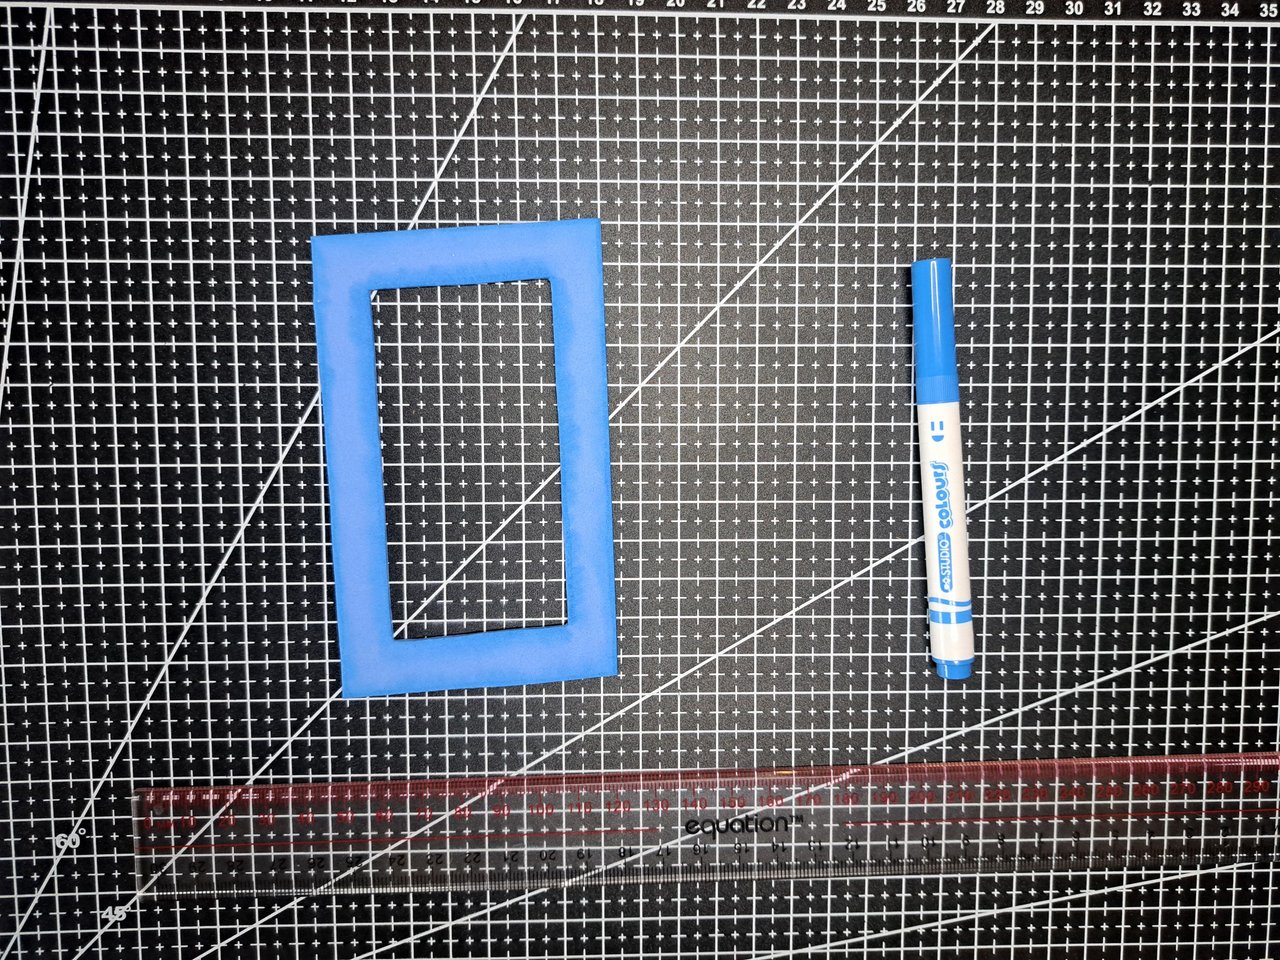
2️⃣ With the help of a light blue marker and a piece of kitchen paper, I painted and blurred the inner and outer edge of the fomi frame. With the same blue marker, I traced some vertical and horizontal lines that crisscross and are separated by 0.5 cm.
Con la ayuda de un marcador azul claro y un pedazo de papel de cocina, pinté y difuminé el borde interior y exterior del marco de fomi. Con el mismo marcador azul, tracé unas líneas verticales y horizontales que se entrecruzan y están separadas entre sí por 0.5 cm.
 |
 |
 |
 |
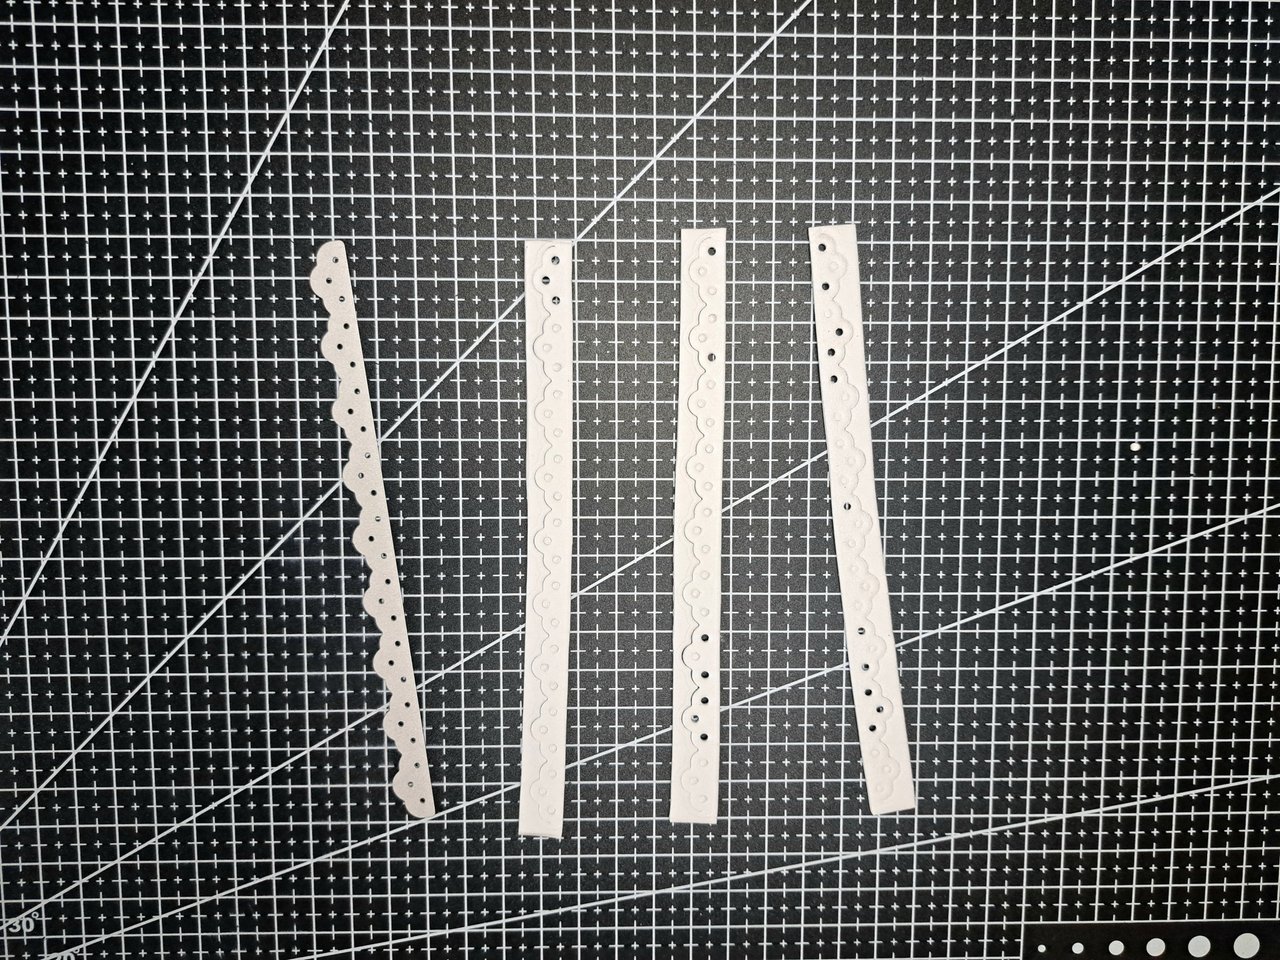
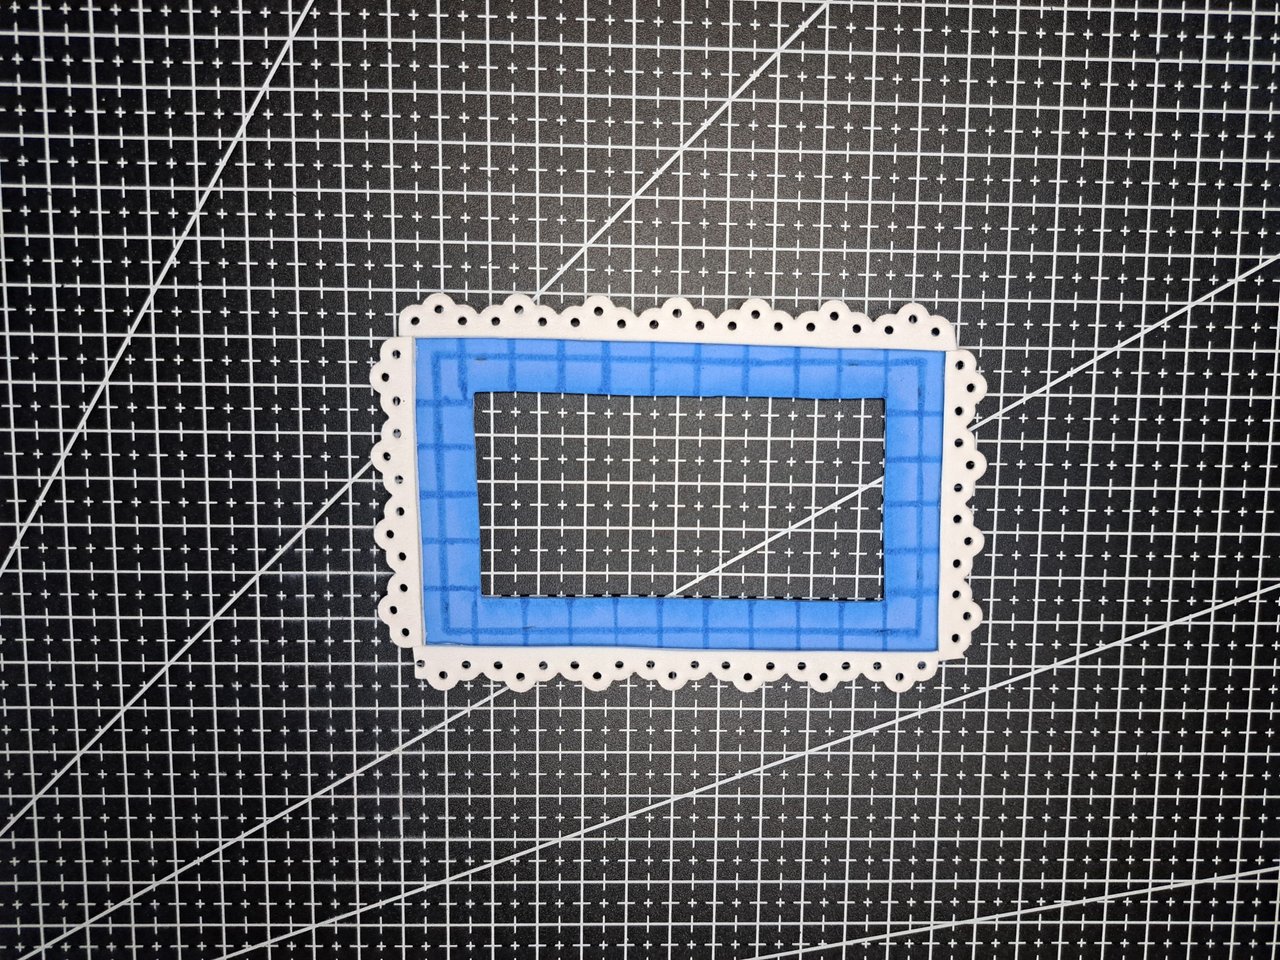
3️⃣ Next I used a metal cutting die to cut out three sheets of white fomi in the shape of embroidery. I glued the three strips of fomi all around the edge of the fomi frame. Because of the dimensions of the metal cutting die, I only had to cut out three pieces of fomi, and even though one of them was enough for the two short sides.
A continuación utilizo un troquel metálico de corte para recortar tres láminas de fomi blanco en forma de bordado. Las tres tiras de fomi las pegué por todo el borde del marco de fomi. Debido a las dimensiones del troquel metálico de corte, solo tuve que recortar tres piezas de fomi, y aunque una de ellas alcanzó para los dos lados cortos.
 |
 |
 |
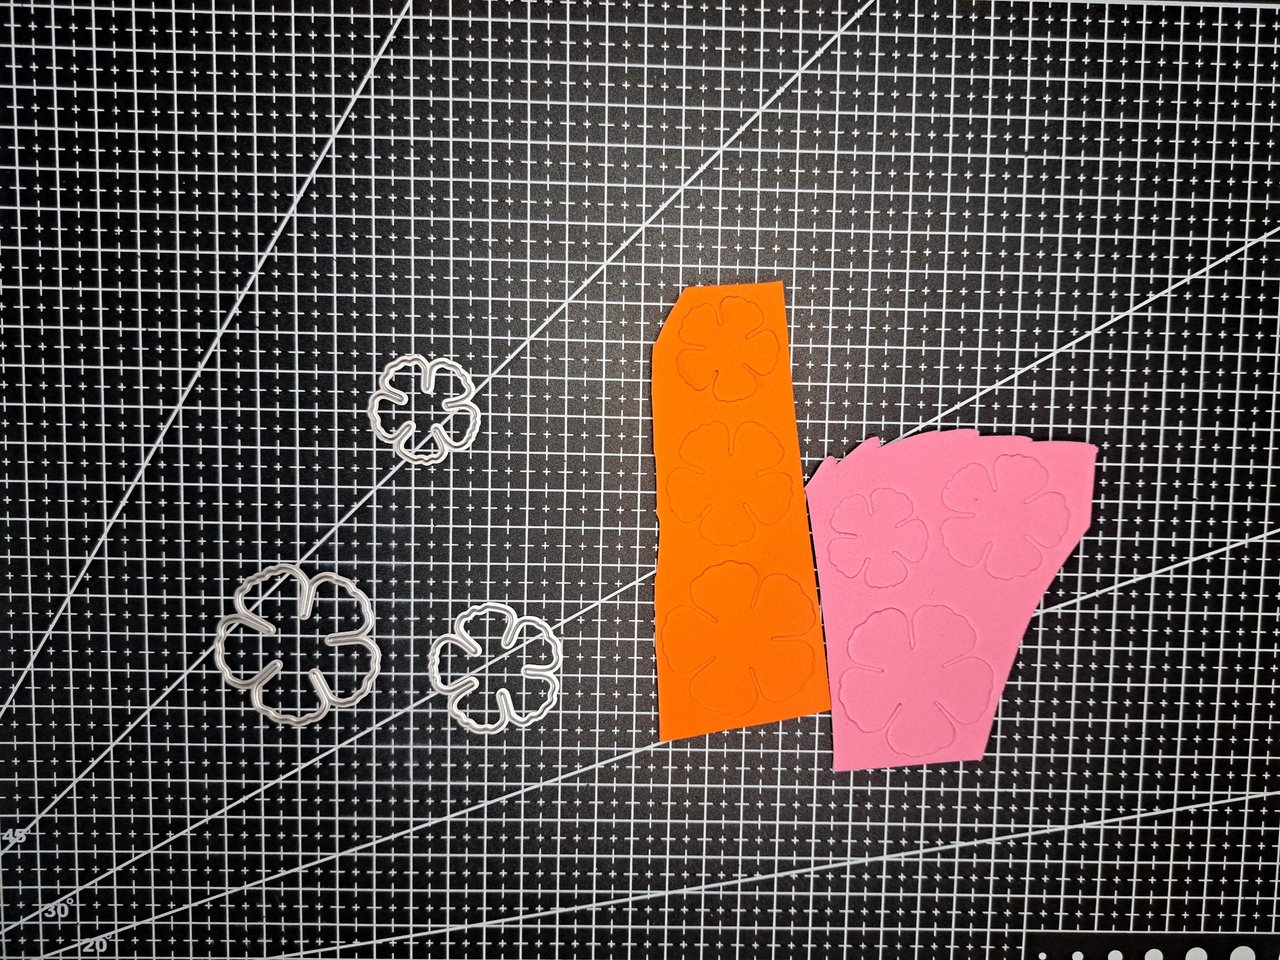
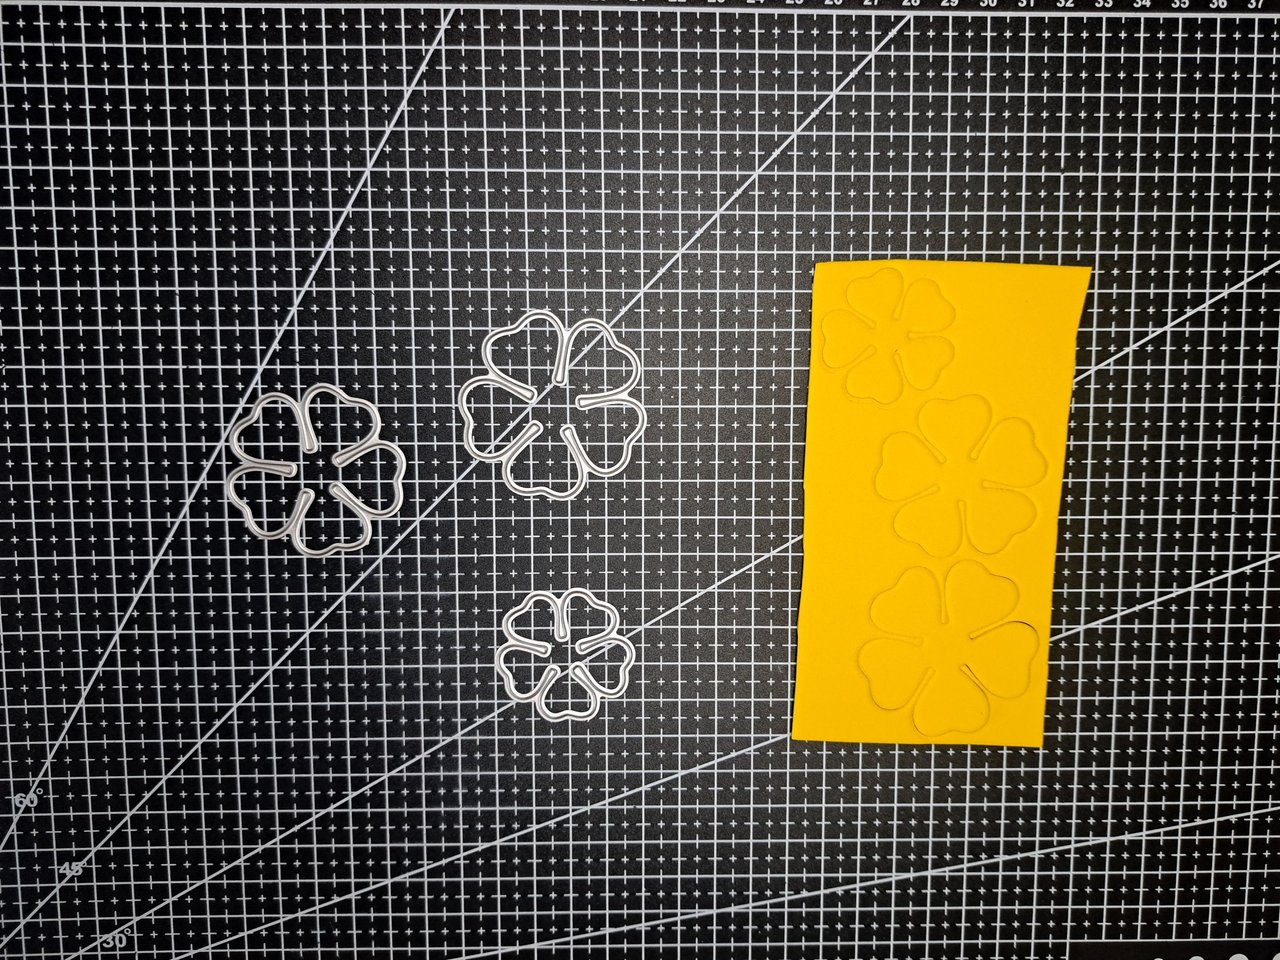
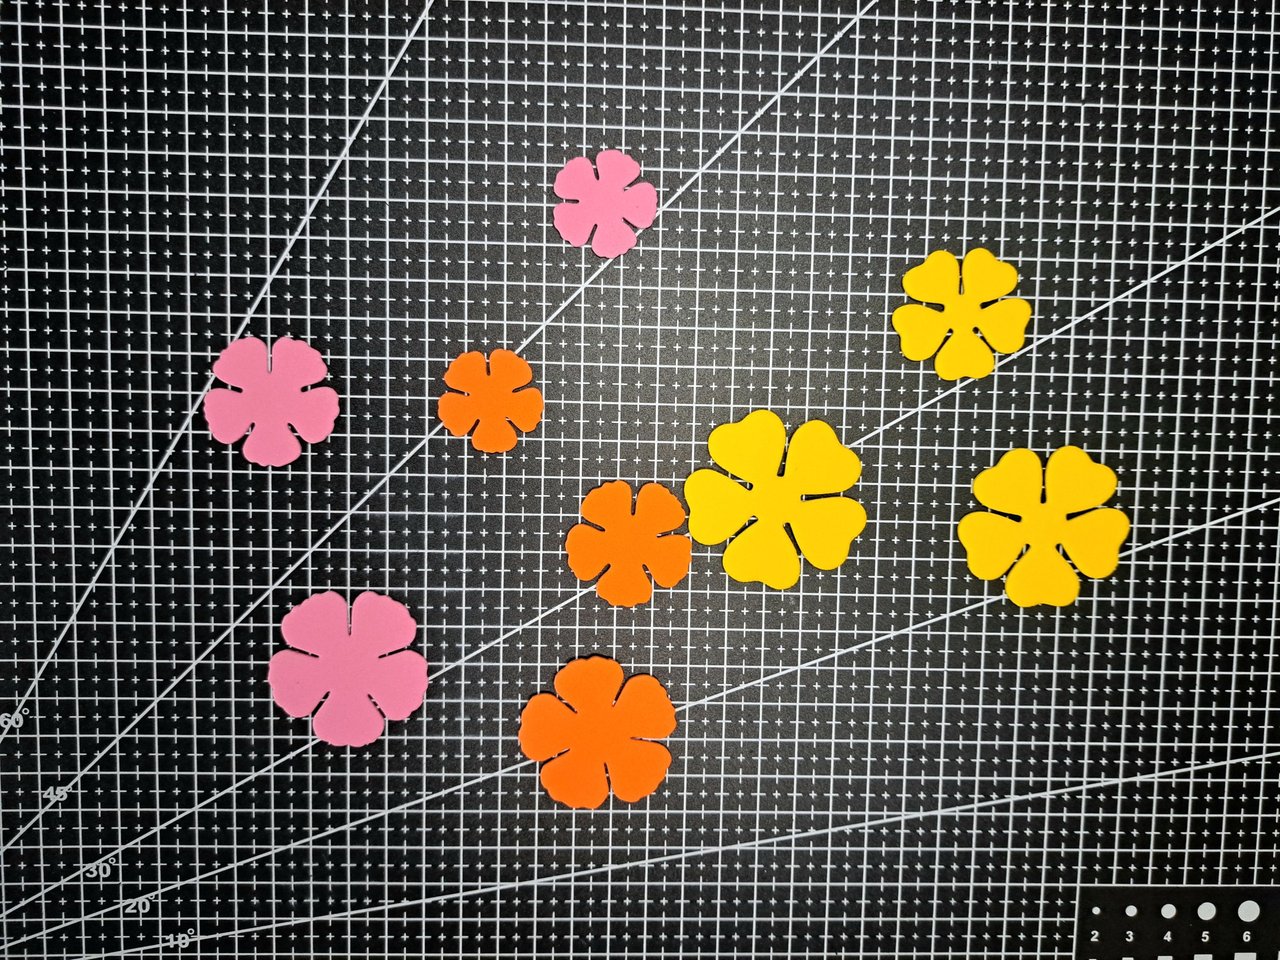
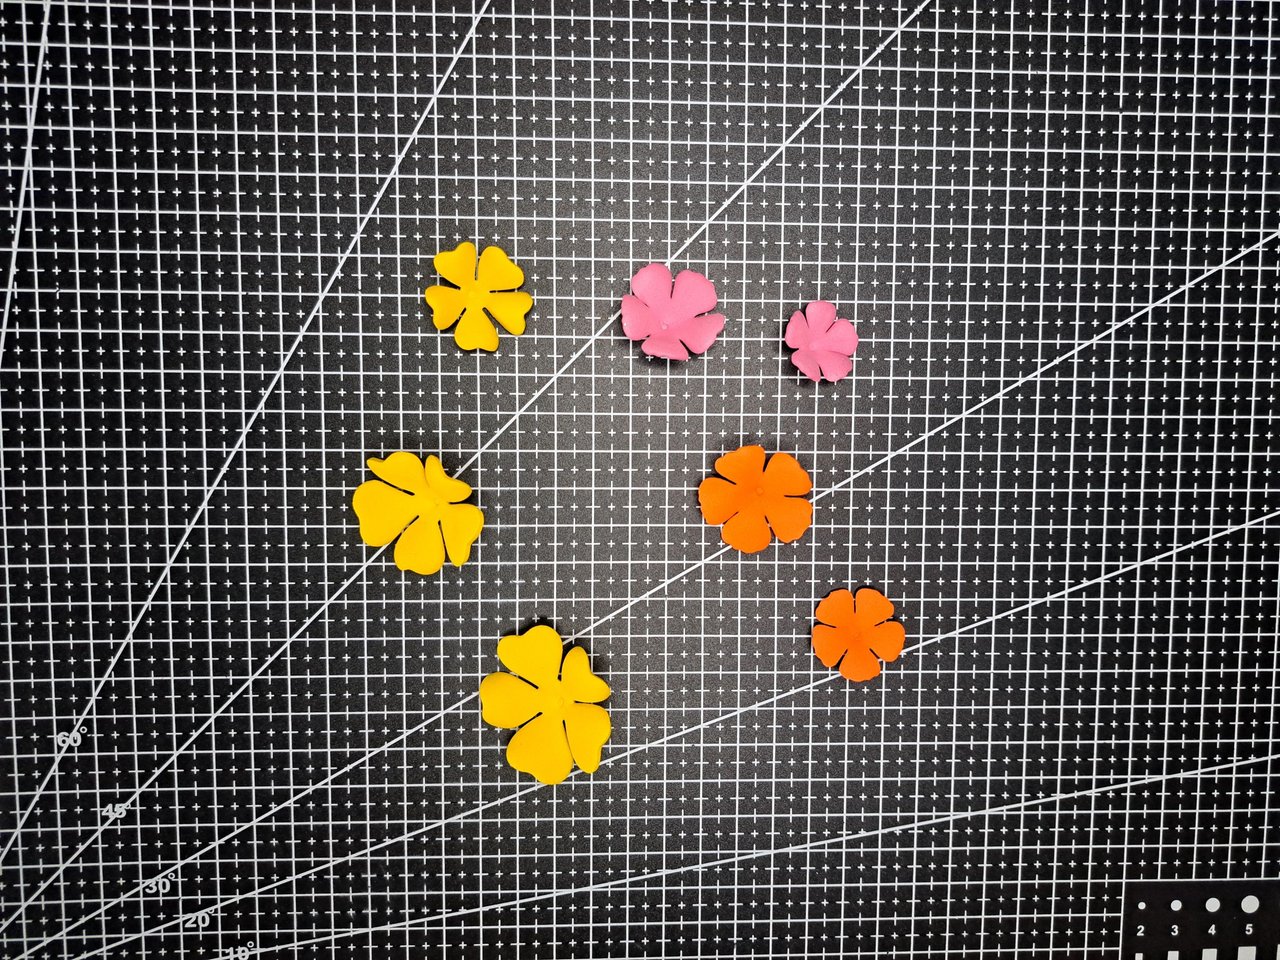
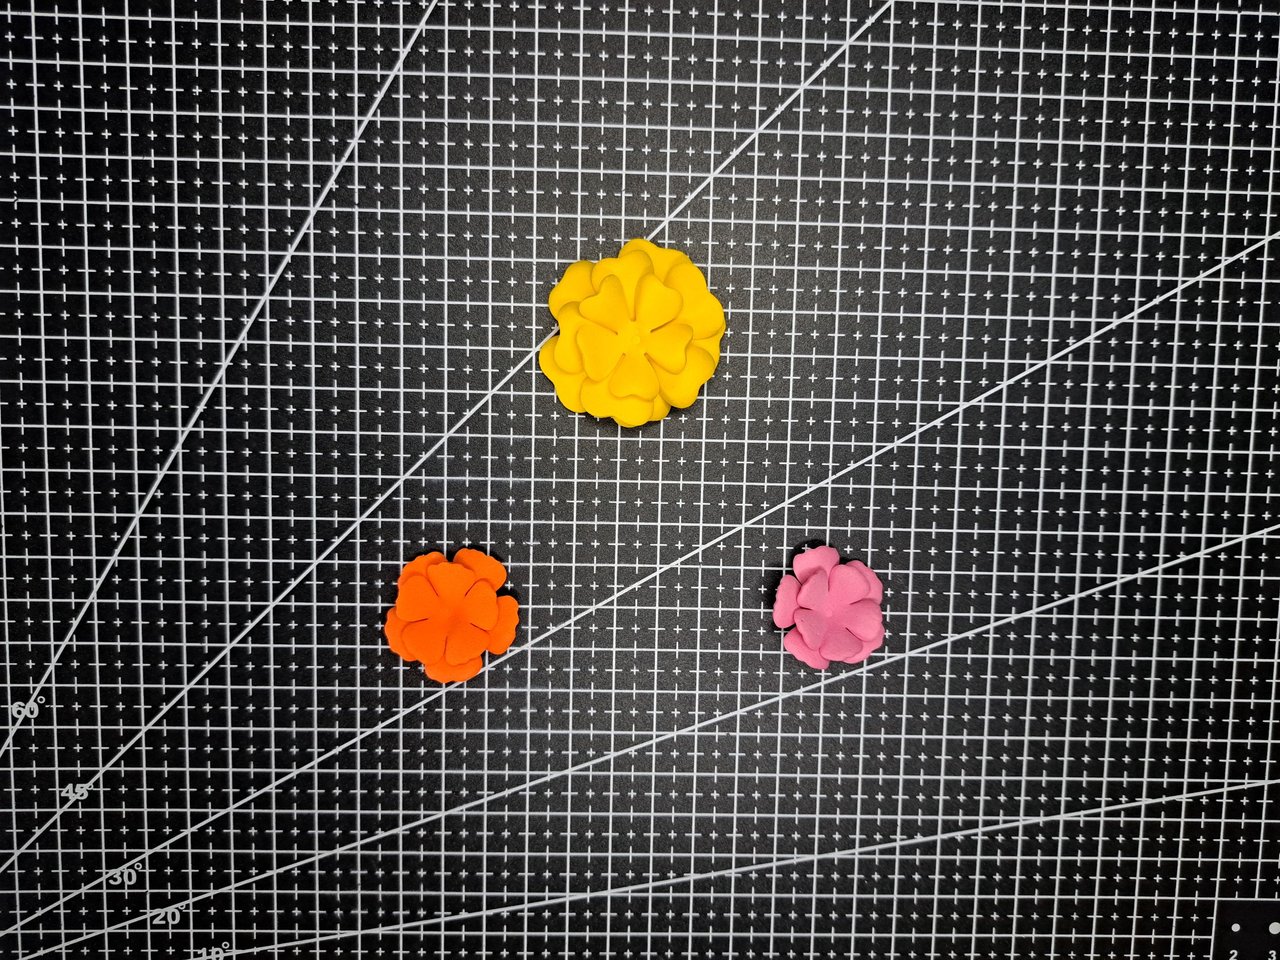
4️⃣ Once the frame was ready, I started working on the flowers that I would place around it. I used metal cutting dies to create the flower pieces. I subjected each fomi piece to a thermoforming process to add volume. Then I glued them on top of each other to form three flowers in yellow, orange and pink.
Una vez estuvo listo el marco, empecé a trabajar en las flores que colocaría a su alrededor. Para ello utilicé troqueles metálicos de corte para crear las piezas de las flores. Sometí a cada pieza de fomi a un proceso de termoformado para agregarles volumen. Luego las pegué unas encima de otras para formar tres flores de color amarillo, naranja y rosa.
 |
 |
 |
 |
 |
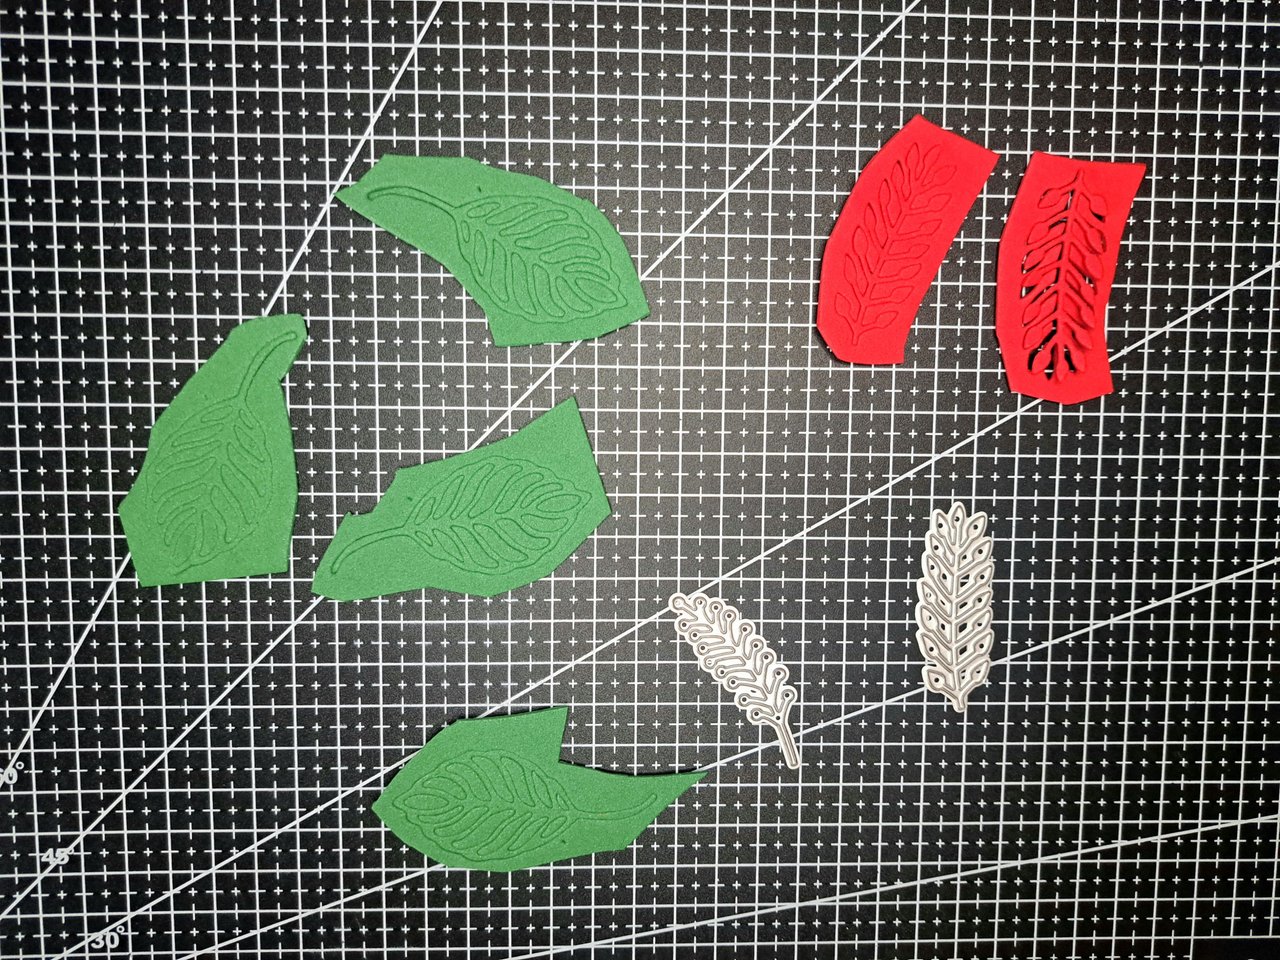
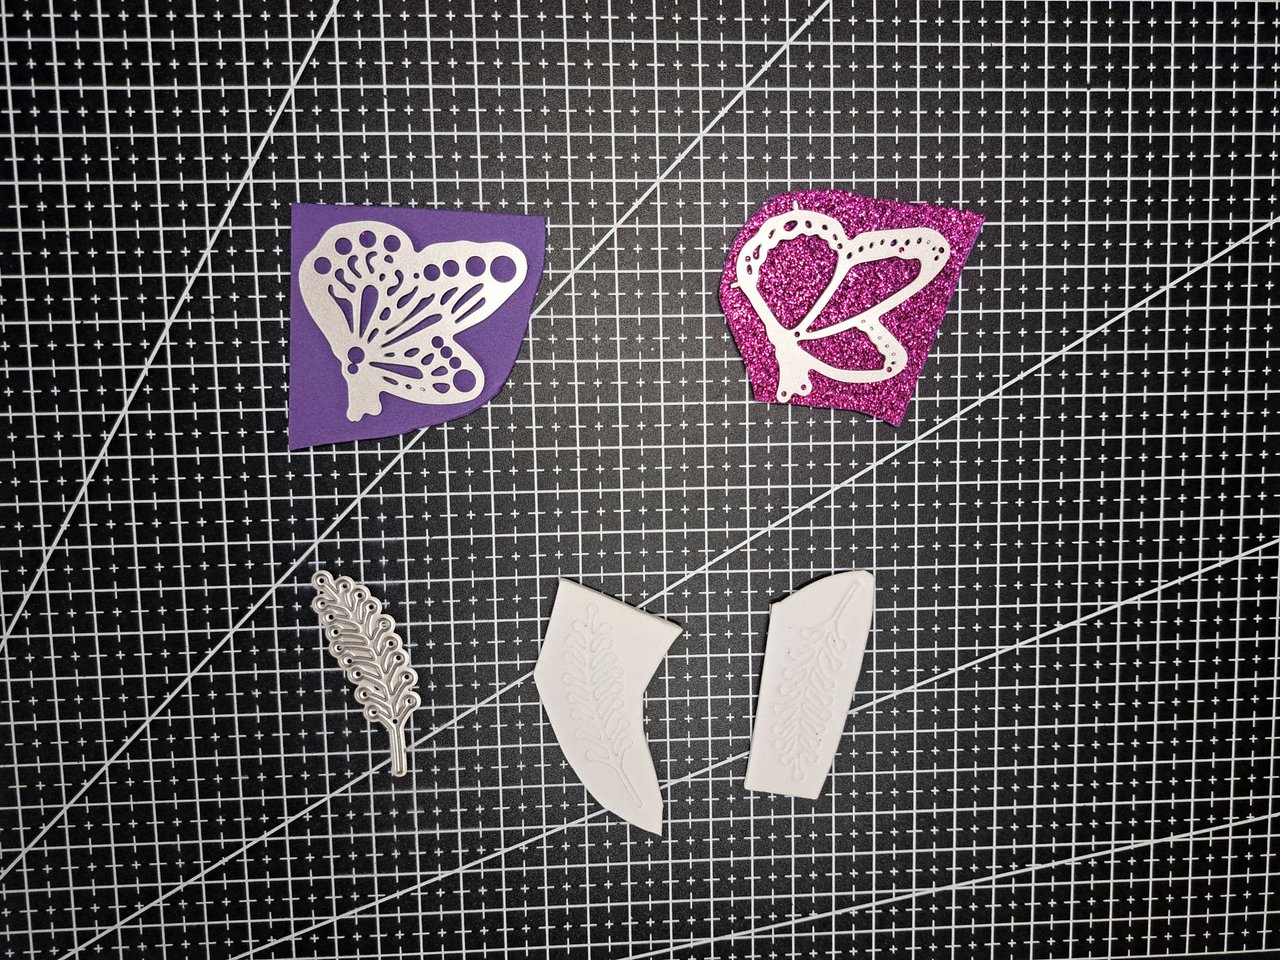
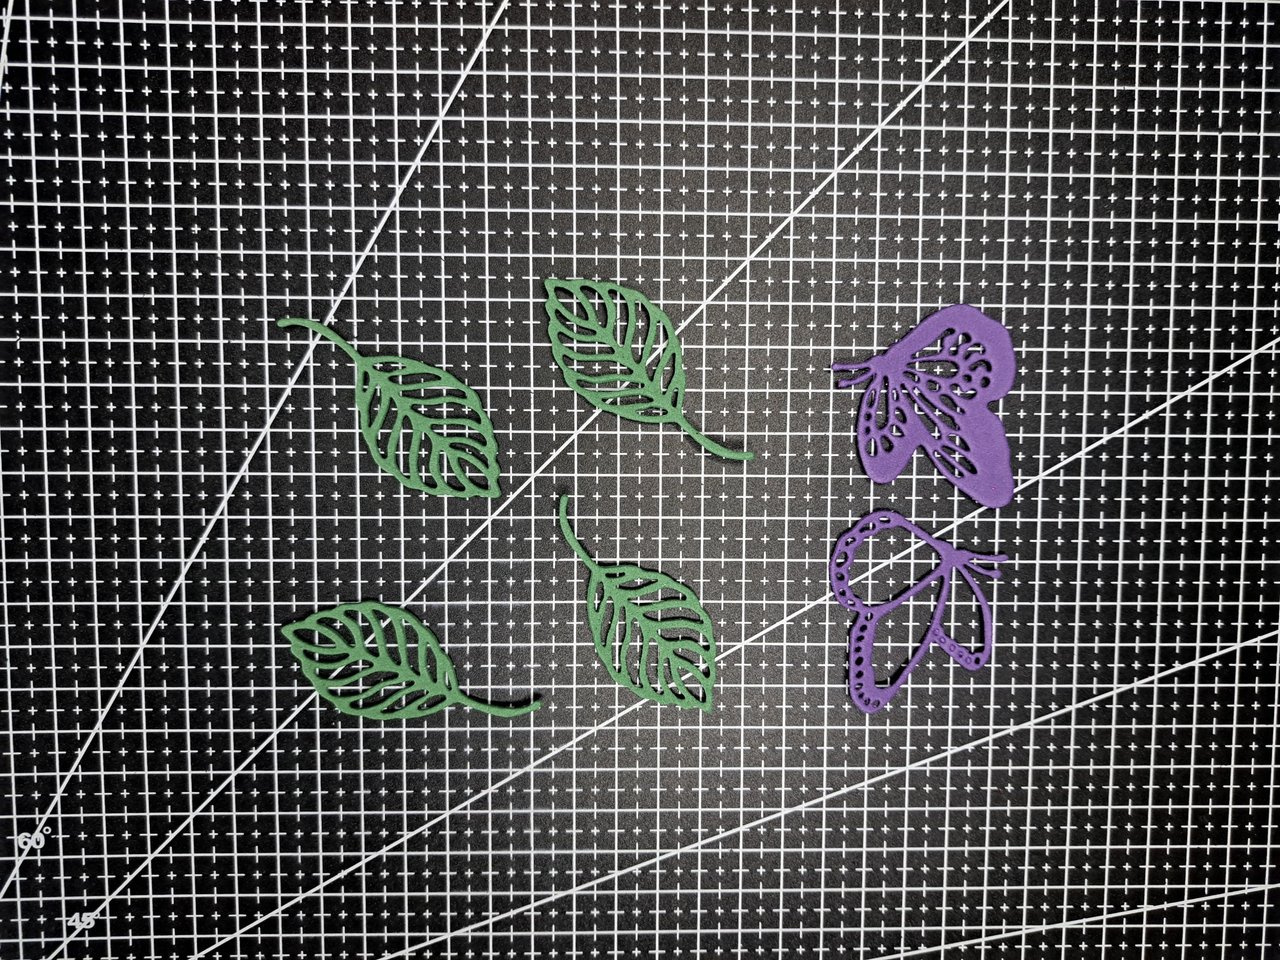
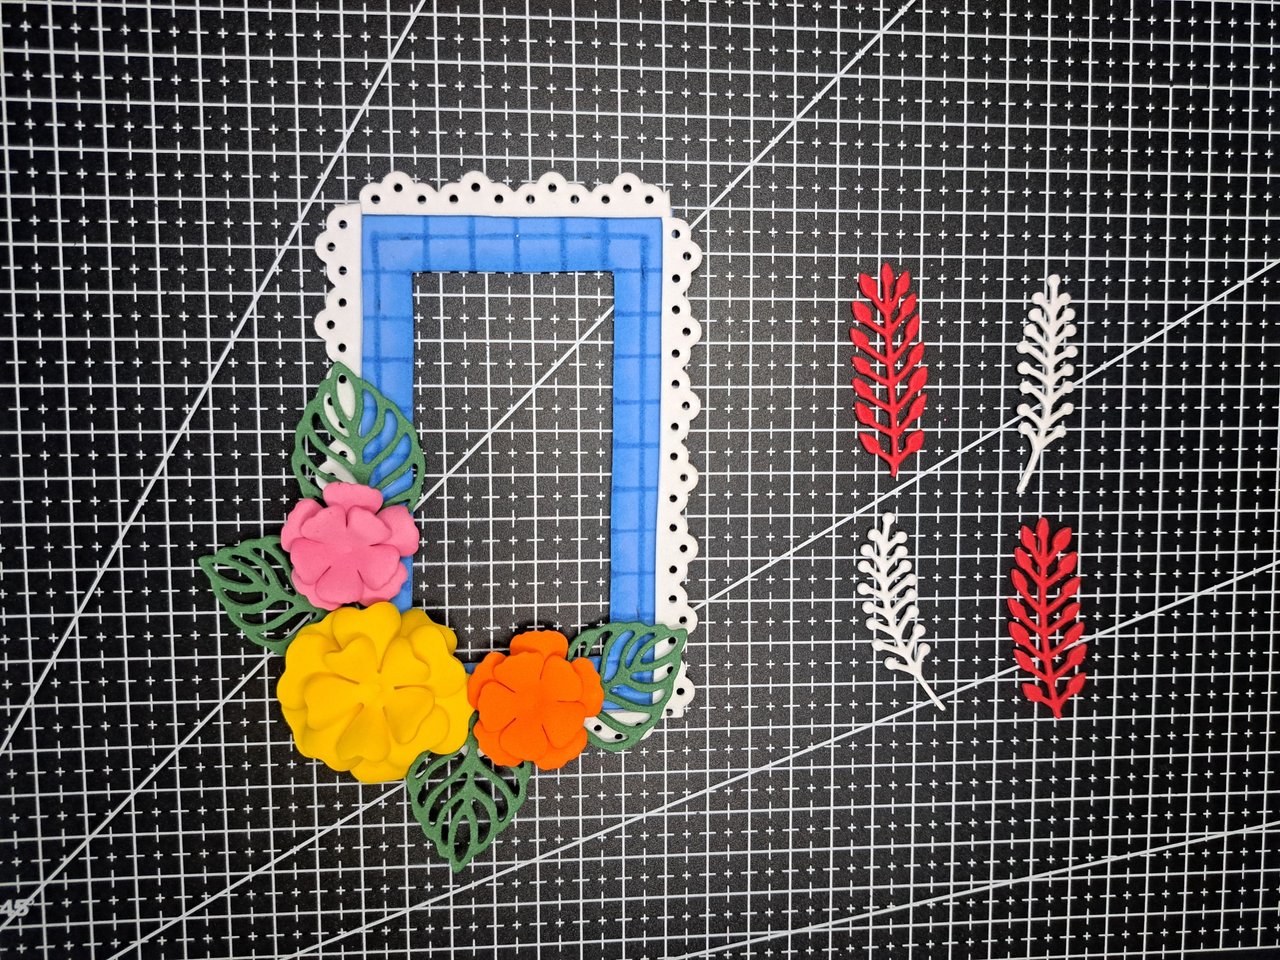
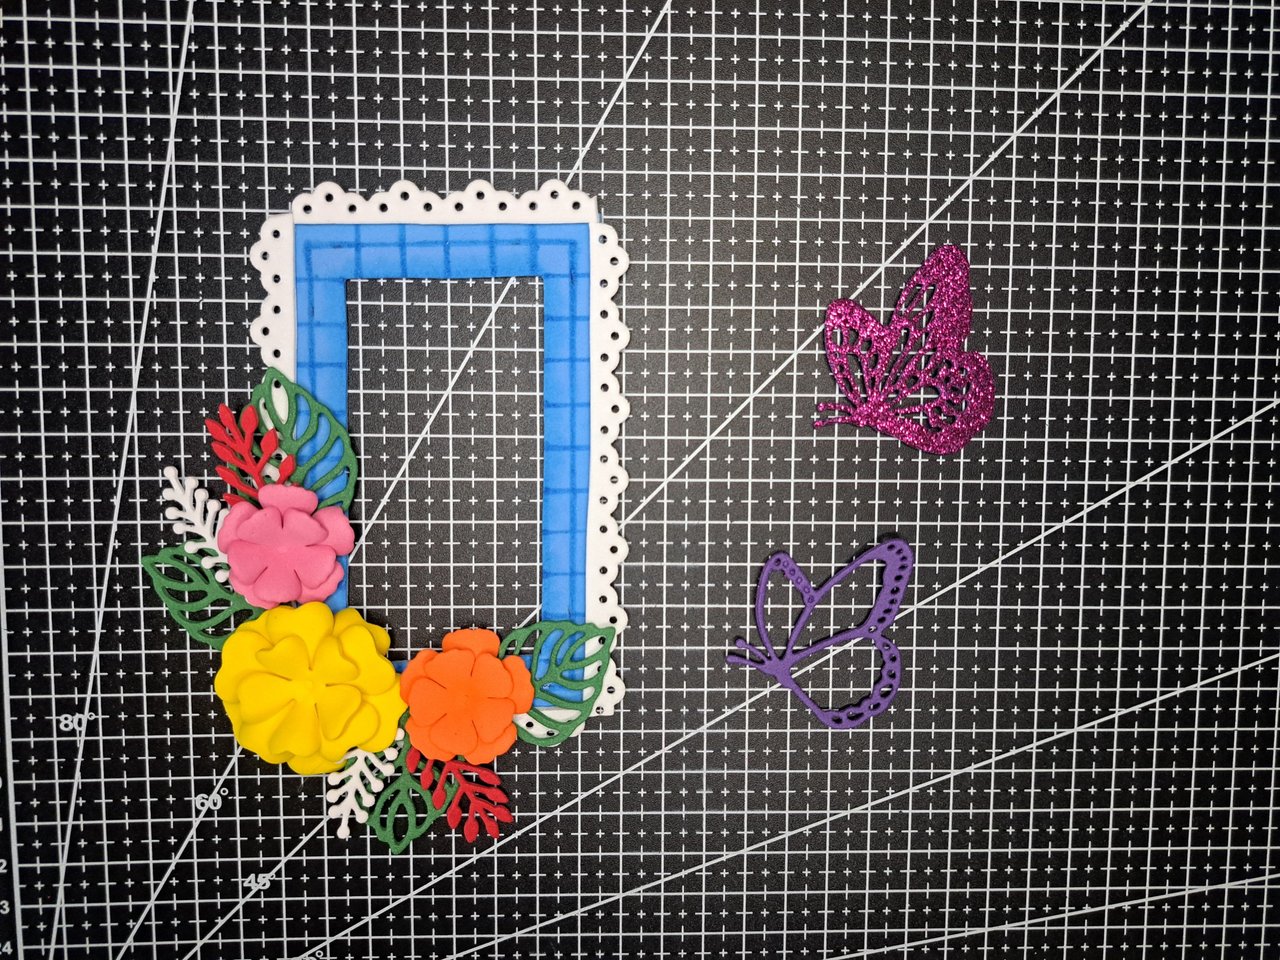
5️⃣ Next, I repeat the process, but this time I create the spikes, leaves and the two parts of the butterfly. The spikes will have two different shapes and will be red and white. For the leaves I used a dark green color and for the butterfly I used a purple frosted fomi. Each of the pieces was cut out with metal dies.
A continuación, repito el proceso, pero esta vez creé las espigas, hojas y las dos partes de la mariposa. Las espigas tendrán dos formas distintas y de color rojo y blanco. En las hojas utilicé un color verde oscuro y para la mariposa un fomi escarchado violeta. Cada una de las piezas fue recortada con troqueles metálicos.
 |
 |
 |
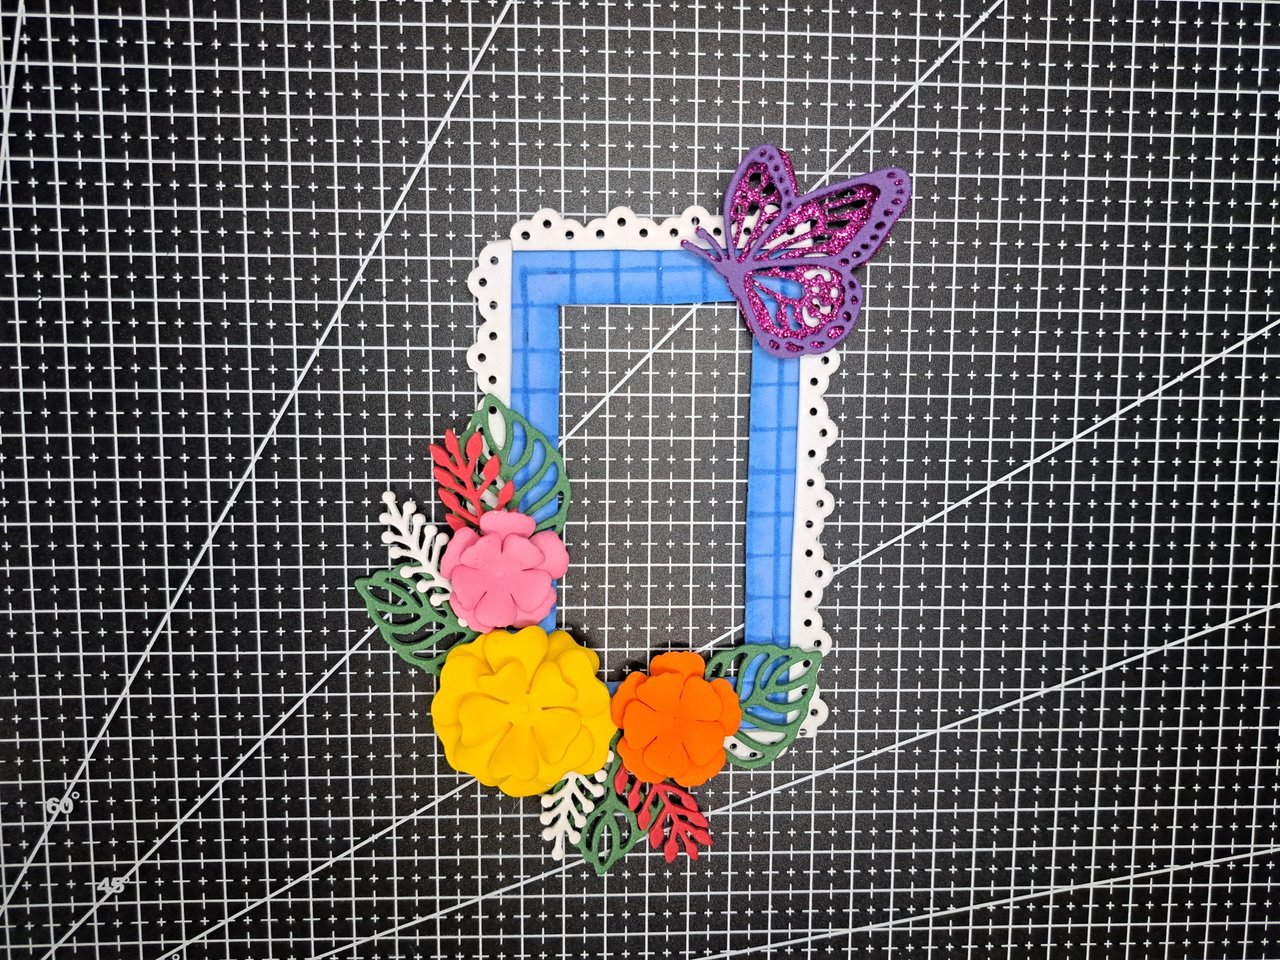
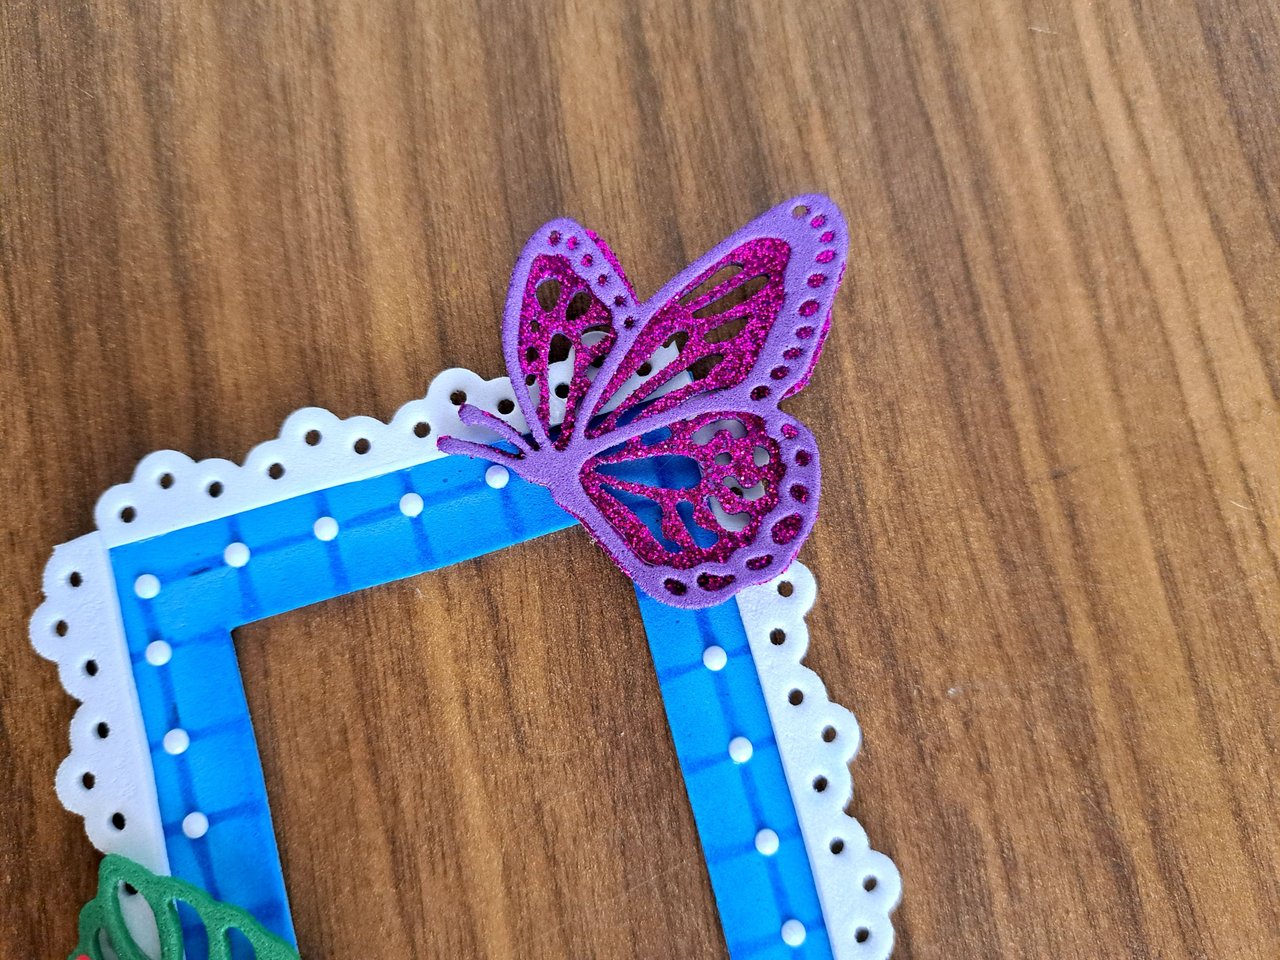
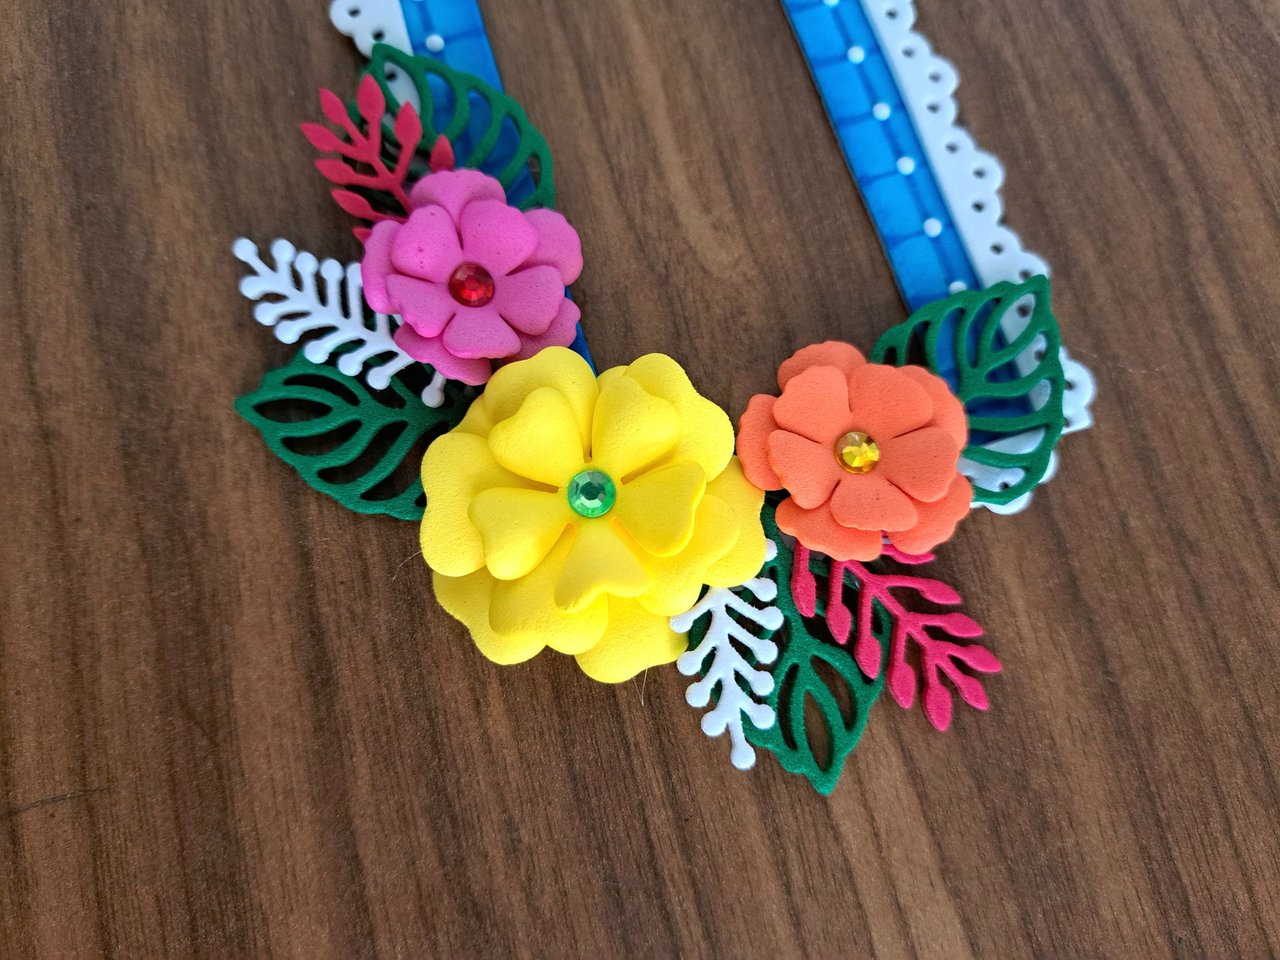
6️⃣ With all the decorations ready, I glue each of them in its respective place. The flowers are glued in the lower left corner. Below them are the leaves and in the spaces left will go the spikes. In the upper right corner I placed the butterfly, to which I glued the large part first and the small part on top.
Con todas las decoraciones listas, paso a pegar cada una de ellas en su respectivo lugar. Las flores van pegadas en la esquina inferior izquierda. Debajo de ellas van las hojas y en los espacios que quedaron irán las espigas. En la esquina superior derecha coloqué la mariposa, a la cual primero pegué la parte grande y encima la parte pequeña.
 |
 |
 |
 |
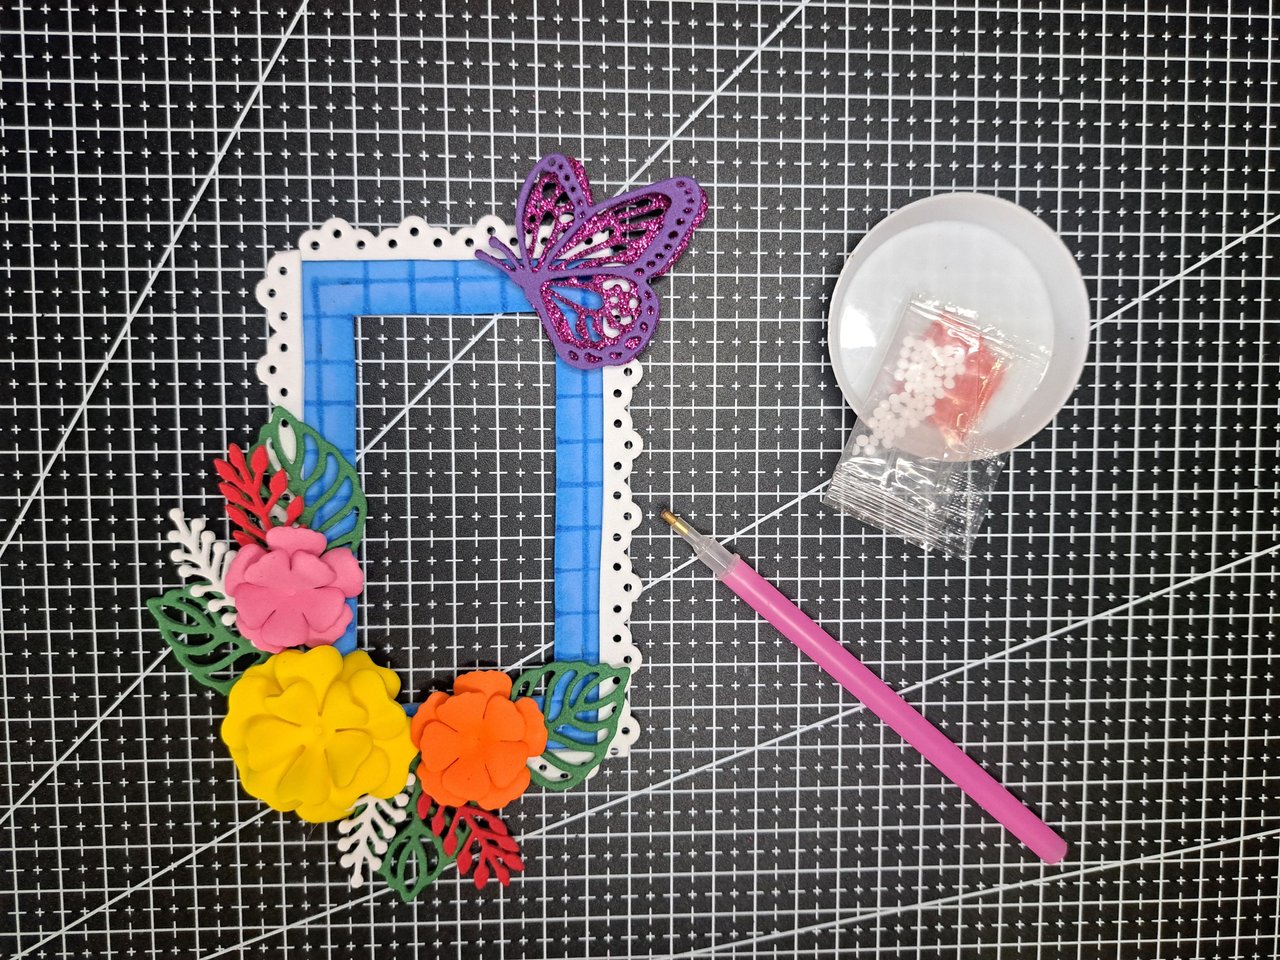
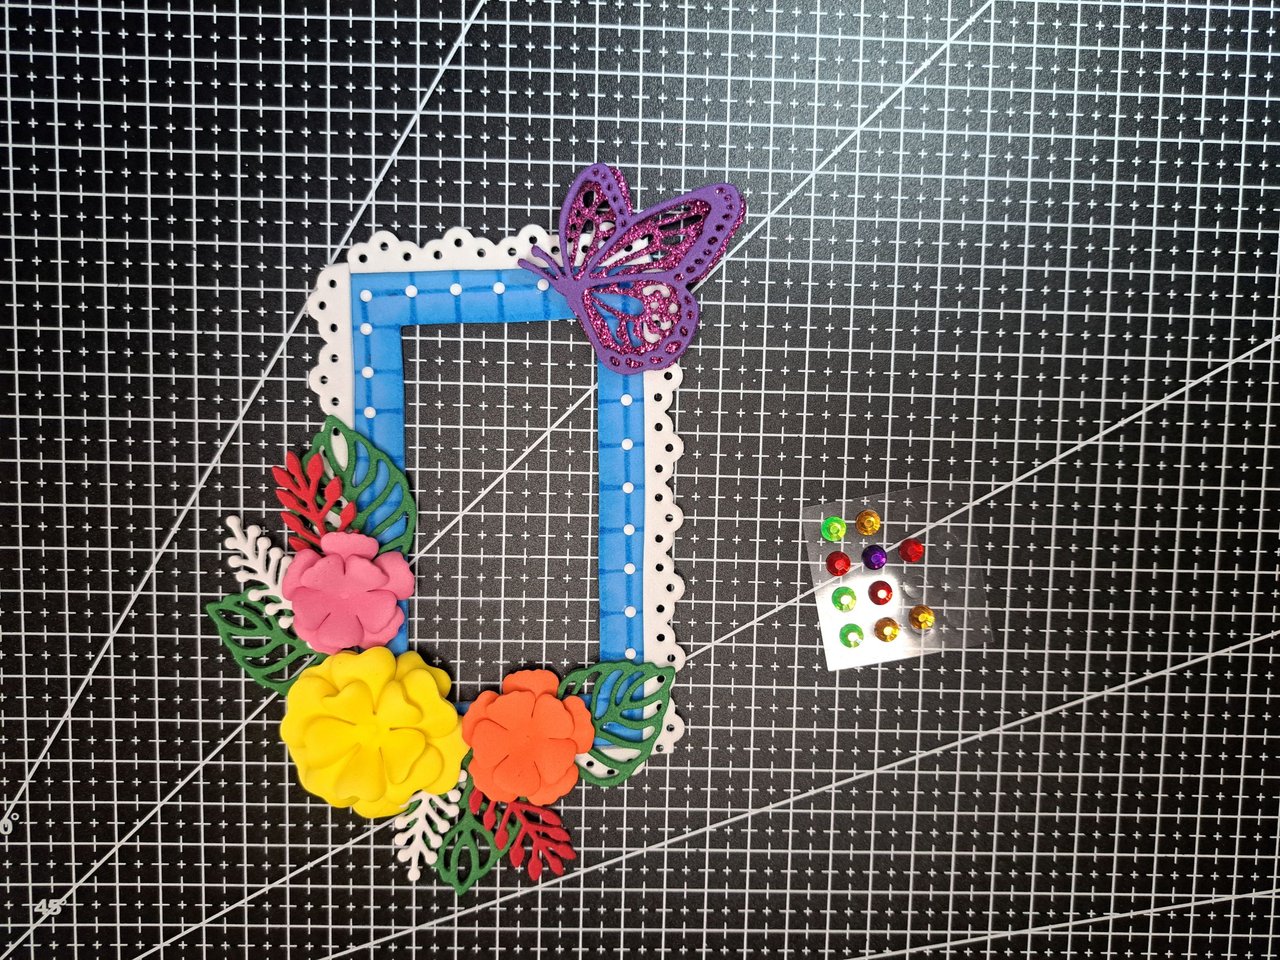
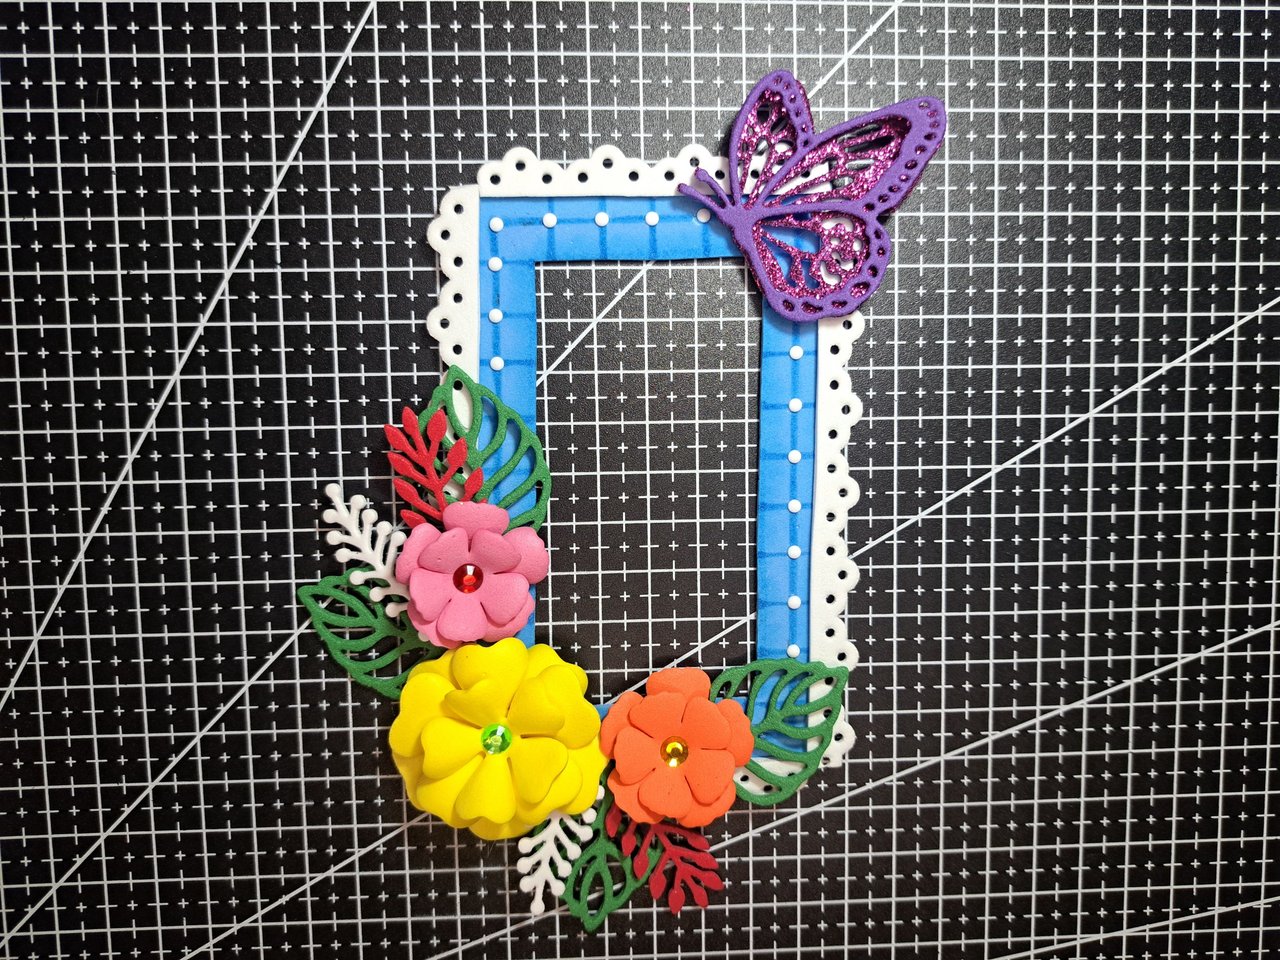
7️⃣ To finish, glue the white half pearls at the intersections of the lines I drew at the beginning with the light blue marker and in the center of each flower glue a larger half pearl that contrasts with the color of each flower.
Para finalizar, pega las medias perlas blancas en las intersecciones de las líneas que dibujé al inicio con el marcador azul claro y en el centro de cada flor pega una media perla más grande que contraste con el color de cada flor.
 |
 |
|
 |
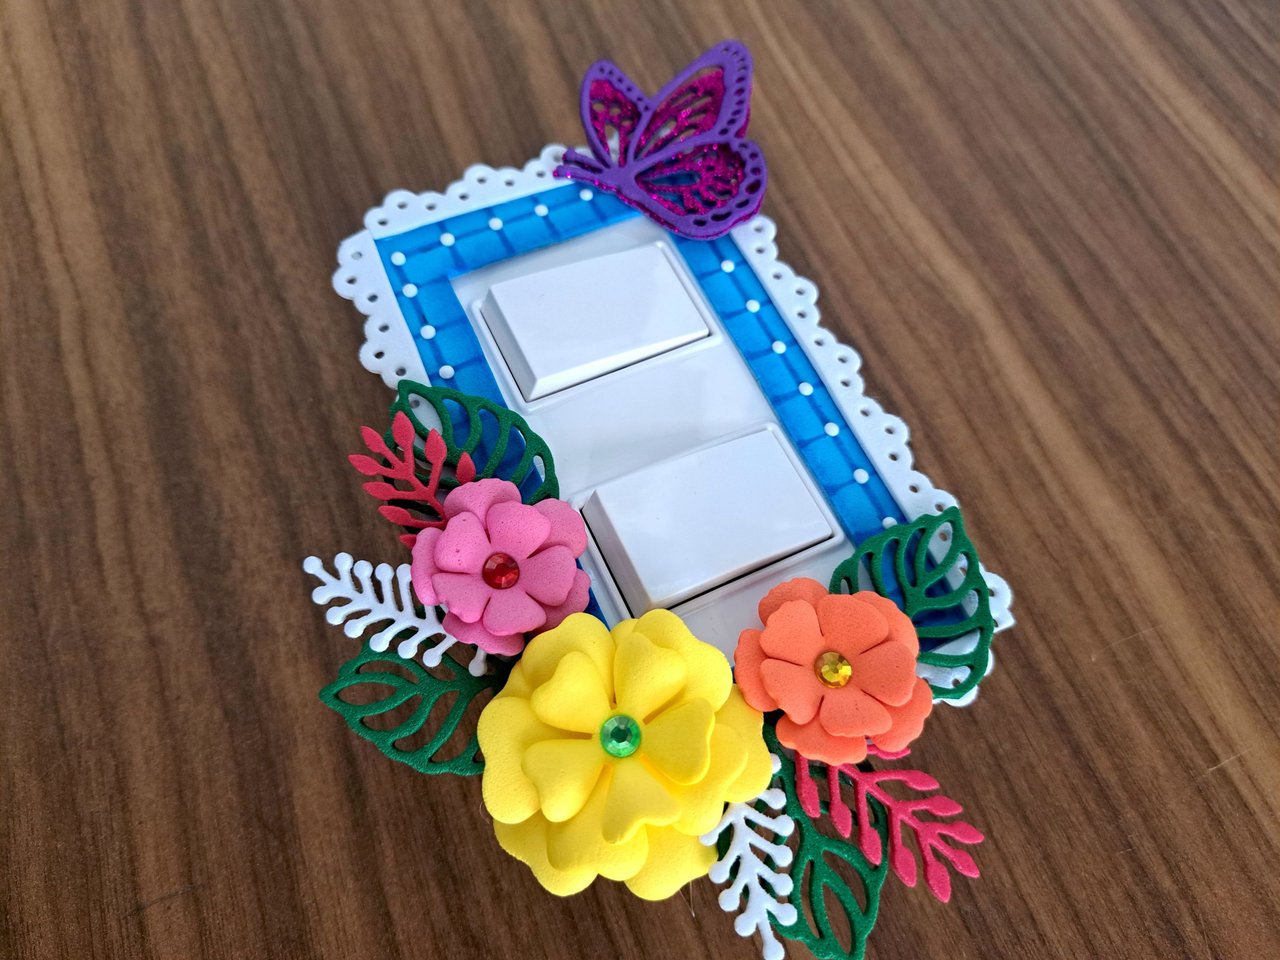
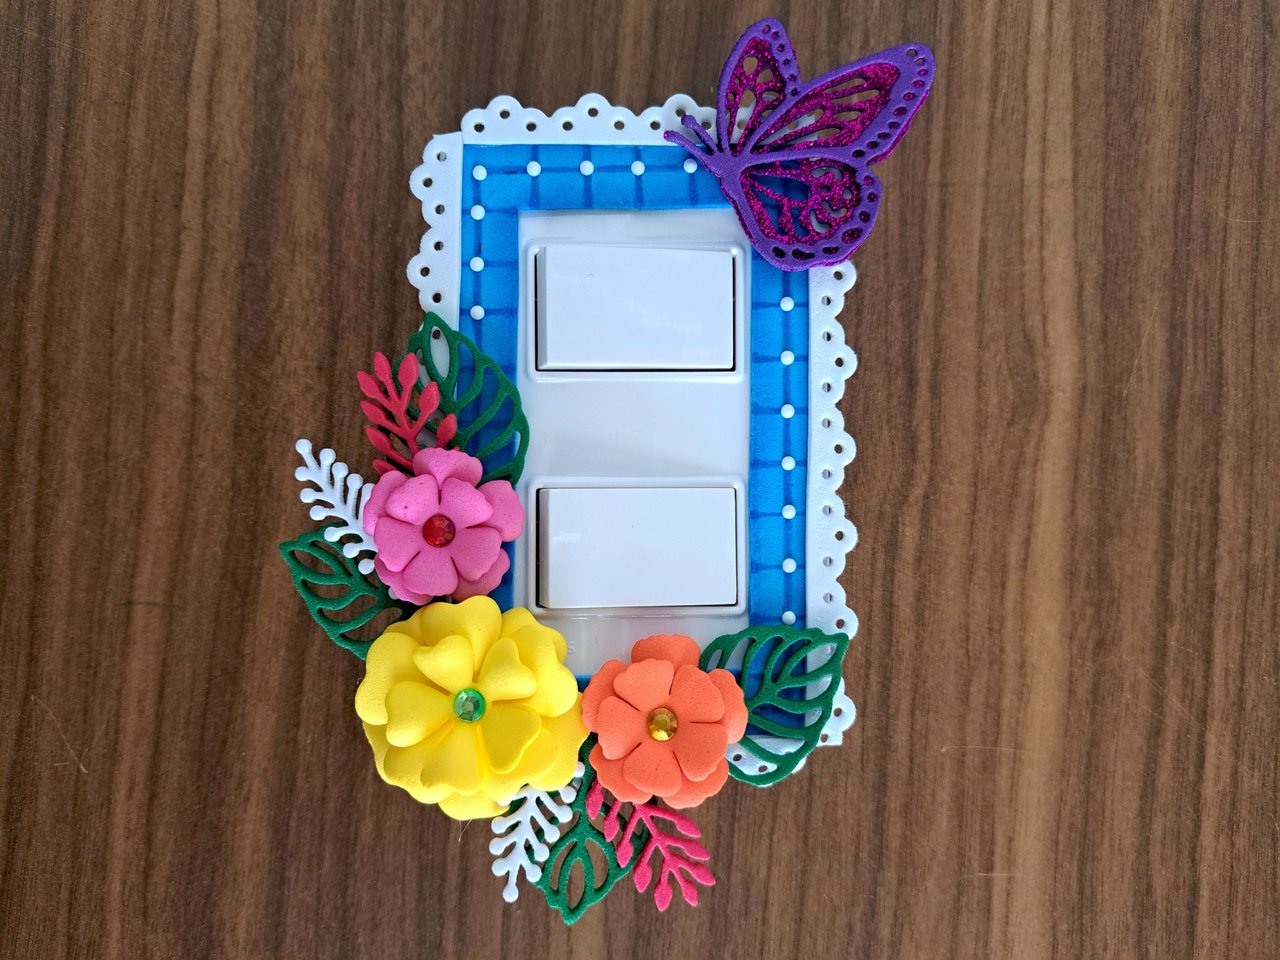
Finished Work // Trabajo Terminado
And thus we would come to the end of another tutorial. I hope you liked this colorful craft and that the step by step is easy to understand. Without further ado, I say goodbye wishing you a happy and prosperous day.
Y de esta forma llegaríamos al final de otro tutorial. Espero que les haya gustado esta colorida manualidad y que el paso a paso sea fácil de entender. Sin más que agregar, me despido deseándoles una feliz y próspera jornada.
 |
 |
 |
 |
 |

Credits and Resources // Créditos y Recursos
Cover page created in Canva
Translated by DeepL
Images captured with my Samsung Galaxy A53

Se ve hermoso, me encanto, es una linda impresión para todos en casa, ver como se cuidan los detalles en el hogar.
Muchas gracias. Por un tiempo será el centro de atención hasta que agregue algo nuevo.
😀Exacto, así somos los creativos, siempre innovando en nuestras ideas. ¡Felicidades!!
Que buena esta idea, me encanta esta forma de decorar los interruptores.
Gracias amiga. La verdad es que le dan un toque único a los interruptores.
Wao que bonito quedó, gran idea. Bendiciones.
Muchas gracias amiga. Saludos.
Wow! You transformed the switch from an ordinary switch to an aesthetic pleasing switch and we love how it turned out. Well done and thanks for sharing.
Thank you for supporting me and leaving such a beautiful comment.
Congratulations, you received an ecency upvote through the curator @sahi1. Keep spreading love through ecency
Thank you very much for the support.
Welcome my dear
Siempre quedo impresionada con tus trabajos en foami✨ esta decoración te quedó bellísima💖 felicidades!