Greetings, creative family.
What a pleasure to be back in the community sharing with you another of my creations with fomi. This time I bring you a magnet decorated in the shape of a gnome house. But it's not just any house, it's a mushroom-shaped house.
As usual, I bring you the tutorial as simplified as possible to make it easy to understand. And as you can see, I'm using leftover fomi cuttings from other projects, so it's almost a craft for use. So let's not delay any longer, let's get to know the materials and then the step by step.
Saludos, familia creativa.
Qué placer estar nuevamente por la comunidad compartiéndoles otra de mis creaciones con fomi. En esta ocasión les traigo un imán decorado con la forma de una casita de gnomo. Pero no es cualquier casita, sino que es una casita con forma de hongo.
Como de costumbre, el tutorial se los traigo lo más simplificado posible para que sea fácil de entender. Y como podrán apreciar, estoy utilizando recortes de fomi sobrantes de otros proyectos, así que es casi una manualidad de aprovechamiento. Así que no nos demoremos más, pasemos a conocer los materiales y seguidamente el paso a paso.
Materials // Materiales
| ✔️ Red, white, brown, carmelite, blue, green and gray fomi | ✔️ Fomi rojo, blanco, carmelita, azul, verde y gris |
| ✔️ Circular magnet | ✔️ Imán circular |
| ✔️ Color markers | ✔️ Marcadores de colores |
| ✔️ Scissors | ✔️ Tijeras |
| ✔️ Hot silicone | ✔️ Silicona caliente |

Step by step // Paso a paso
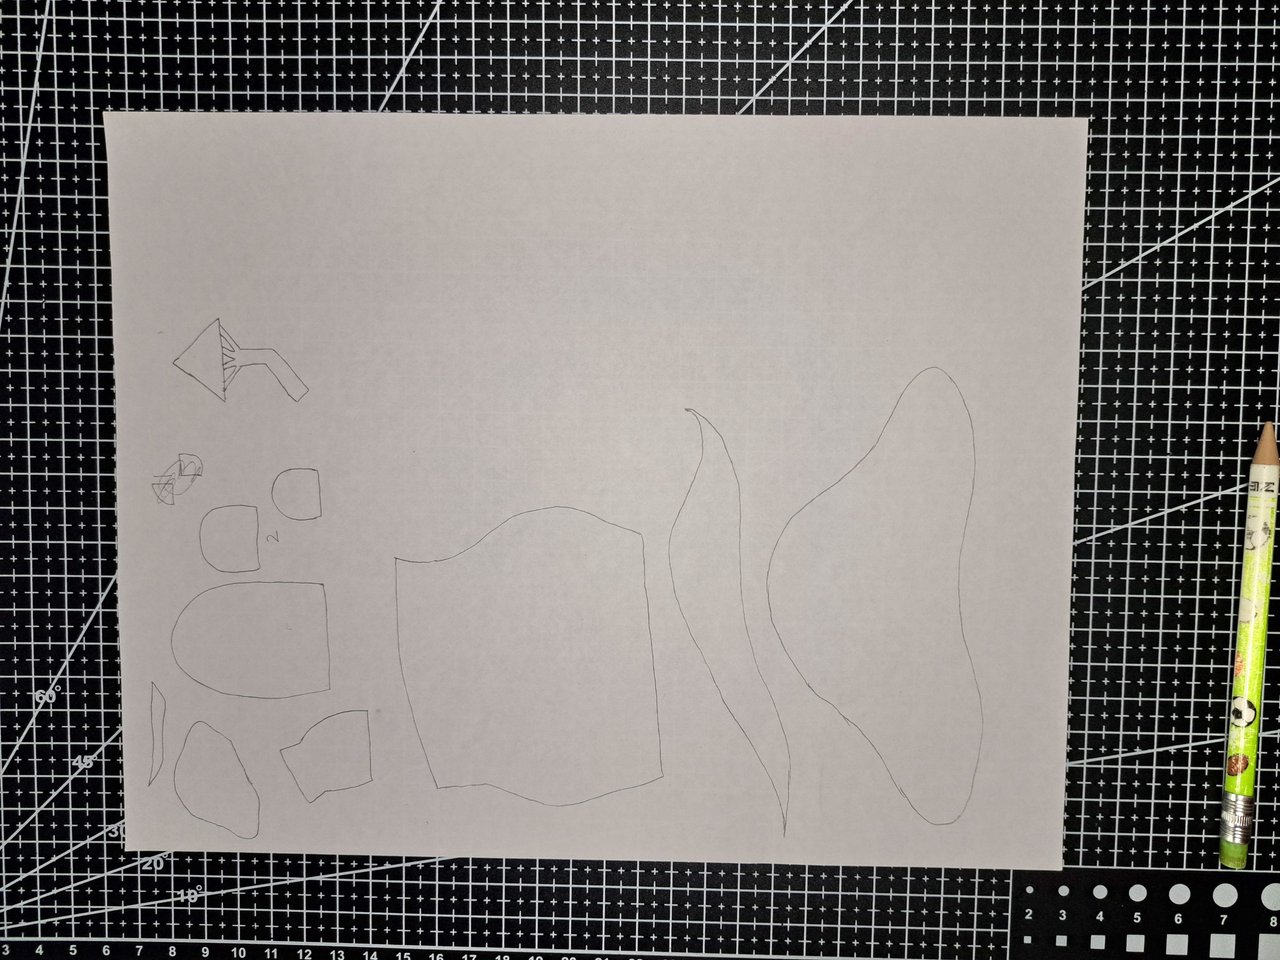
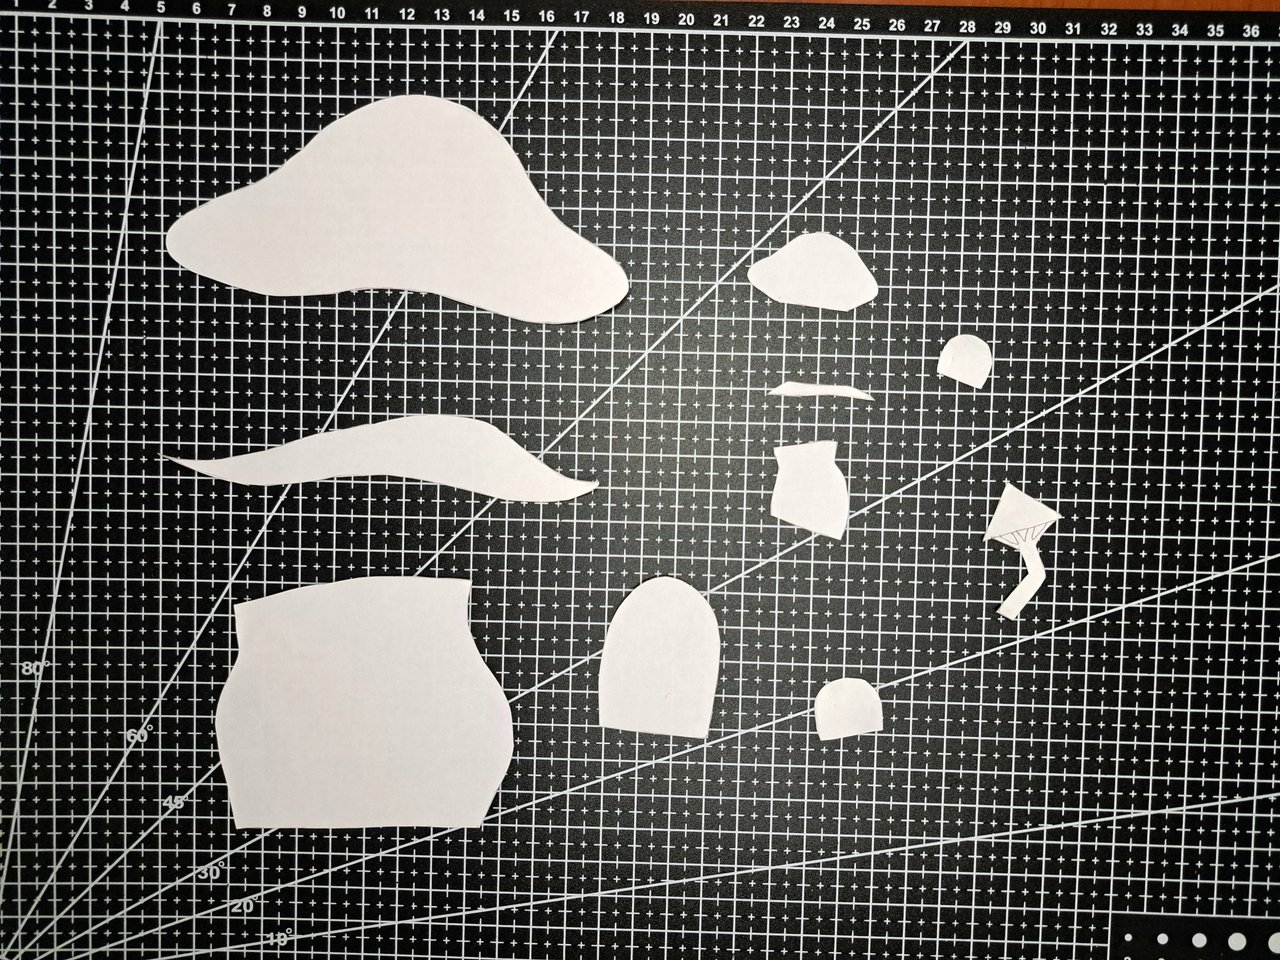
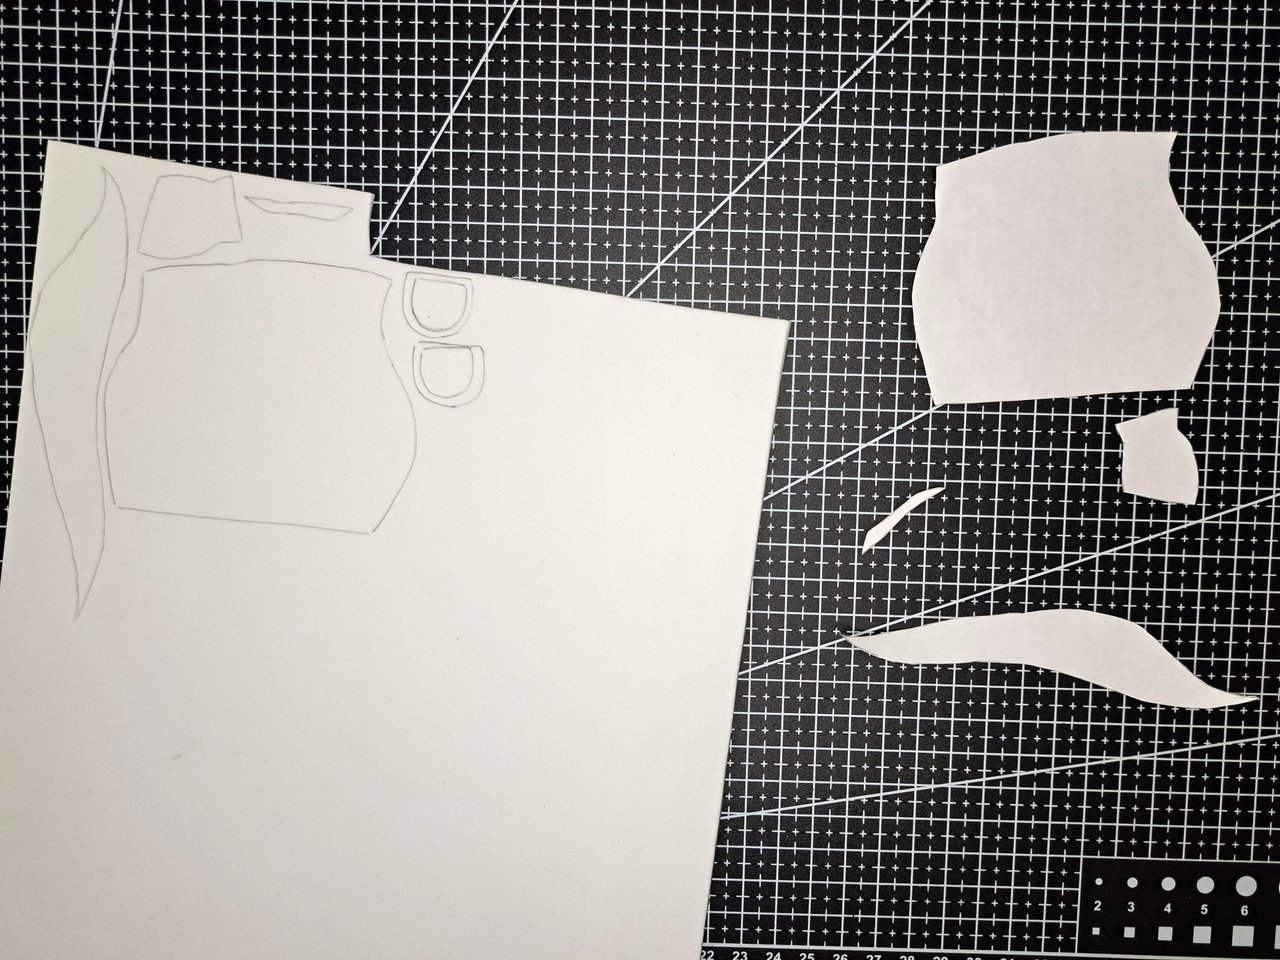
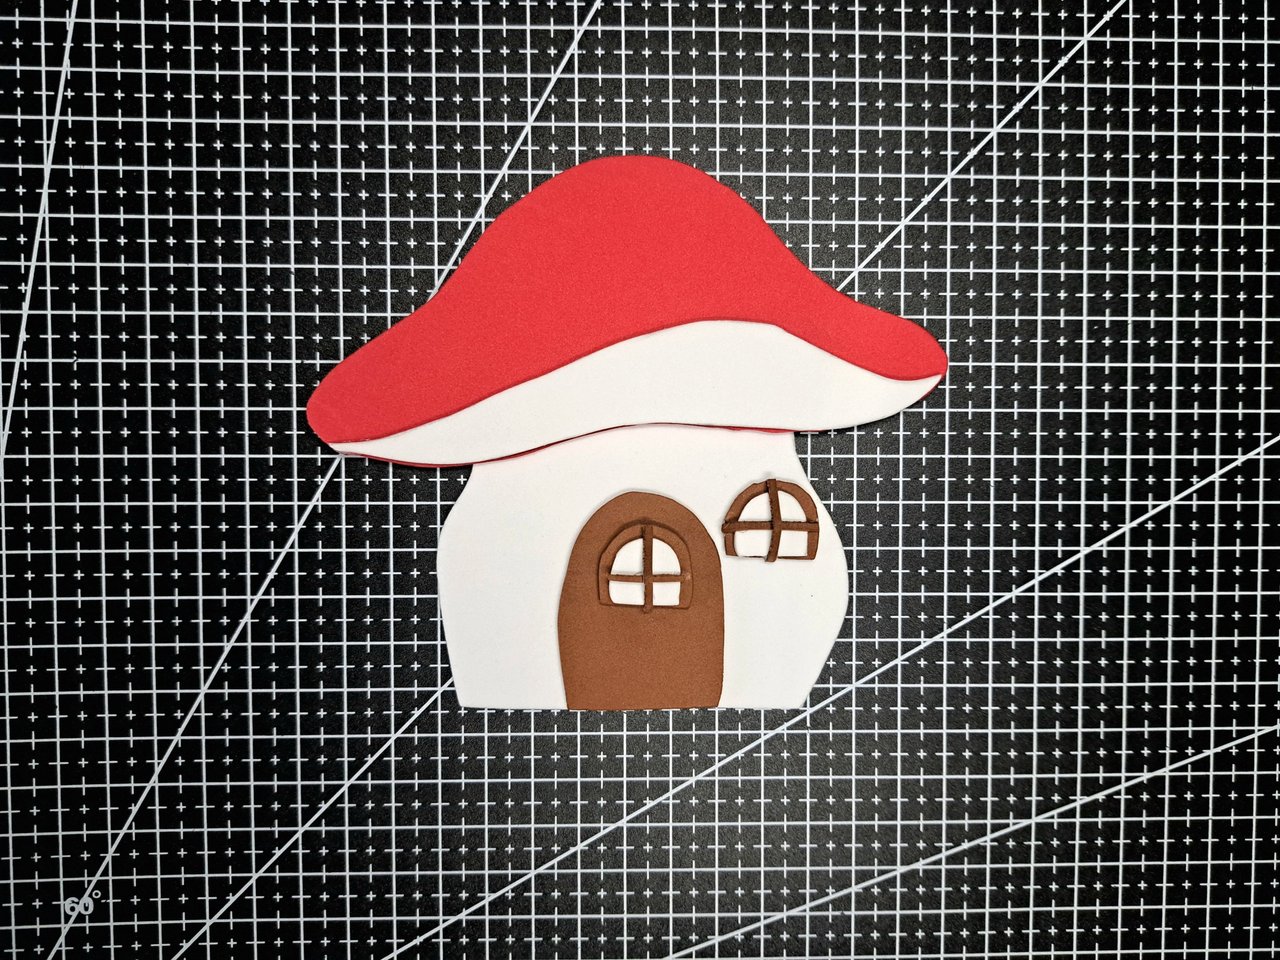
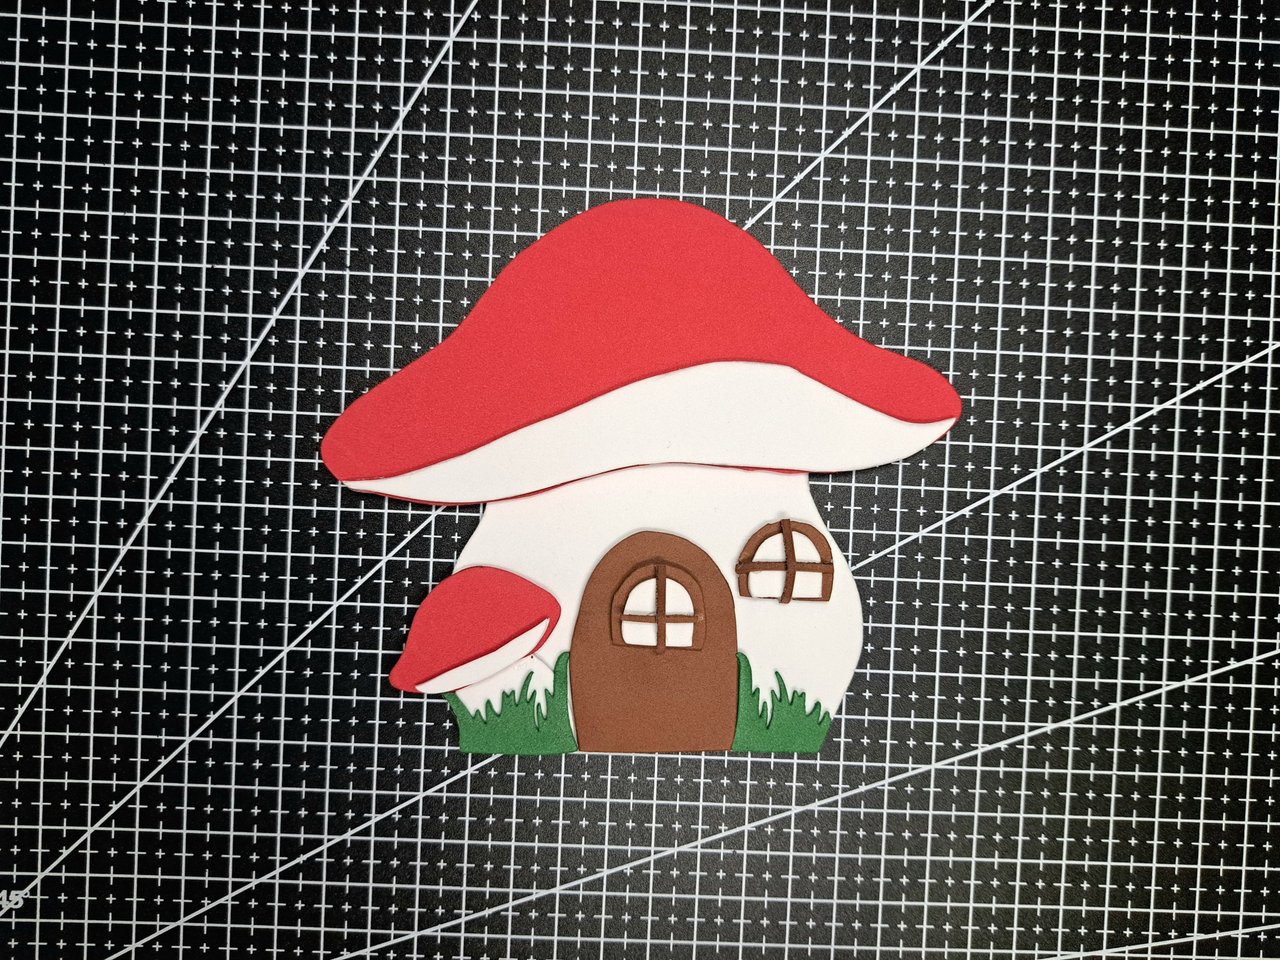
1️⃣ I started by drawing on a sheet of paper each of the parts that make up the ornament. Then I cut out the pieces using scissors. You can use the first image as a mold if you wish.
Comencé dibujando en una hoja de papel cada una de las partes que conforman el adorno. Luego recorté las piezas utilizando unas tijeras. Pueden utilizar la primera imagen como molde si así lo desean.
 |
 |
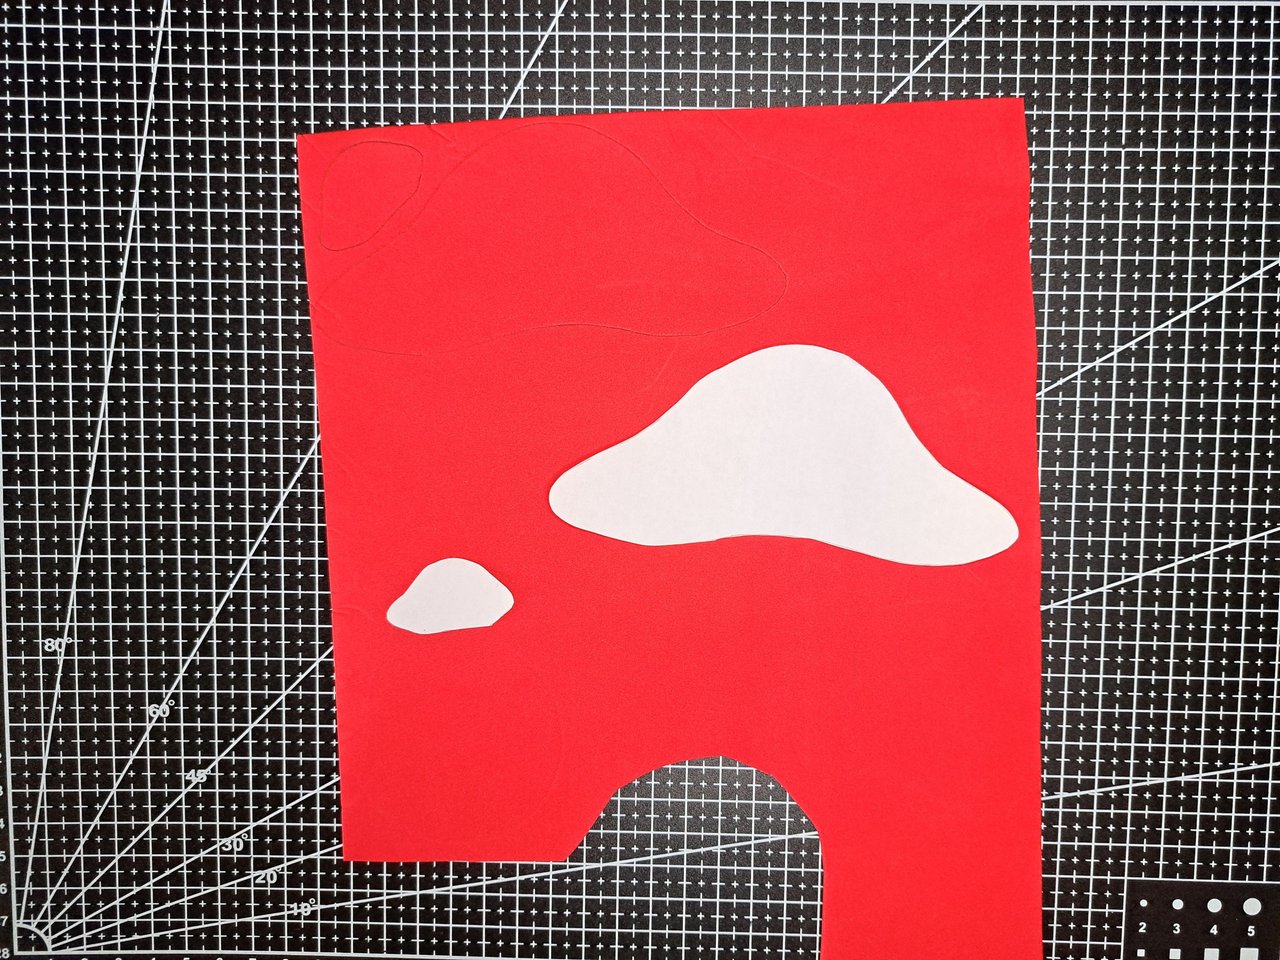
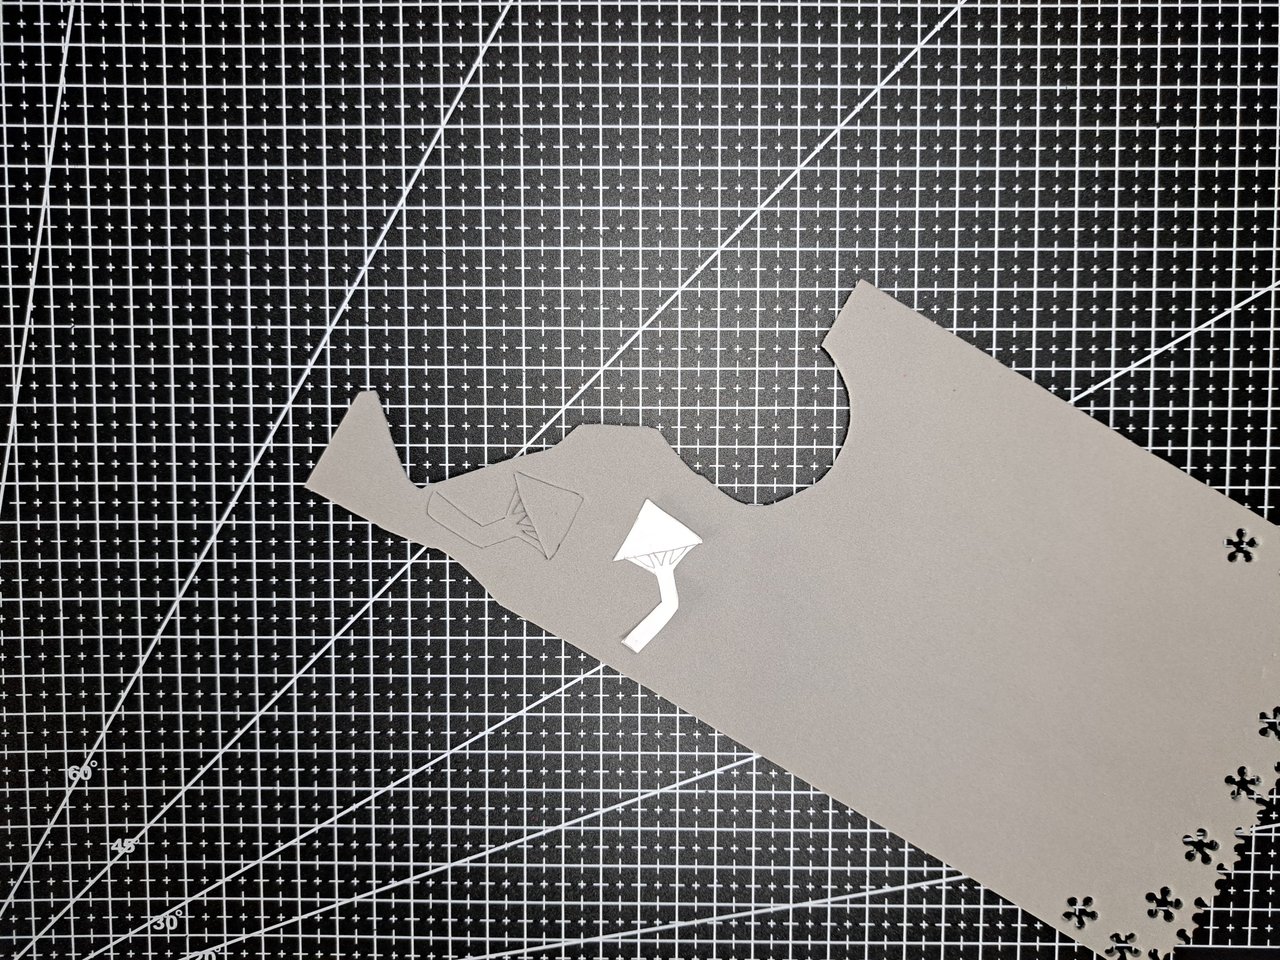
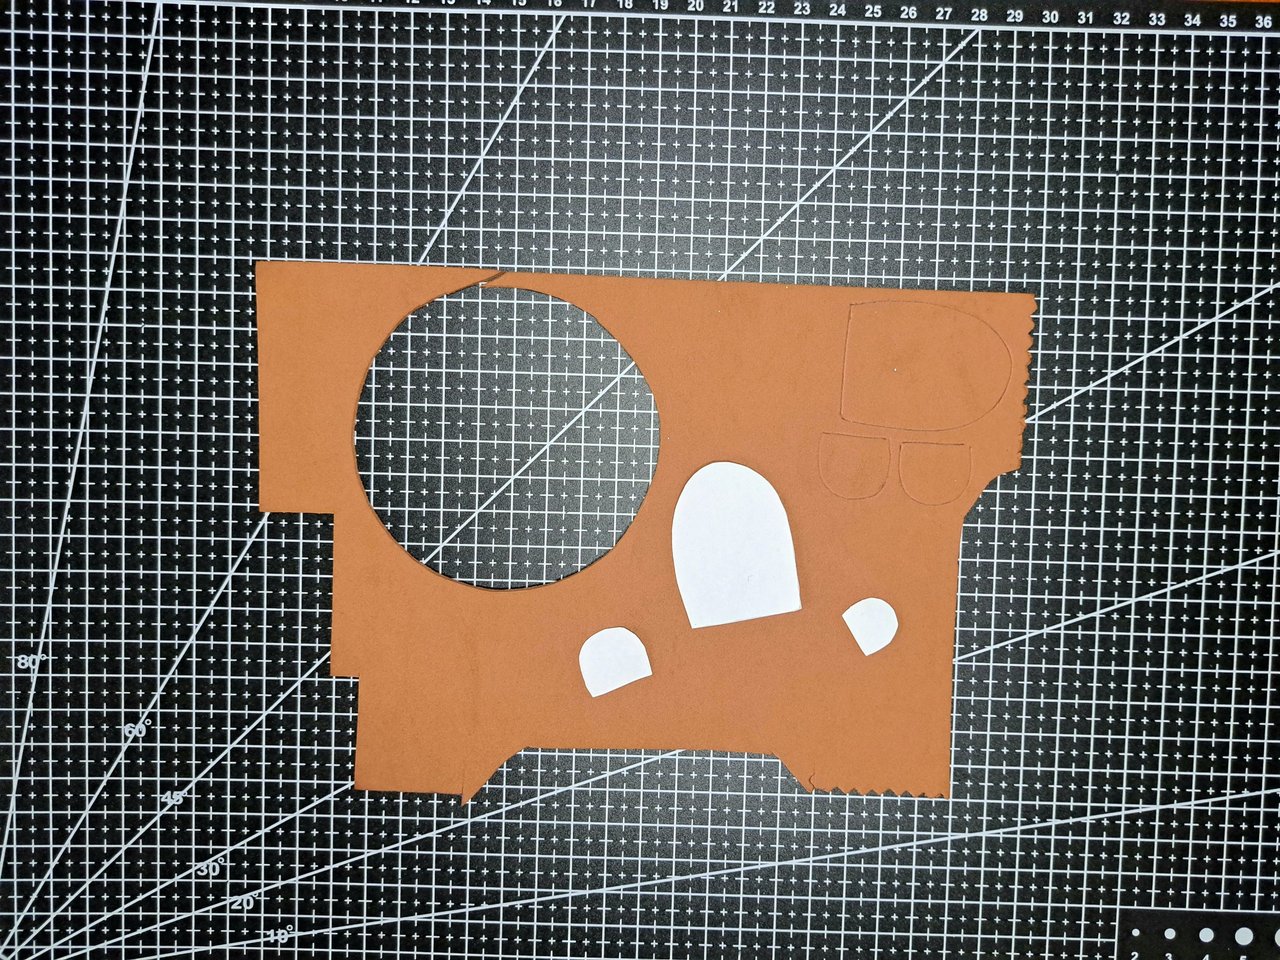
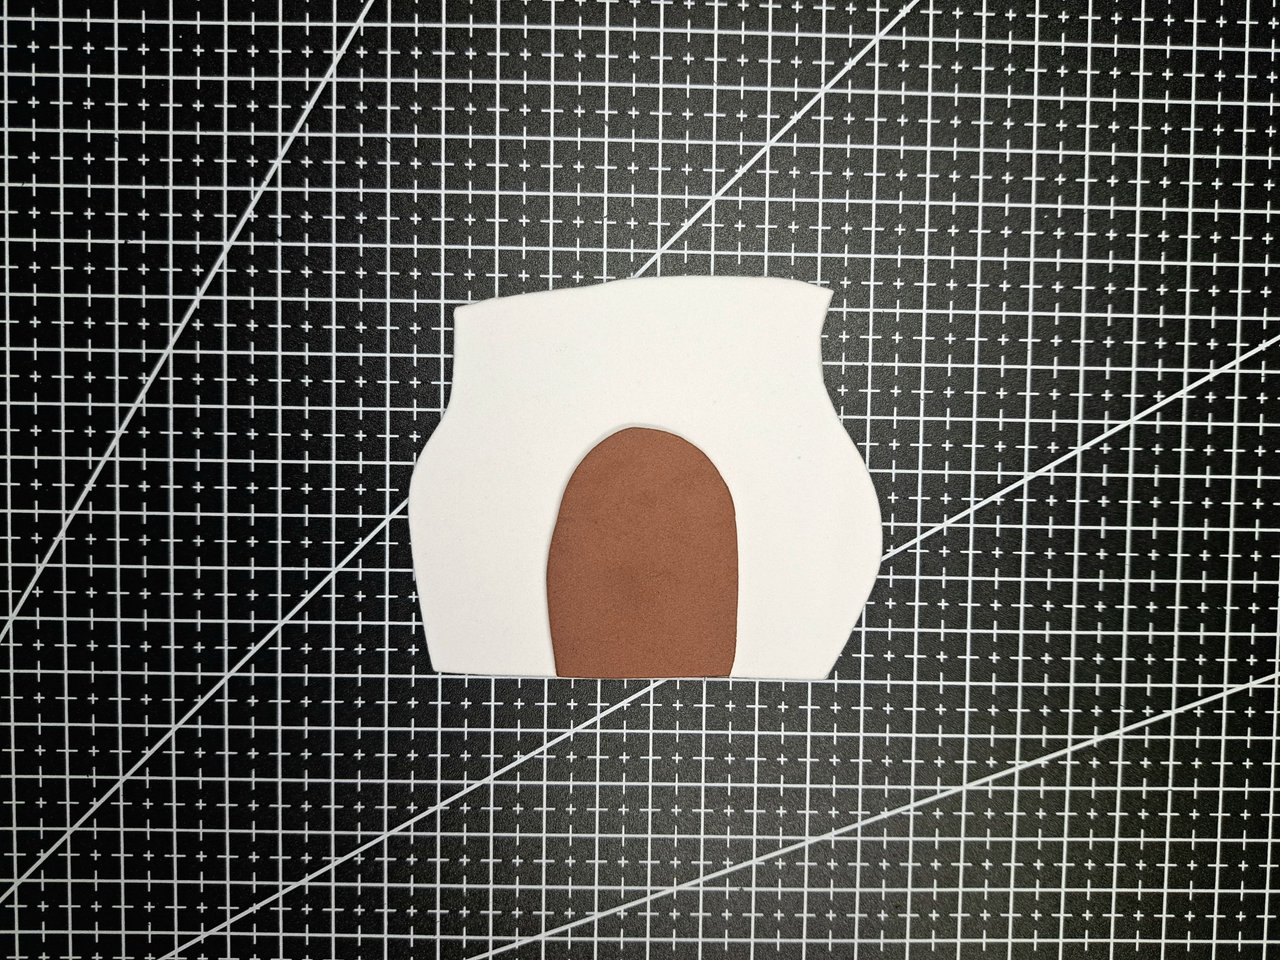
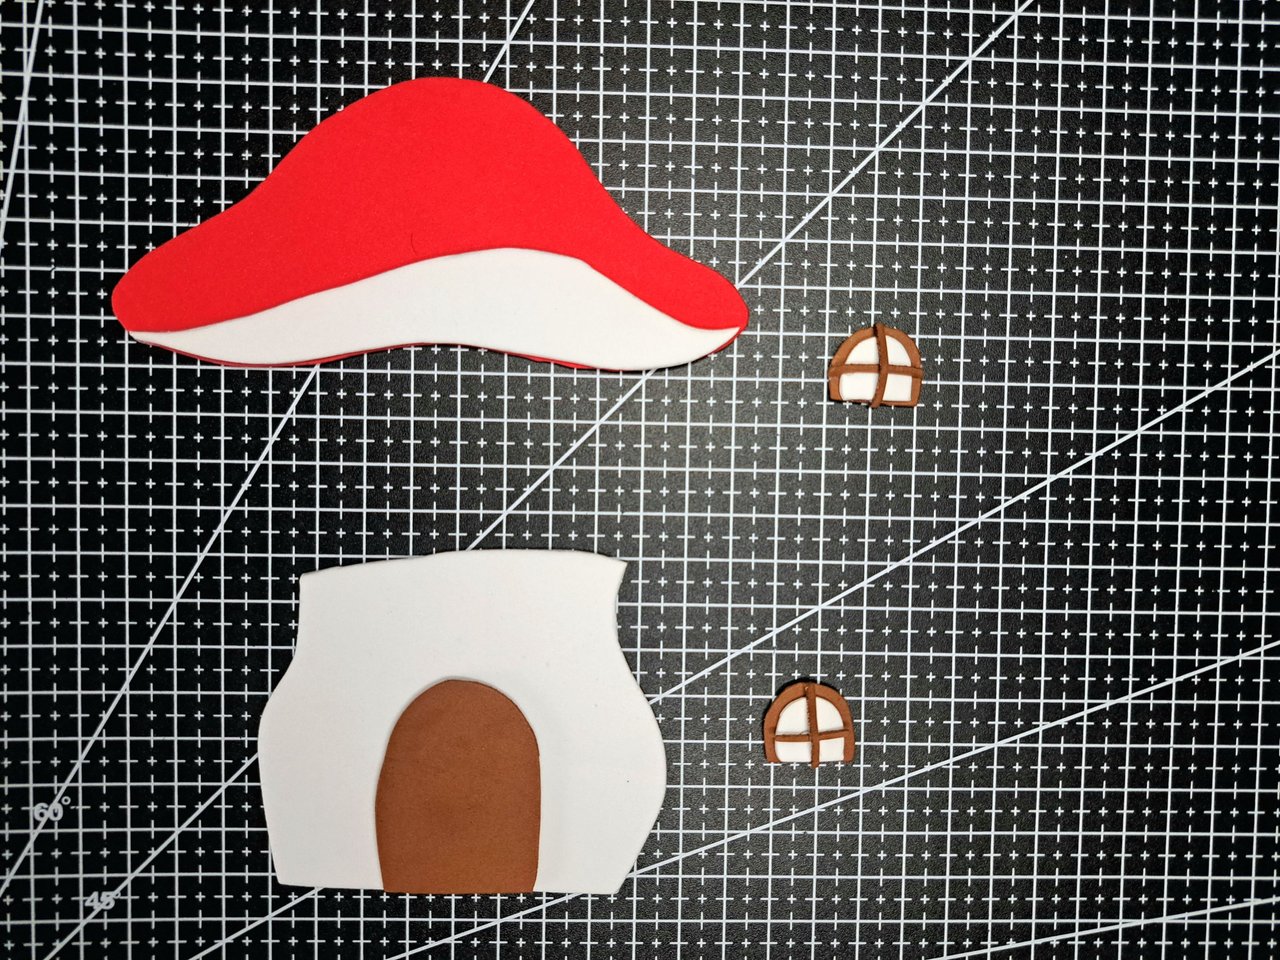
2️⃣ I used the paper molds to mark their silhouette on the fomi sheets and then cut them out. For the roof and the small mushroom I used red fomi, the stem of both mushrooms is white, as is the inside of the cap. For the windows and doors I used carmelite and white fomi.
Empleé los moldes de papel para marcar su silueta en las láminas de fomi y luego recortarlas. Para el techo y el hongo pequeño utilicé fomi rojo, el tallo de ambos hongos es blanco, al igual que la parte interior del gorro. Para las ventanas y puertas usé fomi carmelita y blanco.
 |
 |
 |
 |
 |
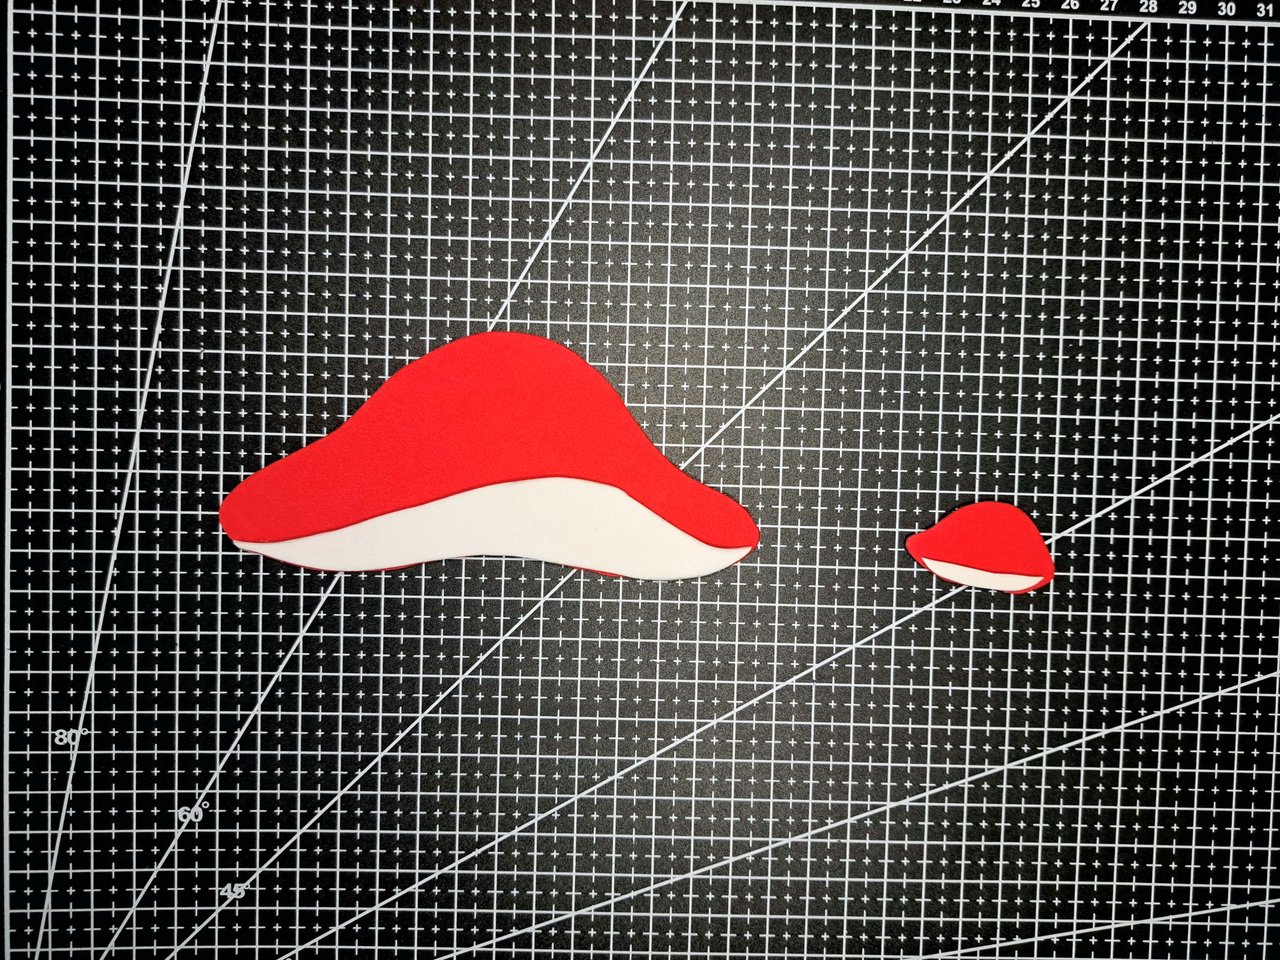
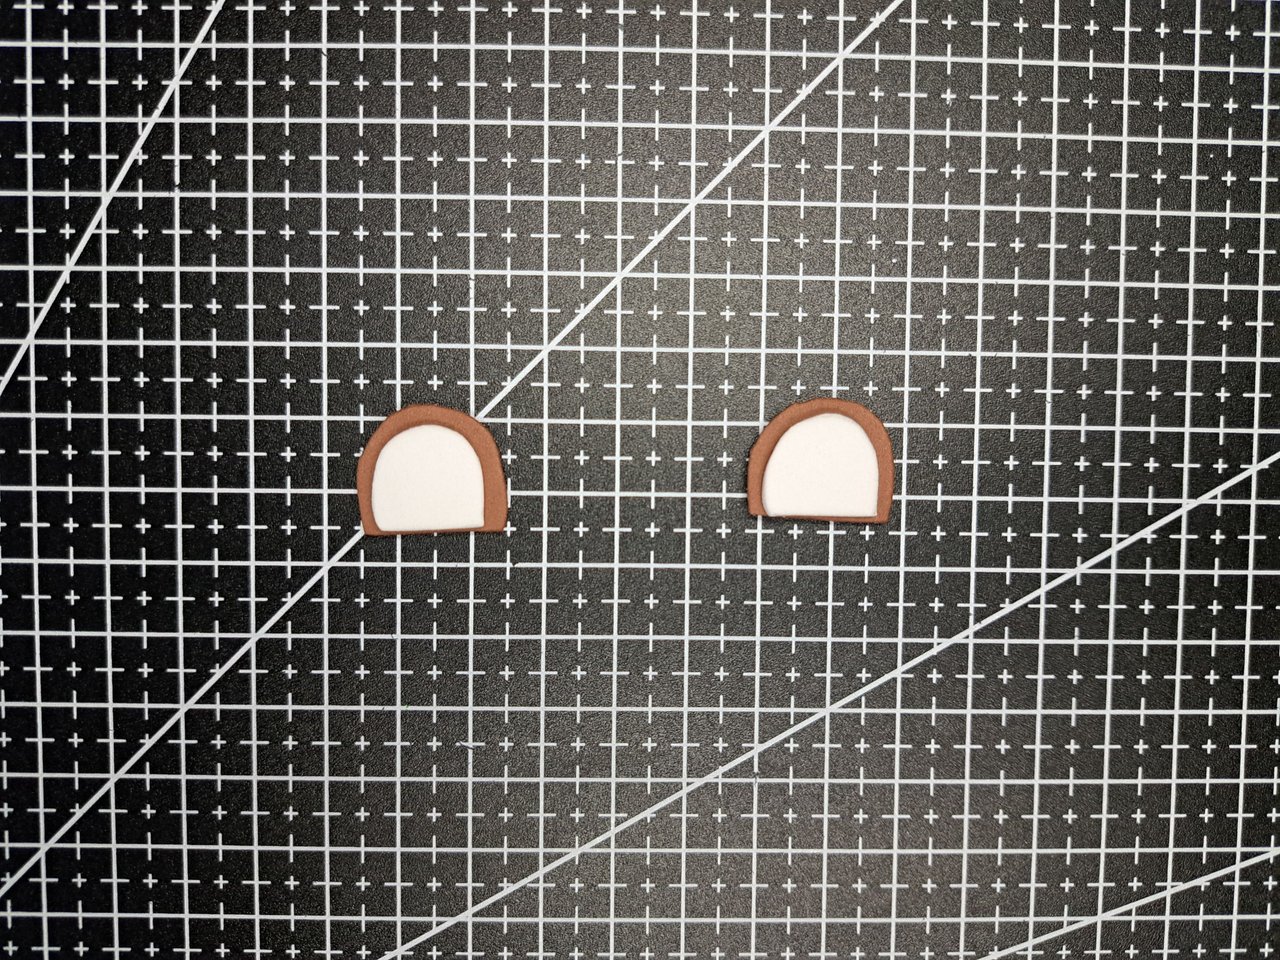
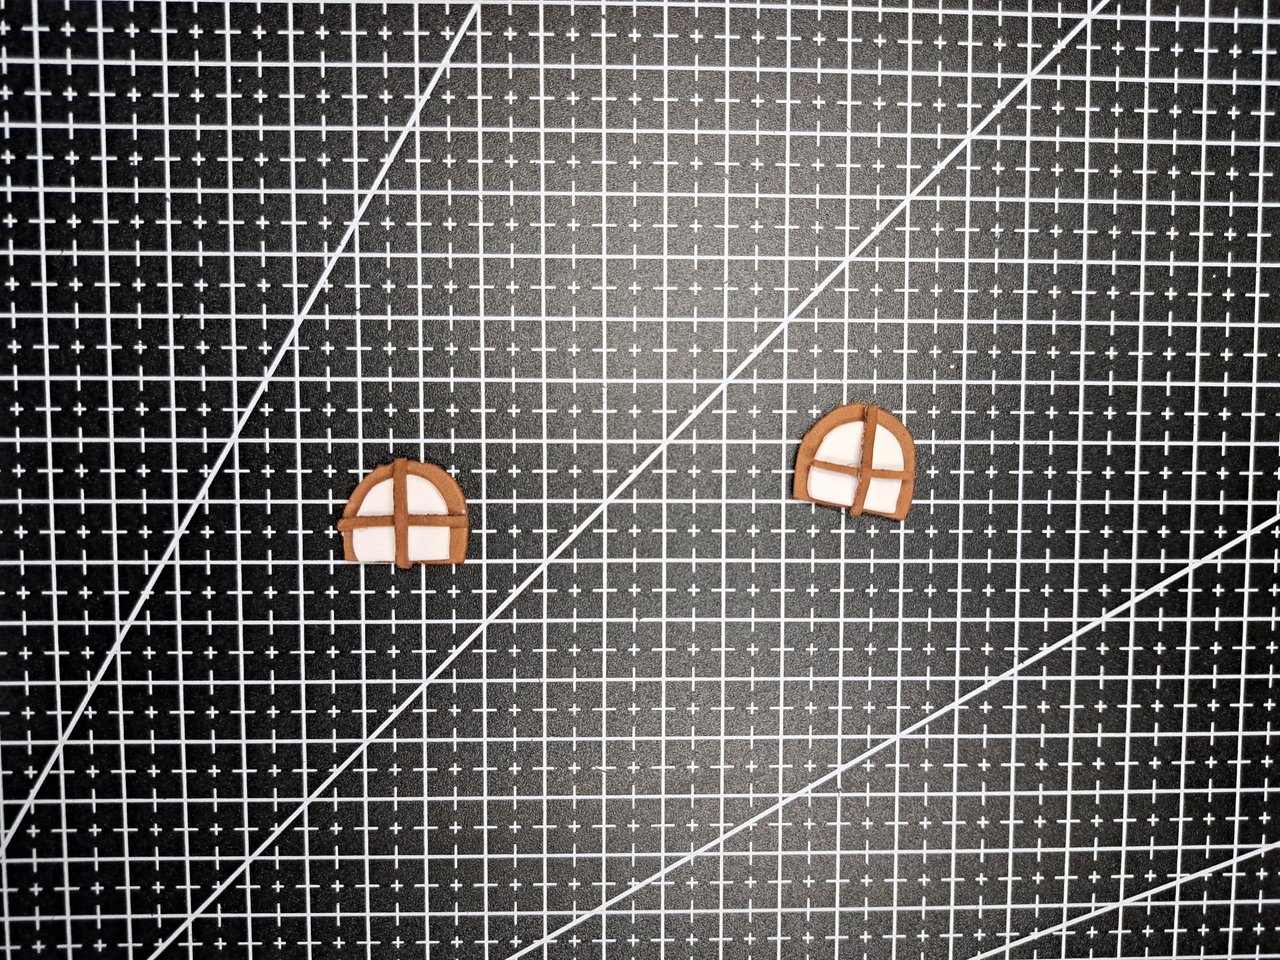
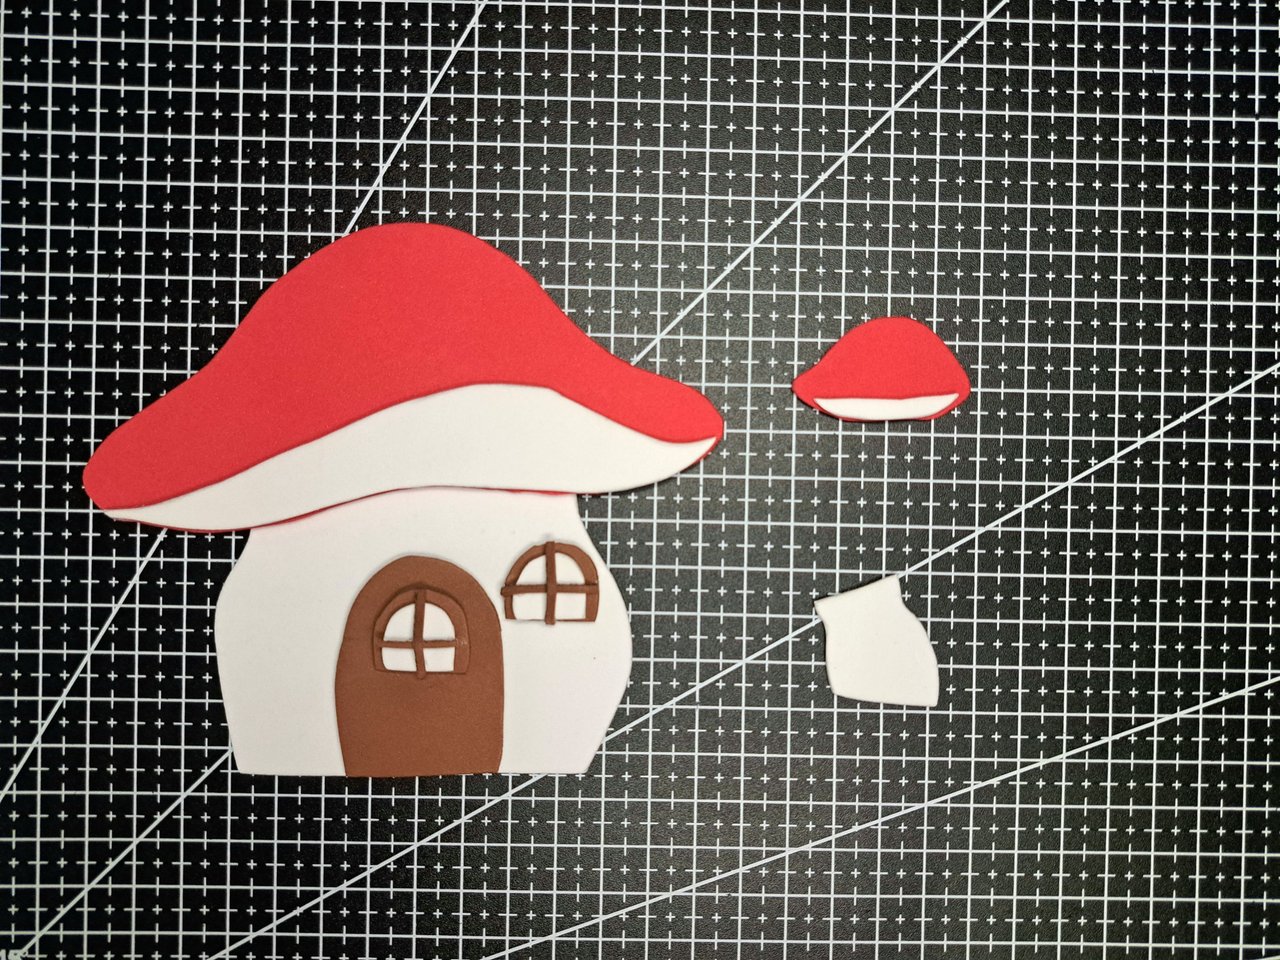
3️⃣ With all the parts cut out, I glued some pieces that will make up the whole. To each red part of the mushroom cap I glued the white interior underneath. I glued the door on the wide stem and assembled the windows by adding some cross bars.
Con todas las partes recortadas fui pegando algunas piezas que conformarán el todo. A cada parte roja del gorro del hongo le pegué debajo el interior blanco. Pegué la puerta sobre el tallo ancho y armé las ventanas agregando unas rejas en cruz.
 |
 |
 |
 |
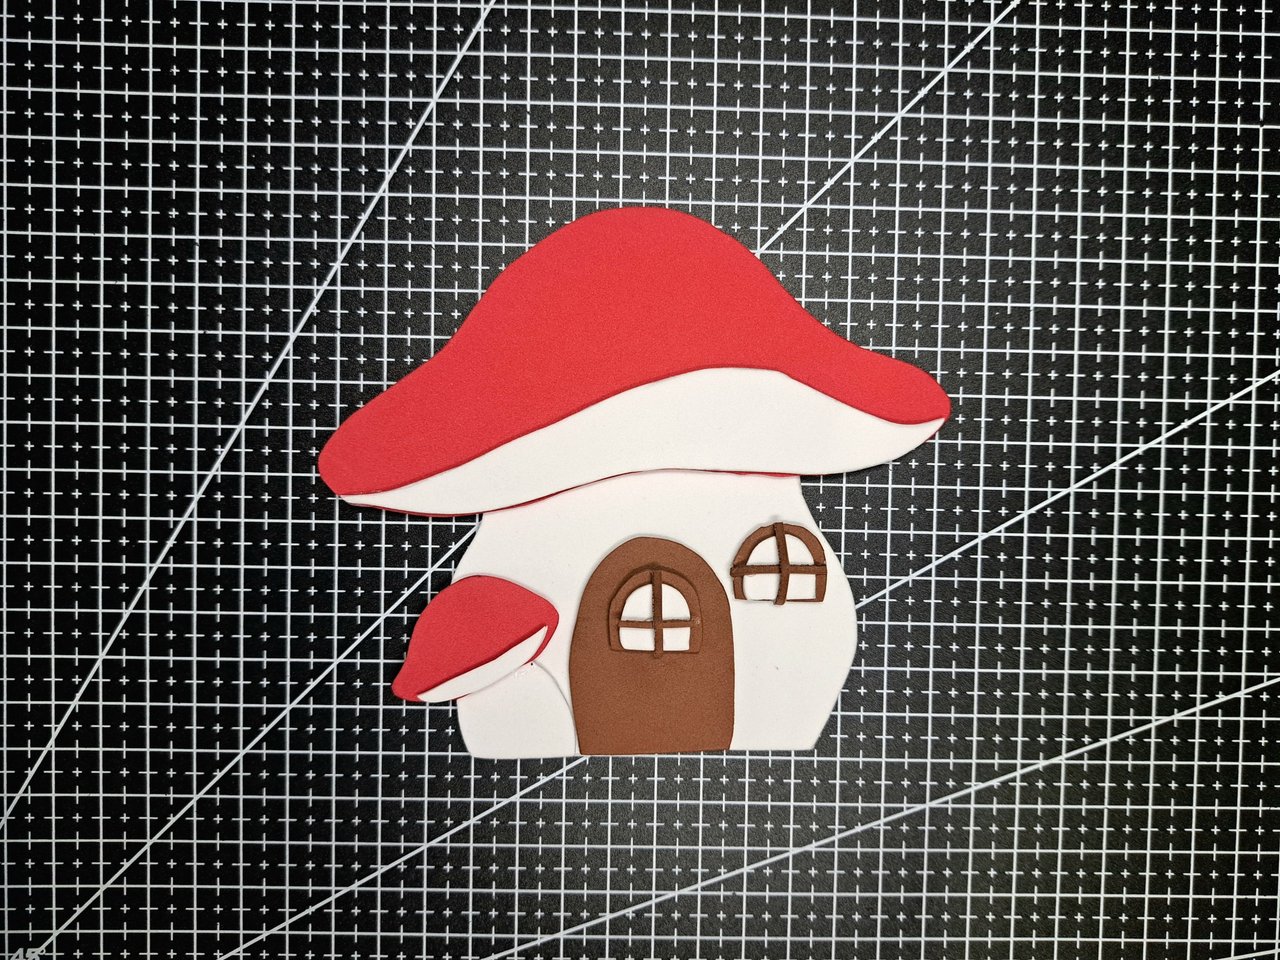
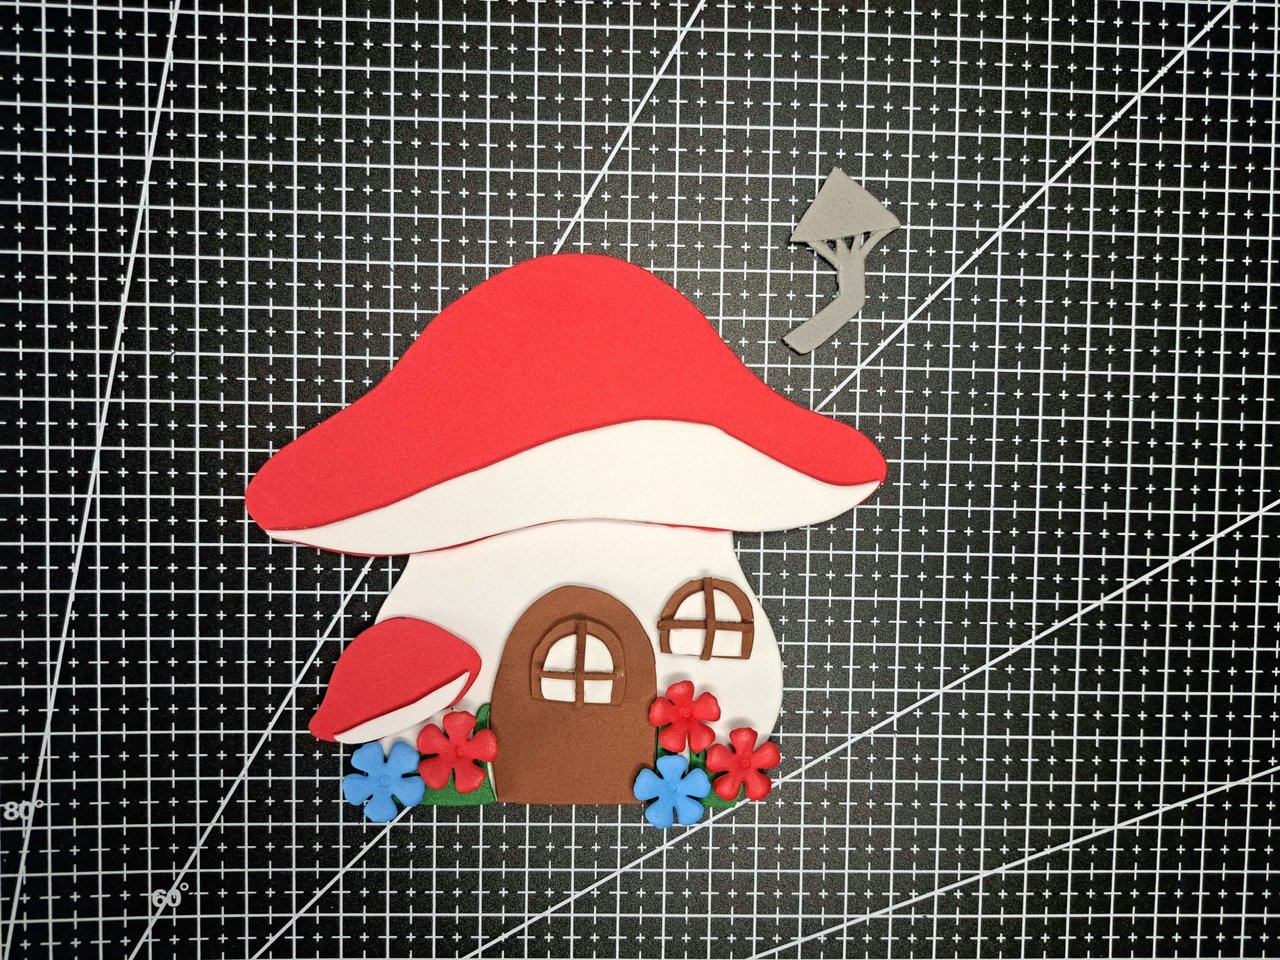
4️⃣ Next I attached roof, walls and windows, or should I say cap, stem and windows. Additionally, I glued on the left side the medium mushroom that serves as an addition to the main large mushroom.
A continuación uní techo, paredes y ventanas, o debería decir gorro, tallo y ventanas. Adicionalmente, pegué en el lado izquierdo el hongo mediano que sirve de agregado para el hongo grande principal.
 |
 |
 |
 |
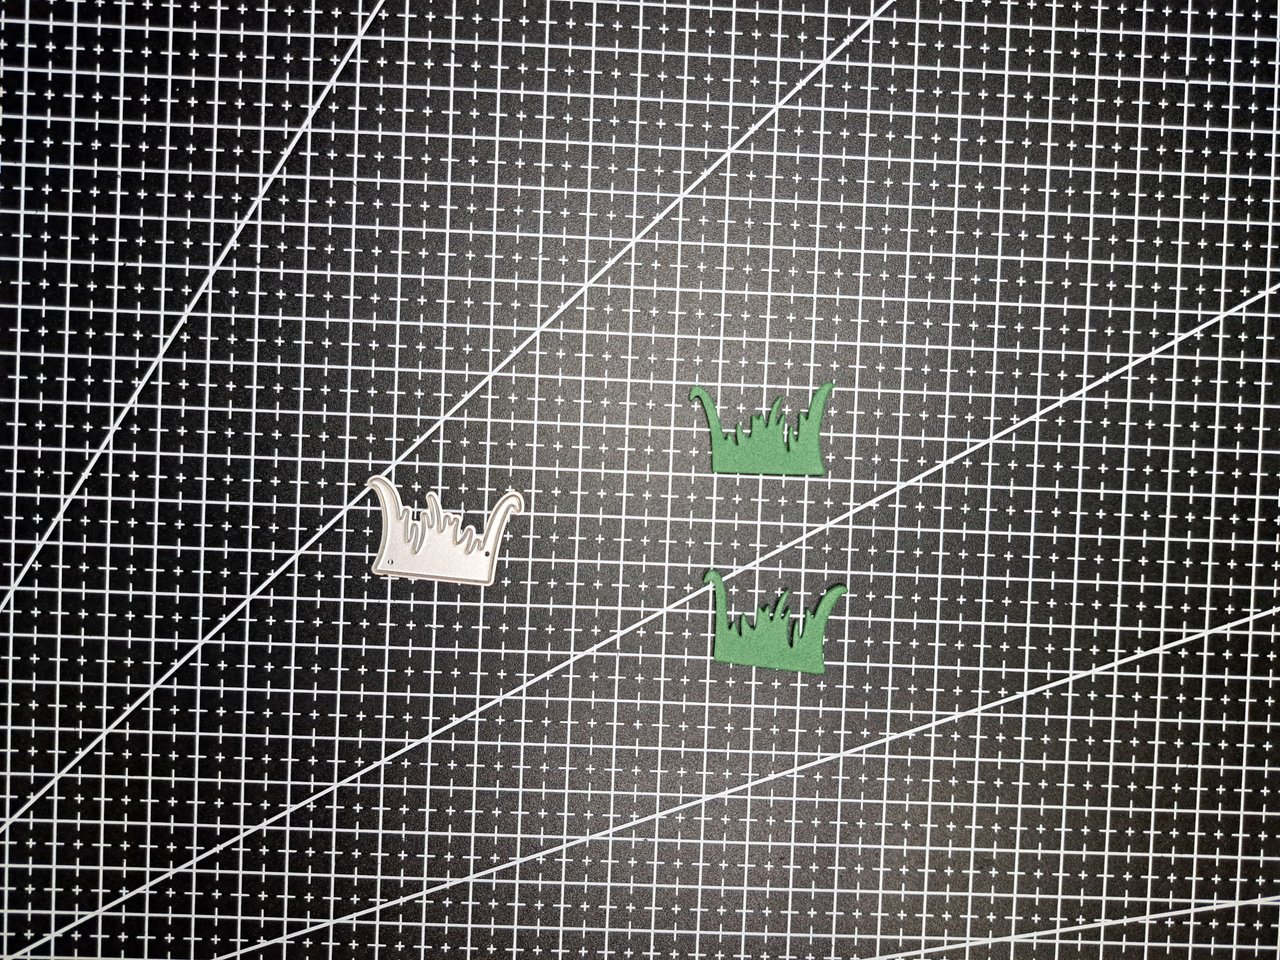
5️⃣ With some metal cutting dies, I cut out the shapes of the grass and flowers from the front garden. Then, after thermoforming the flowers, I glued the grass at the base and the flowers on top.
Con unos troqueles metálicos de corte, recorté las formas del pasto y las flores del jardín frontal. Luego, de termoformar las flores, pegué en la base la hierba y encima las flores.
 |
 |
 |
 |
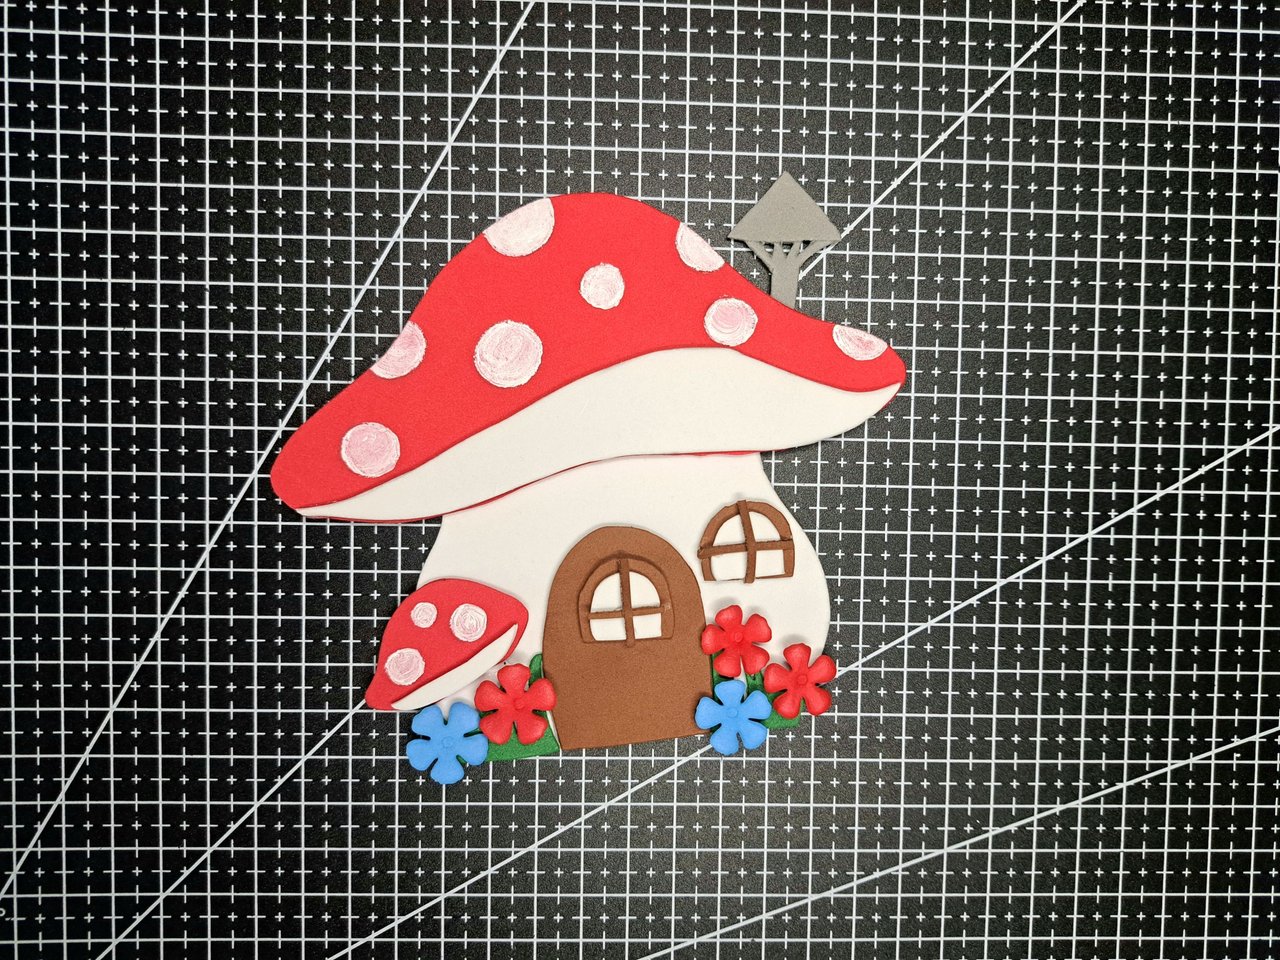
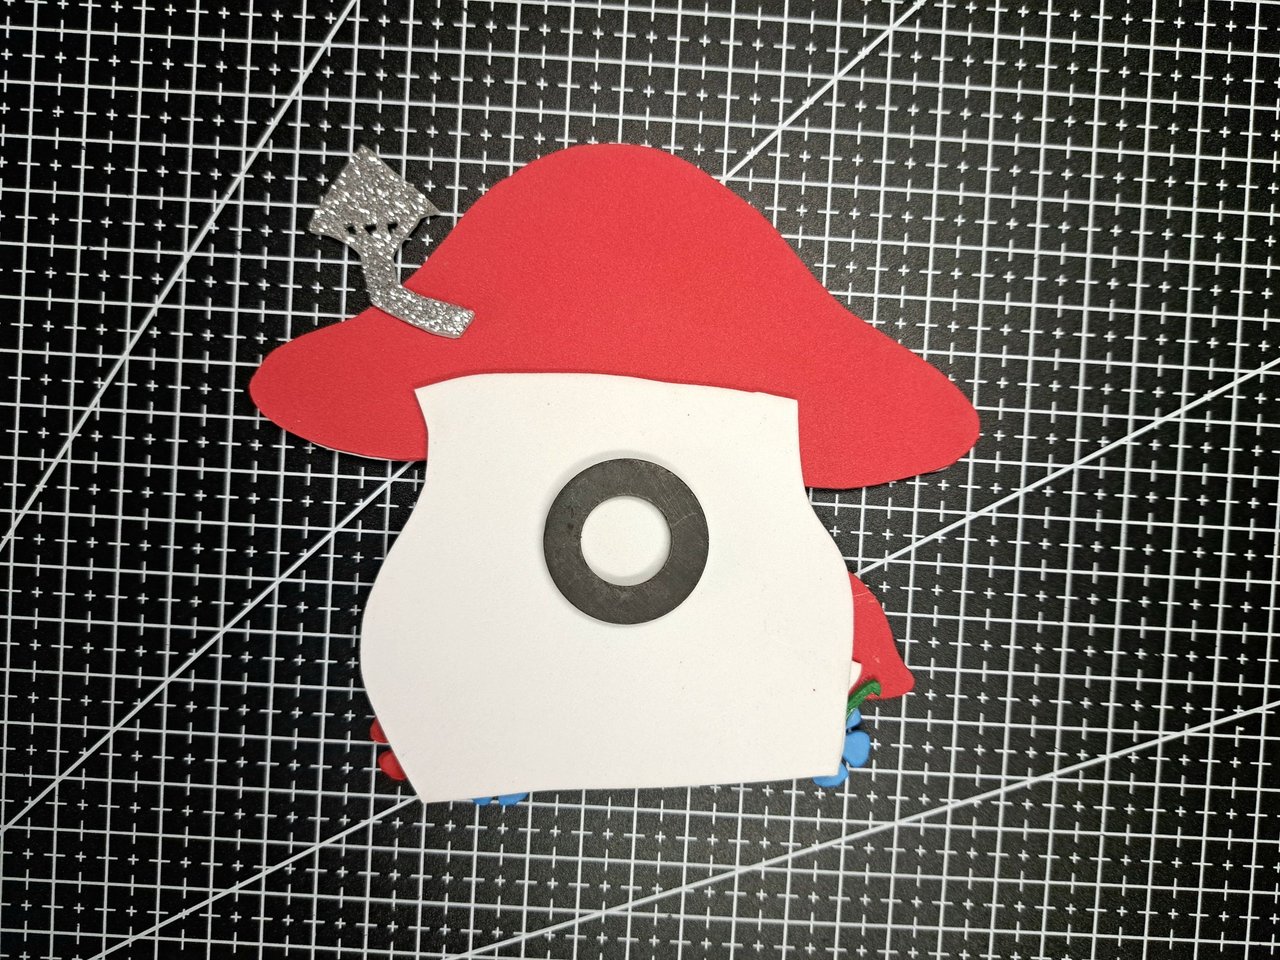
6️⃣ With white paint and a very fine brush, I drew several white circles on the mushroom caps. Then I marked the lower part of the mushroom using a pen without ink and so, when I applied it by blurring carmelite to that area, I obtained a relief.
Con pintura blanca y un pincel bien fino, dibujé varios círculos blancos en los gorros de los hongos. Luego marqué la parte inferior del hongo usando un bolígrafo sin tinta y así, cuando apliqué él difuminando carmelita a esa zona, obtuve un relieve.
 |
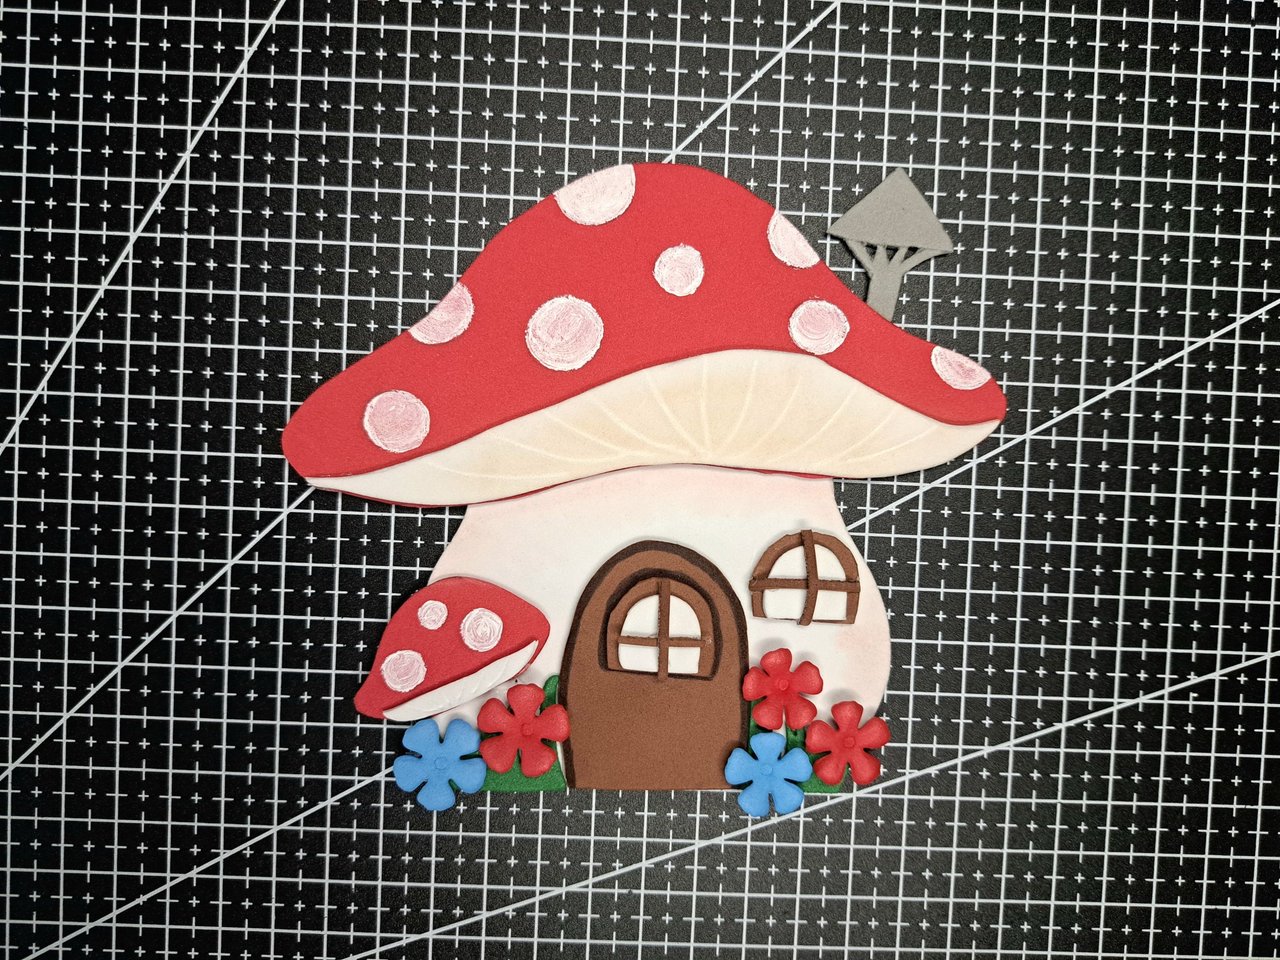 |
7️⃣ To finish, I glued a magnet on the back of the ornament and then, after touching up some edges with a black ink pen, the decorated magnet was ready.
Para finalizar, pegué un imán en el reverso del adorno y luego, de retocar algunos bordes con un bolígrafo de tinta negra, quedaría listo el imán decorado.
 |
 |
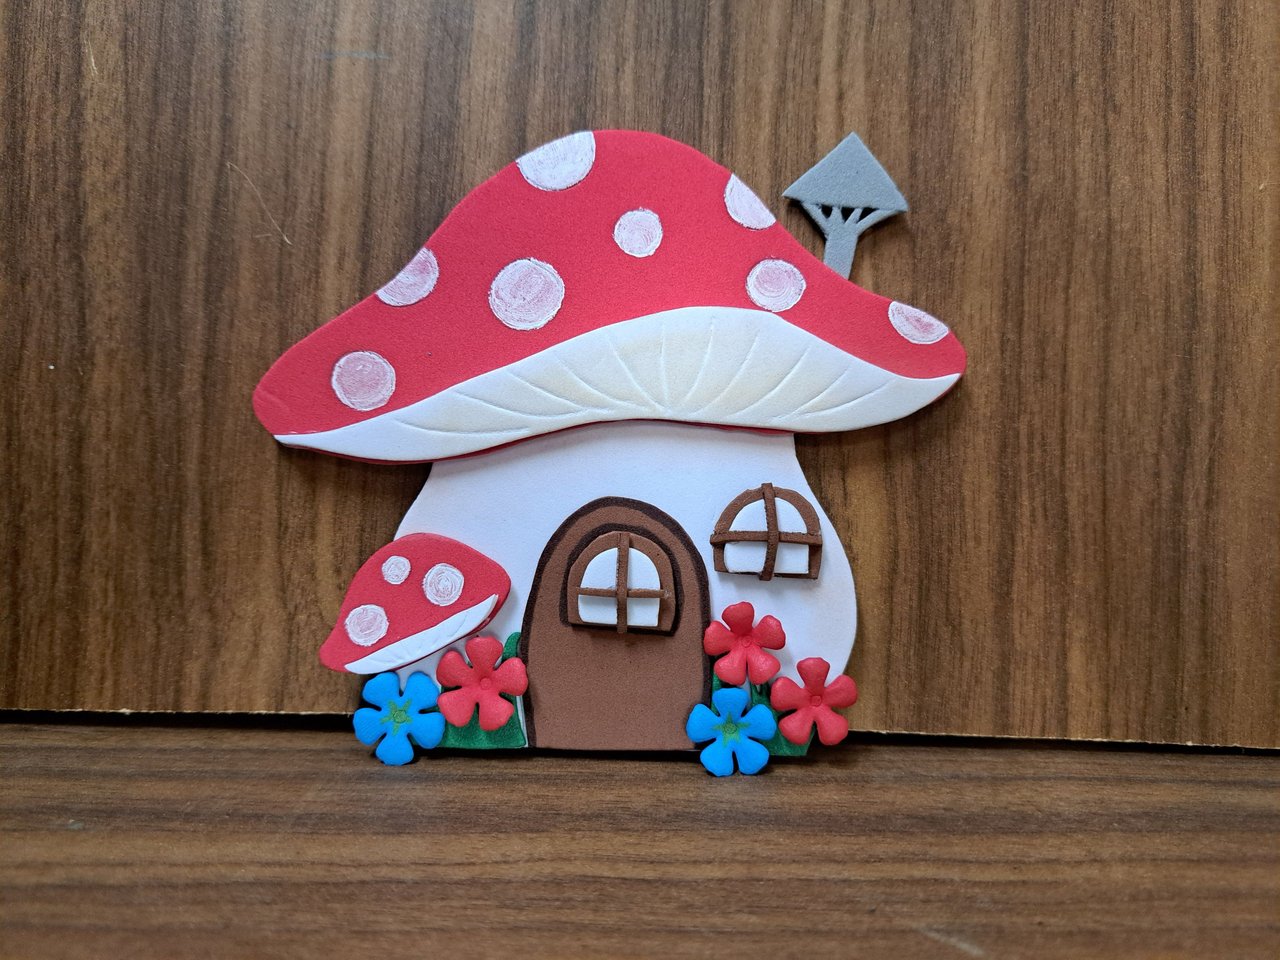
Finished Work // Trabajo Terminado
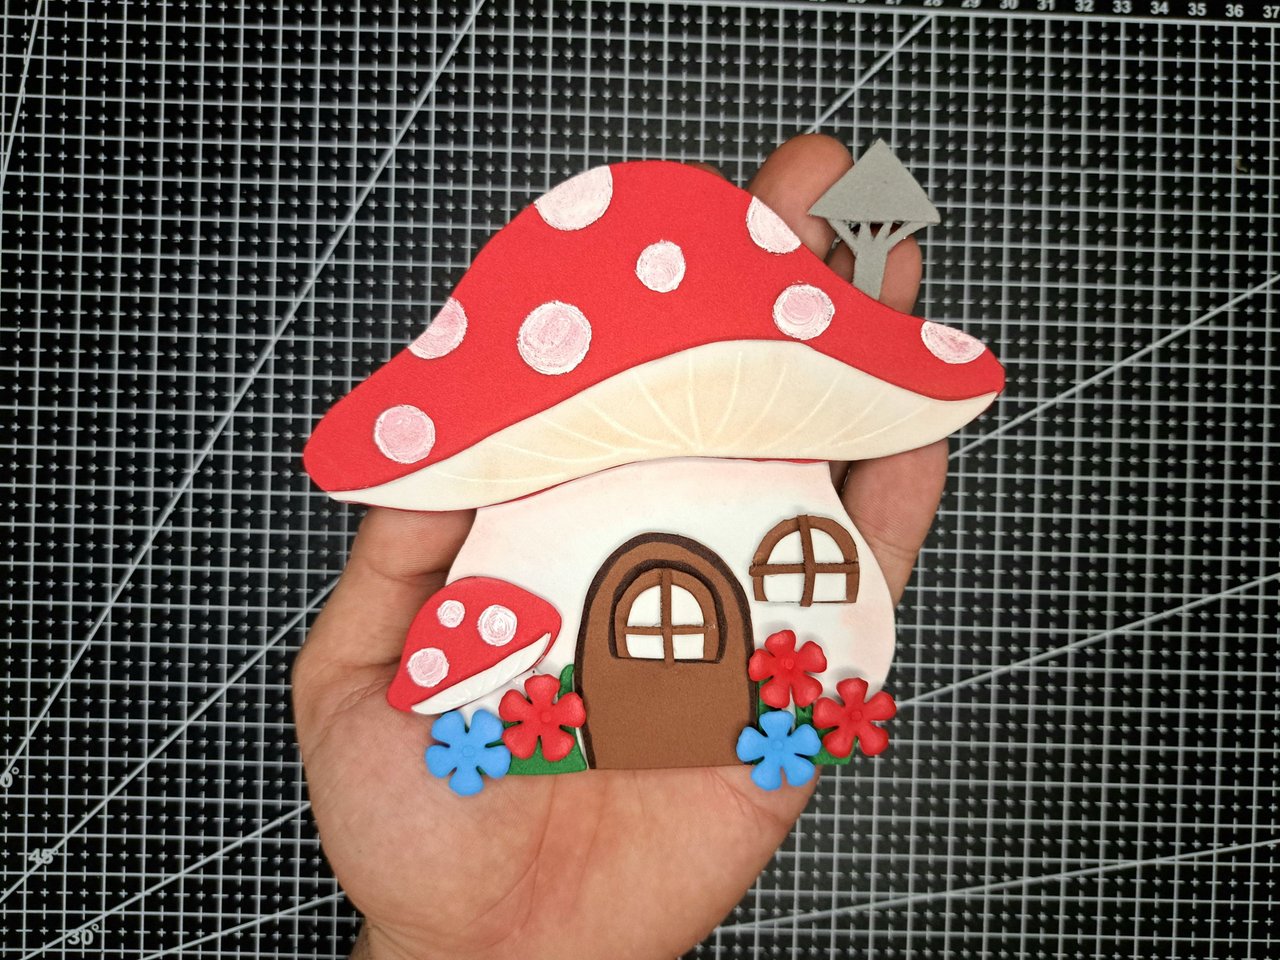
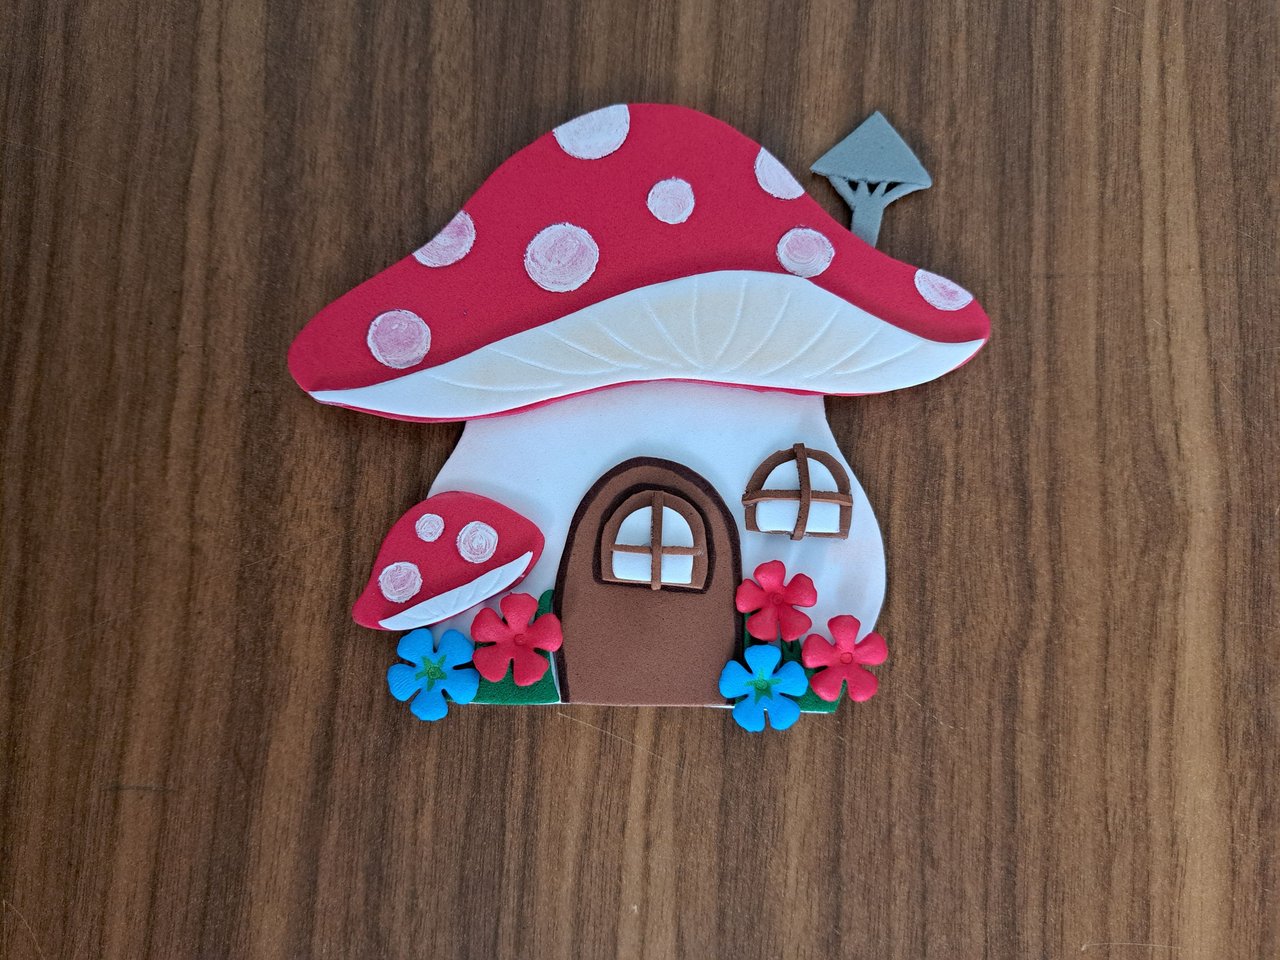
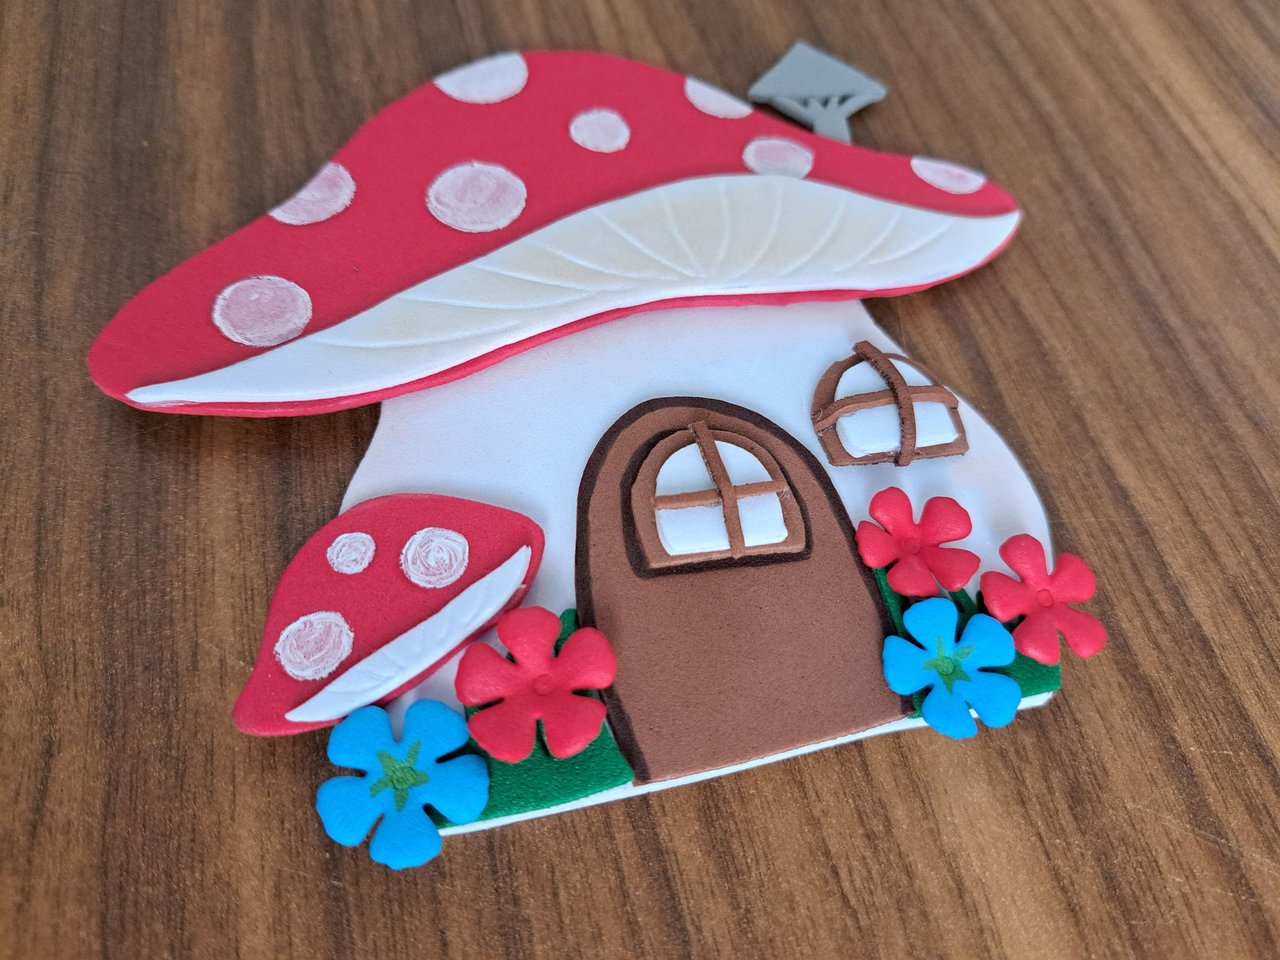
This concludes this tutorial where I showed you a tutorial which, if you follow it to the letter, will help you to make a decorated magnet in the shape of a gnome's house. Here are the pictures of the finished work. I hope you like them and I hope you leave me in the comments any suggestions or questions you may have. See you next time.
De esta forma concluiría este tutorial donde les mostré un tutorial el cual, si siguen al pie de la letra, les ayudará a confeccionar un imán decorado con forma de casita de gnomo. A continuación, les dejo las imágenes del trabajo terminado. Espero que les gusten y que me dejen en los comentarios cualquier sugerencia o duda que tengan. Hasta la próxima.
 |
 |
 |
 |

Credits and Resources // Créditos y Recursos
Cover page created in Canva
Translated by DeepL
Images captured with my Samsung Galaxy A53
Inspiration Source

It is beautiful and elegant. It looks pretty cool. It shows your skills. Nice work! Keep it up!
Thank you for your support. I plan to continue creating and sharing with the community.
Que hermosa casita @edeyglezsosa , me gustó mucho.
Muchas gracias amiga 🥰.
Que linda quedó la casita. Bendiciones.
Muchas gracias 🤗
You've shared a lot of beauty in the community, but as of today I have a new favorite decoration. Thank you for being here, your presence on DIYHub is always a pleasure, besides being very colorful and high quality, you are an example to follow in this community...
Thank you so much for always leaving such a beautiful comment and for supporting me. I have said it before and I repeat it. For me it is a pleasure to share my creations in the community.