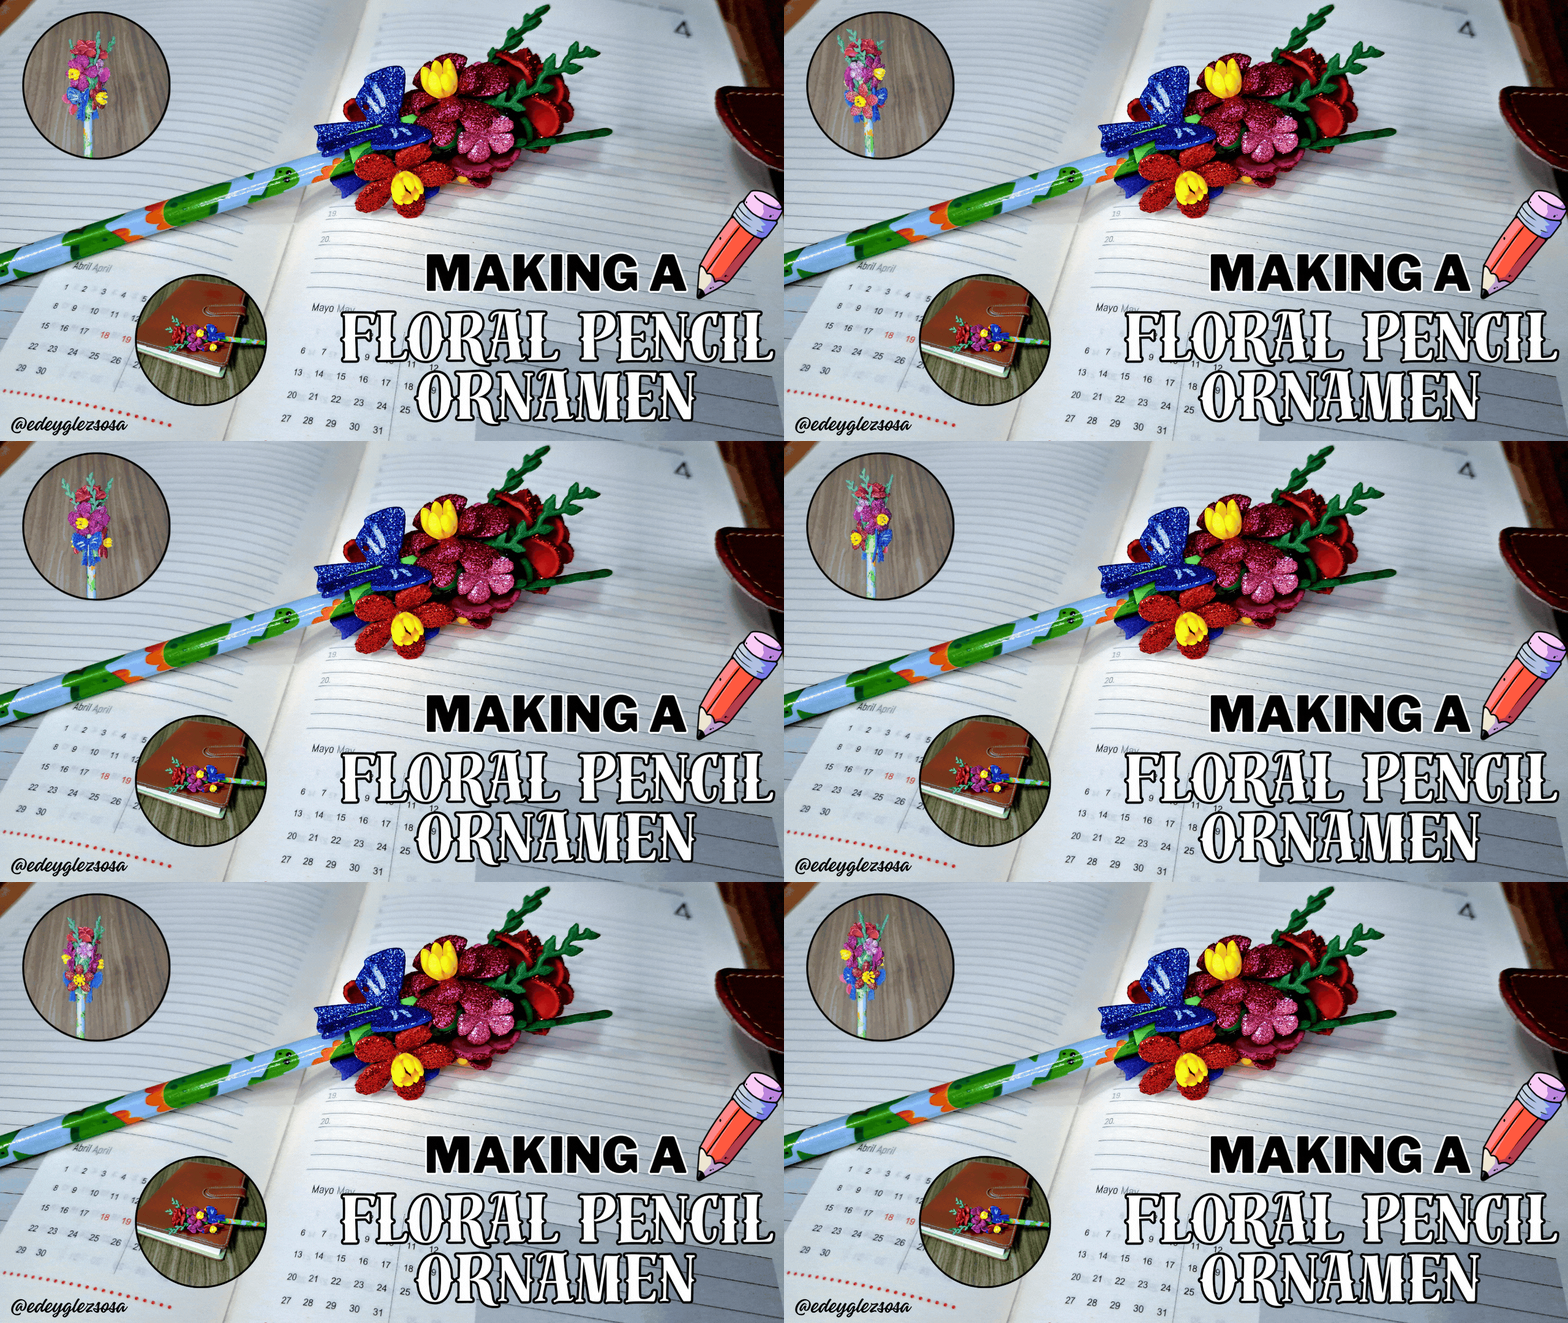
Greetings friends of the @diyhub community. This new year is full of new creations and lots and lots of colors. Proof of this is the tutorial that I will share with you next. This time I have decided to create a pencil ornament that also serves as a tip protector. I was a little undecided about the name of the publication, since this part is known by several names, among which are toe cap, cap, cap, protector and so on. That's why I decided to simply call it trim so as not to cause confusion.
As I already mentioned, this ornament will protect the tip of a pencil, but it is not just any pencil, it is a very special drawing pencil that my wife @yale95reyra keeps with suspicion, because it is the one she uses to create the embroidery patterns she makes. The craft uses fomi as the main material and, although it seems easy because of its few steps, don't trust it, because, being a small-scale work, it can be laborious to join the parts, to such an extent that I sometimes use tweezers. Well, without further ado, join me in getting to know the materials.
Saludos amigos de la comunidad @diyhub. Este año nuevo viene cargado de nuevas creaciones y muchos, muchísimos colores. Muestra de ello es el tutorial que les compartiré a continuación. En esta ocasión he decidido crear un adorno para lápiz que también sirva como protector para la punta. Estuve un poco indeciso respecto al nombre de la publicación, ya que a esta parte se le conoce por diversos nombres, entre los cuales están puntera, casquillo, casquete, protector y demás. Es por eso que decidí llamarle simplemente adorno para no causar confusión.
Como ya mencioné, este adorno protegerá la punta de un lápiz, pero no es un lápiz cualquiera, sino que es un lápiz de dibujo muy especial que mi esposa @yale95reyra guarda con recelo, pues es el que utiliza para crear los patrones de los bordados que hace. La manualidad utiliza fomi como material principal y, a pesar de que por sus pocos pasos parezca fácil, no se confíen, pues, al ser un trabajo a pequeña escala, puede resultar trabajoso unir las partes, a tal punto que yo utilizo pinzas algunas veces. Bueno, sin más que agregar, acompáñenme a conocer los materiales.

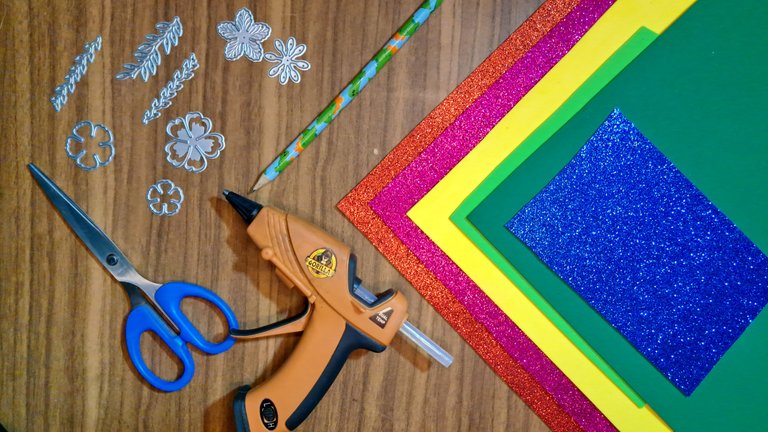
Materials // Materiales
| ✔️ Red, blue, pink, pink and fuchsia pink frosted fomi | ✔️ Fomi escarchado rojo, azul, rosado y rosa fucsia |
| ✔️ Dark green, yellow and light green plain fomi | ✔️ Fomi liso verde oscuro, amarillo y verde claro |
| ✔️ Cutting dies rose | ✔️ Troqueles de rosa |
| ✔️ Poppy cutting dies | ✔️ Troqueles de amapola |
| ✔️ Small sheet cutting dies | ✔️ Troqueles de hojas pequeñas |
| ✔️ Scissors | ✔️ Tijeras |
| ✔️ Sample pencil | ✔️ Lápiz de muestra |
| ✔️ Hot silicone | ✔️ Silicona caliente |
Step by step // Paso a paso
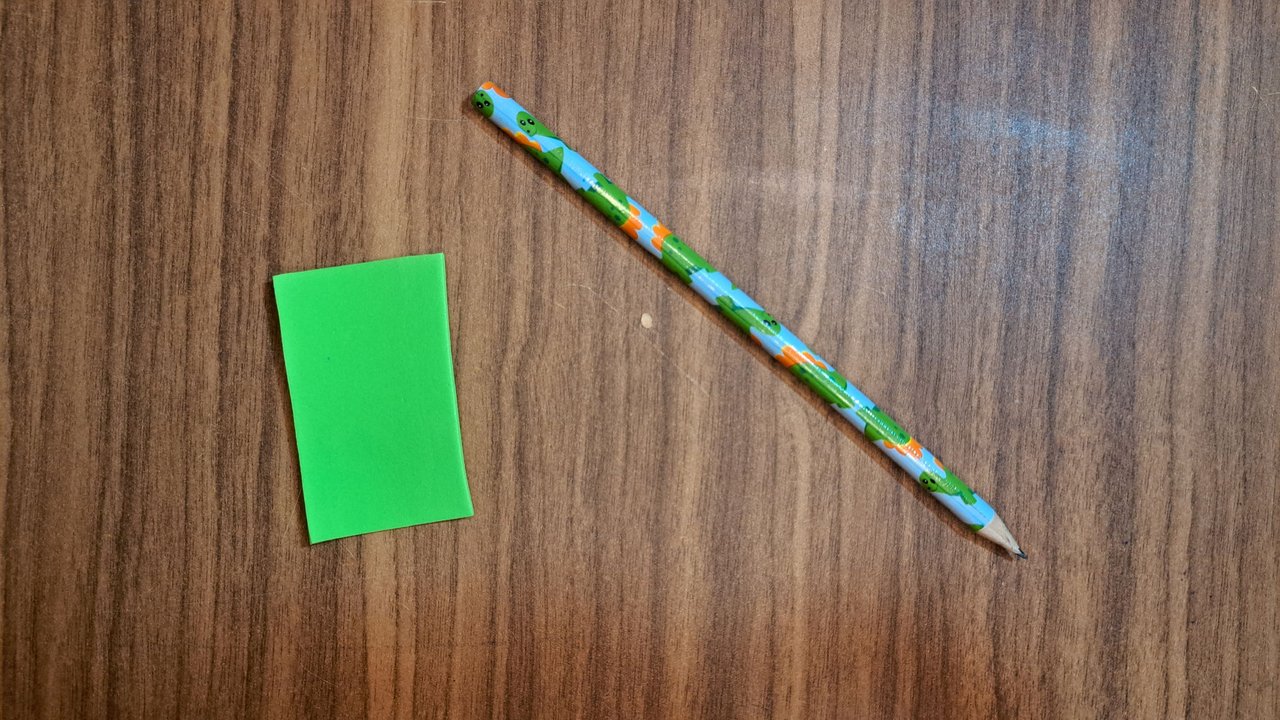
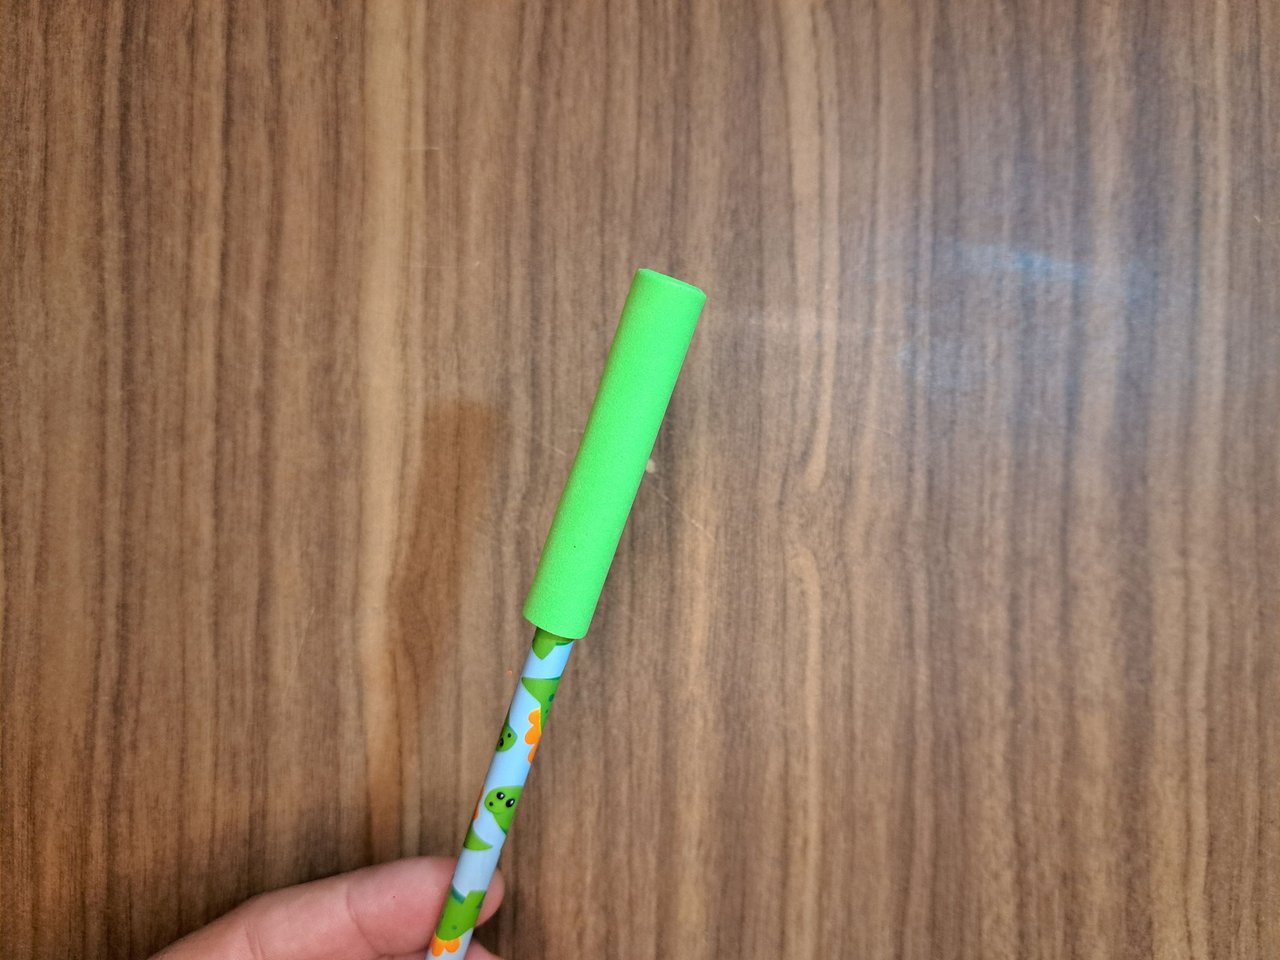
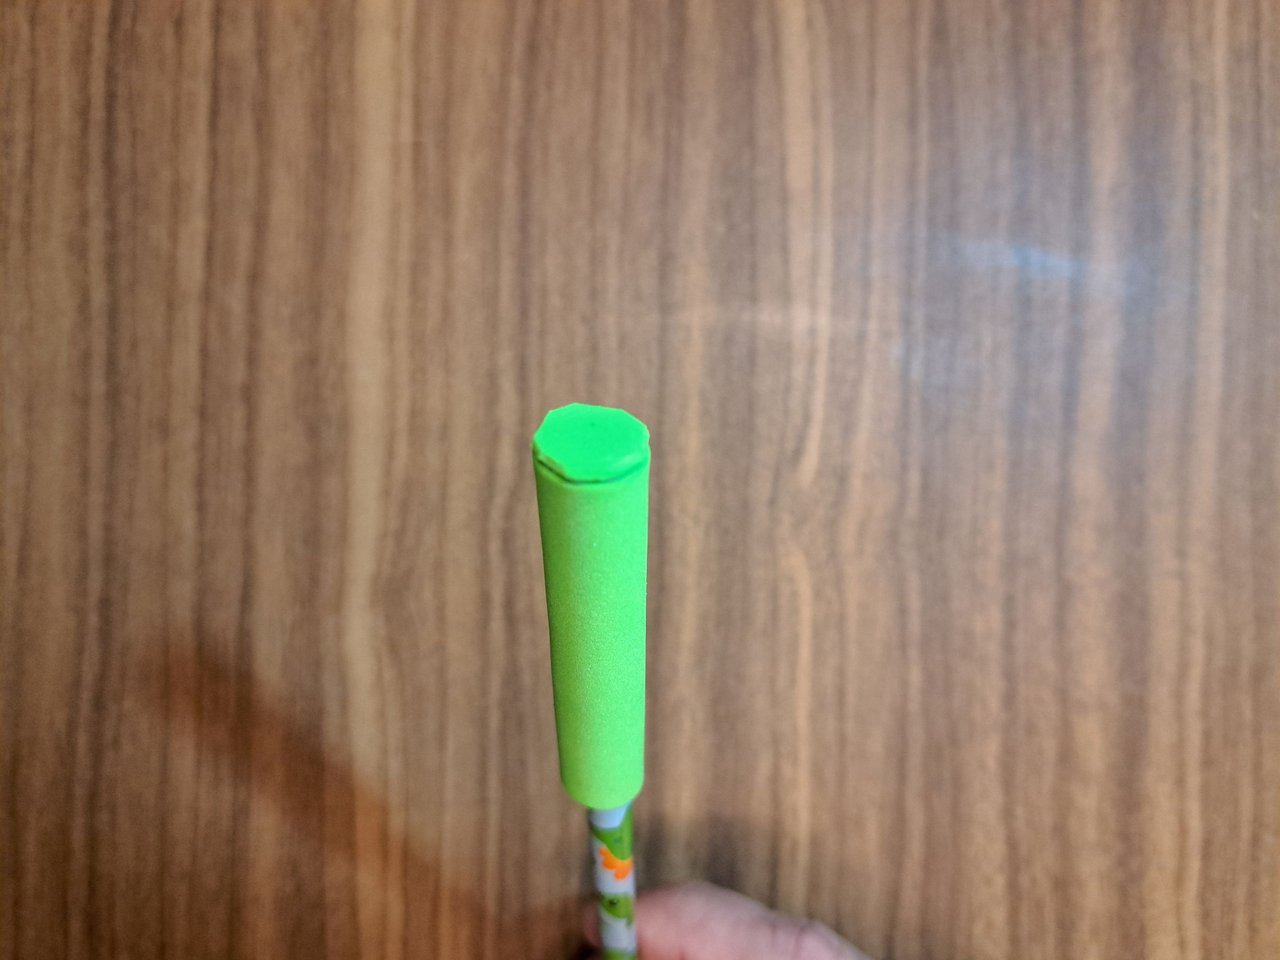
1️⃣ We will start by cutting out a piece of light green fomi about 6 cm long by 3.5 cm wide. We will glue this piece around one of the ends of the pencil, but not too tight and avoiding that the pencil is stuck, since the objective is that it can be put on and removed easily. We will glue the end of the protector on top of another piece of light green fomi and with the scissors we will cut around it.
Empezaremos recortando una pieza de fomi verde claro de unos 6 cm de largo por 3.5 cm de ancho. Esta pieza la pegaremos alrededor de uno de los extremos del lápiz, pero no muy apretada y evitando que el lápiz quede pegado, ya que el objetivo es que se pueda poner y quitar con facilidad. El extremo del protector lo pegaremos encima de otro pedazo de fomi verde claro y con las tijeras recortaremos alrededor.
 |
 |
 |
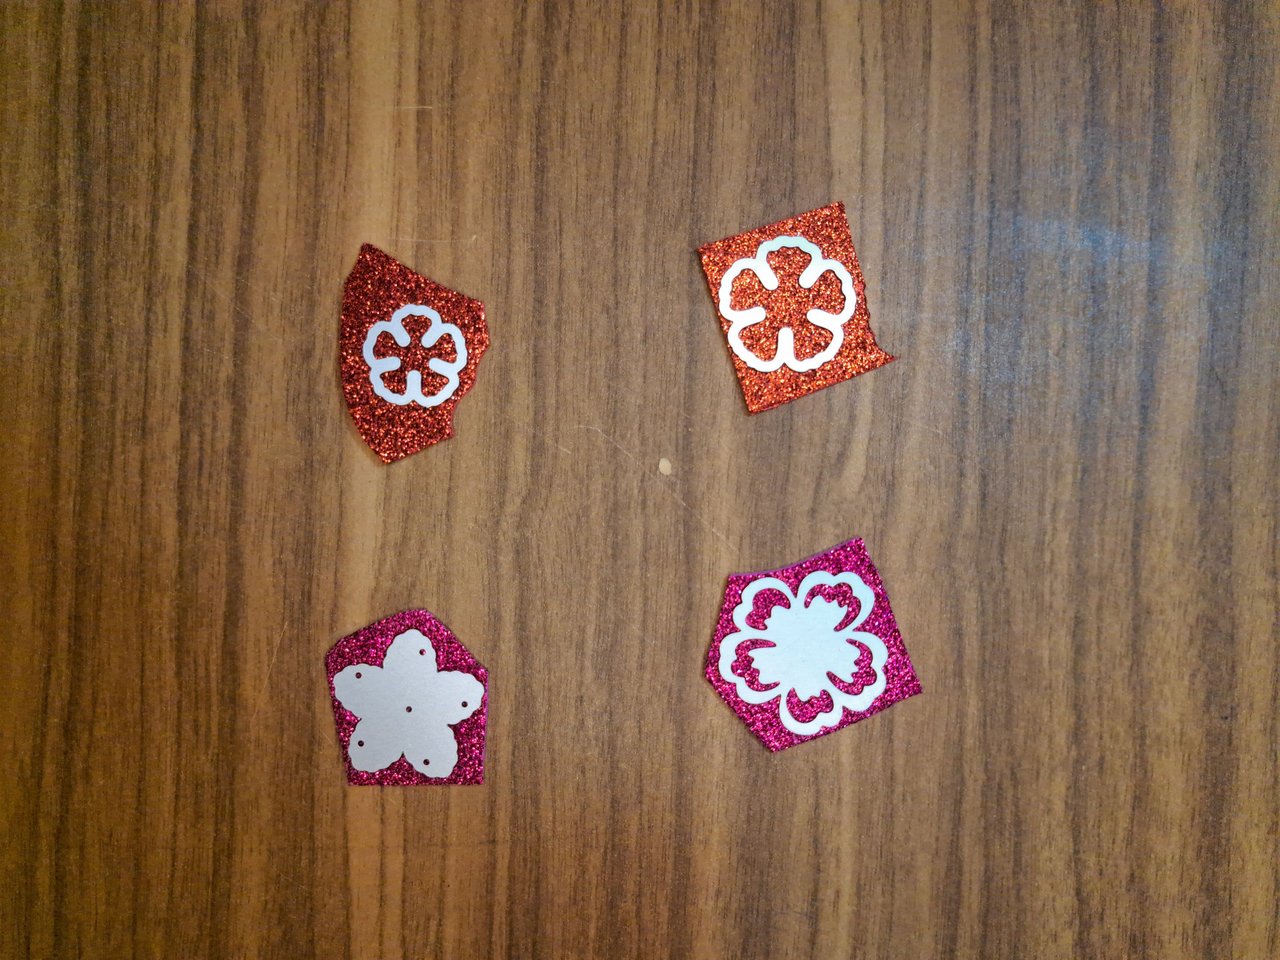
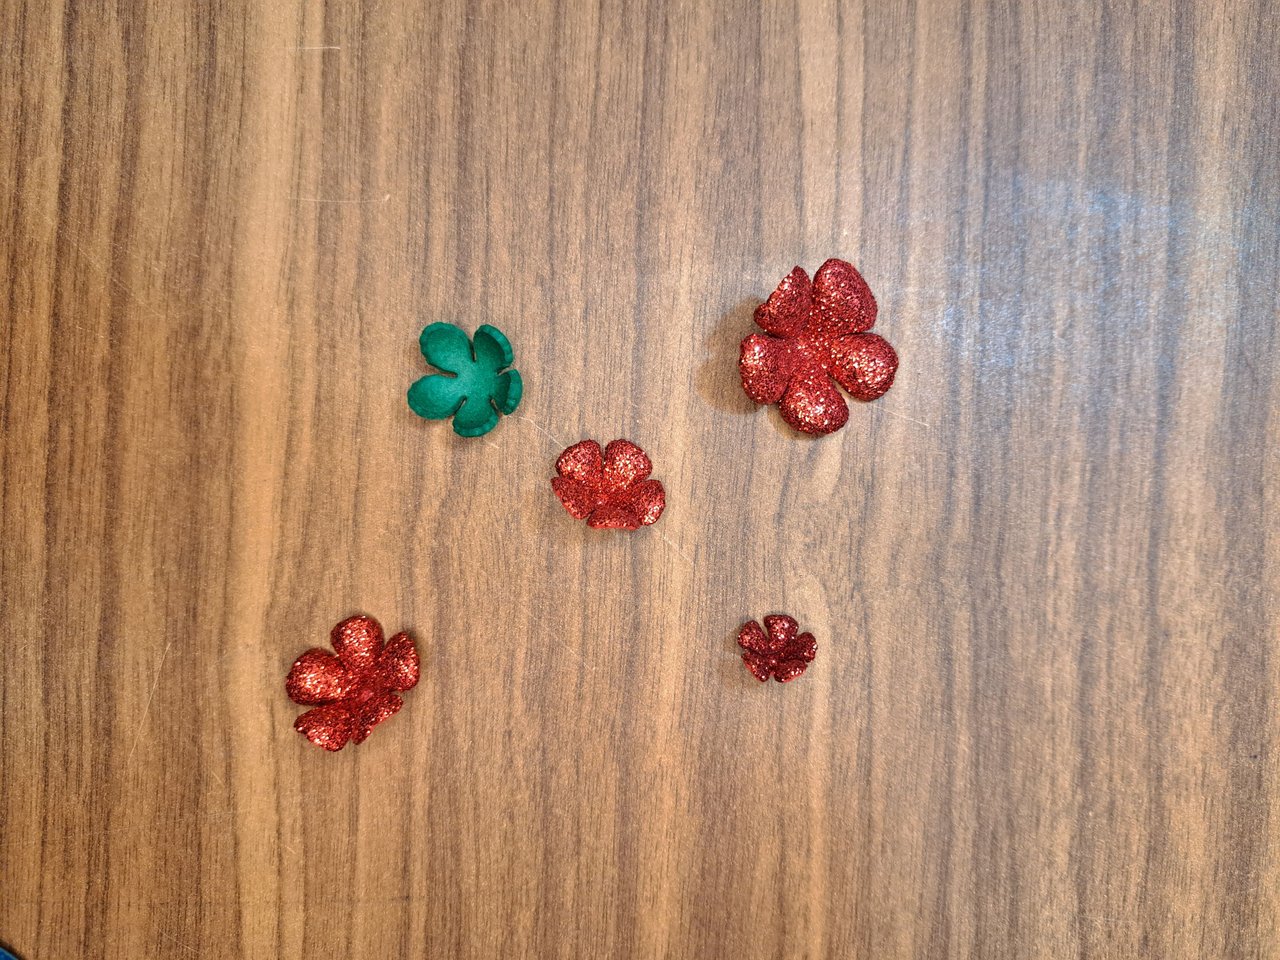
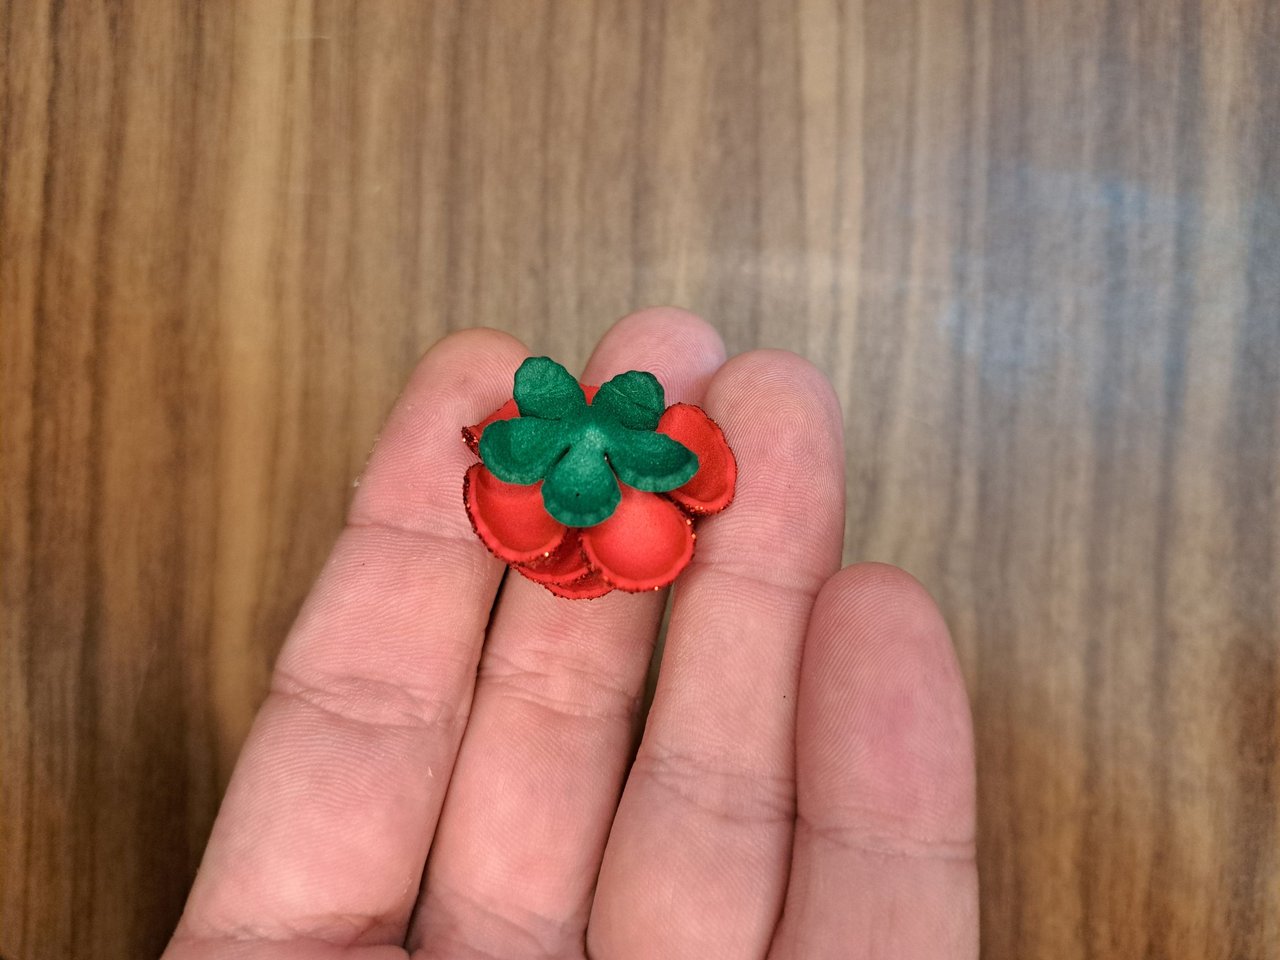
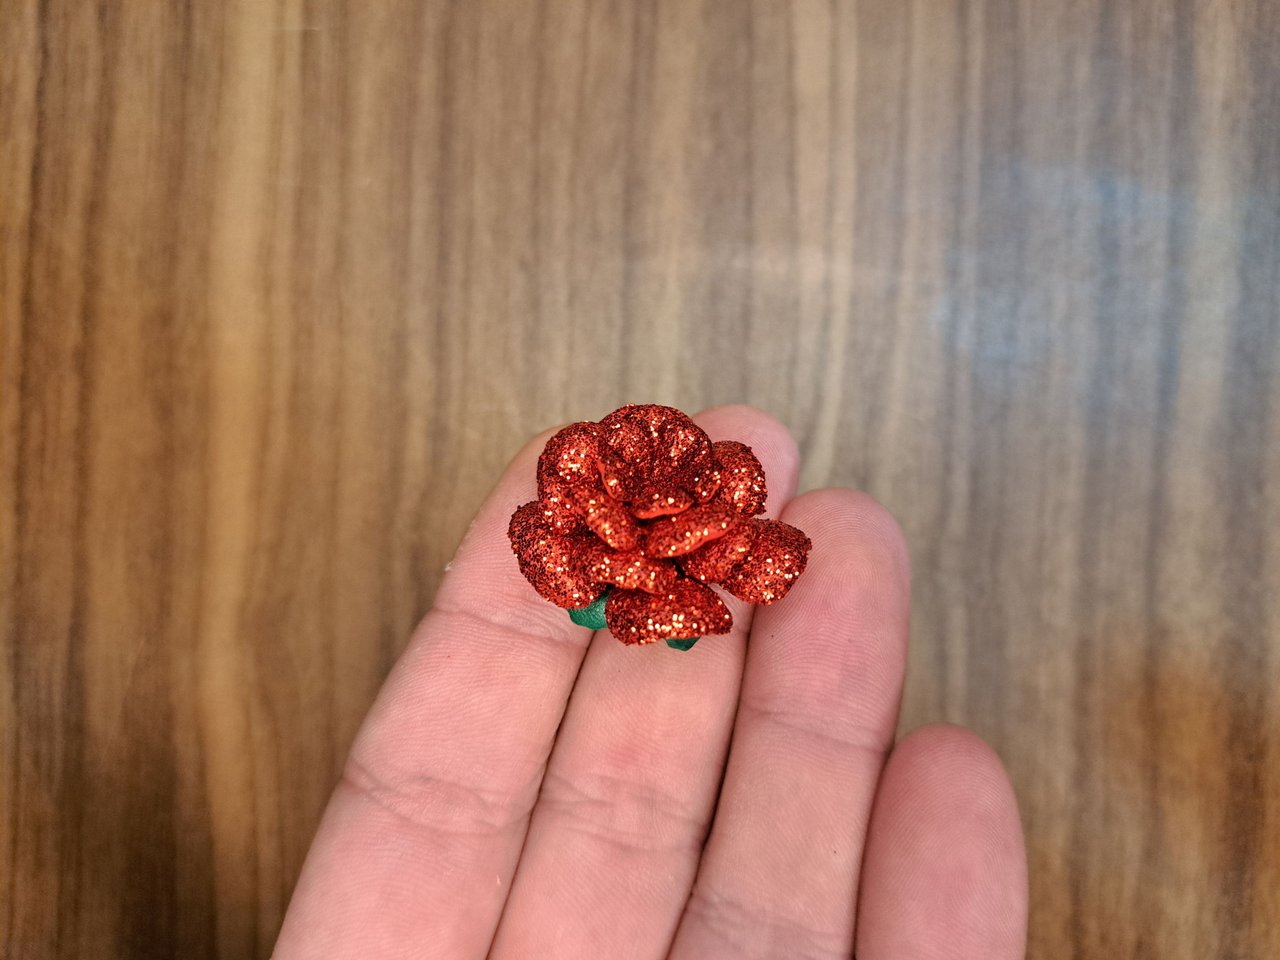
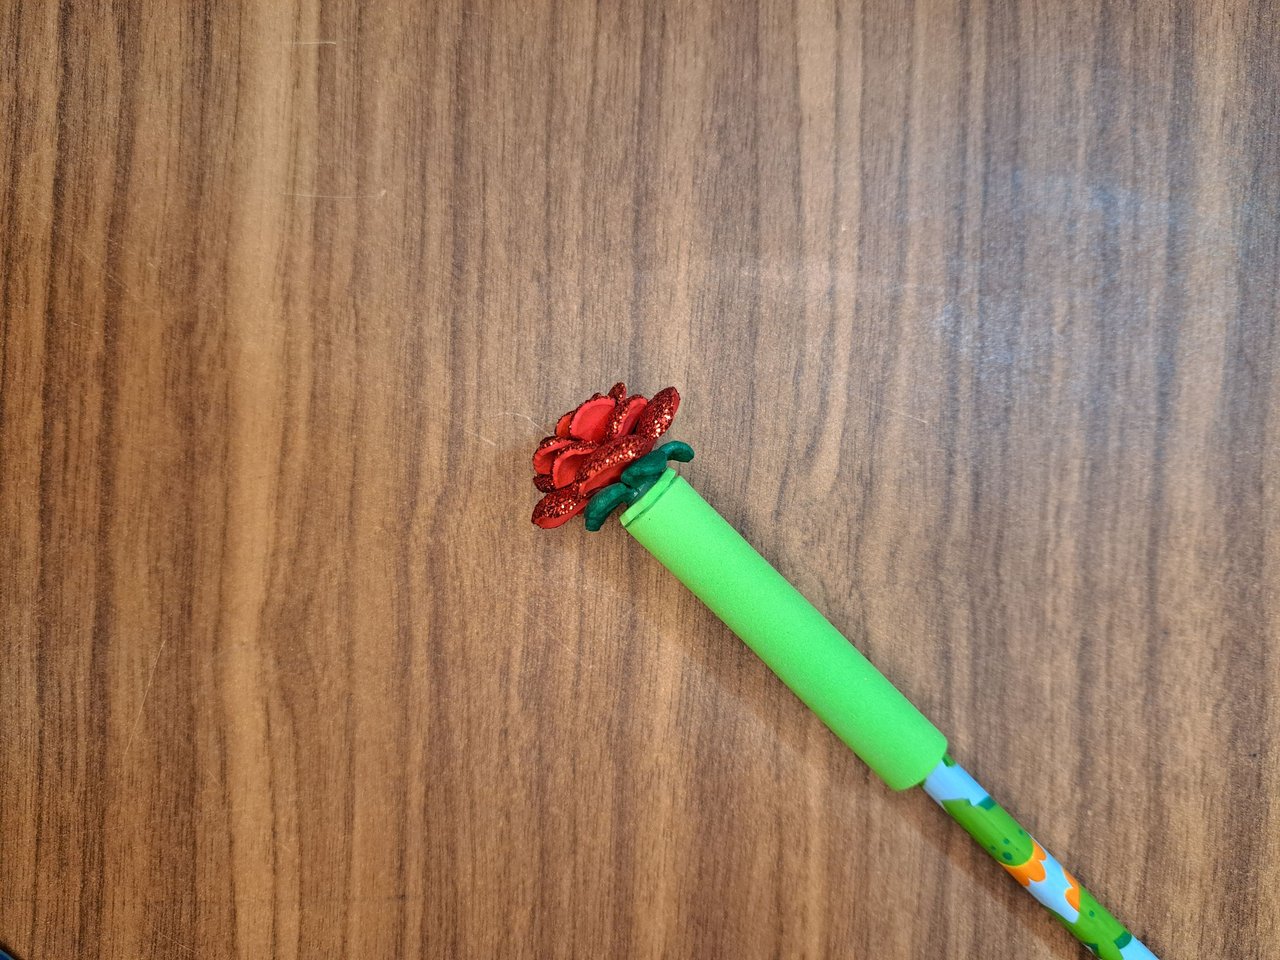
2️⃣ Using the cutting dies, we will cut out the silhouette of the rose in red frosted fomi and the silhouette of the poppy in fuchsia pink fomi. The four pieces of the rose and one sepal will be thermoformed to arch their tips. After thermoforming, they will be glued one on top of the other and then glued to the top of the protector.
Utilizando los troqueles, recortaremos la silueta de la rosa en fomi escarchado rojo y la silueta de la amapola en fomi rosa fucsia. Las cuatro piezas de la rosa y un sépalo se termoformarán para arquear sus puntas. Luego del termoformado, se pegarán una encima de la otra para luego pegarlas en la parte superior del protector.
 |
 |
 |
 |
 |
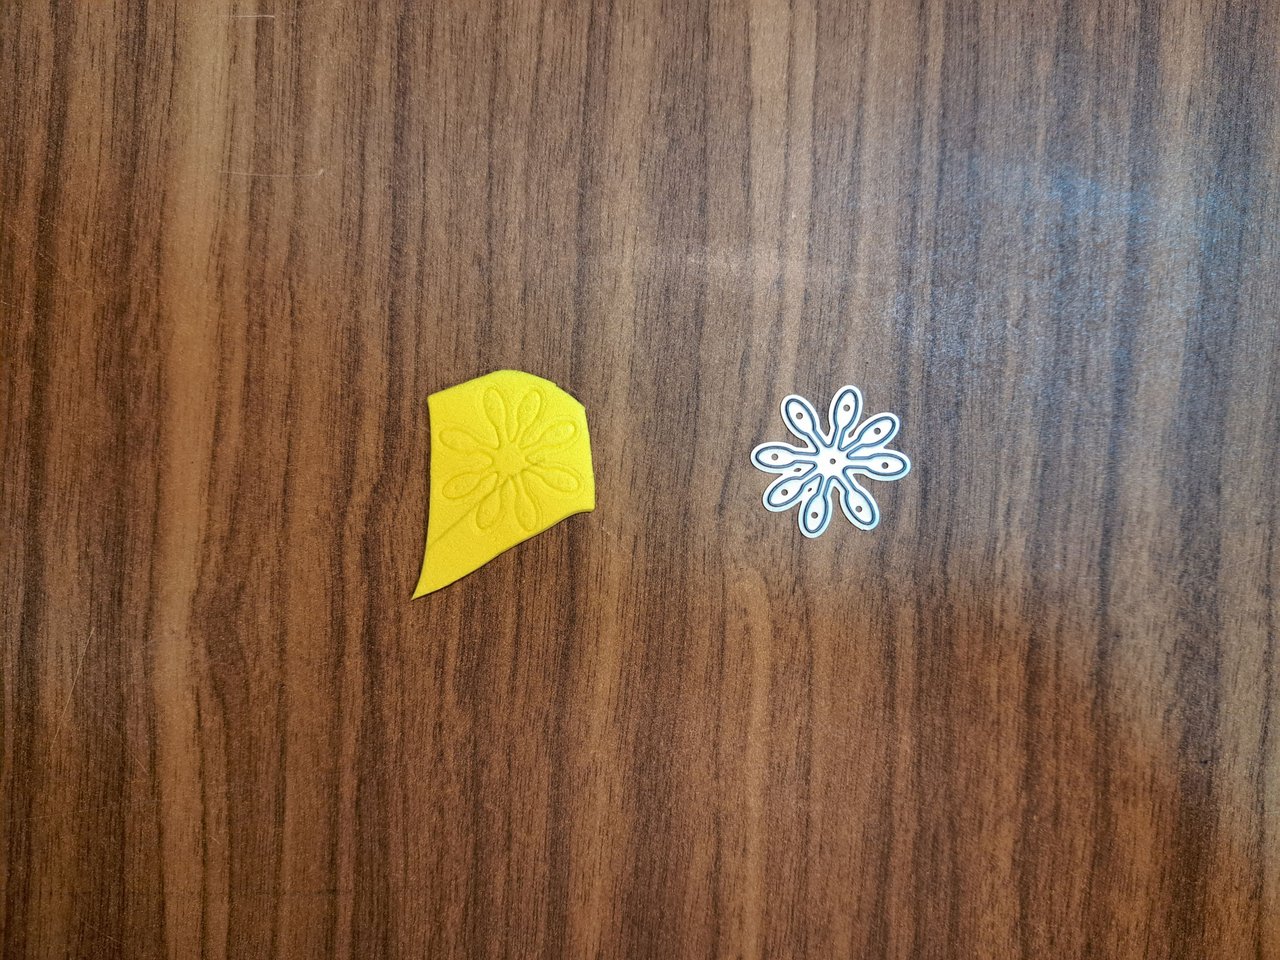
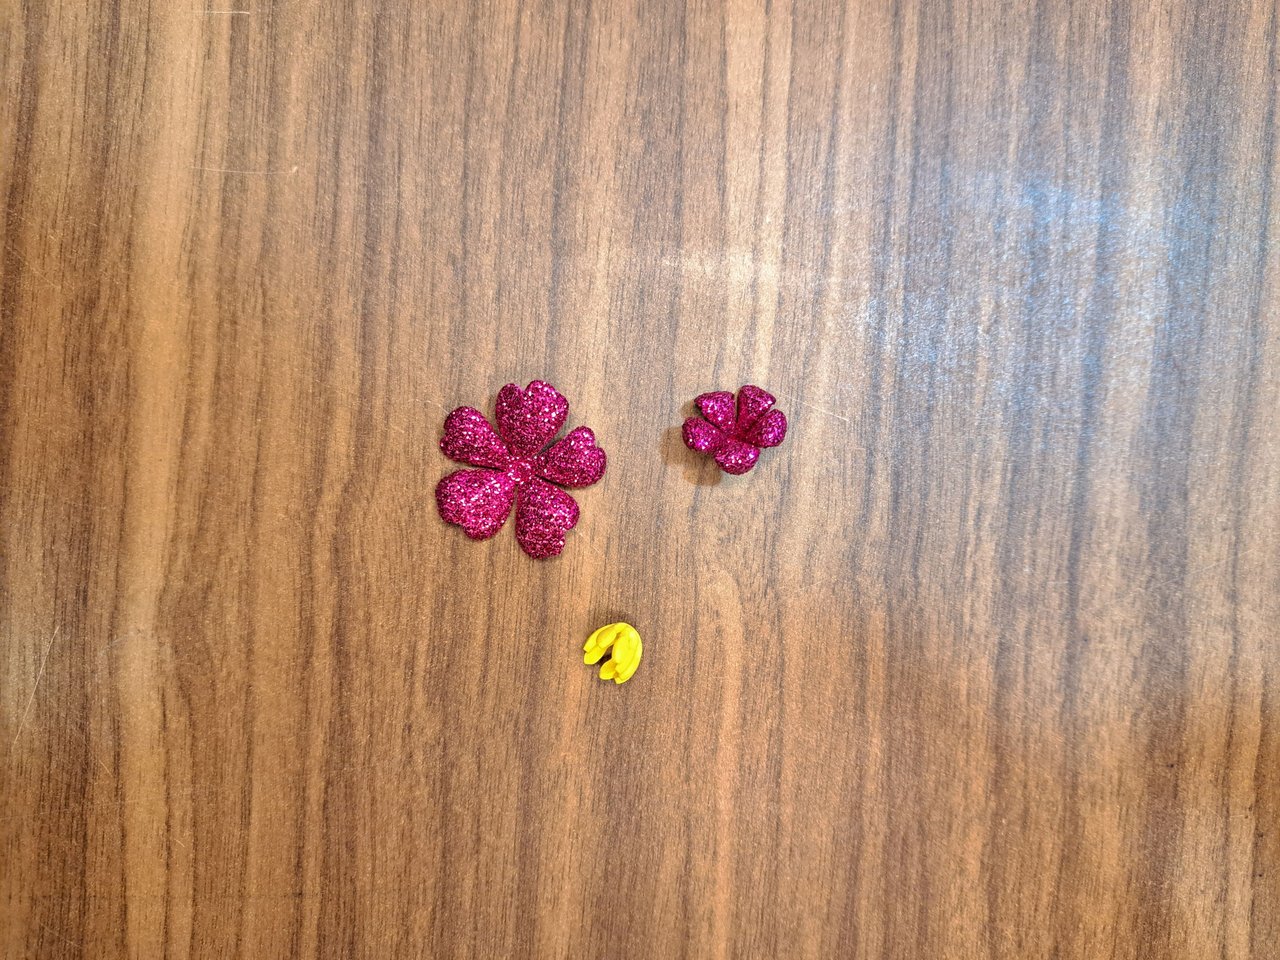
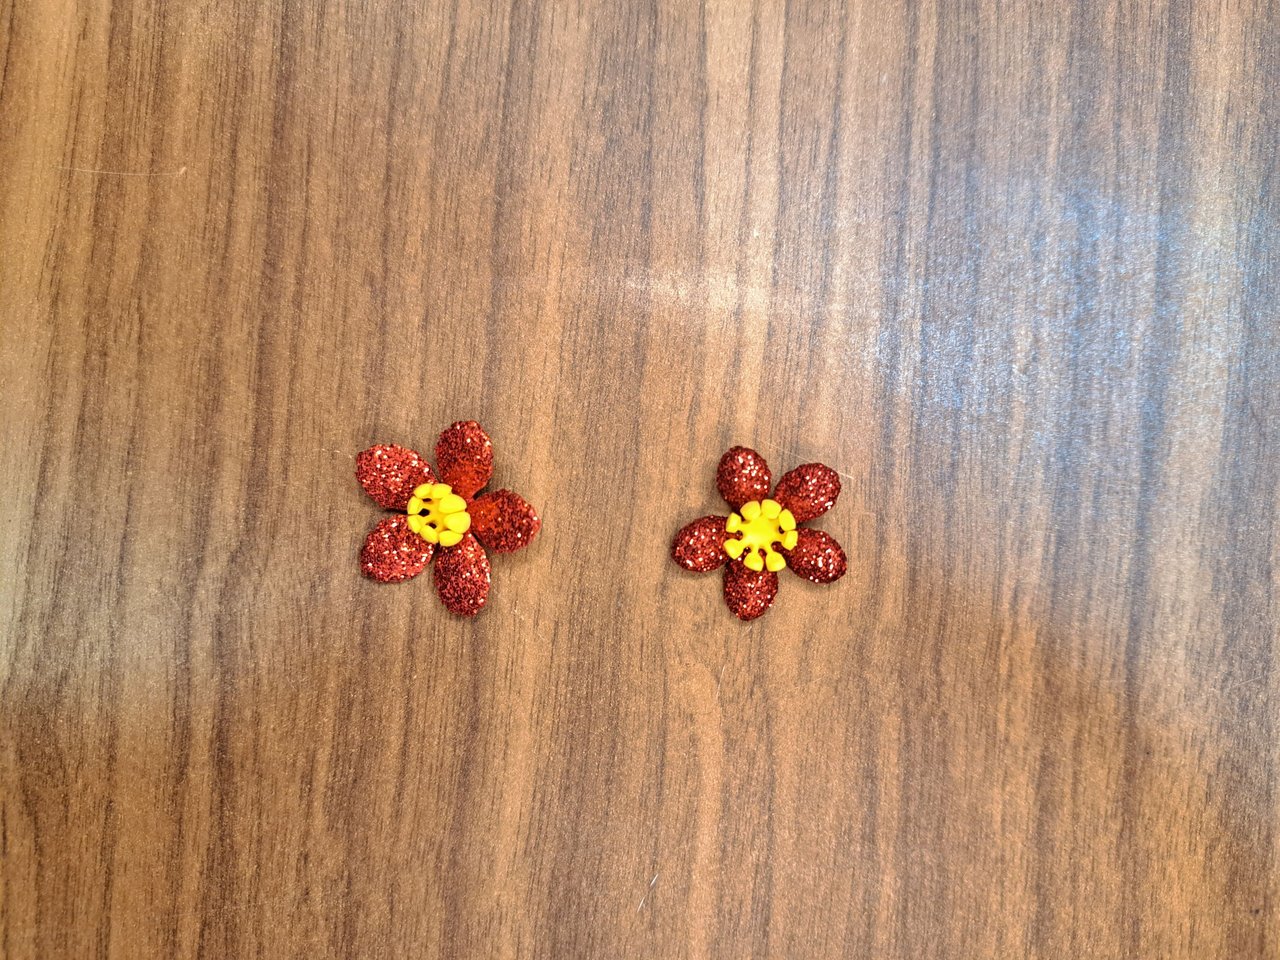
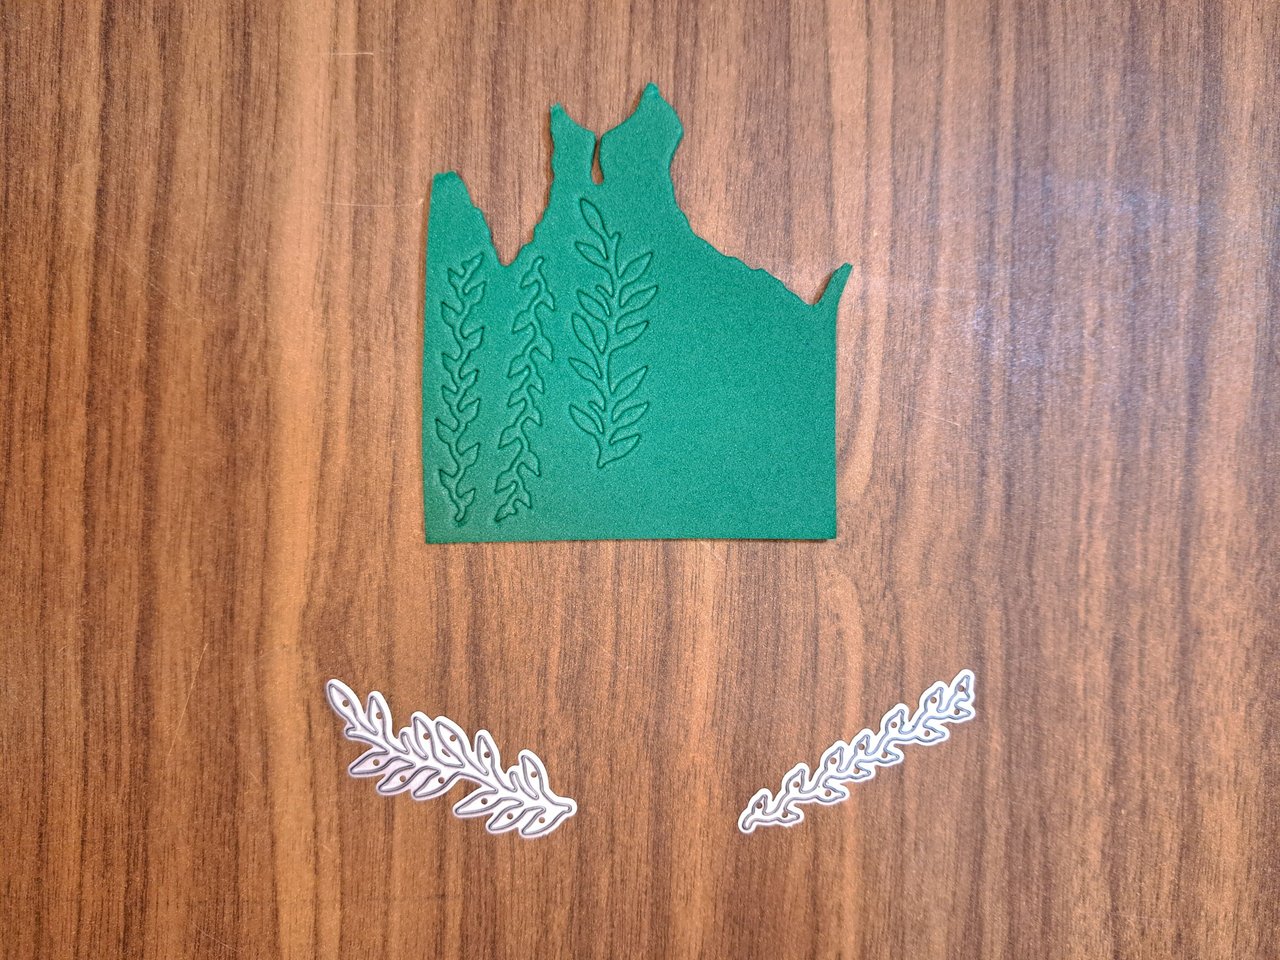
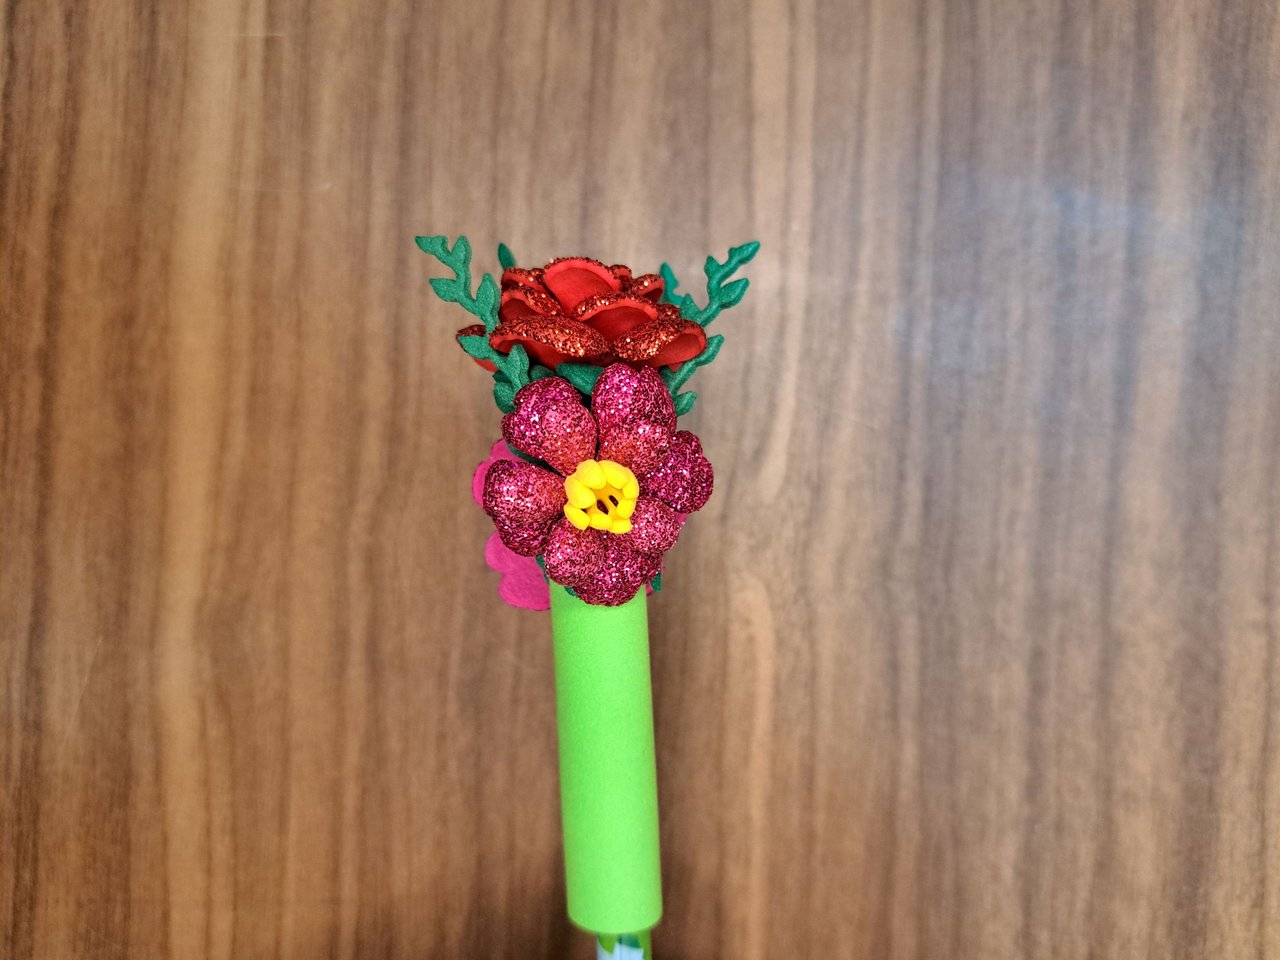
3️⃣ In the case of the poppies, you will first need to use the pistil cut die and cut them out of yellow fomi before thermoforming all the parts. Once thermoformed, assemble the three parts that form the flower and glue two on each side of the protector, above four branches of leaves that will be cut and glued before attaching the poppies to the protector.
En el caso de las amapolas, primero será necesario utilizar el troquel de los pistilos y recortarlos en fomi amarillo antes de llevar a termoformar todas las partes. Una vez termoformadas, se ensamblarán las tres partes que forman la flor y se pegarán dos a cada lado del protector, por encima de cuatro ramas de hojas que se cortarán y pegarán antes de unir las amapolas al protector.
 |
 |
 |
 |
 |
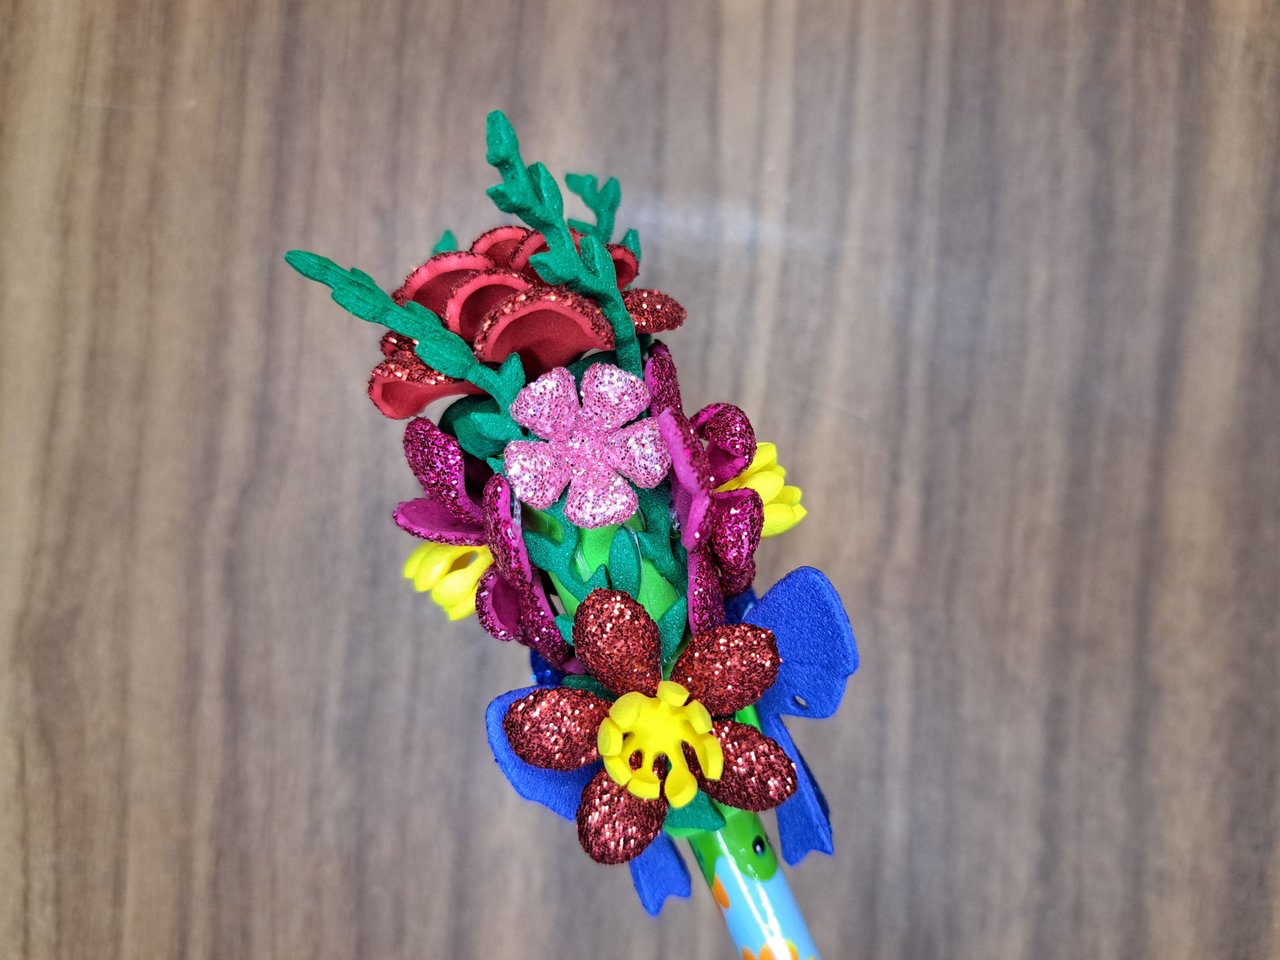
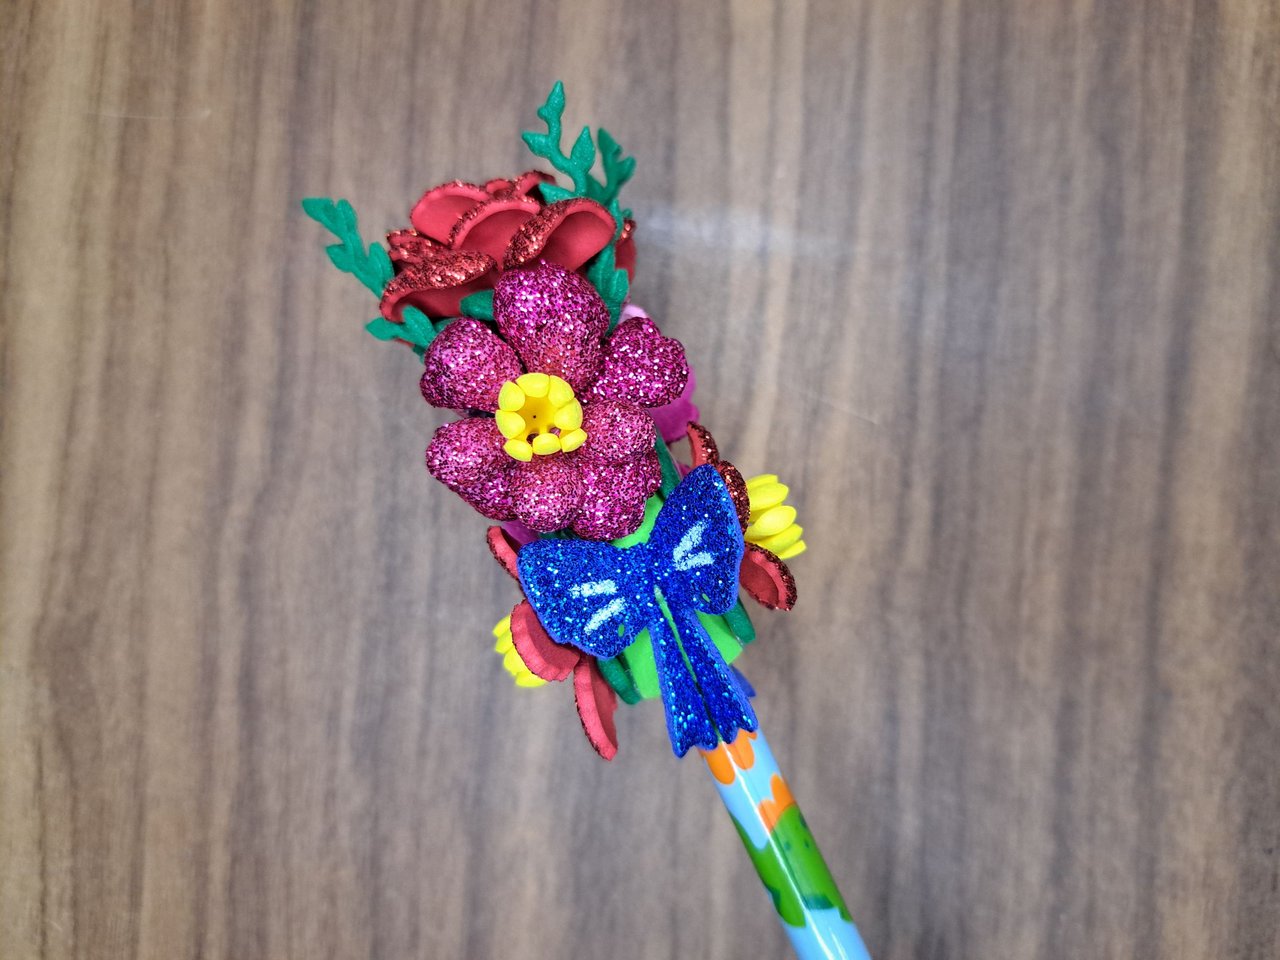
4️⃣ Finally, we will use the same cutting dies to make variations of the same flowers, but with different colors, which we will glue around the entire ornament, but not before covering the bottom with rows of leaves. Also, as an extra, I used two small pieces of dark blue fomi to create some bows, which I glued on the lower end of the ornament, covering the edge and hiding the line that shows where the ornament starts.
Para finalizar, utilizaremos los mismos troqueles para confeccionar variaciones de las mismas flores, pero con diferentes colores, las cuales pegaremos alrededor de todo el adorno, no sin antes cubrir por debajo con hileras de hojas. También, a modo extra, utilicé dos piezas pequeñas de fomi azul oscuro para crear unos lazos, los cuales pegué en el extremo inferior del adorno, cubriendo el borde y ocultando la línea que muestra dónde empieza el adorno.
 |
 |
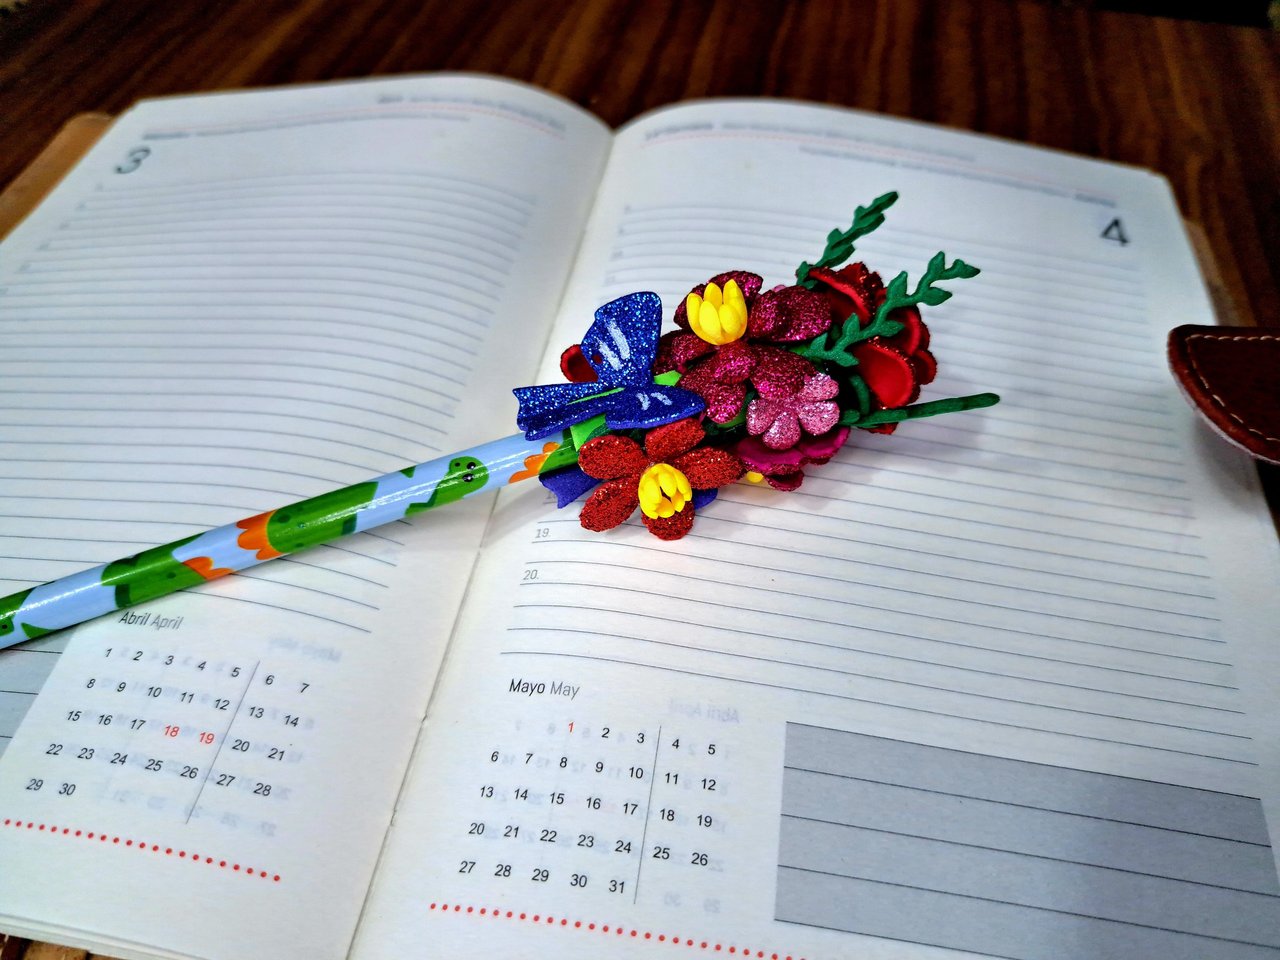
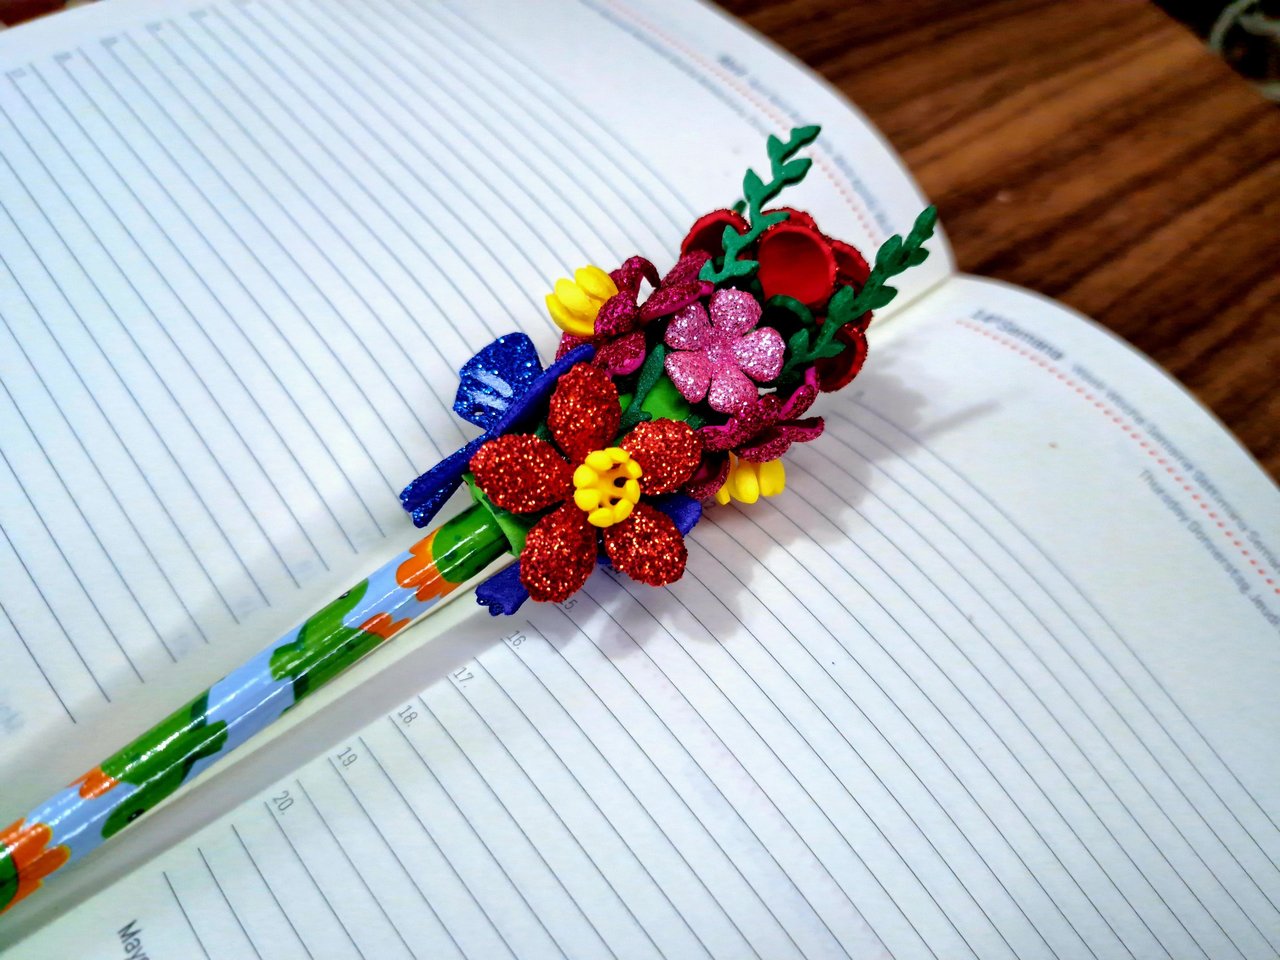
Finished Work // Trabajo Terminado
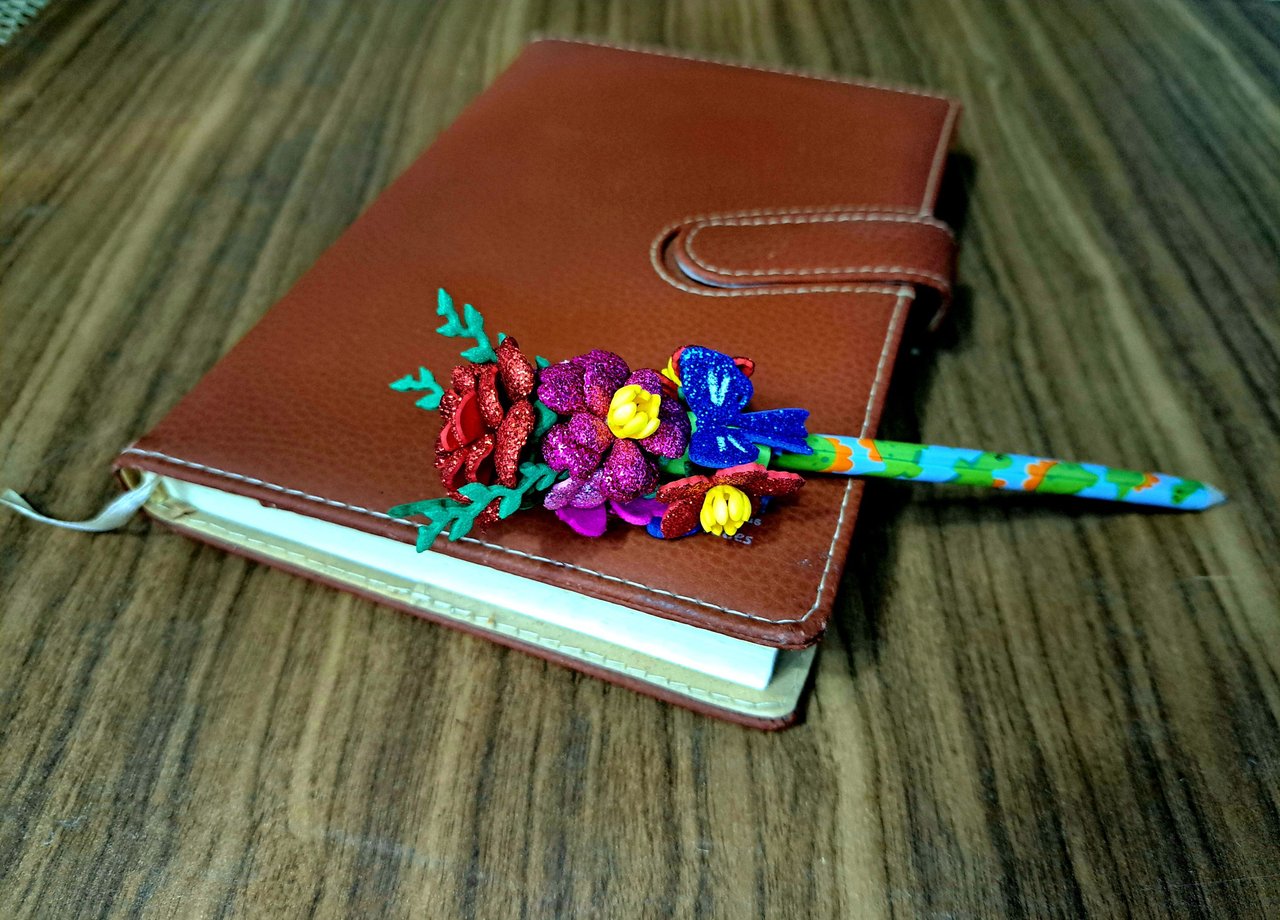
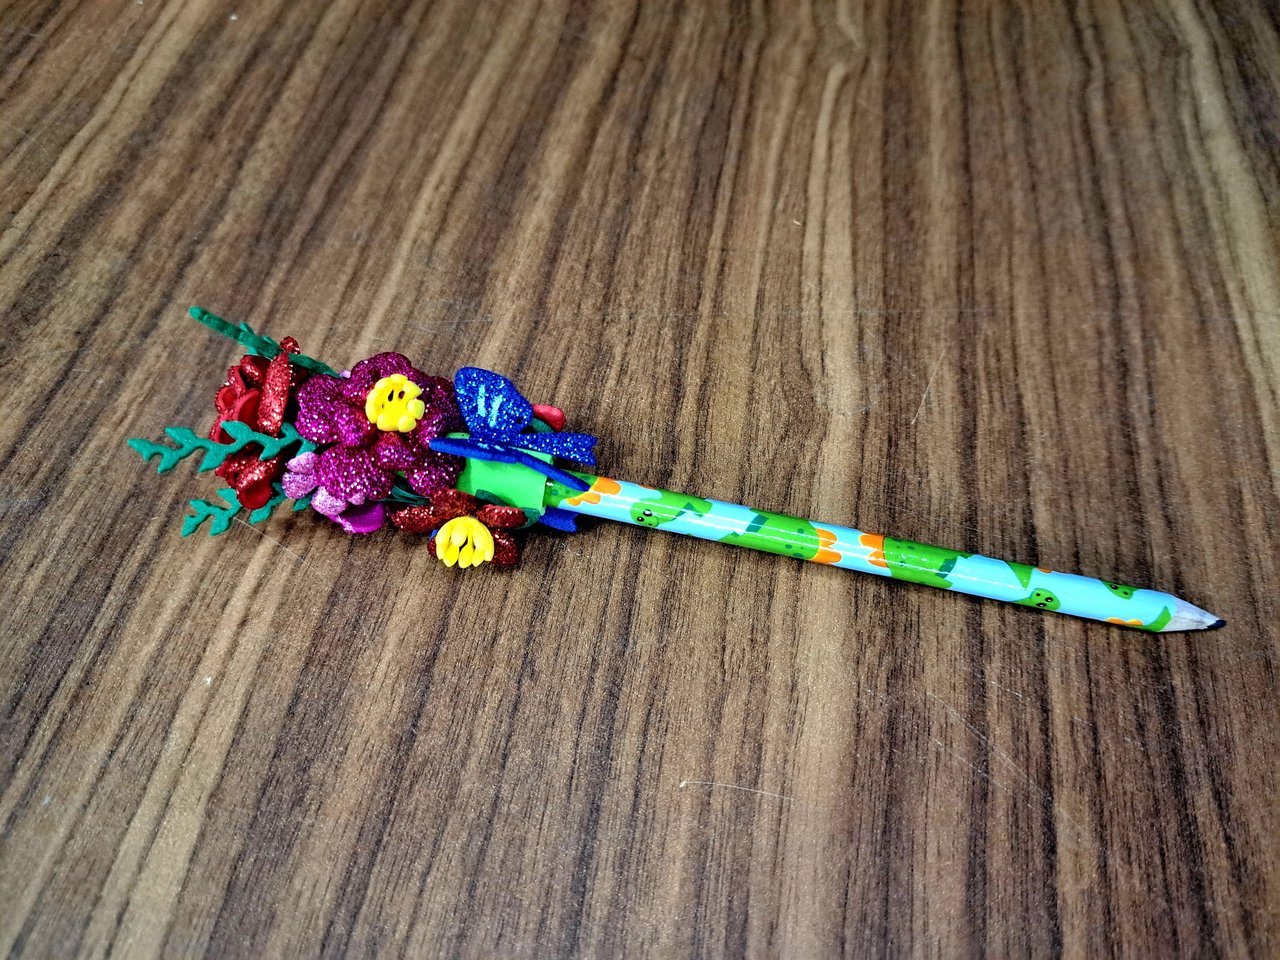
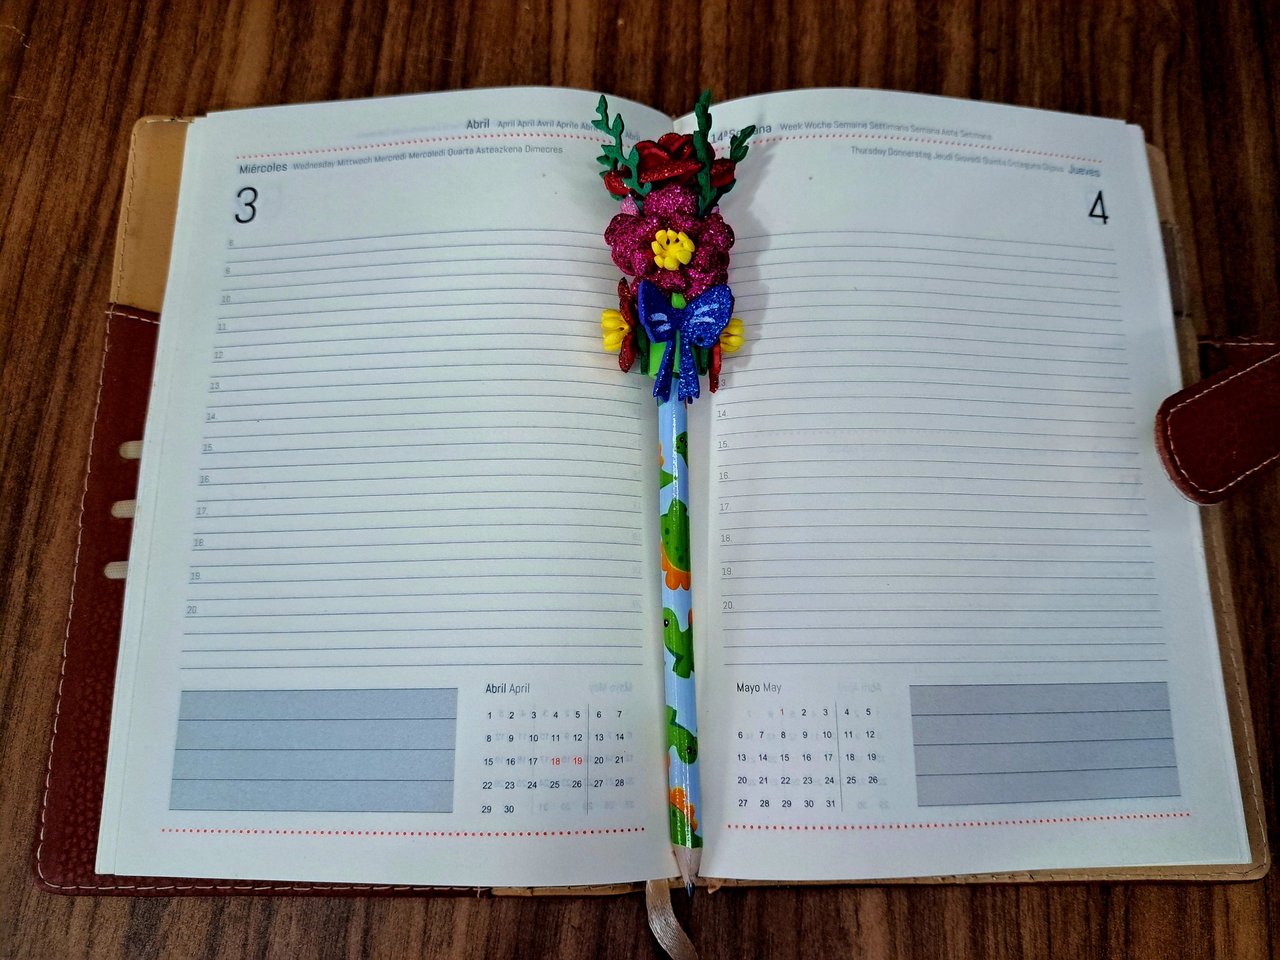
This brings us to the end of the tutorial. As always, I hope you liked both the result and the creation process. Soon, I will be bringing new and colorful creations taking advantage of the benefits offered by the cutting dies in terms of ease and speed, so do not hesitate to follow me to be aware of my next publications. Without further ado, I bid you a happy and prosperous new year. Bye!
De esta forma llegamos al final del tutorial. Como siempre, espero que les haya gustado tanto el resultado como el proceso de creación. Próximamente, estaré trayendo nuevas y coloridas creaciones aprovechando las bondades que ofrecen los troqueles en cuanto a facilidad y rapidez, así que no duden en seguirme para estar al tanto de mis próximas publicaciones. Sin más que agregar, me despido deseándoles un feliz y próspero año nuevo. ¡Chao!
 |
 |
 |
 |
 |

Credits and Resources // Créditos y Recursos
Cover page created in Canva
Translated by DeepL
Images captured with my Samsung Galaxy A53

Que bello quedó me encantaría más adelante hacer uno para mí ya que son tan decorativos y hermosos para lucir nuestros lapiceros, bendiciones.
Así es. El mundo se las decoraciones para lápices y bolígrafos está lleno de belleza. Si haces uno no olvides etiquetarme para verlo. Saludos.
Bueno yo también lo llamaría adorno, por todos los detalles que tiene, es una pequeña decoración para tu lápiz, muy creativo, epa Feliz año creativo jiji, saludos.
Thank you for appreciating and supporting my publication.
Wow this is incredible
You did an awesome job
Thank you very much 🤗
Hermoso 😍
Gracias 🤗🥰🥰🥰
Thanks for the support 🤗
Creative work and it’s beautiful
This turned out pretty well, the design is so stylish and the elegant. Well done and cheers to more creative ideas.
Thank you very much.
You're such a creative and talented person. You did it beautifully. 😊
This is such a lovely design, it's so beautiful and nicely crafted, well done my friend.
Hermosa decoración para lápices. Me gustó mucho. Saludos y lindo día ☺️
Muchas. Saludos y bendiciones.
que bello y creativo!
how beautiful and creative!