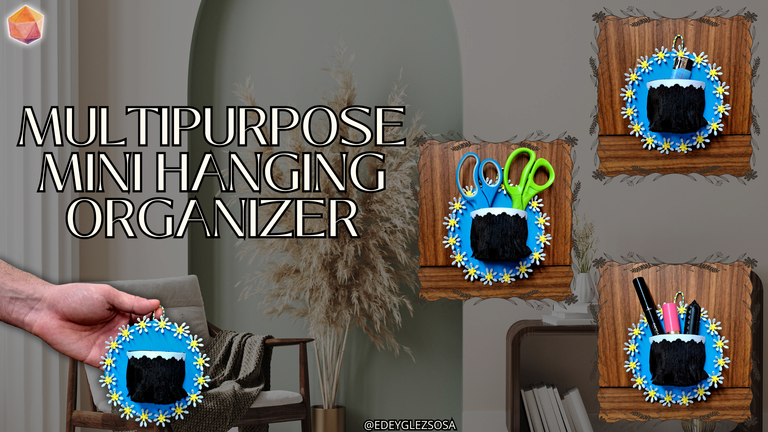
Greetings fellow creators. I am sure that when you think of an organizer, the first thing that comes to mind is the image of a decorated container that is used to store objects that we use constantly, but that we want to keep organized. The idea as such is not wrong, but what if we make that organizer hanging, that is, it can be placed on the wall and, additionally, we use resistant and versatile materials that make it a multipurpose organizer? Sounds a little crazy, doesn't it? Well, not so much.
Today I will show you how I made a mini multipurpose hanging organizer with the aim of fulfilling all the above. This type of decorations not only stands out for its colorfulness, but also for how useful and versatile it can be. For its confection I used materials resistant to humidity, such as plastic and thick layer fomi. And the fact is that multipurpose is not marketing; in fact it can be used for anything, whether lighters, scissors, cosmetics, brushes and I would even dare to say that a small cactus, also one of those that do not take much water.
Saludos amigos creadores. Estoy seguro de que cuando piensan en un organizador, lo primero que les viene a la mente es la imagen de un envase decorado que se utiliza para almacenar objetos que empleamos constantemente, pero que, valga la redundancia, queremos que estén organizados. La idea como tal no está equivocada, pero ¿qué pasaría si ese organizador lo hacemos colgante, o sea, que se pueda colocar en la pared y, de manera adicional, empleamos materiales resistentes y versátiles que lo hagan un organizador multiusos? Suena un poco loco, ¿verdad? Pues ni tanto.
El día de hoy les mostraré cómo fue que elaboré un mini organizador colgante multiusos con el objetivo de que cumpla con todo lo propuesto anteriormente. Este tipo de decoraciones no solo destaca por su colorido, sino también por lo útil y versátil que puede llegar a ser. Para su confección utilicé materiales resistentes a la humedad, como son el plástico y el fomi de capa gruesa. Y es que lo de multiusos no es marketing; en realidad se puede utilizar para cualquier cosa, ya sean encendedores, tijeras, cosméticos, cepillos e incluso me atrevería a decir que un pequeño cactus, también de esos que no llevan mucha agua.
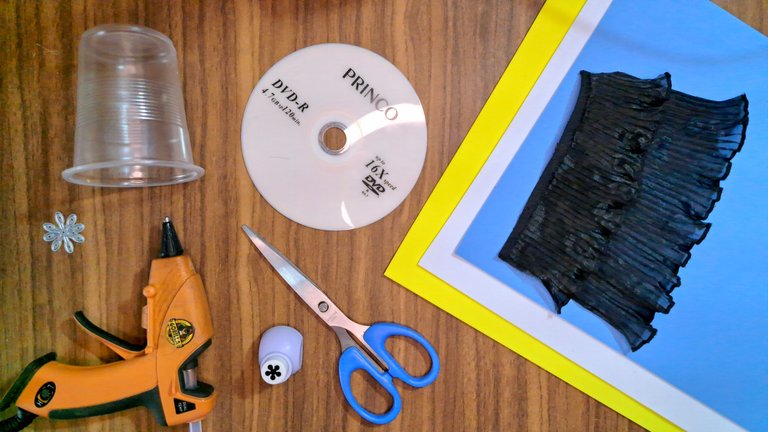
Materials // Materiales
| ✔️ Yellow, white and light blue plain Fomi | ✔️ Fomi liso amarillo, blanco y azul claro |
| ✔️ Plastic container | ✔️ Envase de plástico |
| ✔️ CD or DVD | ✔️ CD o DVD |
| ✔️ Black lace or elastic fabric | ✔️ Tela negra de encaje o elástica |
| ✔️ Flower shape die cutter and punch | ✔️ Troquel y perforadora con forma de flor |
| ✔️ Scissors | ✔️ Tijeras |
| ✔️ Hot silicone | ✔️ Silicona caliente |
Step by step // Paso a paso
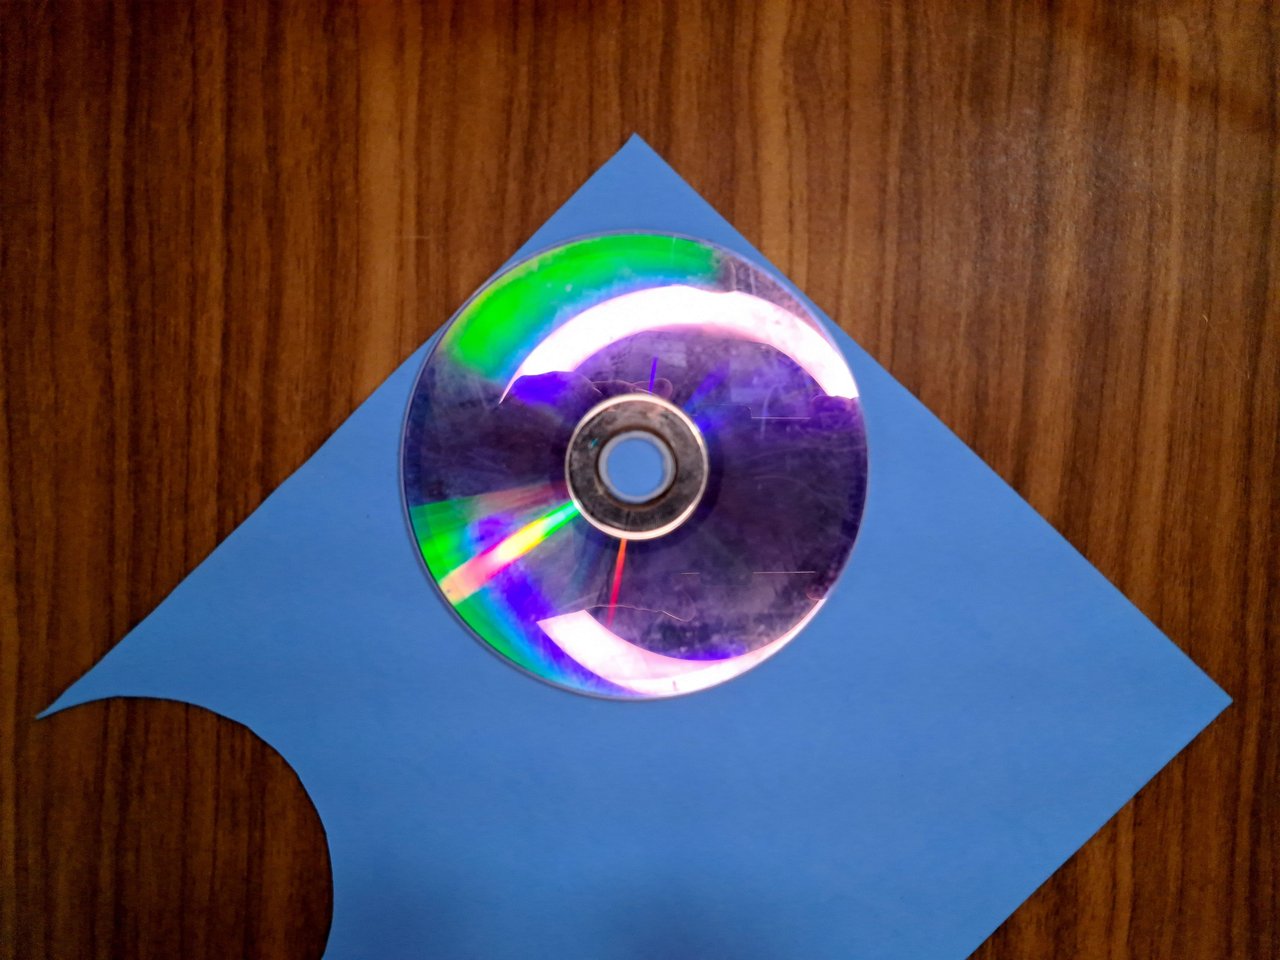
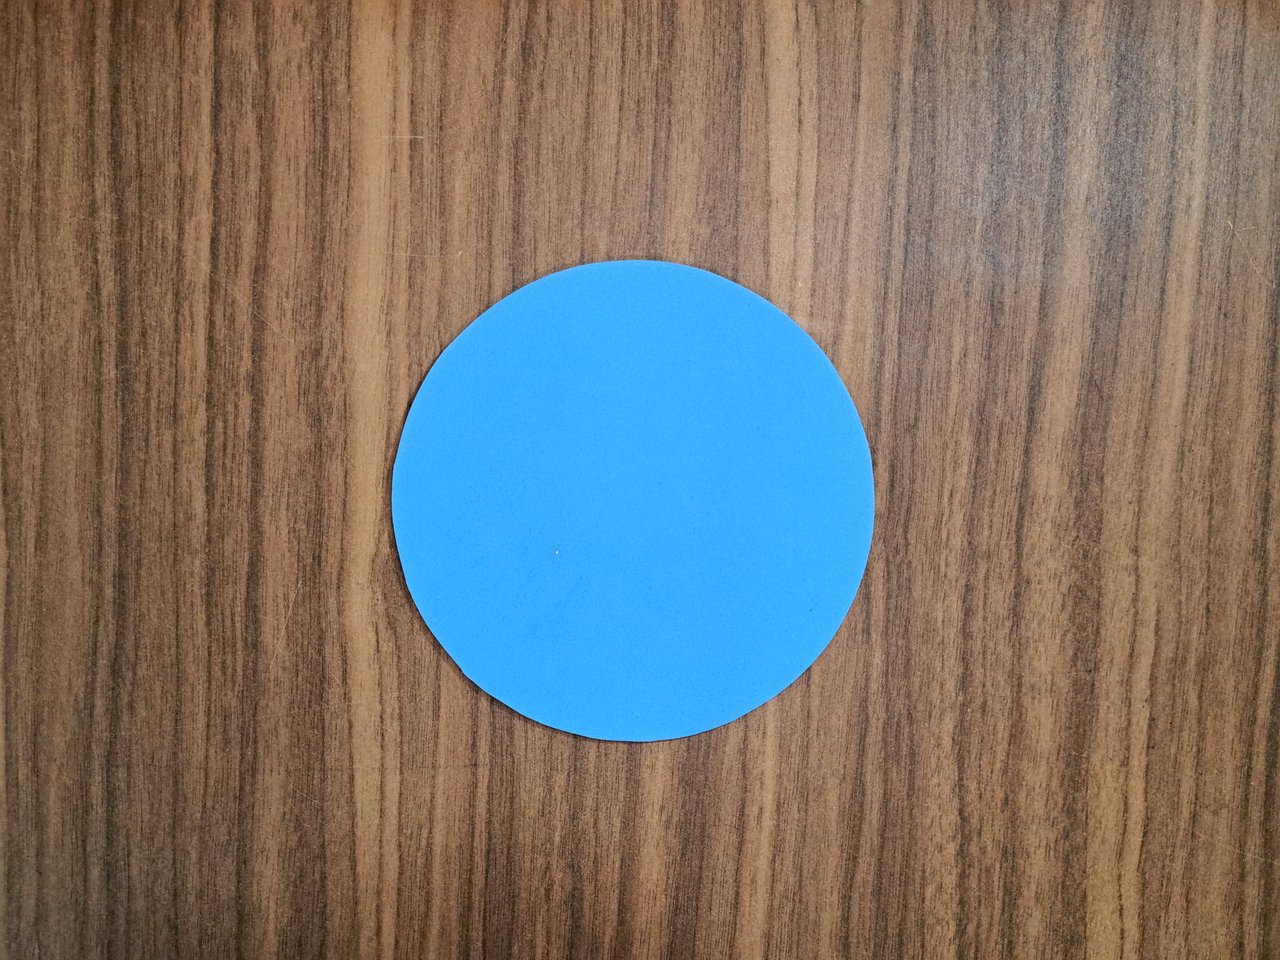
1️⃣ Mark and cut out the surface of the CD on top of the light blue fomi and then glue it. Alternatively, you can also glue one side of the CD directly on top of the fomi sheet and then cut them out.
Marca y recorta la superficie del CD encima del fomi azul claro para luego pegarla. Una alternativa es también pegar directamente una cara del CD encima de la lámina de fomi y luego recortarlos.
 |
 |
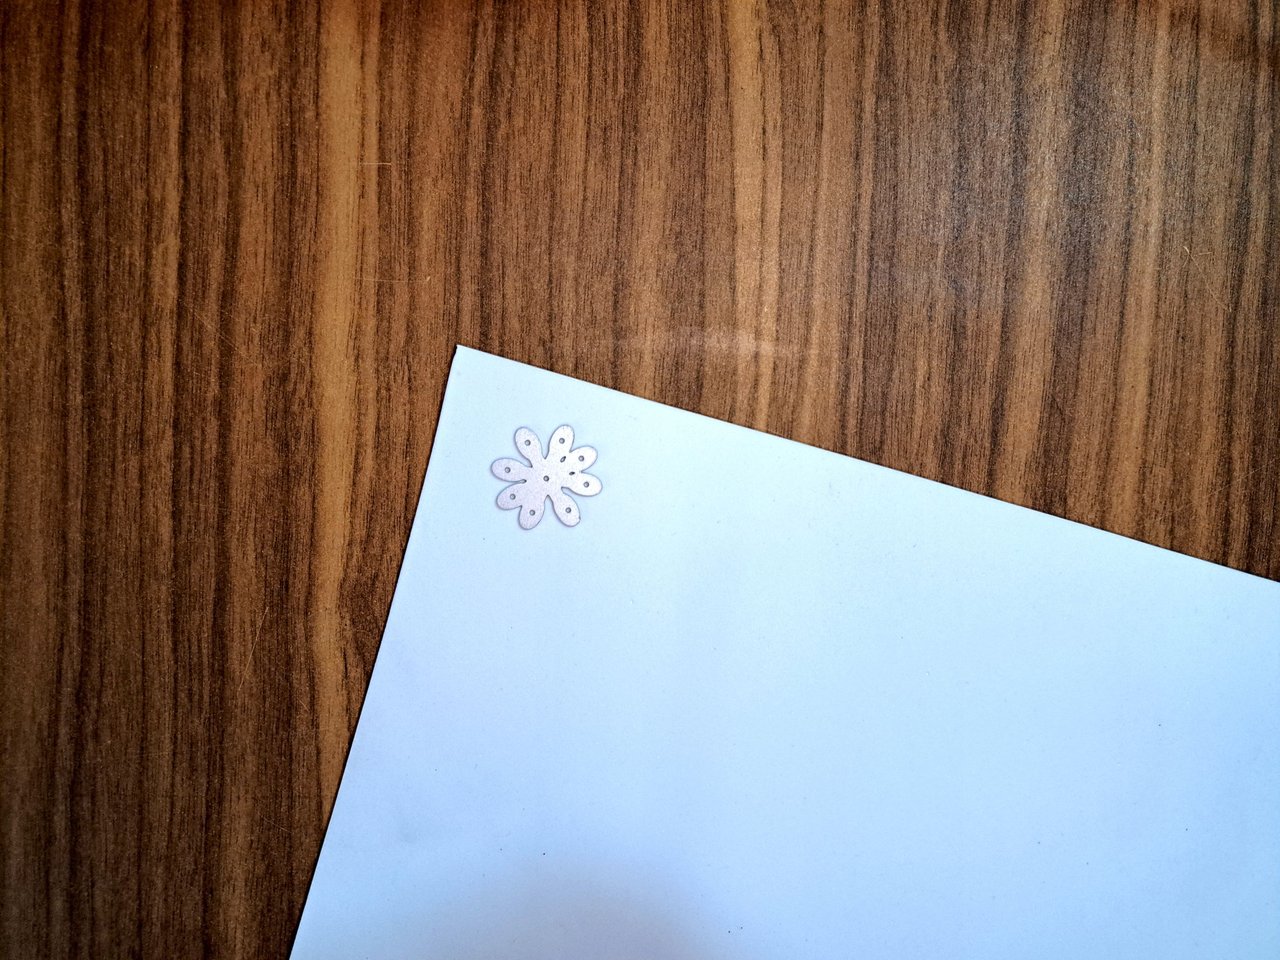
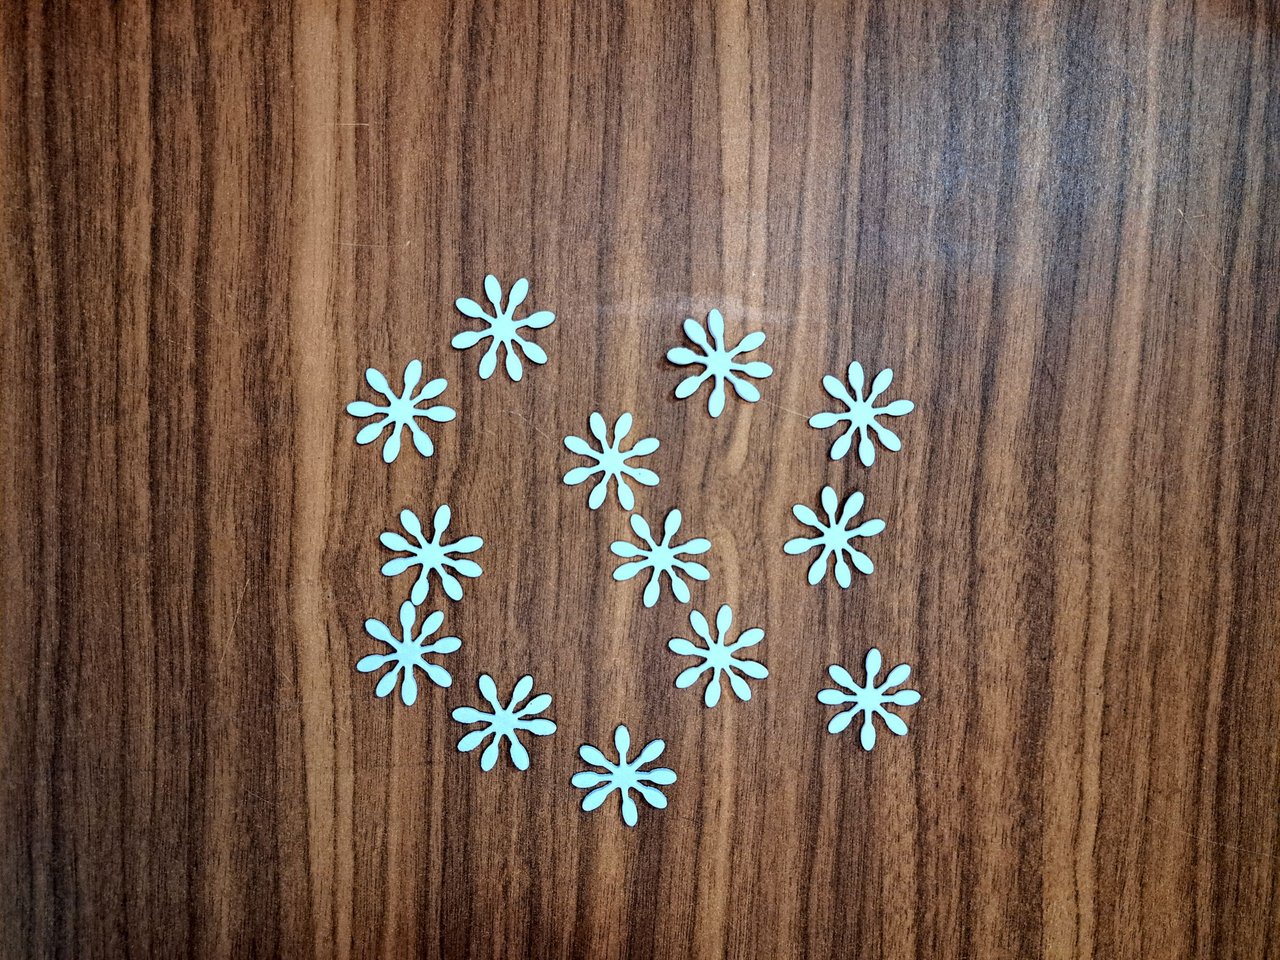
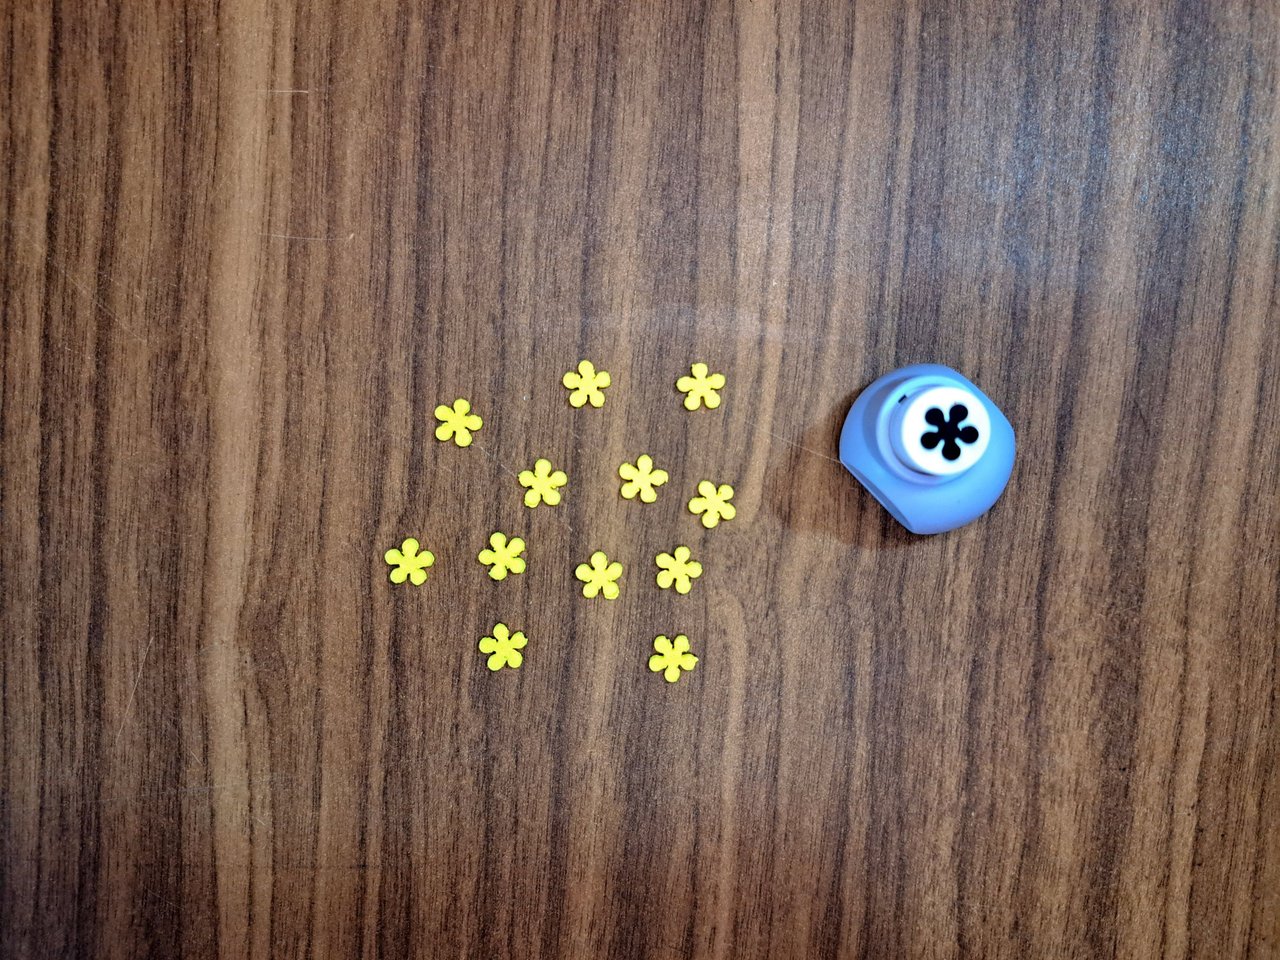
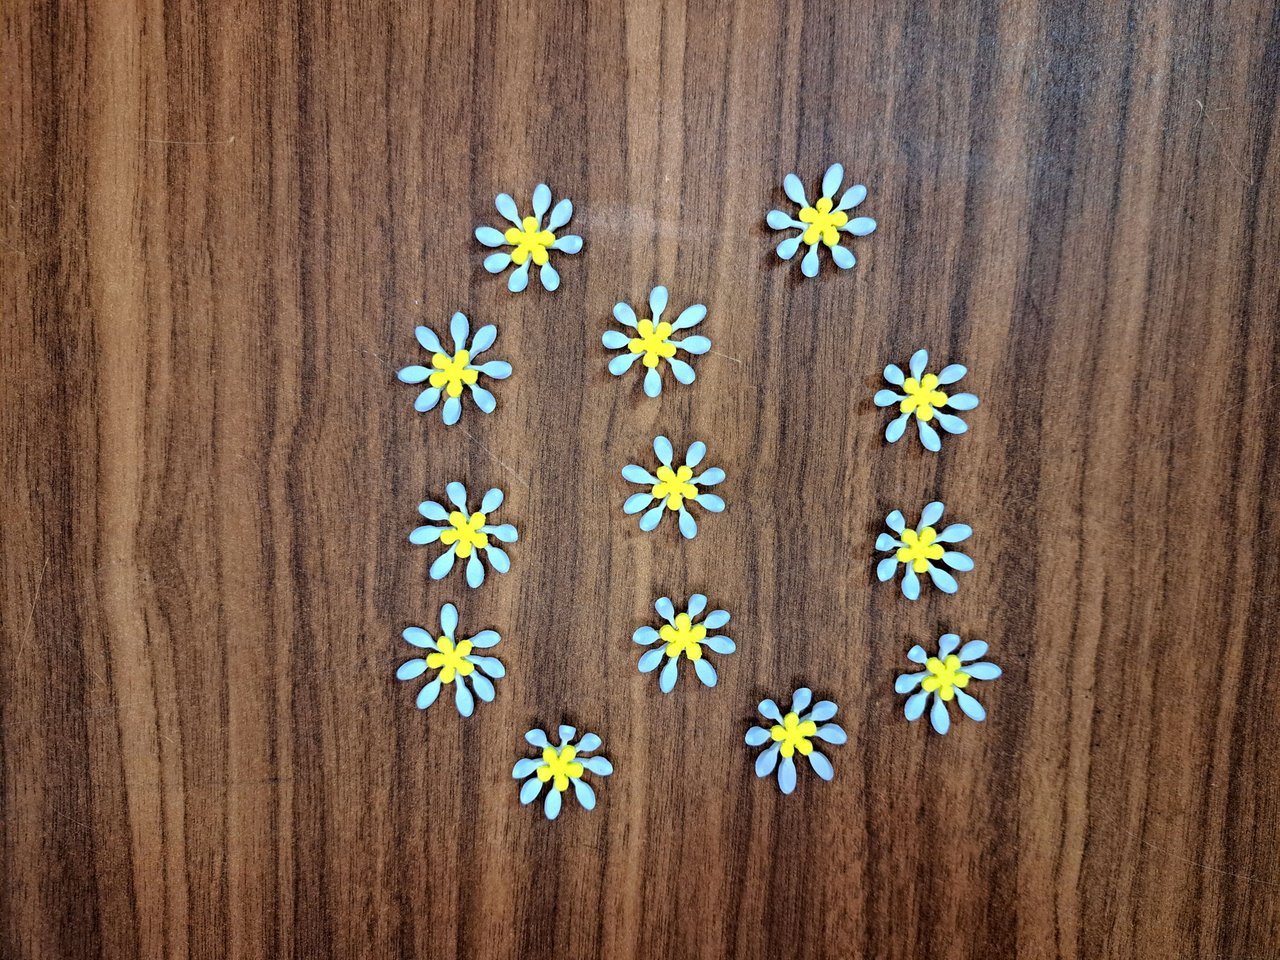
2️⃣ To decorate the bottom of the organizer you will use a set of daisies or similar flowers, which will be glued all around the edge. To create the daisies, mark and cut out the petals in white fomi and the center in yellow fomi. Use any method to make the flowers, either using dies and punches, leaf shapes or cutting them out by hand with scissors.
Para decorar el fondo del organizador se utilizarán un conjunto de margaritas o flores parecidas, las cuales irán pegadas por todo el borde. Para la creación de las margaritas, marca y recorta los pétalos en fomi blanco y el centro en fomi amarillo. Emplea cualquier método para hacer las flores, ya sea utilizando troqueles y perforadoras, moldes en hojas o recortándolos a mano con unas tijeras.
 |
 |
 |
 |
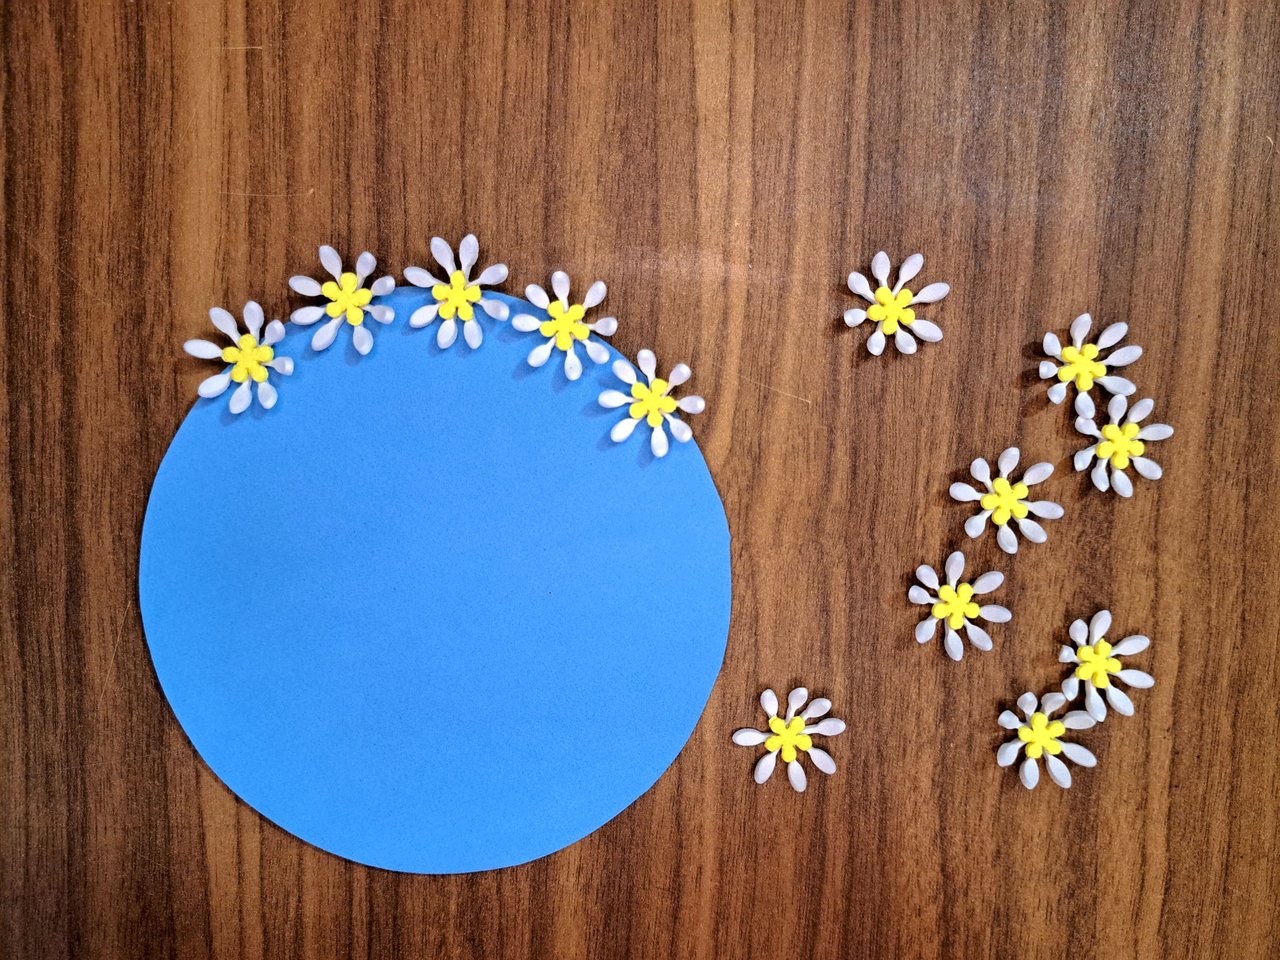
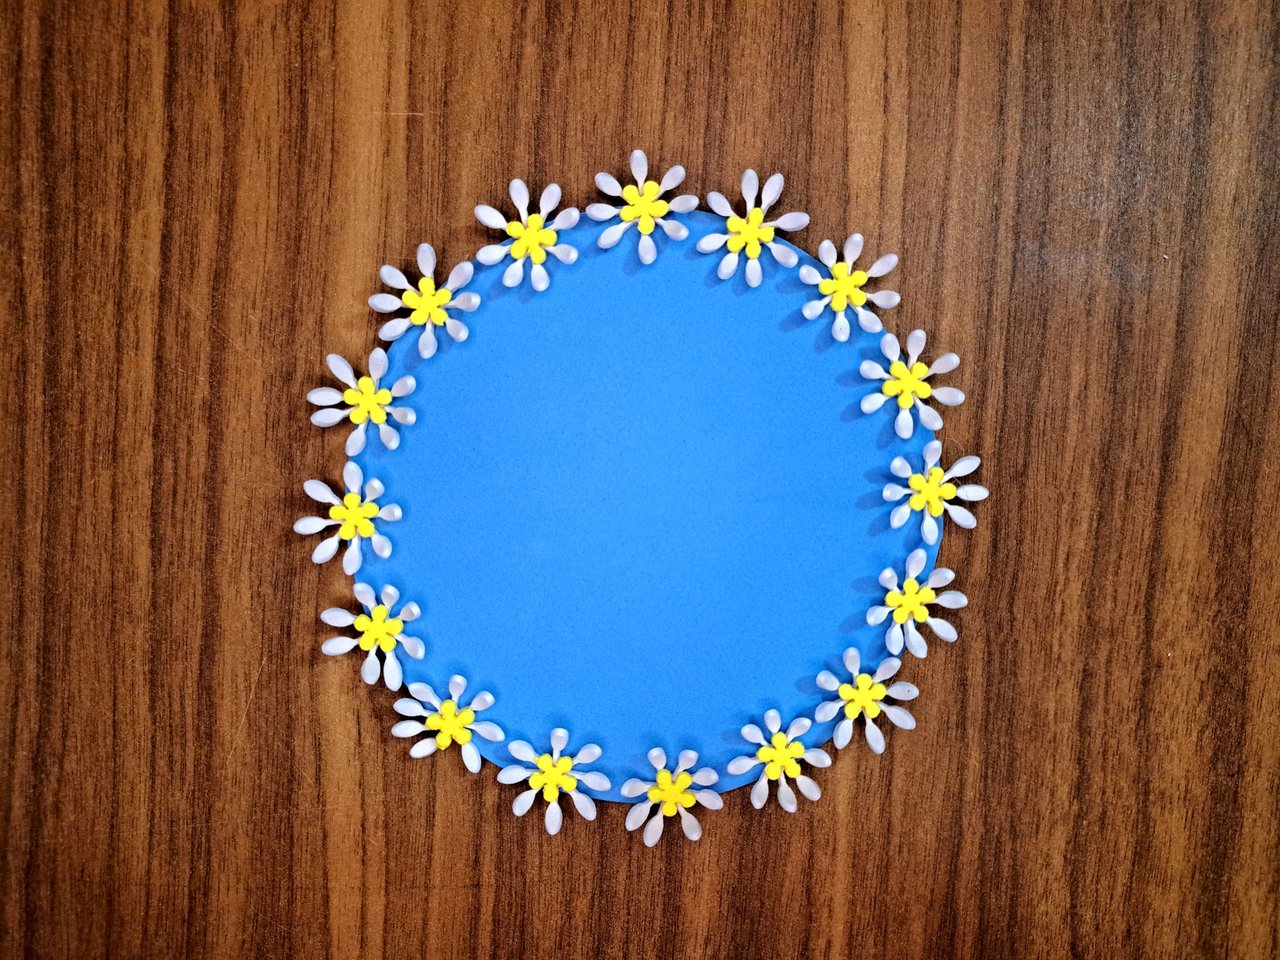
3️⃣ Glue each of the flowers from the previous step around the edge of the bottom of the organizer. Leave a space between each flower small enough so that they don't touch, but give the impression that they do.
Pega cada una de las flores del paso anterior alrededor del borde del fondo del organizador. Deja un espacio entre cada flor lo suficientemente pequeño como para que no lleguen a tocarse, pero que dé la sensación de que sí lo hacen.
 |
 |
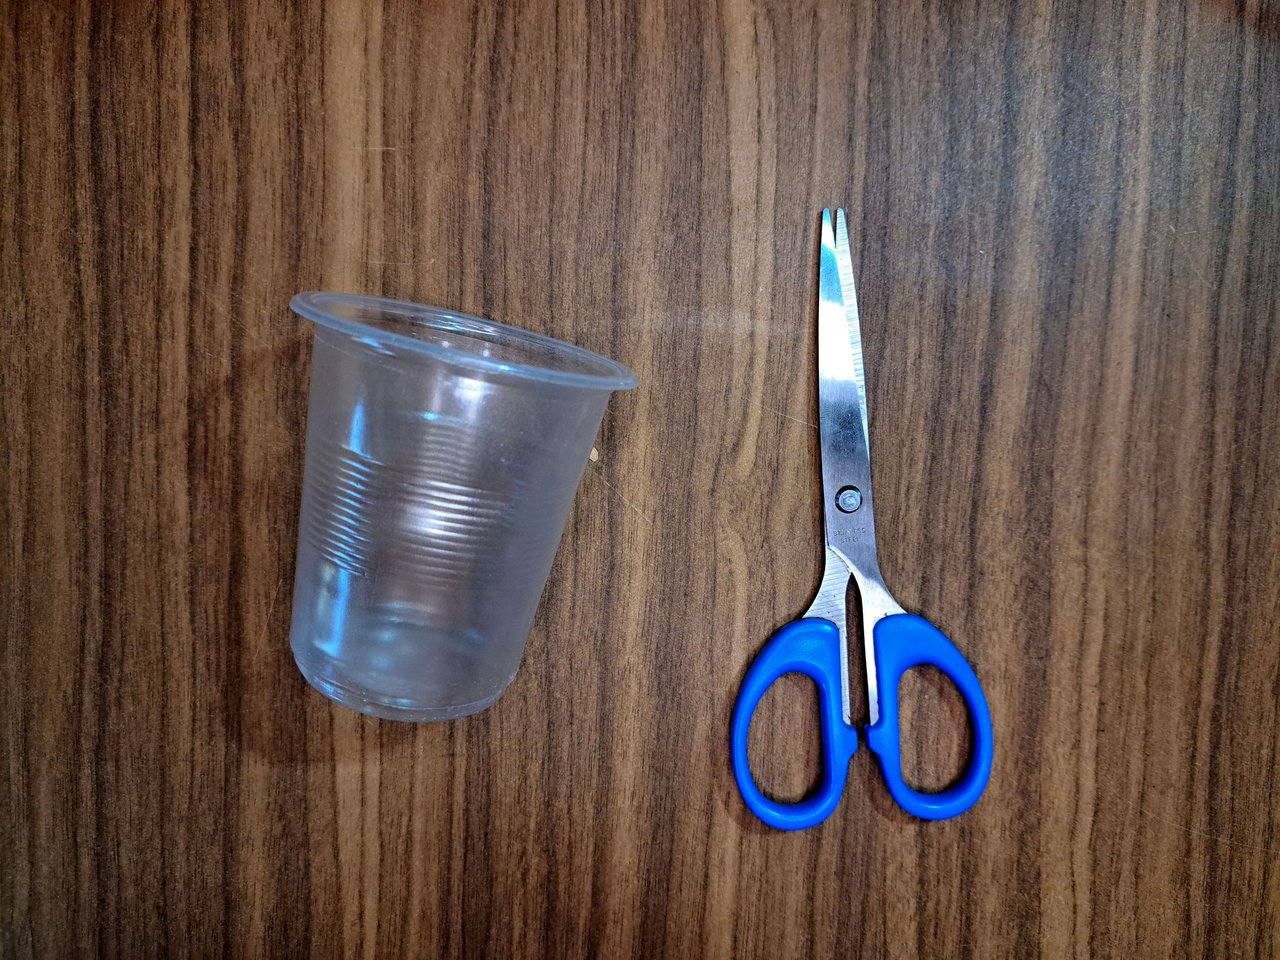
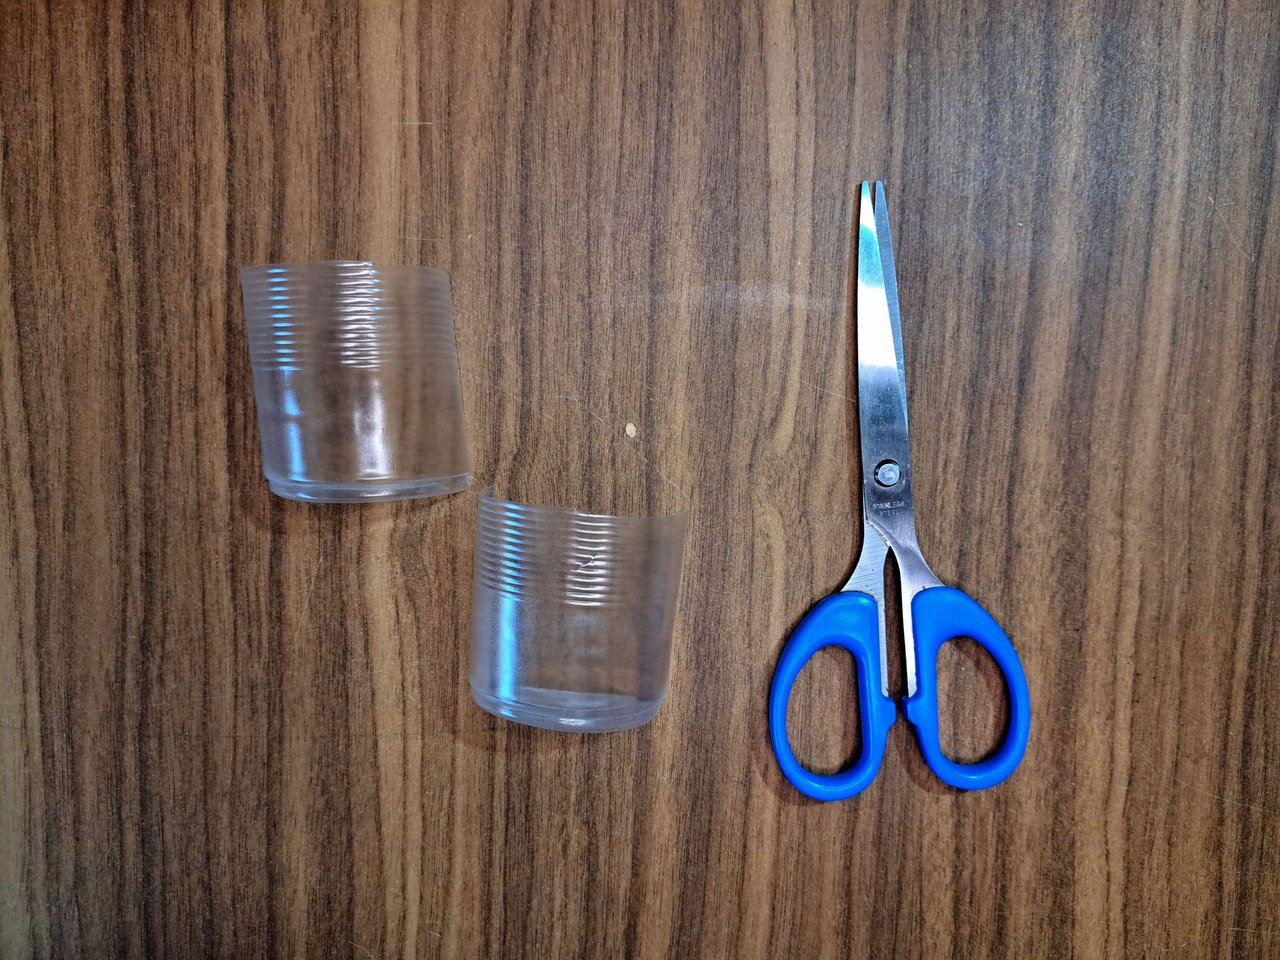
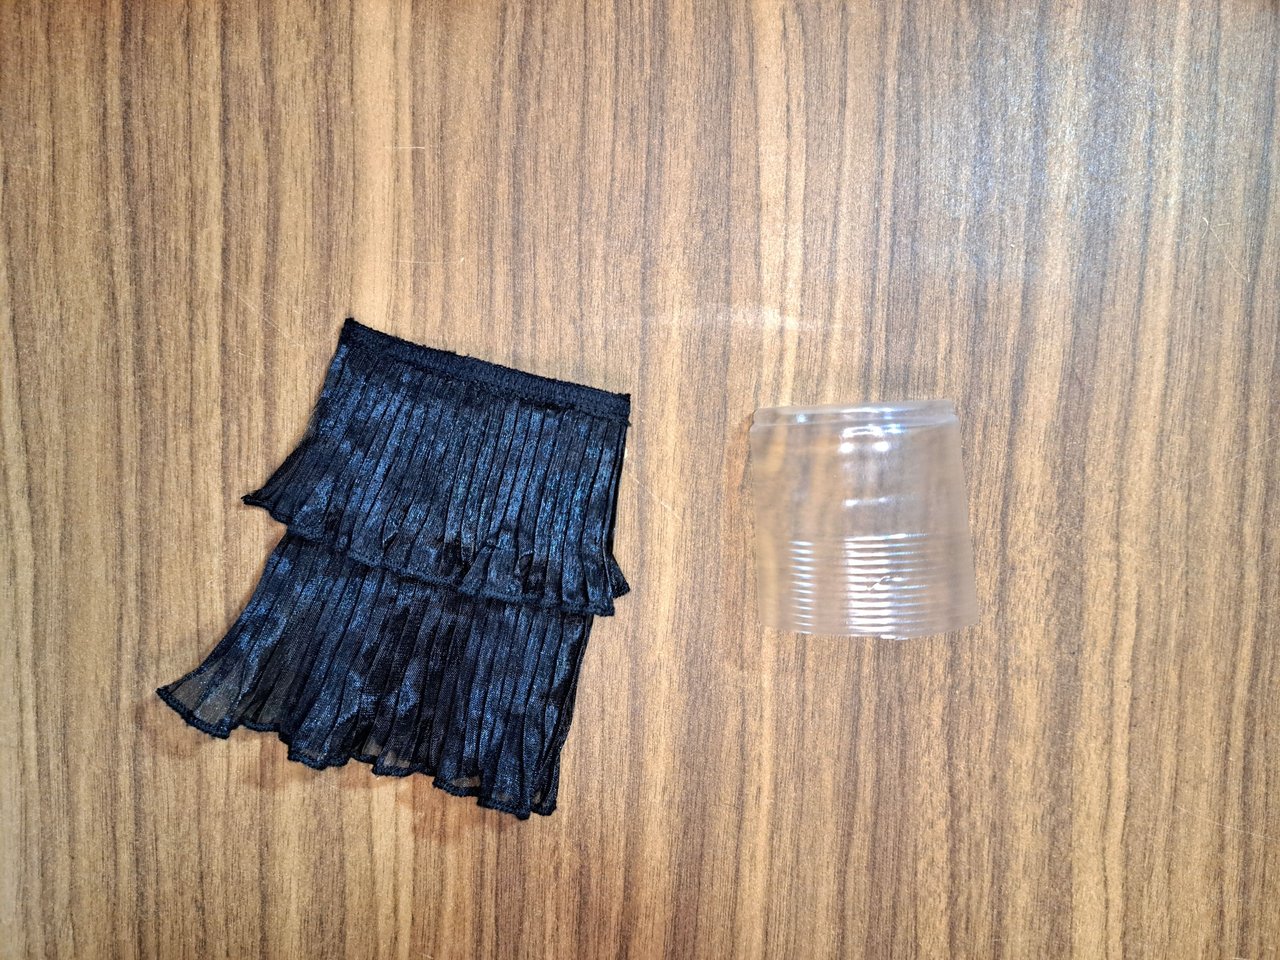
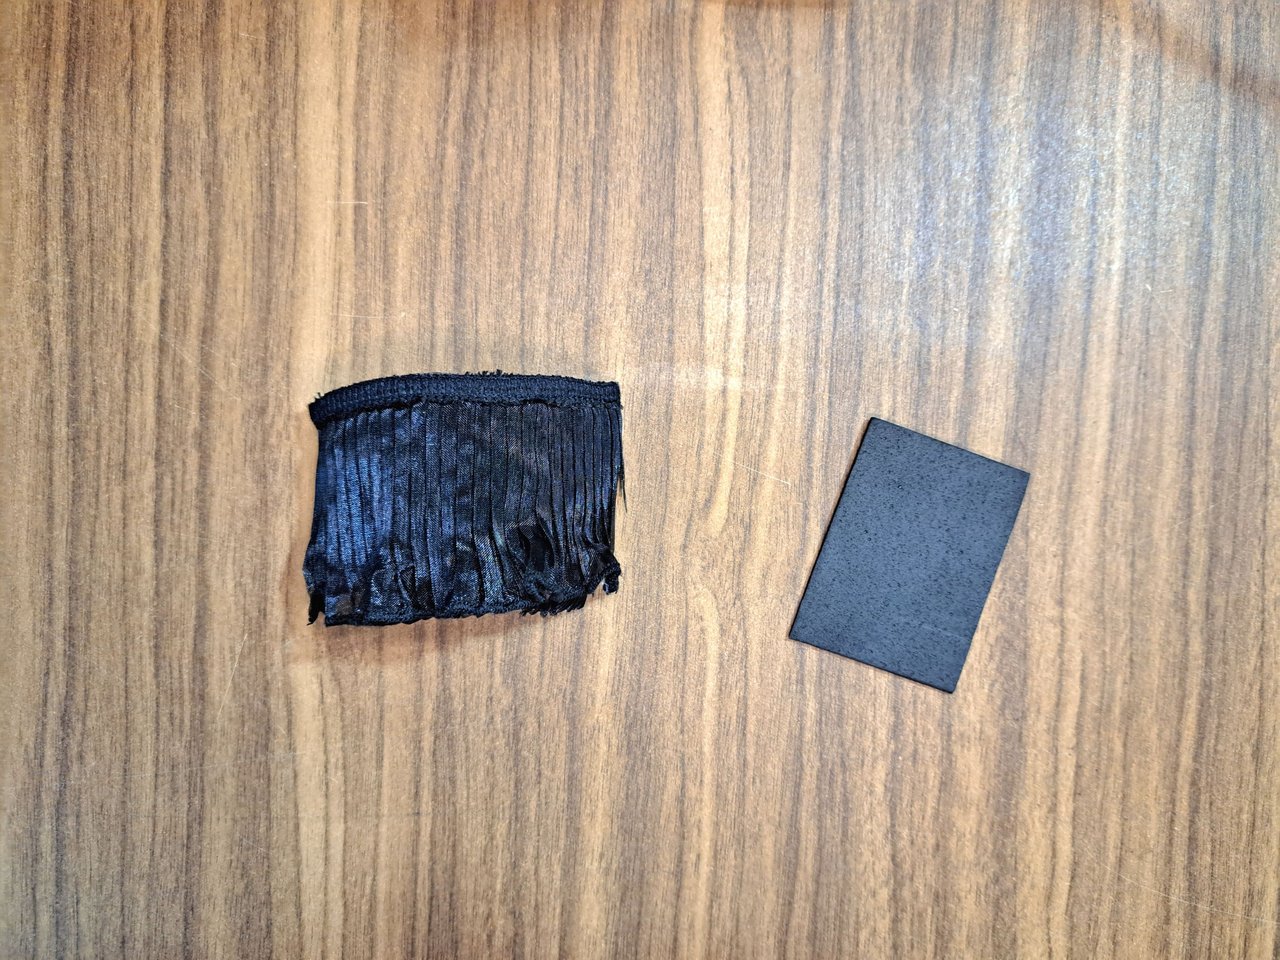
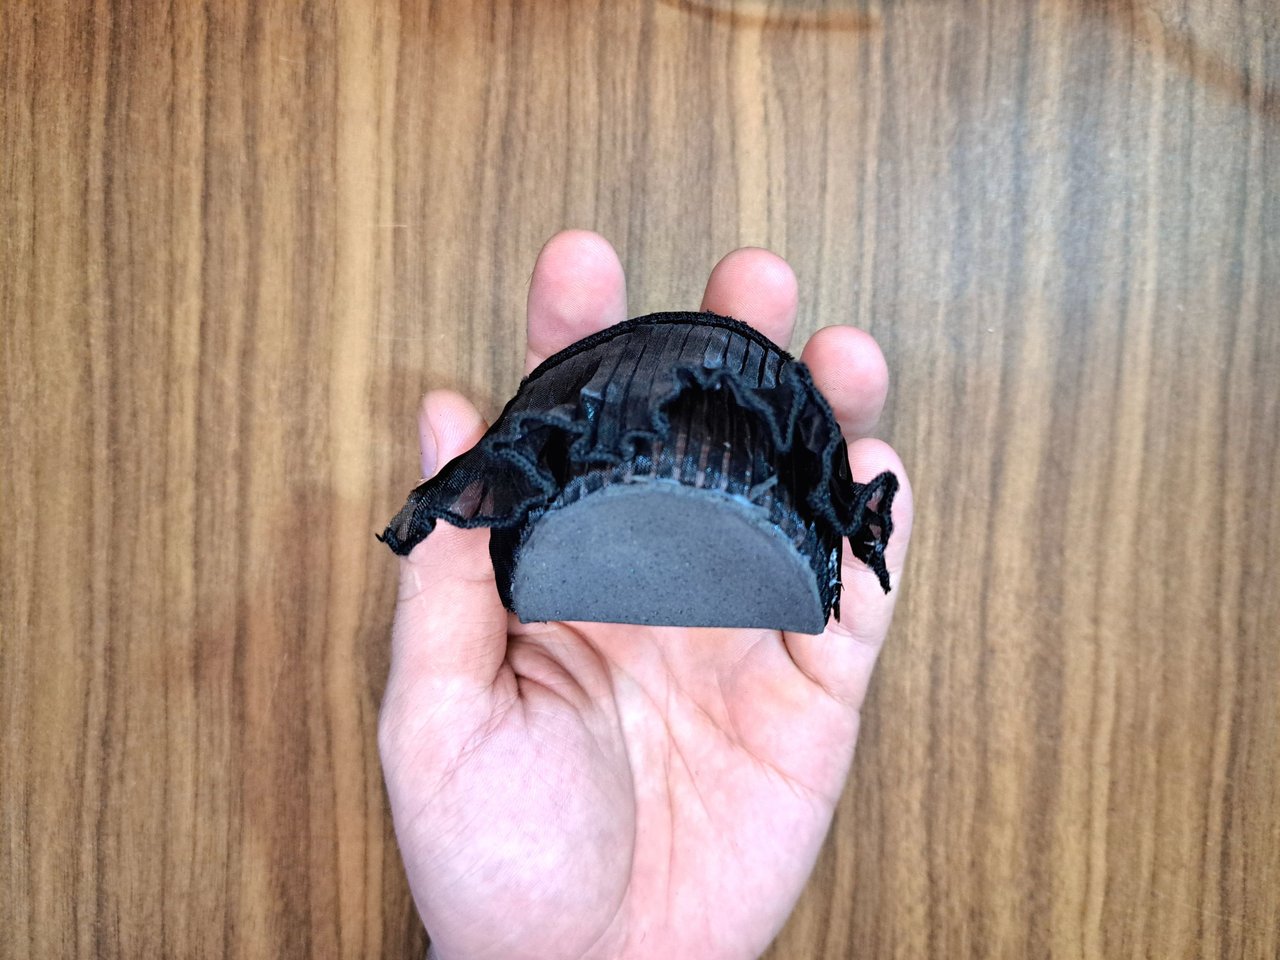
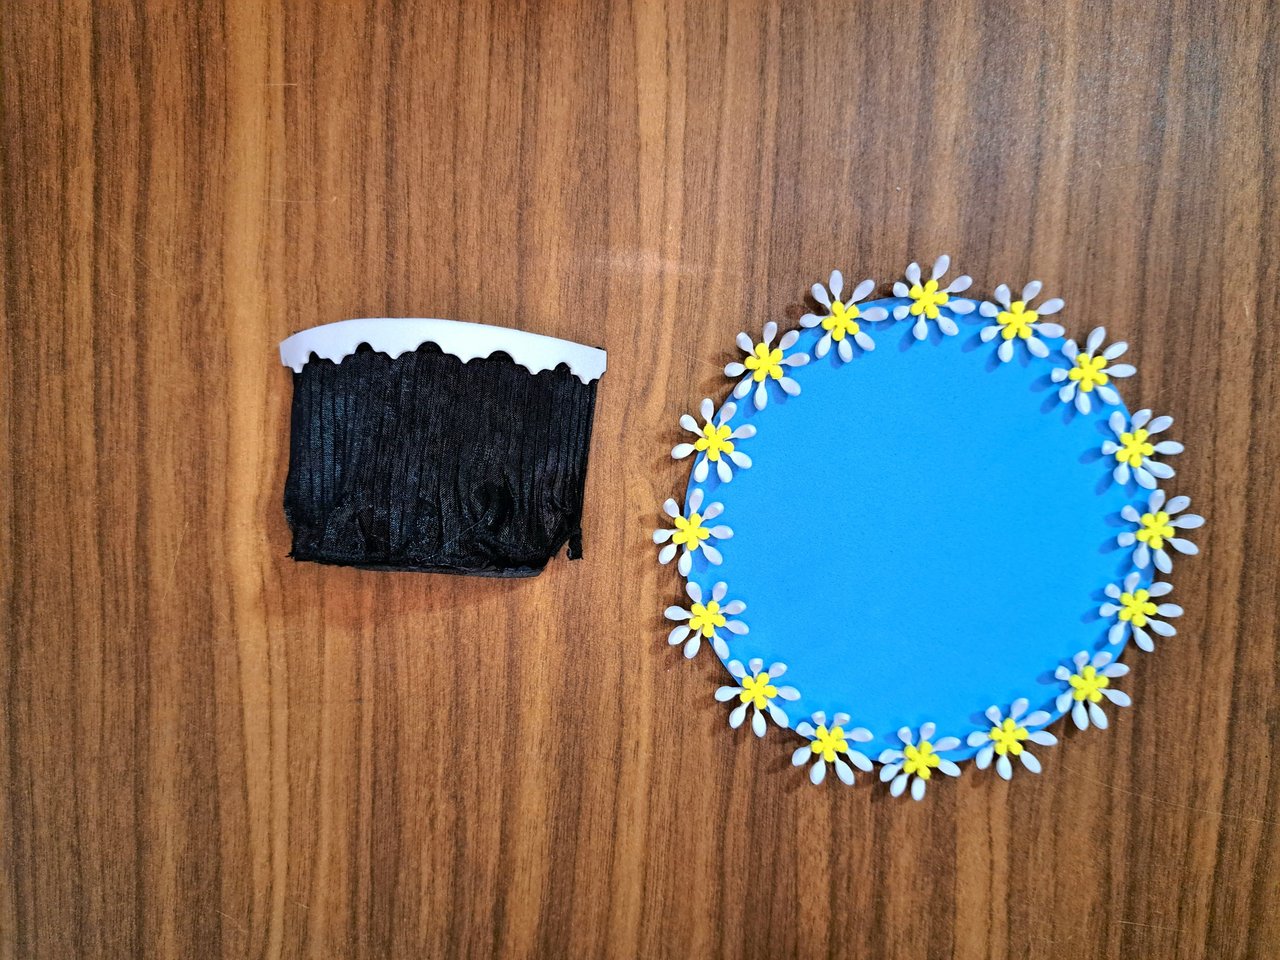
4️⃣ Cut out the top of the plastic container and then divide it in half. Cover one of the halves with the black fabric and on the bottom glue more black fabric or a piece of black fomi to finish covering the whole area. In my case, I used a stretch lace fabric with two layers. The first layer is full and is glued to the walls of the container, but the second layer is wavy and loose.
Recorta la parte superior del envase plástico y luego divídelo a la mitad. Cubre una de las mitades con la tela negra y en la parte inferior pega más tela negra o una pieza de fomi negro para terminar de cubrir toda el área. En mi caso, utilicé una tela de encaje elástica con dos capas. La primera capa es enteriza y va pegada a las paredes del recipiente, pero la segunda capa es ondulada y queda suelta.
 |
 |
 |
 |
 |
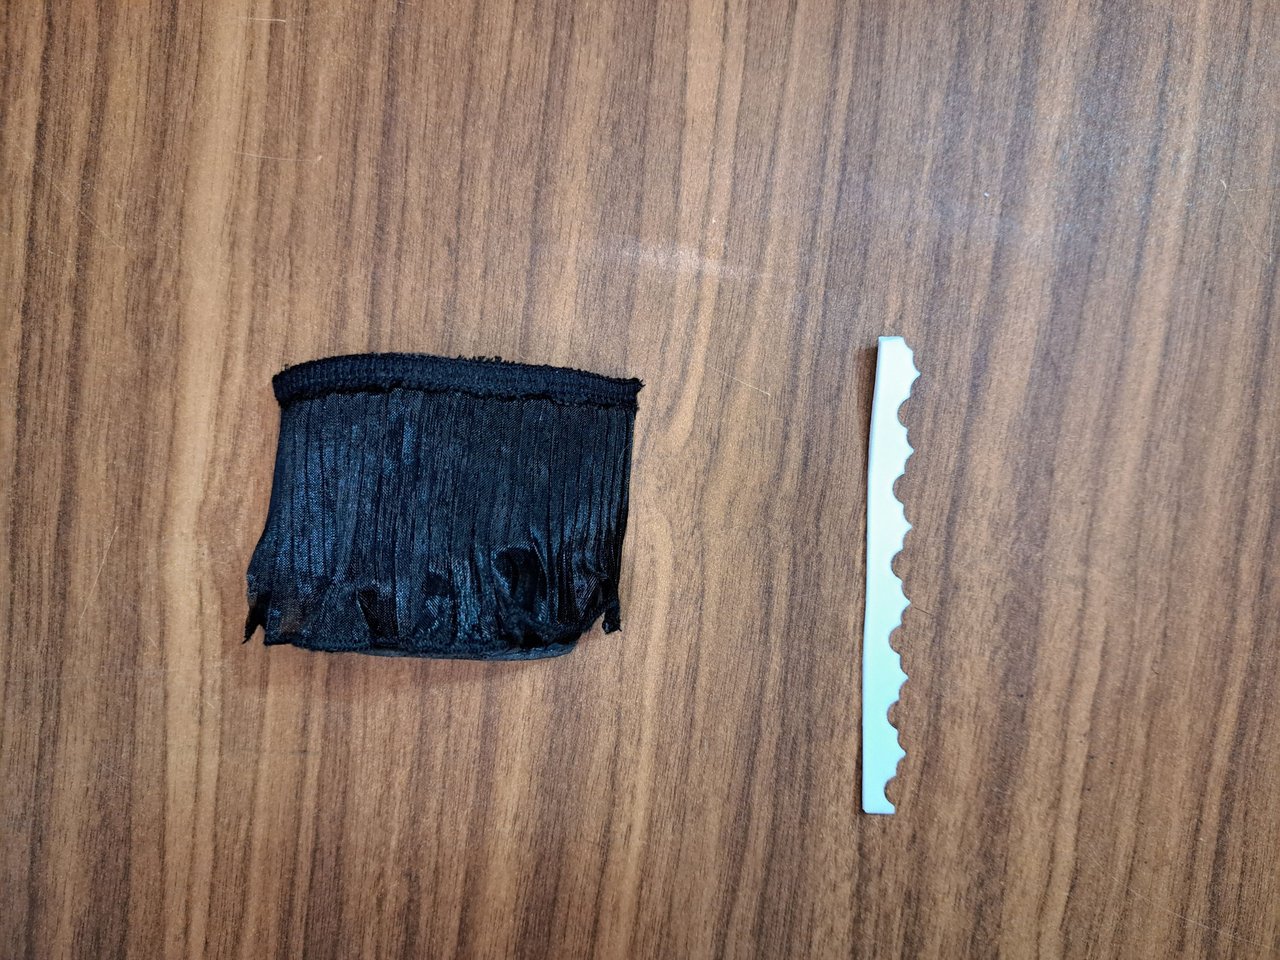
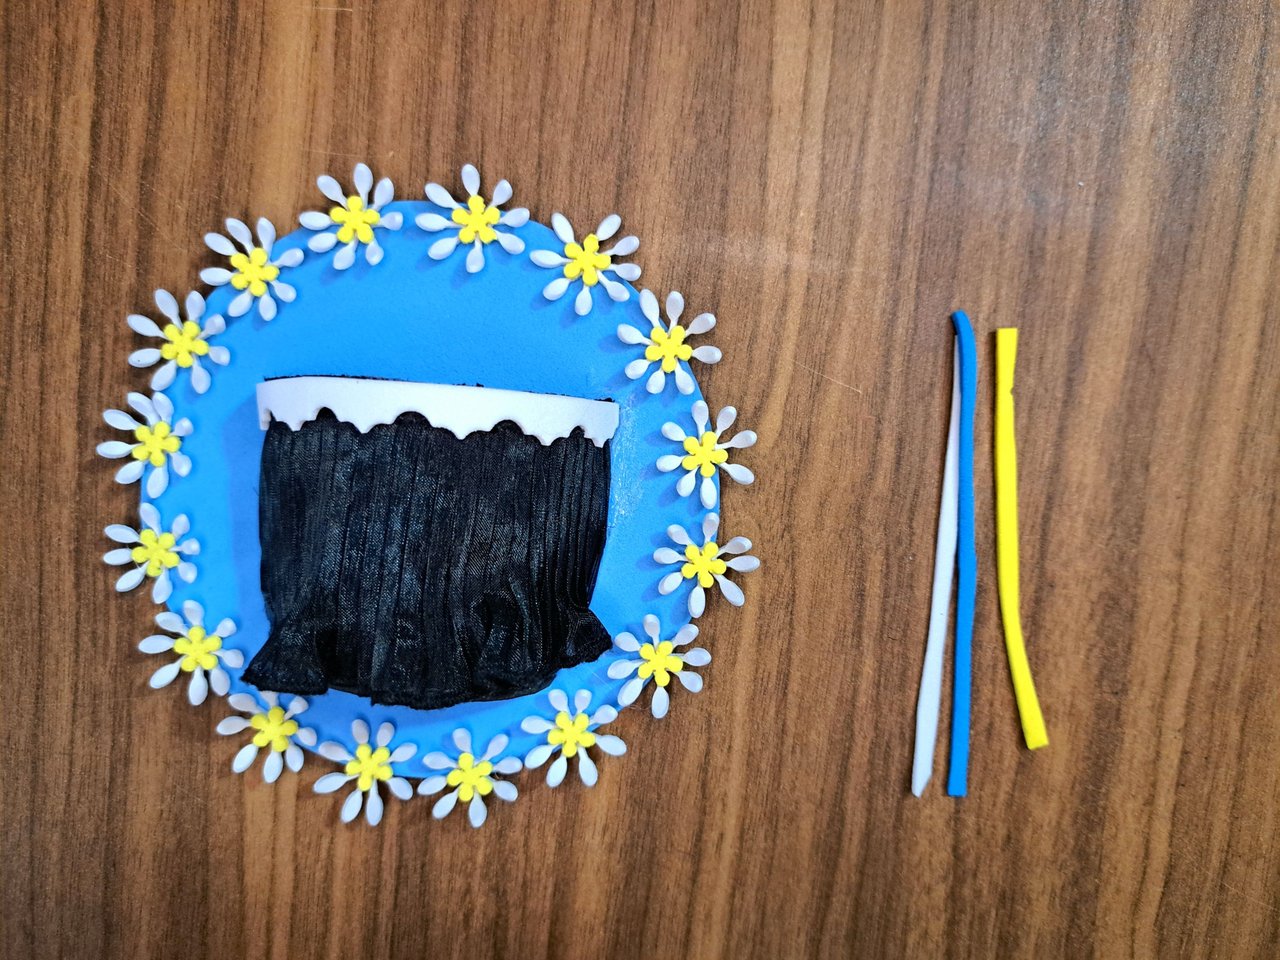
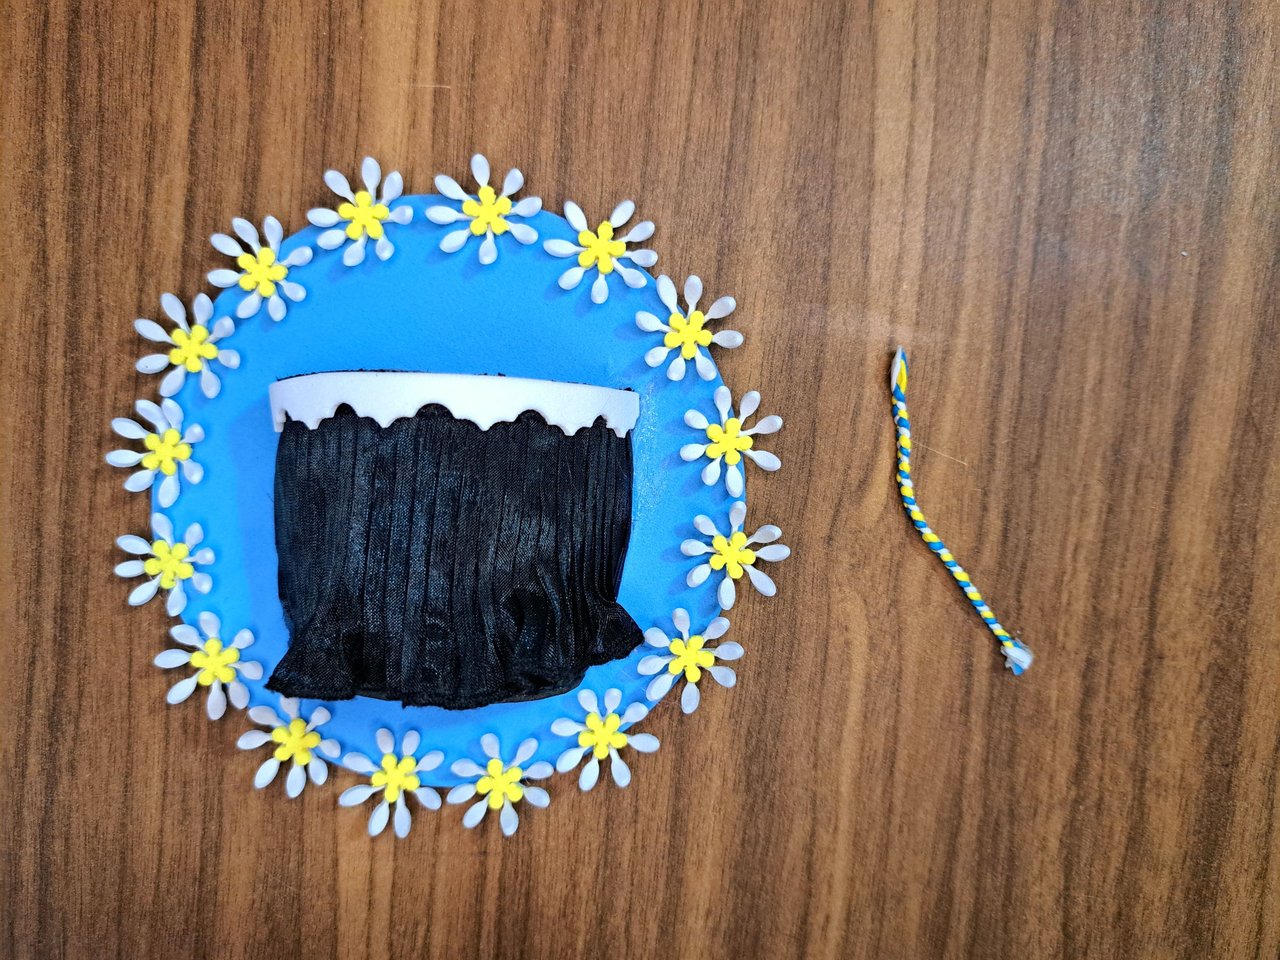
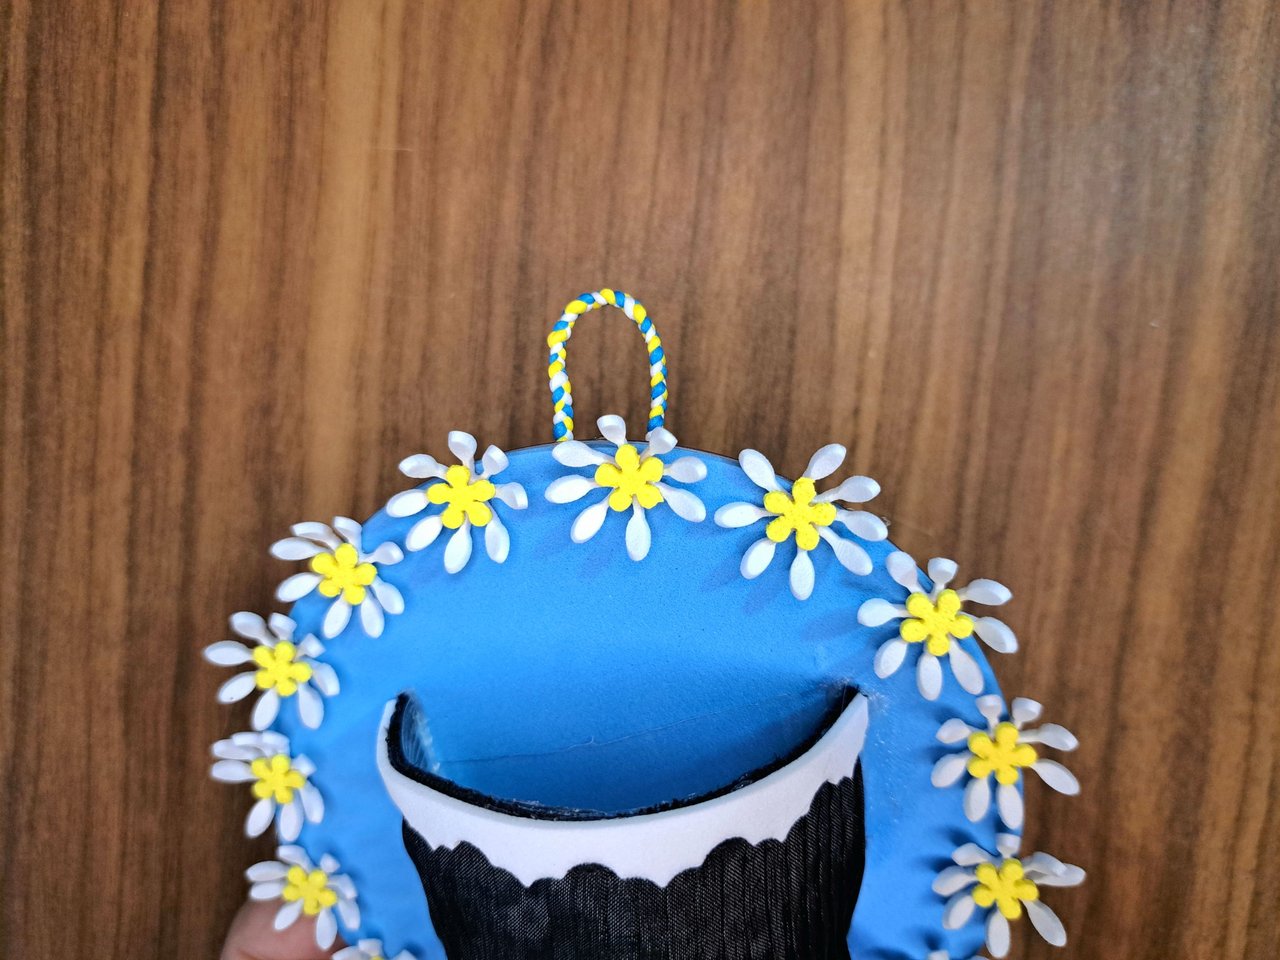
5️⃣ Glue the piece from the previous step right in the center of the blue circular background. Next, cut out three strips of white, blue, and yellow fomi and weave them into a braid to form a mini rope. Finally, glue the mini string to the back of the ornament to form a hitch.
Pega la pieza del paso anterior justo en el centro del fondo azul circular. Seguidamente, recorta tres tiras de fomi blanco, azul y amarillo, las teje en forma de trenza para formar una mini cuerda. Para finalizar, pega la mini cuerda en la parte trasera del adorno para formar un enganche.
 |
 |
 |
 |
 |
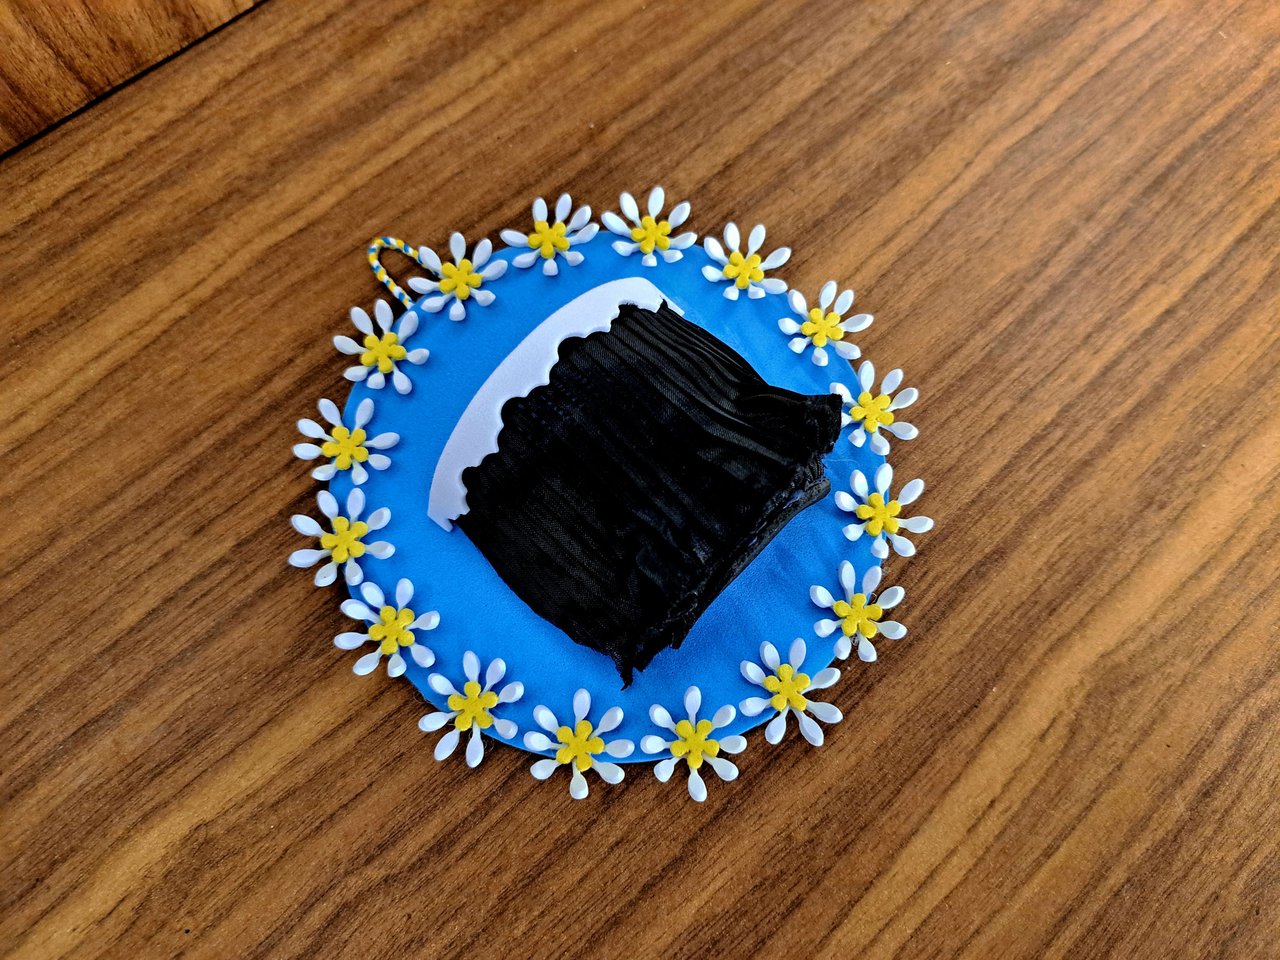
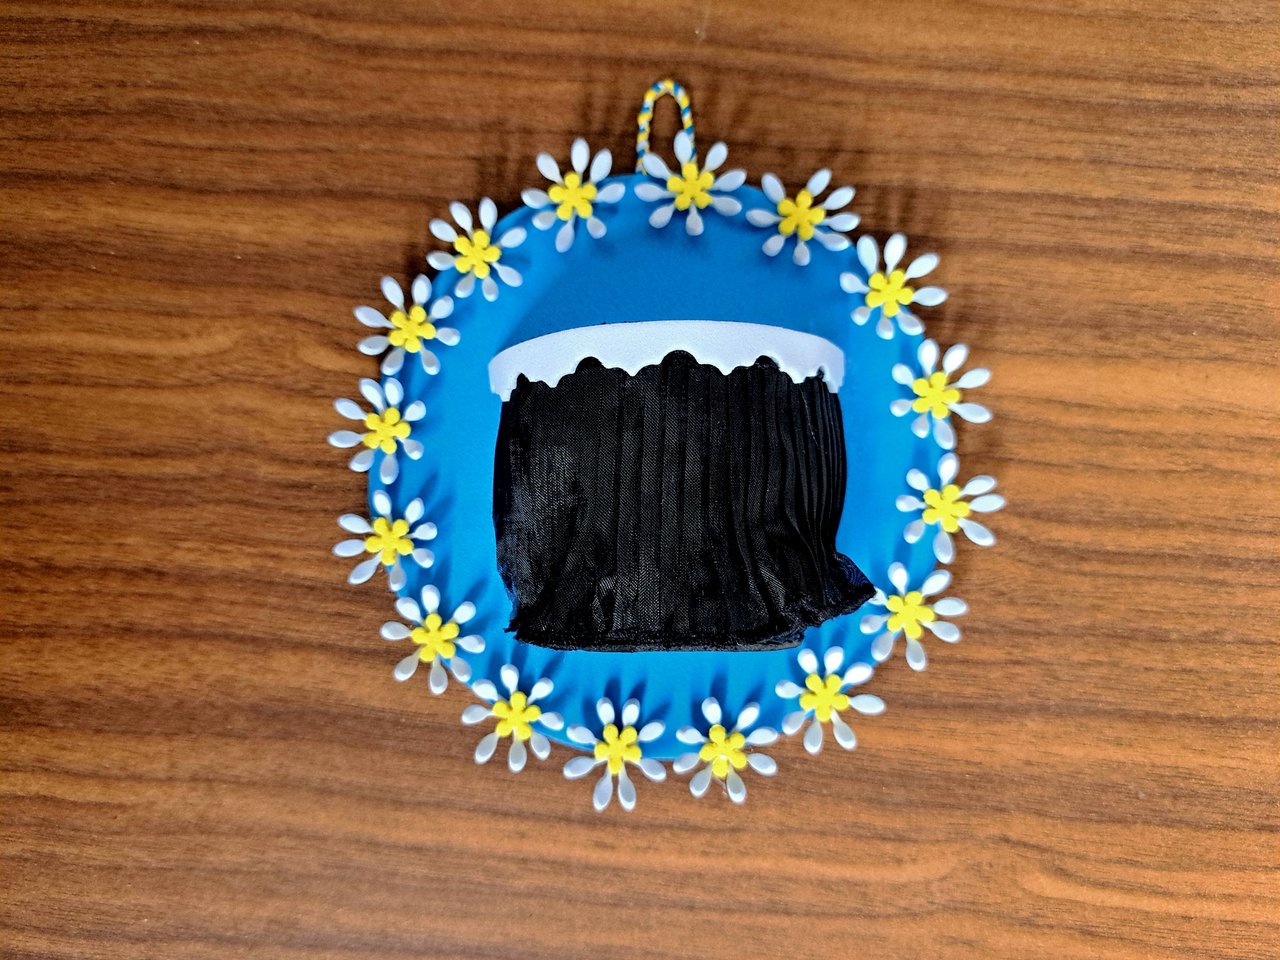
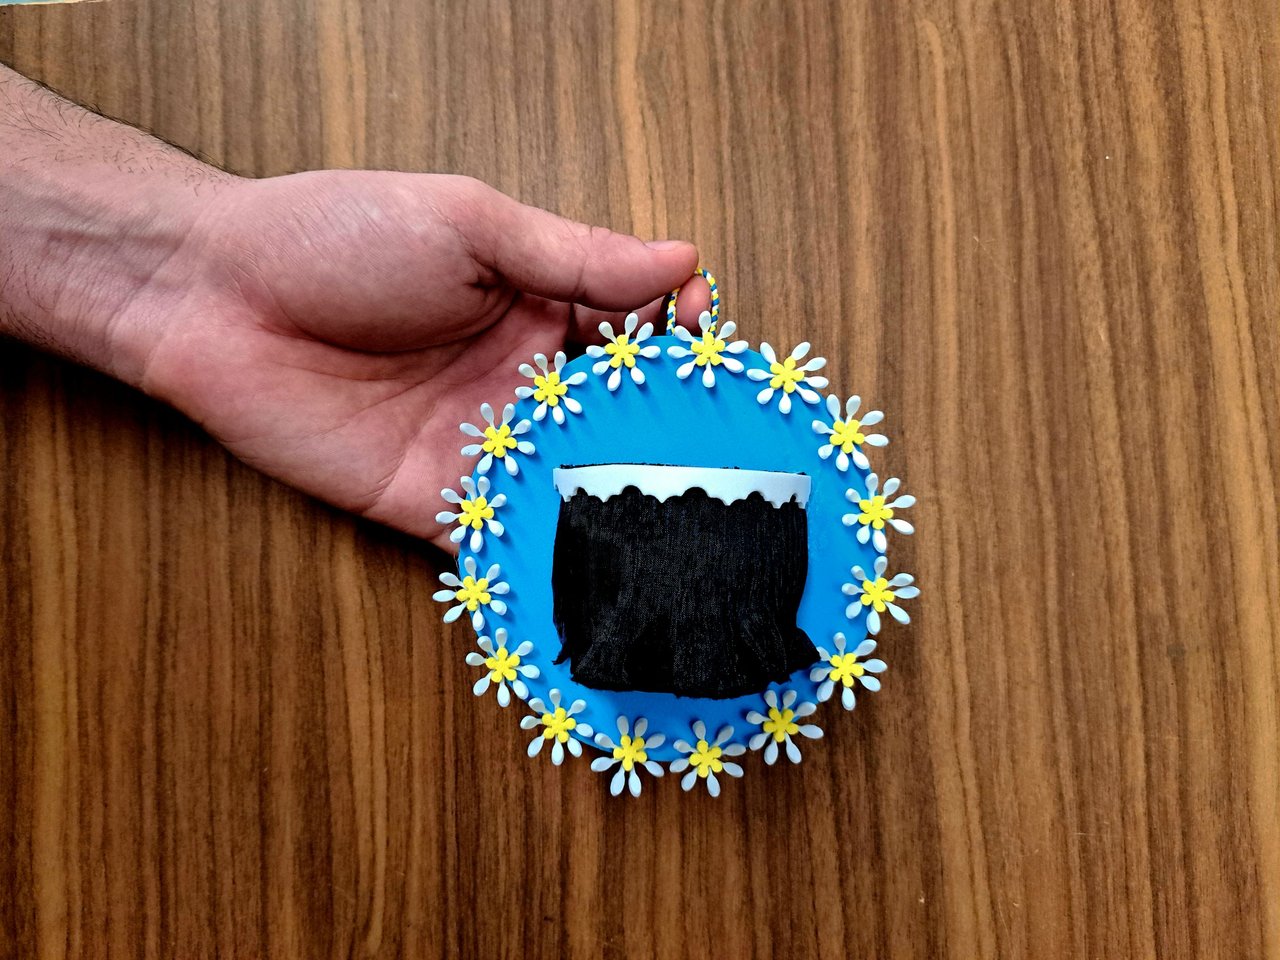
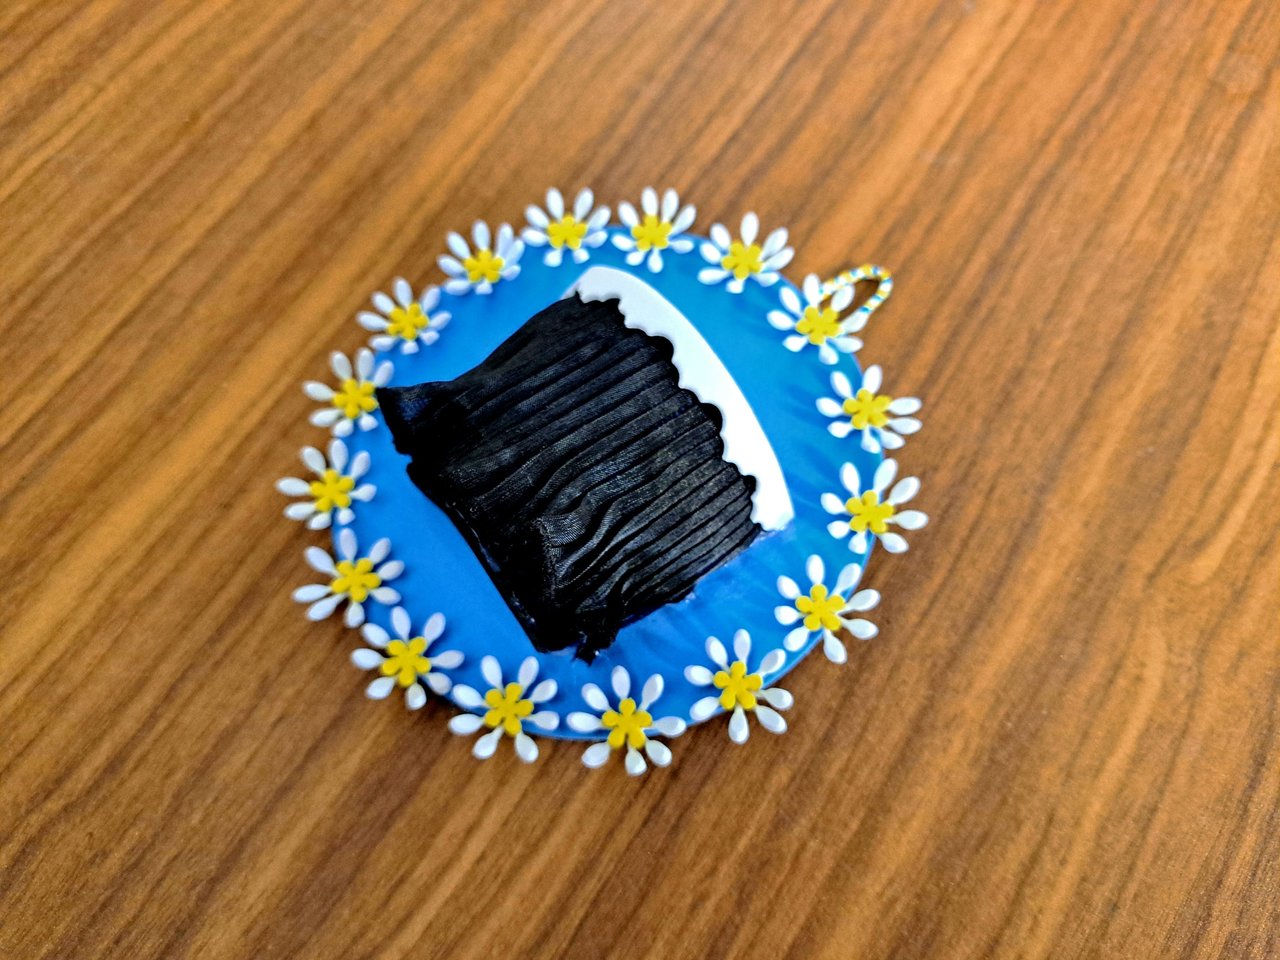
Finished Work // Trabajo Terminado
And that's all for today. I hope you liked this craft and that the tutorial was easy to understand. Let me know in the comments what you thought of this multipurpose organizer and what you would use it for. Without further ado, I'll say goodbye until next time. Bye.
Y eso sería todo por hoy. Espero que les haya gustado esta manualidad y que el tutorial fuese fácil de entender. Déjenme saber en los comentarios qué les ha parecido este organizador multiusos y para qué lo utilizarían. Sin más que agregar, me despido hasta una próxima ocasión. Chao.
 |
 |
 |
 |

Credits and Resources // Créditos y Recursos
Cover page created in Canva
Translated by DeepL
Images captured with my Samsung Galaxy A53

This looks good, I think I need something like this. With so much clutter and limited space in my house, I'm always searching for ways to maximize storage.
Your idea of utilizing empty walls as hangers is brilliant. Not only would it free up valuable floor space, but it would also make finding things much easier. Plus, many store-bought organizers are cheaply made. Crafting them with high-quality materials ensures they'll be durable and last for years to come.👍
Congratulations, you have received support from Ecency through curator @reachdreams
This hanger/organizer looks great, it's easy to make and very useful. Thanks for sharing this tutorial with us.