Hello everyone.
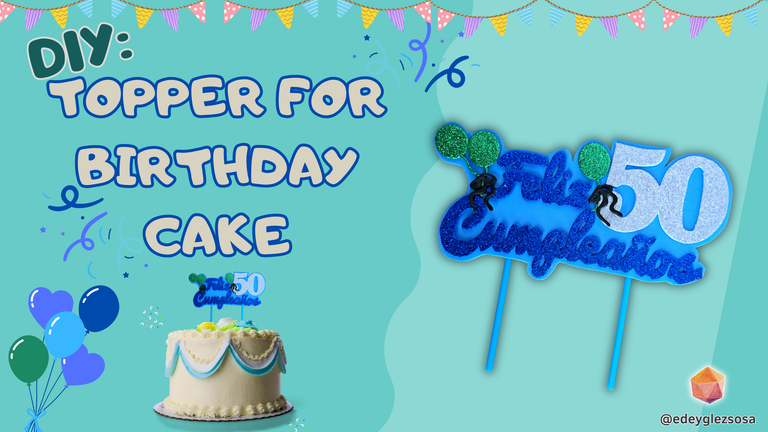
Today I want to show you how to make a birthday cake topper. I don't remember making a topper before and if I did I'm sure I didn't post it, so I will say that this is my first time sharing something like this. And what better occasion than to do it to decorate my uncle's birthday altar, who will be celebrating his 50th birthday very soon.
For the making of this decoration I will use mostly blue tones, since the cake was ordered in that color. However, I made the number silver, as I have tried using gold before with this shiny dark blue and I didn't like it as much as when using silver. Otherwise, the procedure is extremely easy and, additionally, I will leave you the reference link where you can find the molds for the letters.
Hola a todos.
Hoy quiero mostrarles cómo hacer un topper para tarta de cumpleaños. No recuerdo haber confeccionado un topper anteriormente y si lo hice estoy seguro de que no lo publiqué, así que diré que esta es mi primera vez compartiendo algo así. Y qué mejor ocasión que hacerlo para decorar el altar de cumpleaños de mi tío, el cual celebrará muy pronto sus 50 años de vida.
Para la confección de esta decoración usaré en su mayoría tonos azulados, ya que la tarta se encargó de ese color. Sin embargo, el número lo hice plateado, ya que he probado usar dorado anteriormente con este azul oscuro brillante y no me ha gustado tanto como cuando uso el plateado. Por lo demás, el procedimiento es sumamente fácil y, adicionalmente, les dejaré el enlace de referencia donde podrán encontrar los moldes de las letras.
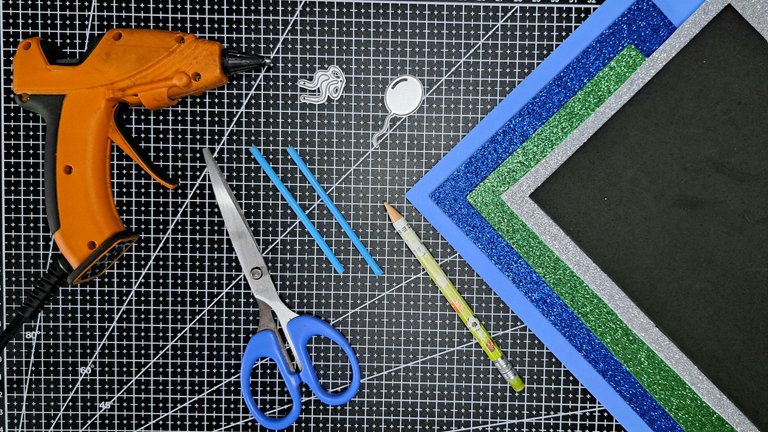
Materials // Materiales
| ✔️ Dark blue, green and silver frosted fomi | ✔️ Fomi escarchado azul oscuro, verde y plateado |
| ✔️ Smooth light blue and black fomi | ✔️ Fomi liso azul claro y negro |
| ✔️ Balloon-shaped metal cutting dies | ✔️ Troquel metálico de corte con forma de globo |
| ✔️ Metal cutting die with fine loop shape | ✔️ Troquel metálico de corte con forma de lazo fino |
| ✔️ Scissors and pencil | ✔️ Tijeras y lápiz |
| ✔️ Plastic sticks | ✔️ Palitos de plásticos |
| ✔️ Hot silicone | ✔️ Silicona caliente |
Step by step // Paso a paso
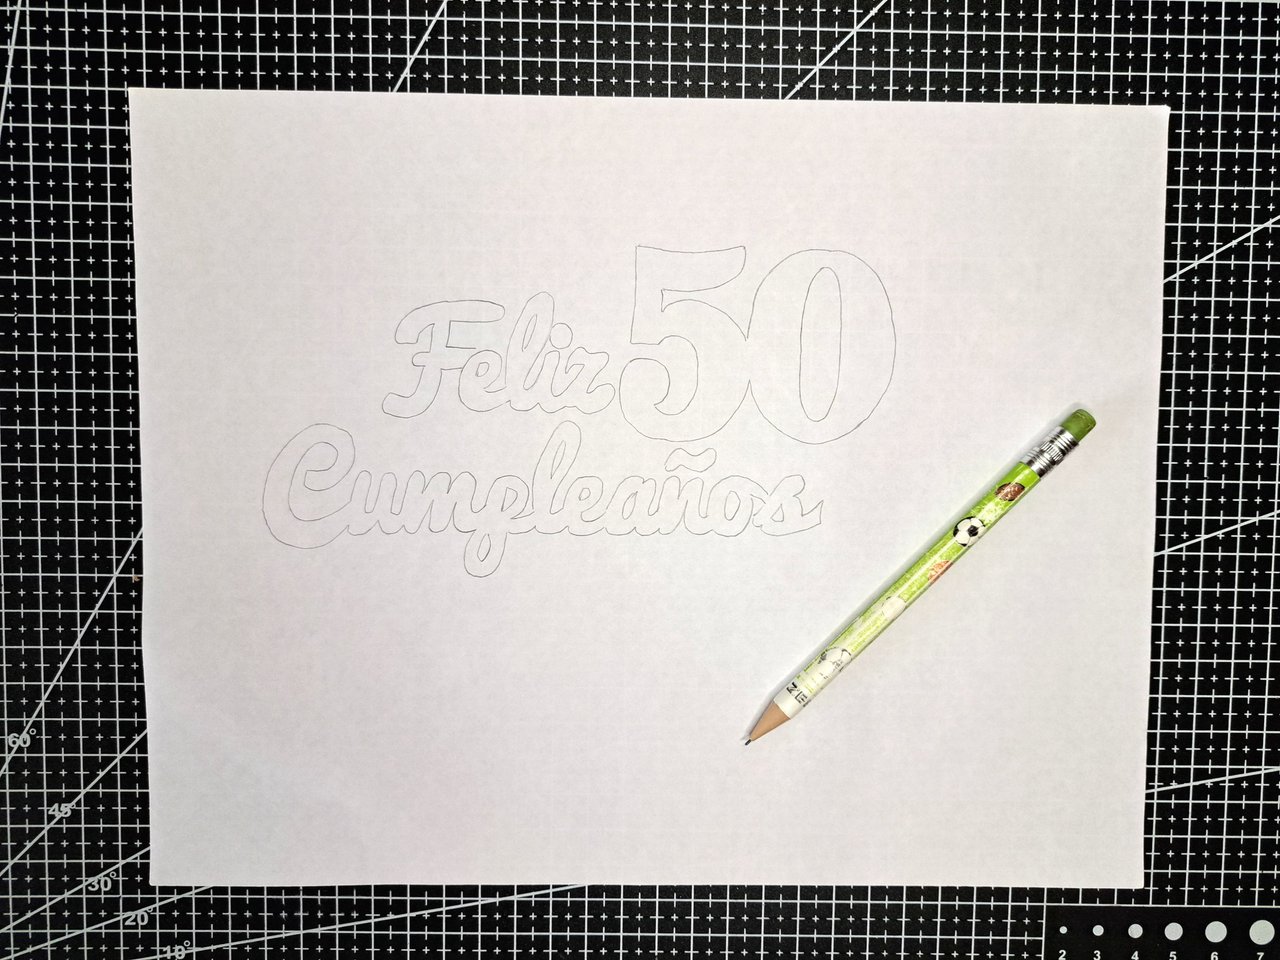
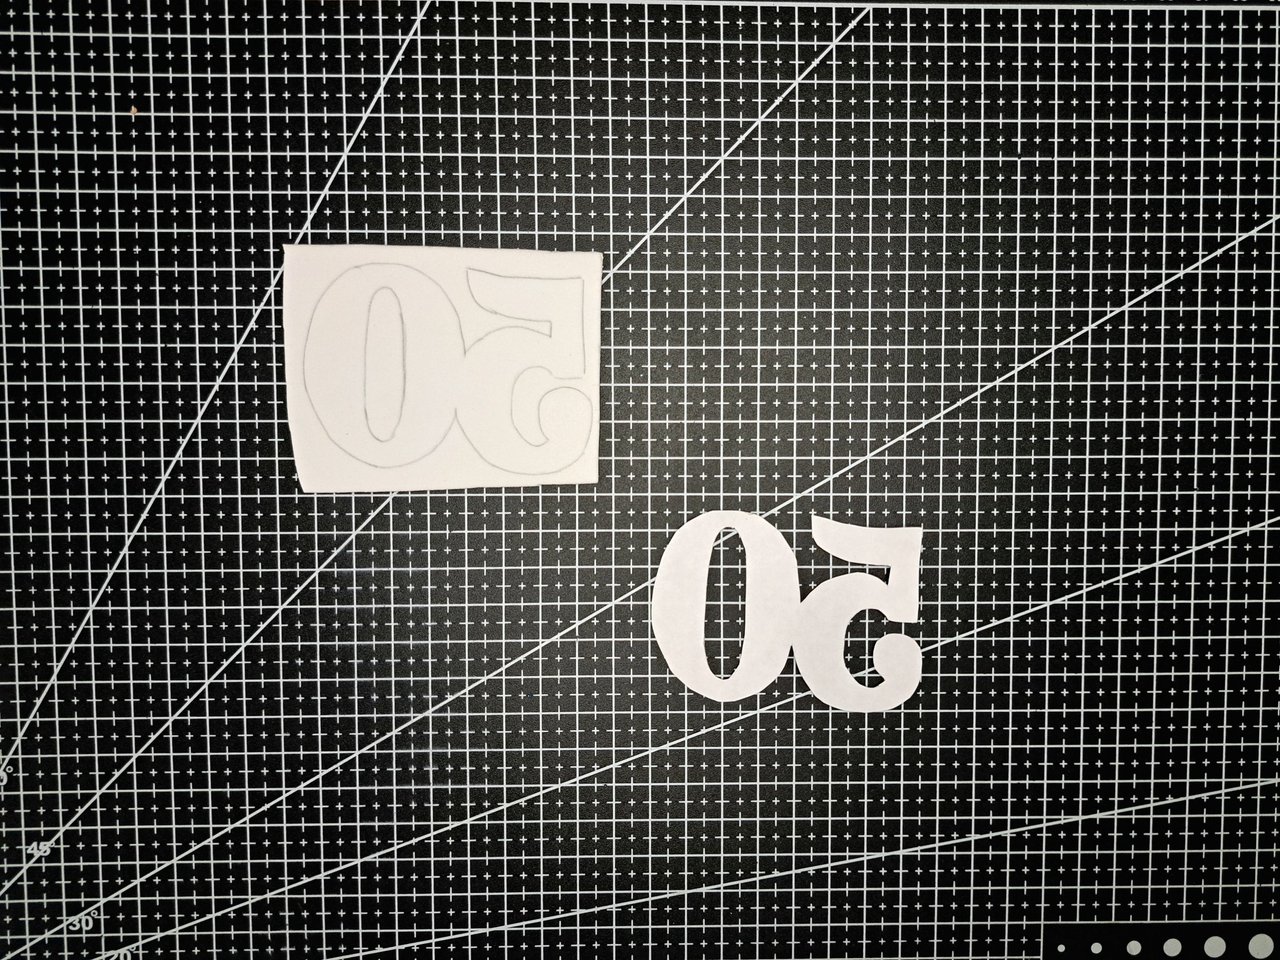
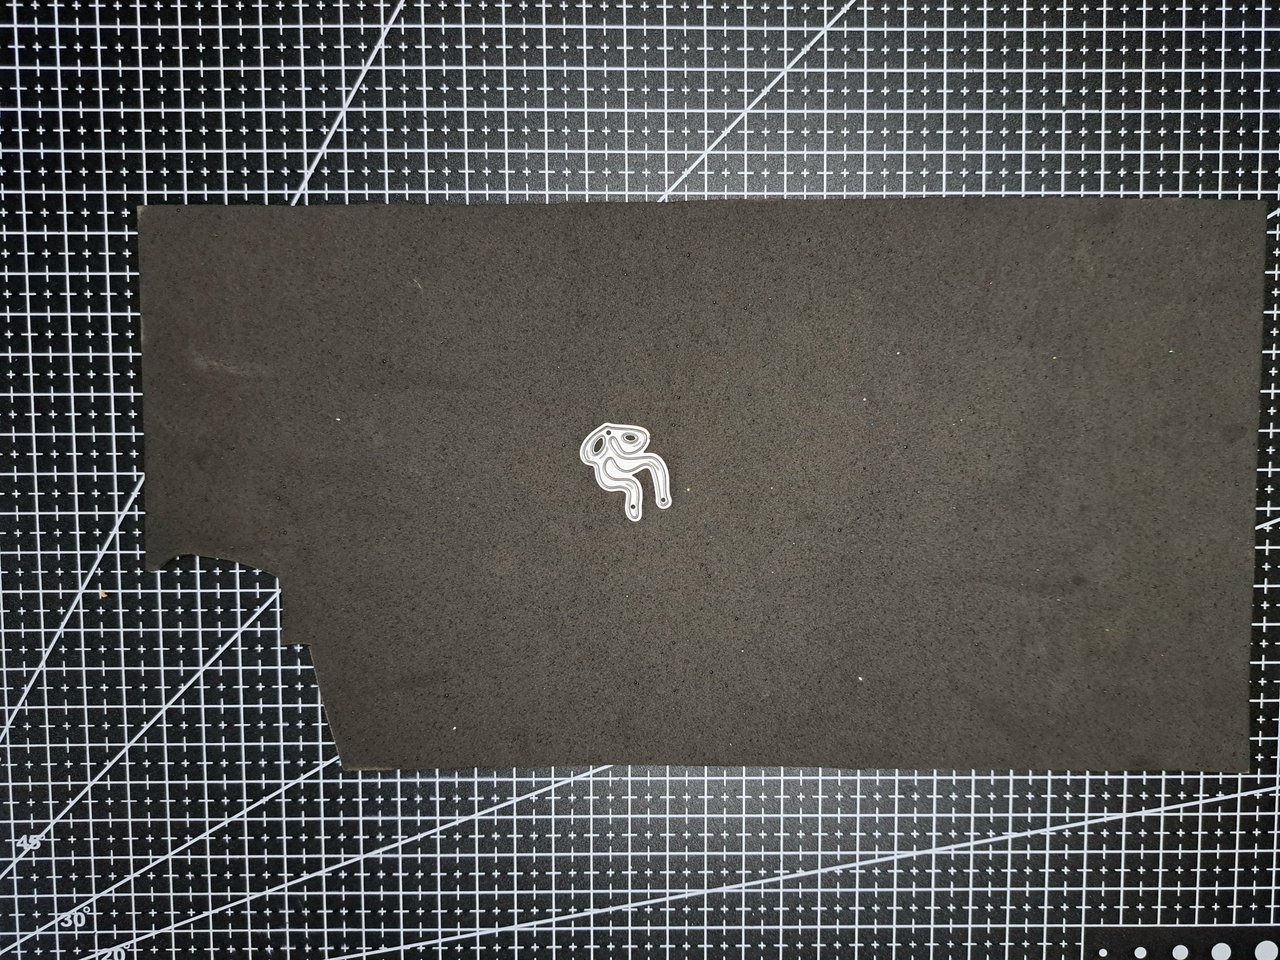
1️⃣ The first thing to do is to draw the letters and the number on a white sheet of paper. Then cut out what you have drawn to make the templates.
Lo primero que se debe hacer es dibujar las letras y el número en una hoja blanca. Luego se recortará lo dibujado para confeccionar las plantillas.
 |
 |
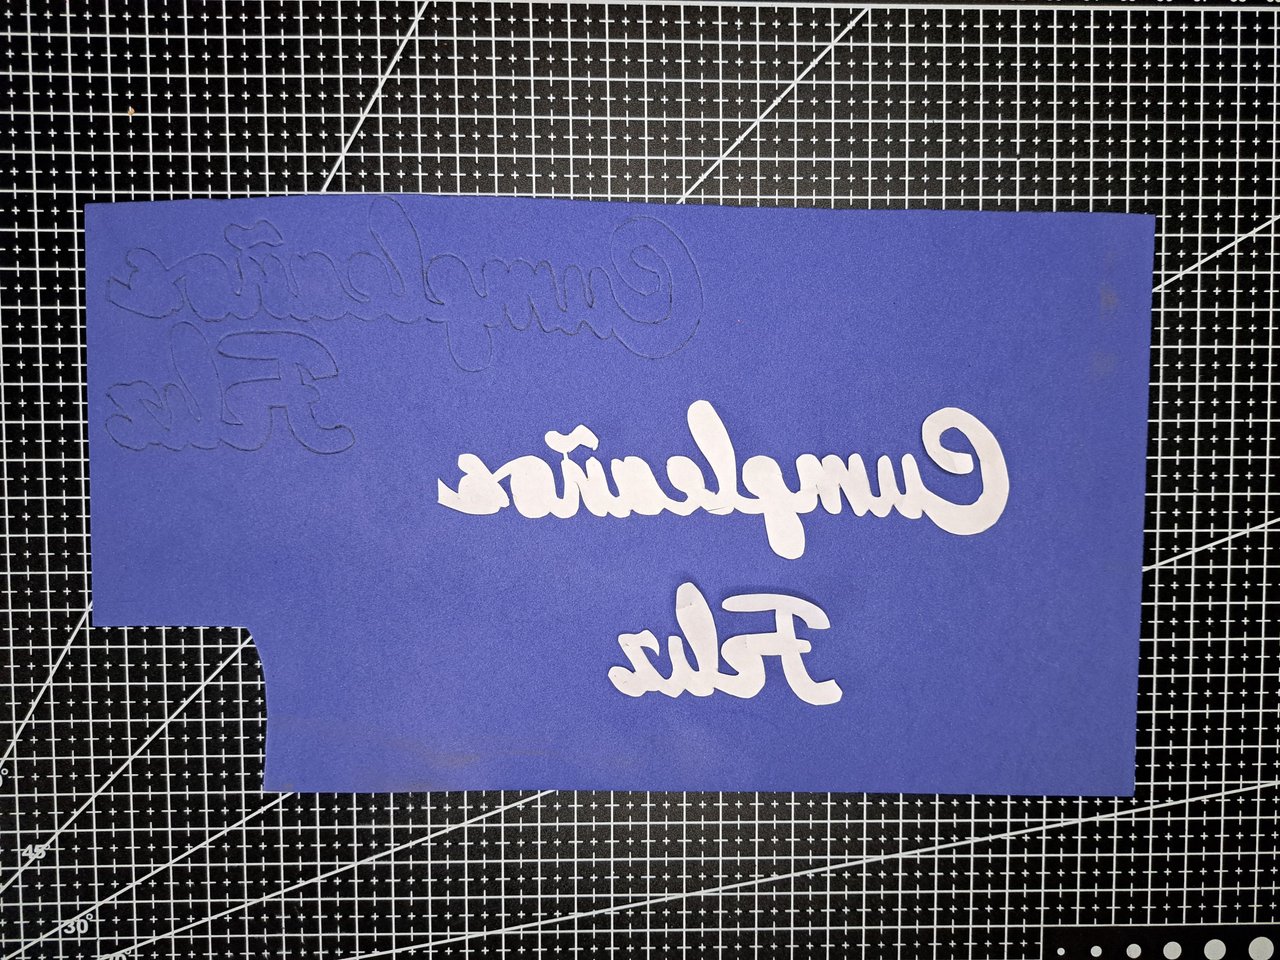
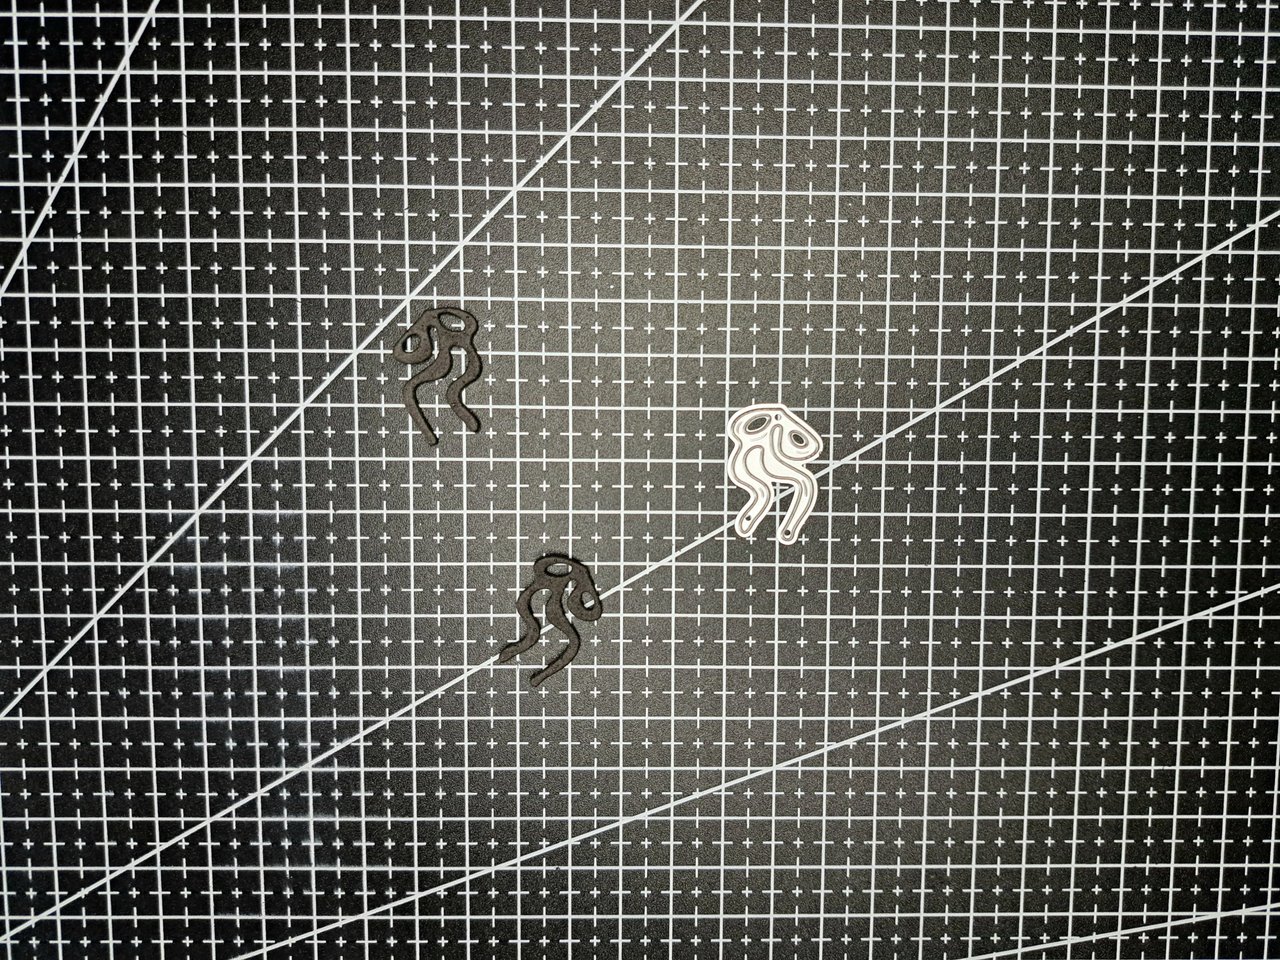
2️⃣ With the stencils and a pencil we will mark their silhouette on the back of the frosted fomi sheets. For the letters we will use dark blue frosted fomi and for the number we will use silver frosted fomi. After marking, each piece is cut out. Keep in mind that, since the back side of the fomi is marked, the templates have to be reversed, as shown in the pictures.
Con las plantillas y un lápiz marcaremos su silueta en el reverso de las láminas de fomi escarchado. Para las letras se utilizará el fomi azul oscuro escarchado y para el número fomi escarchado plateado. Luego de marcar, se recorta cada una de las piezas. Hay que tener en cuenta que, como se marca el fomi por la parte de atrás, las plantillas tienen que estar invertidas, como se muestra en las imágenes.
 |
 |
 |
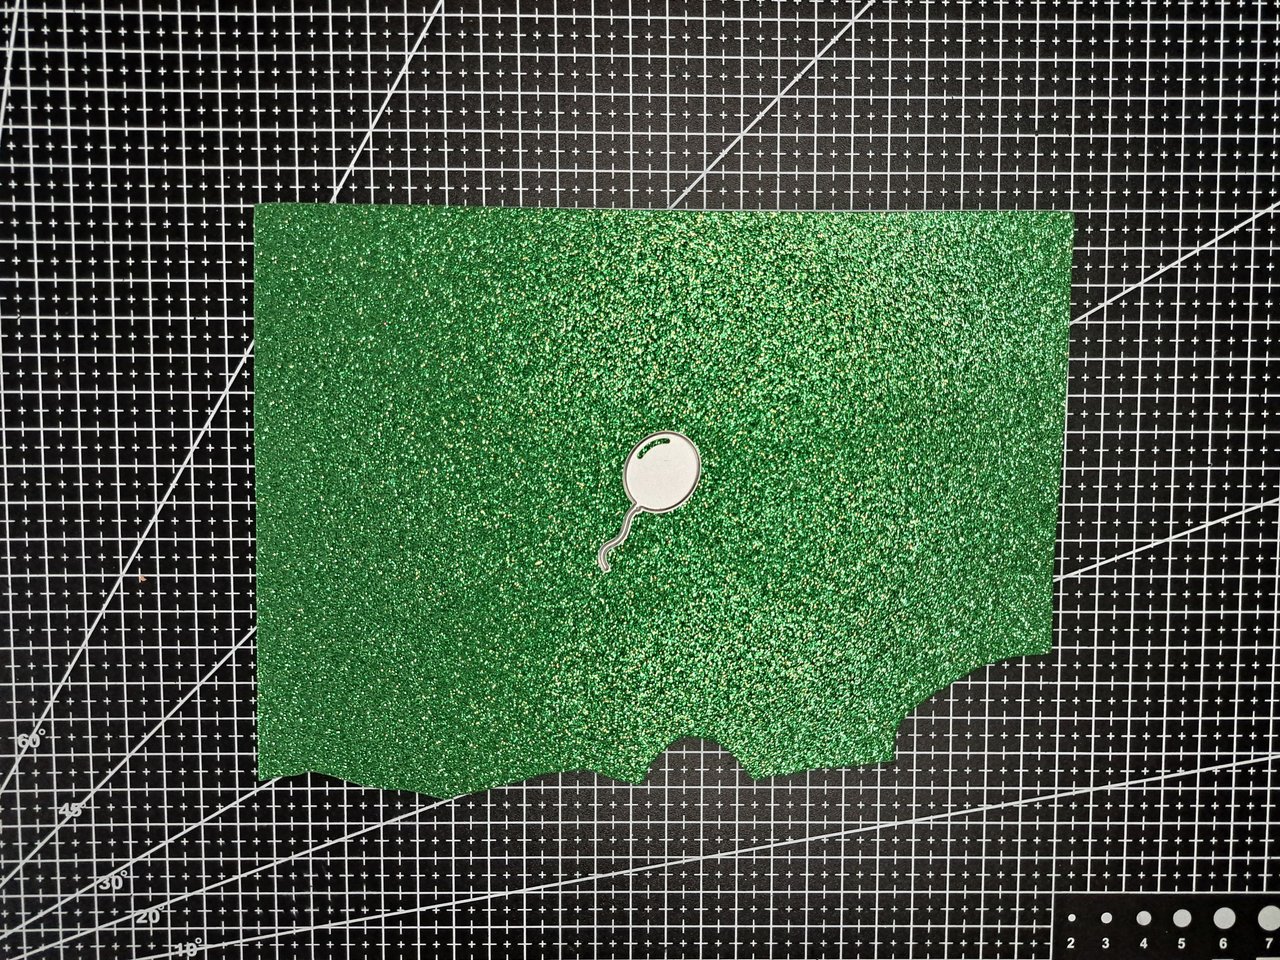
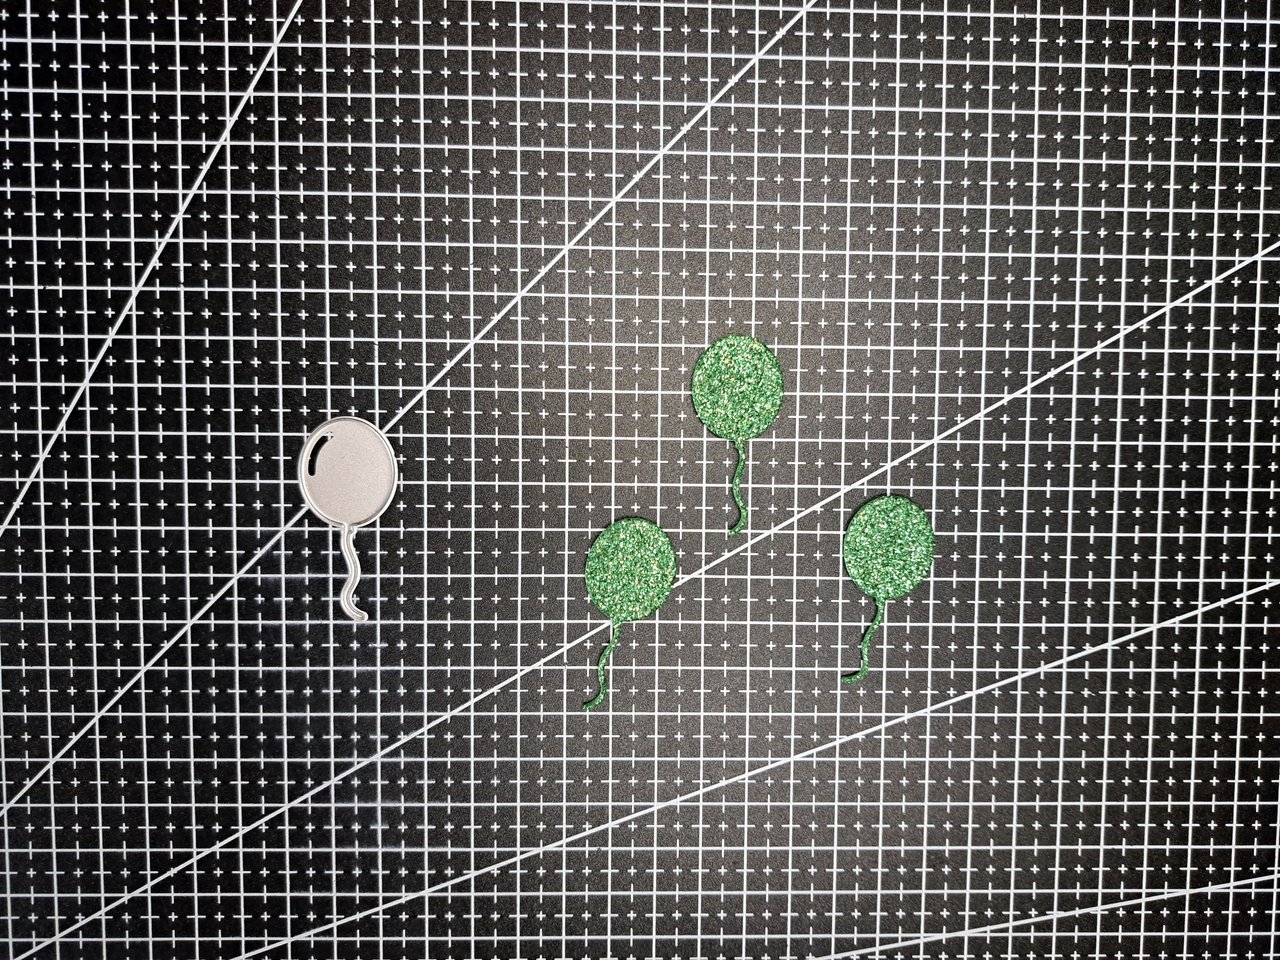
3️⃣ Using the cutting dies shown in the materials, two frosted green balloons and two plain black ribbons will be cut out. These pieces will be used as an additional addition to the ornament later.
Con los troqueles mostrados en los materiales se recortarán dos globos verdes escarchados y dos lazos negros lisos. Estas piezas se utilizarán como agregado adicional en el adorno más adelante.
 |
 |
 |
 |
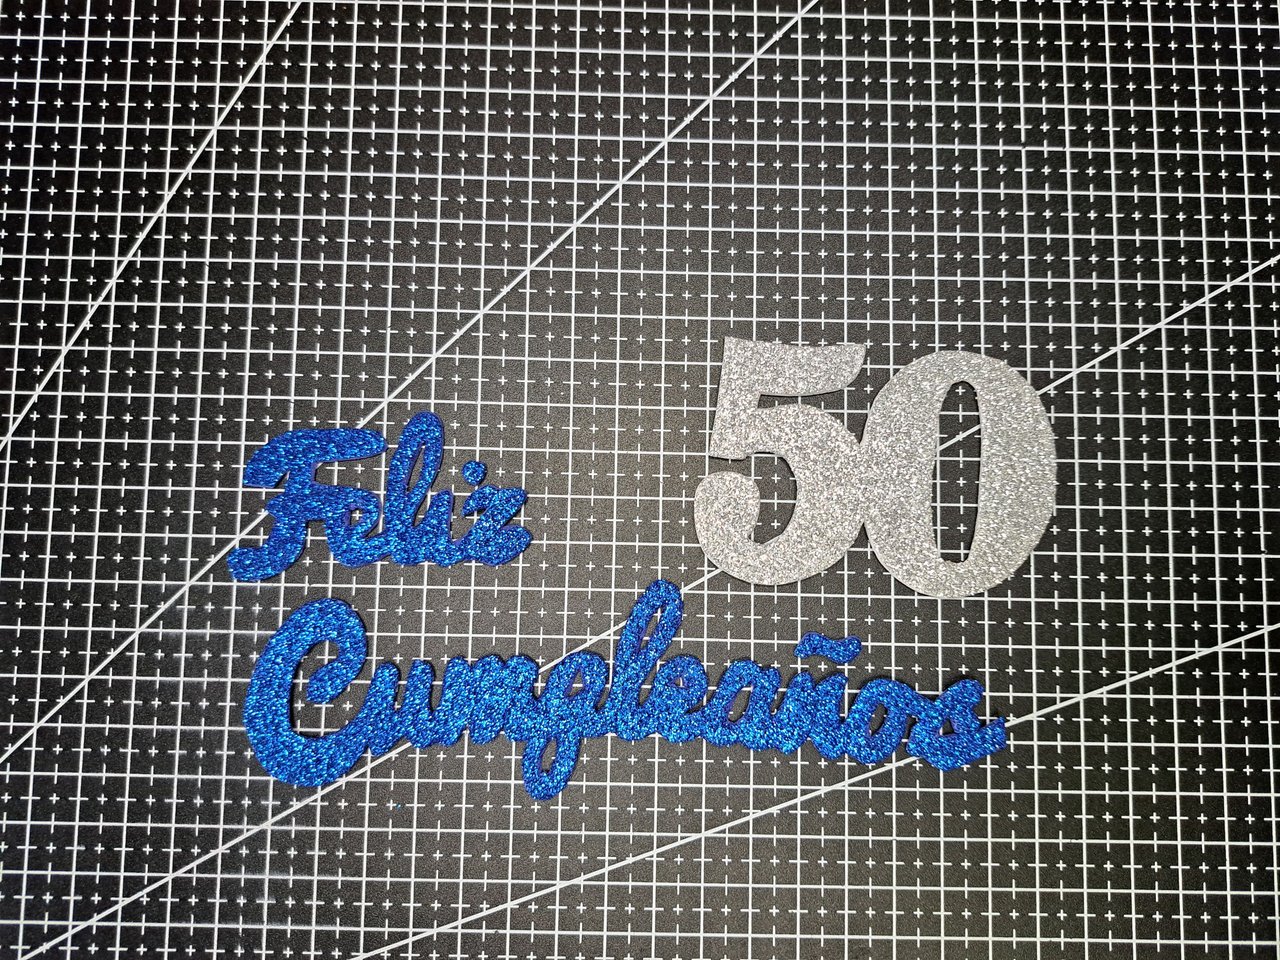
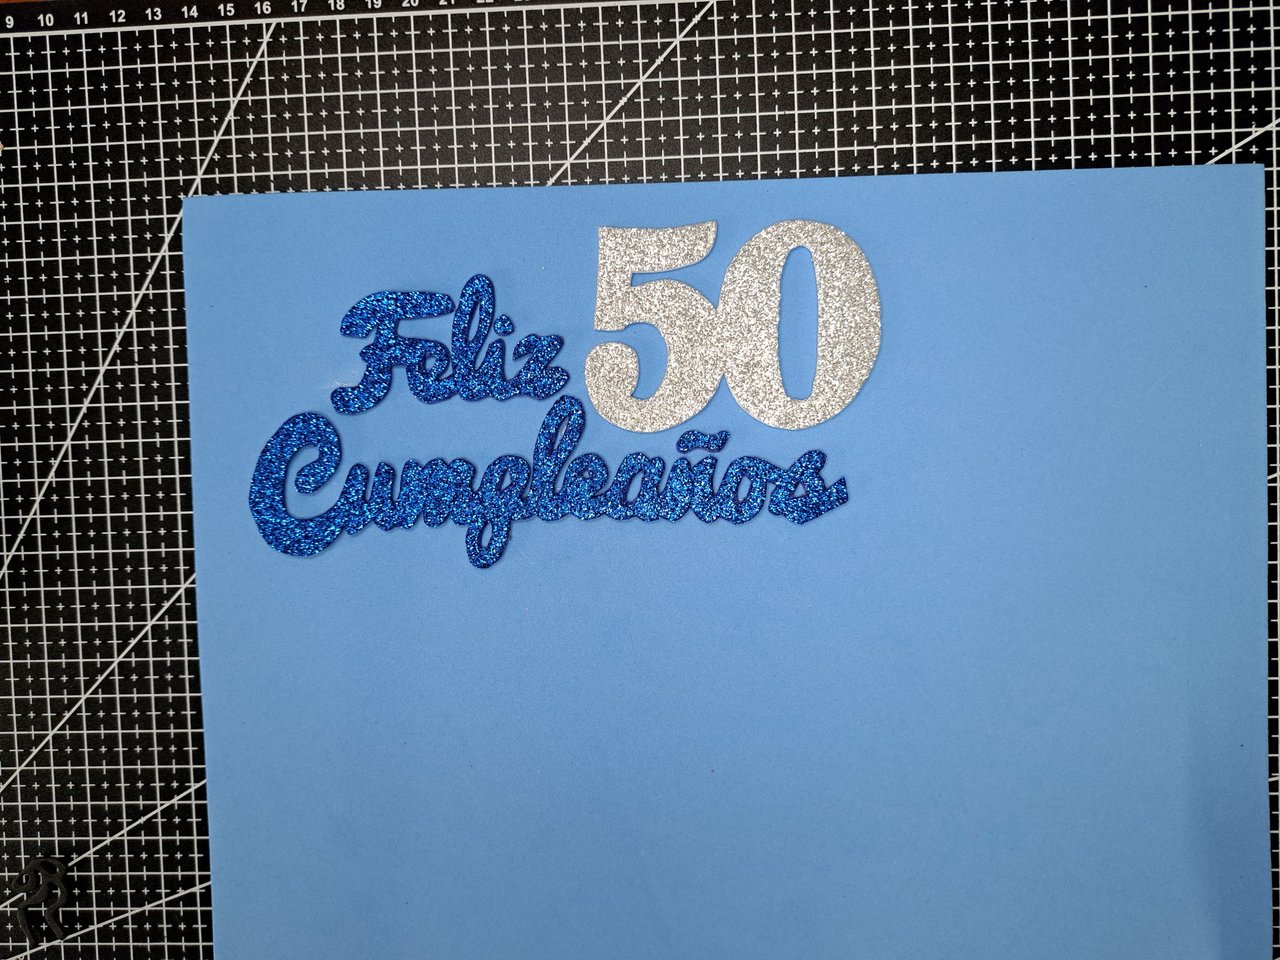
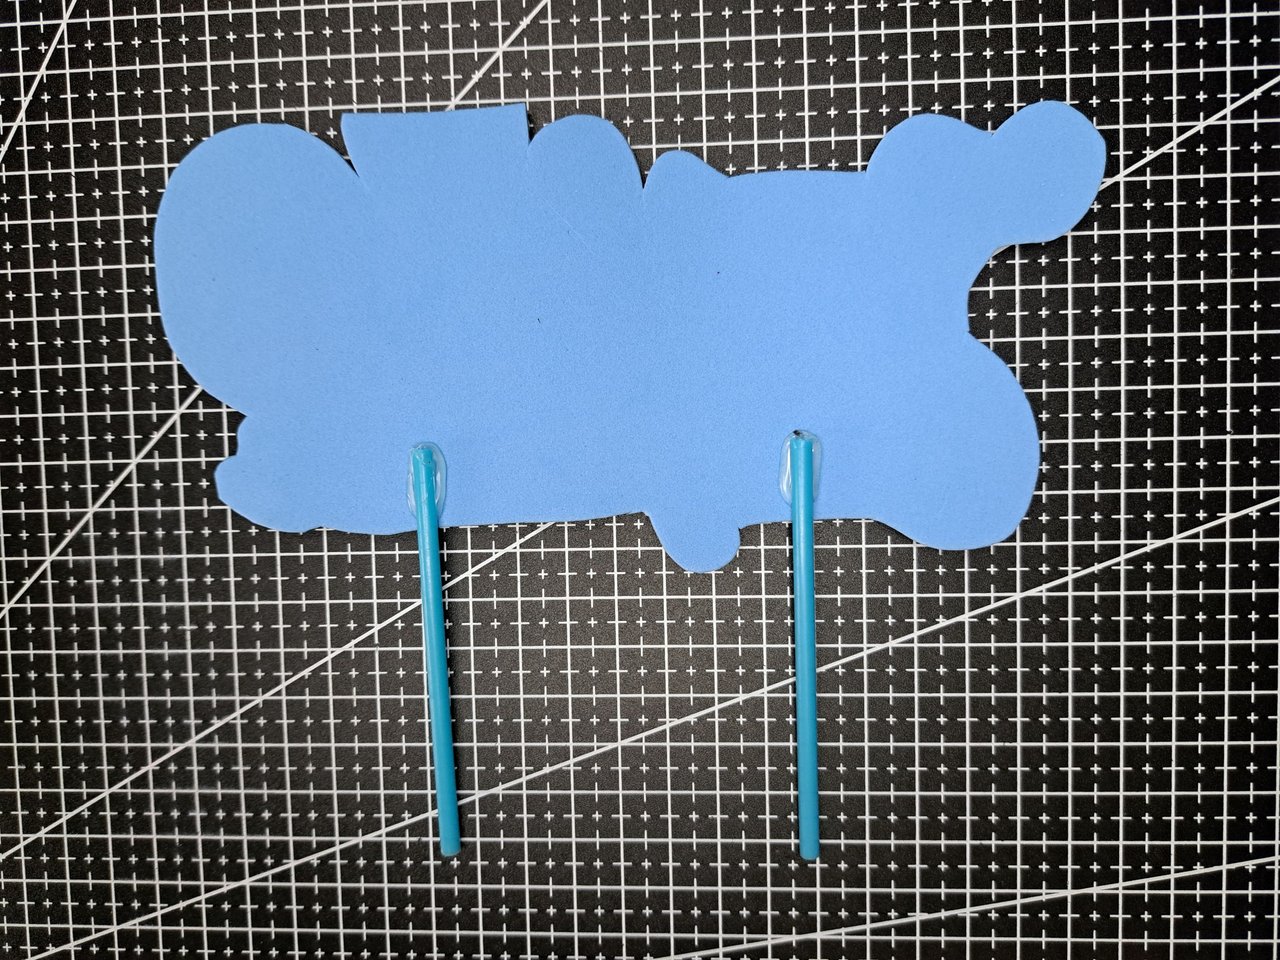
4️⃣ Next, take each of the pieces of fomi and place them in the desired place to form the topper. Once the place is chosen, the pieces will be glued together and the whole thing will be cut out as one piece, leaving a thin border around it. As you can see, I have placed the grosgrain ribbons on top of the green balloons to make them look like the string they are normally tied with.
A continuación, se tomarán cada una de las piezas de fomi y se colocarán en el lugar deseado para formar el topper. Una vez escogido el lugar, se pegarán las piezas y se recortará todo como una sola pieza, dejando un fino borde alrededor. Como podrán observar, he colocado los lazos en gros encima de los globos verdes para que se vean como el cordón que normalmente llevan atados.
 |
 |
 |
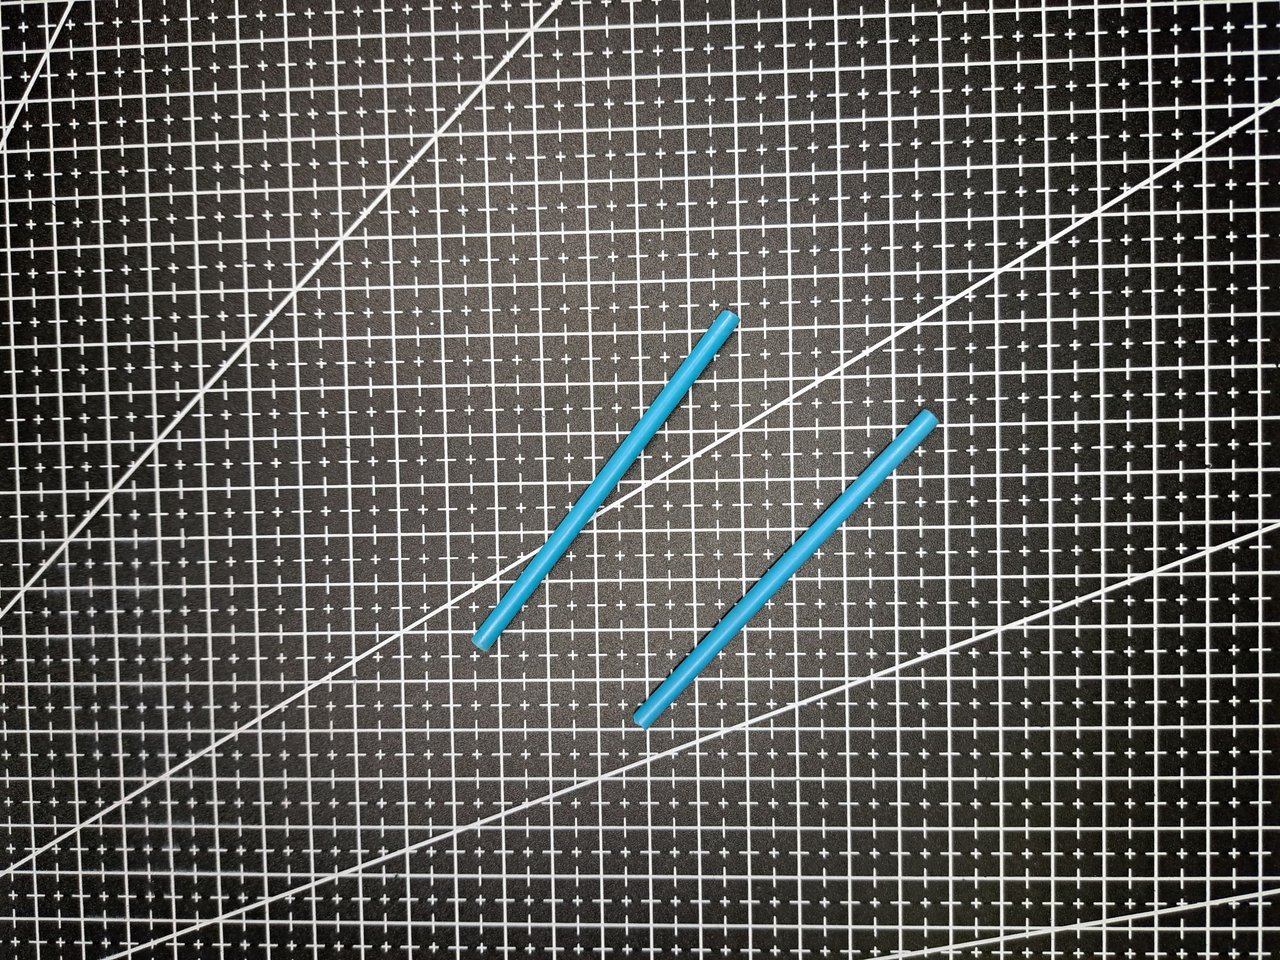
5️⃣ Finally, take the two plastic toothpicks and glue them on the back of the topper. Keep in mind that the distance between the toothpicks should not be too big or too small. You can calculate the distance based on the diameter of the cake or pie.
Para finalizar, se tomarán los dos palillos plásticos y se pegarán en el reverso del topper. Se debe tener en cuenta que la separación entre los palillos no debe ser ni muy grande ni muy pequeña. Se puede calcular la distancia basándose en el diámetro del pastel o tarta.
 |
 |
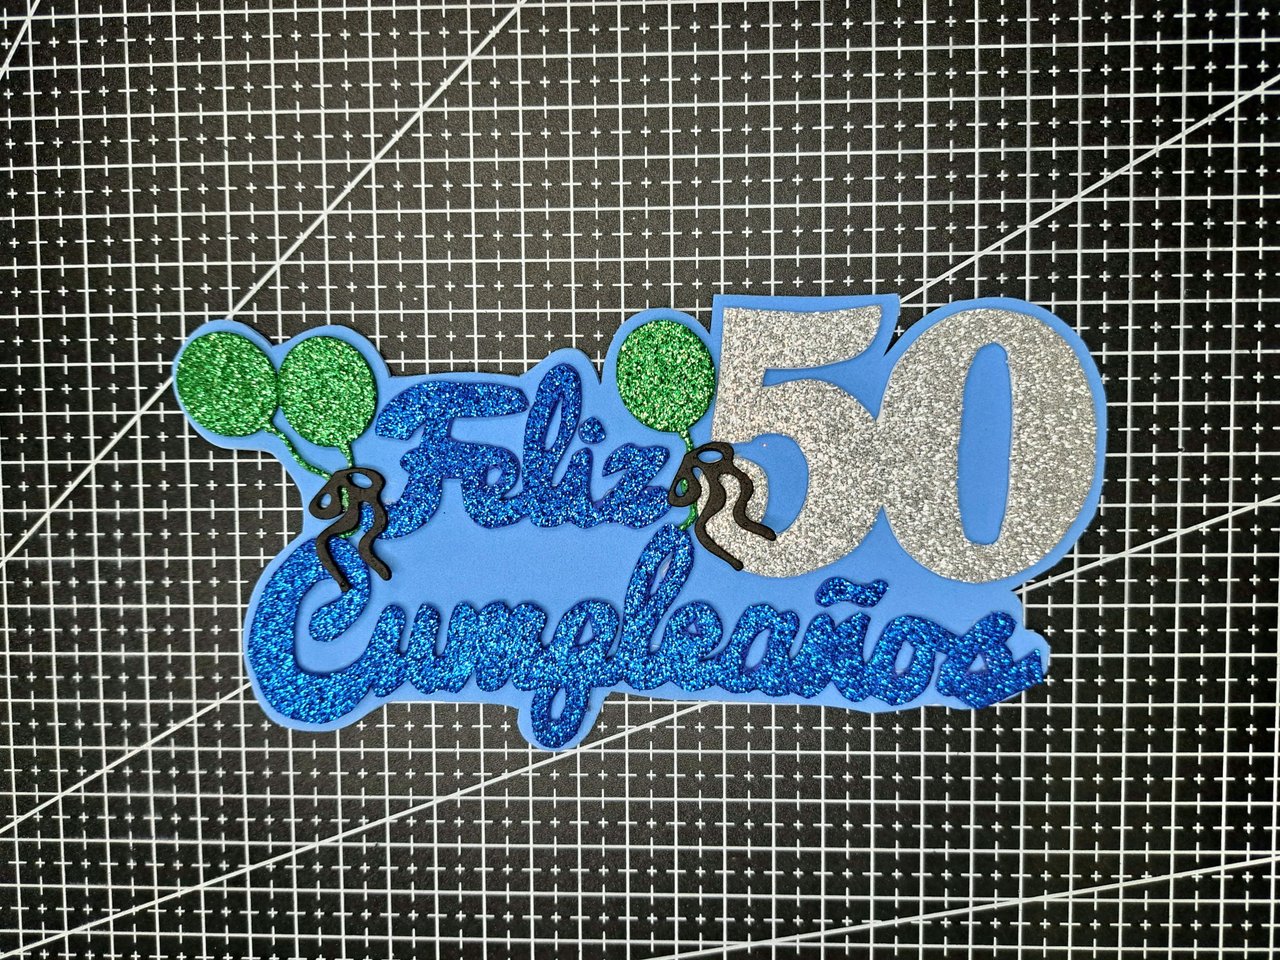
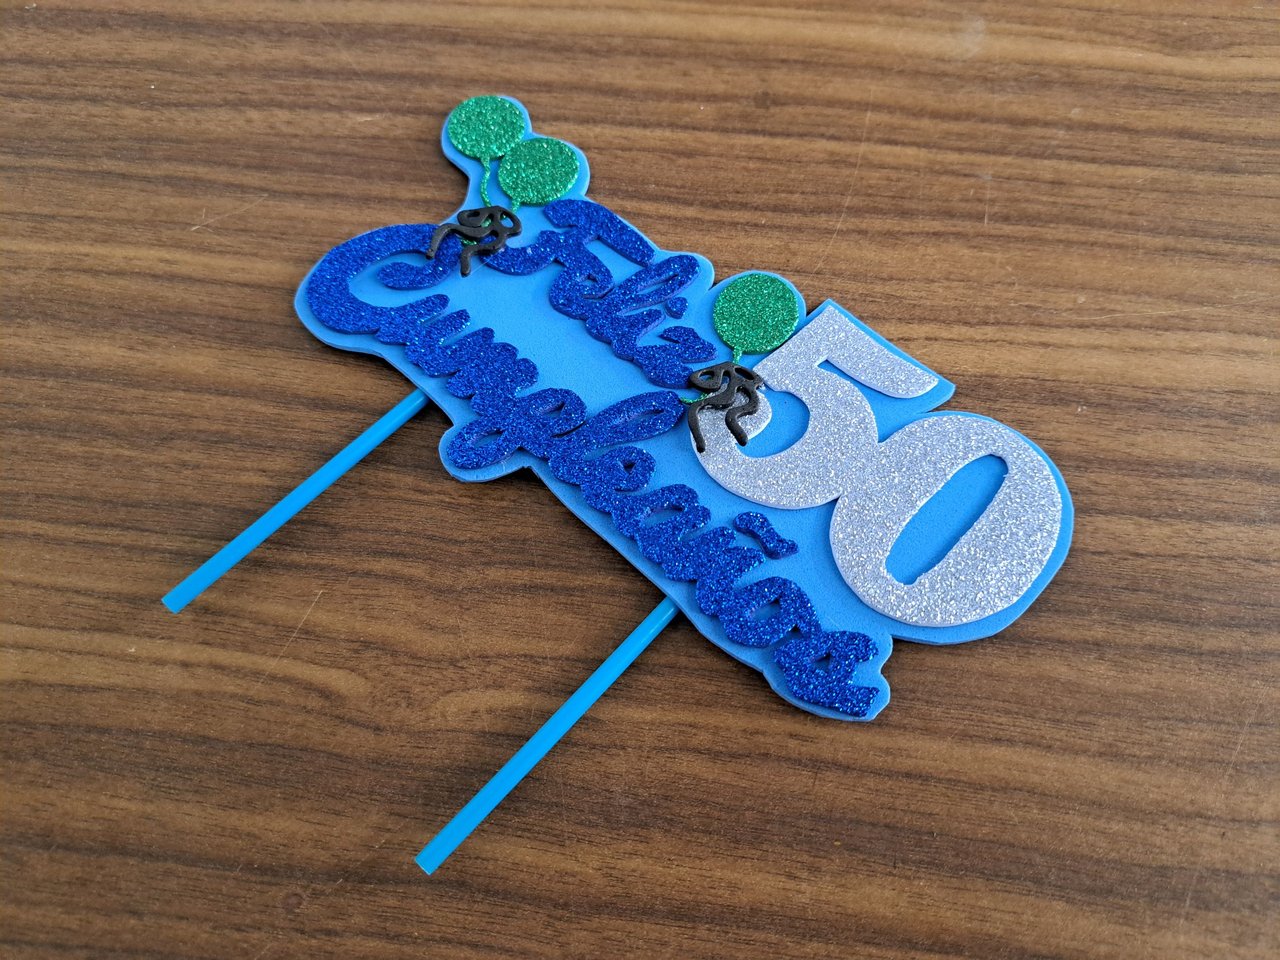
Finished Work // Trabajo Terminado
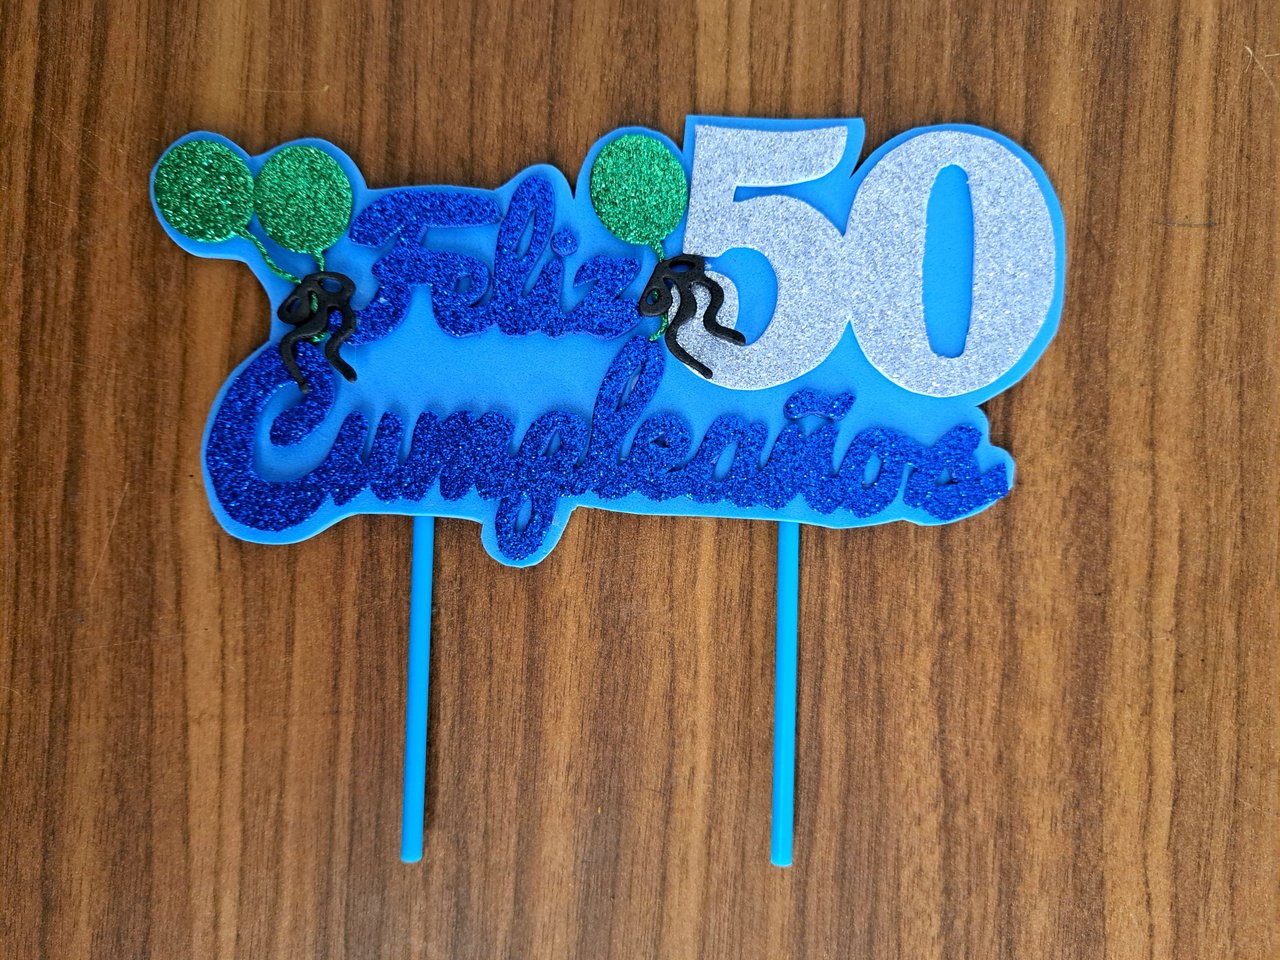
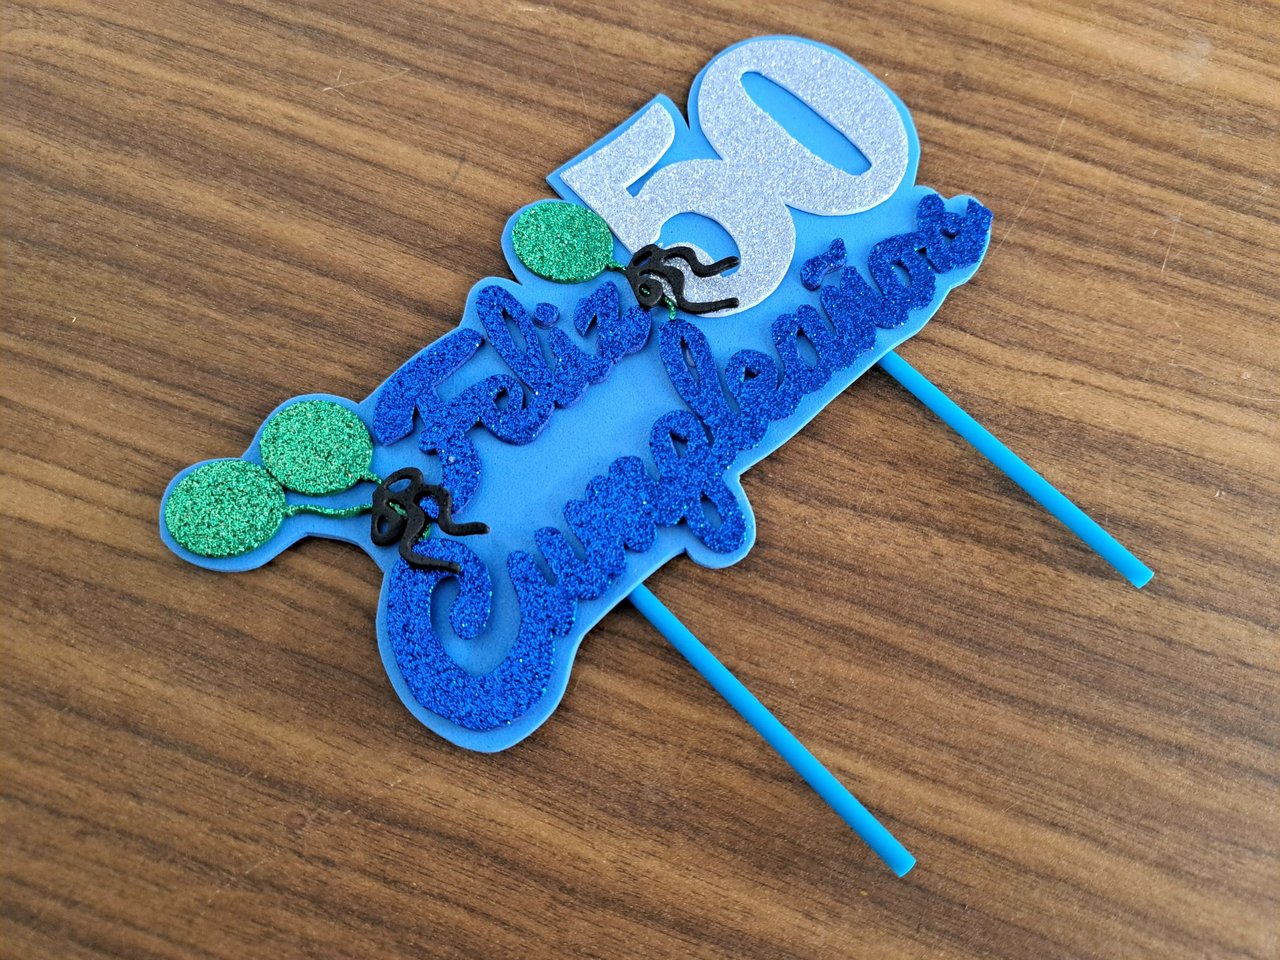
And that would be all. As you may have noticed, the elaboration process is very simple, so anyone can replicate it and surprise a family member or friend on their birthday. Below, I leave some images with different angles where I show you how everything would look like at the end. I hope you liked the tutorial.
Y esto sería todo. Como ya se habrán dado cuenta, el proceso de elaboración es bien sencillo, por lo cual cualquier persona puede replicarlo y sorprender a algún familiar o amigo el día de su cumpleaños. A continuación, les dejo algunas imágenes con distintos ángulos donde les muestro cómo quedaría todo al final. Espero que les haya gustado el tutorial.
 |
 |
 |

Credits and Resources // Créditos y Recursos
Cover page created in Canva
Translated by DeepL
Images captured with my Samsung Galaxy A53
Source

Excelente trabajo creativo, que bonito detalle, para celebrar el cumpleaños de tu tío, me ha gustado como has combinado los tonos verdes, blancos y azules, me encanta el resultado, justo estaba pensando que se me debería ocurrir uno, tengo un cumpleaños próximamente en casa y quiero sorprender con un bonito topper.
Saludos y felicidades!!
Me alegra saber que te gustó. Espero que te animes a hacer uno. Gracias por comentar.
Quedo muy hermoso, quiero estar animada porque lo necesitaré.😄
Te quedó muy bonito, para mi cumple quiero uno jjjj.
Claro que sí Yane. Diecicuantos años le pongo? 😅
The cake topper looks amazing. The details and vibrant colors really make it stand out. perfect for adding a special touch to any birthday celebration. Well done
Thank you very much 🫂
Nicely done!

Thanks for the support 🤗
Es muy satisfactorio ver el proceso para crear este artículo. Me parece una excelente idea. ¡Gracias por compartir!🙌🏼
Gracias a usted por comentar. Saludos.
All your works are excellent and you bring a lot of passion, but now inspired by your uncle and such an important age as 50 years old, I am sure you will leave your heart in every detail. Once again you share a post of great quality and example for our community. Edey, thank you very much for that 🙏
I am very happy to have your support. Thank you for always leaving such a beautiful comment. Greetings and blessings.
https://bsky.app/profile/did:plc:rag2mftdy2alo7rtmyttmpk4/post/3lknhz5wvbl22
The rewards earned on this comment will go to the author of the blog post.https://bsky.app/profile/did:plc:rag2mftdy2alo7rtmyttmpk4/post/3lknhz5wvbl22
Te quedó muy bonito