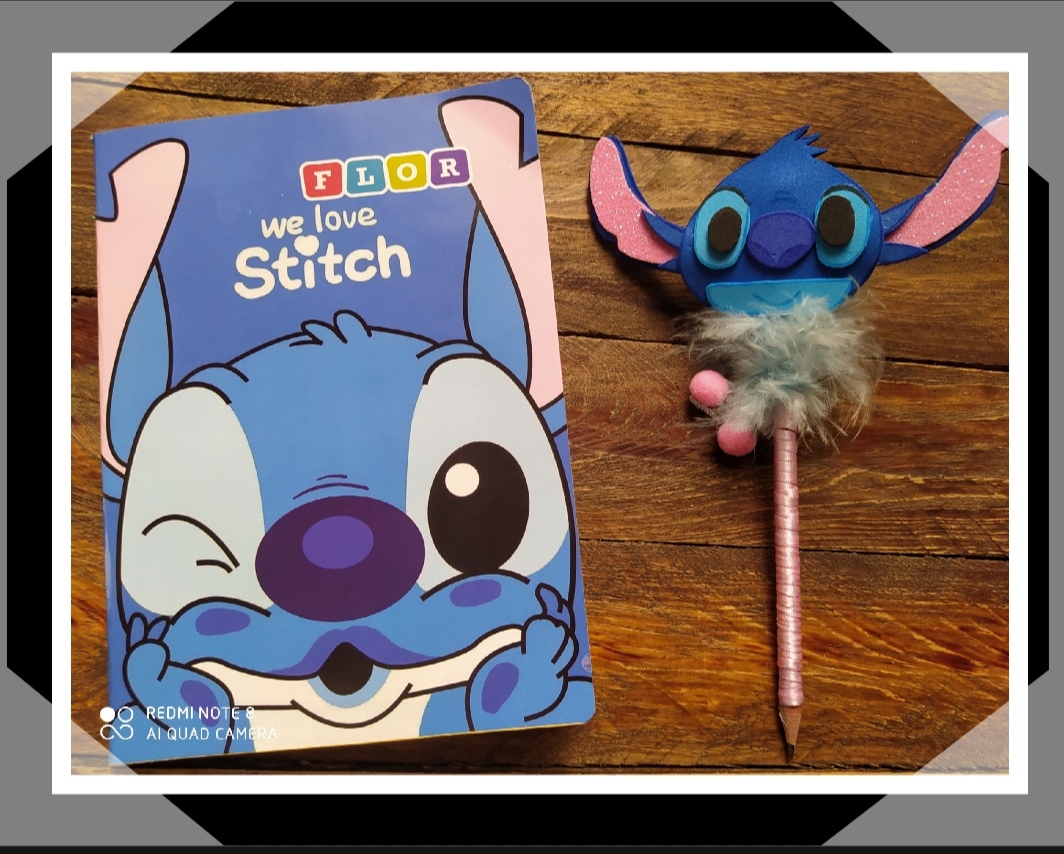
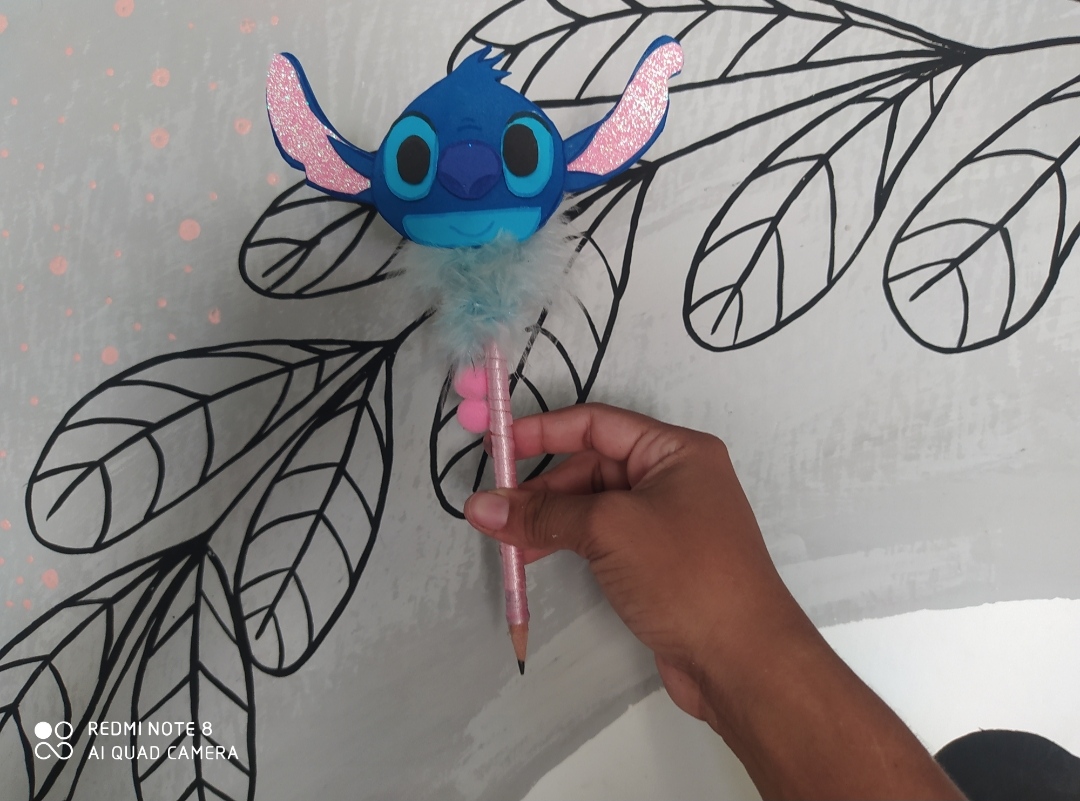
Greetings community from @diyhub, blessings to all... today I am pleased to share with you a super easy craft, it can be done in a short time, and well, there are few materials that can be used since the amount we are going to use is not much. use, with this new return to class my daughter mime ah got creative, because she is now delighted with the stichs theme and well around here it is a little difficult to get things with that theme so I dedicated myself to making several things with that theme to please her I made it super fast and best of all, she loves everything I do for her, below I will be explaining the steps for this preparation.
Saludos comunidad de @diyhub bendiciones para todos .... hoy me complace compartir con ustedes una manualidad súper fácil ,se puede hacer en poco tiempo ,y bueno son pocos los materiales que se puede utilizar ya que no es mucha la cantidad que vamos a utilizar, con este nuevo regreso a clase mi hija mime ah puesto creativa , porque ella está encantada ahora con la temática de stichs y bueno por aquí es un poco difícil conseguir cosas con esa temática entonces me dedique a elaborar varias cosas con esa temática para complacerla , la realice súper rápido y loejor de todo a ella le encanta todo lo que le hago , acontinuacion le estaré explicando los paso para esta elaboración.
Used materials:
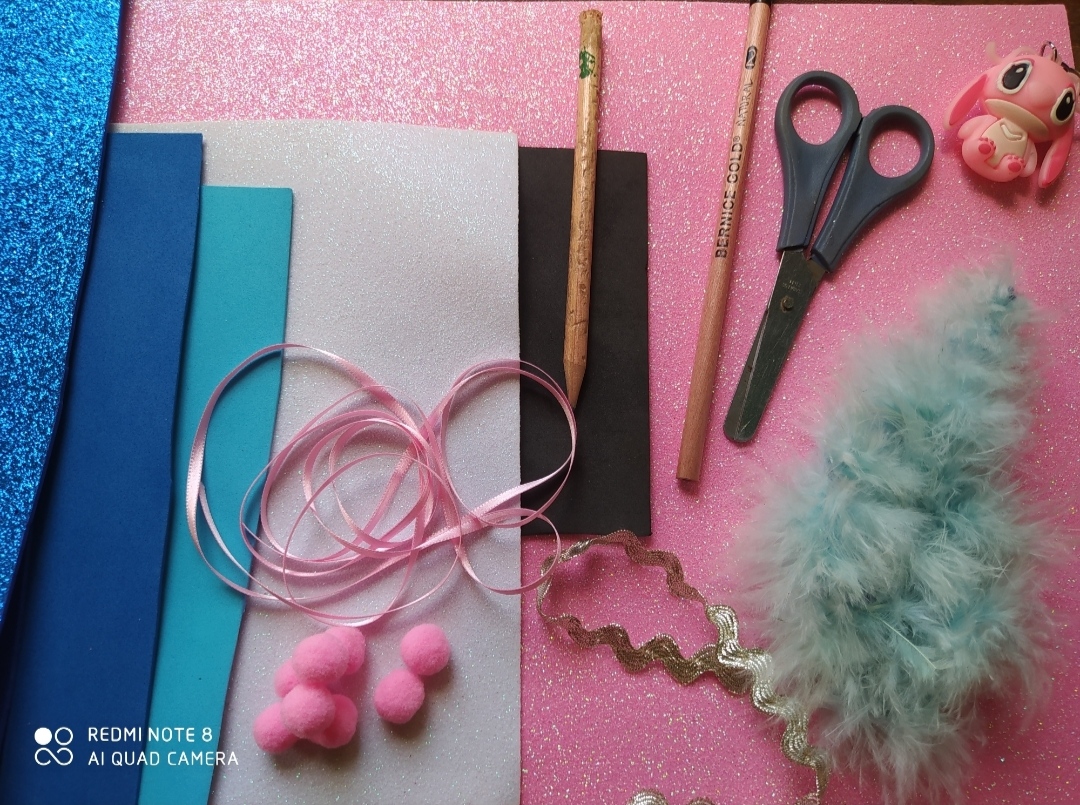
*Dark blue foam
*Light blue foami
*White foam
*Black foam
*Pink foam
*Frosty blue foam
*Liquid silicone
✏️ Pencil
*Crayon pencil
*Scissors
*Marabou
*Pink balls
*Decorative ribbons.
Materiales utilizados:
*Foami azul oscuro
*Foami azul claro
*Foami blanco
*Foami negro
*Foami rosado
*Foami azul escarchado
*Silicón líquido
✏️ Lápiz
*Lápiz creyon
*Tijera
*Marabú
*Pelotas rosadas
*Cintas decorativa.
🌺The steps for preparation are as follows🌺:
Los paso para la elaboración son los siguientes:
1st Step:
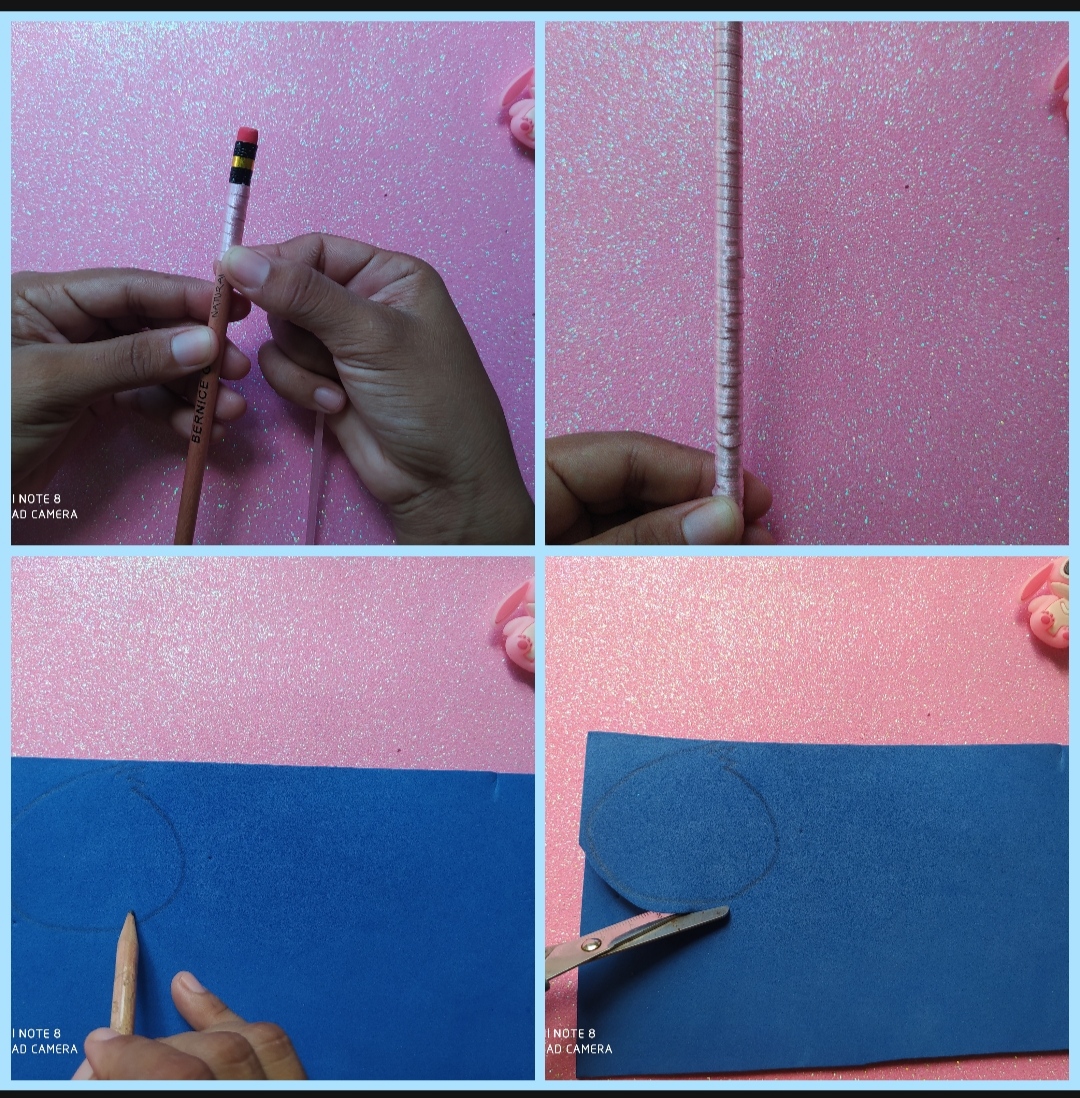
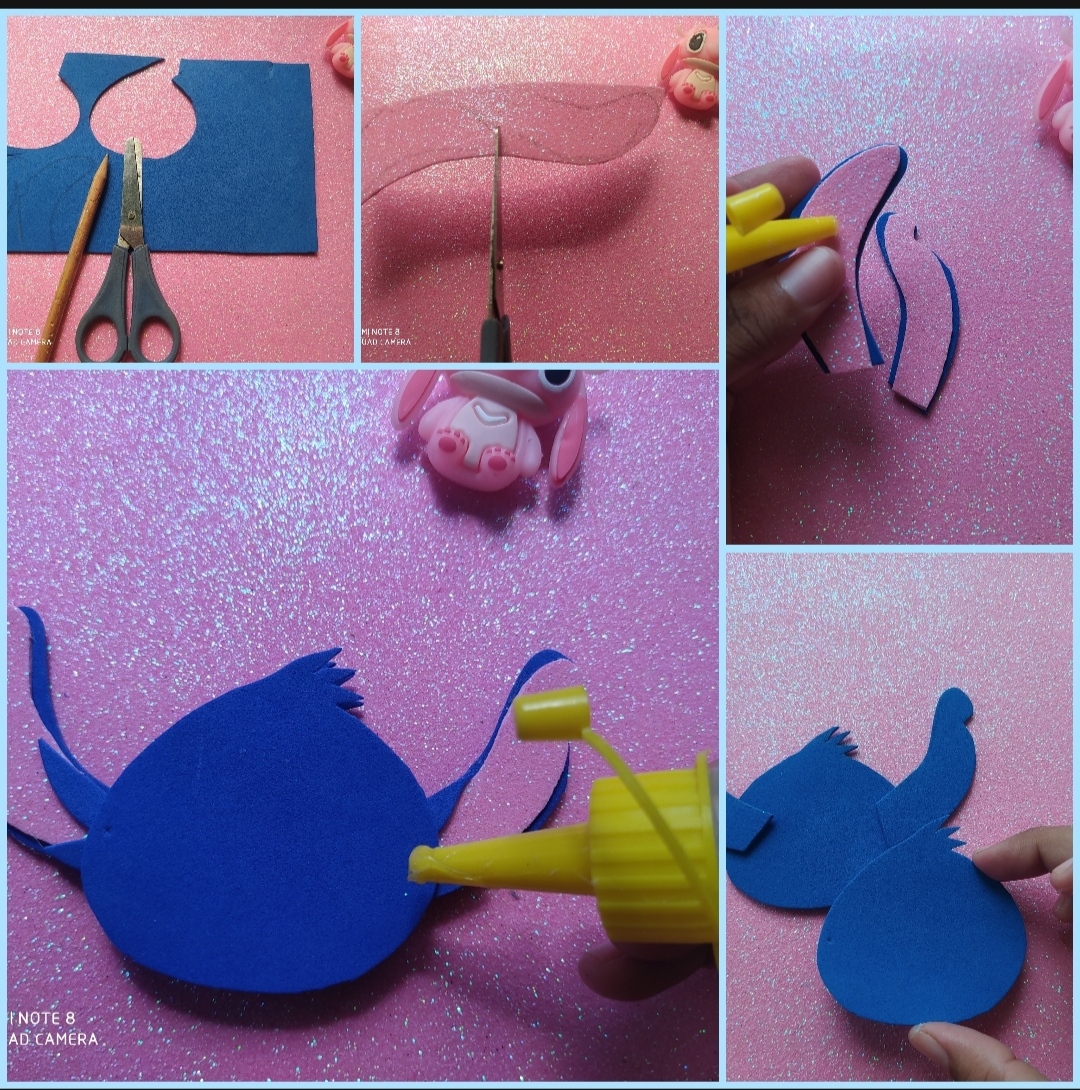
The first thing we must do is cover the entire pencil with the pink decorative tape, and on the dark blue foam we mark the head of our stichs and we cut out little by little...
1°Paso :
Lo primero que debemos hacer es forrar todo el lápiz con la cinta decorativa rosada , y en el foami azul oscuro marcamos la cabeza de nuestro stichs y vamos recortando poco a poco ...
2nd Step:
Once we have both heads cut out, we mark the ears on the blue foam, and in the same way on the frosty pink foam, but these will be a little thinner, the pink ears are glued on top of the blue ones, these are glued on the head and above this the another severed head.
2°Paso:
Una vez que tenemos las dos cabeza recortada ,marcamos en el foami azul las orejas ,y de igual manera en el foami rosado escarchado pero estás serán un poco más delgada ,se le pega las orejas rosadas encima de las azules ,estás se le pegan en la cabeza y encima de esto la
otra cabeza recortada .
3rd Step:
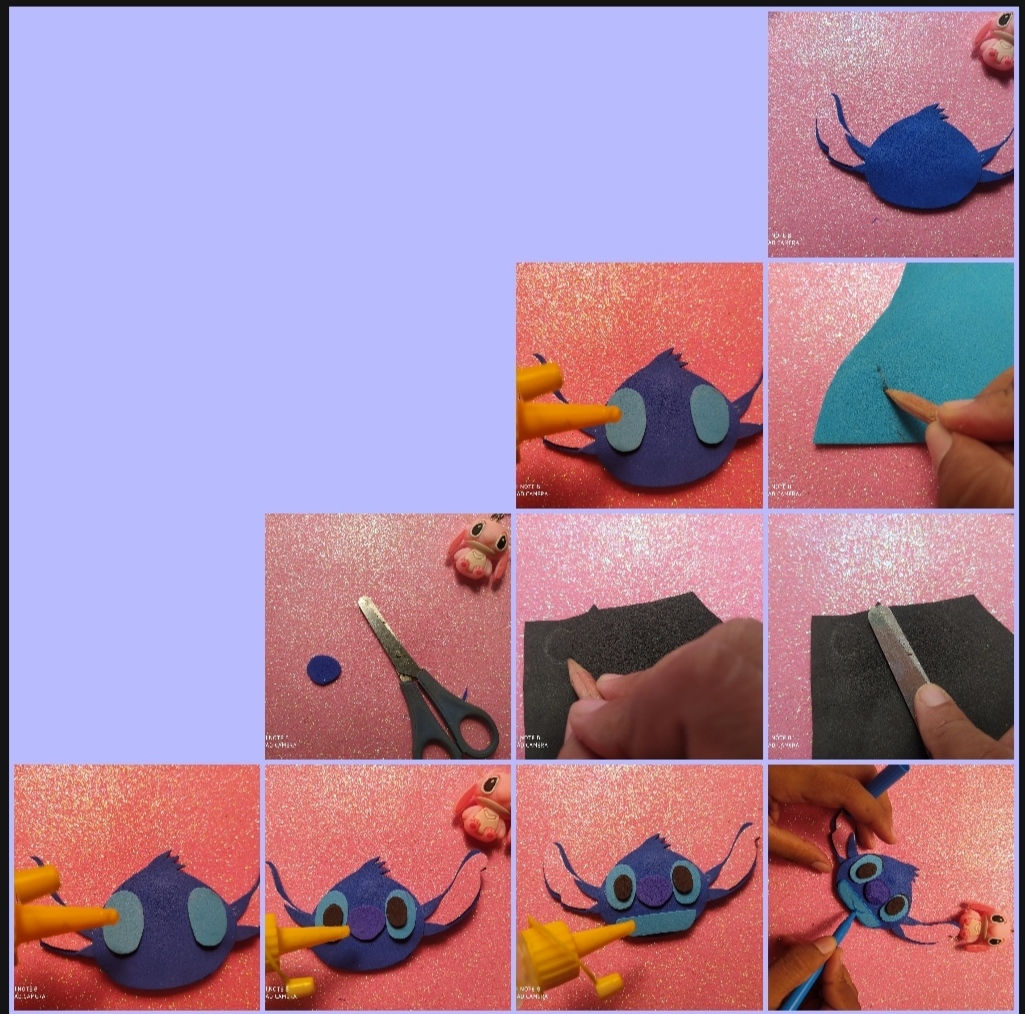
Then, in the light blue foam, the eyes are marked and cut out, and in the black foam, the small circles are cut out, glued, and in the blue foam, the nose is cut out, and with the light blue foam, the part of the mouth is cut out.
3° Paso :
Después en el foami azul claro, se marcan y recortan los ojos , y en el foami negro se recortan los círculos pequeños , se le pegan y en el foami azul se recorta la nariz y con el foami azul claro recortó la parte de la boca.
4° Step :
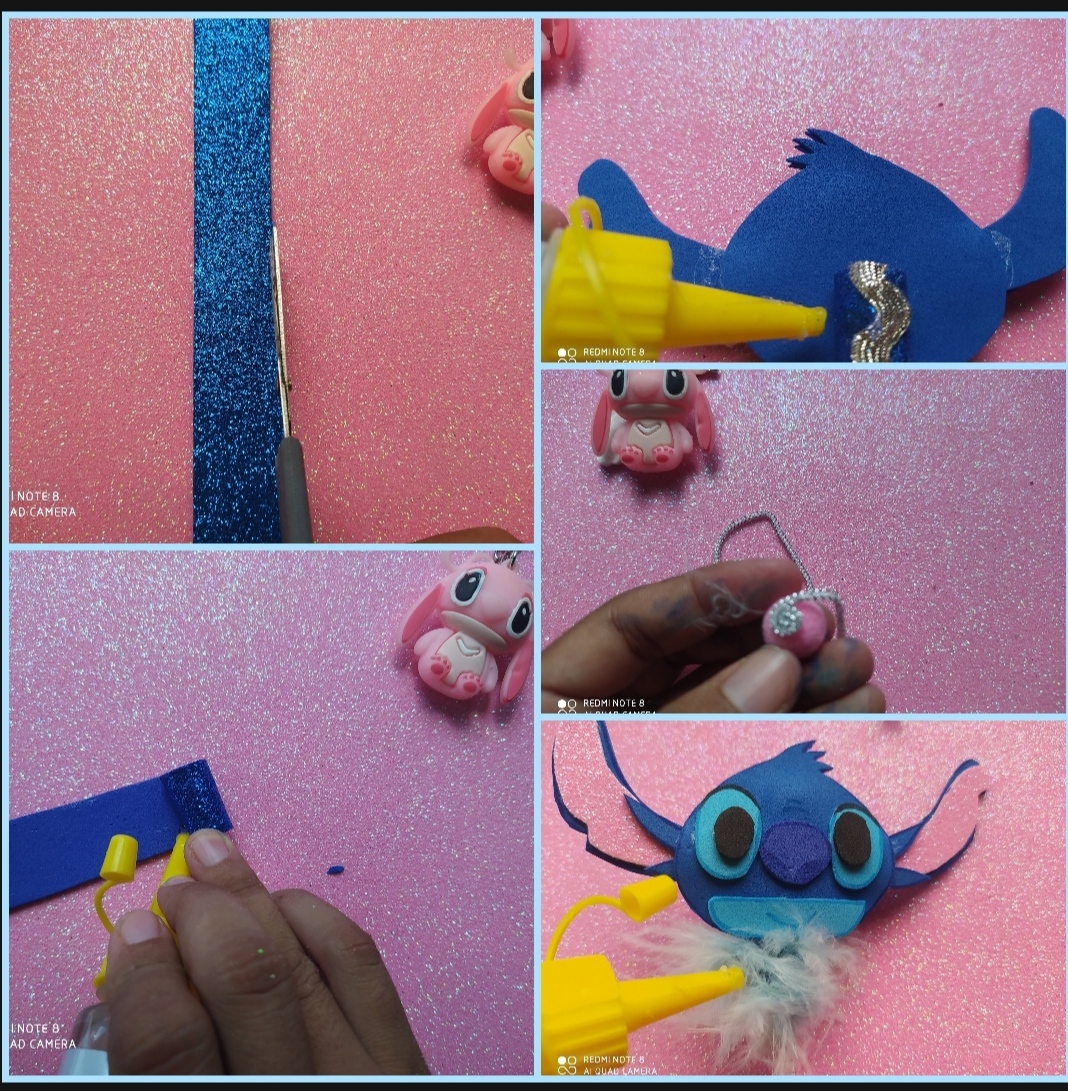
Cut some stripes in the frosty blue foam, roll it up, cut out the rest, glue the stitch, to finish this craft, cut out a part of the marabu and glue it on the bottom, and with the ribbon decorative sticks to the pink balls and it sticks to the pencil..
4° Paso :
Se recortan una franjas en el foami azul escarchado ,se enrolla ,se recortan lo restante , se le pega el stitch, para culminar está manualidad se recorta una parte del marabu y se le pega en la parte de abajo ,y con la cinta decorativa se le pega a las bolitas rosadas y está se le pega a el lápiz ..
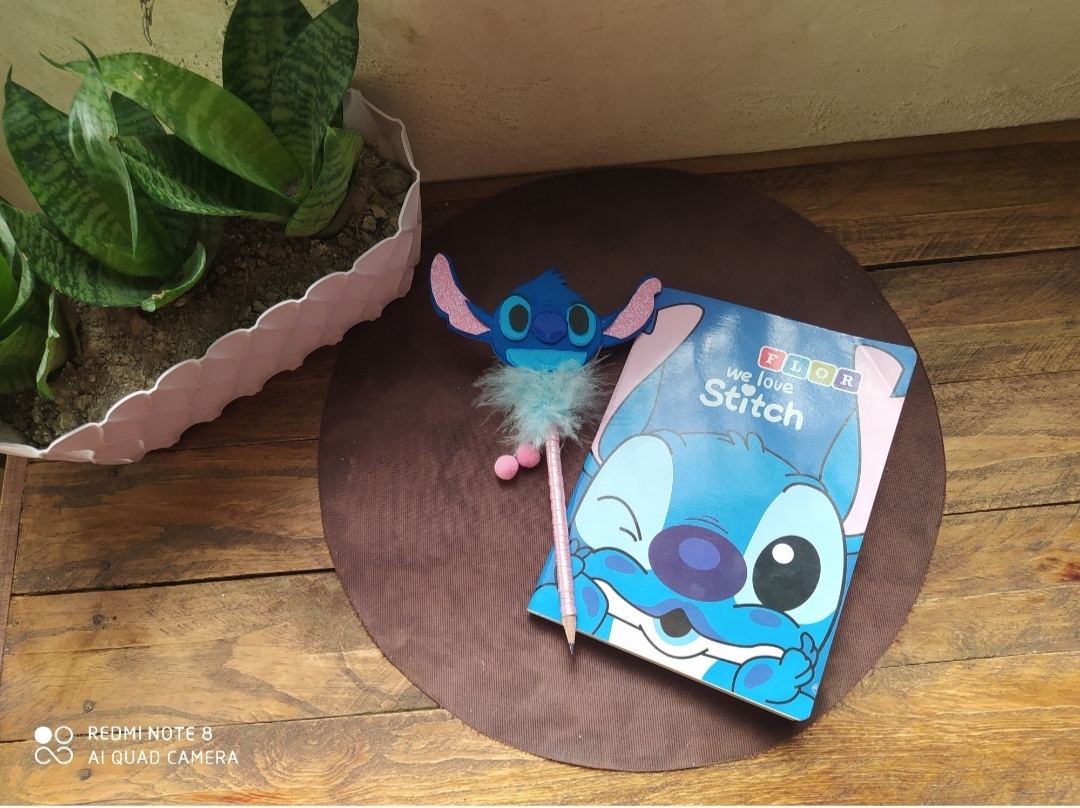
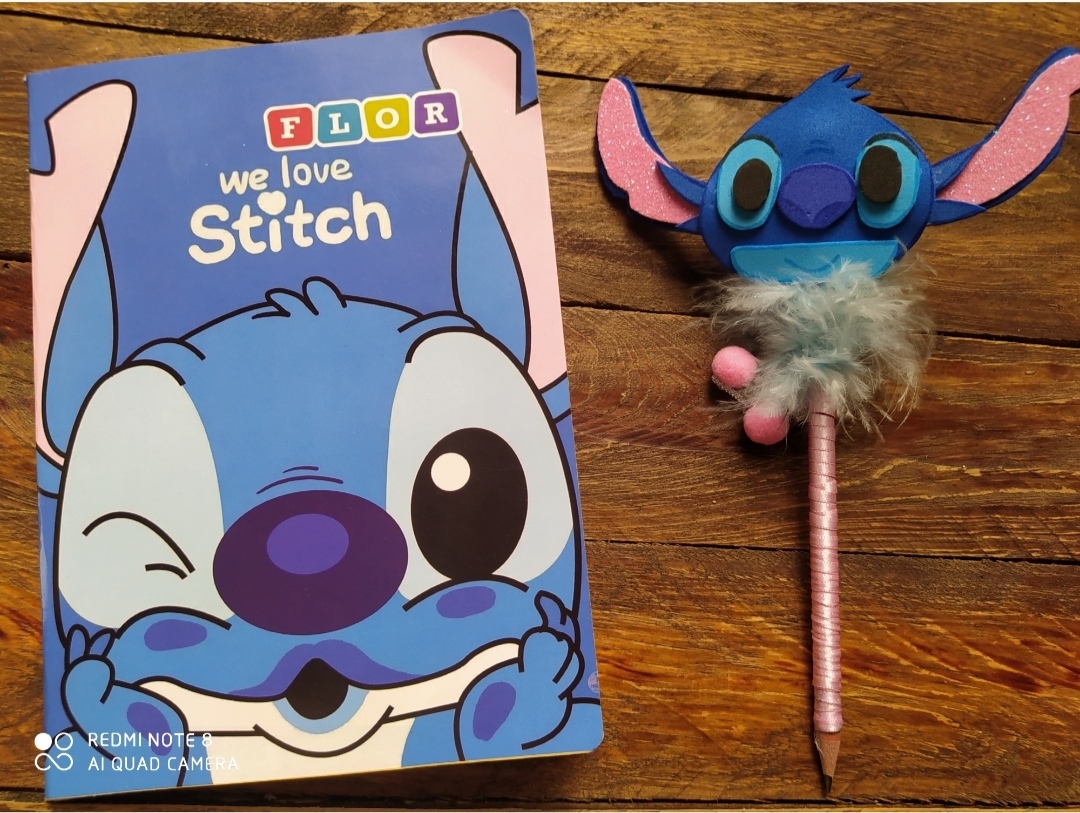
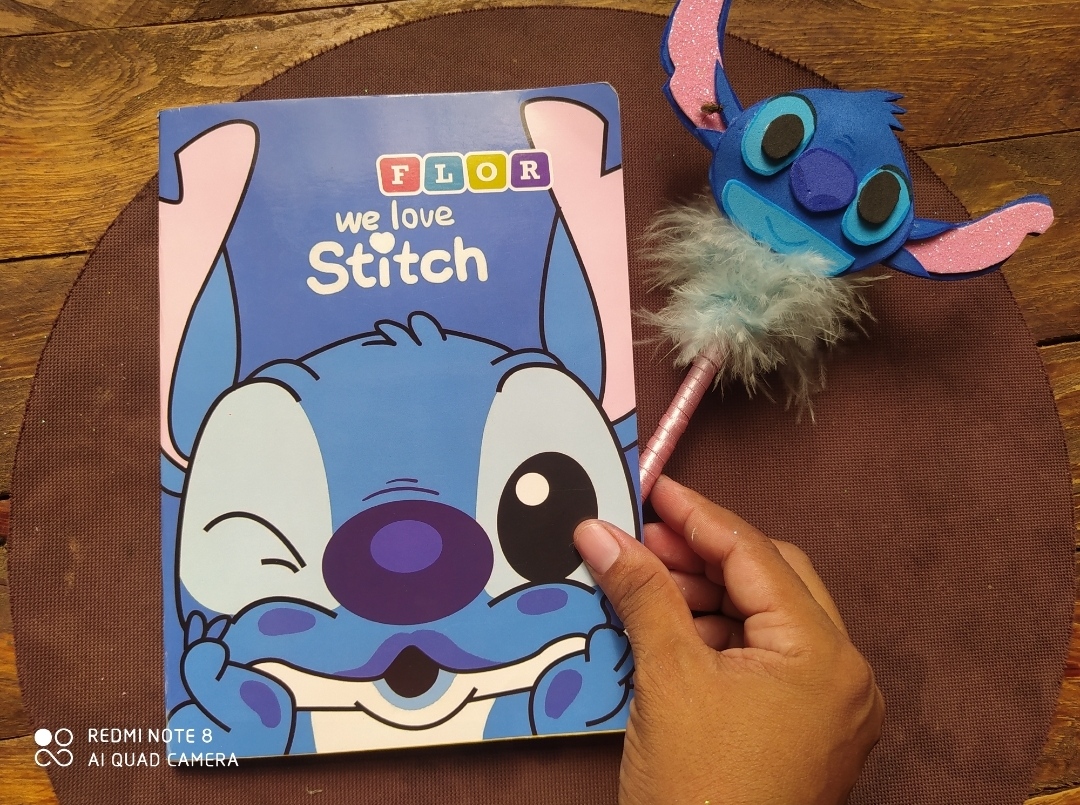
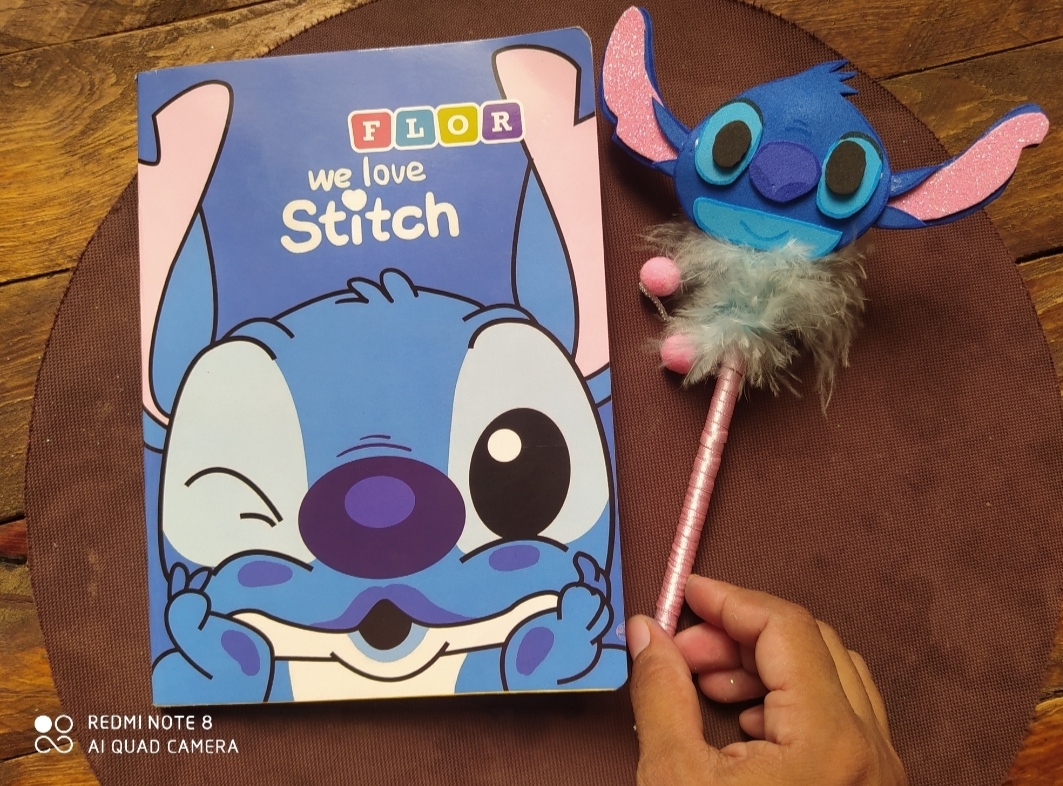
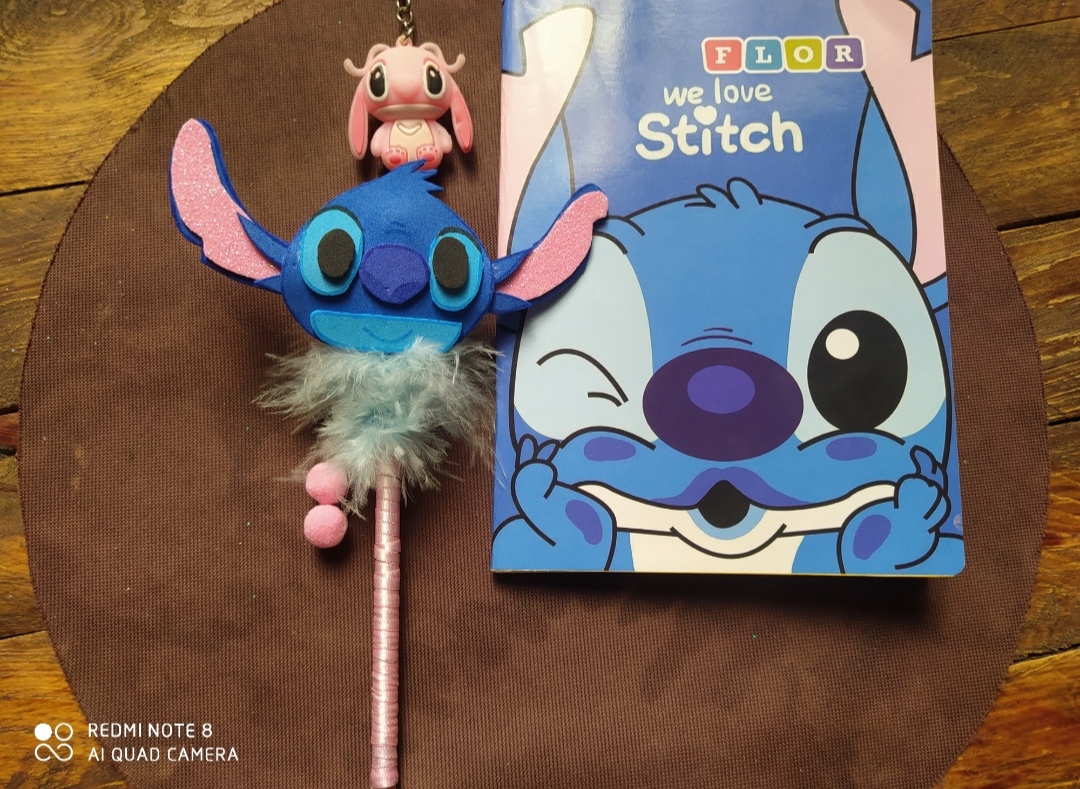
Así nos quedará nuestro lápiz decorativo de temática de stitch,....
🌺🌺I hope the tutorial is helpful to you, blessings to all 🌺🌺
🌺🌺Espero que les sea de ayuda el tutorial ,bendiciones para todos🌺🌺
📱📱The photos are my property, they were taken with my Remit note 8 and I used Google translator.
📱📱Las fotos son de mi propiedad fueron tomadas con mi Remit note 8 y utilice traductor de Google.
Es muy atractivo y motivará a los niños a aprender. buen trabajo
Gracias @ladyfoth...es lo que se quiere ahorita motivar a los niños para así ayudarlos en su educación...
Cuídate amigo
Hermosa trabajo te quedo genial 🎉 tu hija debe estar feliz 😀
Gracias amiga ...si que lo está ☺️
Muy bonito trabajo @egarysv, 👏👏Saludos 🤗
Gracias @delvallecedeno...saludos para ti también ....
This is beautiful this stitch decoration for pencil. Great job. Thanks for participating in our community
Que bonito aplique para los lápices,es una idea creativa y motivadora. Gracias por enseñarnos a realizarlo.