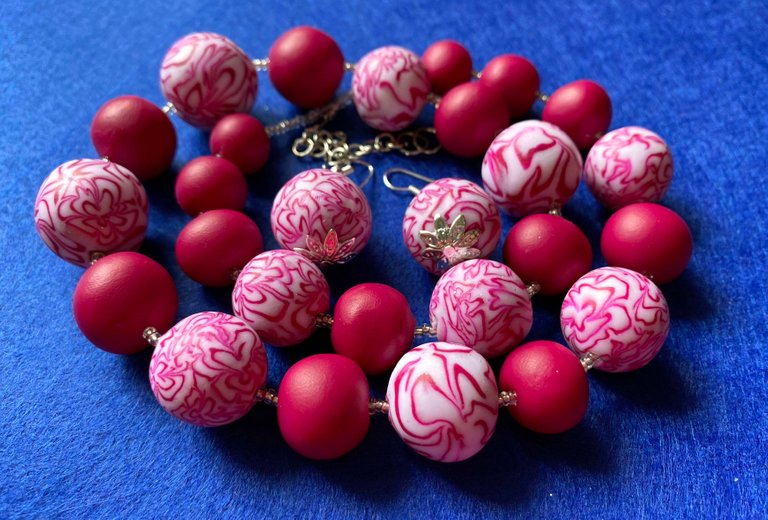
Hello friends!
In polymer clay modeling, the use of "canes" or "sausages" with a pattern that is visible on the cut and repeated along the entire length is widespread.
Initially, this technique was invented by craftsmen who worked with glass and called it "millefiori". In this technique, very beautiful glass products and decorations are created, which can be called works of art.
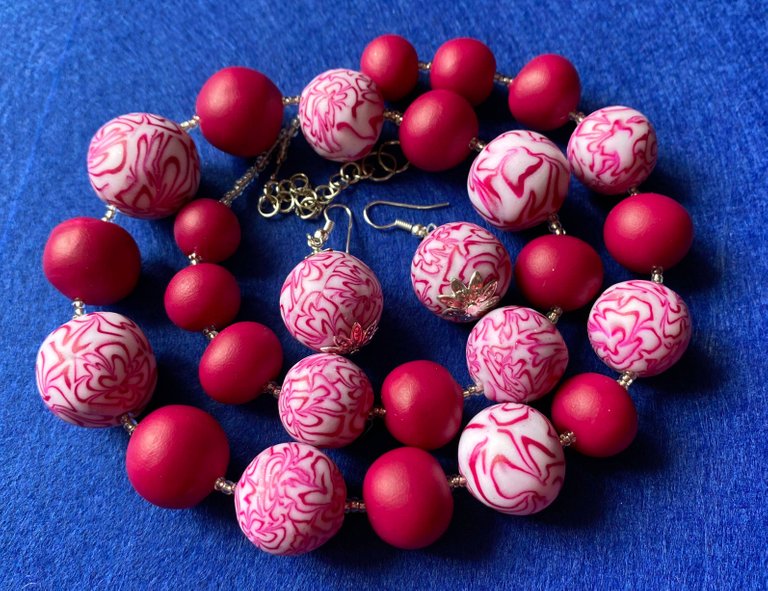
Today I want to show you one of the easiest ways to create such a cane. This pattern is called Chrysanthemum and it is quite suitable for those who are just starting to sculpt. Although the pattern is simple, it makes very beautiful beads.
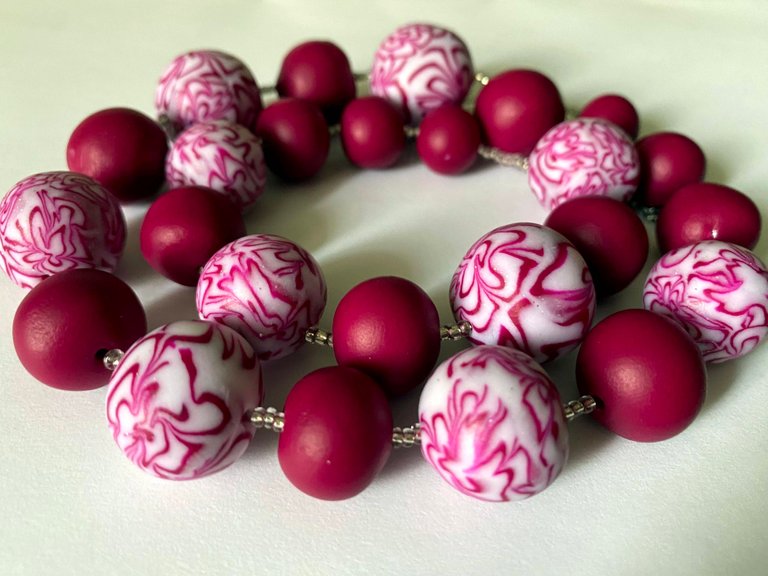
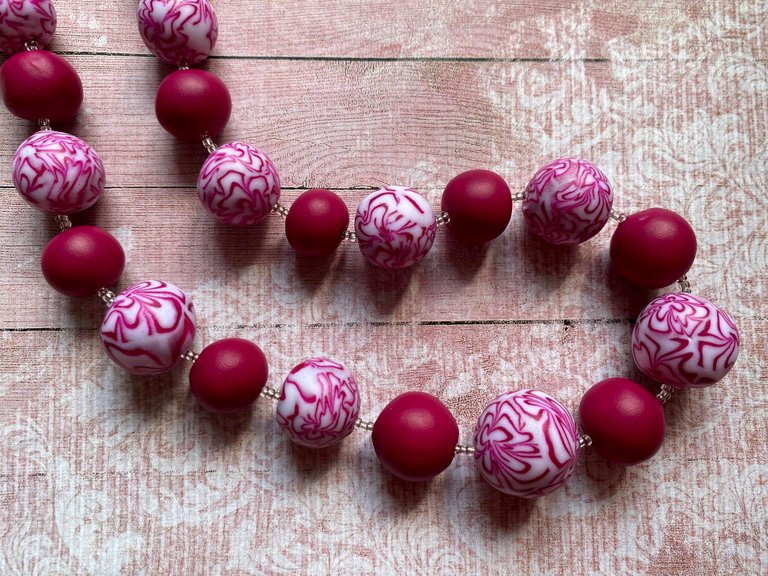
I will show you several options for such beads that I sculpted earlier:
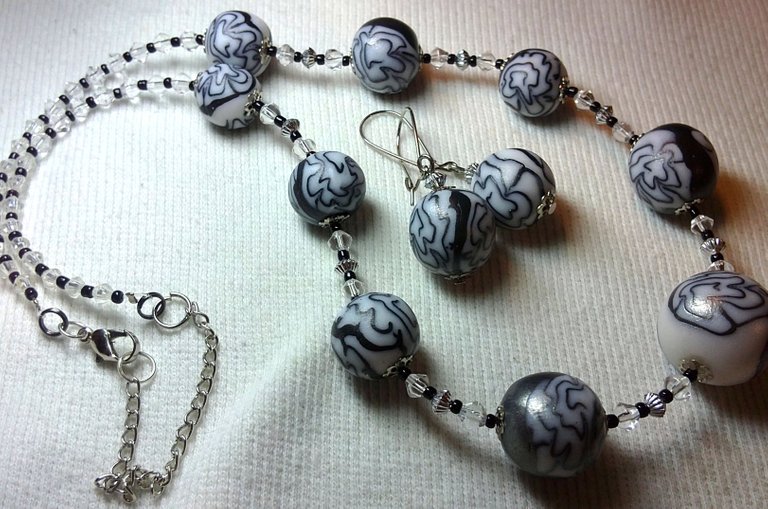
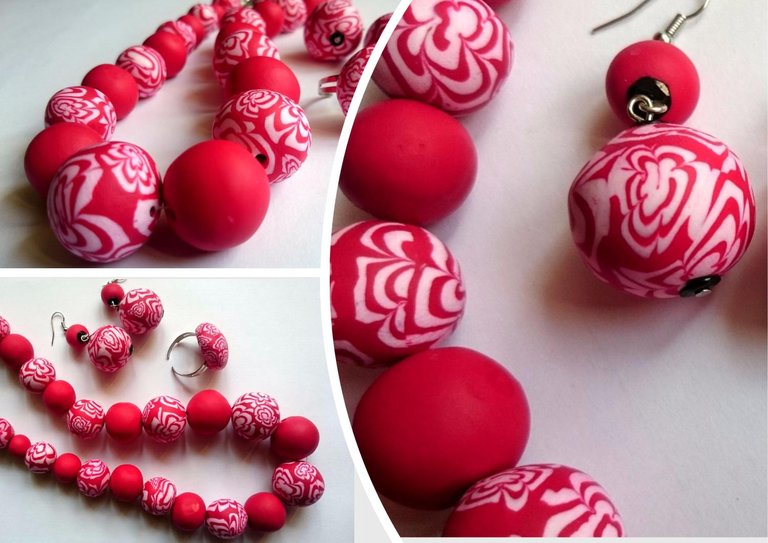
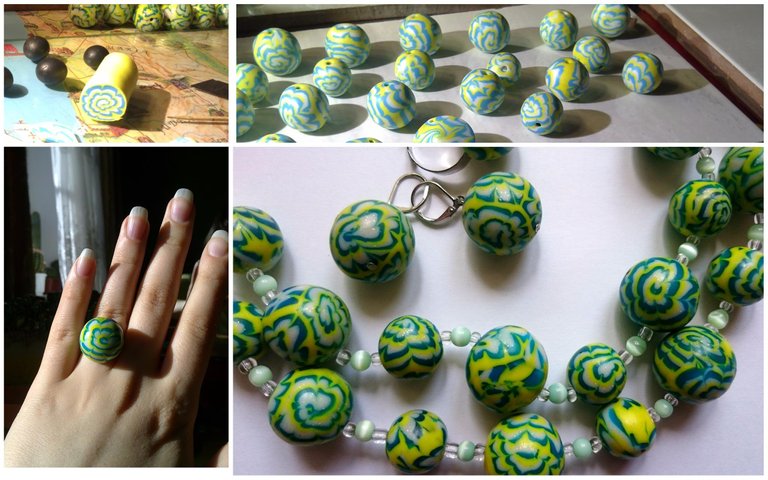
Required Tools and Materials
I want to note that for sculpting these beads you need a minimum set of tools. At the same time, a pasta machine for rolling out plastic can be replaced with a spray can or a round perfume bottle.
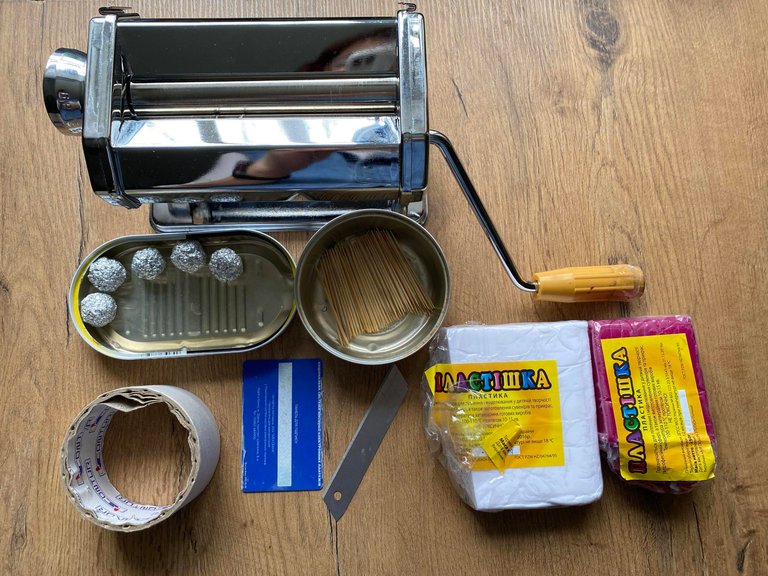
To work you will need:
- polymer clay in two or three colors
- pasta-machine for plastic sheeting
- clerical knife or blade
- work surface - it can be a tile, glass or a sheet of paper
- toothpicks
- round cardboard from adhesive tape (can be replaced with a regular sponge for washing dishes)
- any unnecessary plastic card
- foil
- oven (electric)
- glitter (this is optional)
- fishing line or thread for assembling the product
- beads and accessories for assembly
Difficulty level: beginner.
Working time: 2-2,5 hours.
Step 1
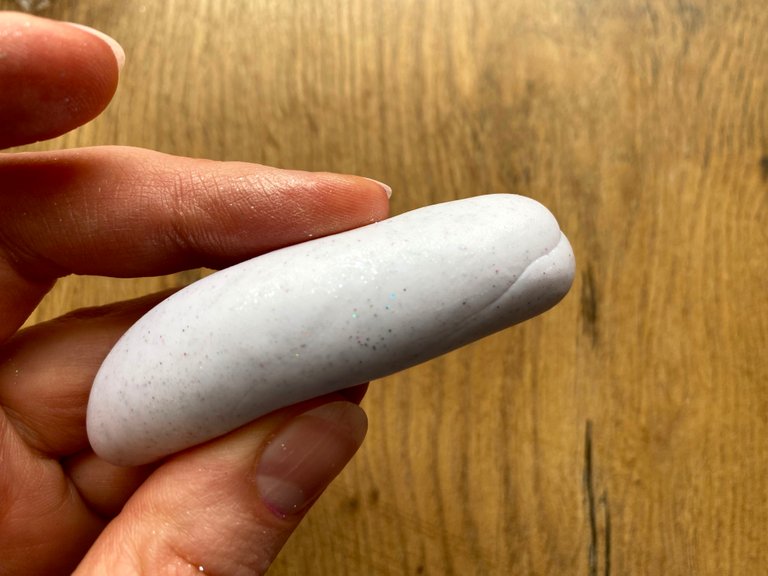
I carefully knead the polymer clay, warming it up in my hands and thereby preparing the clay for work. This is a very important step in getting started. It is important that the clay is well kneaded and elastic.
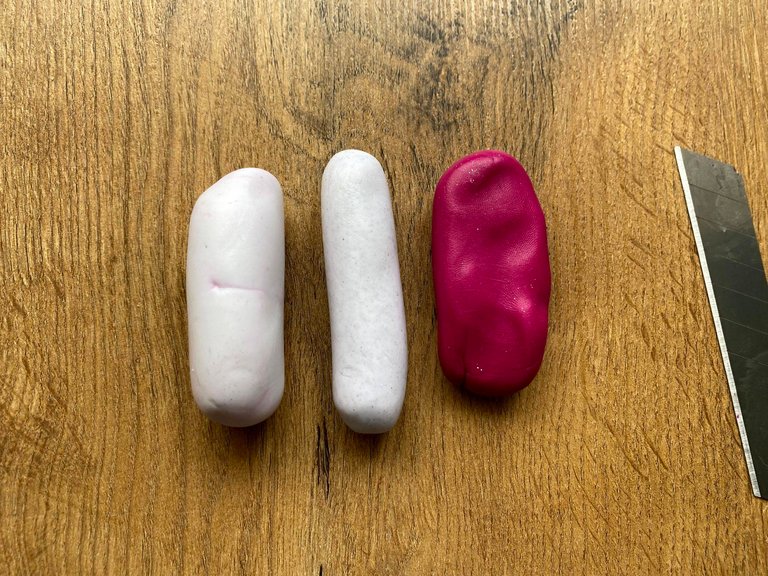
I decided to use two main colors - white and dark pink (also called magenta). In this technique, you can use more colors of polymer clay, beads will also look great. If you are using dark colors, then note that dark-colored polymer clay should be taken about a third less than light-colored. This is necessary because it happens that a dark color drowns out lighter colors (especially black and dark brown colors).
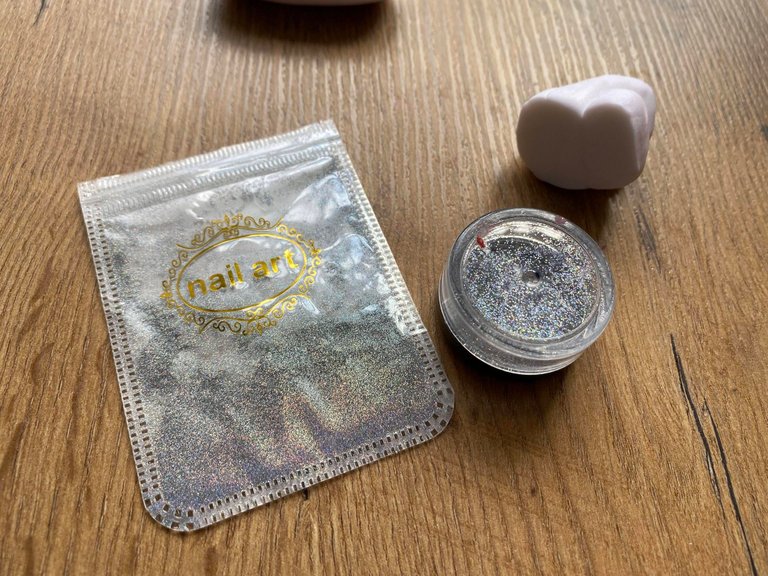
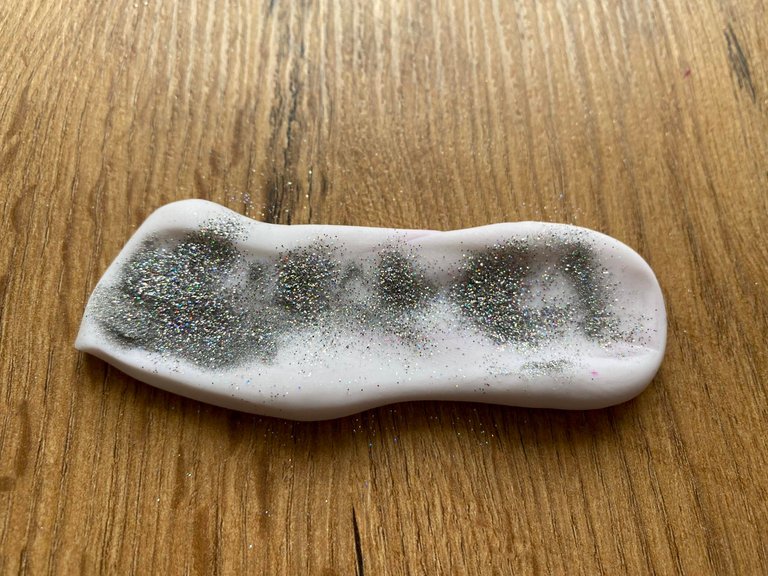
I wanted to add an interesting effect to the beads. Therefore, I added nail glitter to a part of the white polymer clay and mixed them well with the clay.
Step 2
I roll out white, white with sparkles and dark pink on a pasta machine. I roll out white polymer clay at the largest thickness, and dark pink a little thinner.
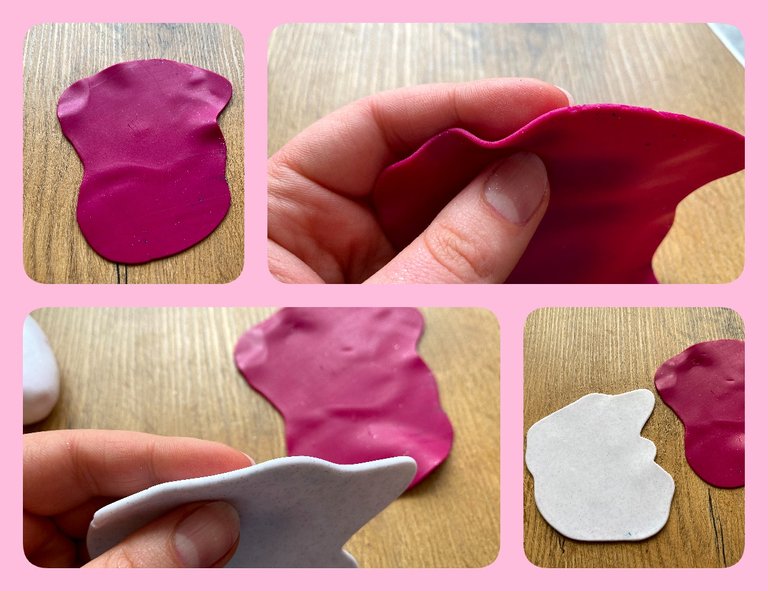
I stacked the resulting layers one on top of the other so that the dark pink is in the middle.
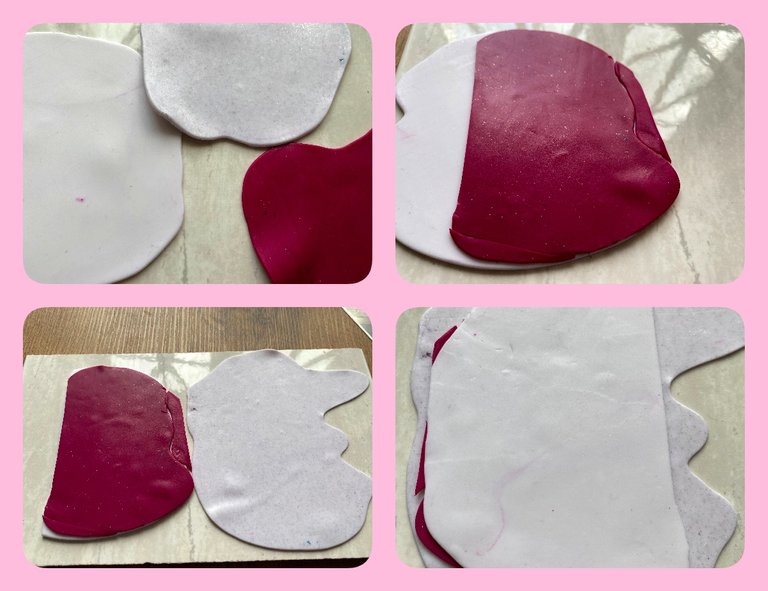
Step 3
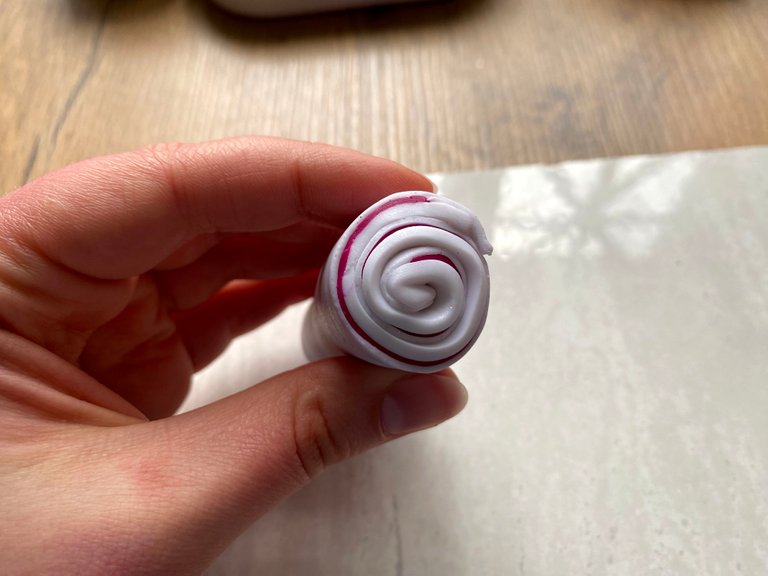
I roll up these sheets as shown in the photo.
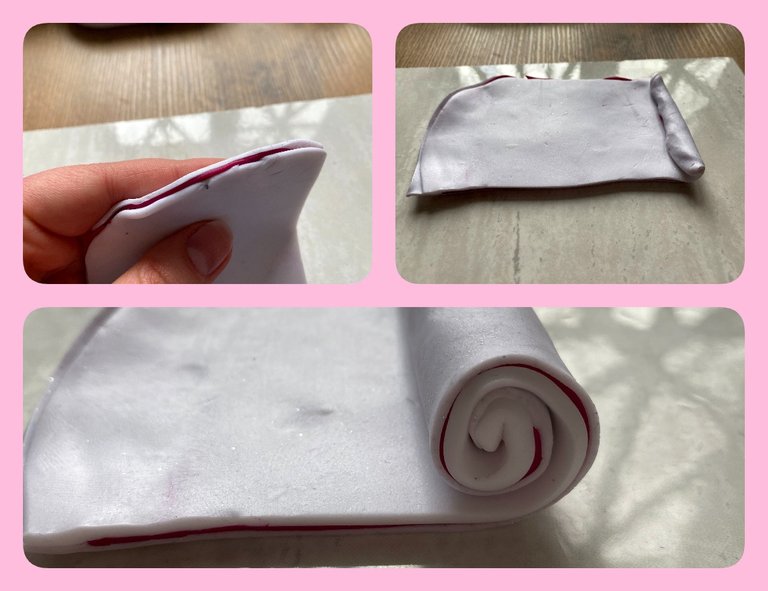
Step 4
Next, I take a plastic card and press the resulting sausage to the middle. I do this several times. How many times you squeeze should depend on how many petals you want in the future pattern. I personally like the option of 5 or 6.
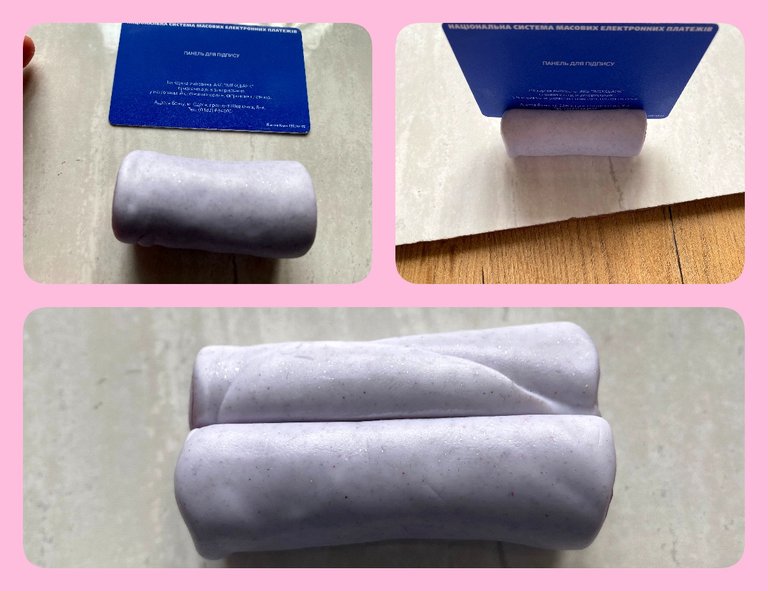
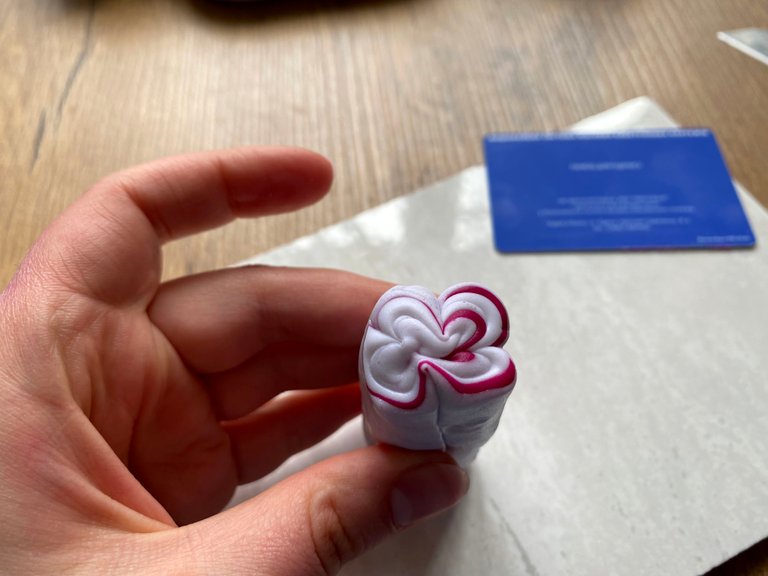
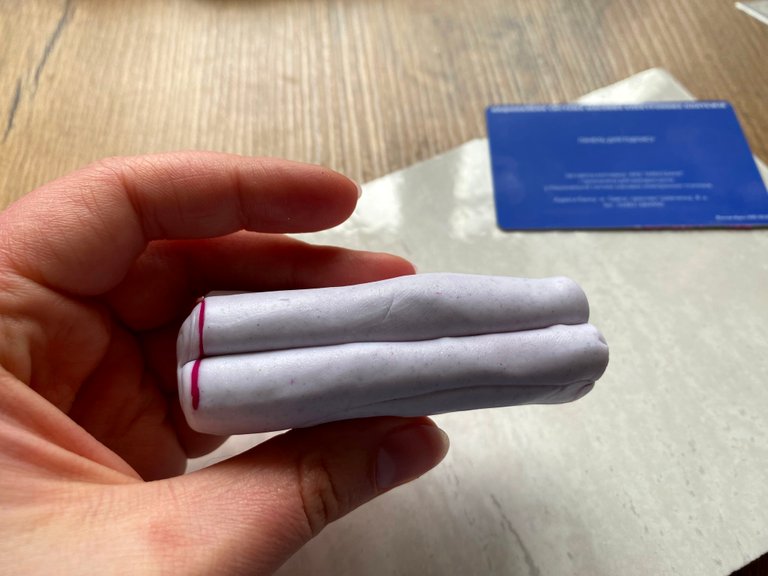
Then I roll this sausage in my hands a little, so that it becomes round and no traces of pressure can be seen.
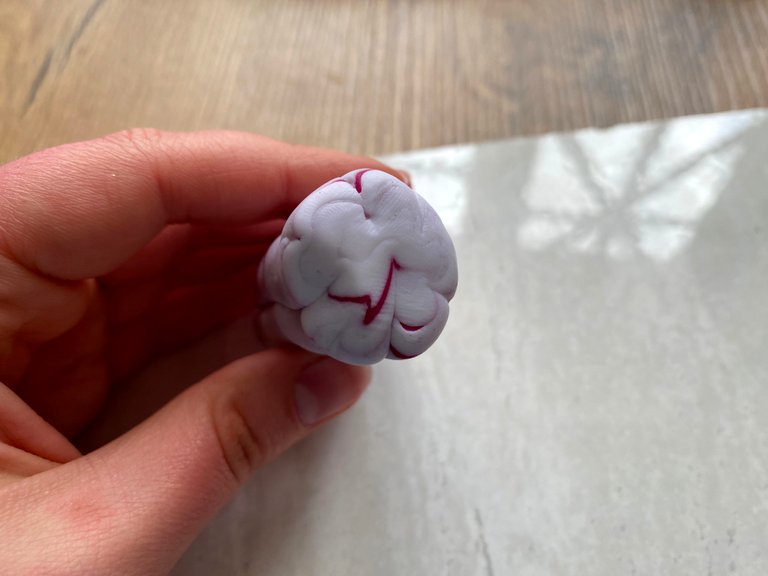
Step 5
Now the long-awaited moment - you can cut the sausage in the middle and see the result.
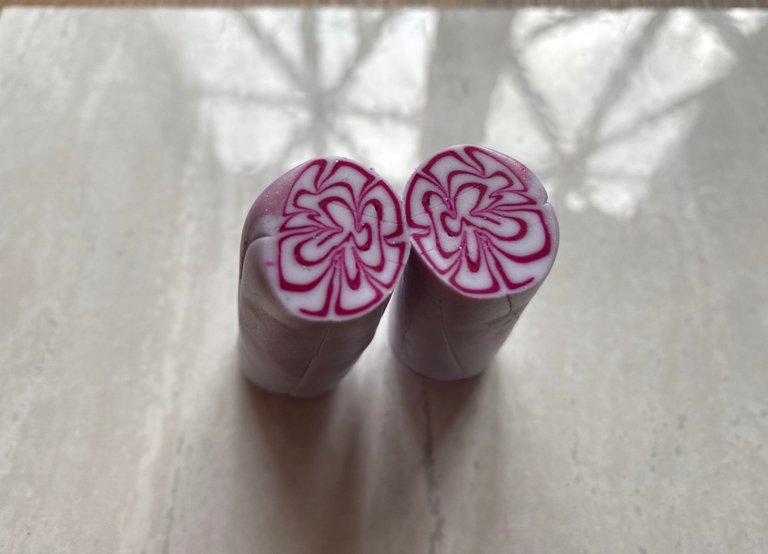
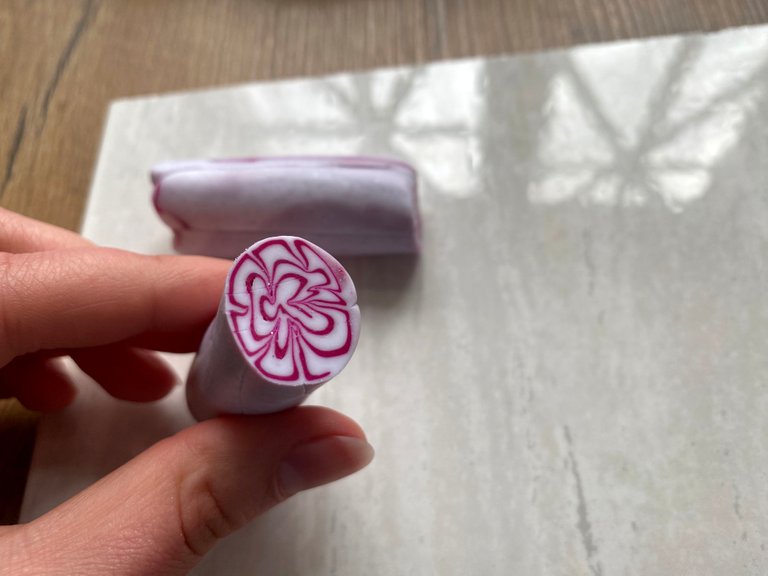
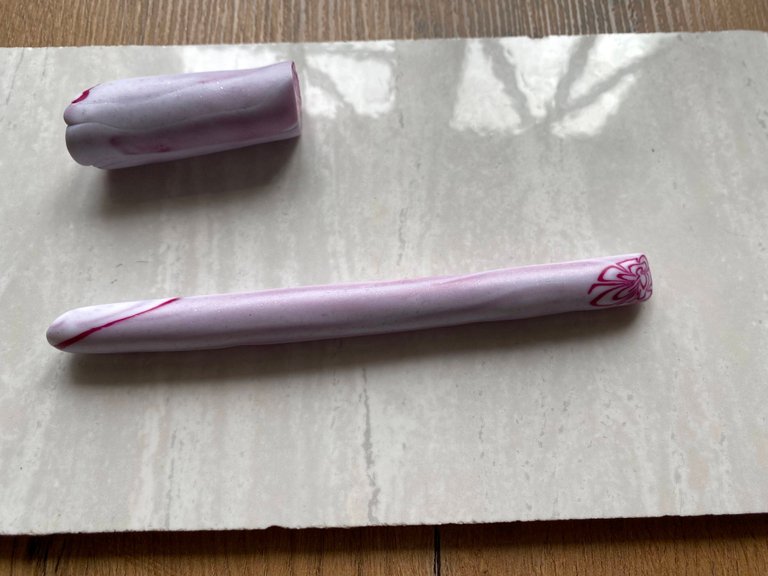
Note that you can roll out the patterned part of the sausage thinner, but the pattern on the cut will remain the same. This is simply amazing!
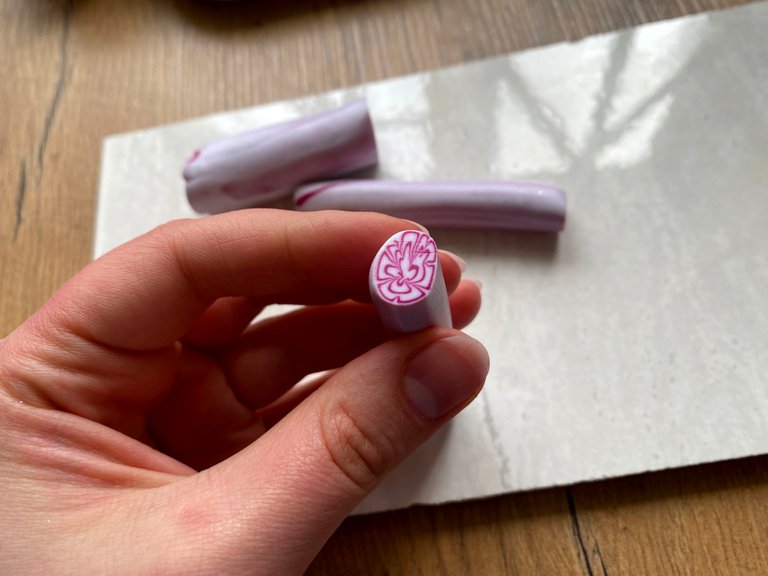
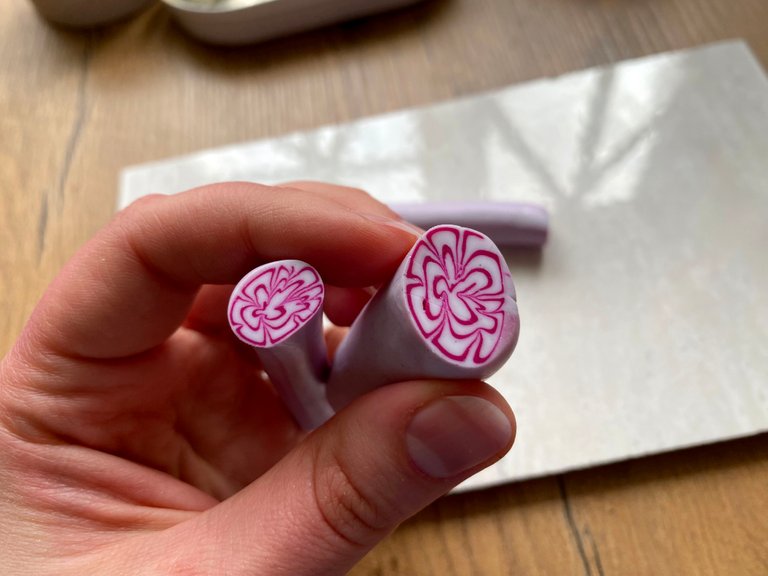
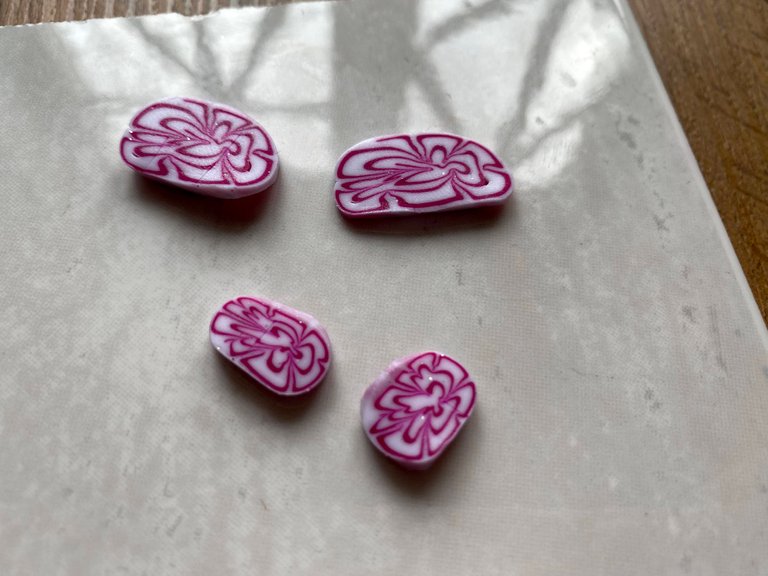
Here's a trick: So that the pattern doesn't warp too much when we slice the sausage, you can put it in the freezer for 15-20 minutes. Then it cuts much easier and the pattern doesn't flatten.
Step 6
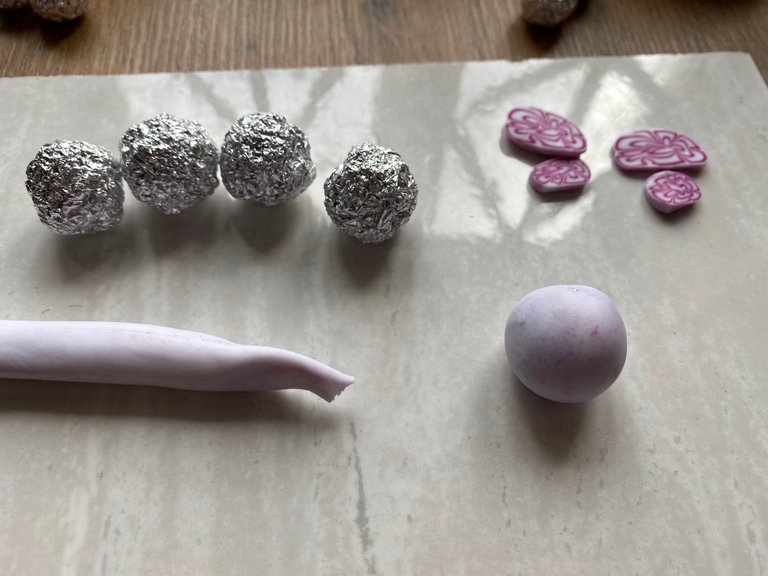
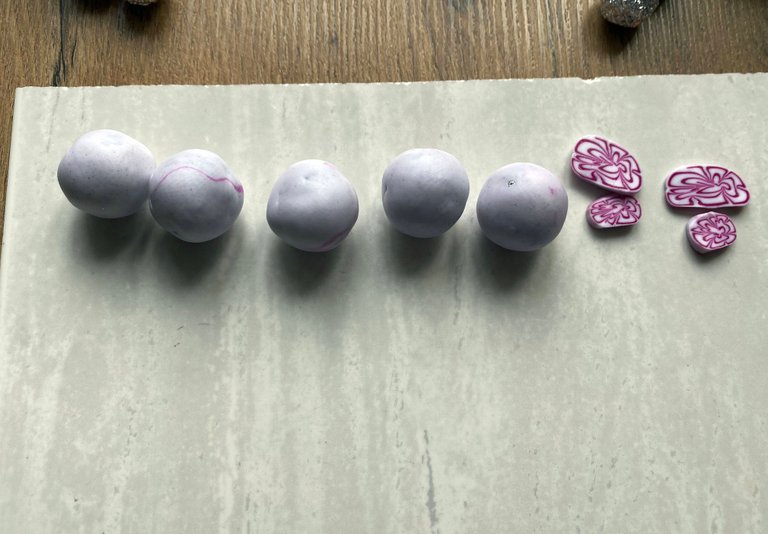
I make bead blanks out of foil. This saves a lot of polymer clay, and the finished beads are much lighter in weight and more pleasant to wear.
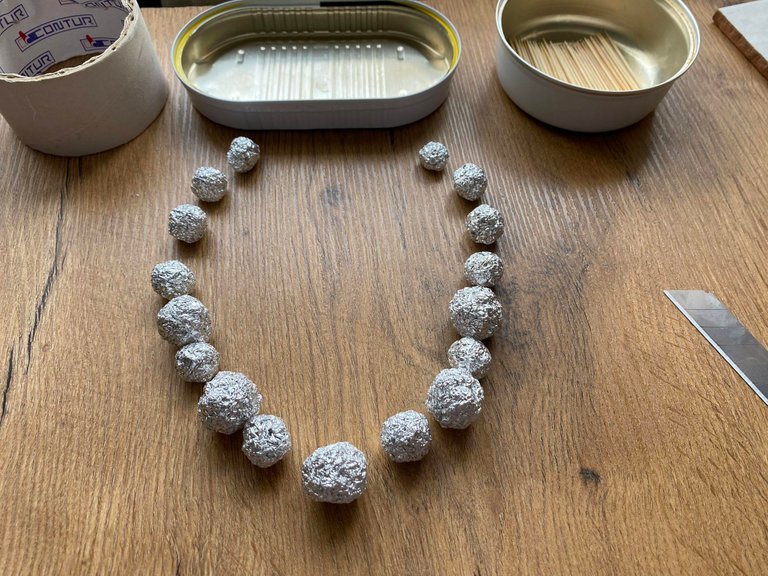
I wrap foil balls with a thin layer of white polymer clay.
Step 7
I cut the sausages with the pattern into thin slices.
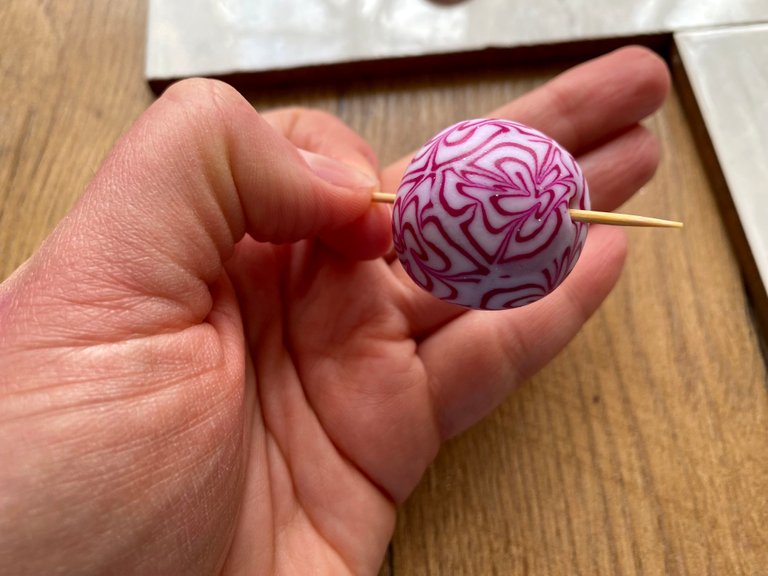
In order to make a bead, I cover it on all sides with these slices. Then I roll it in my hands until all the irregularities are smoothed out.
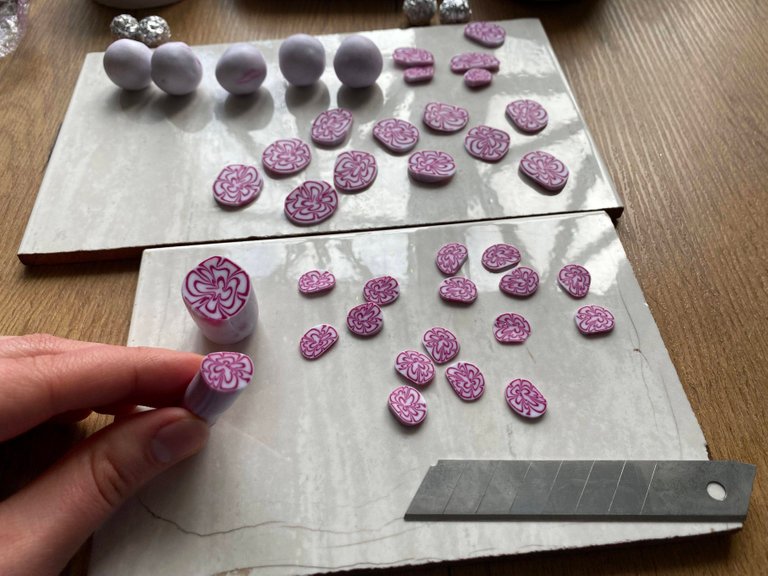
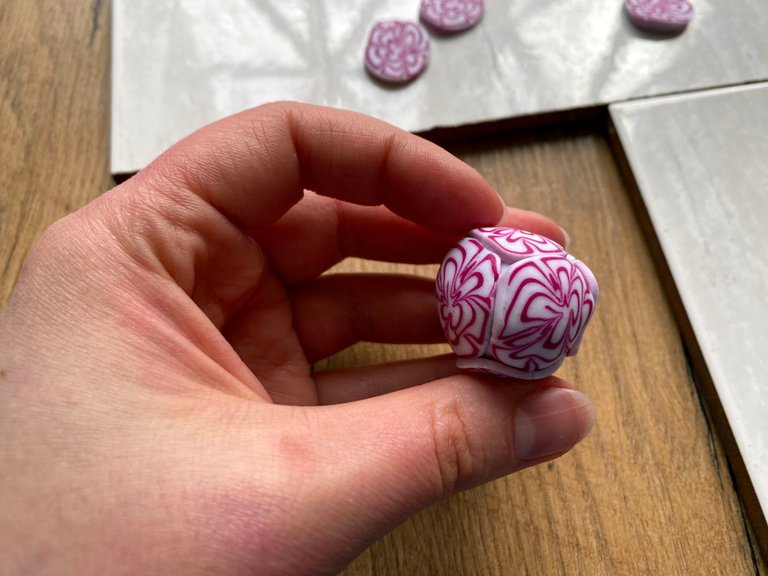
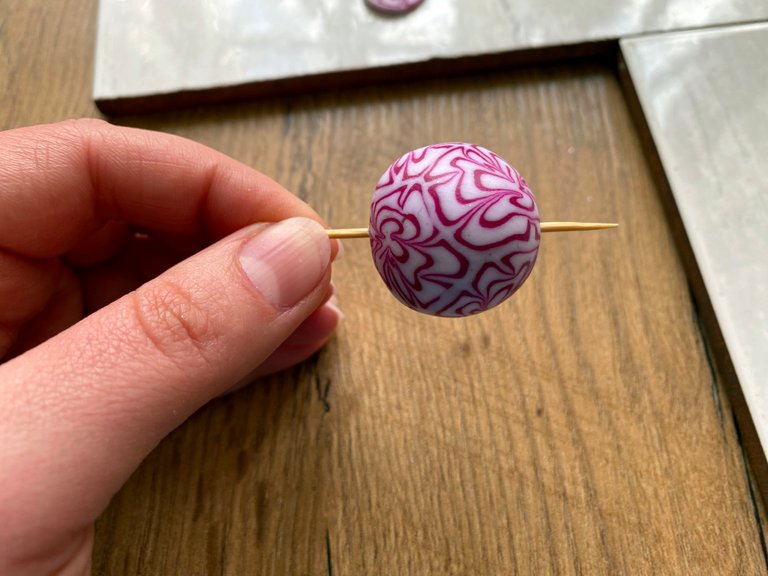
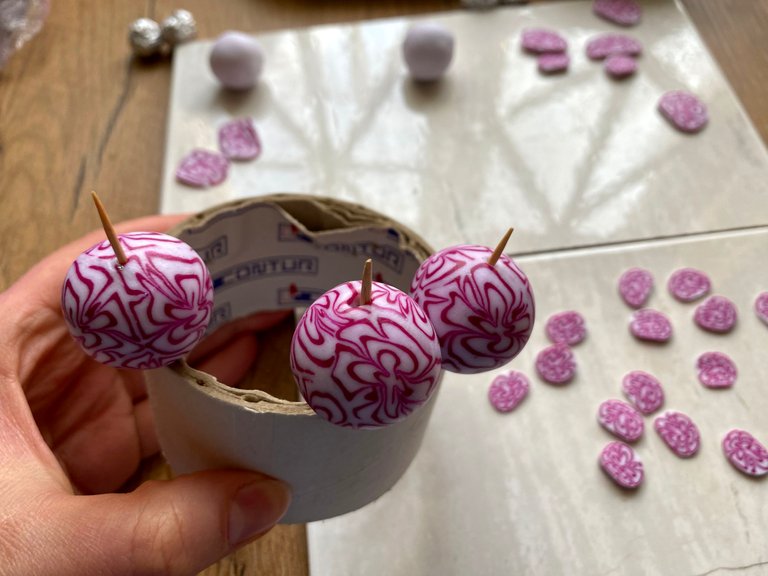
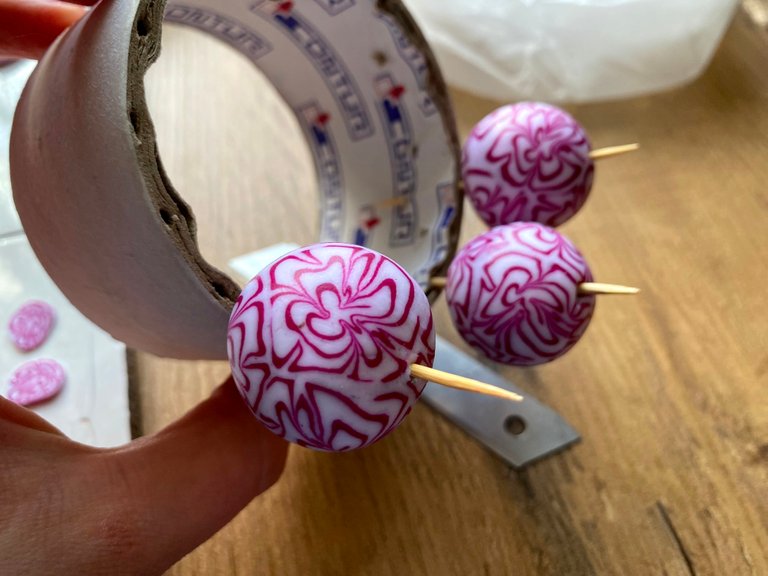
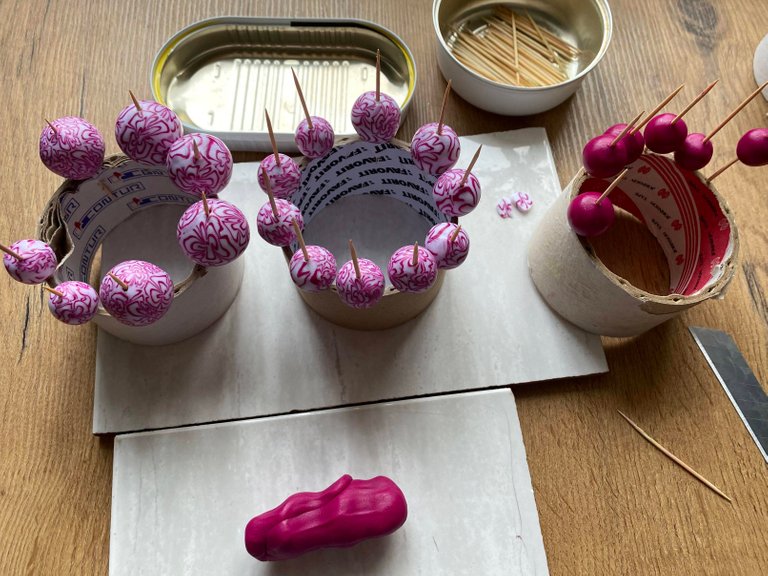
I thread a bead onto a toothpick. Next, it is very convenient to stick toothpicks with beads into round scotch cards. For me personally, this is the most convenient, time-tested option. But such cardboard can be replaced with regular dishwashing sponges (new ones).
Step 8
When the beads are ready, they need to be baked in the oven.
IMPORTANT! You should always strictly observe the temperature and baking time, which are indicated on the packaging of the polymer clay from which you are sculpting.
Step 9
When the beads are baked, you need to remove the toothpicks from them as soon as they become warm, because if the bead has cooled completely, then it can be very difficult to remove it from the toothpick.
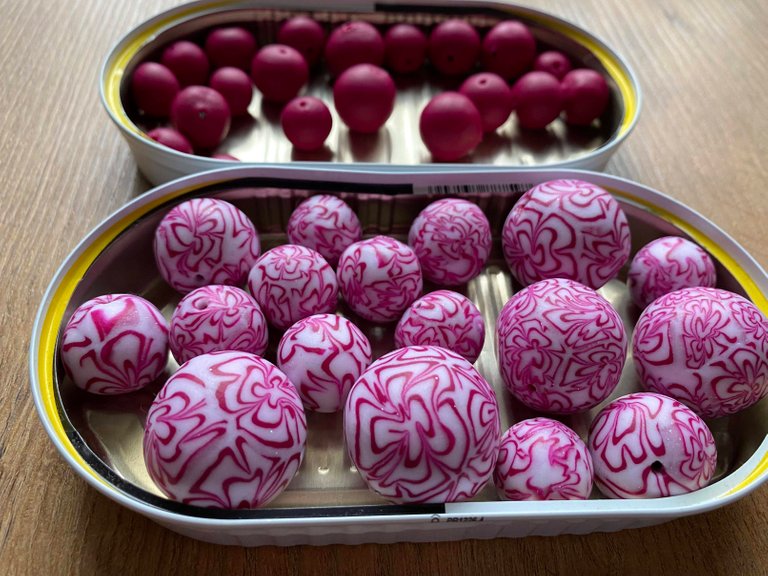
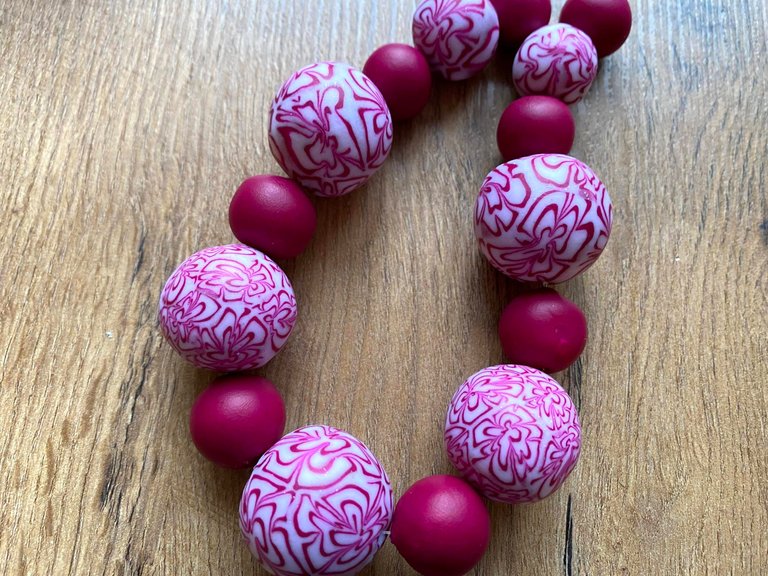
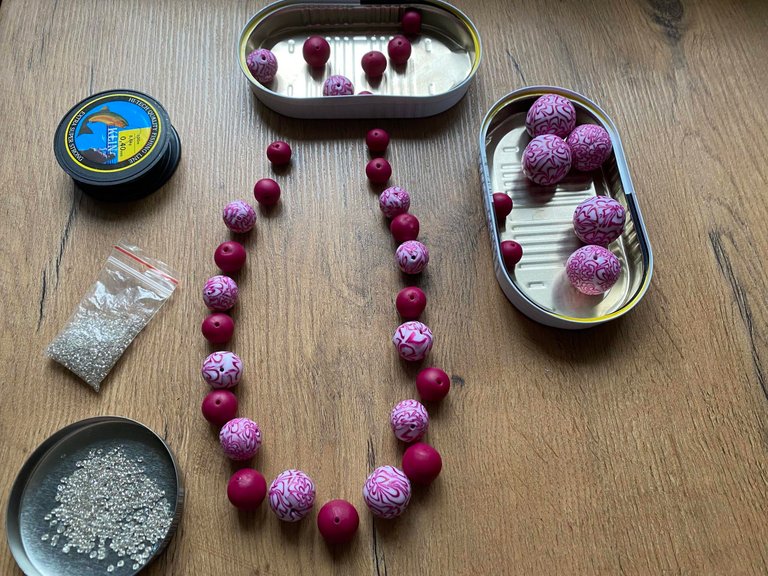
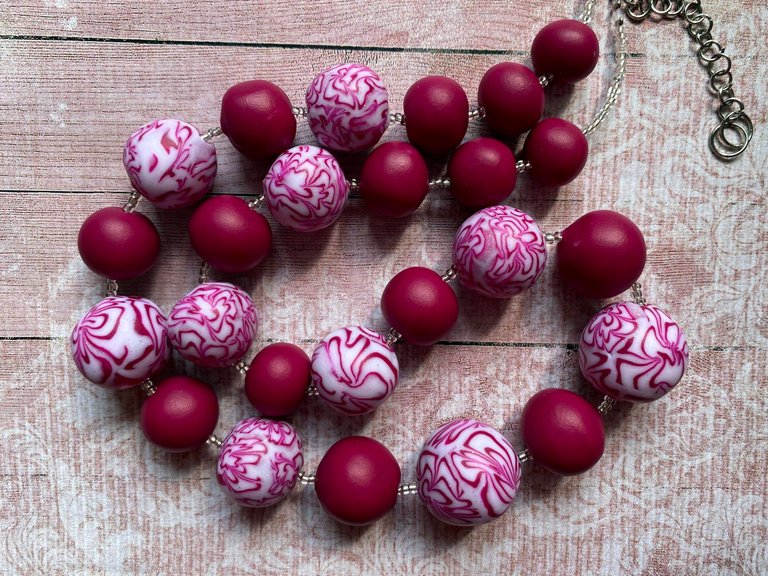
And the last stage is the assembly of the finished product. I collected these beads on a fishing line, adding silver beads between them. It is much more convenient for me to collect beads when I lay them out in advance in an approximate sample, setting them in size and color as shown in the photo.
Step 10
We rejoice at the finished decoration!
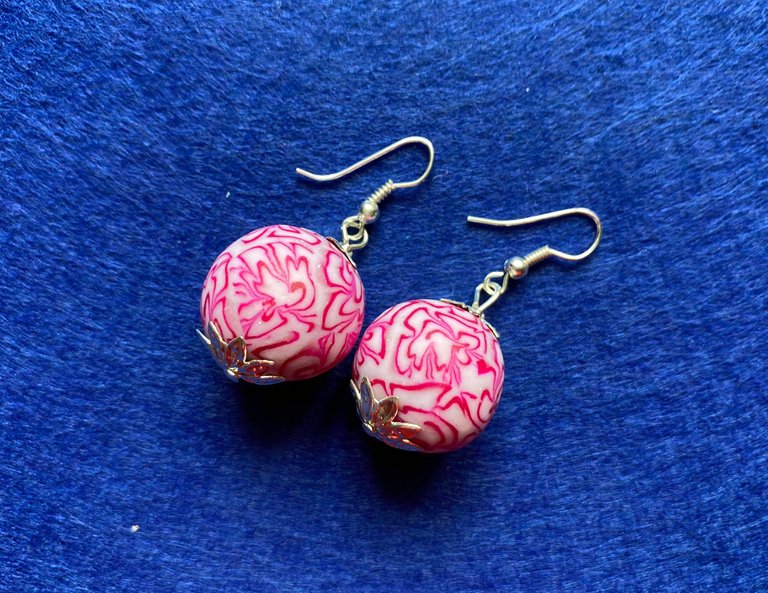
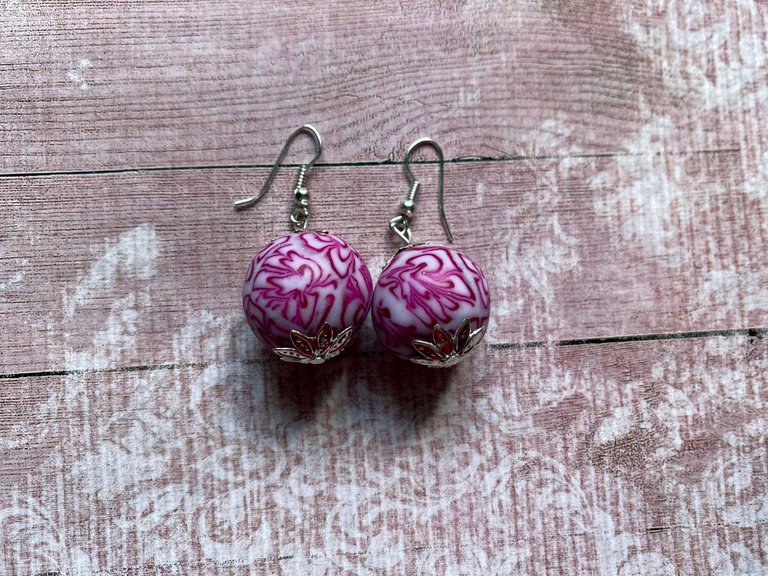
I made a couple more earrings in the set.
I specially took photos on backgrounds of different colors so that you can better see these beads:
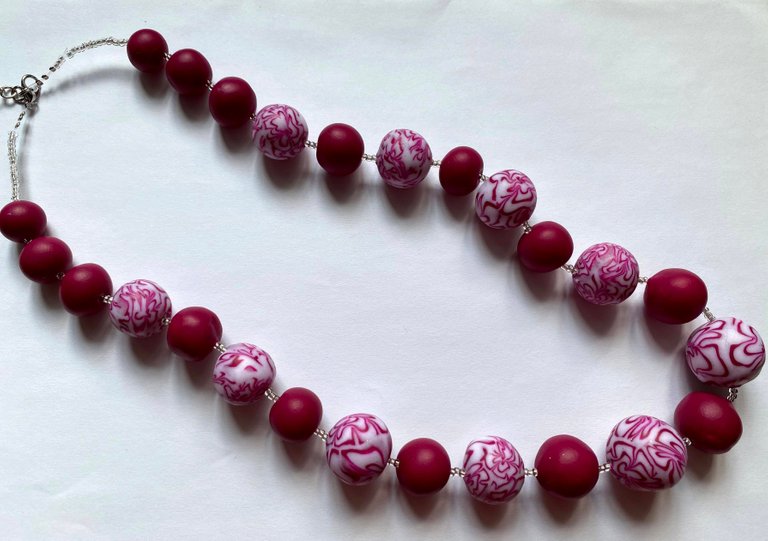
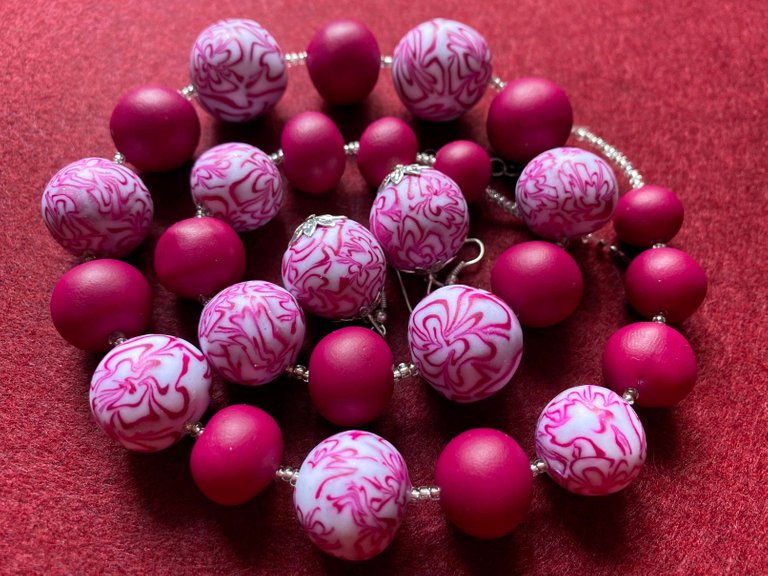
Thank you for attention! I wish you all inspiration!
~~~ embed:1641343483825758208 twitter metadata:NzY5MTQ4OTgyMTYxNDQ4OTYxfHxodHRwczovL3R3aXR0ZXIuY29tLzc2OTE0ODk4MjE2MTQ0ODk2MS9zdGF0dXMvMTY0MTM0MzQ4MzgyNTc1ODIwOHw= ~~~
~~~ embed:1641584950108463104 twitter metadata:MTYzNTkzODU0MzM2ODM5MjcxNHx8aHR0cHM6Ly90d2l0dGVyLmNvbS8xNjM1OTM4NTQzMzY4MzkyNzE0L3N0YXR1cy8xNjQxNTg0OTUwMTA4NDYzMTA0fA== ~~~
The rewards earned on this comment will go directly to the people( @belkyscabrera, @abdulmanan, @michupa, @djbravo ) sharing the post on Twitter as long as they are registered with @poshtoken. Sign up at https://hiveposh.com.
Thank you)
Whoa, beads from clay??!!! Great work, they look cool.
Thank you very much))) Yes, these are polymer clay beads :)
que lindo trabajo has hecho muy buen plus el de utilizar papel aluminio para ahorrar arcilla enserio quedo espectacular
¡Hola! muchas gracias por su atencion y elogios a mi trabajo!!! Sí, usar papel aluminio es muy práctico, espero que te sirva mi consejo. ¡Te deseo éxito y buen humor!
Yay! 🤗
Your content has been boosted with Ecency Points
Use Ecency daily to boost your growth on platform!
Support Ecency
Vote for new Proposal
Delegate HP and earn more, by @anri-avgustino.
Thank you!