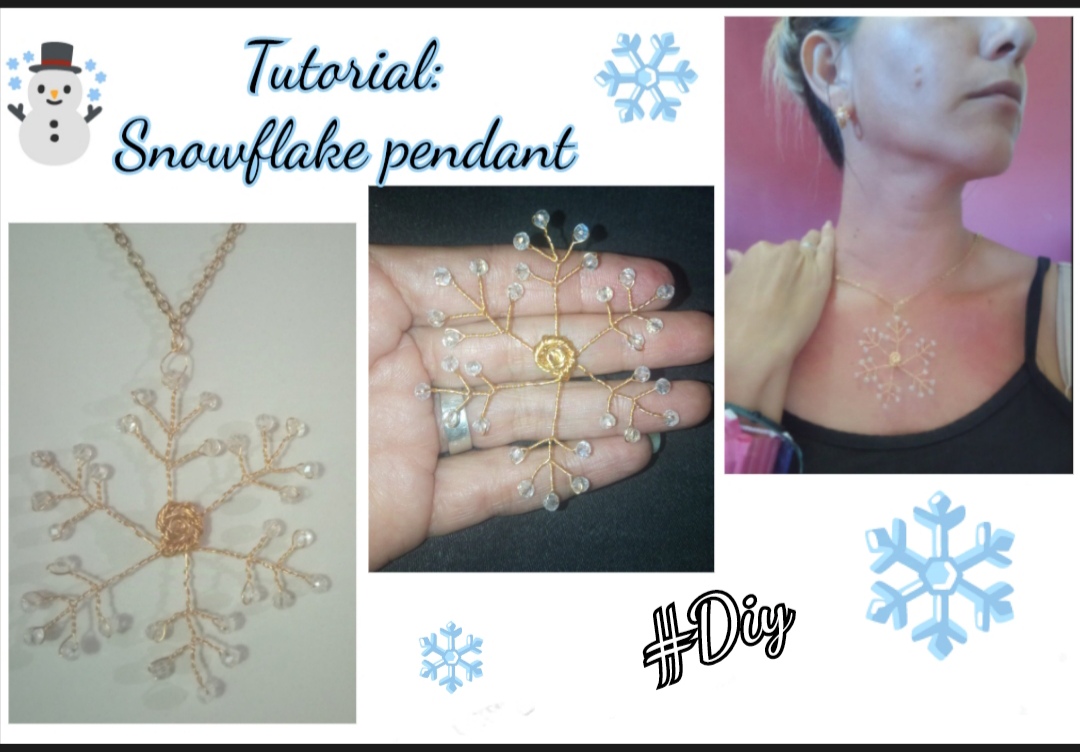
Greetings dear friends, happy and blessed day have all of you, today is a great pleasure for me to visit again this beautiful community in this opportunity to share with you in this last contest that brings us the community for this year, which has as main theme Christmas.
So today I want to share with you a tutorial where together I invite you to make a beautiful snowflake shaped pendant which is one of the figures that represent this Christmas season, this is a very easy creative work design and I want to invite you to follow me in this step by step.</center
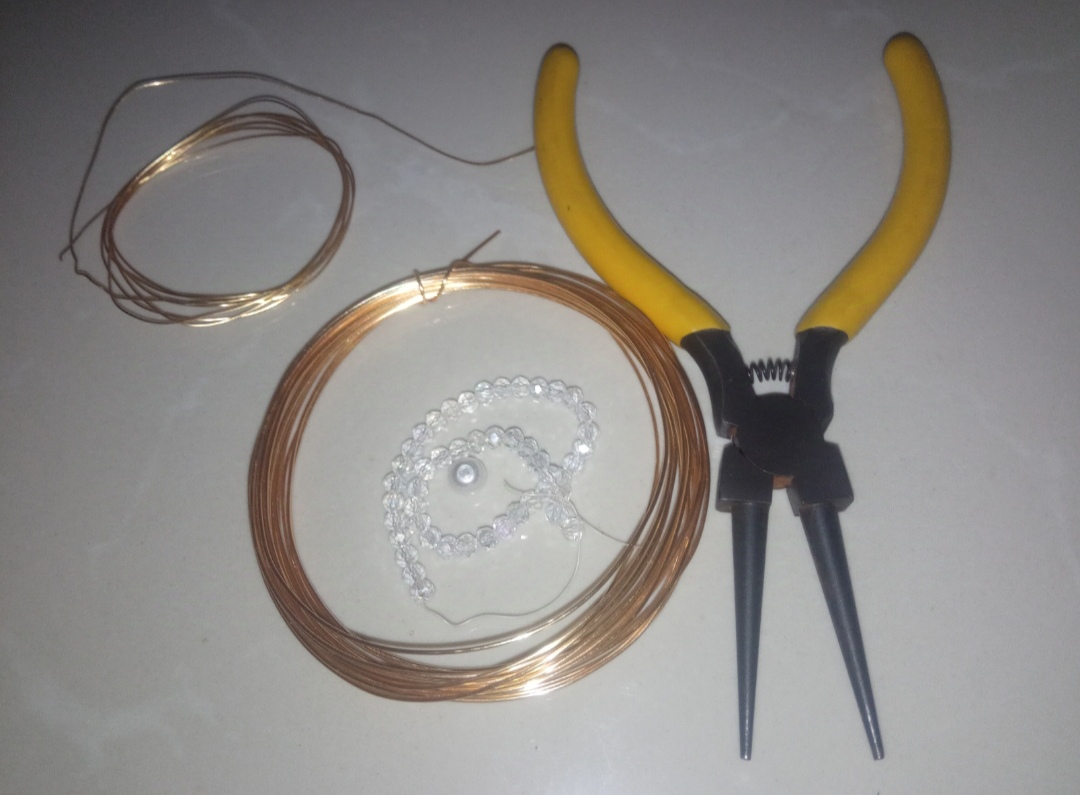
⭐Materiales ⭐
- alambre de bisutería calibre 20
- alambre de bisutería calibre 26
- pierdas cristales transparentes pequeños.
- cuerina o cadena.
- pinza de bisutería.
⭐Materials ⭐
- 20 gauge costume jewelry wire
- 26 gauge costume jewelry wire
- pierced small clear crystals.
- string or chain.
- costume jewelry pliers.
⭐ Paso a paso ⭐
⭐ Step by step
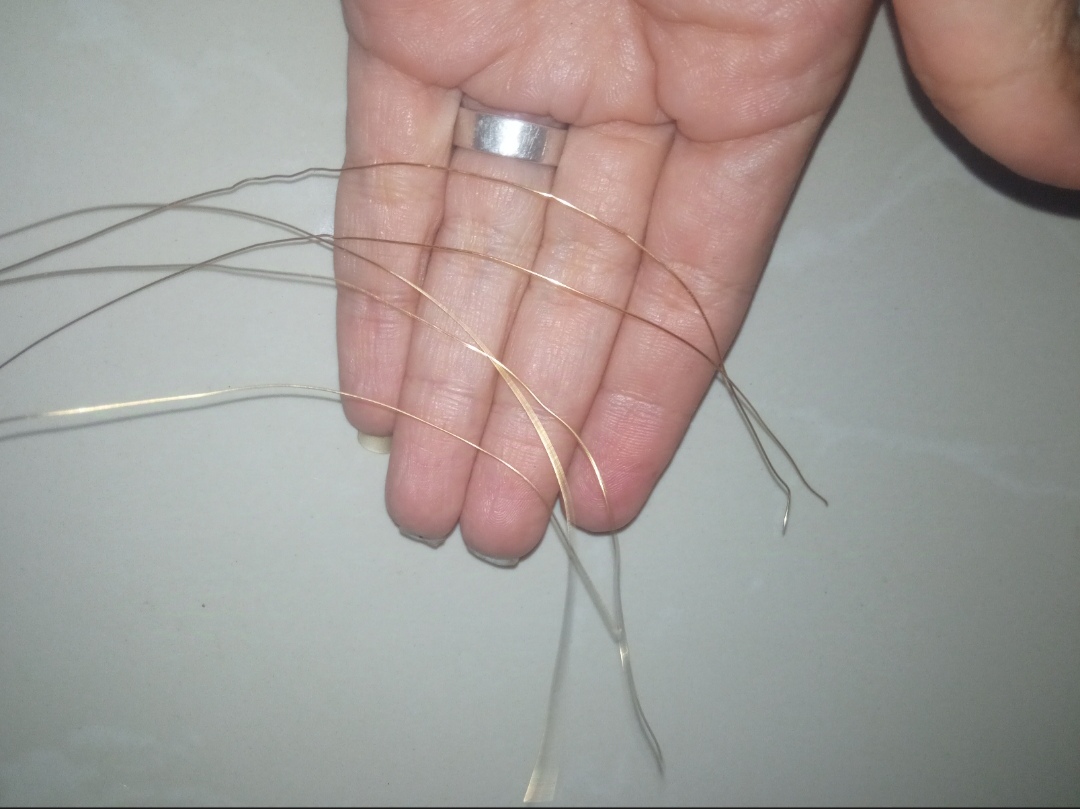
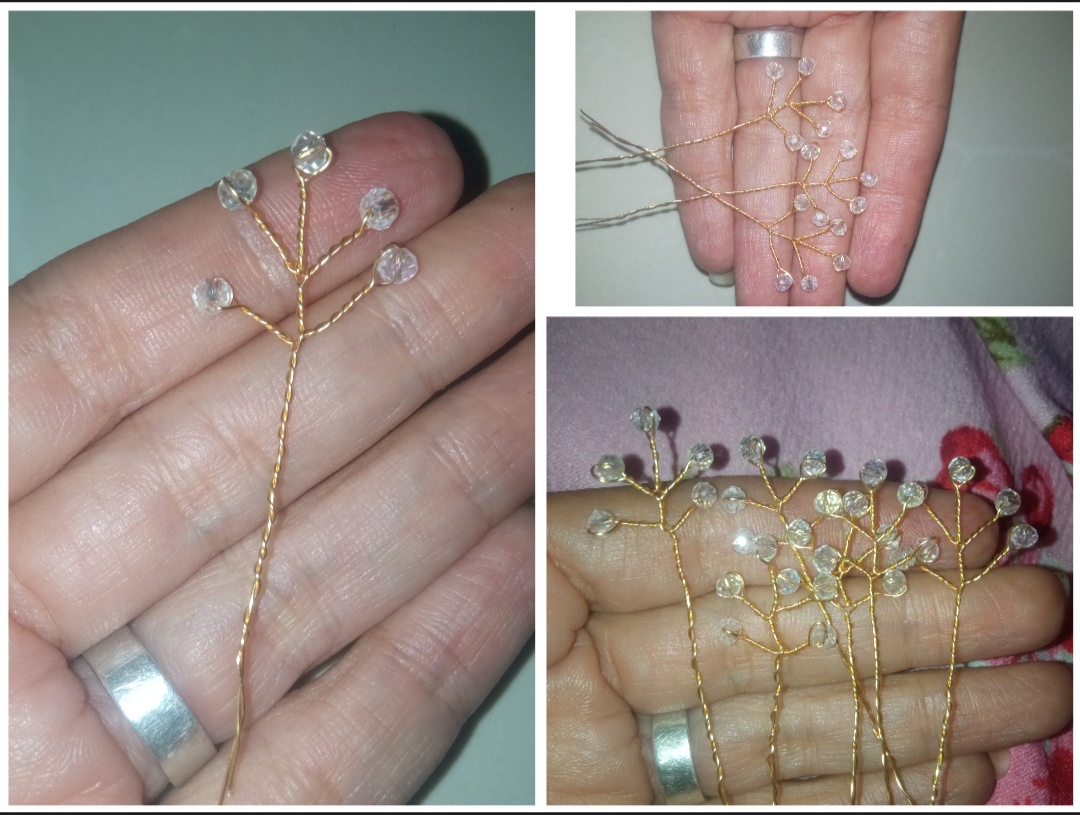
🌟Paso 1: para iniciar la elaboración de este lindo diseño navideño lo primero que debemos hacer es tomar el alambre de usted y el calibre 26 y picaremos seis pedazos de alambre de 20 cm aproximadamente.
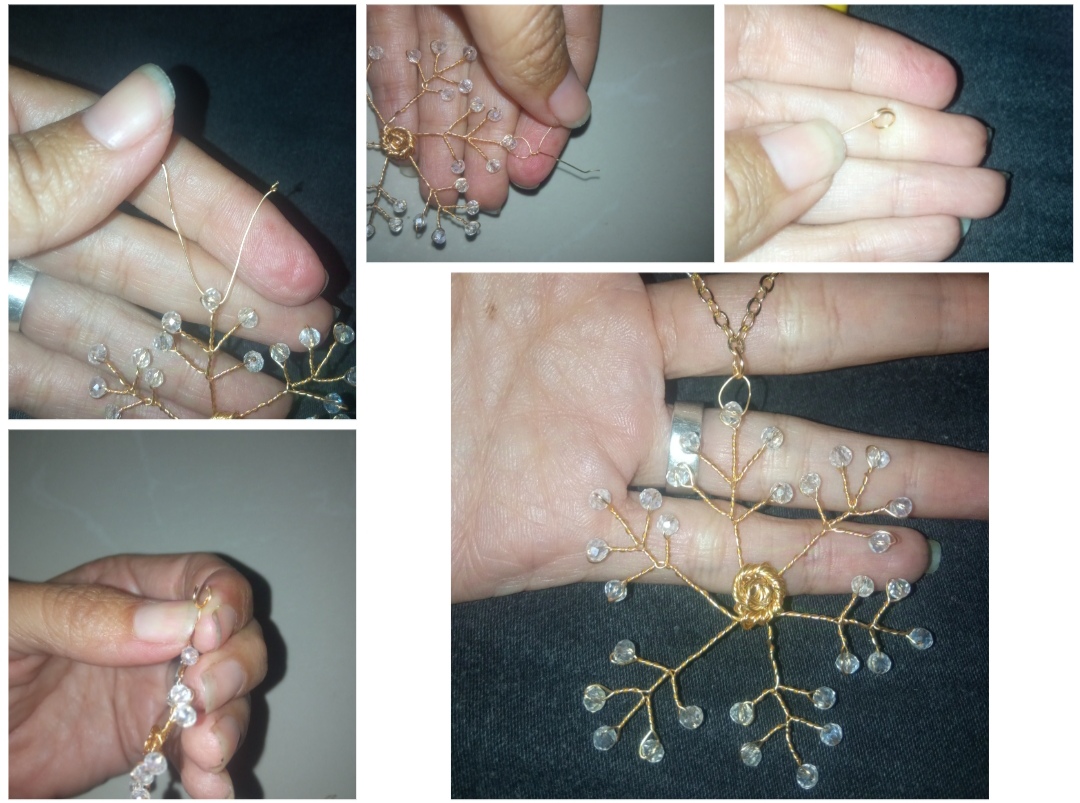
Seguidamente tomaremos el primero de ellos e introduciendo un pequeño cristal lo llevaremos hacia la mitad del alambre y luego doblaremos el alambre en dos piezas y comenzaremos a entorchar las dos hebras de alambre debajo de pequeño cristal dejando un pequeño espacio de separación luego separaremos nuevamente las dos hebras e introduciremos por una de ellas un pequeño cristal y dejando un espacio de un centímetro doblaremos el alambre y entorcharemos estas dos piezas de igual manera lo elaboraremos con la otra pieza del alambre quedándonos así dos piezas una de cada lado y la que elaboramos en la parte superior seguidamente debajo de estas dos piezas volvemos a entorchar juntos las dos hebras de alambre y dejando un espacio volvemos a separar las dos hebras de alambre y repetimos el procedimiento realizando dos piezas más una de cada lado como pueden observar.
Ahora tomaremos las dos hebras blancas que nos quedan las entorcharemos hasta el final y así ya tendremos nuestra primera pieza elaborada.
🌟Step 1: to start the elaboration of this cute Christmas design the first thing we must do is to take the wire from you and 26 gauge and we will chop six pieces of wire of 20 cm approximately.
Next we will take the first of them and introducing a small crystal we will take it towards the middle of the wire and then we will fold the wire in two pieces and we will begin to twist the two strands of wire under the small crystal leaving a small space of separation then we will separate again the two strands and we will introduce by one of them a small crystal and leaving a space of one centimeter we will fold the wire and we will twist these two strands of wire and we will introduce by one of them a small crystal and leaving a space of one centimeter we will fold the wire and we will twist these two strands of wire and we will introduce a small crystal. wire and we will twist these two pieces in the same way we will elaborate it with the other piece of wire leaving two pieces one on each side and the one we elaborated in the upper part then under these two pieces we will twist together again the two strands of wire and leaving a space we will separate again the two strands of wire and repeat the procedure making two more pieces one on each side as you can see.
Now we will take the two white strands that we have left and we will twist them until the end and we will have our first elaborated piece.
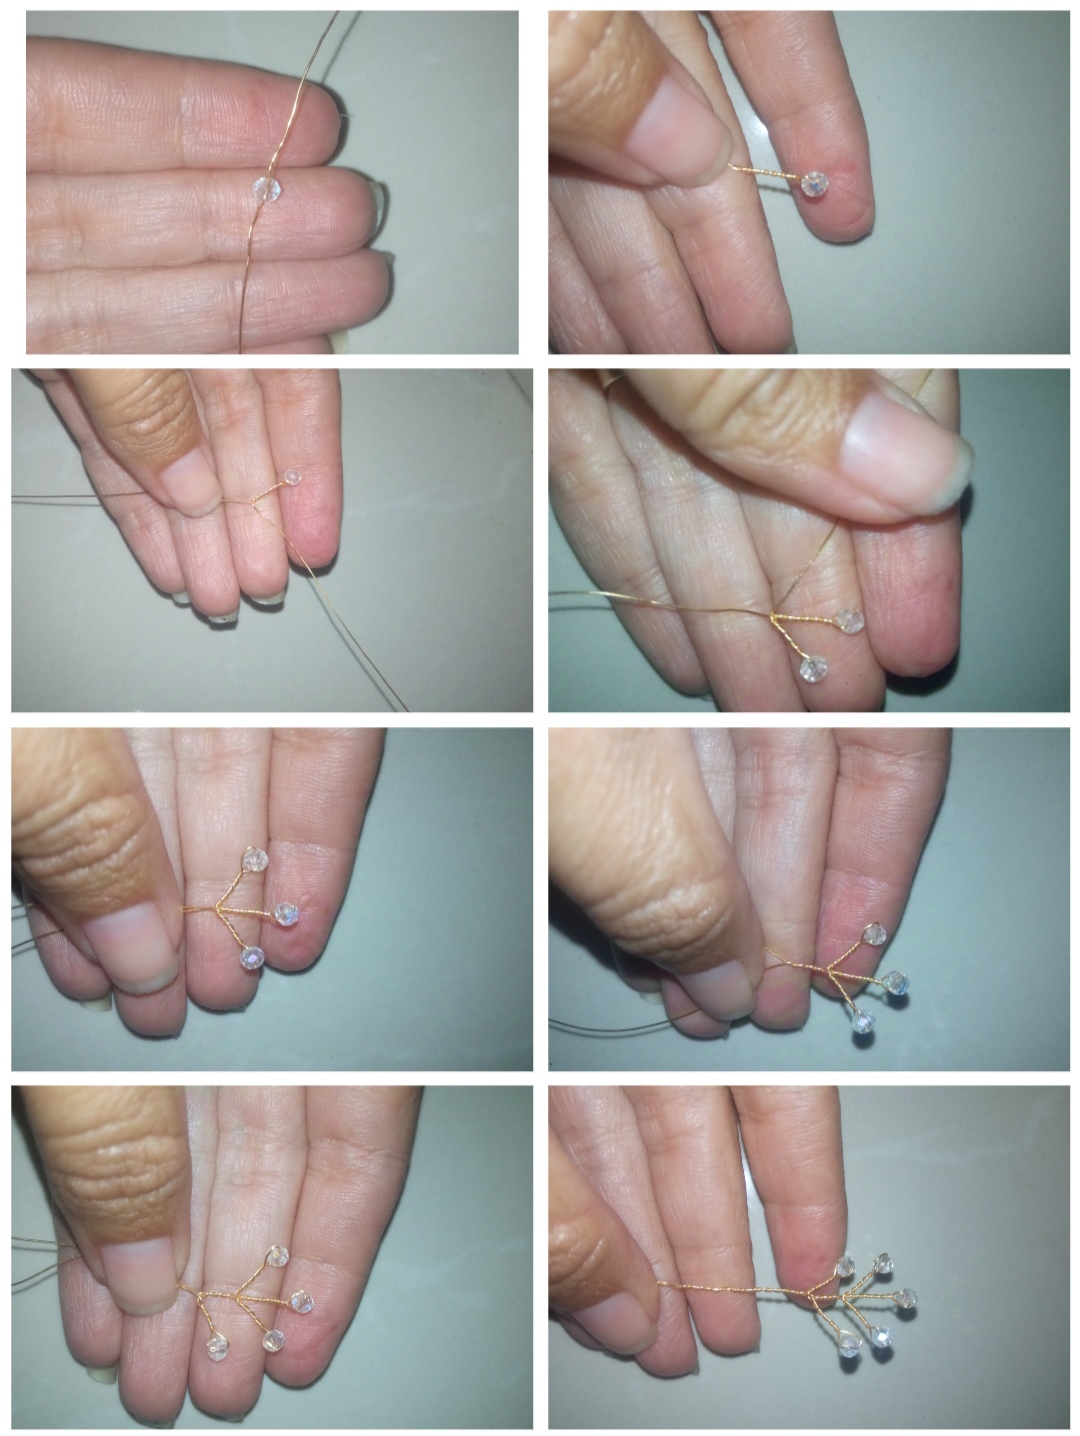
🌟 Step 2: to continue with the other five pieces of wire that we cut in step one we will repeat the previous procedure making five pieces equal to the one made in the first step, as you can see in the following images.
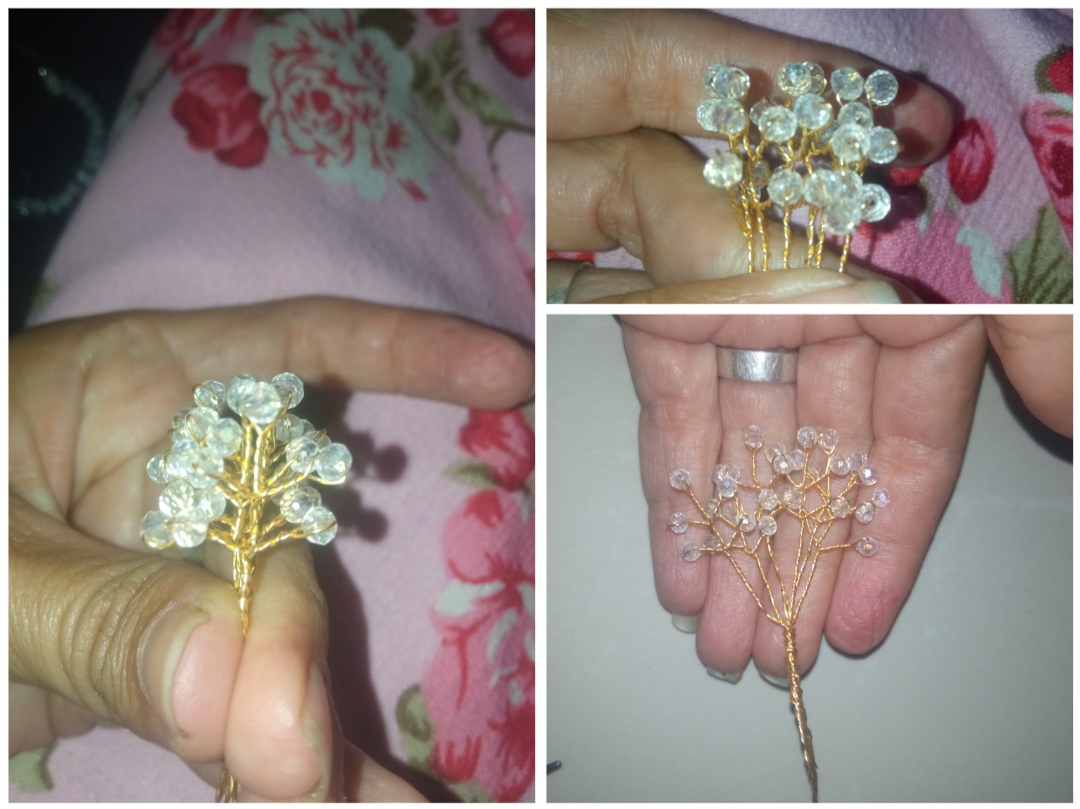
🌟 Step 3: once we have the six pieces ready we will place one after the other in an orderly manner that will be at the same level and with the help of the jewelry pliers we will twist together the bottom parts of these small pieces to join them into one but we must leave a free space as you can see below.
Then with the help of the bijouterie pliers we will take the part that we twisted from the tip and we will start to roll it in a spiral shape inwards making a small and very beautiful spiral.
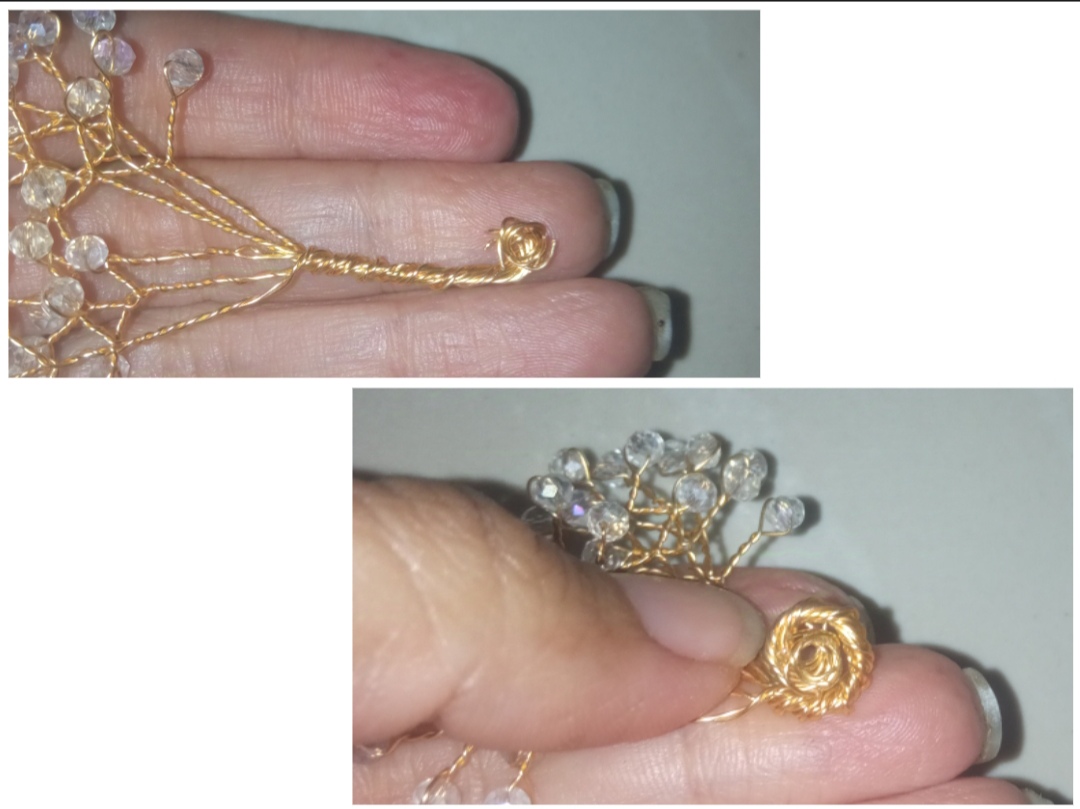
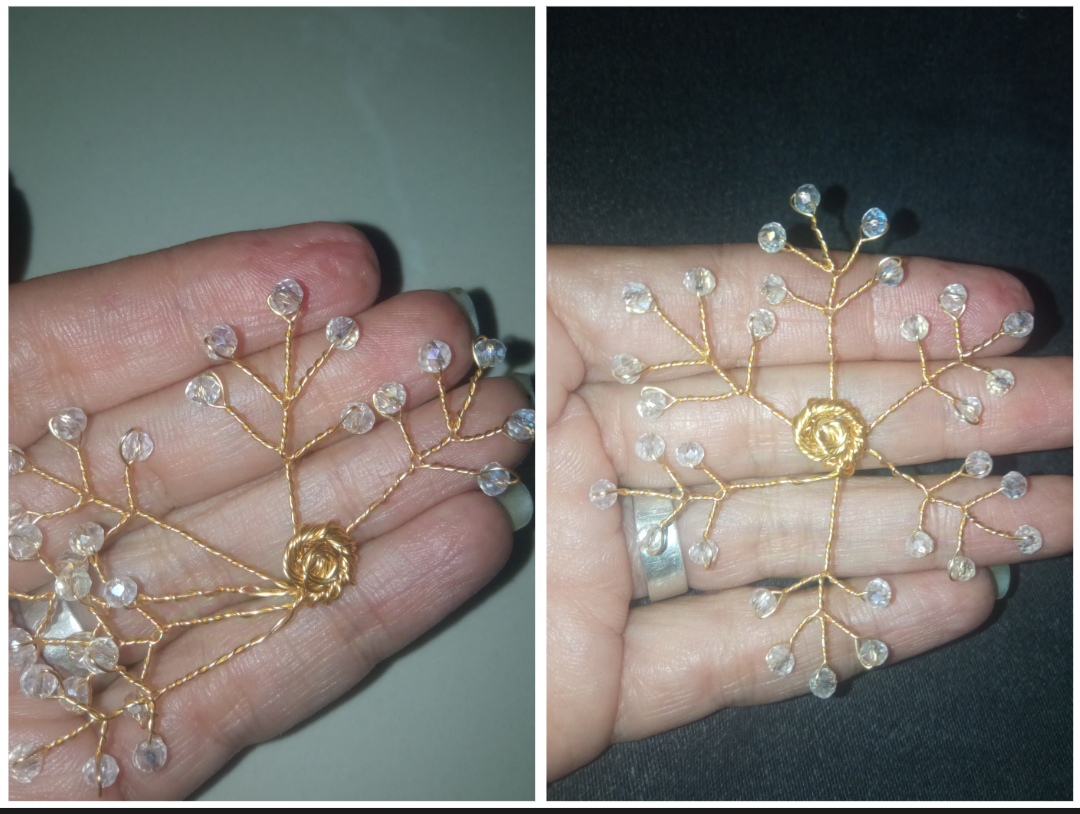
🌟 Step 4: to continue we will separate little by little the 6 pieces in a circular shape giving shape to our cute snowflake ❄️.
And once our piece is ready we will take another piece of the 26 gauge hysteria shoulder and we will introduce it through one of the crystals of any of the pieces the crystal of the upper part and we will make a small ring and then with a piece of 20 gauge wire and we will make a slightly stronger ring and we will hook it in this previous small ring and thus our pendant will be ready just to place it on the chain or rope that we have selected to hang our beautiful elaboration.
Tutorial: Colgante con forma de copo de nieve ❄️
Tutorial: Snowflake pendant ❄️
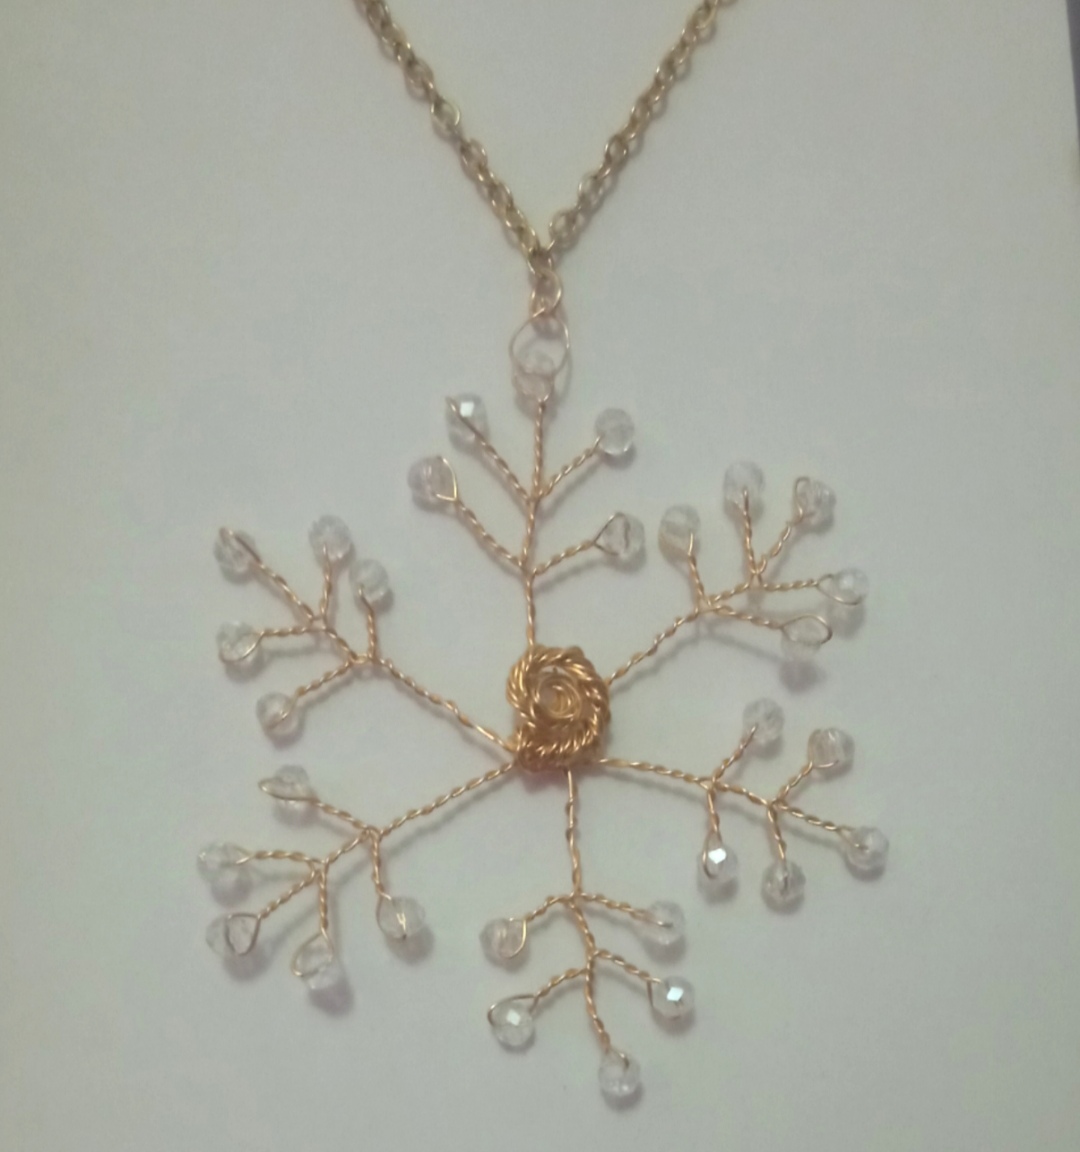

And in this way here so creative and simple we will make a very beautiful pendant ideal to wear this holiday season I also wanted to make it with these clear crystals to wear it with any outfit however you can place crystals yellow green red or any color you want just as beautiful and striking will be.
My dear and appreciated friends are following today's elaboration to share with all of you and I hope it has been to your total liking I say goodbye for this opportunity grateful for your visit.
The content in this publication is completely original and all the photos are my own and were taken with my Redmi 9 cell phone.
Amiga muy bonito tu trabajo a mi me parece difícil pero tu lo haces ver sencillo
Saludos
Gracias amigo, me alegra que te haya gustado 😊.
Saludos
Está precioso este colgante en forma de copo de nieve, no puedo dejar de imaginarlo con una blusa blanca, de lucir elegante y precioso.
Como siempre eres una artista del alambrismo, esa técnica la dominas muy bien. Te felicito
Muchas gracias amiga por tan motivador comentario 😊
Ha quedado muy hermoso, me encanta el diseño 👍🏻