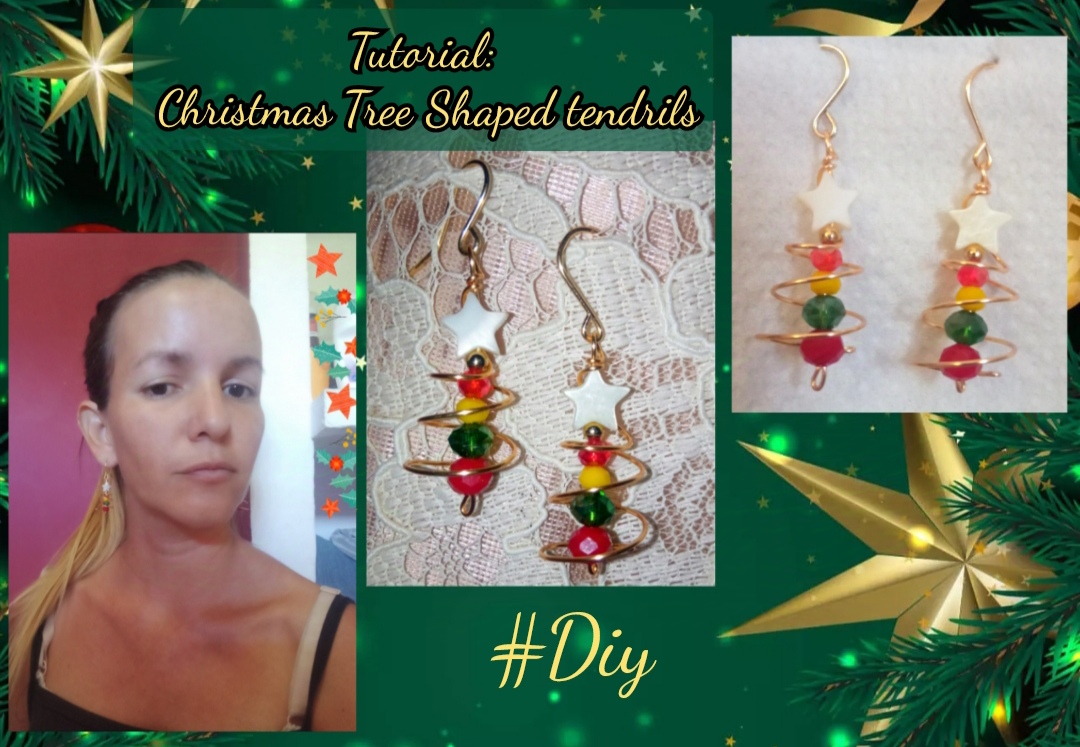
Greetings my dear and appreciated friends, happy and blessed day have all of you, we started the most beautiful and festive month of the year where we celebrate Christmas, and of course in homes decorations and small to make their letters to ask for Christmas gifts.
So I decided this time to mold myself to this celebration and develop a very beautiful tendrils with Christmas motif to which I gave shape of something Christmas..</center
This is a very beautiful colorful design and super easy to make so and at this time I want to invite you to join me in this simple tutorial where step by step we will elaborate these beautiful tendrils. </center
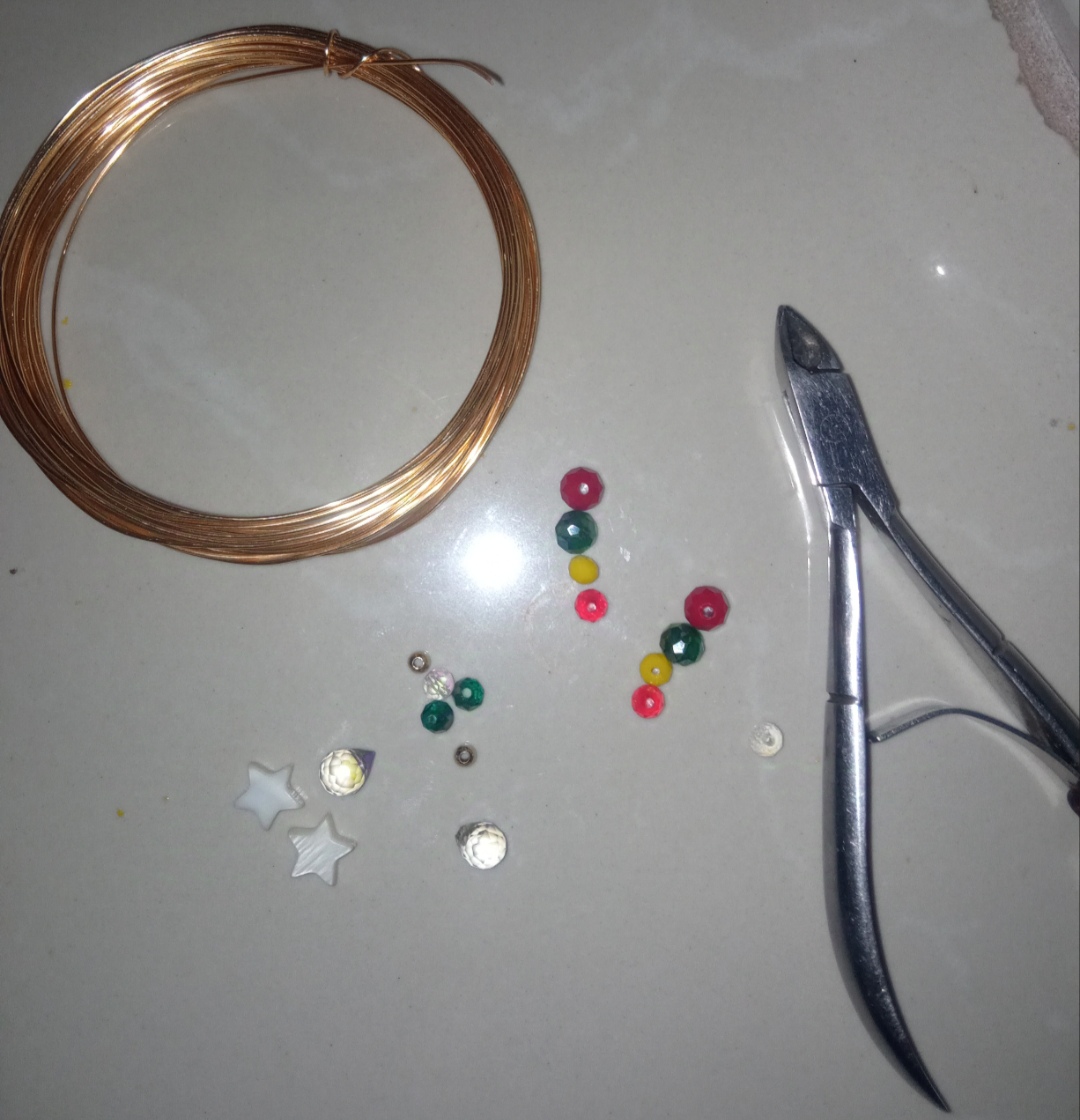
⭐Materials ⭐
- 20 gauge costume jewelry wire
- 26 gauge costume jewelry wire
- Christmas colored crystals (red, green, yellow)
- gold plated ballerinas.
- mother-of-pearl stars.
- costume jewelry clip.
⭐ Step by step
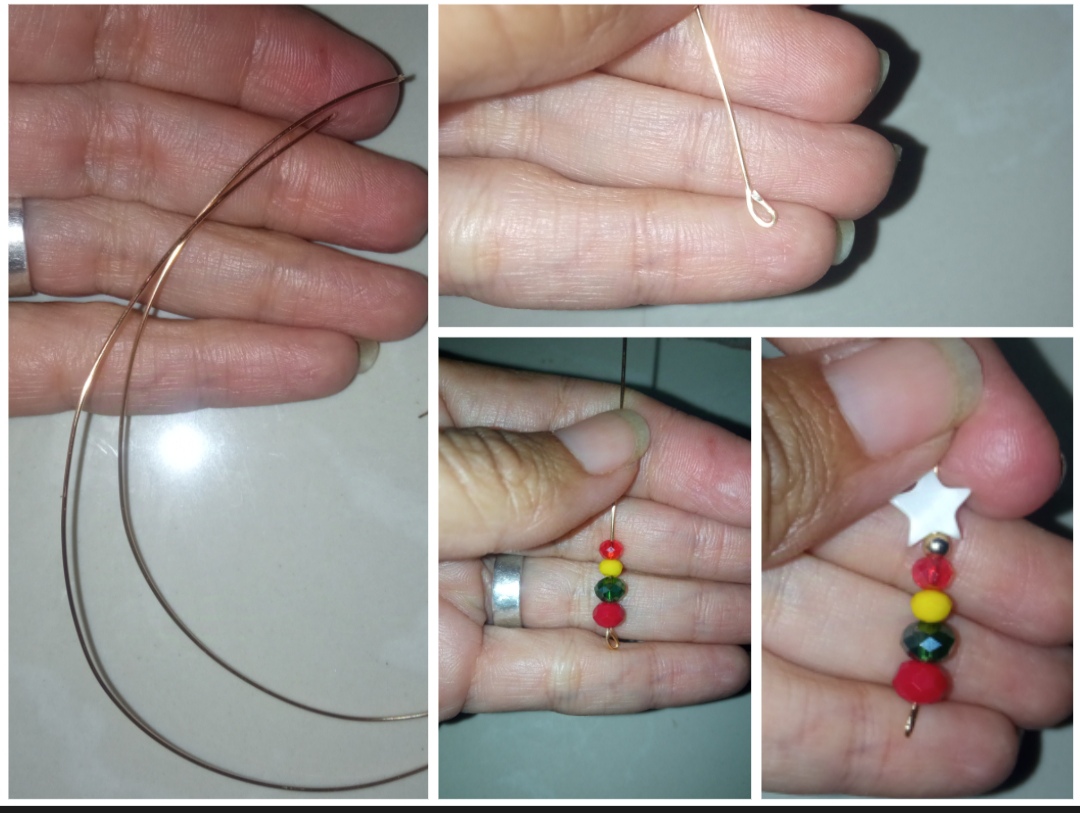
🌟Paso 1: para iniciar la elaboración de este lindo diseño de zarcillos navideños lo primero que debemos realizar es tomar el alambre 20 y cortaremos dos pedazos de 15 cm aproximadamente.
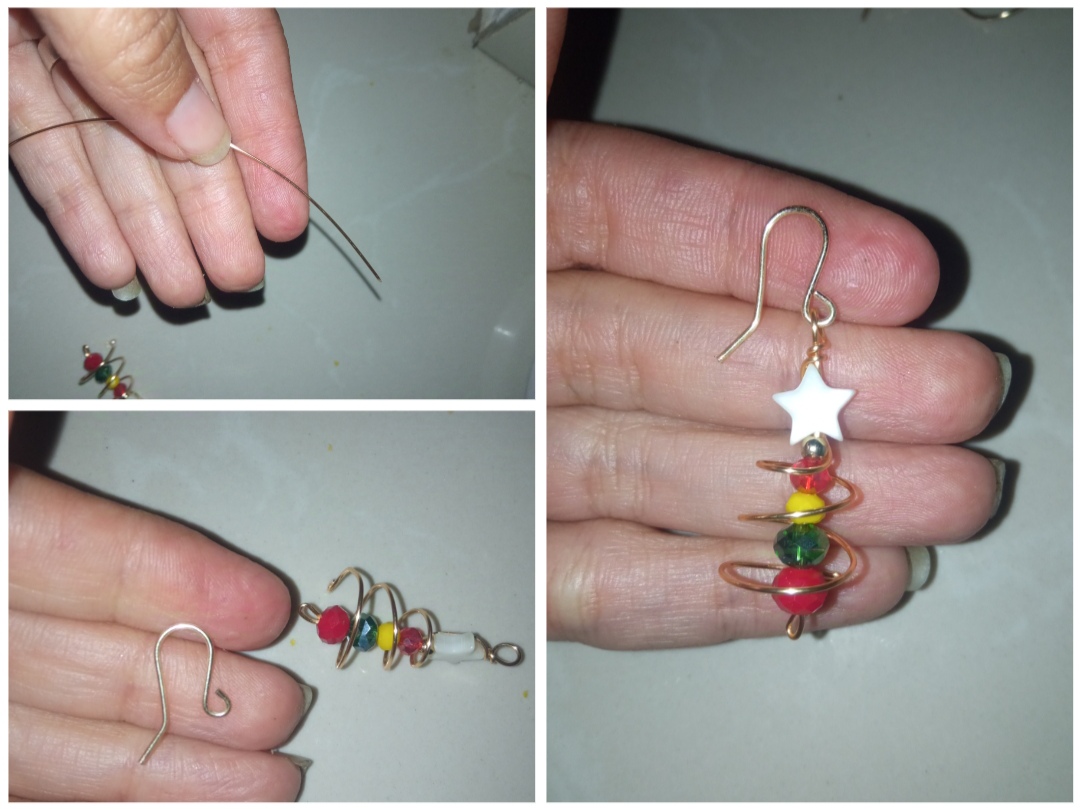
Seguidamente tomaremos la primera hebra de alambre y con ayuda de la pinza de bisutería realizaremos un pequeño doblez en una de sus puntas y por la otra punta introduciremos los cristales que hemos seleccionado en esta oportunidad yo utilicé cristales de distintos tamaños primeramente dentro de unos de tamaño mediano color rojo y luego uno verde y seguidamente introduje unos cristales pequeños amarillos y rojo y encima de ellos introduje un balín dorado y la estrella de naca como pueden observar en las siguientes imágenes.
⭐ Step 1: to start the elaboration of this beautiful design of Christmas tendrils, the first thing to do is to take the wire 20 and cut two pieces of approximately 15 cm.
Then we will take the first strand of wire and with the help of the jewelry pliers we will make a small bend in one of its ends and at the other end we will introduce the crystals that we have selected in this opportunity I used crystals of different sizes first inside some medium size red and then a green one and then I introduced some small yellow and red crystals and on top of them I introduced a golden ball and the star of naca as you can see in the following images.
🌟Step 2: to continue we will take a toothpick and leaning on it we will elaborate a circular ring shape on top of the mother of pearl star lowering the wire giving a couple of turns to shape the ring on top of the mother of pearl star and then we will lower the wire down the back of the star and very gently with our fingers we will mold the wire in a spiral shape stretching it down as you can see in the following images.
We will have a rounded shape surrounding the crystal stones giving a beautiful Christmas tree shape and to close this shape we will bend the tip of the wire as you can see in the images so we will have our Christmas tree base.
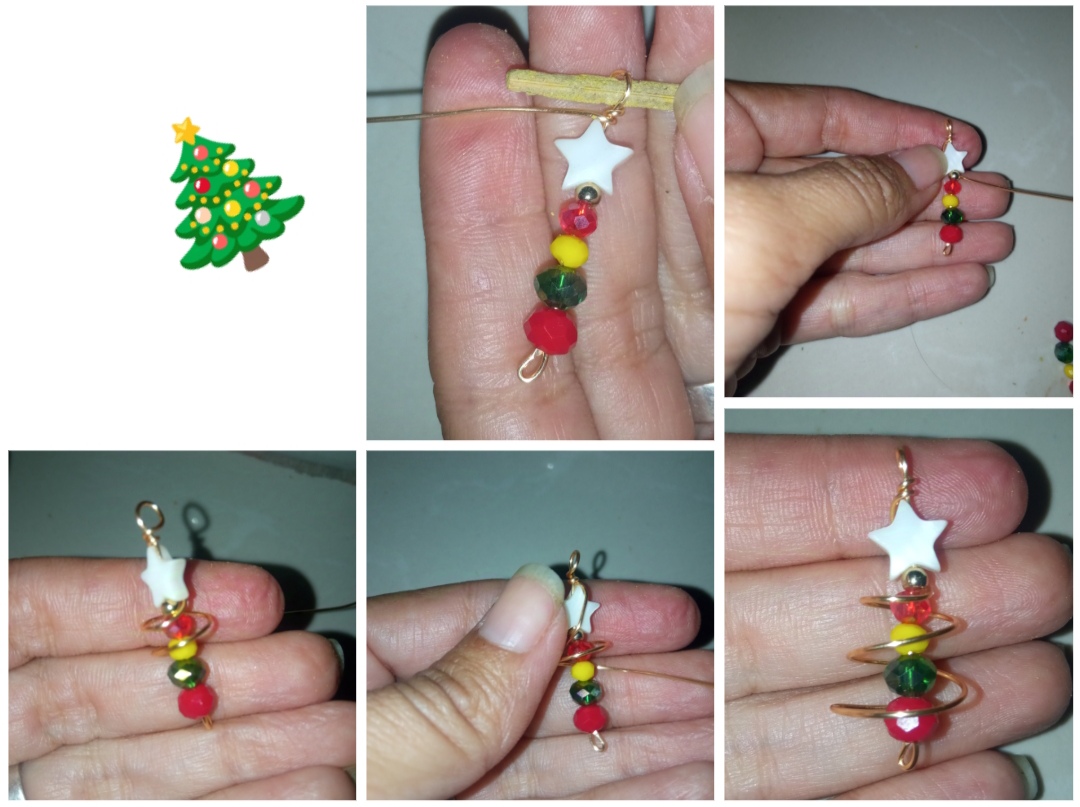
🌟 Step 3: finally we will take a 4 centimeter type of 20 gauge bistery wire and we will shape it as a tendril hook and we will hook it on the top of the ring on top of the mother-of-pearl star.
And so we will give shape to our first piece of tendril and we only have to repeat the procedure to make the pair.
Tutorial: Christmas Tree Shaped tendrils🎄
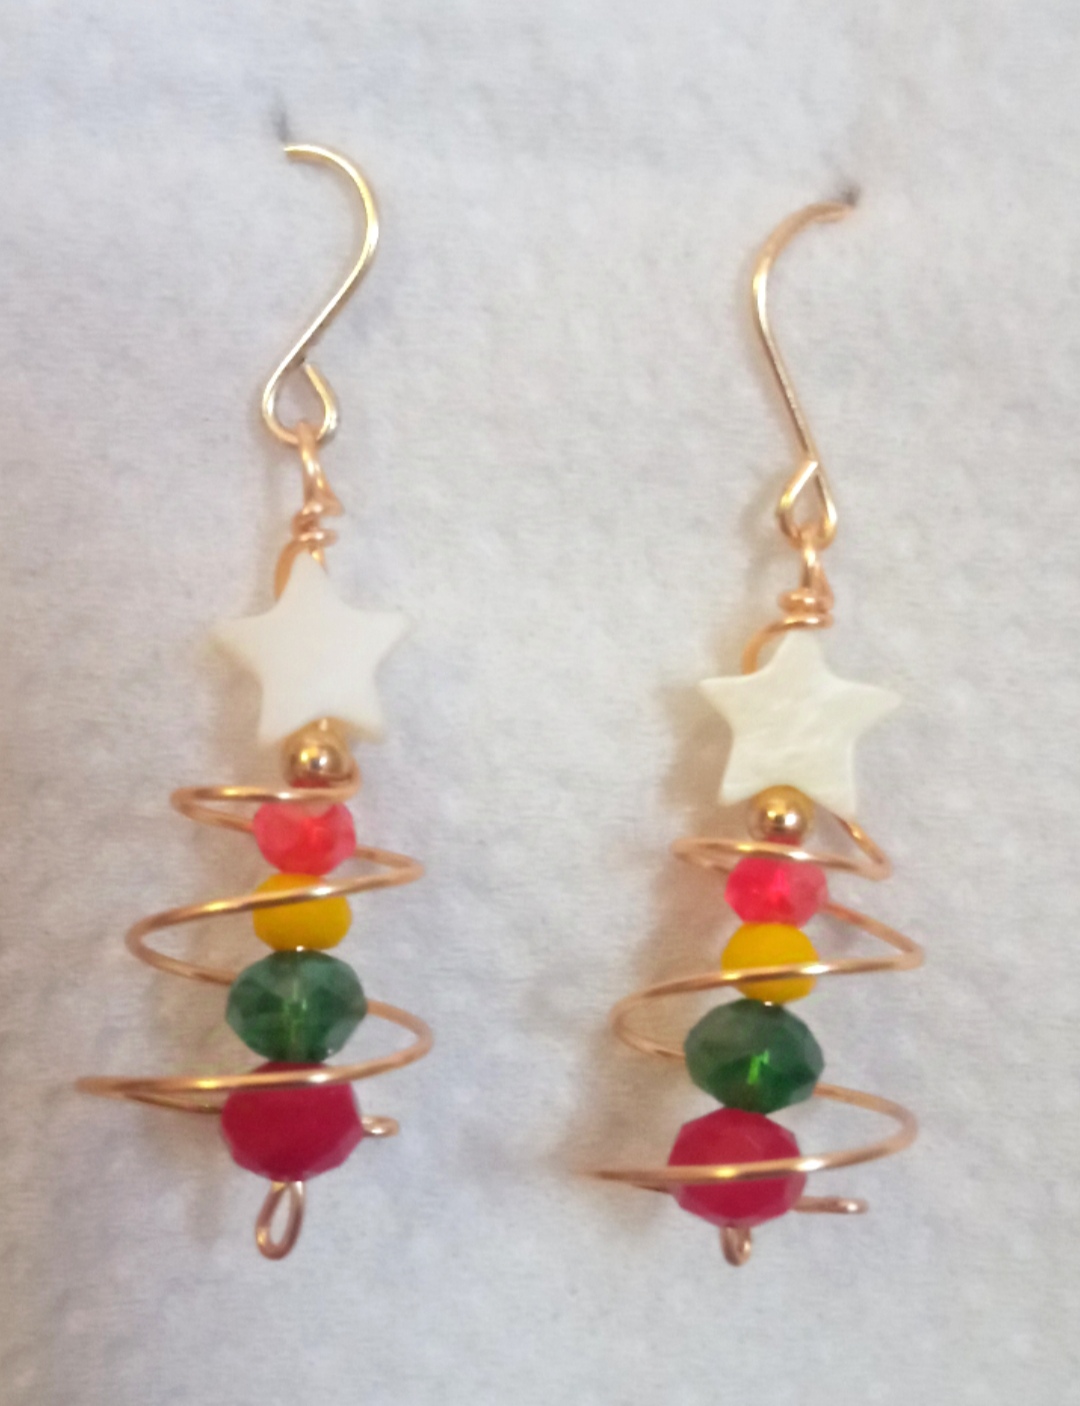

And so my dear and appreciated friends in this simple and creative way between simple steps we can make these beautiful tendrils ideal to wear on this festive occasion or to make a very beautiful detail to a special person.
I hope with all my heart that this elaboration that I have made today for all of you with much affection you want and be pleased and this tutorial can make you useful and profitable I say goodbye until a new opportunity.
The content in this publication is completely original and all the photos are my own and were taken with my Redmi 9 cell phone.
Emma, this is one of the posts I enjoyed the most today, possibly because of the Christmasiness of the central idea, plus you shared an excellent step by step through the photos. Thank you so much for gracing our community with your ideas, we really appreciate them...
Thank you very much, I am very happy with your comment and to know that you value my work, it is a pleasure to share with you all.
Best regards.
Completed tutorial on making awesome Christmas imitations. All in all these earrings look very nice and sleek. Its designs are presented in a smooth manner in every step. Really it is a great art which above all gives a beautiful shape to your ears. Which I love to see.
I'm so glad you liked it.
Thank you very much for your comment ☺️
A truly beautiful work filled with lots of Christmas spirit.
Thanks friend glad you liked it 😊
Hola Emma están bien bonitos me gustan mucho
Gracias, me alegra que te haya gustado 😊
Wow, this is beautiful and original. Thank you very much for sharing this jewelry with Christmas motif on DIYHub, it is a beautiful and pleasing content for the community.
Thank you very much, glad you liked it 😊.
Hermosos zarcillos amiga.
Paz!!
Gracias mi querido amigo.
I am inspired by your creativity. The earrings are so stunning and appealing with those Christmas colours.
!DIY
You can query your personal balance by
@ladyfoth just sent you a DIY token as a little appreciation for your post dear @emmaris! Feel free to multiply it by sending someone else !DIY in a comment :) You can do that x times a day depending on your balance so:!DIYSTATS@emmaris I congratulate you on a beautiful job