Hello dear friends, I hope you are feeling very well, on this occasion I want to share with you a very easy idea that can help us in our art work and also in craft tasks or in the school environment. It is about how to make brushes for painting with few materials and very easy to find, the brushes made by me below are made with 2 main materials that are found anywhere, I made 3 brushes, which vary between them in shape How are the bristles cut since they are for different purposes. Without anything else to add, let's get started!
Hola queridos amigos, espero que se encuentren muy bien, en esta oportunidad quiero compartir con ustedes una idea muy fácil que nos puede ayudar en nuestros trabajos de arte y también en las tareas de manualidades o en el ambiente escolar. Se trata de como hacer unos pinceles para pintar con pocos materiales y muy fáciles de encontrar, los pinceles hechos por mi a continuación están realizado con 2 materiales principales que se encuentran en cualquier parte, hice 3 pinceles, los cuales varían entre ellos en la forma como están cortadas las cerdas ya que son para propósitos distintos. Sin más nada que agregar, comencemos!

 |  | |
|---|---|---|
 | 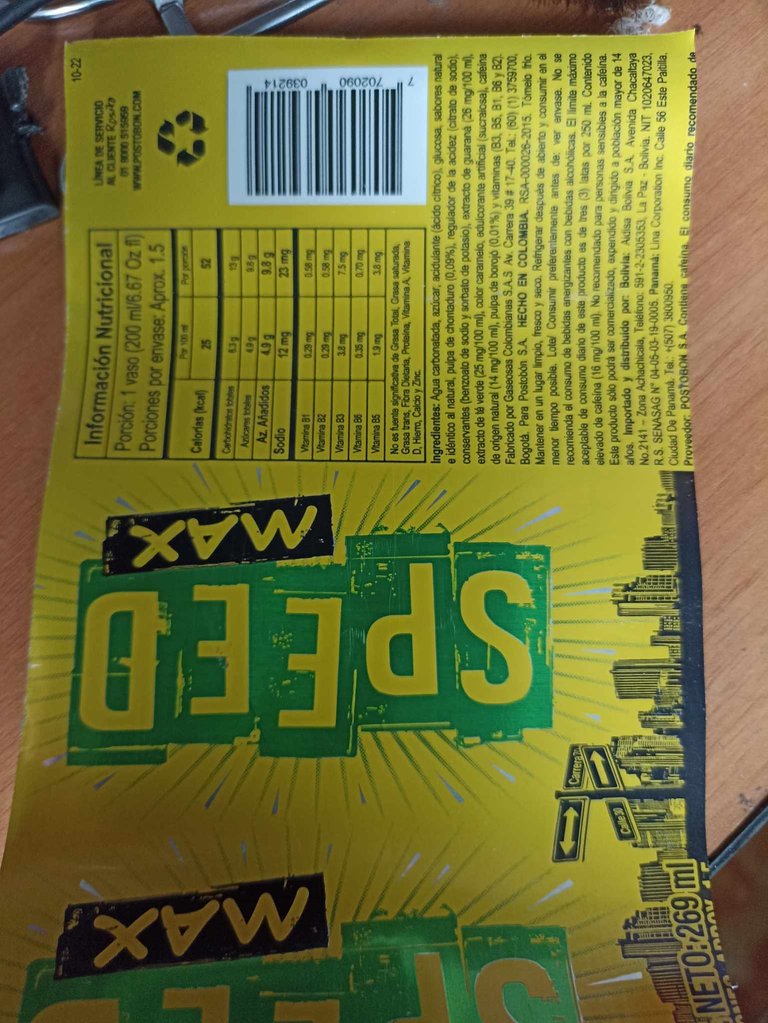 |
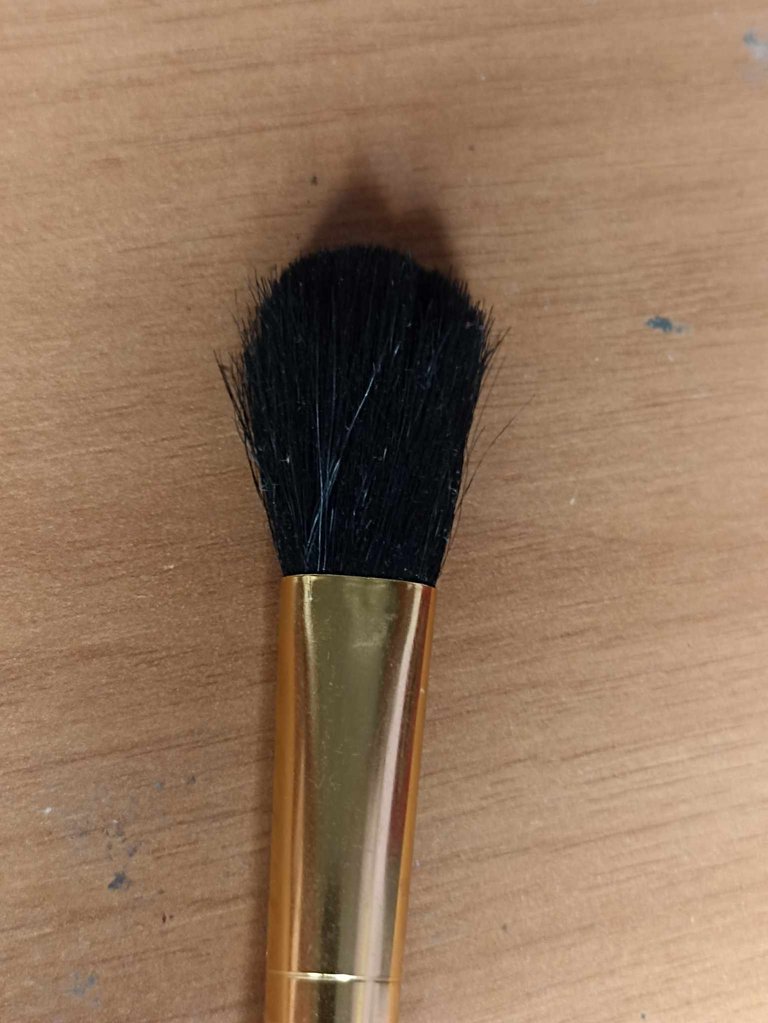
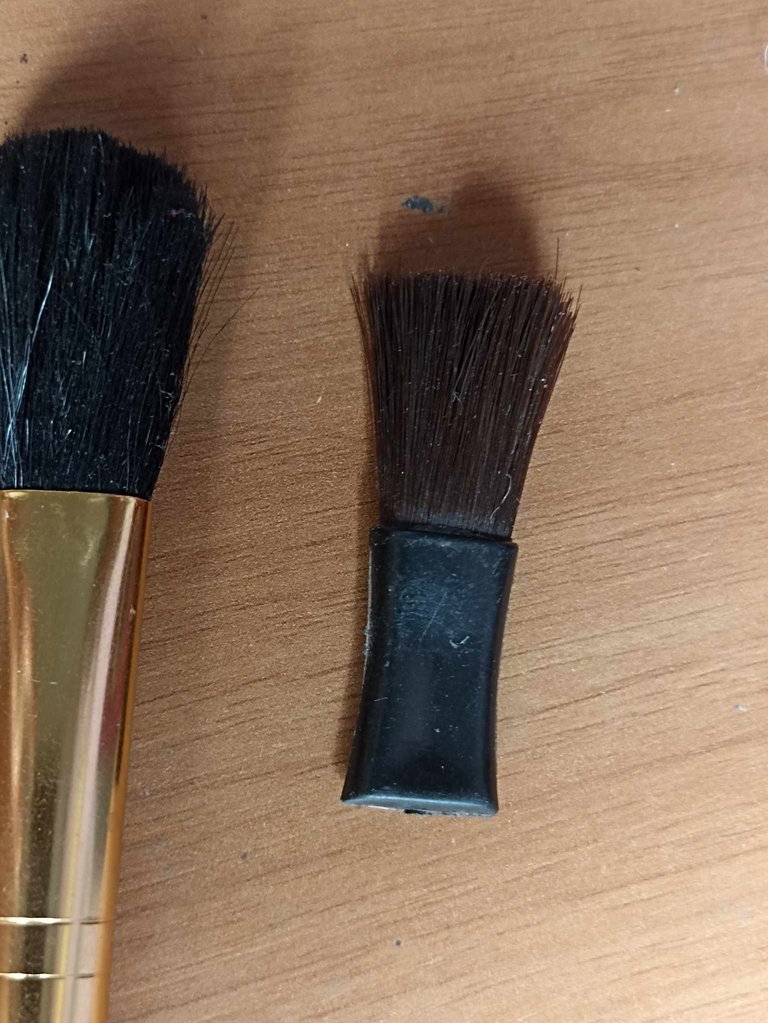
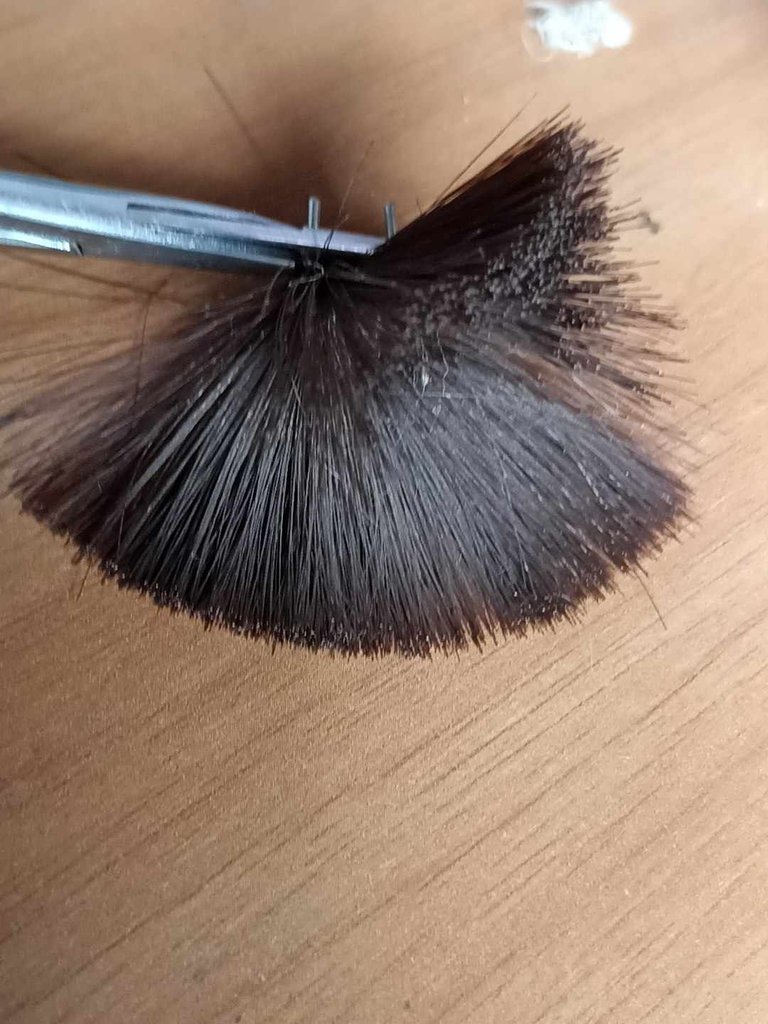
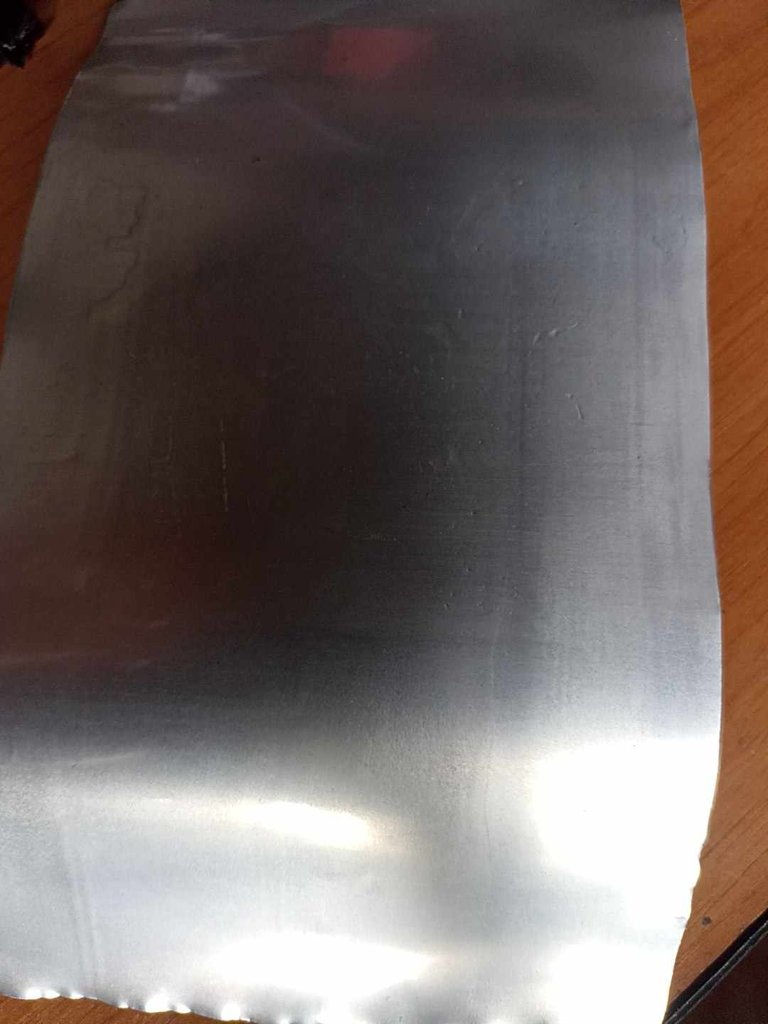
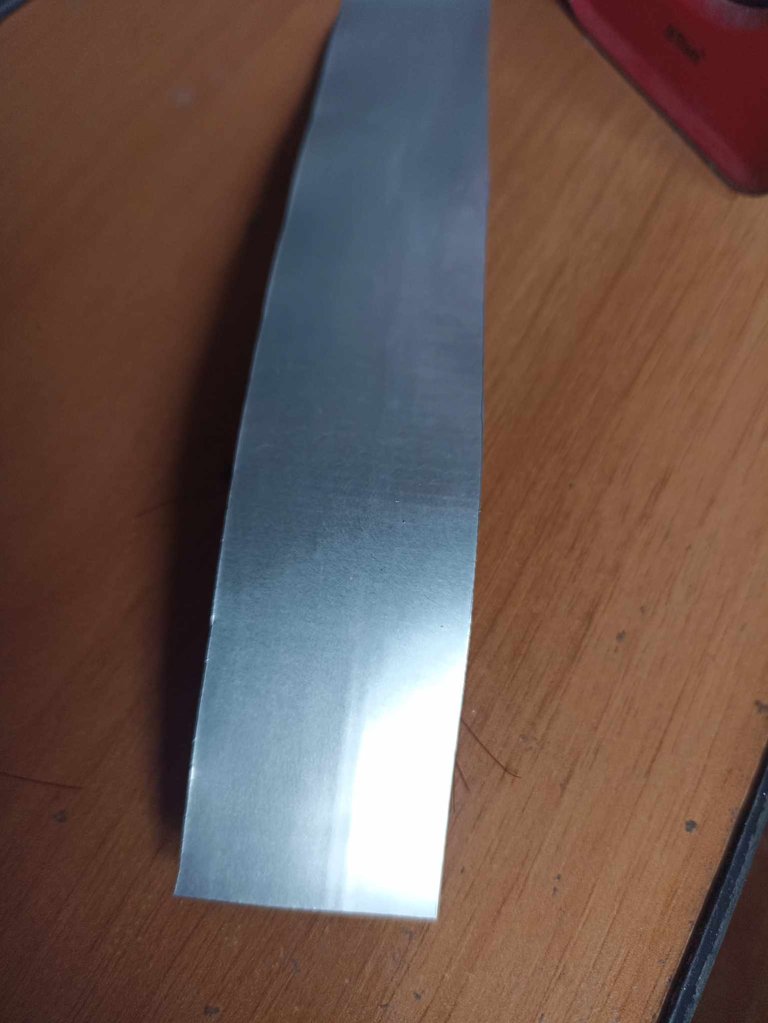
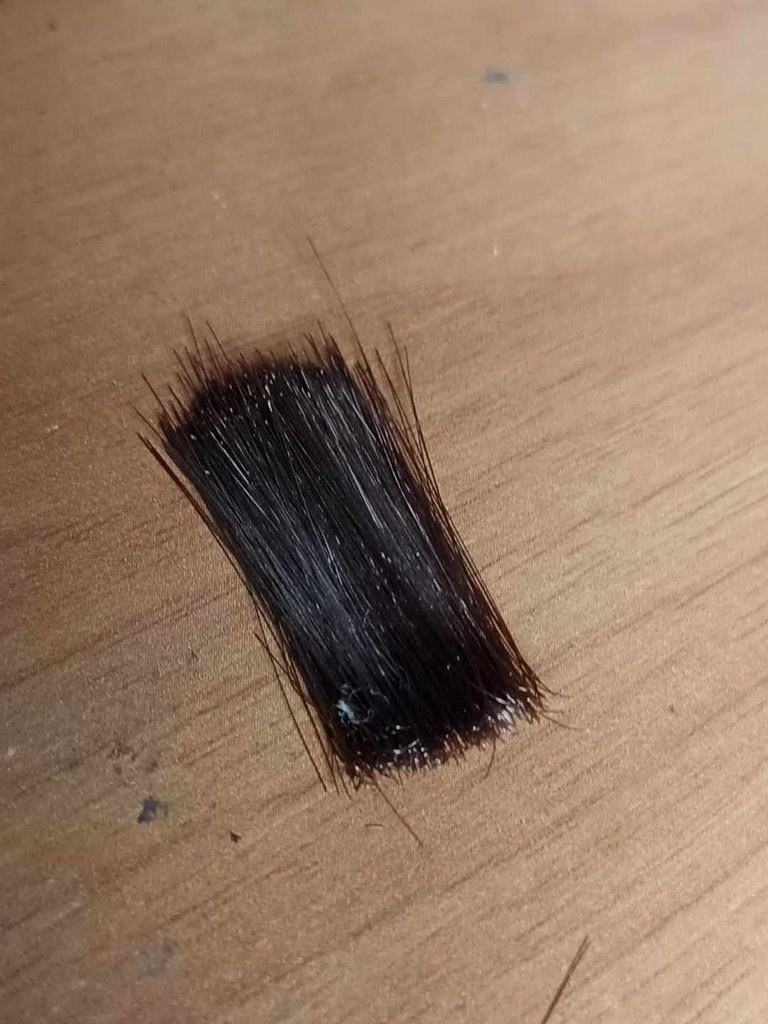
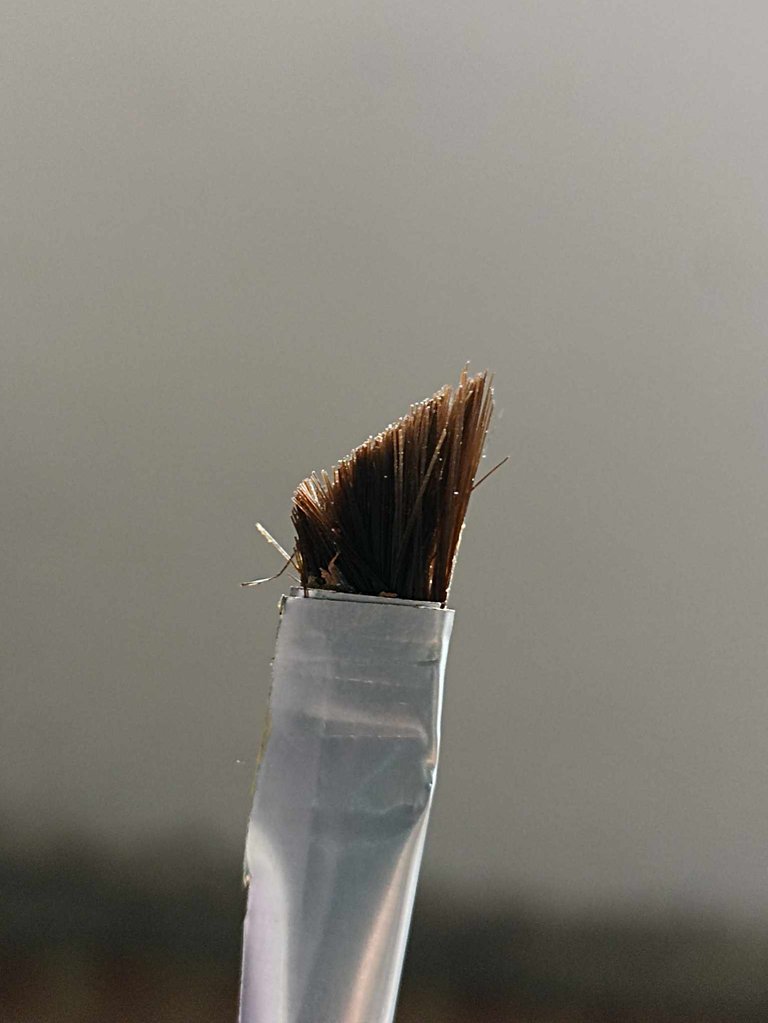
For the bristles I used some old makeup brushes that I found, I disassembled them and extracted all the bristles, I did it carefully so as not to damage them and use the greatest amount, human or animal hair can also be used, I have used goat hair, to make brushes with harder bristles. I also used an aluminum can to make the handle of the brush and the part where the bristles will be placed. I opened the aluminum can and turned it into a sheet from which I took several strips.
Para las cerdas utilicé unas viejas brochas de maquillaje que encontré, las desarme y extraje todas las cerdas, lo hice con cuidado para no estropearlas y utilizar la mayor cantidad, también puede usarse cabello humano o de animal, yo he utilizado pelo de cabra, para hacer pinceles de cerdas más duras. También utilicé una lata de aluminio, para hacer el mango del pincel y la parte donde irán colocadas las cerdas, la lata de aluminio la abrí y la convertí en una lámina de la cual saqué varias tiras.
 |  |  |
|---|---|---|
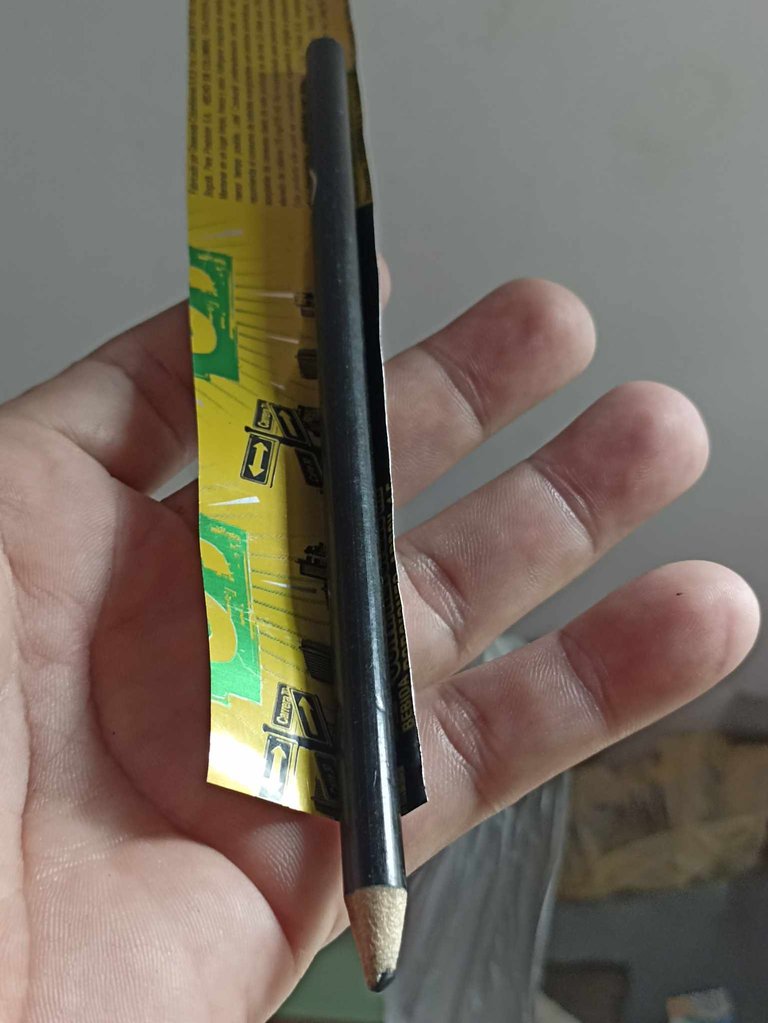 | 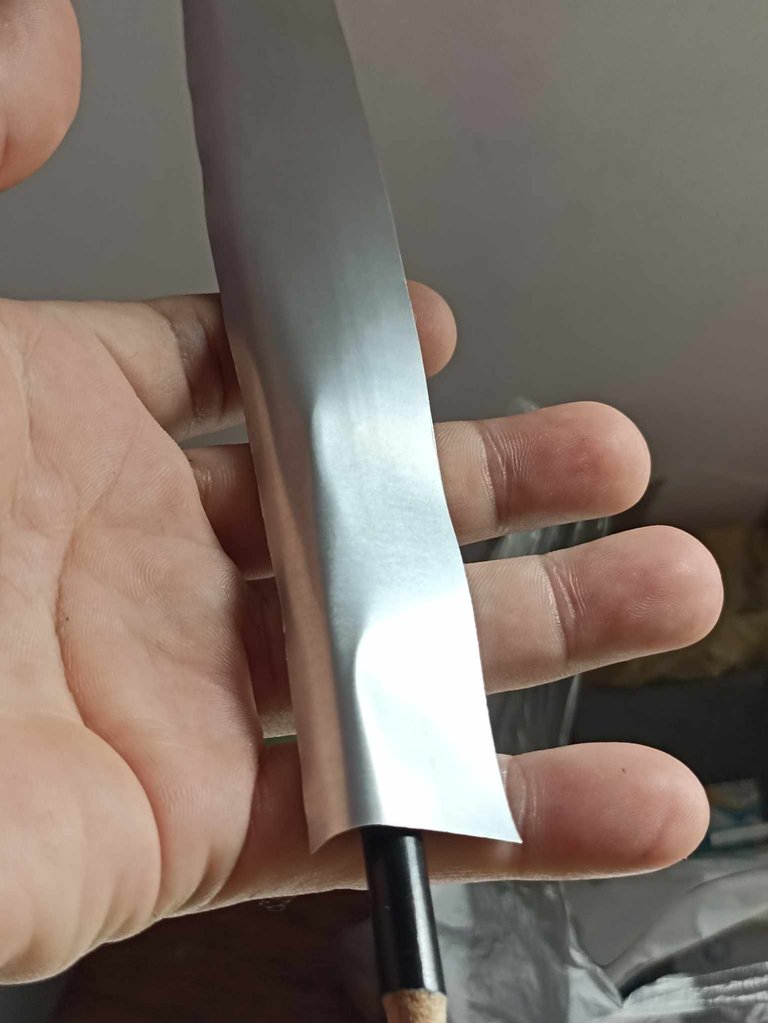 | 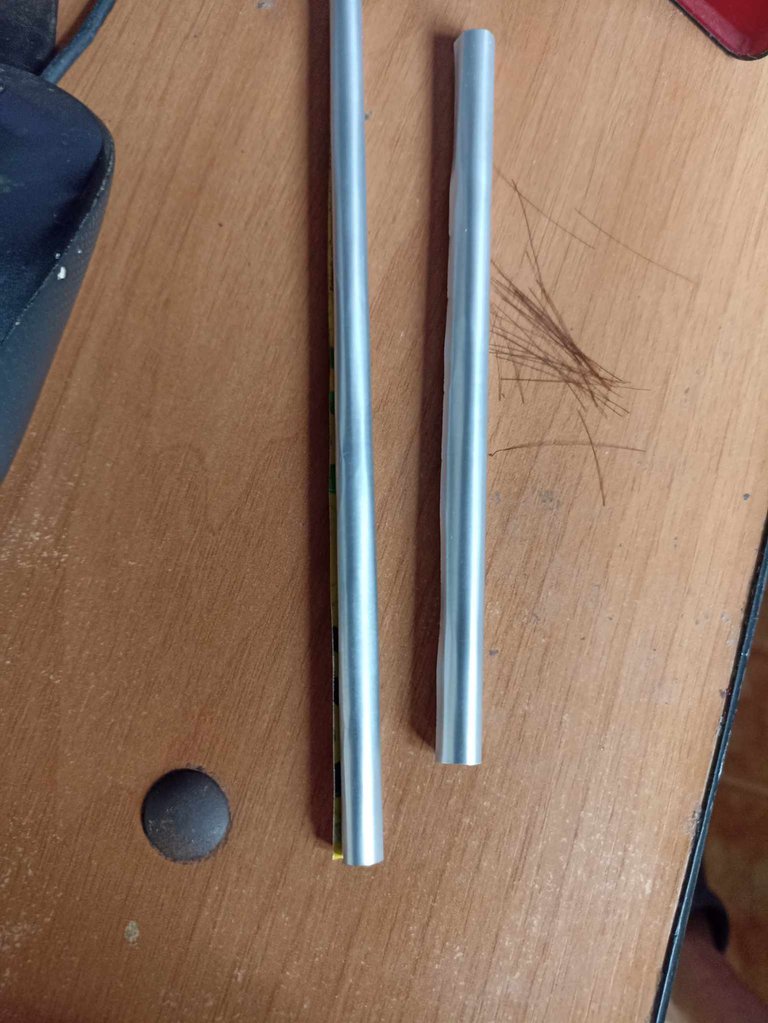 |
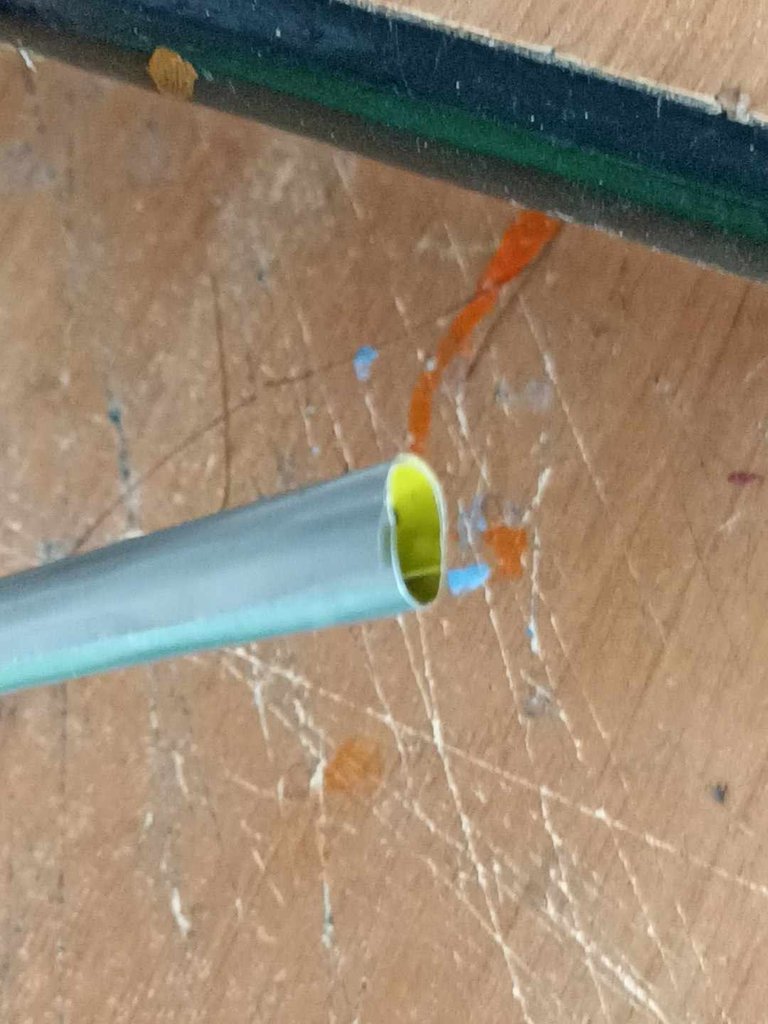
As I mentioned before, I carefully disassembled each of the makeup brushes to remove the bristles, then placed them in a place where there was no movement. Then I took a soda can which I opened with scissors and then cut into strips, I took out 3 strips of 4 centimeters each. With a color I began to shape each of the cans into a tube, it must be done very carefully because the risk of getting hurt is high, preferably you can use gloves to avoid suffering any damage.
Como mencioné antes, cada una de las brochas de maquillaje las desarmé cuidadosamente para sacar las cerdas, después las acomodé en un sitio donde no hubiera movimiento. Luego tomé una lata de refresco la cual abrí con la tijera y luego corté en tiras, saqué 3 tiras de 4 centímetros cada una. Con un color comencé a darle forma de tubo a cada una de las latas, debe hacerse con mucho cuidado porque el riesgo de salir herido es alto, preferiblemente se puede usar guantes para no sufrir algún daño.
 |  |  |
|---|---|---|
 |  |  |
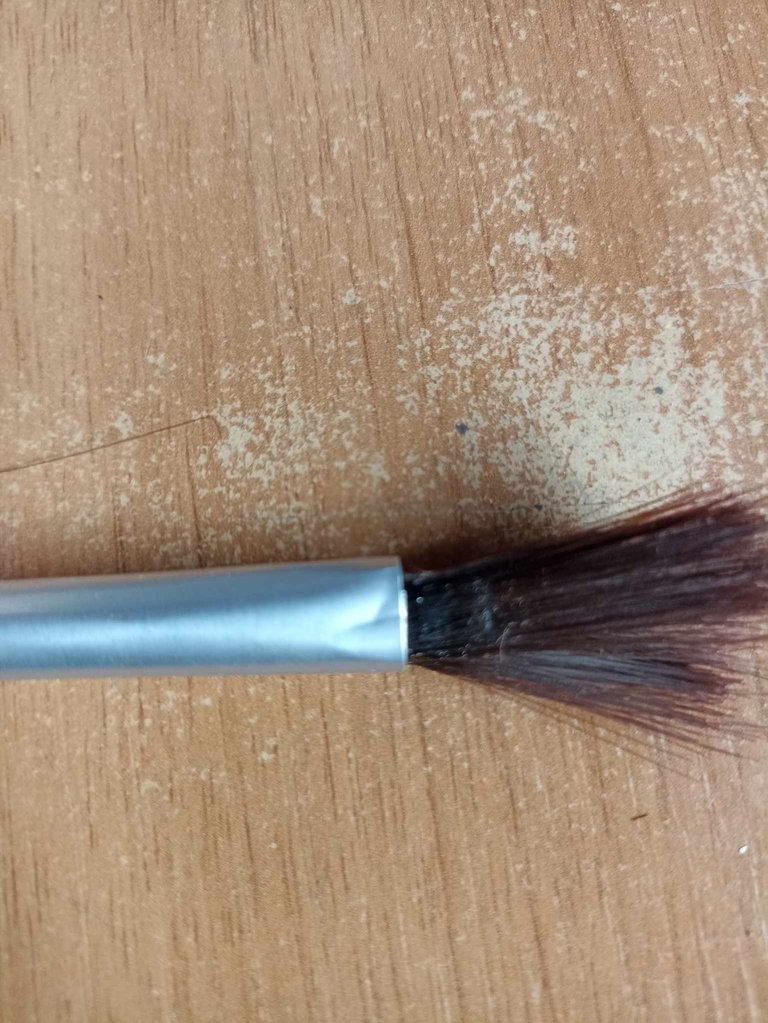
The next step is to assemble the brush, for that we arrange the bristles, we can use a tweezer to arrange it so that it is very uniform. At one end we put glue and let it dry, this will hold all the bristles in place. The next step is to put glue in one of the entrances of the aluminum tube, and in the same way we let it dry for about 10 minutes. Once it has dried, we introduce the bristles into the tube and with tweezers we hold and flatten the aluminum. so that it fits well and sticks
El siguiente paso es armar el pincel, para eso acomodamos las cerdas, podemos usar una pinza para ordenarla de forma que quede bien uniforme. En uno de los extremos ponemos pegamento y dejamos secar, esto hará que todas las cerdas queden sujetadas. El siguiente paso es poner pegamento en una de las entradas del tubo de aluminio, y de la misma forma dejamos secar por espacio de unos 10 minutos, una vez que haya secado introducimos las cerdas en el tubo y con las pinzas sujetamos y aplastamos el aluminio para que quede bien ajustado y pegado.
 |  |  |
|---|---|---|
 | 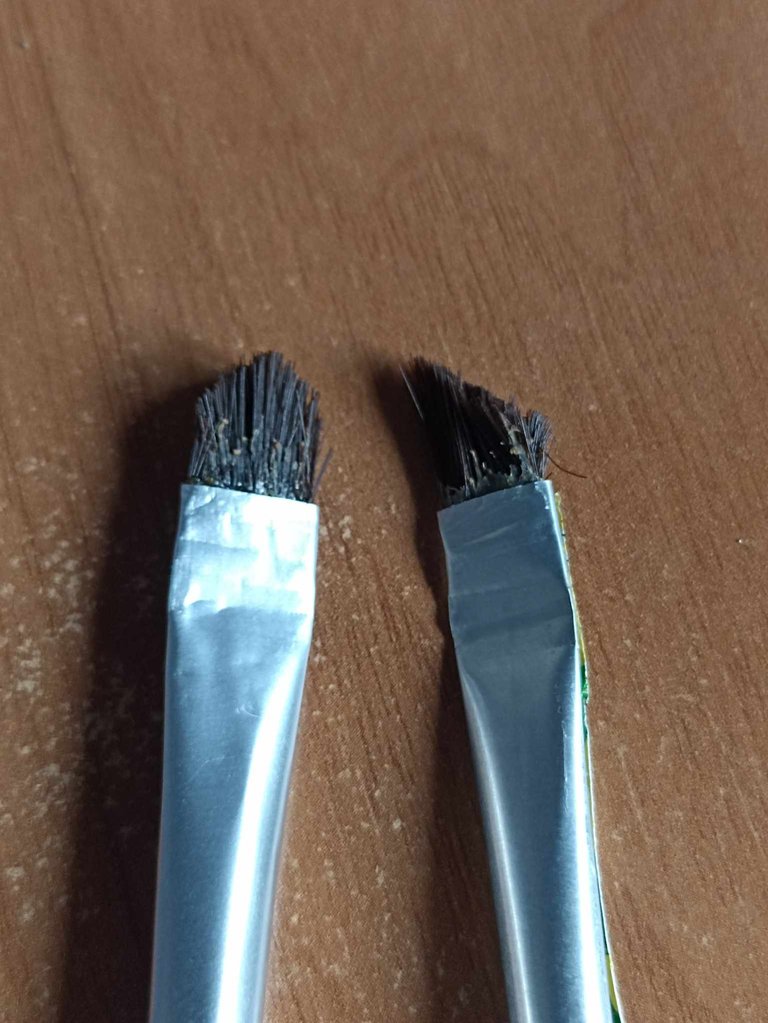 |  |
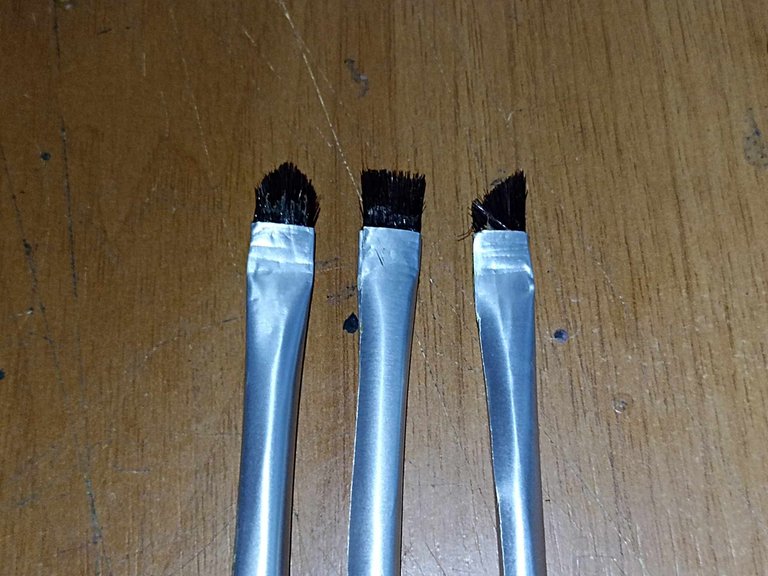
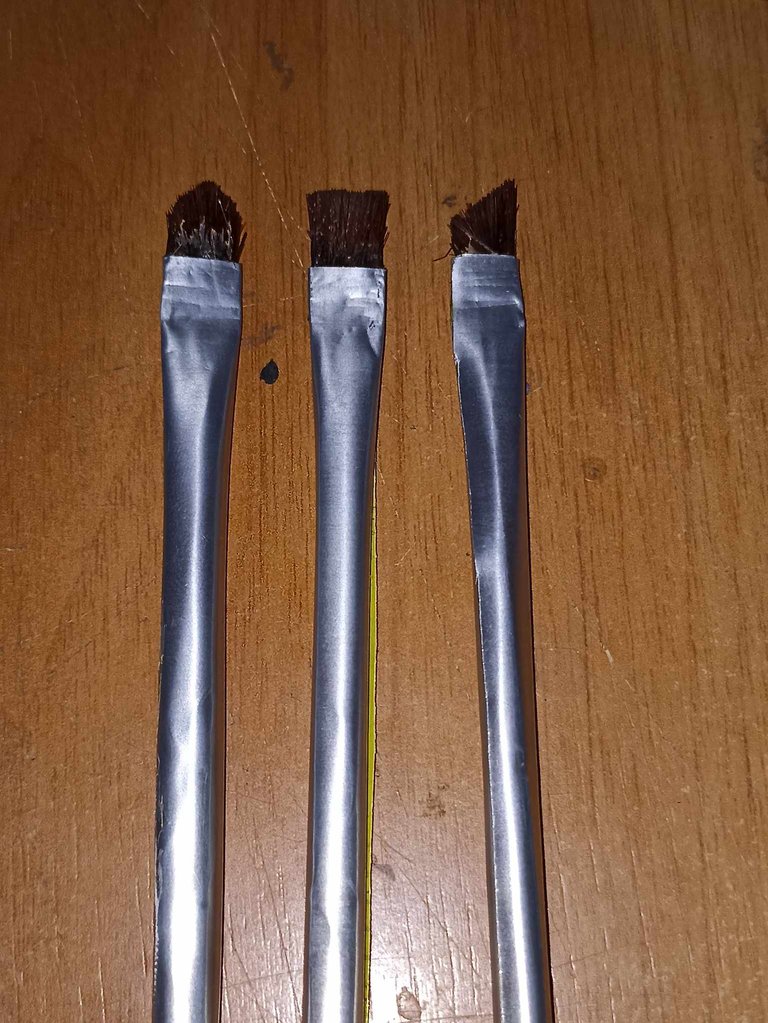
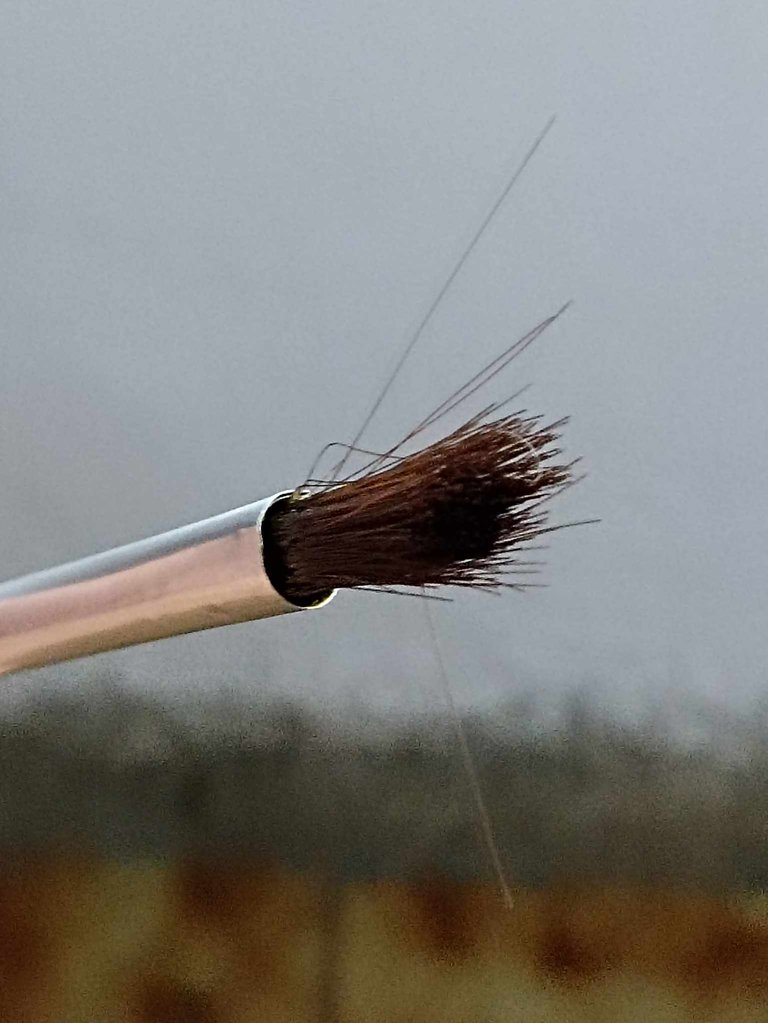
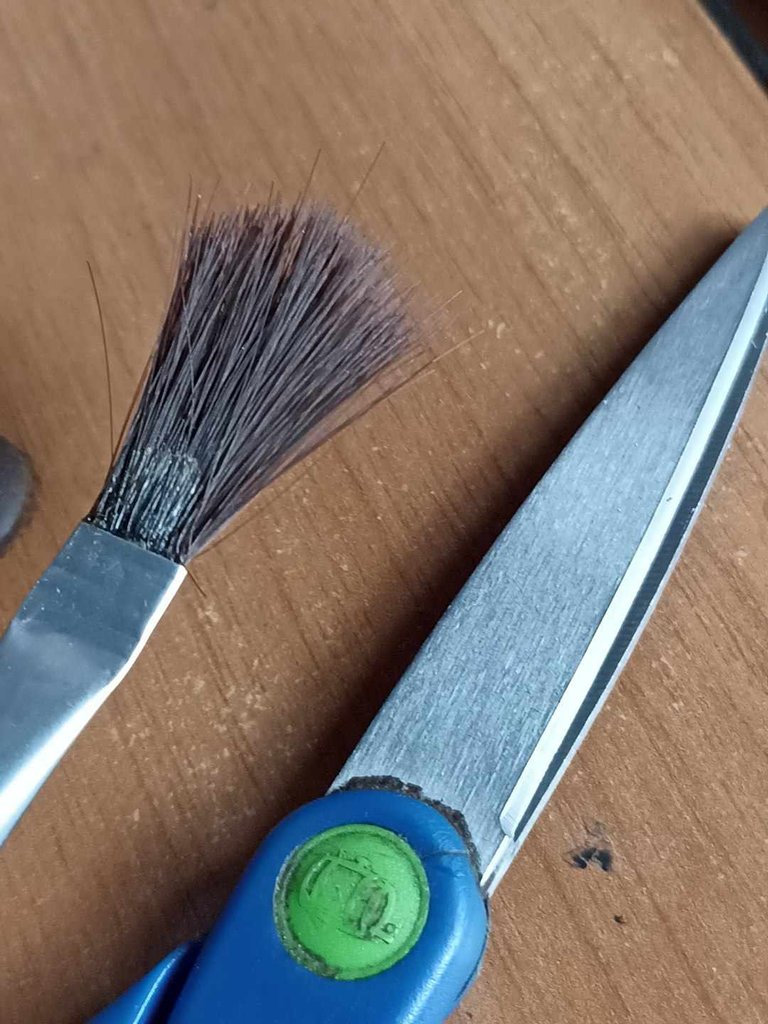
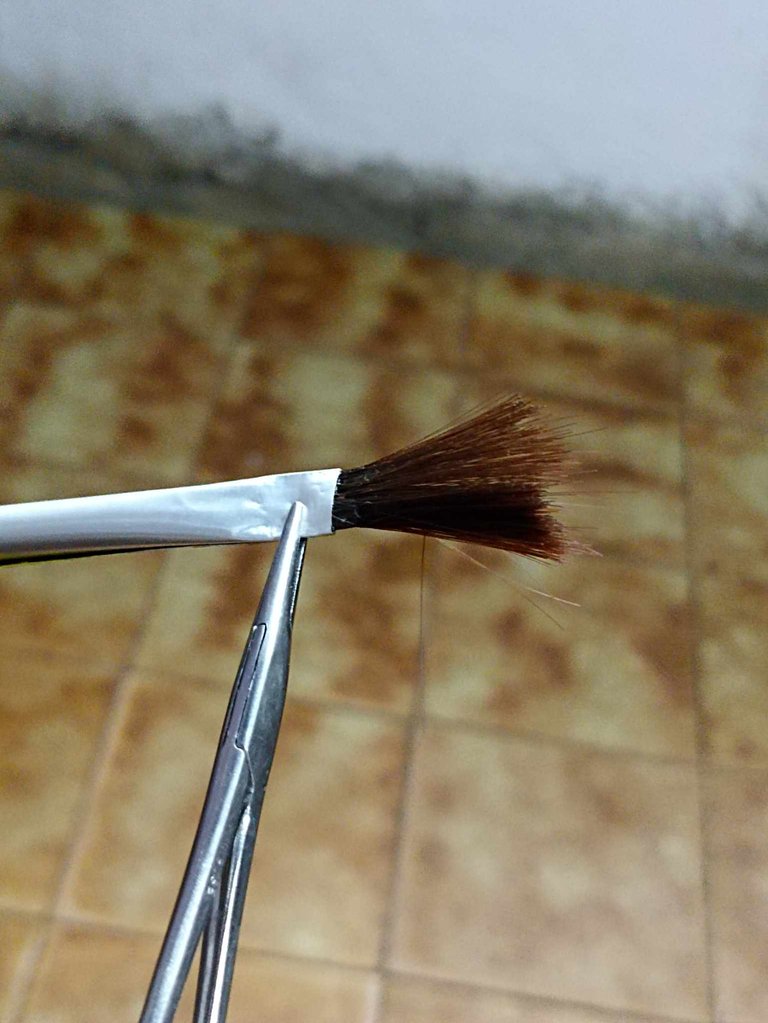
In the same way I am making the rest of the brushes, arranging the waxes and joining them with glue and placing glue in the aluminum tube, after drying, crush it with the tweezers. After having made the brushes I used very sharp scissors to shape the bristles. The first model I made was a cat's tongue brush, widely used in landscaping to create clouds and the depth of the environment, then I made a brush with a side cut, and finally a brush with flat bristles. In this way they were all finished.
De la misma forma voy haciendo el resto de pinceles, ordenando las ceras y uniéndolas con pegamento y colocando pegamento en el tubo de aluminio, después de secado aplastar con la pinza. Después de haber realizado los pinceles utilicé una tijeras muy afiladas para darle forma alas cerdas. El primer modelo que hice fue un pincel lengua de gato, muy utilizado en el paisajismo para hacer nubes y la profundidad del ambiente, después hice un pincel con un corte lateral, y por último un pincel de cerdas planas. De esta forma quedaron todos terminados.
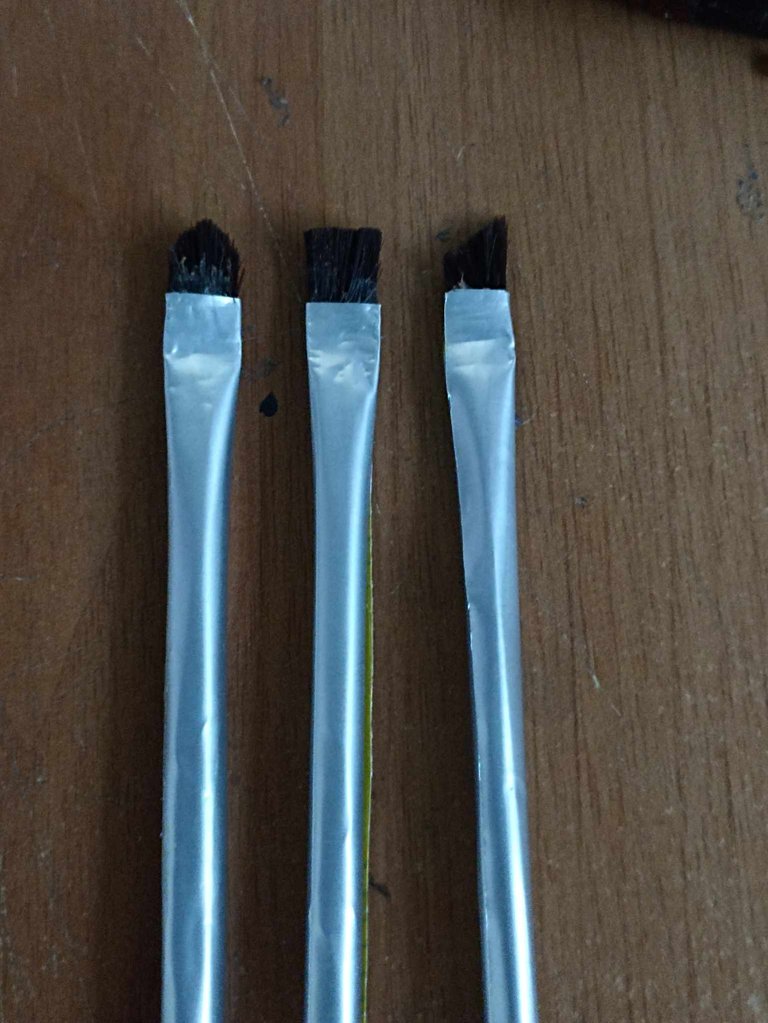
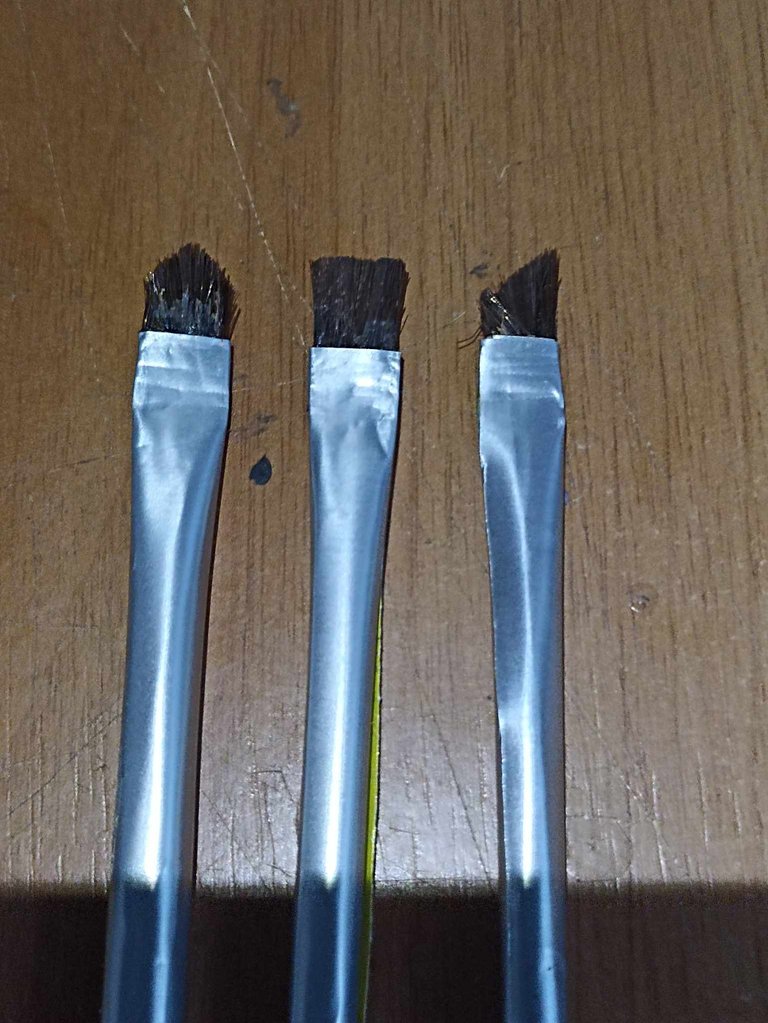
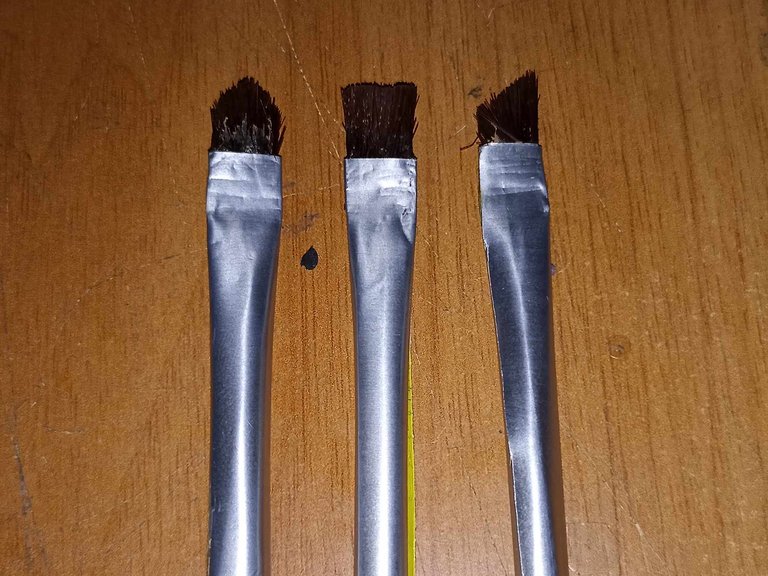
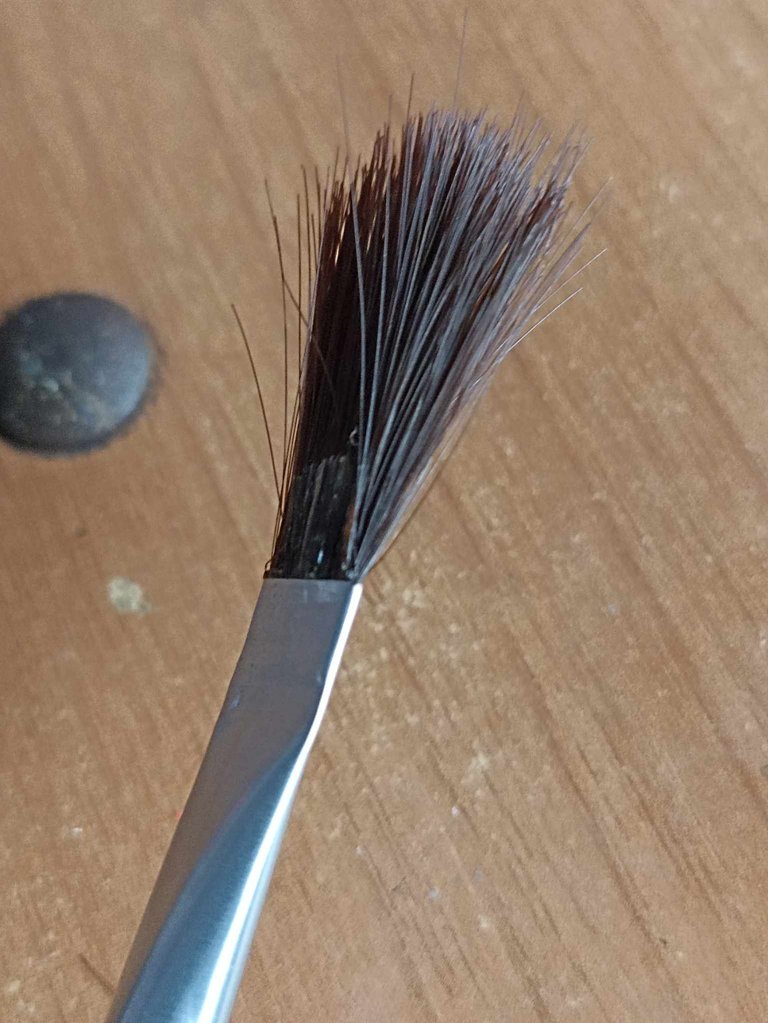
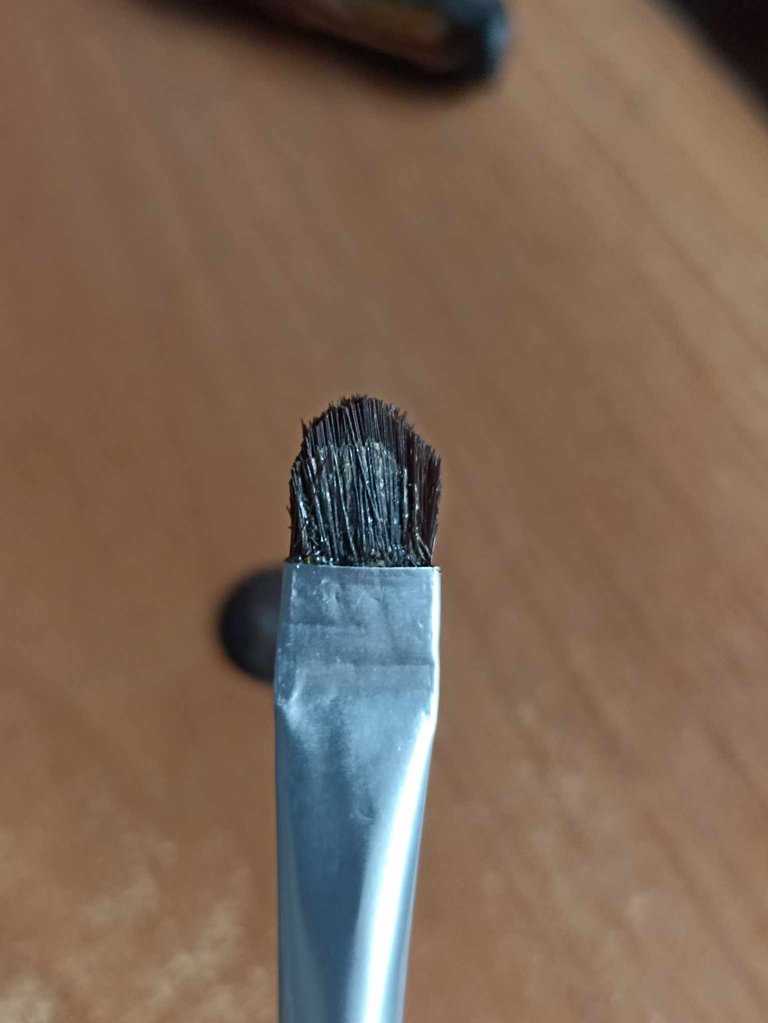
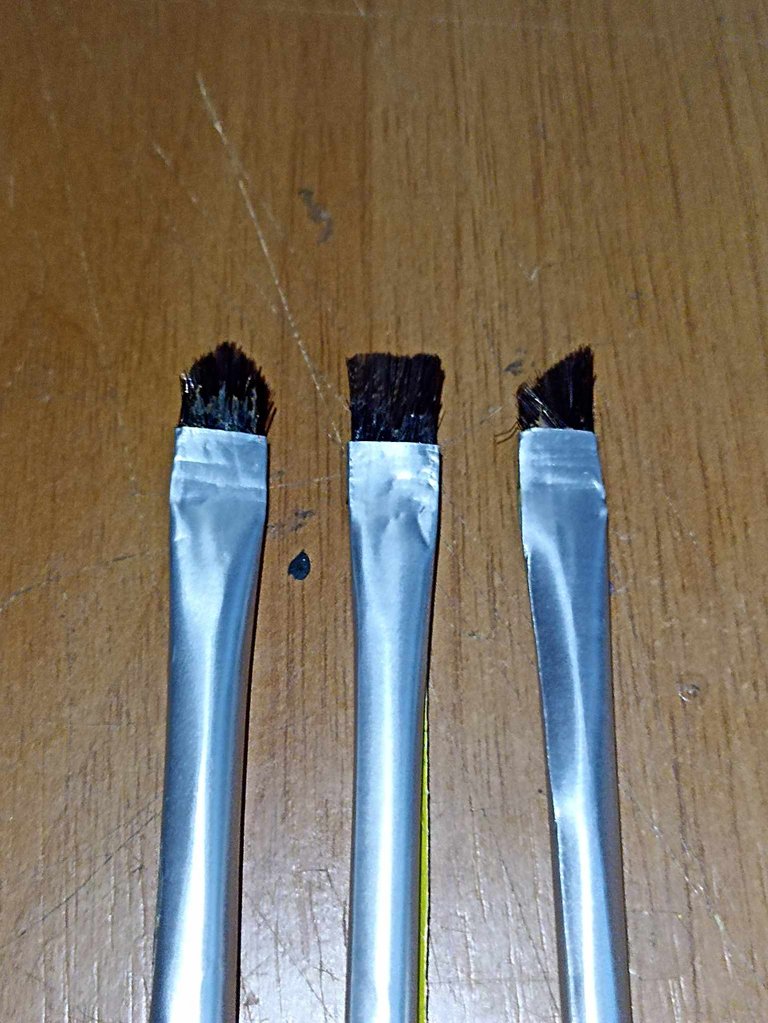
The flat bristle brush is widely used to apply the first layers of paint, when a base is going to be used, also when one wants the brush stroke to be well marked. The brush with a side cut is often used by me when I paint landscapes, especially when there are mountains and rocks. I made these brushes because I needed them, in addition to the fact that the bristles seem very soft to me and will serve many purposes, I have also used goat hair before, and I like to use it on those brushes where I want the bristles to be hard and rough. I hope you liked my contribution, I did it with all the best intentions in the world to share something useful for all those friends who like to paint and make crafts, just like me. It has been a pleasure to share with you, I say goodbye see you soon.
El pincel de cerdas planas es muy usado para dar las primeras capas de pintura, cuando se va a utilizar una base, también cuando uno desea que la pincelada quede bien marcada. El pincel con corte lateral es muy usado por mi cuando pinto paisajes, especialmente cuando hay montañas y rocas. Hice estos pinceles porque los necesitaba, además de que las cerdas me parecen muy suaves y me servirán para muchos propósitos, el pelo de cabra tambien lo he usado antes, y me gusta usarlo en aquellos pinceles donde quiero que la cerda sea dura y áspera. Espero les haya gustado mi aporte, lo hice con toda la mejor intención del mundo de compartir algo útil para todos aquellos amigos que les gusta pintar y hacer manualidades, así como yo. Ha sido un gusto compartir con ustedes, me despido hasta pronto.
Me encantó ésta idea, está super creativa y original. Muchas gracias por explicar el proceso de forma tan detallada... Un saludo, feliz comienzo de semana. @fixie
Muchas gracias por pasar me alegra que te haya gustado la idea, es una forma sencilla de reponer aquellos pinceles que a veces se dañan con el uso continuo. Feliz comienzo de semana para ti también!
Wow what a great idea of making this at ease for you without stressing yourself... I love the idea you use to do this
It's a great idea, especially to improvise in those moments where our brushes get damaged.
That was a good step to take, you did great
This is great! What a fantastic upcycling project!
!BEER
!LOLZ
Thank you very much, this is a very useful idea to improvise in those moments when our brushes break down.
lolztoken.com
Norse Code.
Credit: reddit
$LOLZ on behalf of phoenixwren
(1/1)
PLAY & EARN $DOOM
@fixie, I sent you anView or trade
BEER.BEERHey @fixie, here is a little bit of from @phoenixwren for you. Enjoy it!Learn how to earn FREE BEER each day by staking your
BEER.!discovery 30
thanks for the support!
This post was shared and voted inside the discord by the curators team of discovery-it
Join our Community and follow our Curation Trail
Discovery-it is also a Witness, vote for us here
Delegate to us for passive income. Check our 80% fee-back Program
I really appreciate the support
Guaoooo que idea tan maravillosa, lo hace ver tan fácil de realizar, y lo primordial es muy práctico. Maravilloso
Super últi, para esos momentos donde los pinceles se terminan.
Hacer tus propias herramientas les da mayor valor, es en parte reciclaje y tu economía se mantiene en un límite bastante aceptable.
Mucho se puede ahorrar con esta improvisación
Que bien , buena idea😆
muy buena idea, además de que puedes darle la forma que mas te guste y se adapte a tus necesidades