English
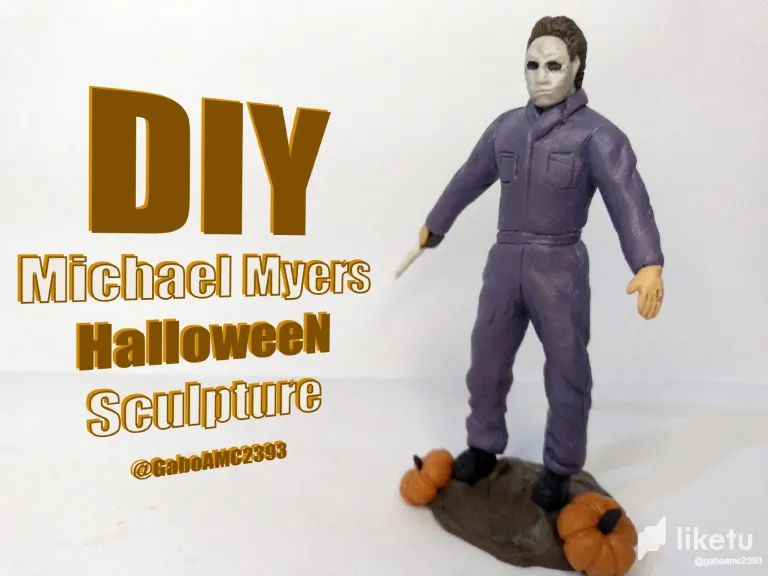
Greetings to all, friends lover of art and crafts. One of the most emblematic characters of the horror world is a slasher named Michael Myers, an emblematic character of the movie Halloween.
Thinking about the theme of this month's contest of the community, I thought it was a good idea to make a representative sculpture of the character.
You can read more about the contest by following this link:
https://peakd.com/hive-189641/@diyhub/concurso-especial-del-mes-halloween-con-liketu-gana-hasta-300-hive
Step by step
To make this sculpture I used the materials that I always use, such as plasticine, wire, wooden sticks, pins and knitting needles.
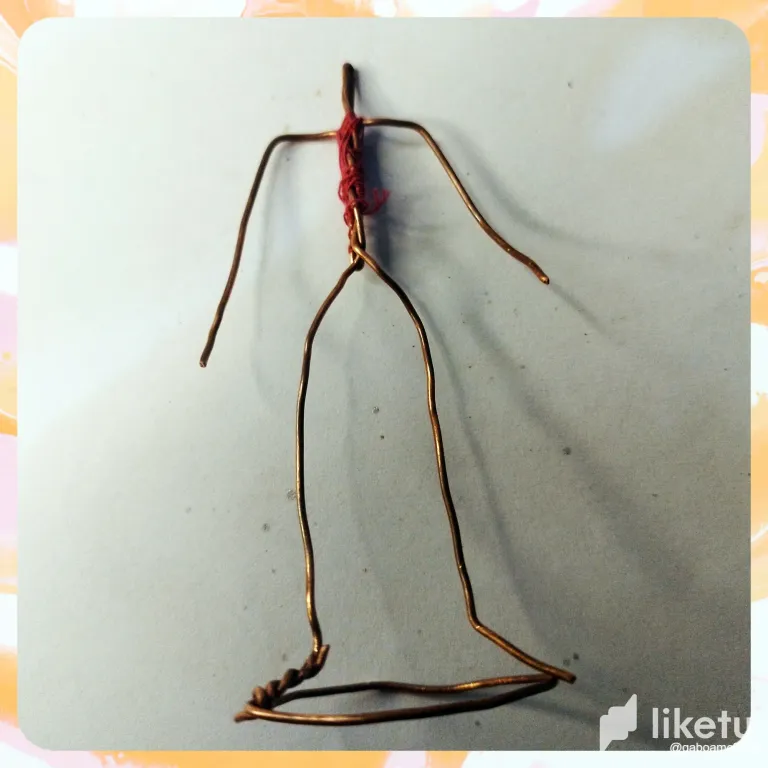
The first thing I did, as you can see in the first image of the step by step, the first thing I start working with is the support of the sculpture, although this is a static and stable piece, I still used a complete wire skeleton so that the sculpture does not move to any side.
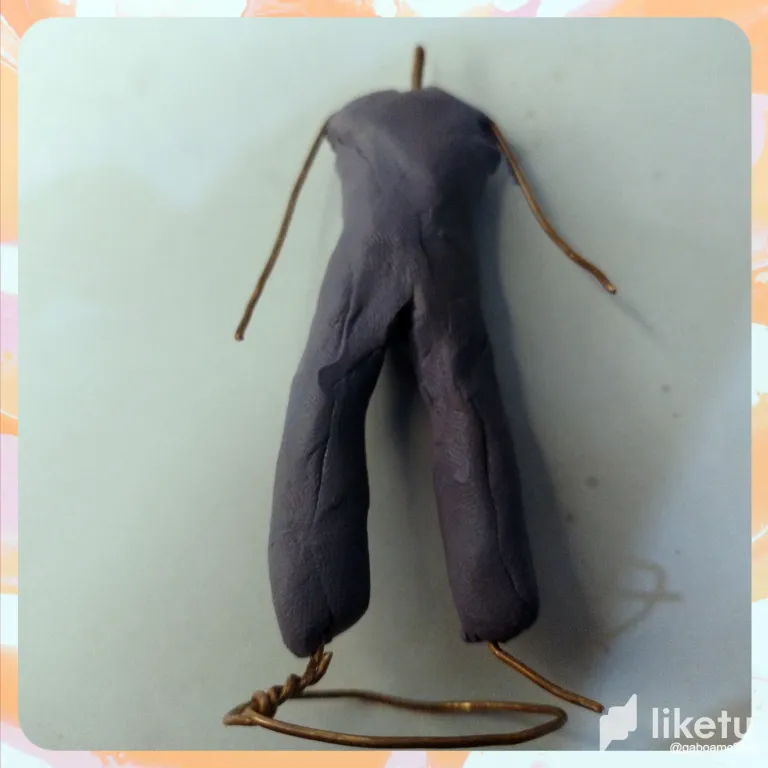
Later I used a light purple plasticine to make the body of the character. Michael is usually dressed with a panty of this color, so I decided to use the color in the plasticine instead of painting it, so it would be easier to keep certain details that I will show you later.
So, I started to cover the whole wire skeleton with the plasticine of the mentioned color, as you can see in the second step by step image.
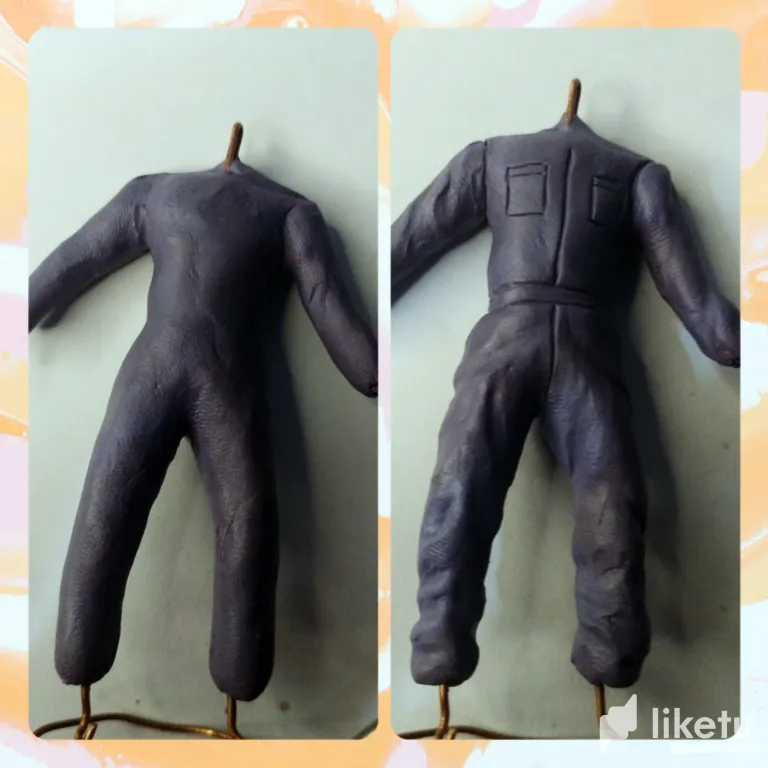
The next thing was to start molding the panty, to try to give it the most similar shape to the robust body of the character, adding details such as the folds of the clothes, which are not quite easy to achieve considering how soft the plasticine is.
Similarly, at this point I used a small pin to make lines along the clothes, to create the seams of the panties and give it a more realistic appearance.
You can see this process in step-by-step photo number three.
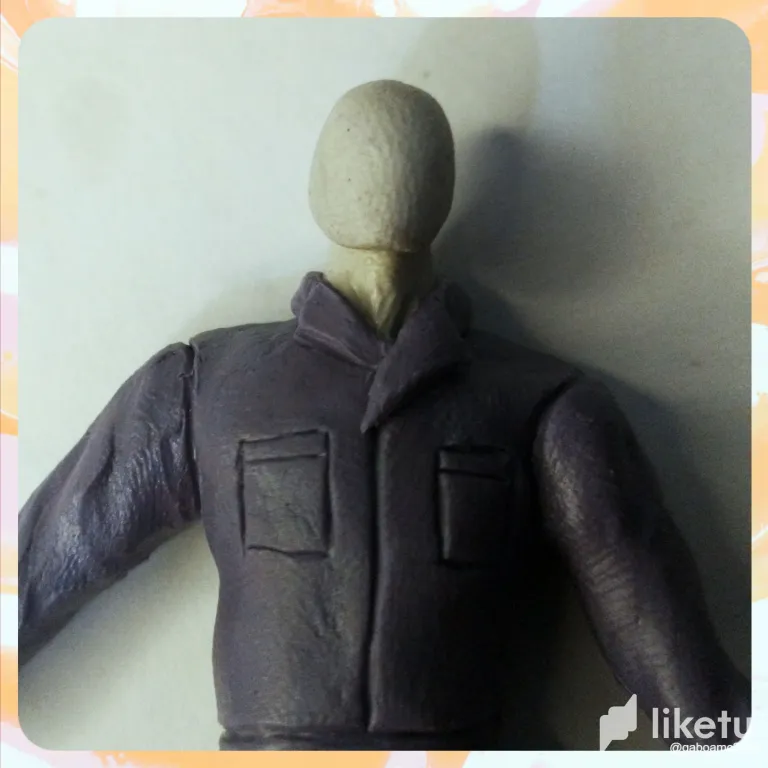
In picture number four you can see that I attached the collar to the panty and the collar itself to the character. I did it in white, because the mask he wears is white and reaches the lower part of the neck. In the same way, I used the white plasticine to put the head in place.
The molding of the face was not easy, but my intention was not to do it exactly the same, considering how difficult it is to do it at this scale, (it is a sculpture of just under 10 centimeters).
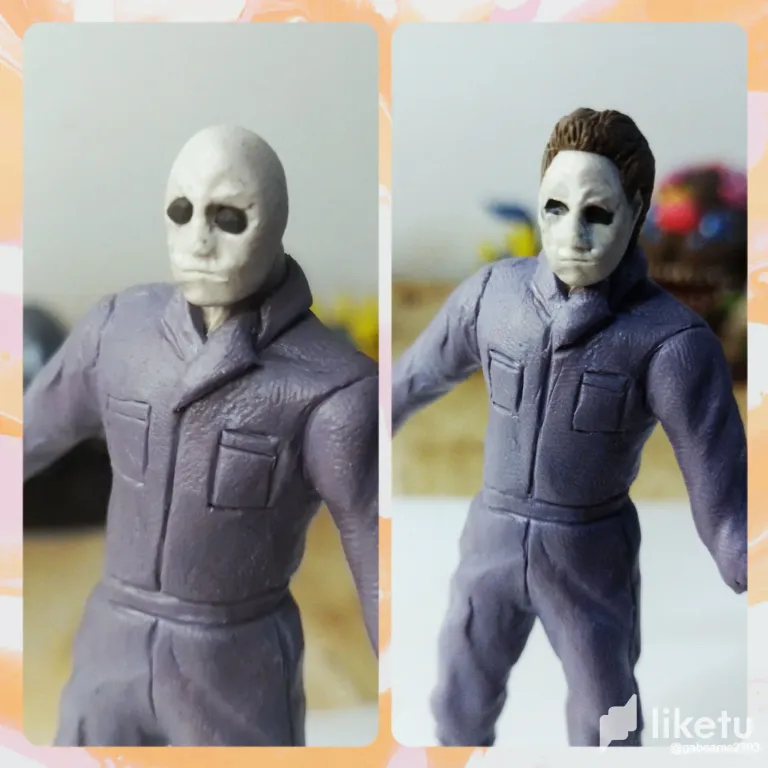
Therefore, I only focused on creating a look that kept the characteristic features of the character, such as slicked back hair, an expressionless face and dark, sunken eyes. This is what I did on the face, as you can see in the fifth image of the step by step.
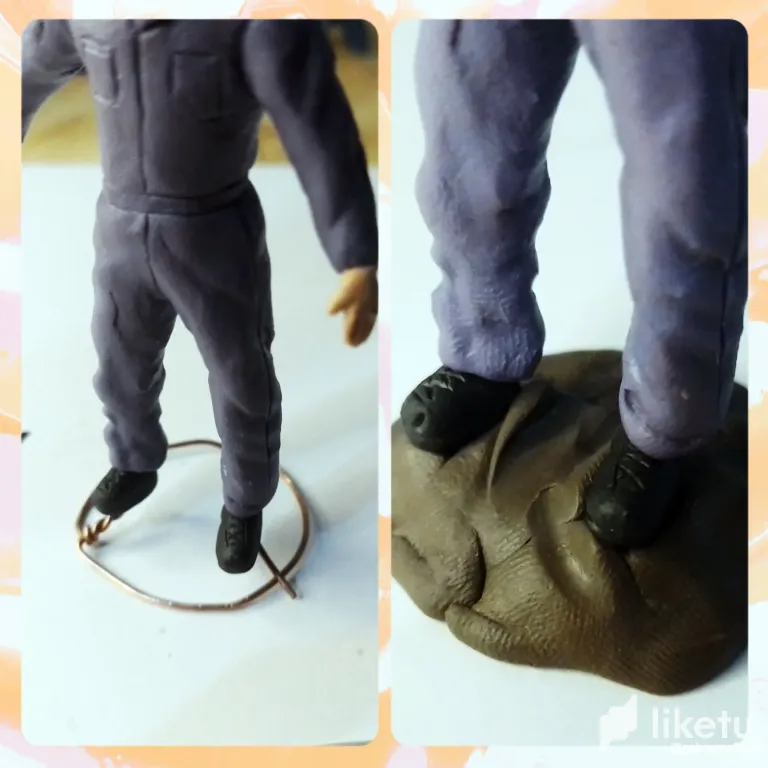
Finally I worked on the hands and feet, the most complicated details to do after the face, at least in this kind of sculptures. I made the hands in light skin color and the shoes in black, using the pin to make details like the sole and the laces.
Something else I added, to finish the whole creative process of the sculpture, is the base; that is to say, to cover all the wire on which the figurine is resting. You can see how these areas of the sculpture look like in the sixth step by step photo.
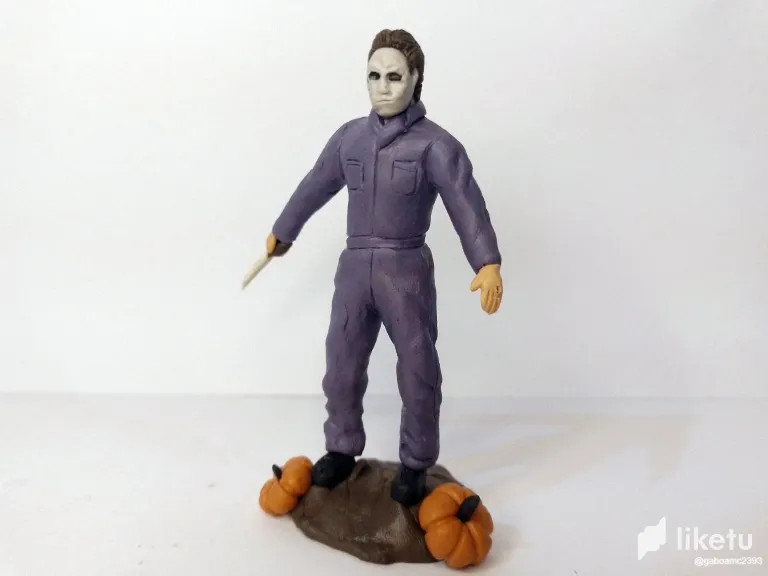
This is how the figure was finished, as you can see in the last pictures.
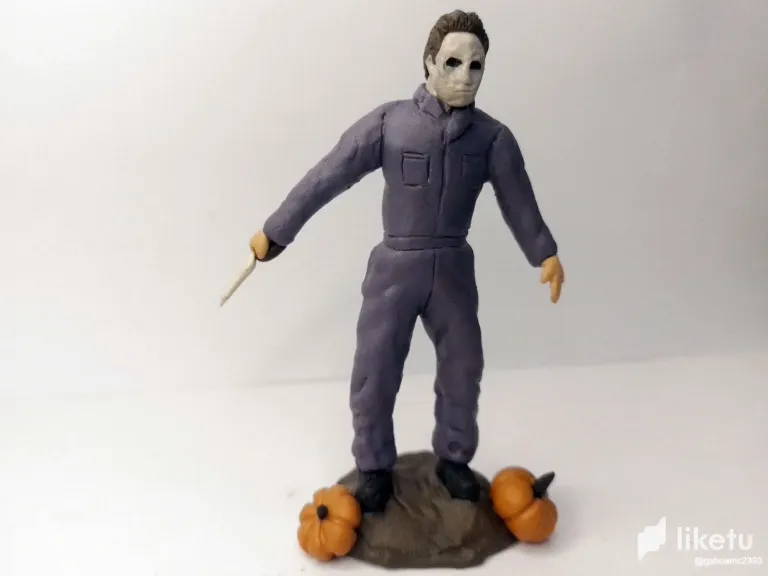
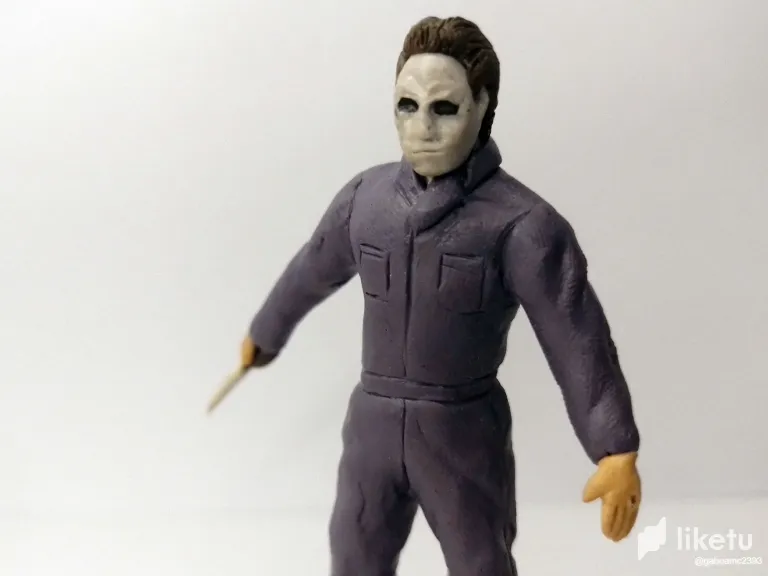
That's all for now. I hope that my sculpture of this emblematic character has been to your liking. I invite you to leave your opinions below in the comments, as always I will be happy to read them. Without more to add, I bid you farewell then....
Until next time!
Español

Saludos a todos, amigos amante del arte y las manualidades. Uno de los personajes más emblemáticos del mundo del terror es un slasher llamado Michael Myers, un personaje emblemático de la película Halloween.
Pensando en la temática del concurso de este mes de la comunidad, me pareció buena idea hacer una escultura representativa del personaje.
Pueden leer más sobre el concurso siguiendo este enlace:
https://peakd.com/hive-189641/@diyhub/concurso-especial-del-mes-halloween-con-liketu-gana-hasta-300-hive
Paso a paso
Para hacer esta escultura utilicé los materiales que siempre suelo utilizar, tales como la plastilina, el alambre, palillos de madera, alfileres y agujas de tejer.
Lo primero que hice, tal como pueden observar en la primera imagen del paso a paso, lo primero con lo que empiezo a trabajar es en el soporte de la escultura, aunque esta es una pieza estática y de una forma estable, igual usé un esqueleto de alambre completo para que la escultura no se moviera hacia ningún lado.

Posteriormente usé una plastilina de tonalidad morado claro para hacer el cuerpo del personaje. Michael suele estar vestido con una braga de este color, así que decidí usar el color en la plastilina en lugar de pintarlo, así sería más fácil mantener ciertos detalles que les mostraré más adelante.
Así pues, comencé a cubrir todo el esqueleto de alambre con la plastilina del mencionado color, tal como lo ven en la segunda imagen del paso a paso.

Lo siguiente fue comenzar a moldear la braga, para tratar de darle la forma más parecida al robusto cuerpo del personaje, agregando detalles como los pliegues de la ropa, que no son del todo fáciles de lograr considerando lo blanda que es la plastilina.
De igual manera, en este punto usé un pequeño alfiler para hacer líneas a lo largo de la ropa, para crear las costuras de la braga y darle una apariencia un poco más realista.
Este proceso lo pueden ver en la foto número tres del paso a paso.

En la foto número cuatro pueden observar que coloqué el cuello a la braga y el propio cuello al personaje. Lo hice de color blanco, pues la máscara que usa es de este color y llega hasta la parte baja del cuello. De igual manera, usé la plastilina blanca para colocar la cabeza en su lugar.

El moldeado del rostro no fue nada fácil pero mi intención no era hacerlo exactamente igual, considerando lo difícil que es hacerlo a esta escala, (es una escultura de poco menos de 10 centímetros).
Por ello, solo me enfoqué en crear una apariencia que guardase los rasgos característicos del personaje, como lo son el cabello hacia atrás, un rostro inexpresivo y ojos oscuros y hundidos. Esto fue lo que plasmé en el rostro, tal como pueden ver en la quinta imagen del paso a paso.

Finalmente trabajé en las manos y los pies, los detalles más complicados de hacer después del rostro, al menos en este tipo de esculturas. Las manos las hice de color piel clara y los zapatos de color negro, usando el alfiler para hacer detalles como la suela y los cordones.
Algo más que agregué, ya para finalizar todo el proceso creativo de la escultura, es la base; es decir, cubrir todo el alambre sobre el cual está apoyada la figurita. Pueden ver cómo quedaron estas áreas de la escultura en la sexta foto del paso a paso.

De esta manera quedó terminada la figura, tal como pueden observar en las últimas fotografías.


Esto ha sido todo por ahora. Espero que mi escultura de este emblemático personaje haya sido de su agrado. Los invito a dejar sus opiniones abajo en los comentarios, como siempre estaré encantado de leerlos. Sin más que agregar, me despido entonces...
¡Hasta la próxima!

For the best experience view this post on Liketu
Estoy super encantada con esta escultura, me encantan esas formas realistas de poses y gestos que le das a tu espectacular arte.
Bueno la idea es que quede realista jejeje con ese toque genial de una figura de acción
Me encantó esta pequeña escultura 🙋 siempre nos regalas creaciones muy bien elaboradas e inspiradoras. Saludos.
Esta me inspiré en esa película porque tiene el nombre de la temática del concurso... es chevere porque parece una figura de acción
Wow quedó espléndida la escultura Heche con plastilina si que tienes talento me encanto el traje con todos sus detalles y la máscara también excelente trabajo
Bueno ma mascara no quedo igualita pero me gustó el resultado jejeje sl menos se entiende que es ese personaje
Es increíble como un trozo de plastilina sin forma puede convertirse en algo tan genial. Muy bien logrado.
Esa es la magia que intento hacer con este material, así coml tu haces con los corchos
😱😱😱, ya habías visto mis publicaciones? O revisaste mi perfil antes de responder? 😏
Soy curador de HiveDIY. Siempre veo tus publicaciones cuando visitas la comunidad.
😱😱😱 sorpresa tras sorpresa, eso no lo sabía 😁
Te quedó súper genial, muy realista! 😁Definitivamente una pieza de arte bien elaborada 👍
Mucha suerte en el concurso! 🎃👻😁
Gracias! Aunque a veces no es facil darle este toque de realismo a figuras de plastilina pero se hace lo que se puede
This is incredible. The attention to detail, especially in molding the character's clothing and face, is truly impressive. Good luck with the contest.
They say the magic is in the details so I try to focus on these. Thank you very much for your good wishes.
Buen trabajo,mas tarde subo la mía.
Suerte, éxitos.
Hola me encanta esta trabajo, es digno de admirar, éxitos en el concurso.
Gracias por tus lindas palabras y buenos deseos.
te quedó bestiaaal!! Mi personaje favorito de estas fechas junto con Leatherface...
Te imaginas que hubiese hecho a leatherface con michael peleando? No sé por qué no se me ocurrió...
Uffff.. eso hubiera hecho explotar todo. Dos de los pesos pesados del terror