Hola, creativos de Hive! El día de hoy les traigo un nuevo tutorial en el que les estaré mostrando paso a paso como pueden hacer una hermosa flor de loto solamente con cartulina. Esta idea la adquirí de Pinterest y quise replicarla para mostrárselas aquí a ustedes. Espero les sirva el tutorial. 🪷
Hello, Hive creatives! Today I bring you a new tutorial in which I will be showing you step by step how you can make a beautiful lotus flower only with cardstock. I got this idea from Pinterest and I wanted to replicate it to show it here to you. I hope you guys find the tutorial helpful. 🪷
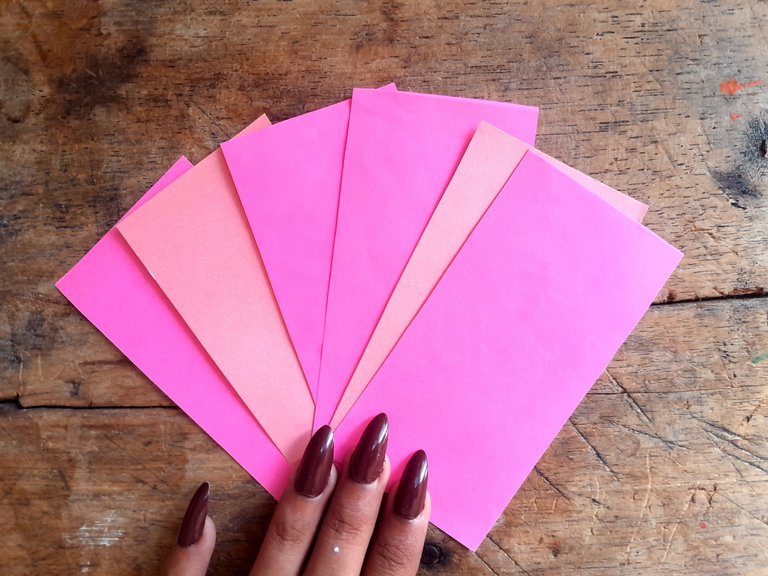
Lo primero que haremos será recortar 9 rectángulos de cartulina rosada de 10cm de largo x 5cm de ancho.
The first thing we will do is cut out 9 rectangles of pink cardboard 10cm long x 5cm wide.
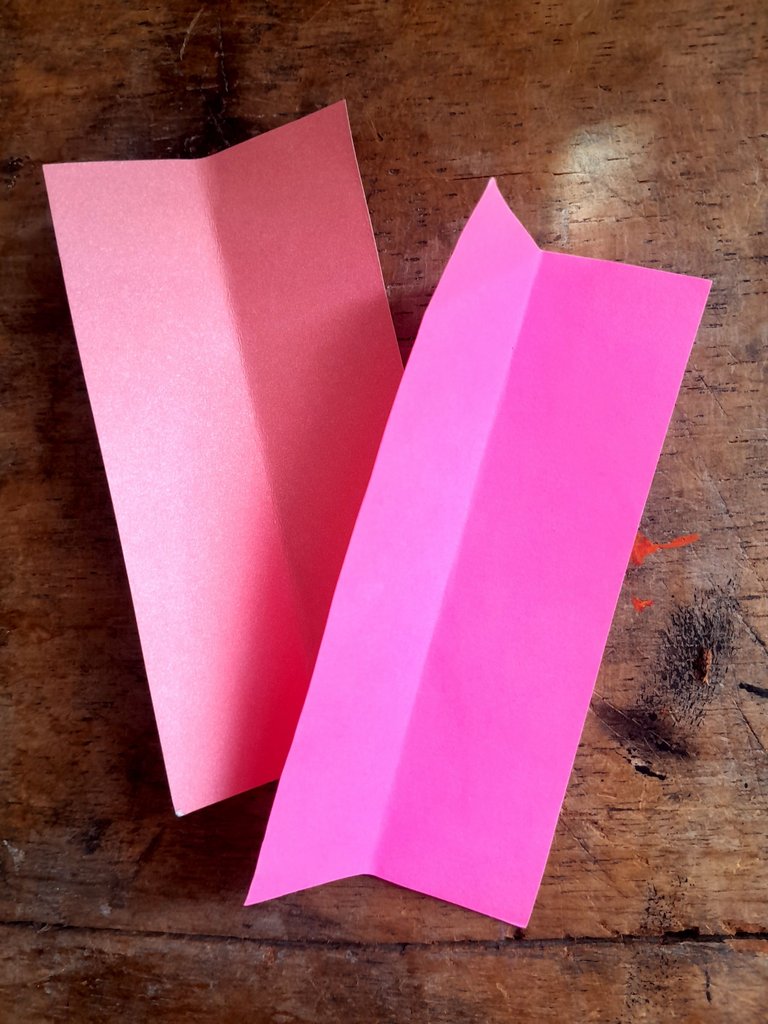
Luego, esos rectángulos los doblaremos por la mitad de la siguiente forma:
Then, these rectangles will be folded in half as follows:
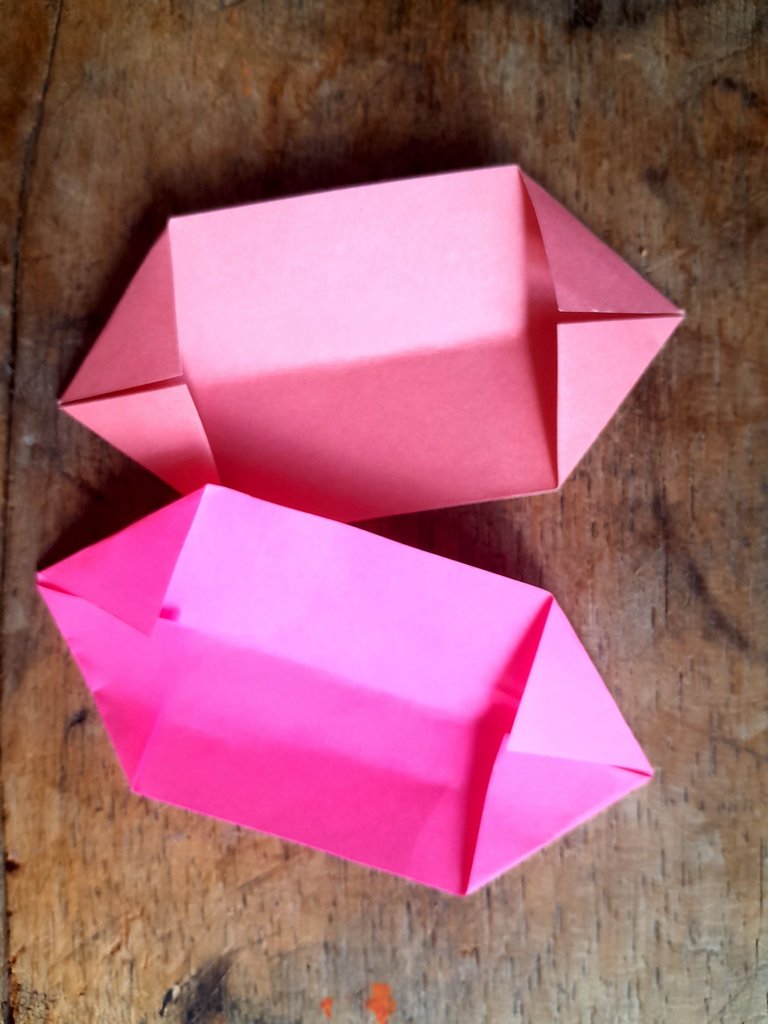
También doblaremos las puntas en forma de triángulo, asi:
We will also fold the ends in the shape of a triangle, like this:
Volvemos a doblar el papel a la mitad sin desdoblar los triángulos:
Fold the paper in half again without unfolding the triangles:
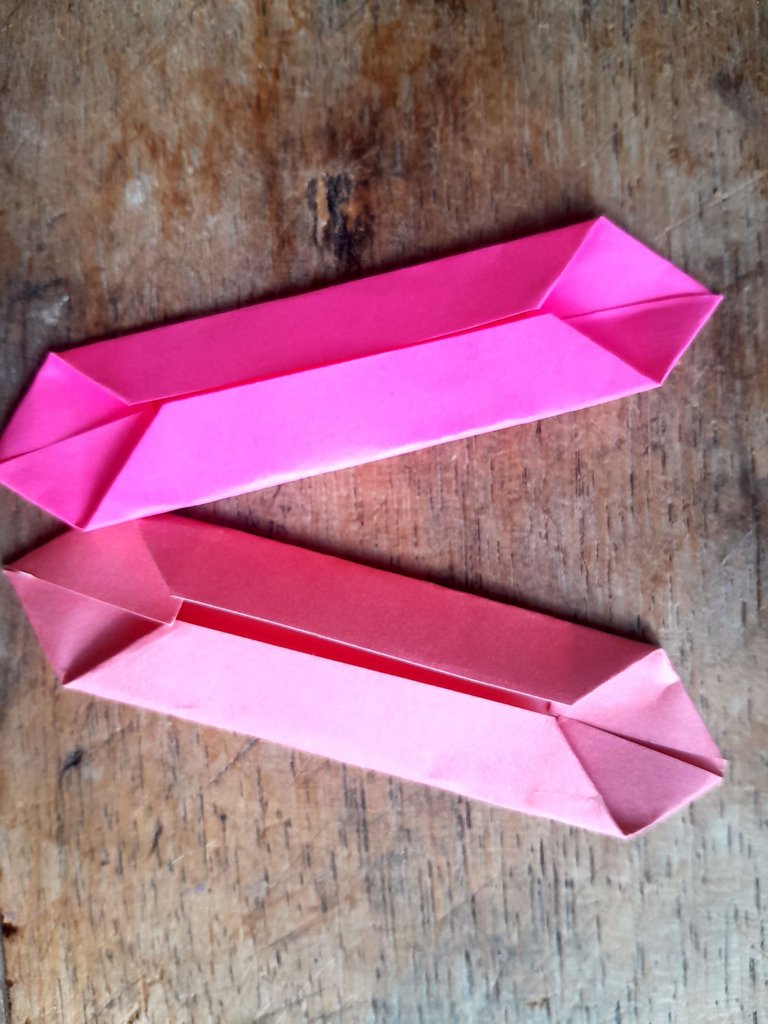
Las volvemos a doblar por la mitad de esta forma:
We fold them in half again in this way:
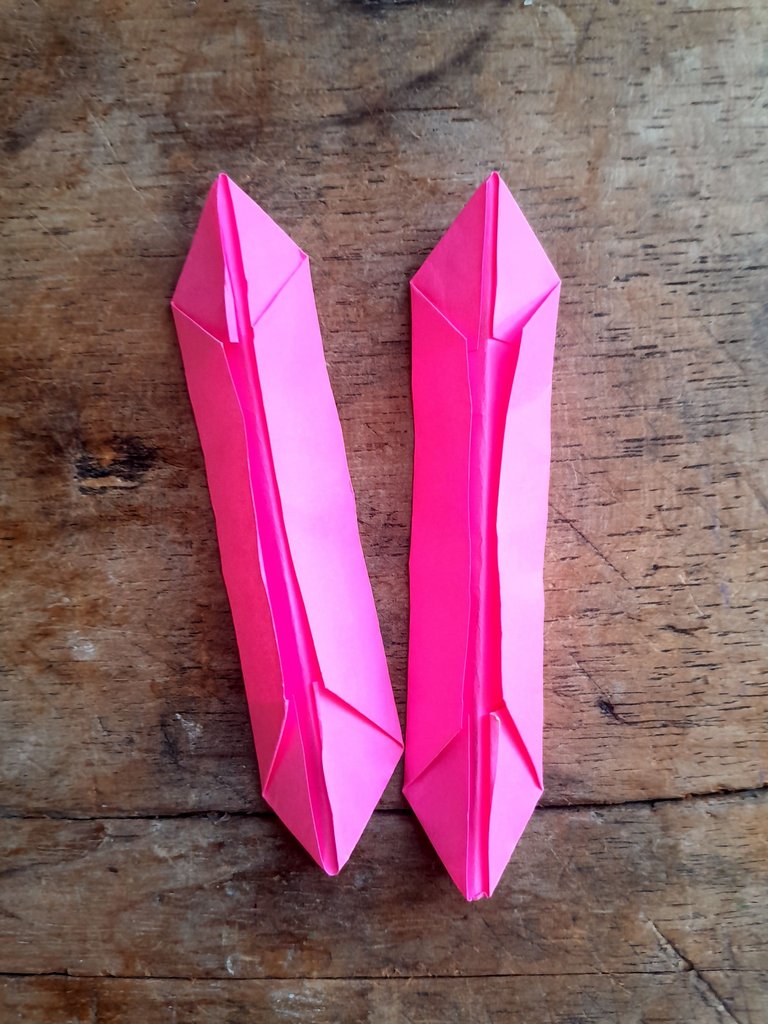
Cuando tengamos los 9 listos, los dividimos en grupos de tres y los metemos uno dentro de otro.
When we have the 9 ready, we divide them into groups of three and put them one inside the other.
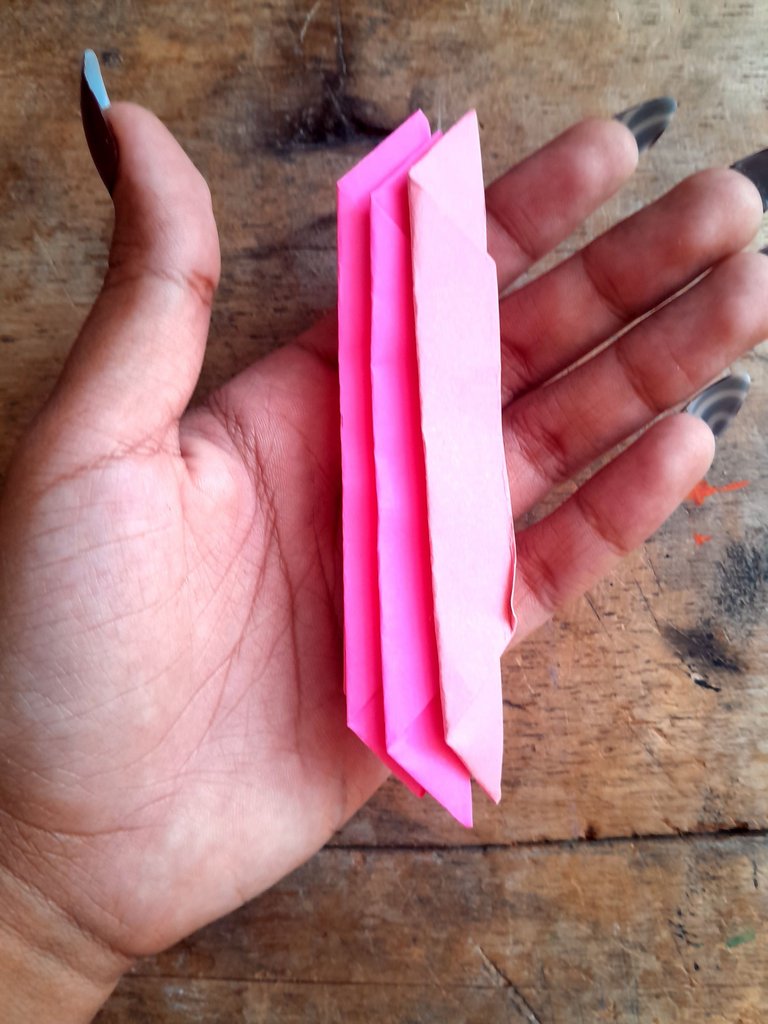
Luego de tener los tres grupos de tres, los vamos a unir con una goma elástica o con una pita, como ustedes quieran. En mi caso, lo hice con una liga para el cabello.
After having the three groups of three, we are going to join them with a rubber band or with a pita, as you like. In my case, I did it with a hair tie.
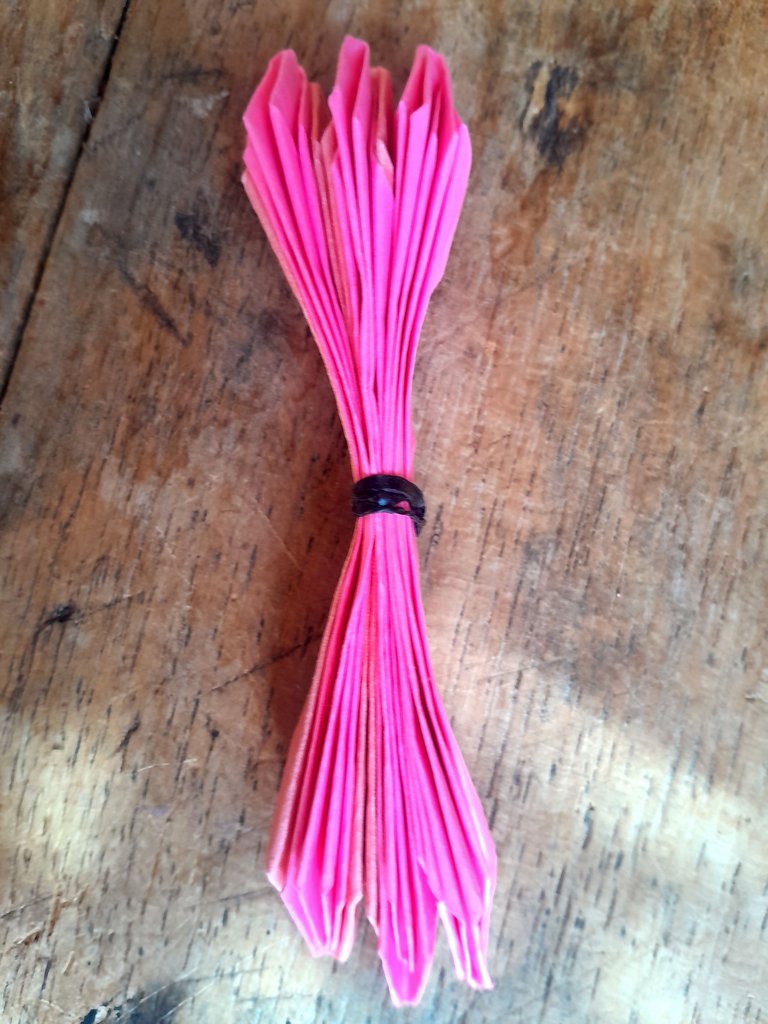
Y los abrimos de esta forma:
And we open them in this way:
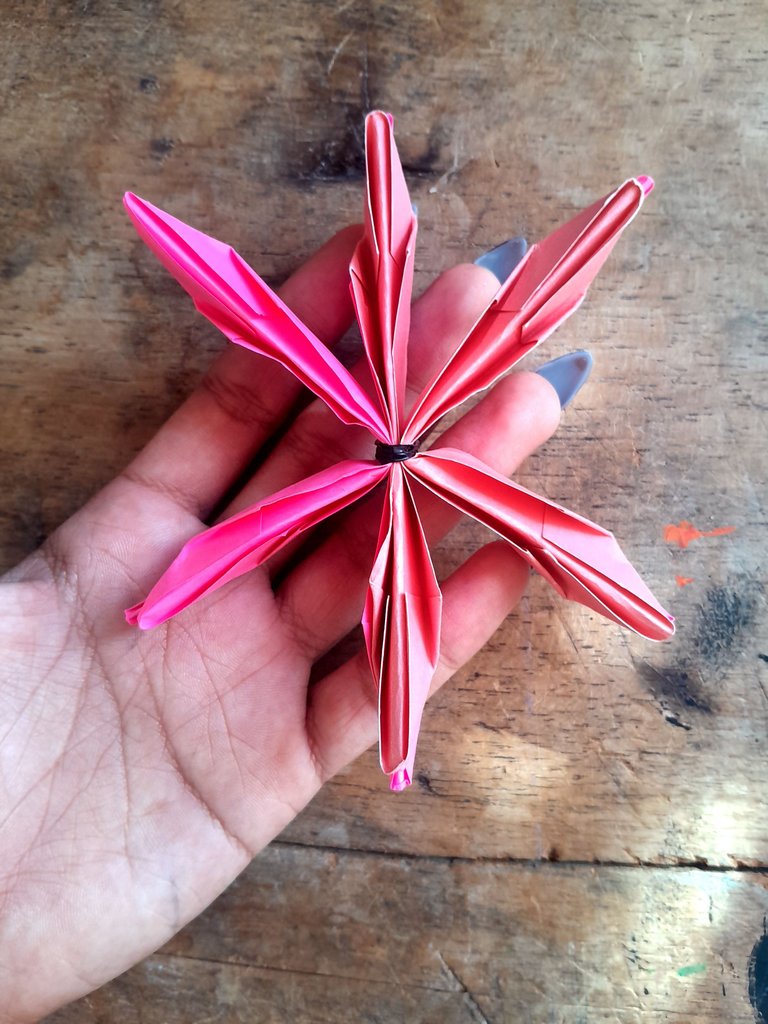
Llegó la hora de abrir la flor y lo que haremos será doblar los pliegos hacia arriba y a abrirlos un poco. Es importante que la parte en la que se ven los dobleces queden hacia adentro y la parte lisa hacia afuera, ya que así se ve mucho mejor y es más fácil darle forma.
It is time to open the flower and what we will do is to fold the folds upwards and open them a little. It is important that the part where you can see the folds are inward and the smooth part outward, as this way it looks much better and it is easier to shape it.
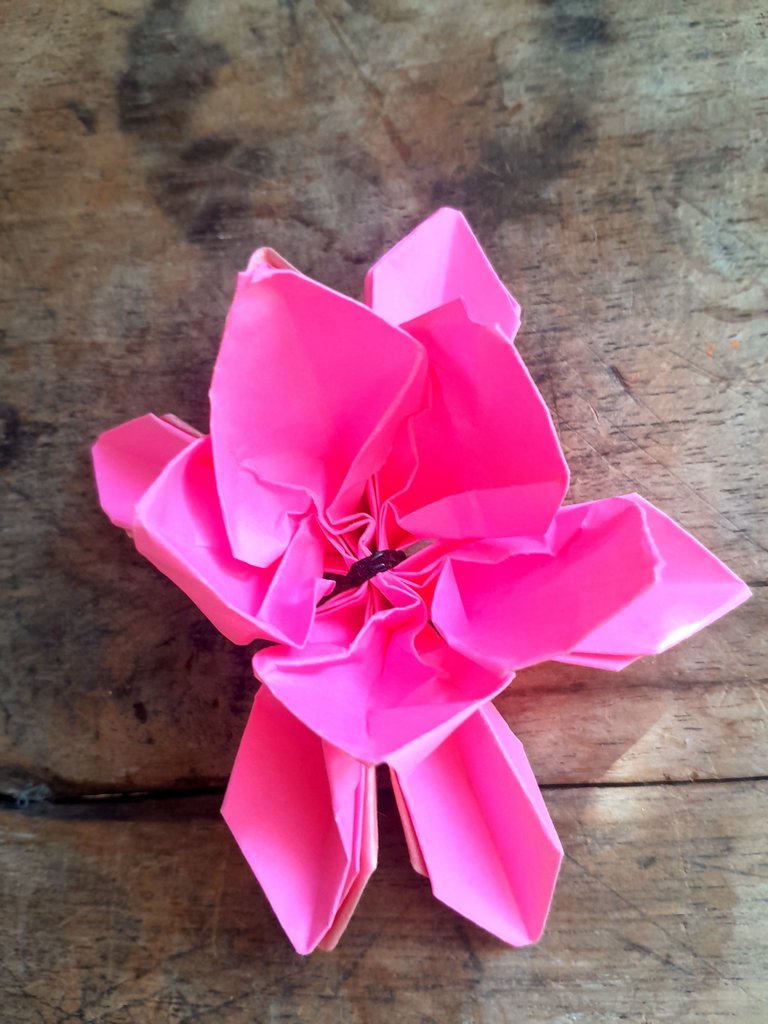
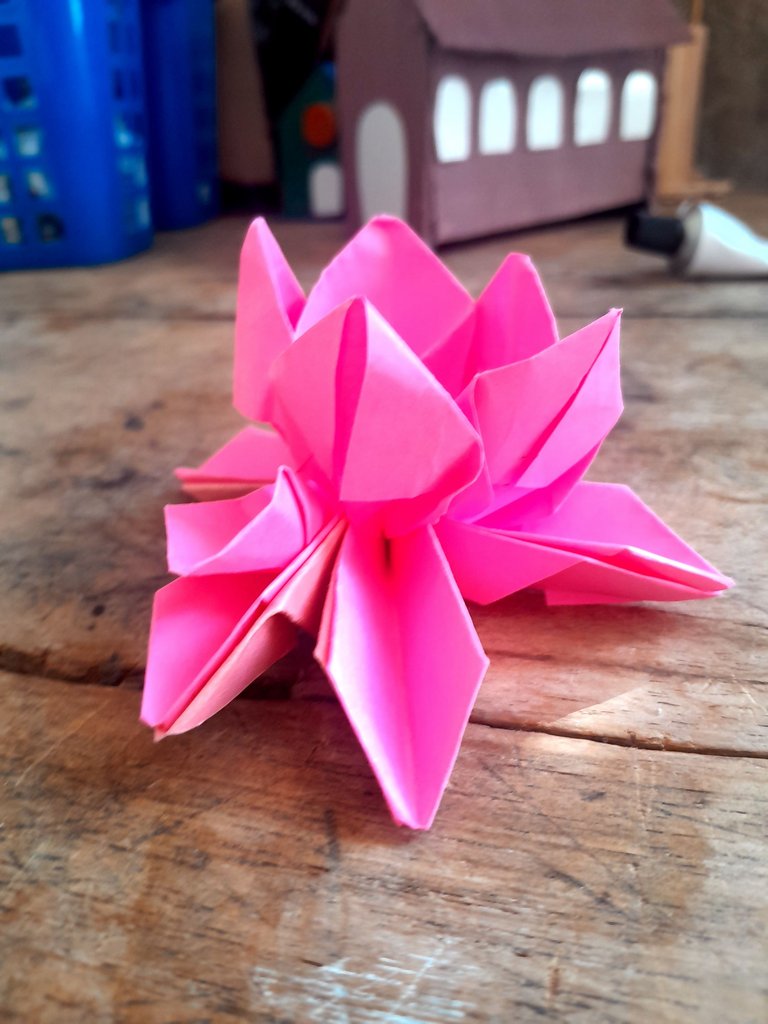
Acontinuación les mostraré una imagen de como quedaría si se doblara la parte lisa hacia adentro:
I will now show you an image of how it would look if the smooth part were folded inward:
Así quedaría si se dobla hacia afuera:
This is what it would look like if bent outward:
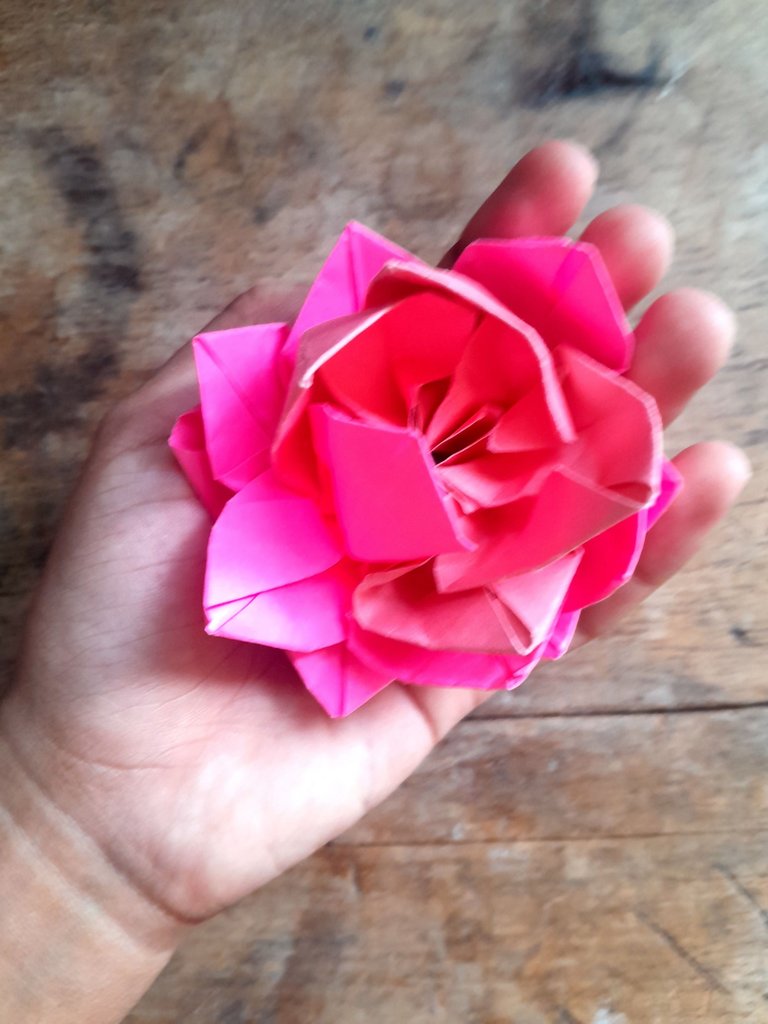
Mejor, ¿no?
Better, right?
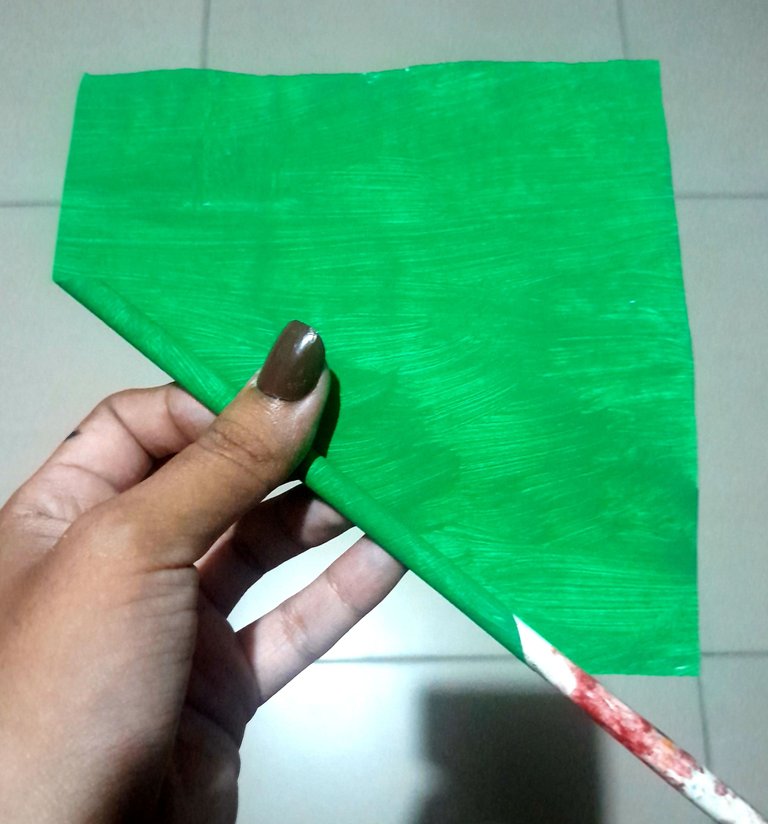
Ahora haremos el tallo y las hojas. No es nada del otro mundo, simplemente tienen que tomar un cuadro de cartulina verde y enrollarlo en un pincel o lápiz de esta forma:
Now we will make the stem and leaves. It's no big deal, just take a square of green cardboard and roll it in a brush or pencil like this:
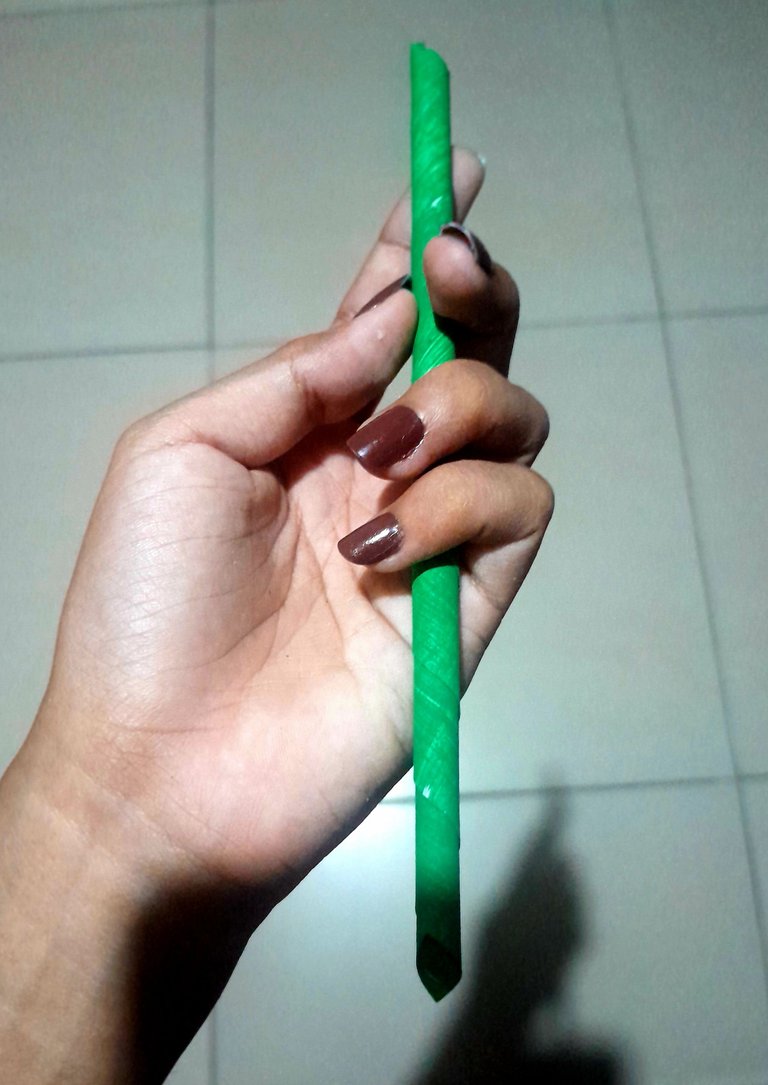
Sacamos el pincel y nos debe quedar asi:
We take out the brush and it should look like this:
Las hojas las haremos a partir de dos cuadrados pequeños; el primero lo doblaremos en forma de triángulo una sola vez y le dibujaremos una hoja en una de las esquinas para posteriormente cortarla. De lo anterior saldrán cuatro hojas separadas, pero grandes.
Para las otras hojas haremos el mismo procedimiento pero envés de doblar una vez, lo haremos dos veces.
The leaves will be made from two small squares; the first one will be folded in the shape of a triangle once and we will draw a leaf in one of the corners to later cut it. This will result in four separate but large leaves.
For the other leaves we will do the same procedure but instead of folding once, we will fold twice.
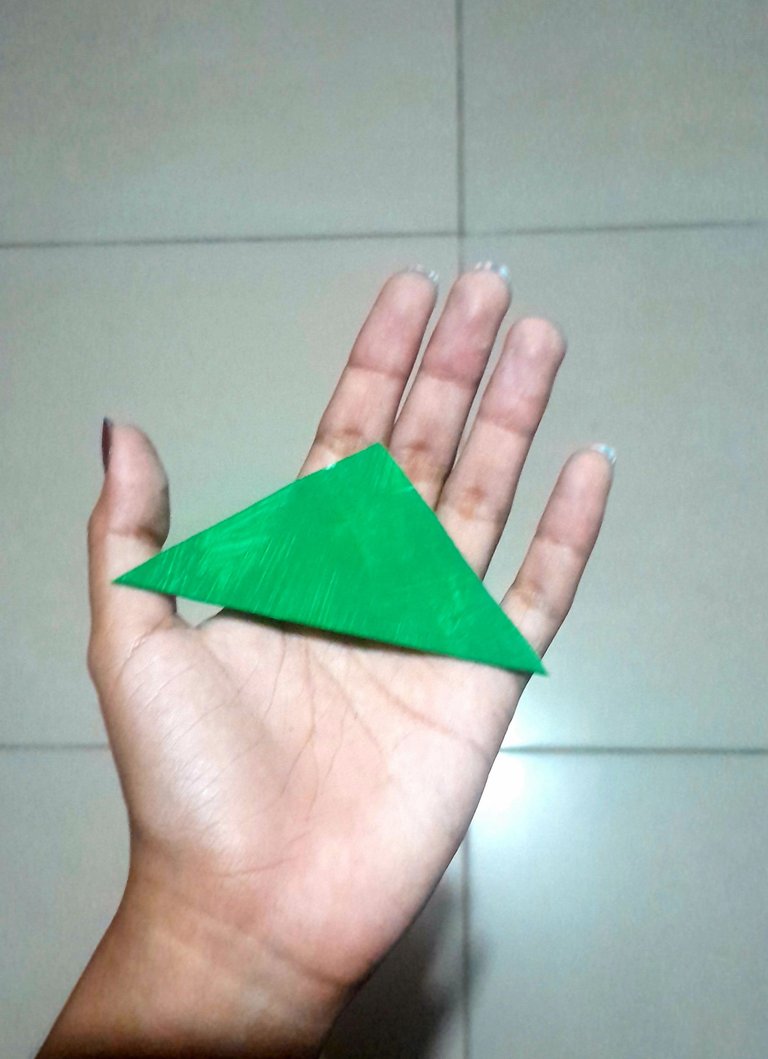
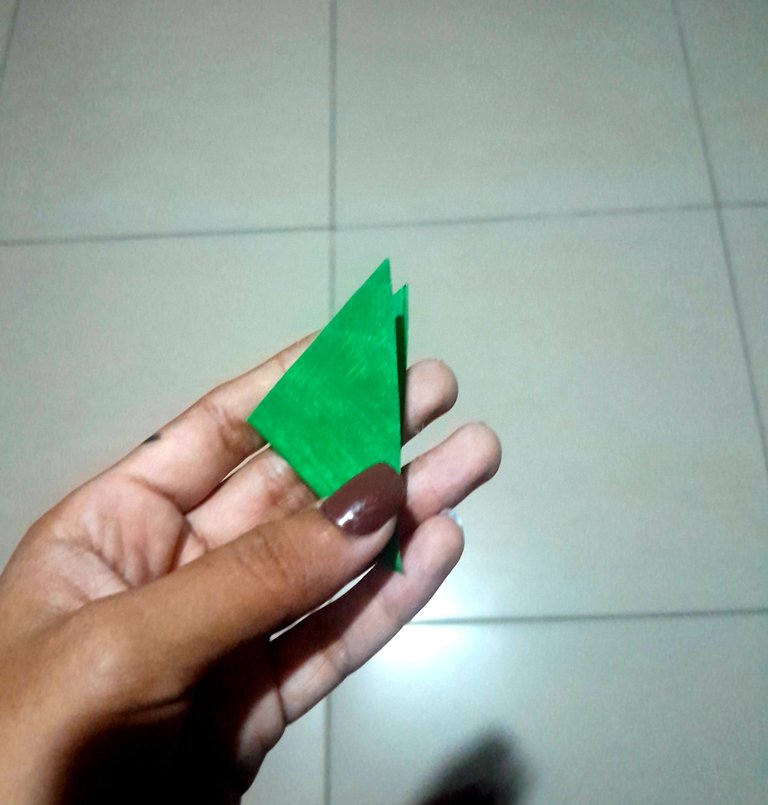
Así les deben quedar las hojas:
This is how the leaves should look:
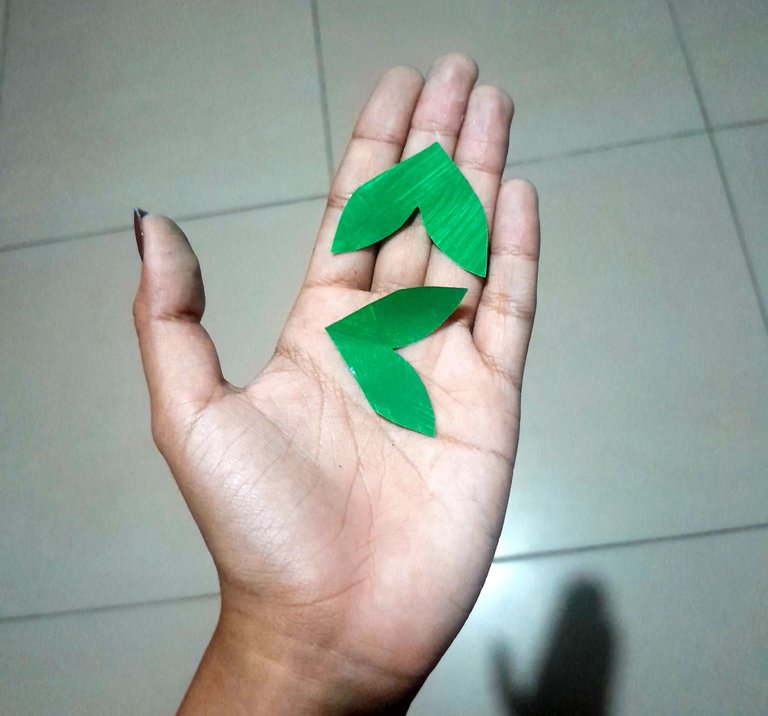
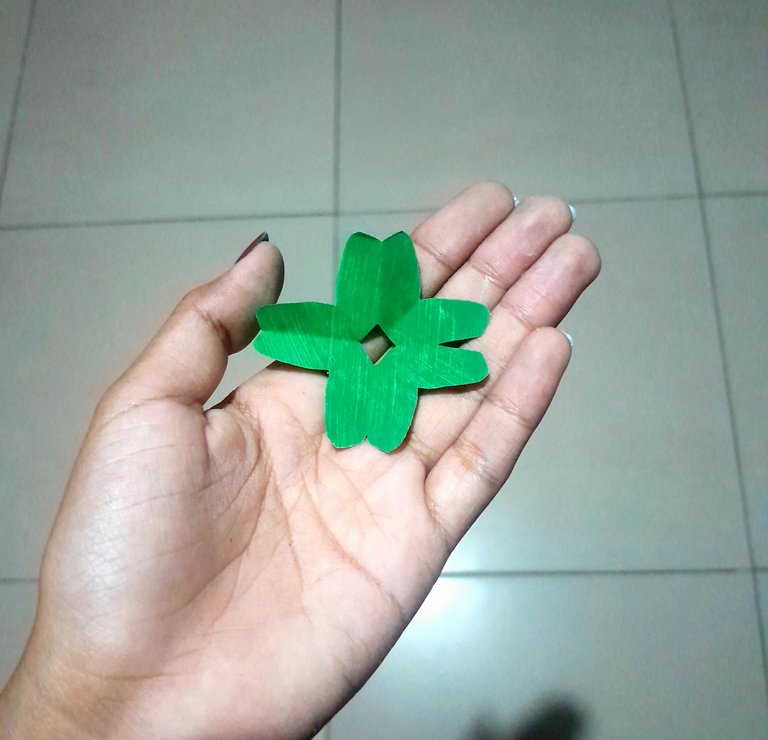
Lo pegamos en la parte trasera de la flor de esta manera:
We glue it to the back of the flower in this way:
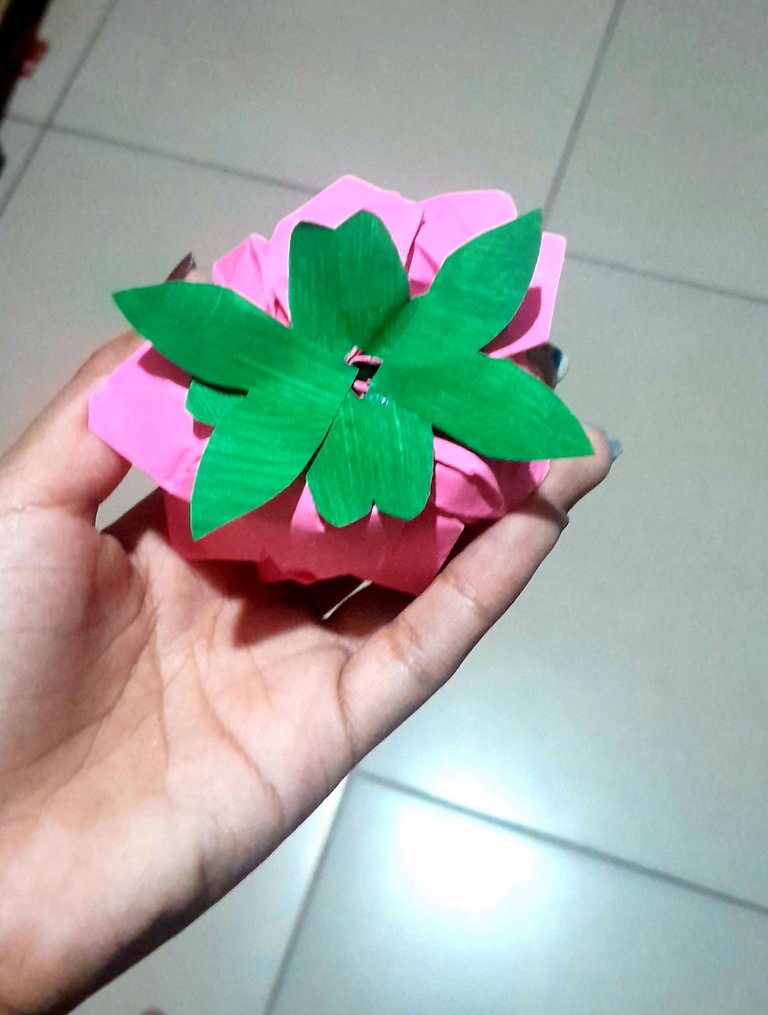
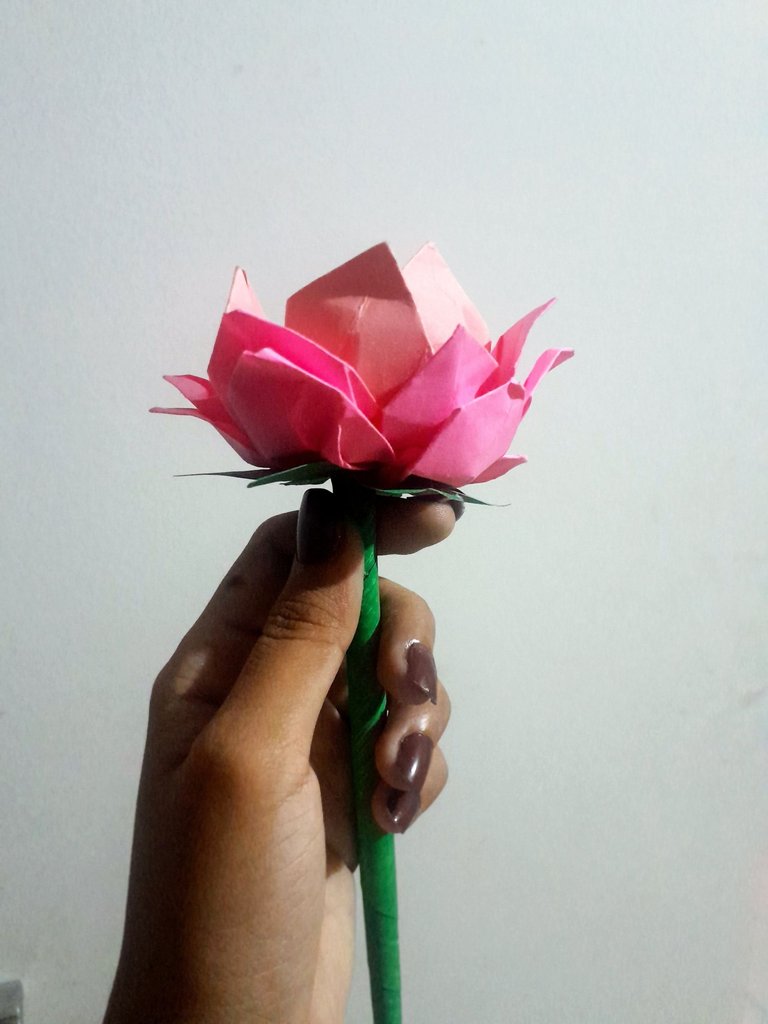
Le pegamos el palito y listo! Así quedaría nuestra bella flor de loto, les gustó?
We glue the stick and that's it! This is how our beautiful lotus flower would look like, did you like it?

Thanks for reading and watching.
Que hermosa flor, el trabajo con papel requiere de mucha paciencia y habilidad, porque un mal dobles, daña todo. Gracias por la explicación tan detalla y bien hecha 😍
What a beautiful flower, working with paper requires a lot of patience and skill, because a bad double, damages everything. Thanks for the detailed and well done explanation 😍.
Es un trabajo que requiere de mucha práctica, si jajaj
Gracias por tu comentario ✨️🪷
Made a nice flower with great feel. The flower looks really wonderful. Thank you so much for sharing this lovely paper craft with flowers.
Thank you so much for the supp✨️❤️
I like this flower very much because its colors are very beautiful
You have explained very well one method of making this flower, it is very beautiful and cute and has the delicacy of the original flower.
Yes, the flower is very beautiful. Thank you for your comment 🪷