Hola creativos de Hive! San Valentin está cerca y por ello en estos días me he propuesto hacer varias cositas bonitas para regalar. La idea es traerles tutoriales variados de manualidades que pueden hacer ustedes mismos con materiales que tienen en la casa o que son fáciles de conseguir.
El día de hoy les mostrare como logré hacer una linda tarjeta qué puede servir como complemento para cualquier regalo especial. Los dejo con el tutorial, espero les guste mucho. 💕
Hello Hive Creatives, Valentine's Day is near and that's why these days I've decided to make some nice things to give as gifts. The idea is to bring you various tutorials of crafts that you can make yourselves with materials that you have at home or that are easy to get.
Today I will show you how I managed to make a nice card that can serve as a complement to any special gift. I leave you with the tutorial, I hope you like it very much. 💕
MATERIALES // MATERIALS
| ESPAÑOL | ENGLISH |
|---|---|
| Cartulina blanca | White cardboard |
| Cartulina roja | Red cardboard |
| Hoja reciclada o papel periódico | Recycled sheet or newsprint |
| Tijeras y colbón | Scissors and glue |
| Fotografía impresa | Printed photograph |
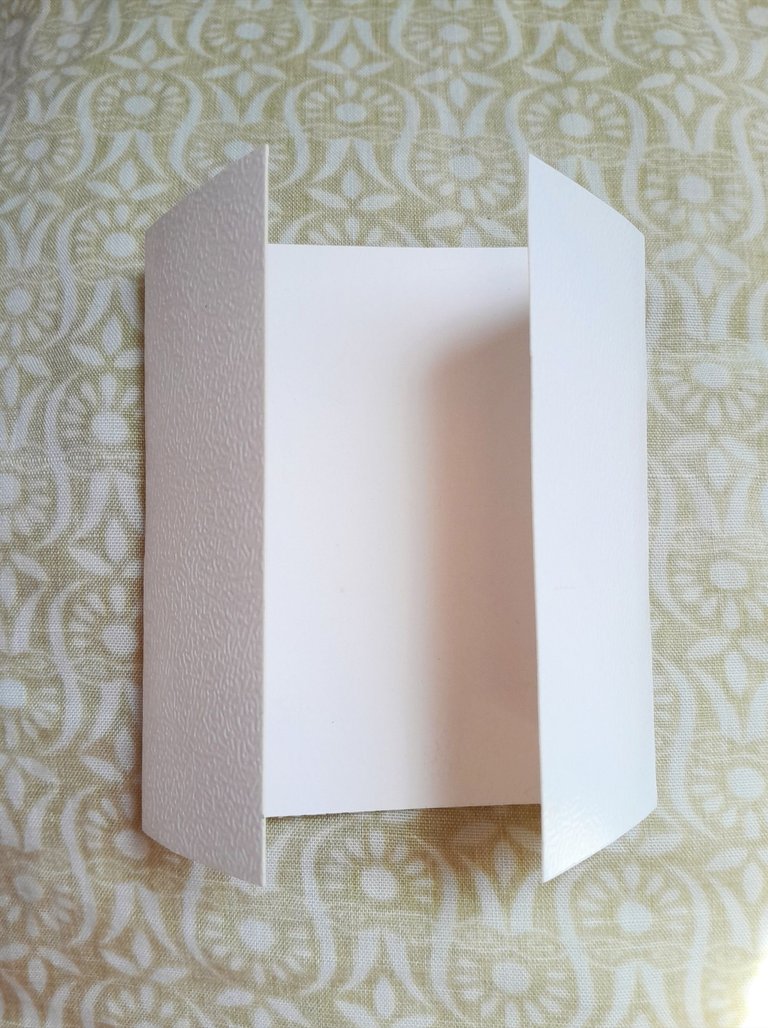
Empezaremos recortando un pedazo de cartulina blanca de 17,5 cm de ancho por 10 cm de largo. El tamaño varía dependiendo de cada quien, pero yo les traigo las medidas que use por si lo quieren hacer igual.
We will start by cutting a piece of white cardboard 17.5 cm wide by 10 cm long. The size varies depending on each person, but I bring you the measurements I used in case you want to do the same.
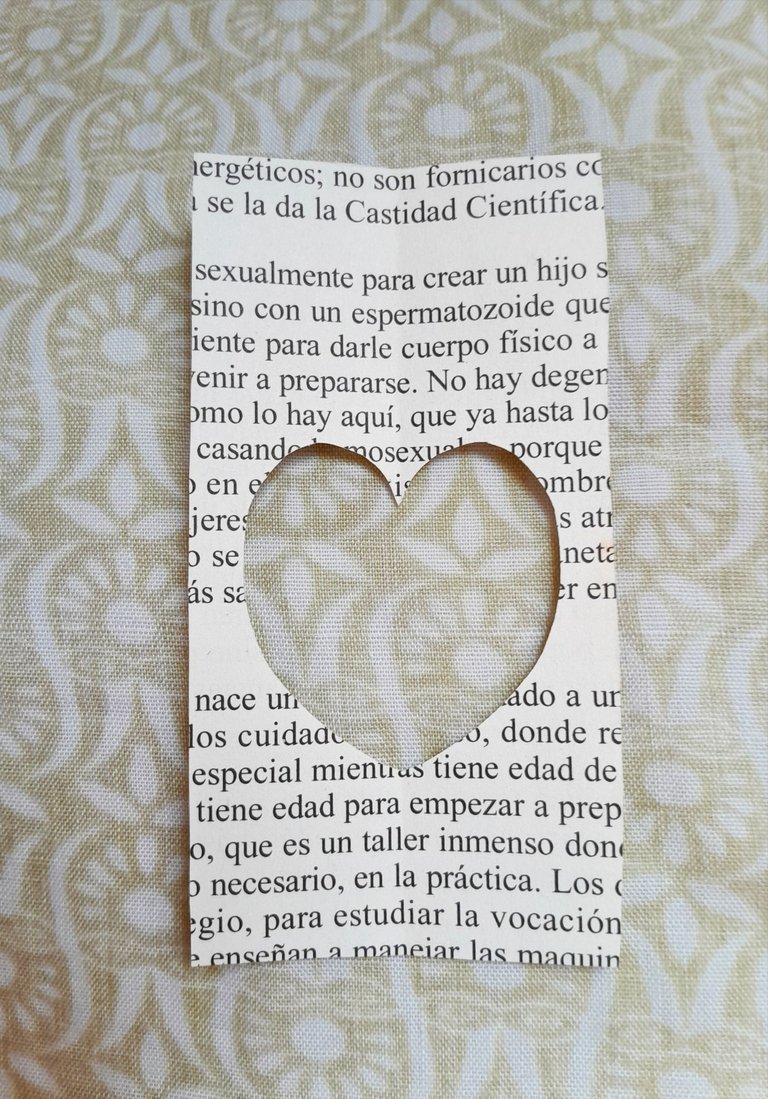
El siguiente paso es recortar un pedazo de papel periódico o el que estén usando, en mi caso usé una hoja de un libro que viejo. Las medidas que yo use para recortarlo fueron estas: 10 cm de largo por 5 cm de ancho.
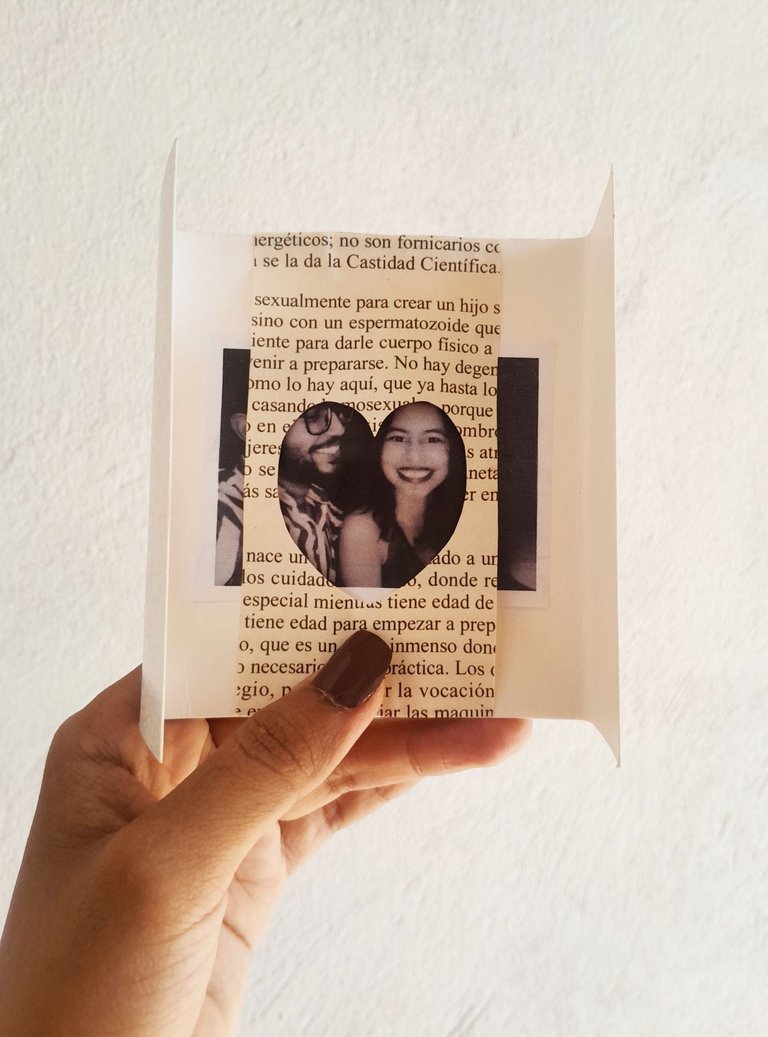
Cuando tengamos el papel recortado, le dibujaremos un corazón en todo el centro para luego recortarlo,les debe quedar todo asi:
The next step is to cut out a piece of newspaper or whatever you are using, in my case I used a leaf from an old book. The measurements I used to cut it were: 10 cm long by 5 cm wide.
When we have the paper cut out, we will draw a heart in the center and then cut it out, it should look like this:
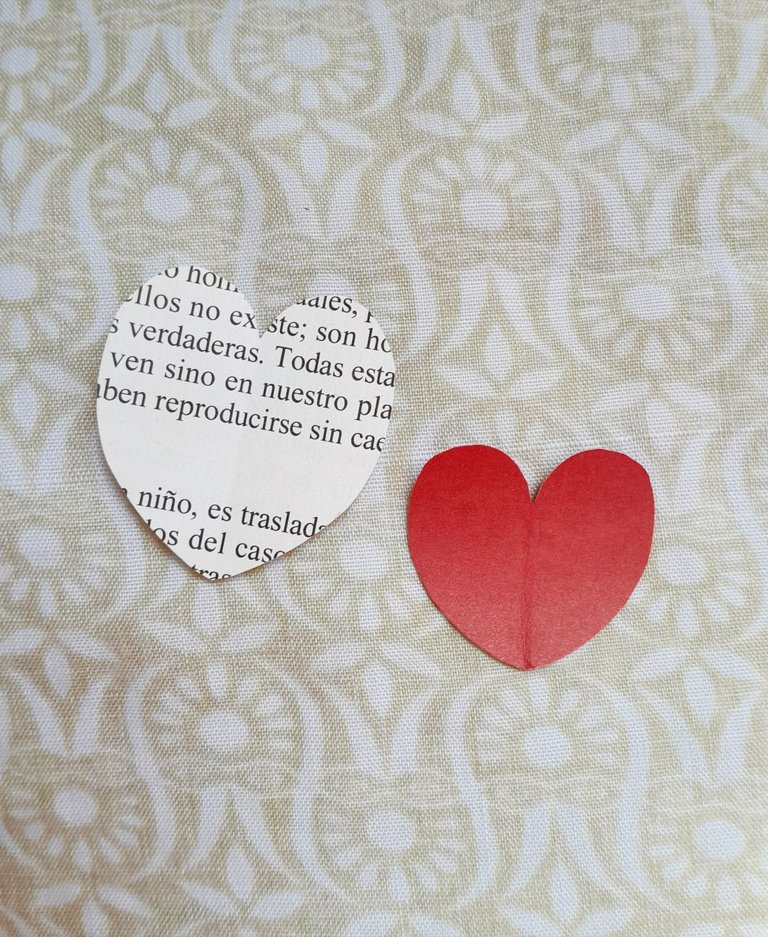
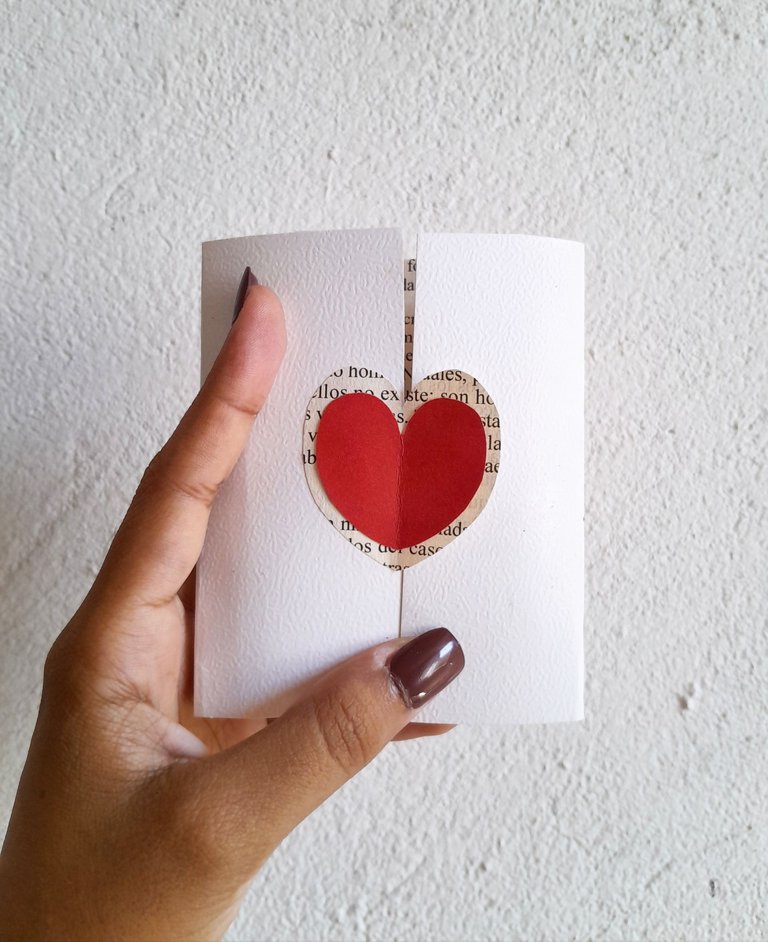
El corazón que recortamos nos va a servir para la tapa de la tarjeta como decoración, así que les recomiendo que no lo desechen. Este corazón les va a servir de guía para poder hacer uno más pequeño con cartulina roja, que también vamos a utilizar para decorar.
The heart that we cut out will be used for the cover of the card as a decoration, so I recommend that you do not discard it. This heart will serve as a guide to make a smaller one with red cardboard, which we will also use to decorate.
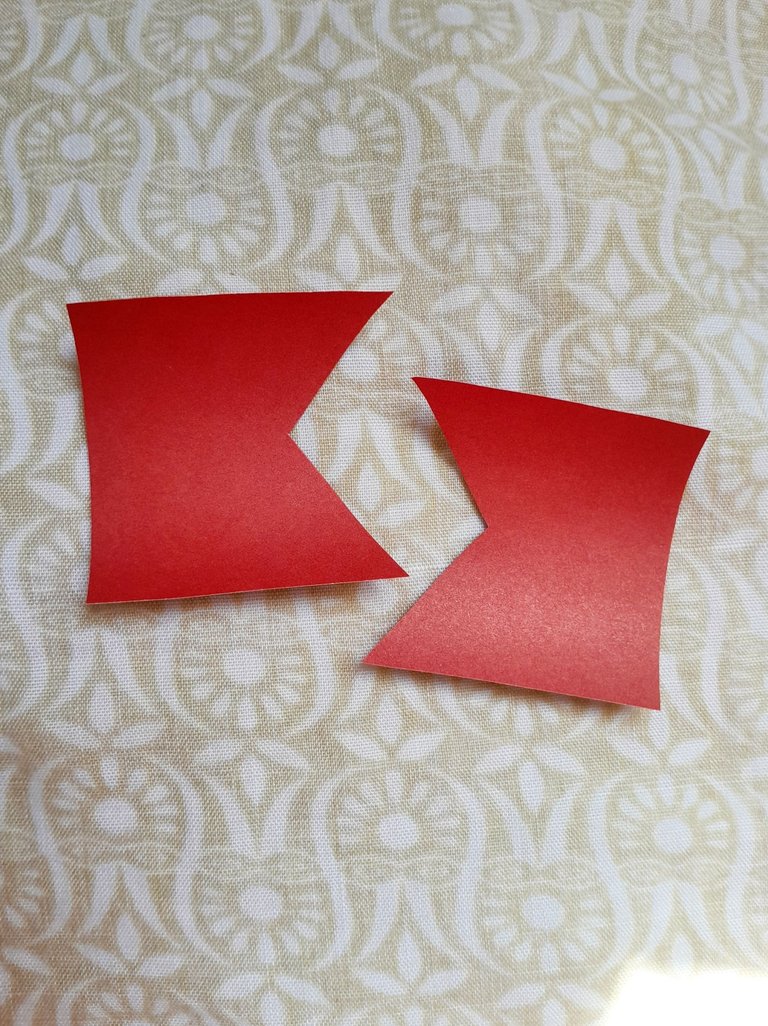
Para la parte de adentro de la tarjeta, necesitaremos dos cuadrados de cartulina roja 7,5 de cm de largo por 6 cm de ancho a los que posteriormente les haremos unos cortes triangulares.
For the inside of the card, we will need two squares of red cardboard 7.5 cm long by 6 cm wide to which we will make some triangular cuts.
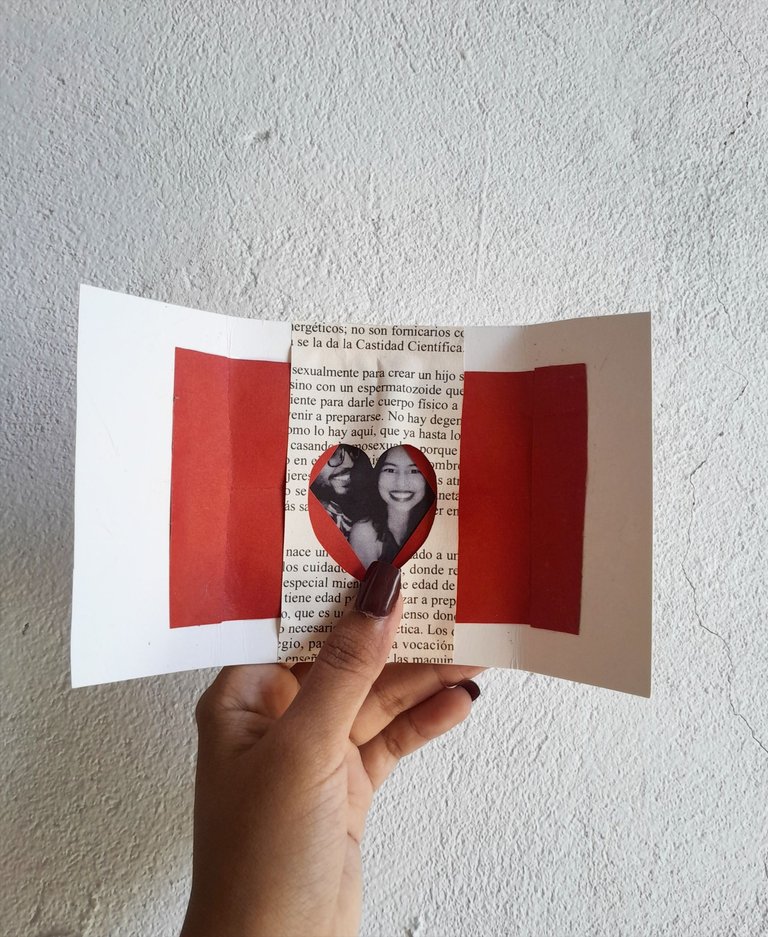
Una vez tengamos todo listo, llegó la hora de unir todo. Lo primero que haremos será pegar la fotografía en el centro de la tarjeta.
Once we have everything ready, it's time to put everything together. The first thing we will do is glue the photograph in the center of the card.
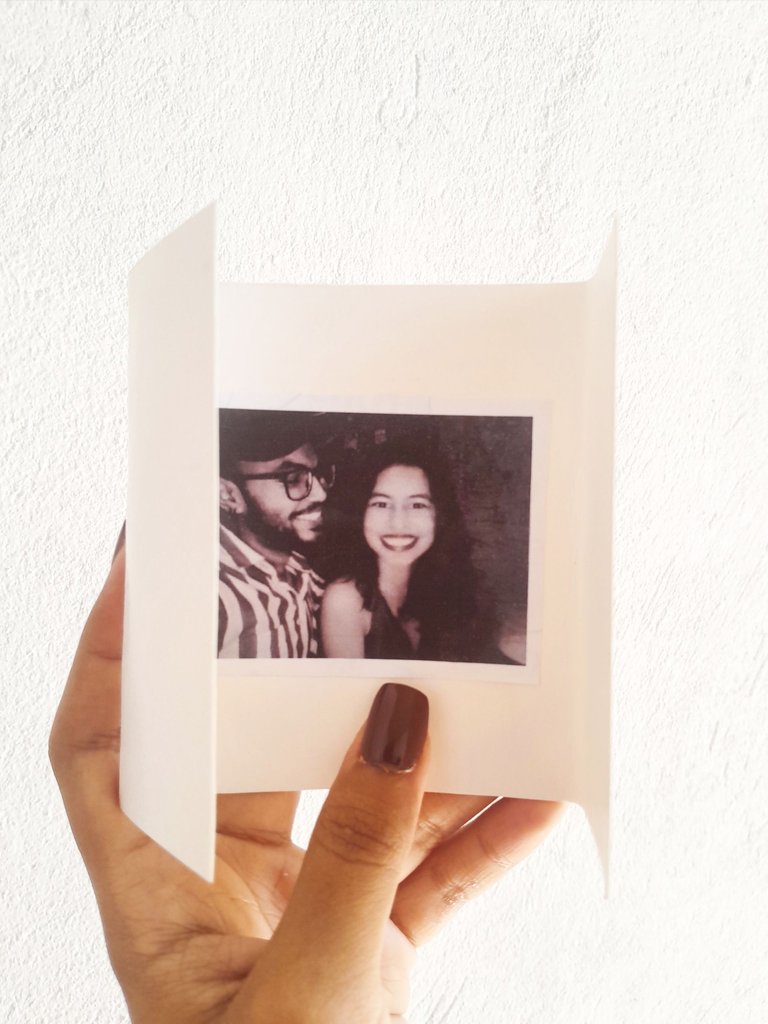
Luego de esto, pegaremos el pedazo de hoja de libro, encima de la fotografía, pero, solamente el extremo superior e inferior.
After this, we will glue the piece of book page on top of the photograph, but only the upper and lower end.
Una vez esté pegado, ubicaremos los otros dos rectángulos de esta manera para medirlos y saber donde pegarlos. En mi caso me quedaron un poco cortos, así que le agregué un pedazo de cartulina a cada lado.
Once it is glued, we will place the other two rectangles in this way to measure them and know where to glue them. In my case they were a little short, so I added a piece of cardboard on each side.
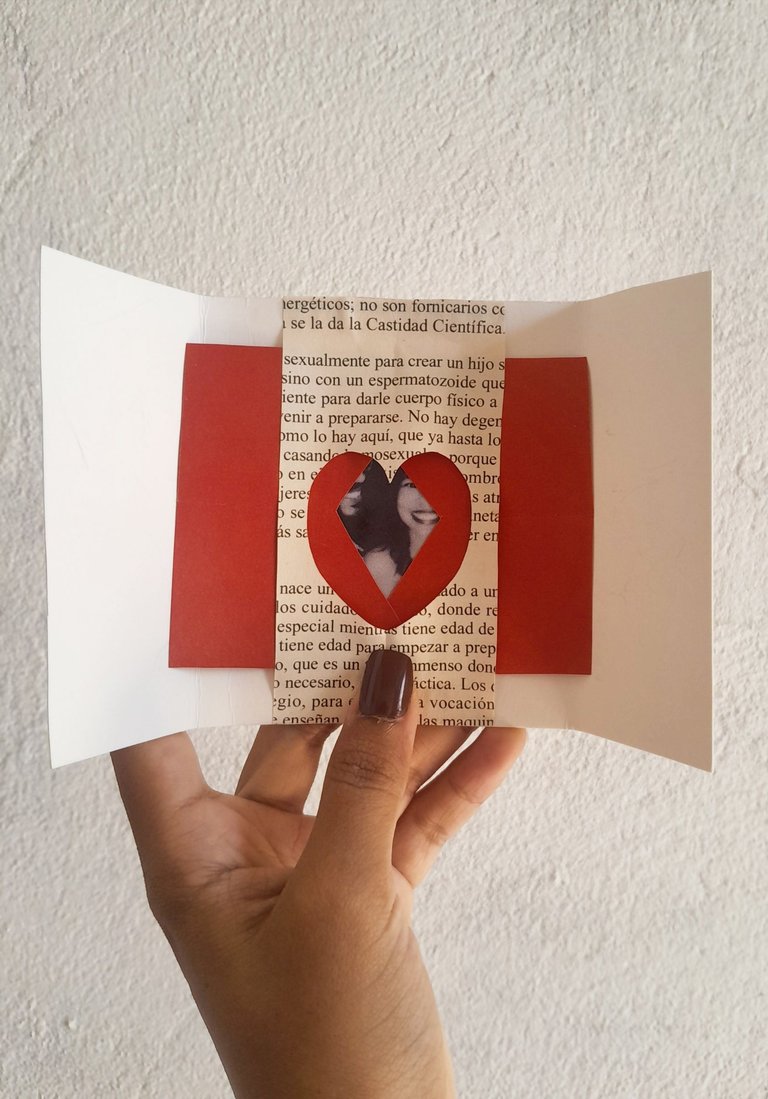
Lo próximo que haremos será pegar las dos figuras, pero, solamente de un extremo, asi:
The next thing we will do is to glue the two figures together, but only at one end, like this:
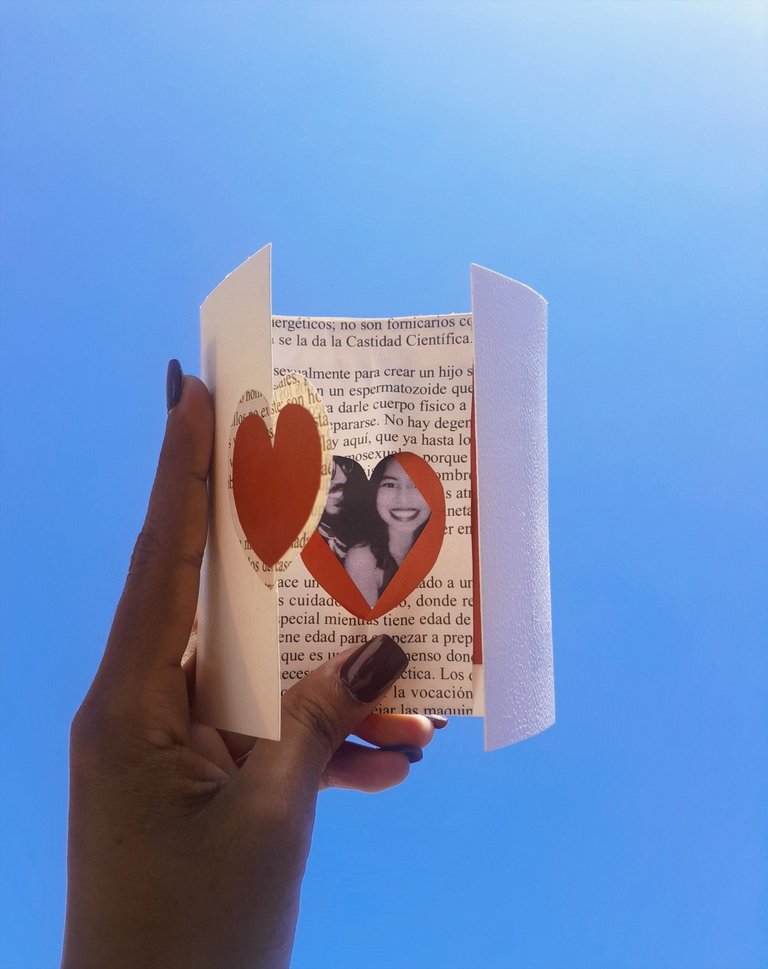
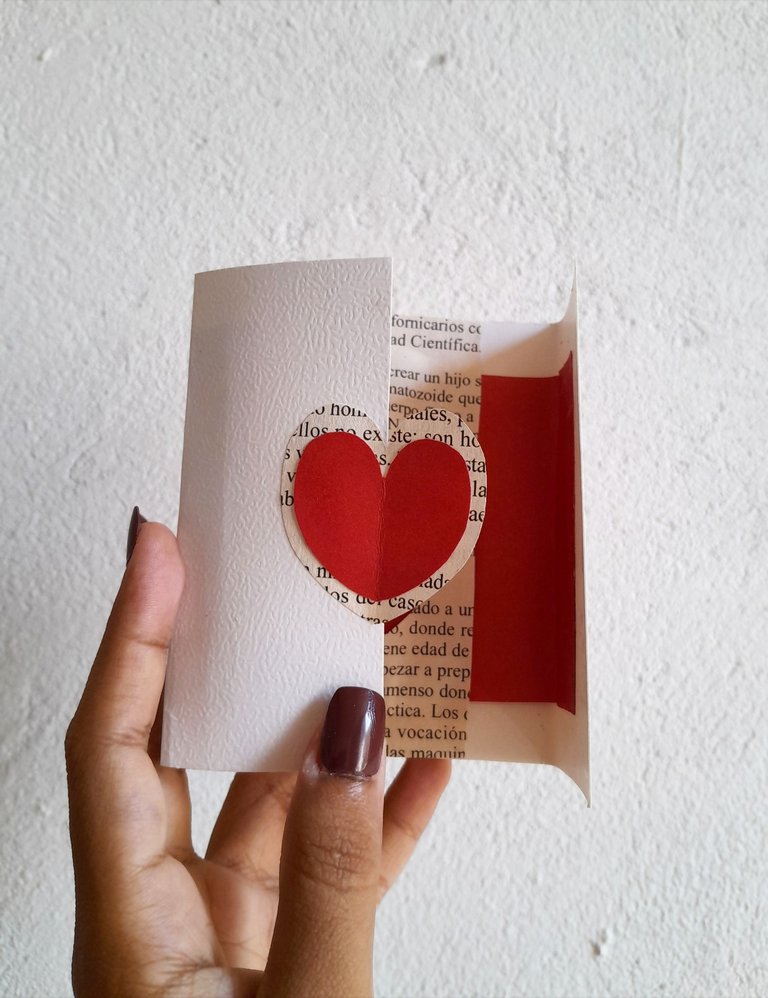
Una vez tengamos la parte de adentro lista, lo único que haremos será pegarle la decoración a la parte de afuera y listo!
Once we have the inside ready, all we have to do is glue the decoration to the outside and that's it!
Thanks for reading and watching.
This Valentine's Day card tutorial is both charming and simple! The step-by-step process is easy to follow, using materials many people already have at home. Good job!
Thank you❤️
What a nice craft to kick off the month. A lovely and simple work. Well done.
Thank you so much ❤️
This is so beautiful
Nice job
Thanks💕
Simple but outstanding result, impressive work and good job. Keep it up
Thank you ❤️