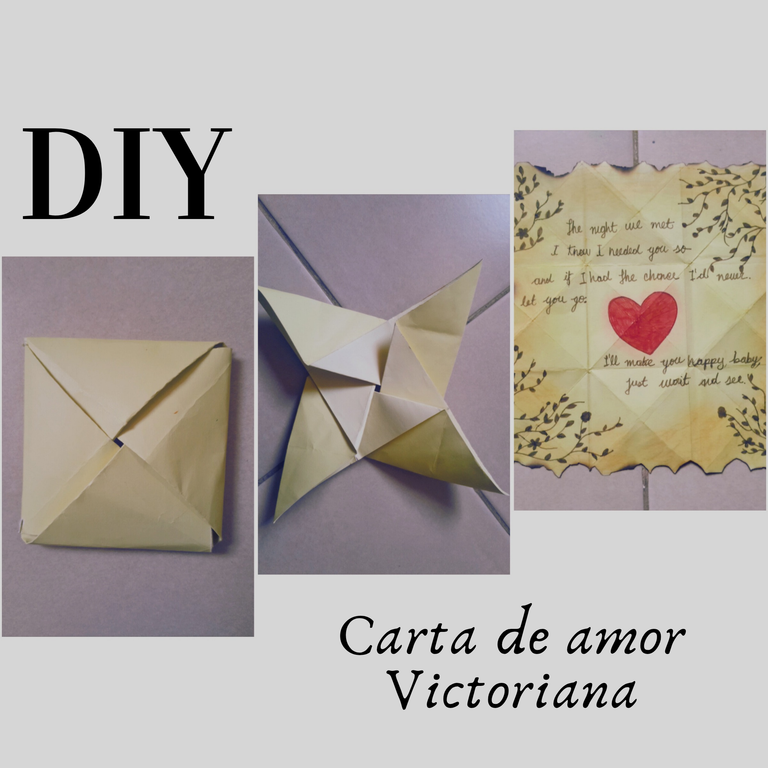
Hola creativos de Hive! El día de hoy les traigo un tutorial perfecto para estas fechas del año.
Las cartas victorianas son de un estilo muy peculiar y para mi, son muy creativas. Hoy les enseñaré a darle forma a una paso a paso sin perder ningún detalle. Espero les sirva el tutorial y les guste mucho.
Hello Hive Creatives! Today I bring you a perfect tutorial for this time of the year.
Victorian cards are a very peculiar style and for me, they are very creative. Today I will show you how to shape one step by step without losing any detail. I hope you like the tutorial and I hope you like it a lot.
| ESPAÑOL | ENGLISH |
|---|---|
| Cartulina | Cardboard |
| Tijeras | Scissors |
| Lapiz | Pencil |
| Regla | Rule |
| Marcadores | Markers |
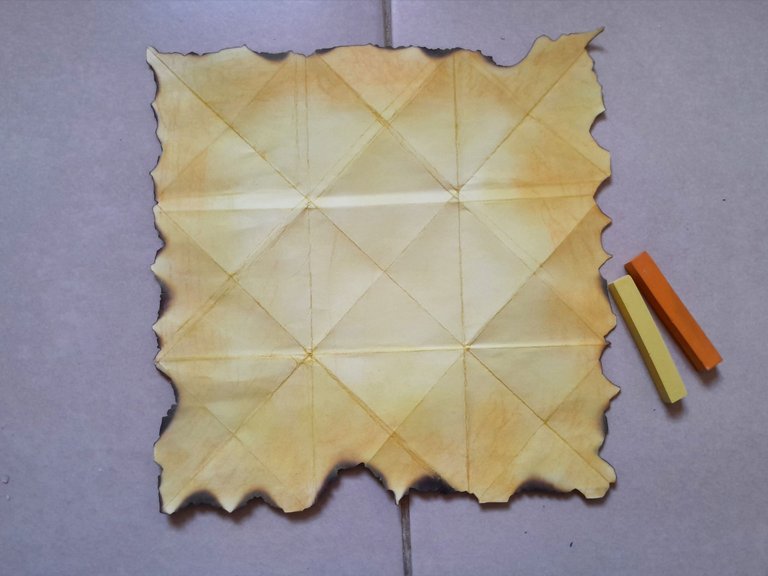
Empezaremos cuadrando la cartulina, ya que necesitaremos un cuadrado perfecto para hacer la carta.
We will start by squaring the cardboard, since we will need a perfect square to make the card.
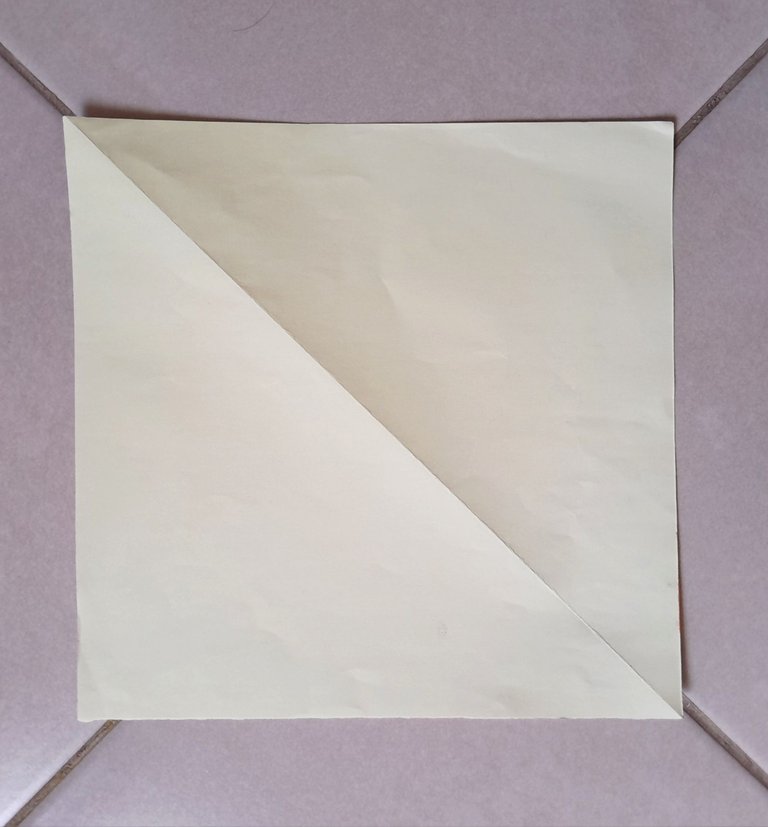
Después de eso, lo doblaremos de las 2 puntas hacia adentro. Les debe quedar asi:
After that, we will fold the 2 ends inwards. It should look like this:

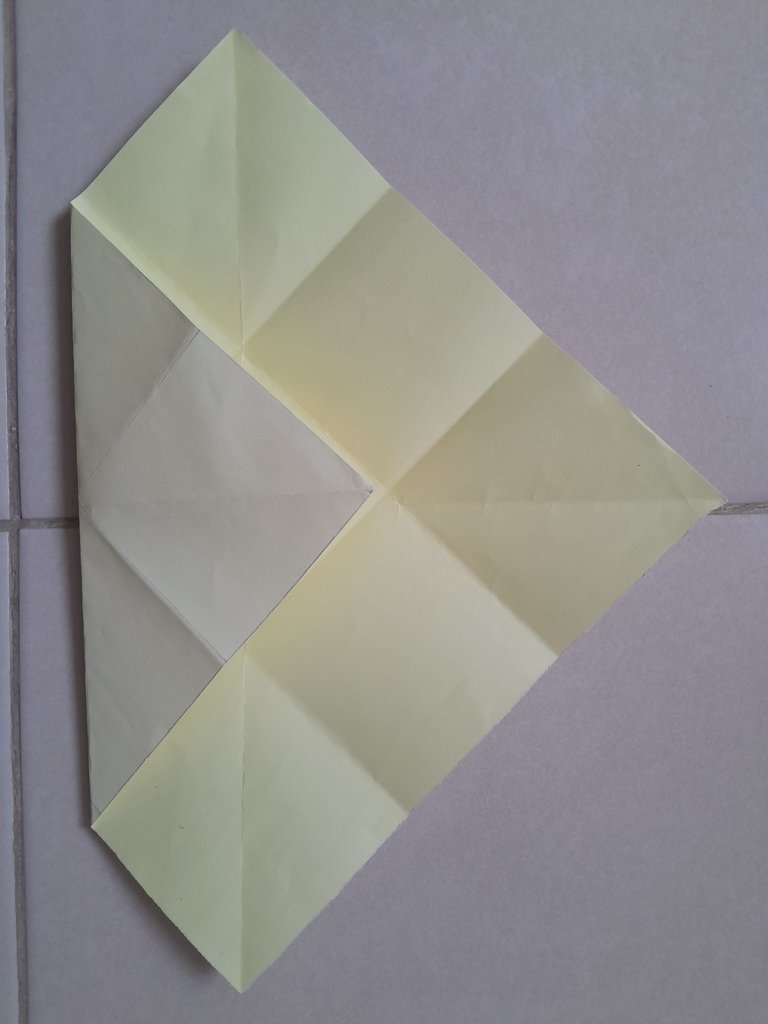
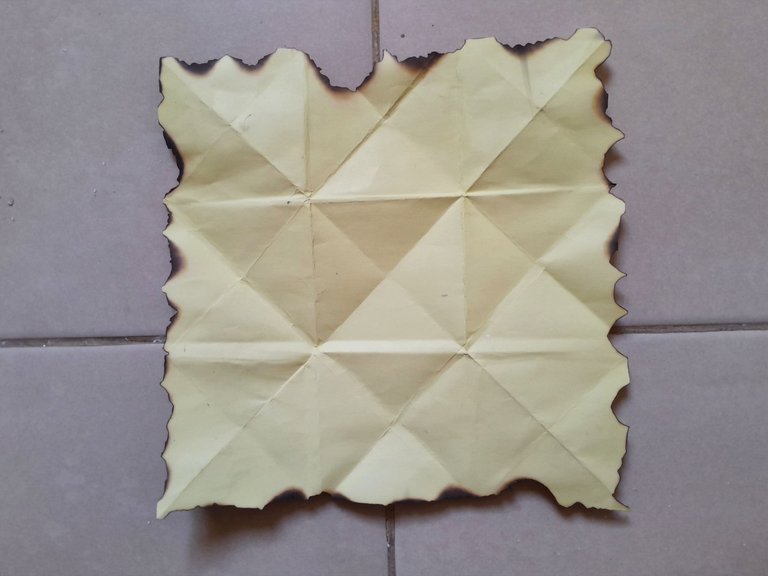
Luego de eso, vamos a dividir la hoja tanto horizontal como verticalmente en tres partes iguales, de esta manera:
After that, we will divide the sheet both horizontally and vertically into three equal parts, like this:
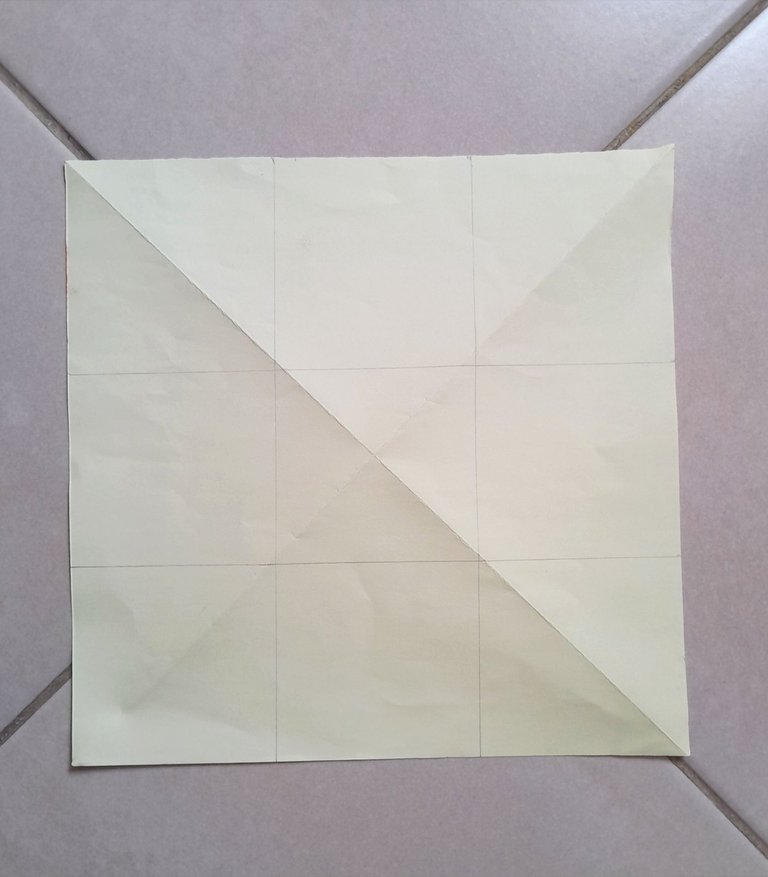
Nota: aquí solamente marcaremos las líneas, no se va a recortar nada.
Note: here we will only mark the lines, nothing will be cut out.
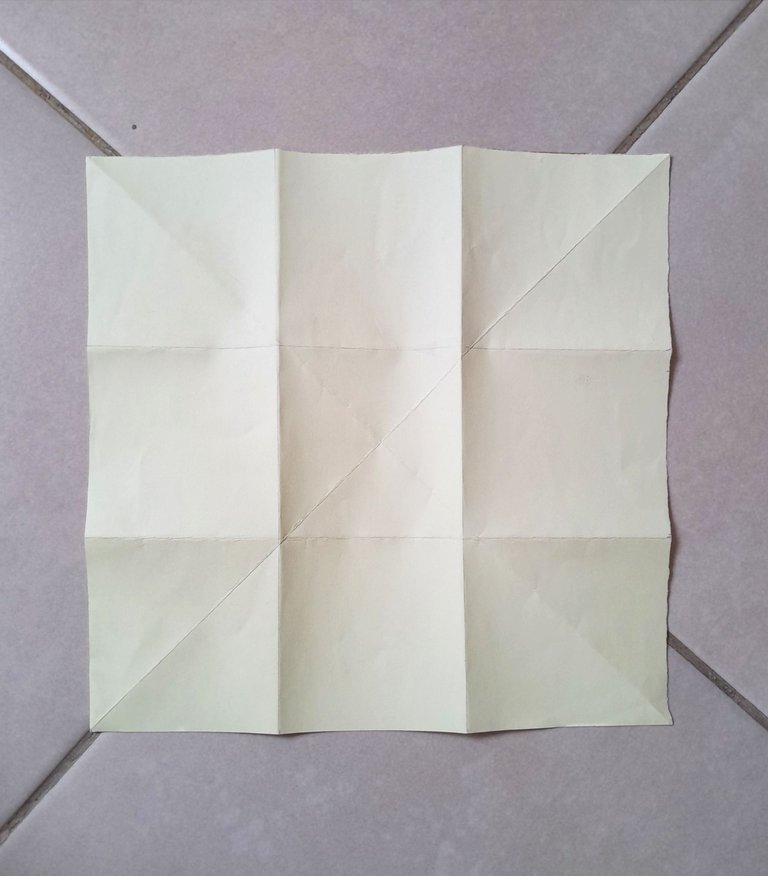
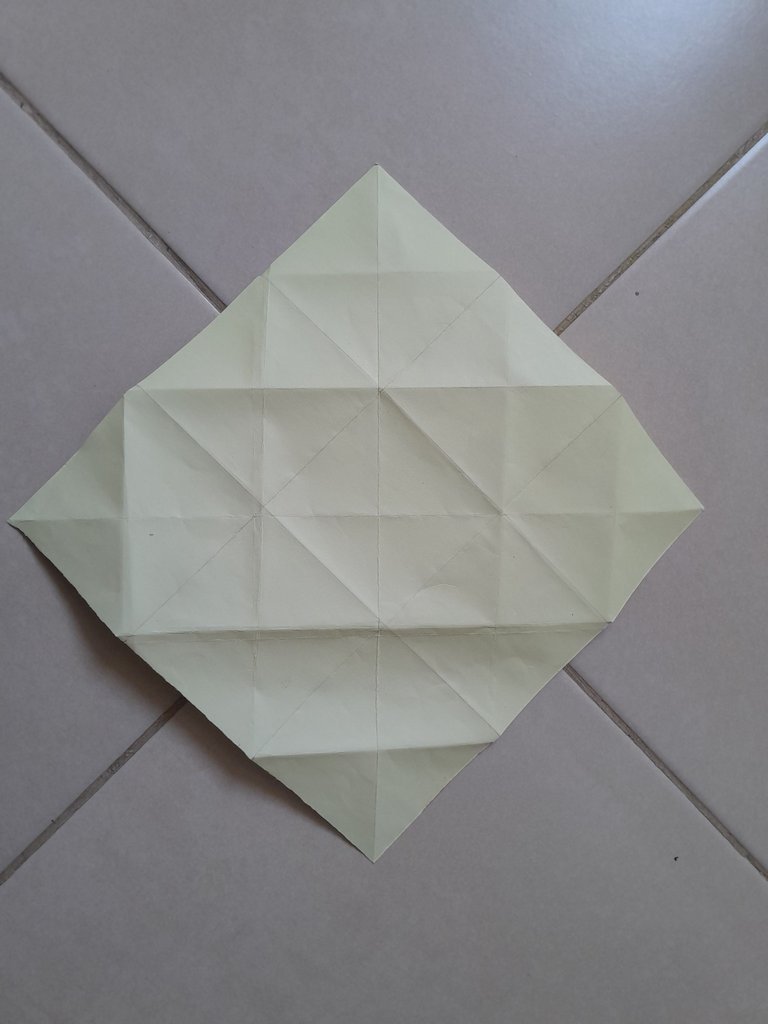
Después de haber marcado bien las líneas, procedemos a doblar los 4 extremos en 2x2. En las siguientes imágenes se explica mucho mejor todo:
After having well marked the lines, we proceed to fold the 4 ends in 2x2. The following images explain everything much better:

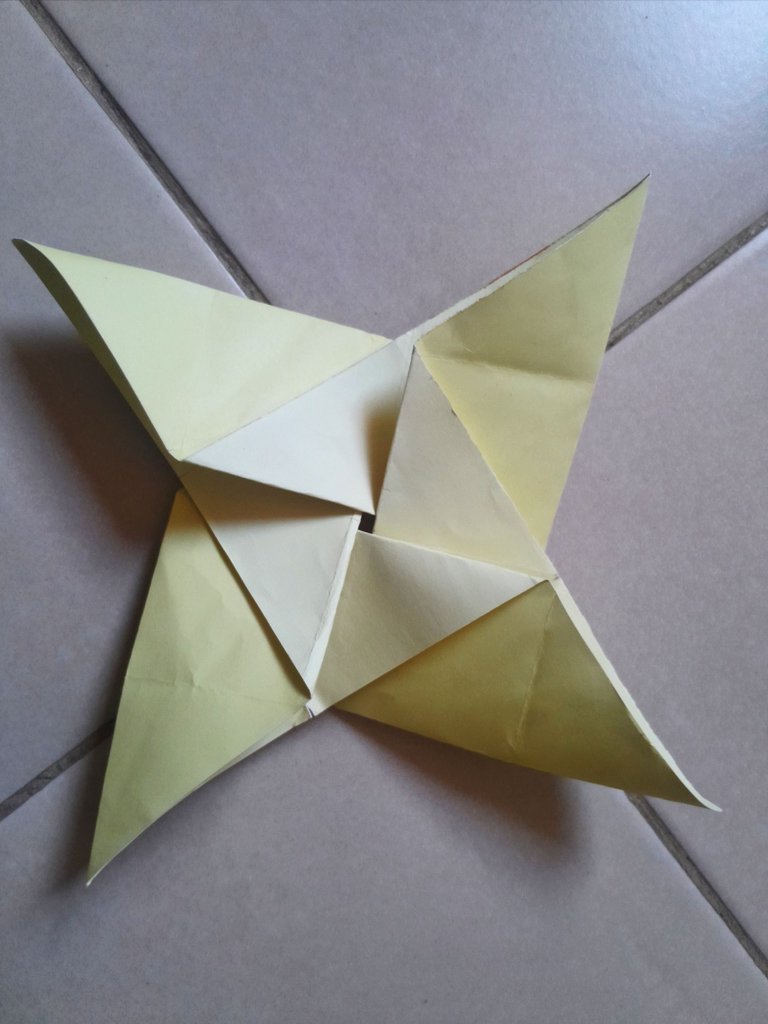
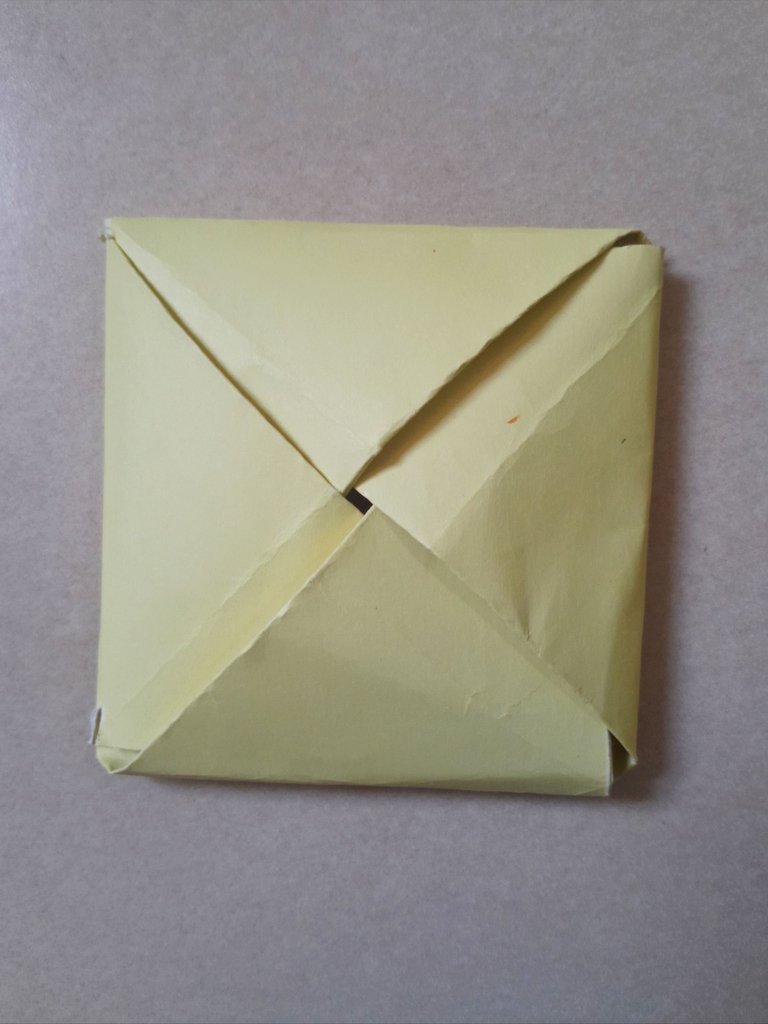
Les debe quedar asi una vez sigan todos los pasos anteriores:
It should look like this once all the above steps have been followed:
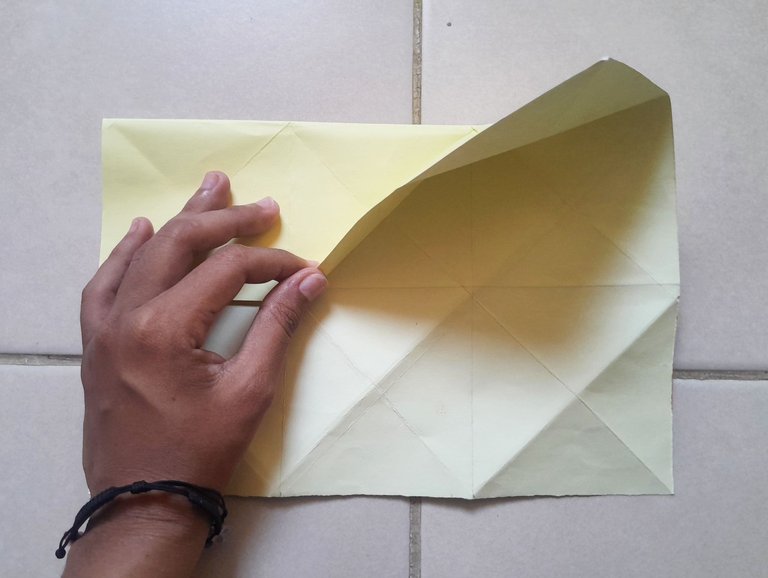
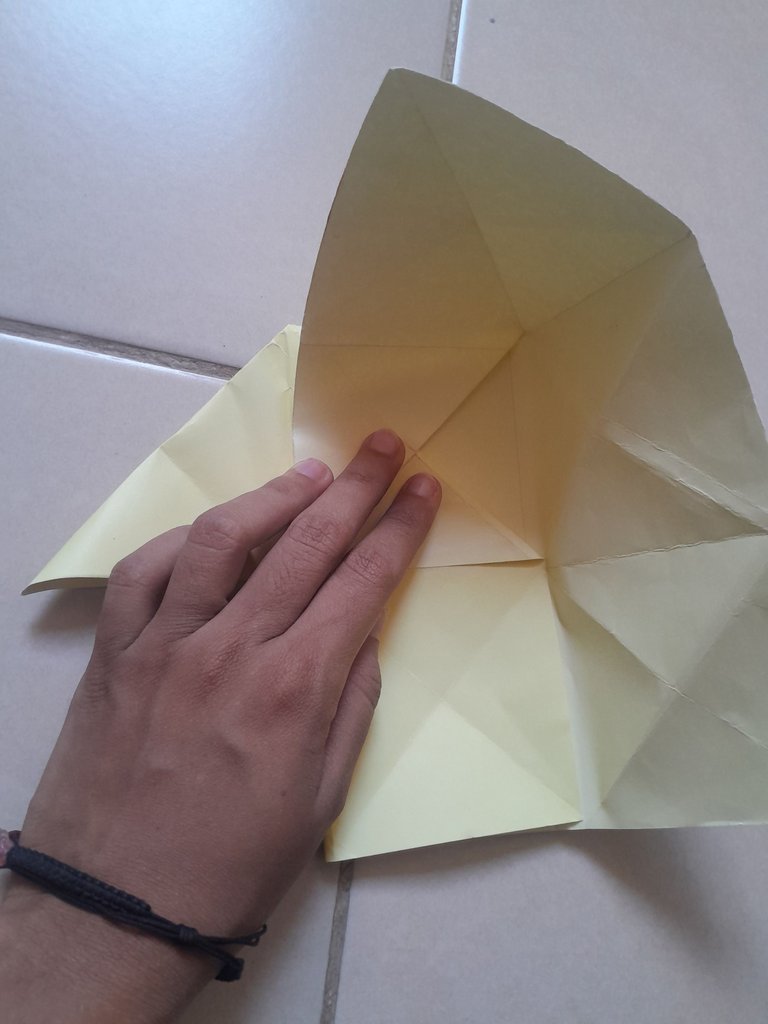
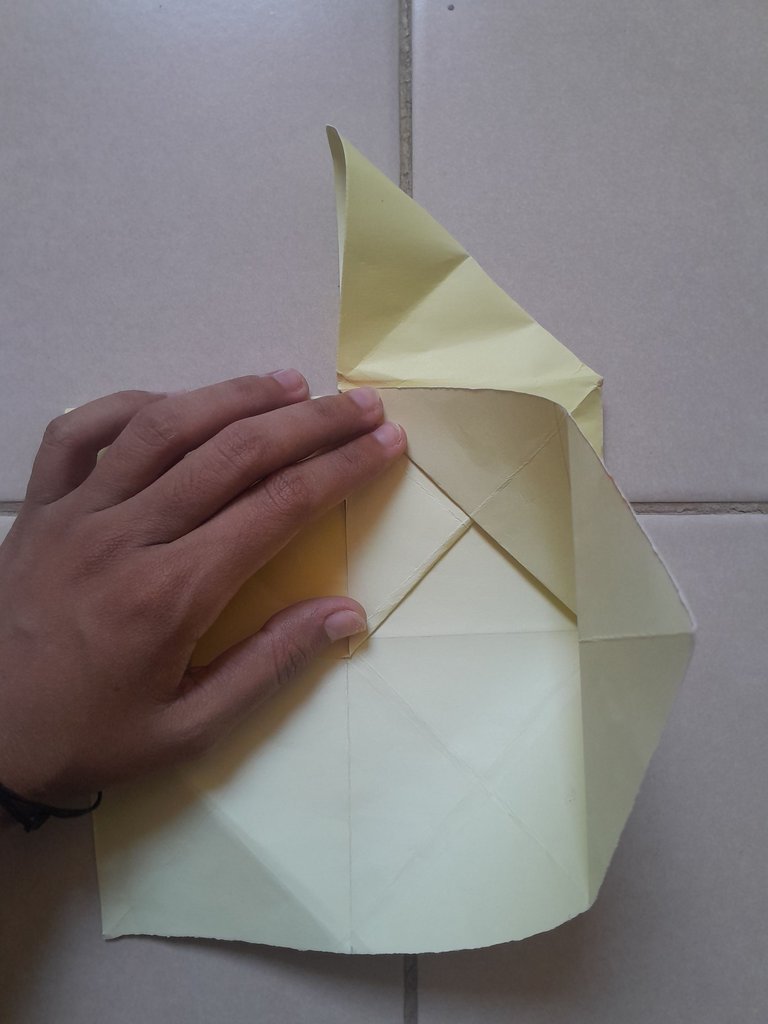
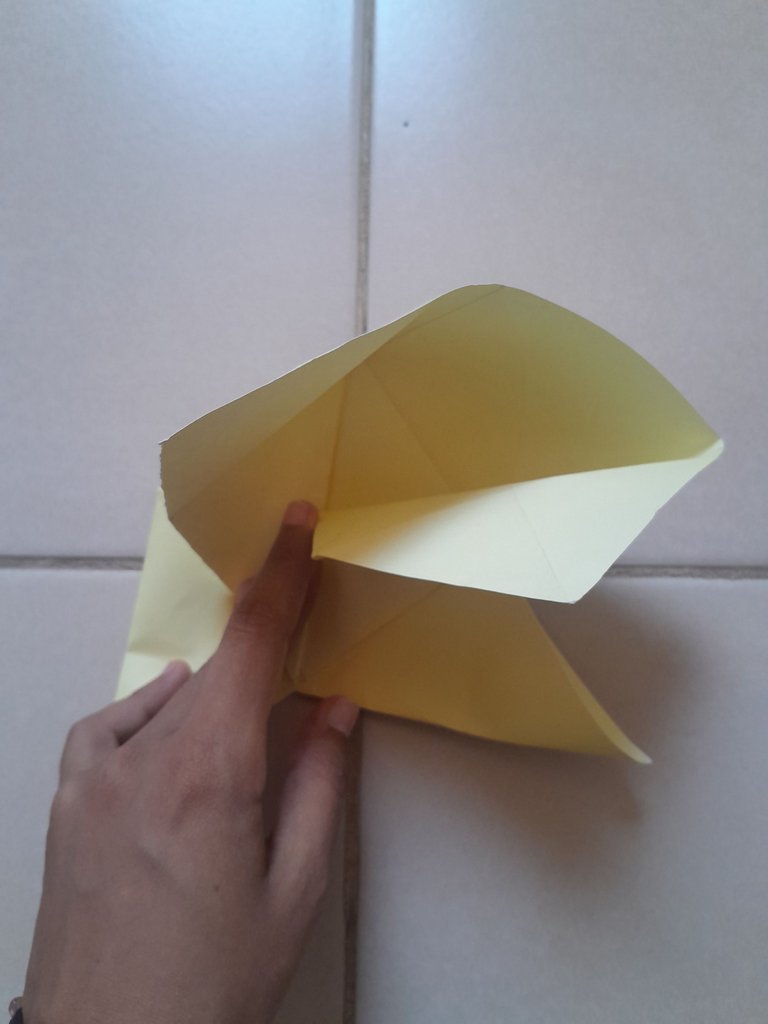
Es hora de empezar a doblar la tarjeta y les recomiendo estén muy pendiente a estos pasos:
Se explica mucho mejor en las imagenes ya que traté de hacerlo lo más obvio posible.
It's time to start folding the card and I recommend you to pay close attention to these steps:
It is much better explained in the images as I tried to make it as obvious as possible.
Una vez ya sepan como es todo el proceso, pueden empezar a hacer la carta en sí. La imaginación no tiene límite asi que le pueden agregar lo que quieran. En mi caso hice algo muy sencillo, porque mi objetivo primordial era enseñarle como se hacía la carta.
Once you know how the whole process works, you can start making the letter itself. Imagination has no limit so you can add whatever you want. In my case I did something very simple, because my main goal was to show you how to make the letter.

Para cerrar la carta lo único que deben hacer es doblar hacia adentro los triángulos y el último meterlo por debajo y listo, eso fue todo.
¿Les gustó el tutorial?
To close the card all you have to do is fold the triangles inwards and the last one underneath and that's it, that's all.
Did you like the tutorial?
Thanks for reading and watching.
No tenía idea de que así se doblaban las cartas, se ve increíble. 🩷
Gracias 🥰
It looks pretty good. Good to see each step of making this. Nice work! Thank you for sharing this.
Thank you so much❤️