Hola creativos, ¿como están?. El día de hoy les traigo un tutorial paso a paso de como hacer un monocular, el cual fue creado específicamente para un disfraz de mi novio. Espero les guste mucho, a continuación los dejo con todo el proceso.
Hello creatives, how are you? Today I bring you a step by step tutorial on how to make a monocular, which was created specifically for a costume for my boyfriend. I hope you like it very much, then I leave you with the whole process.
MATERIALES // MATERIALS
| ESPAÑOL | ENGLISH |
|---|---|
| Rollos de cartón | Cardboard rolls |
| Silicona | silicone |
| Tijeras | Scissors |
| Pintura negra y dorada | black and gold paint |
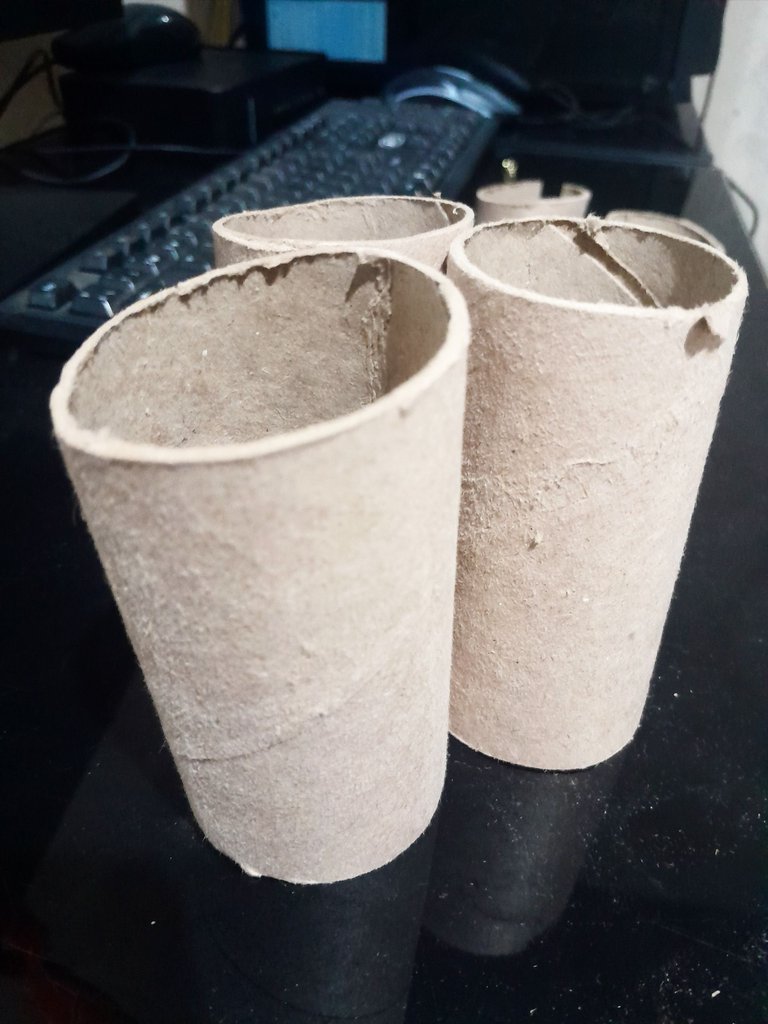
Lo primero que haremos será seleccionar tres rollitos de cartón del mismo tamaño. Pueden usar los rollos del papel higienico o hacerlos con cartón, todo depende de ustedes.
The first thing we will do is select three cardboard rolls of the same size. You can use toilet paper rolls or make them out of cardboard, it's up to you.
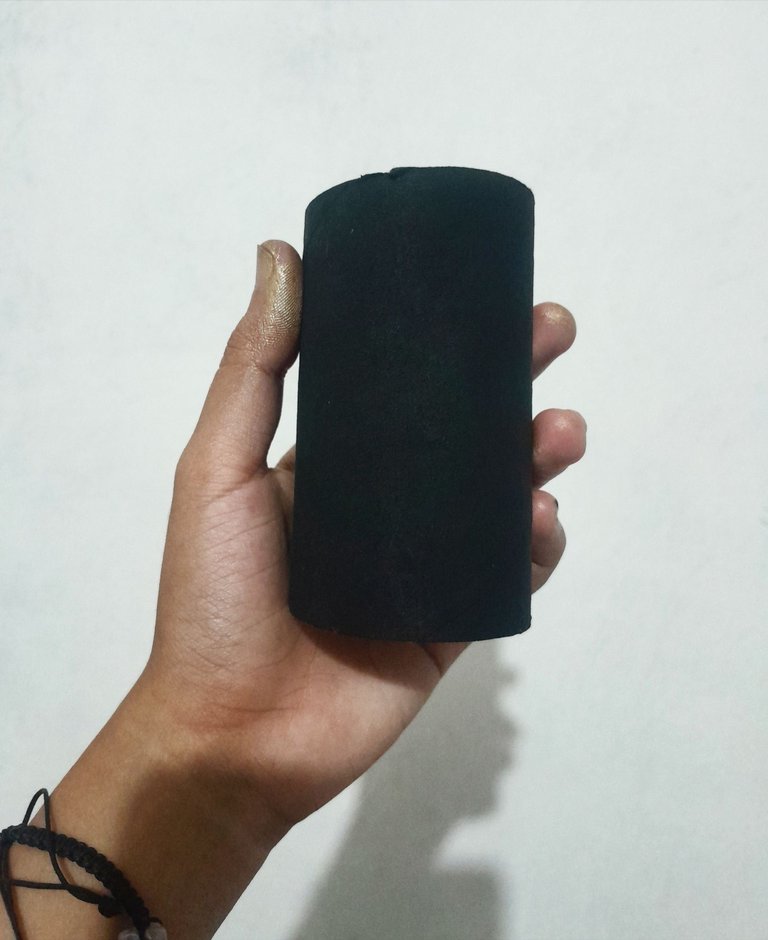
Los vamos a pintar de negro en este caso, pero ustedes pueden escoger el color que más les guste.
We are going to paint them black in this case, but you can choose the color you like the most.
Luego, a dos de ellos le vamos a hacer un corte justo por el centro de esta manera:
Then, to two of them we are going to make a cut right through the center like this:
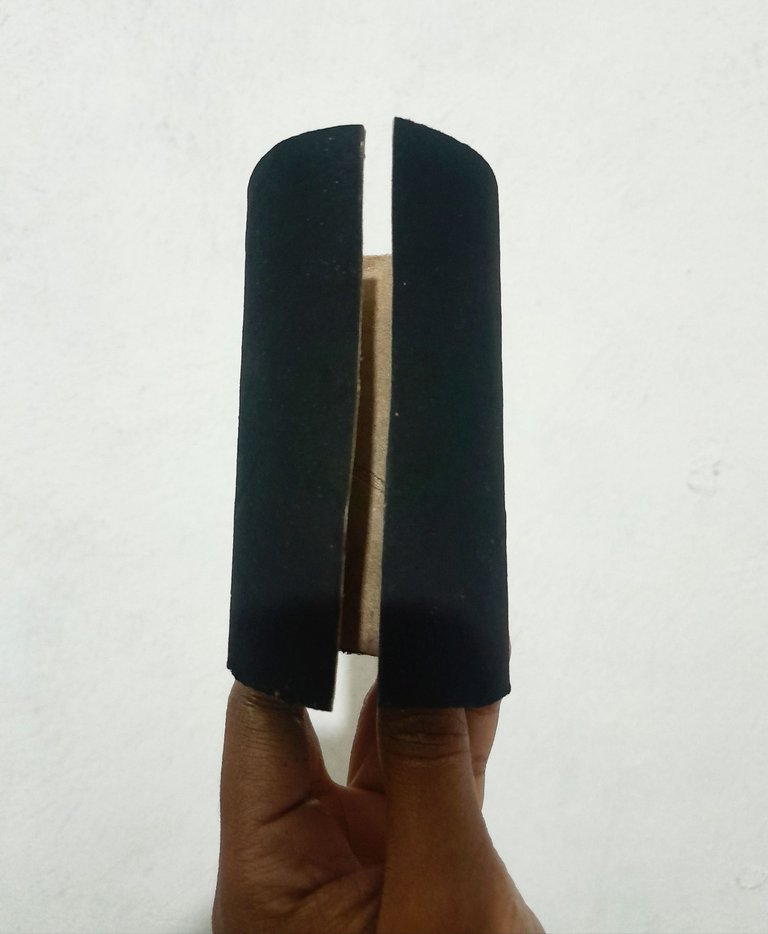
El corte que hicimos anteriormente es para que pueda caber un rollito sobre otro ya que como dice el titulo, es un monocular retráctil.
The cut we made earlier is so that one roll can fit over the other since, as the title says, it is a retractable monocular.
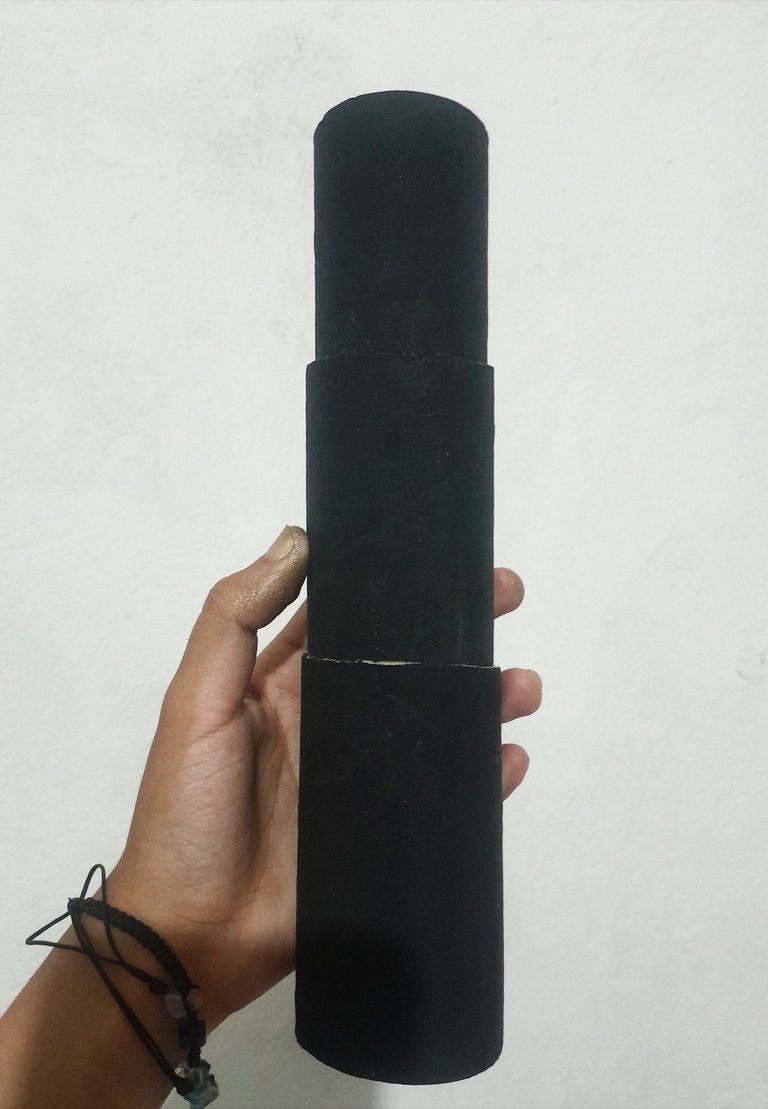
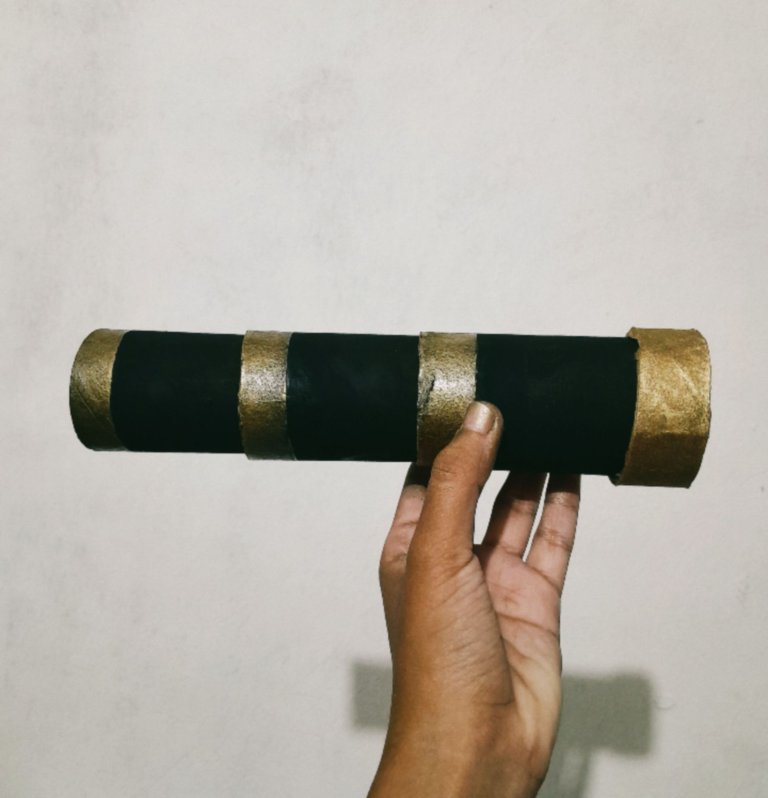
Así como está se ve muy simple así que tenemos dos opciones: pintar los bordes de otro color o hacer aros delgados para pegarlos encima. Los aros deben recortarlos de un grosor de aproximadamente 2cm y pintarlos, en mi caso, fue de dorado.
As it is, it looks very simple so we have two options: paint the edges in another color or make thin rings to glue on top. The rings should be cut to a thickness of about 2cm and painted, in my case, gold.
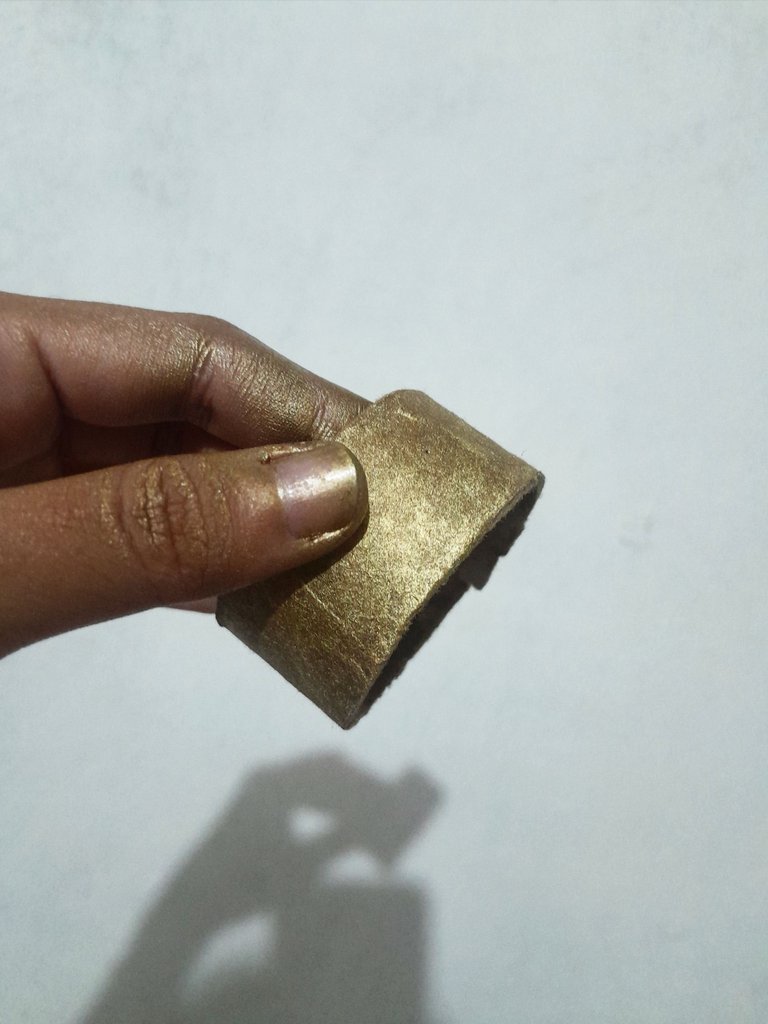
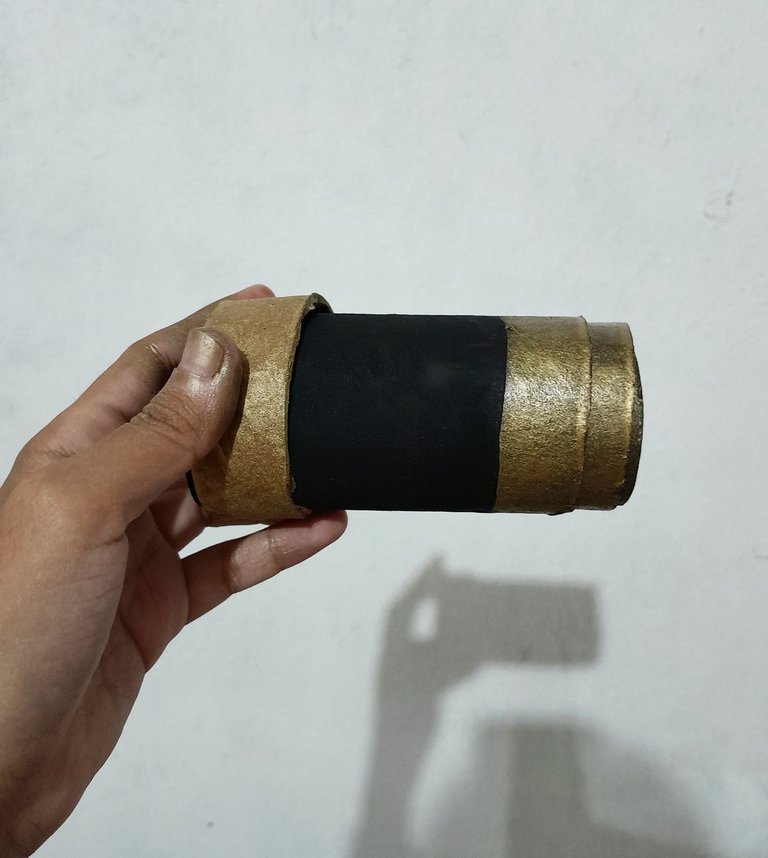
En mi caso hice los tres aros que necesitaba, pero solo pegue uno en el boder inferior, pues decidí que era mejor pintarle los bordes. Así me quedó:
In my case I made the three rings I needed, but I only glued one on the lower boder, because I decided it was better to paint the edges. This is how it turned out:

Miren como se encoge. ¿Les gustó?
Look how it shrinks. Did you like it?
Thanks for reading and watching.
Hola, de todas las ideas que siempre me surgen, ésta de hacerlo retráctil no me habia surgido... ¡que gran idea!.... te quedó lindo. Apuntada la idea.
SAludos, bendiciones y éxitos
Me alegra que te haya gustado. Muchas gracias por el apoyo❤️
You always surprise us with nice work for DIYHub, and I like that quality represents you in every post, thanks for that Gaby!...
Thank you very much for your nice comment✨️❤️
Muy creativo. Muy buen trabajo 😀
Muchas gracias c:
Total genius. Thank you for sharing the step by step of the elaboration of this monocular in DIYHub, especially for being recyclable material, it is admirable and embellishes our community.
Thank you ❤️✨️