Hola comunidad de DIYHub.
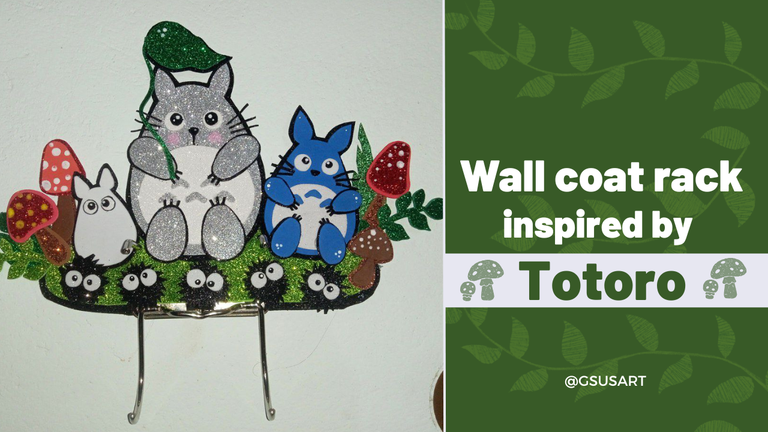
Esta es mi primera publicación en este espacio, por lo que deseo compartir con ustedes un tutorial sobre cómo hacer un perchero de pared inspirado en Totoro. Desde hace algún tiempo he querido hacer este diseño, así que recopilé algunos materiales que tengo en casa y no dudé en intentarlo.
Para hacer los adornos complementarios de este perchero, me inspiré en estas dos imágenes de Pinterest 1 - 2, aunque para los acabados y detalles agregué mi toque personal.
¡Espero que este tutorial les sea de mucha utilidad!
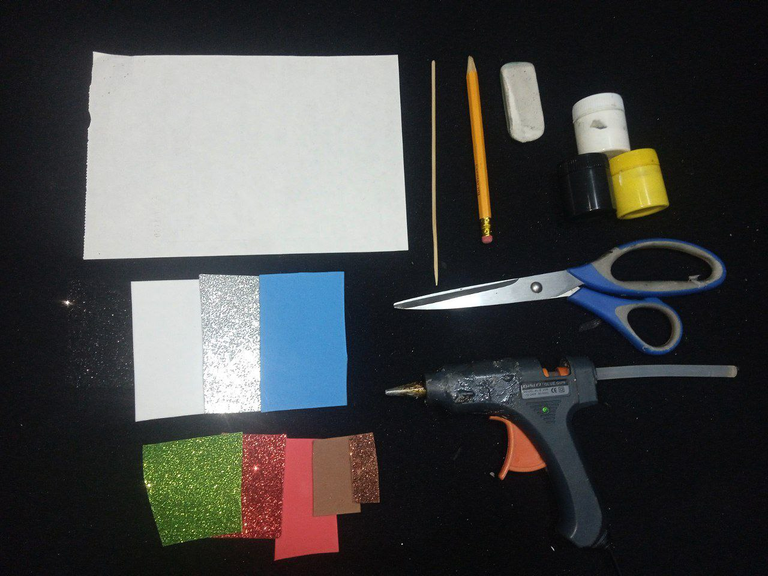
Materiales
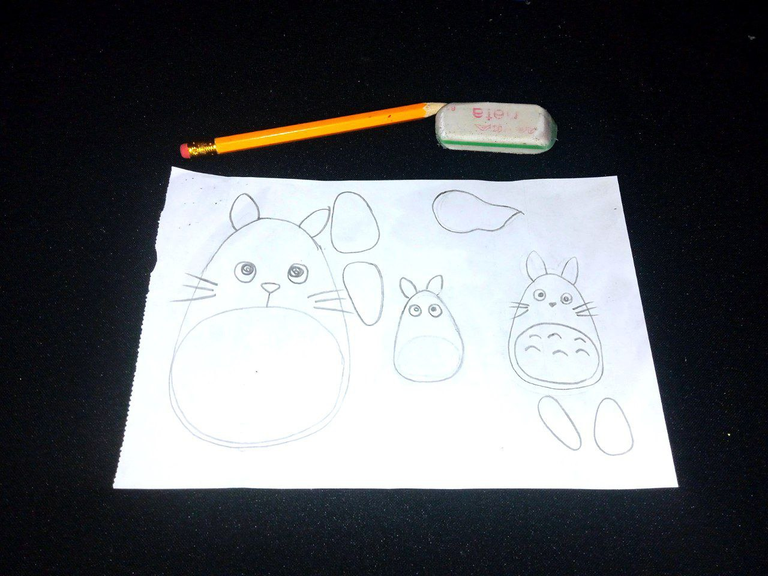
- Lápiz, goma de borrar.
- Hojas de papel reusables.
- Tijera.
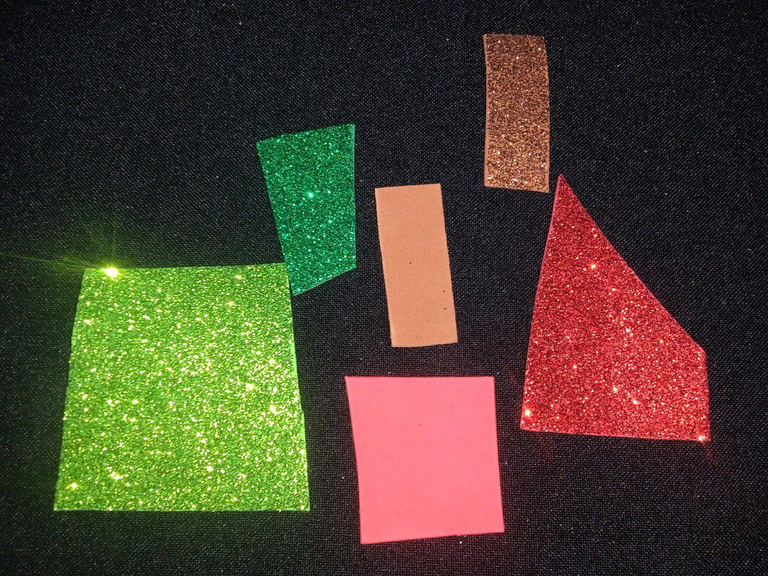
- Foamis de los colores que requiere el diseño.
- Pintura (negro, blanco y amarillo).
- Pistola de silicón.
- Ganchos de carpetas.
Procedimiento
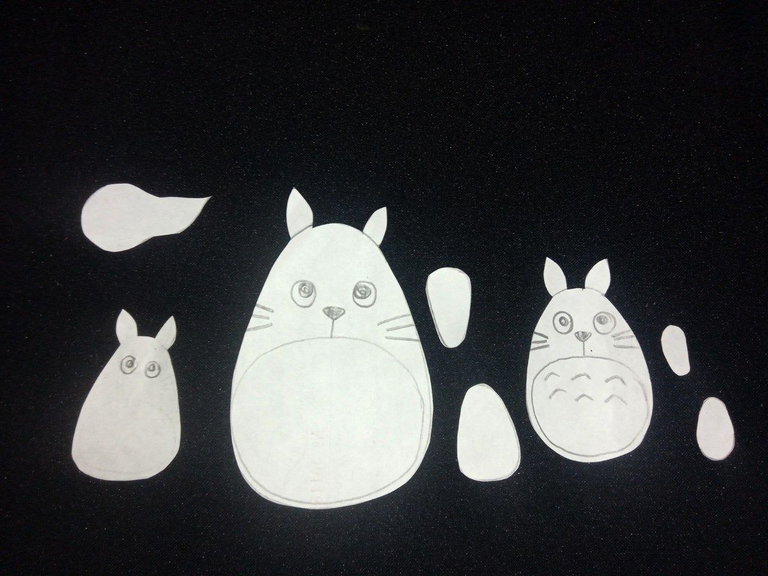
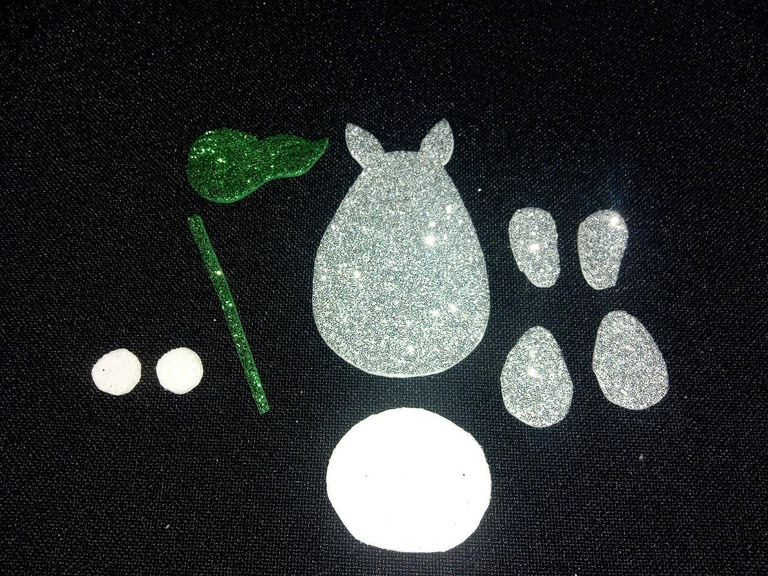
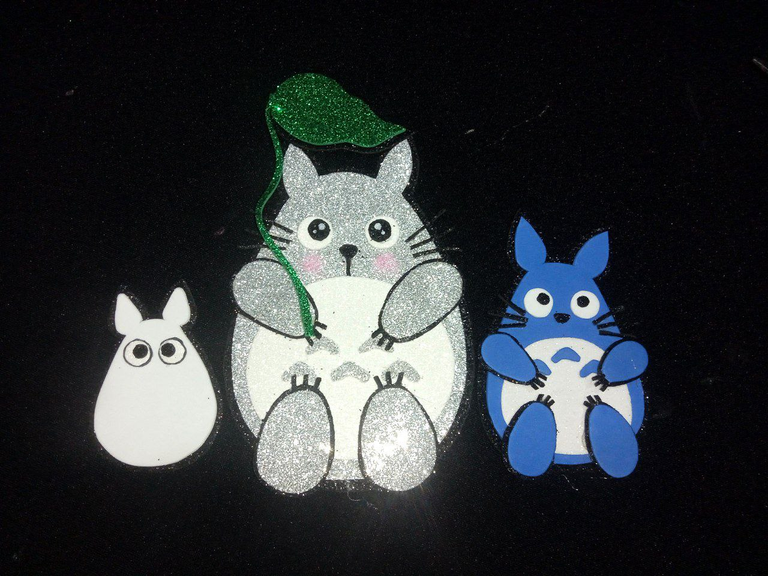
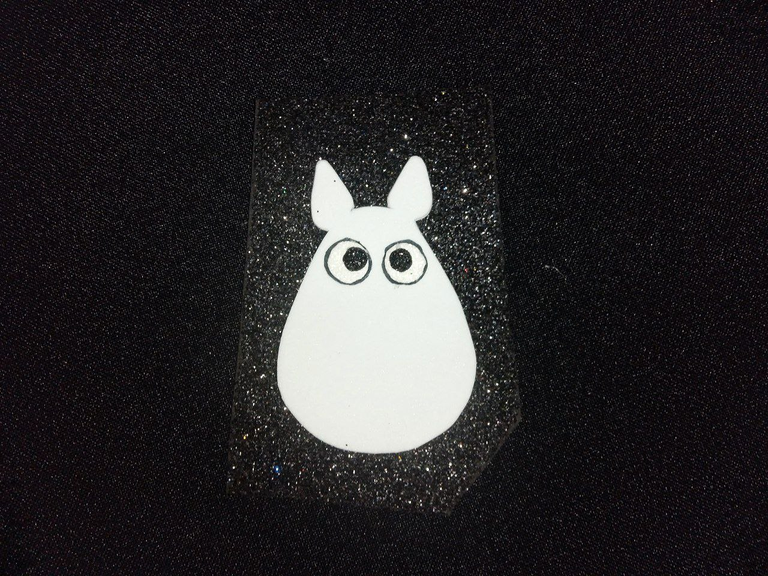
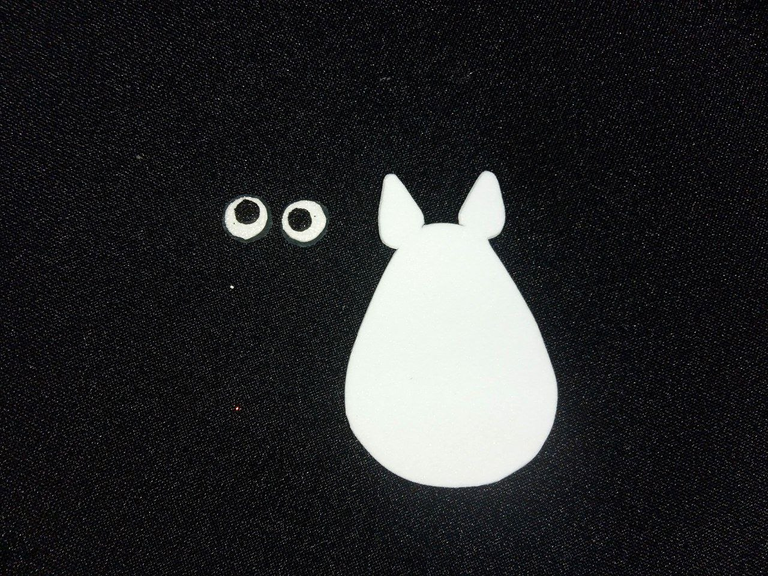
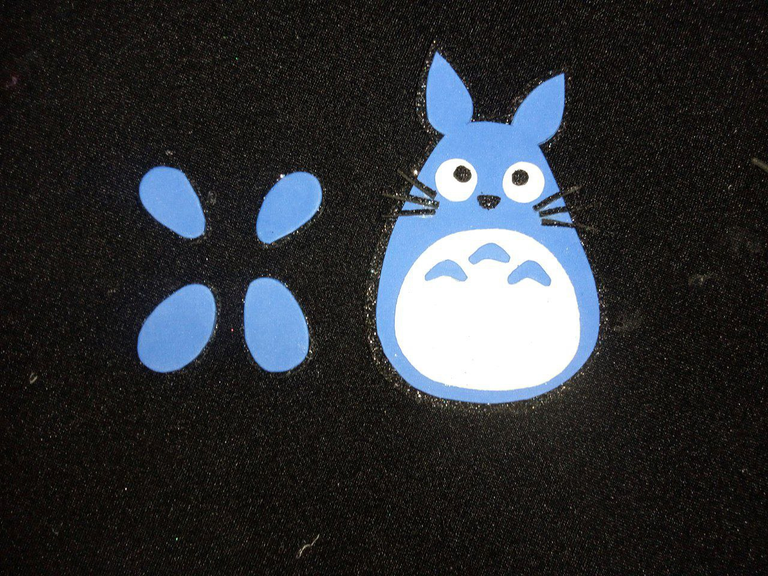
- En una hoja de papel reusable dibujamos los bocetos de nuestros personajes favoritos: Totoro, Chū totoro y chibi Totoro; dibujando los cuerpos, las barriguitas y las patitas. Puedes buscar plantillas en internet si necesitas inspiración, asegúrate de que las proporciones sean las que deseas. Una vez que tengas el boceto, recórtalo con cuidado para obtener las piezas.
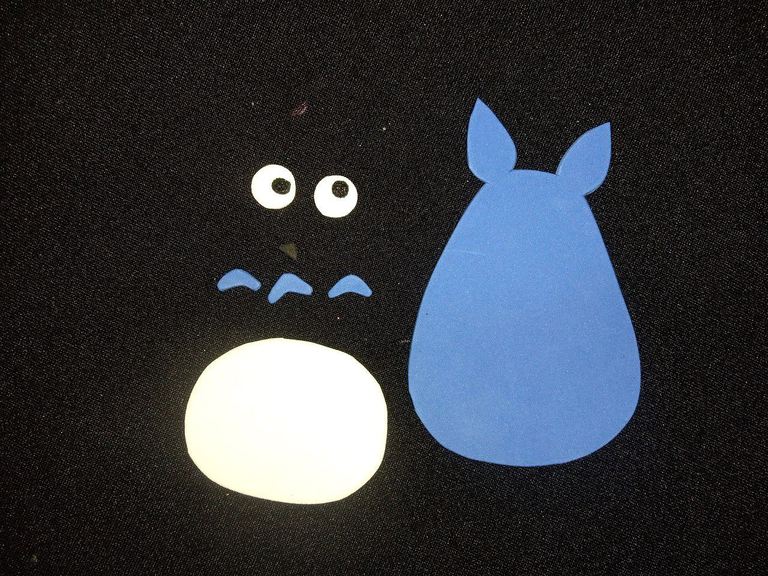
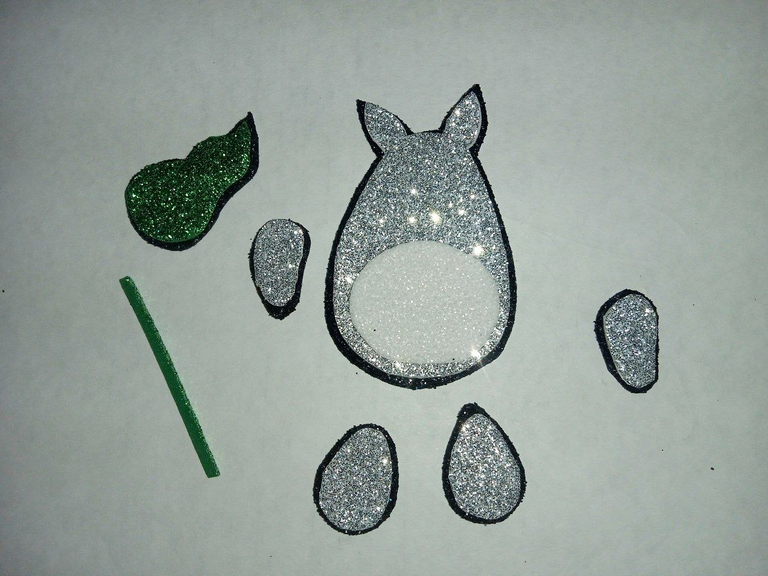
- Colocamos las plantillas sobre el foamy de los colores elegidos, y calcamos el contorno con un lápiz. Usamos la tijera y con mucho cuidado, cortamos las piezas de los muñecos en el foami, de acuerdo a los bordes del patrón.
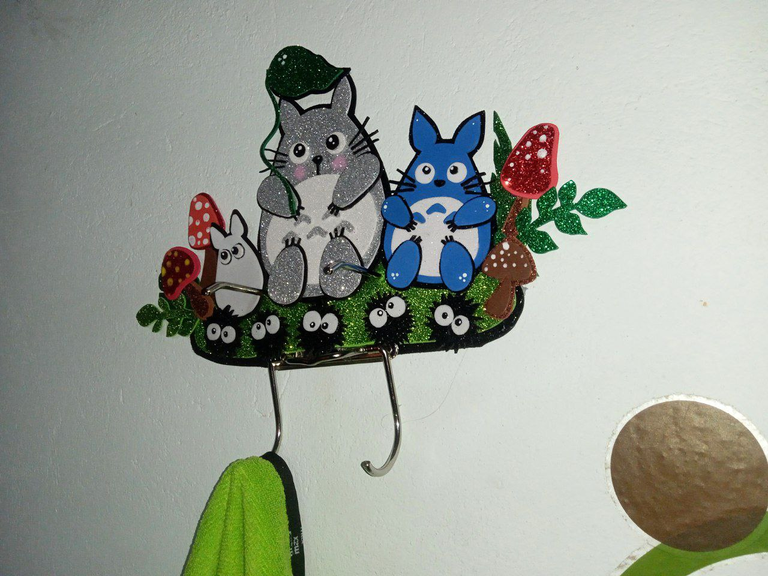
- Seguidamente, unimos las piezas de acuerdo a los diseños. Aplicamos silicón de pistola en las partes traseras de las piezas y las pegamos en el foamis negro, con las tijeras cortamos cuidadosamente el foamis negro con la intención de crearle un borde que hará que cada pieza resalte, hasta ir formando cada uno de los personajes de Totoro. Para hacer los bigotes y las garritas corté tiras finitas del foami negro.
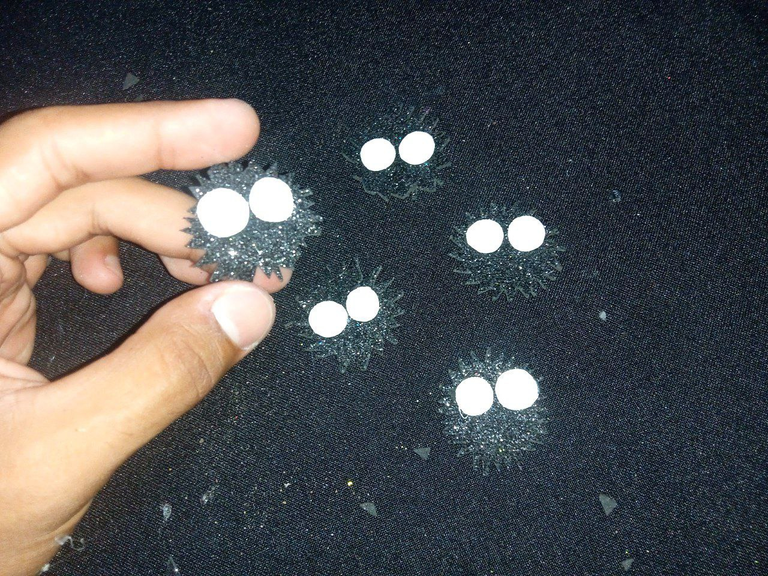
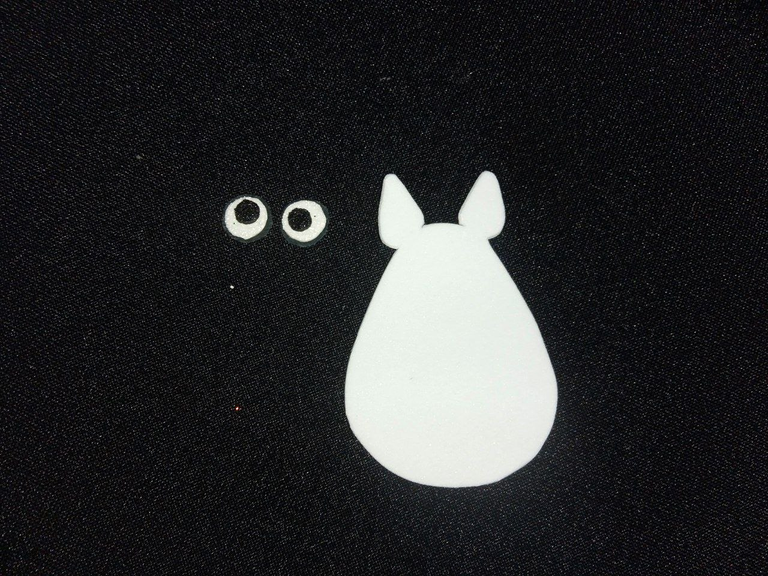
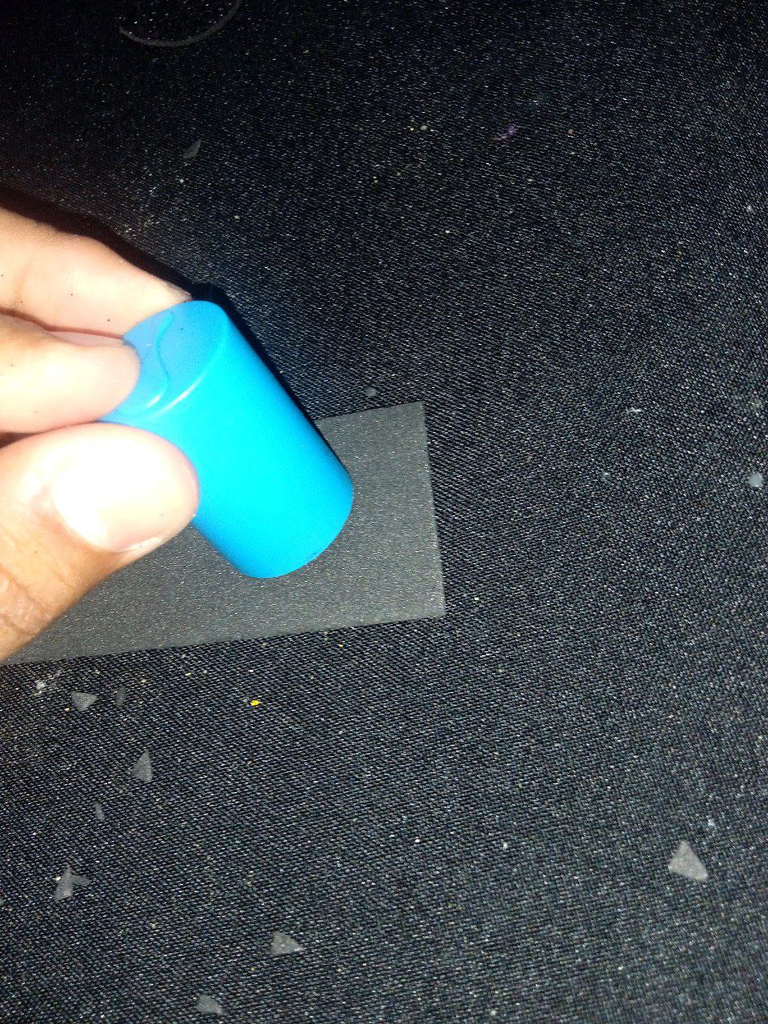
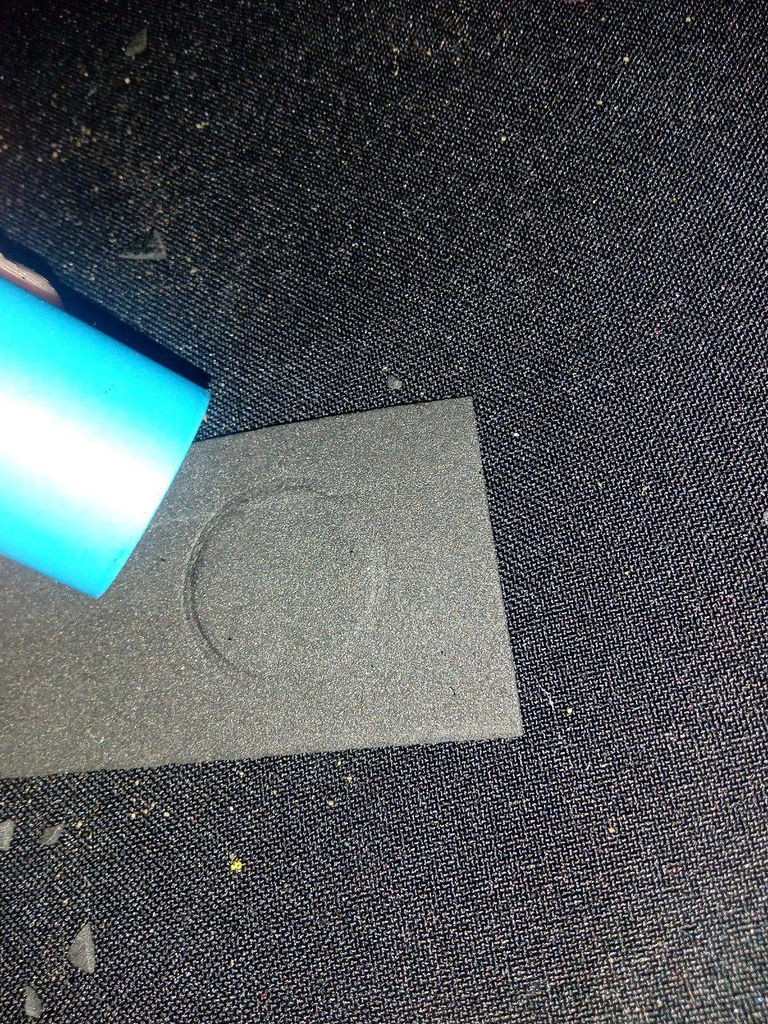
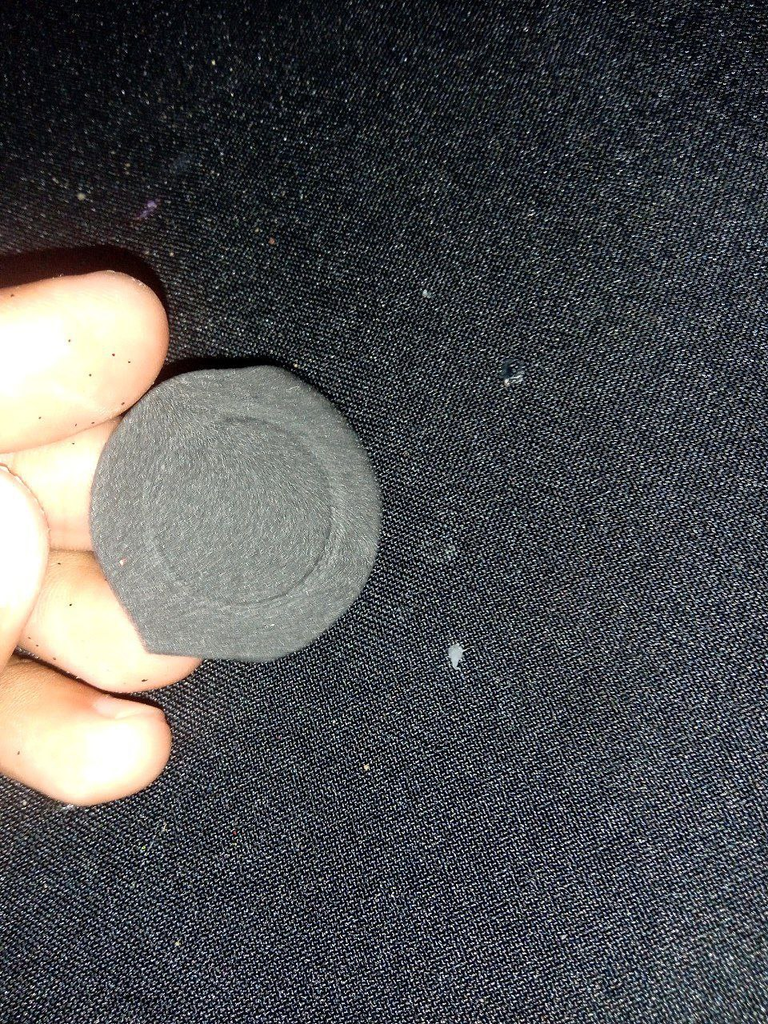
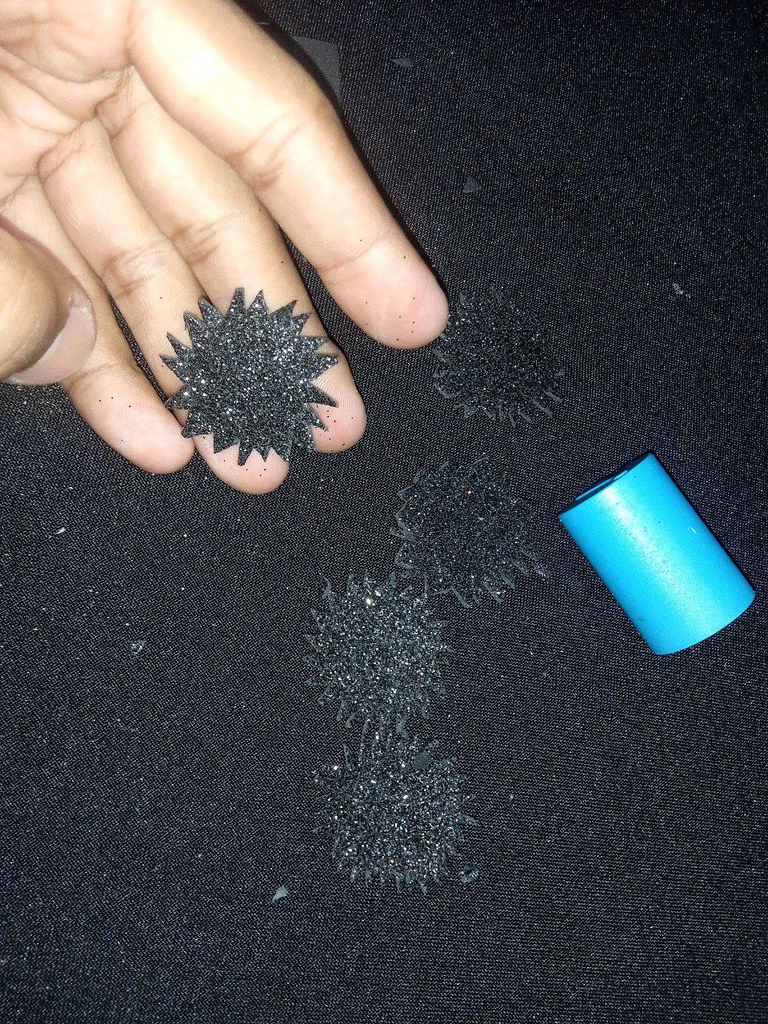
Ahora haremos a nuestros Susuwatari, también conocidos como "duendecillos del hollín" o "duendes del polvo". En un foami negro, con la ayuda de una tapa u otra cosa que te sirva para hacer círculos, marca la circunferencia en el foami. Deja unos 0.5 cm desde dicha circunfenrecia, y realiza un corte con la tijera corta la circunferencia, dejando unos 0.5 mm de espacio donde masque el borde de la tapa.
Posteriormente, hacemos cortes en cada circunferencia hasta obtener las puntas que caracterizan a los Susuwatari. Para los ojitos, cortamos círculos de foami blanco.
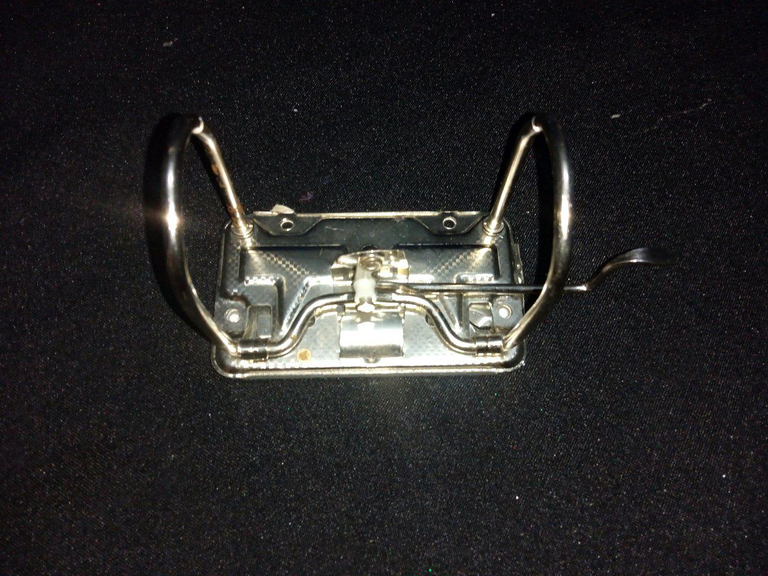
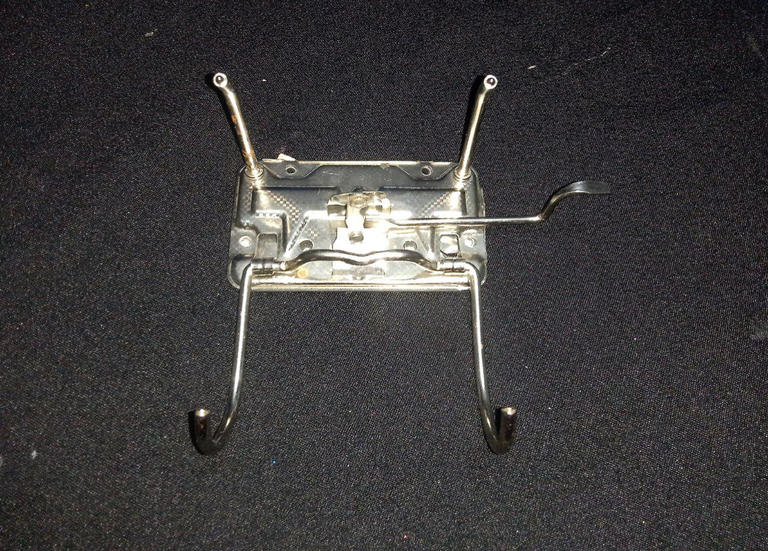
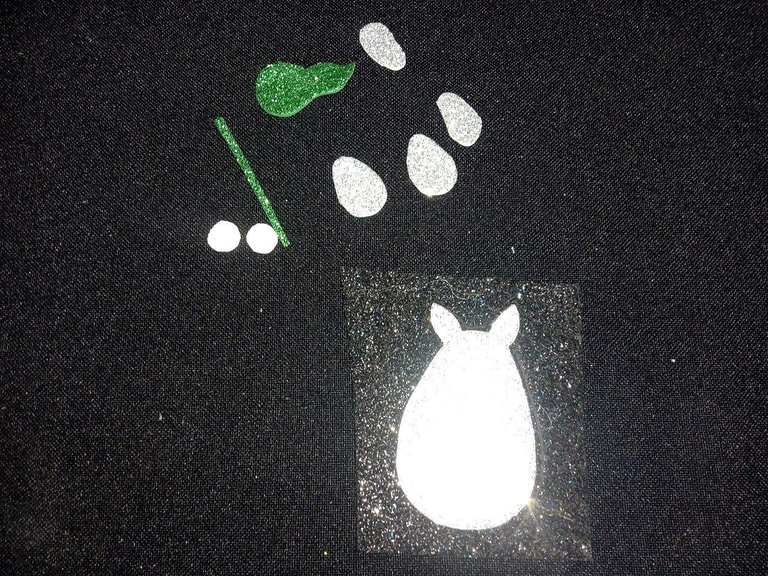
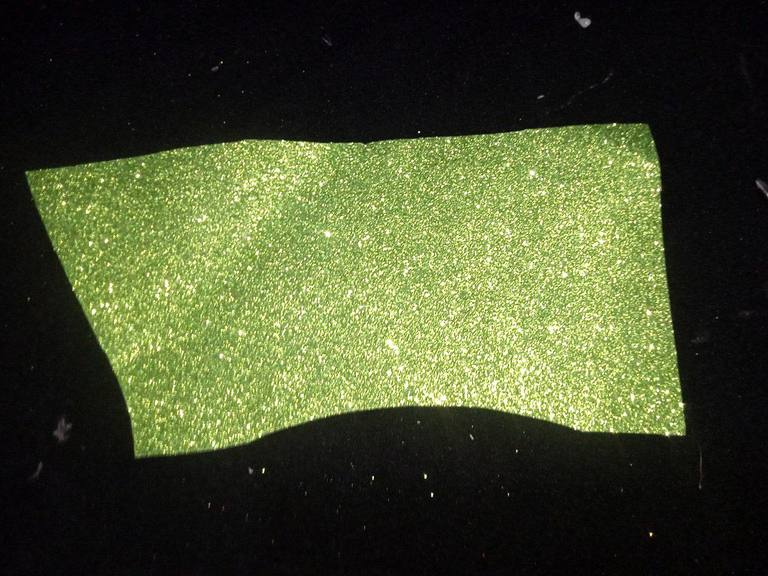
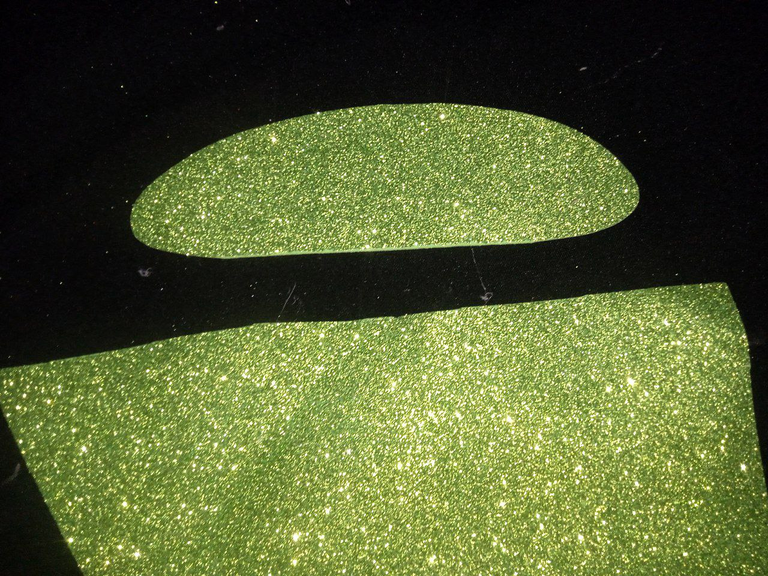
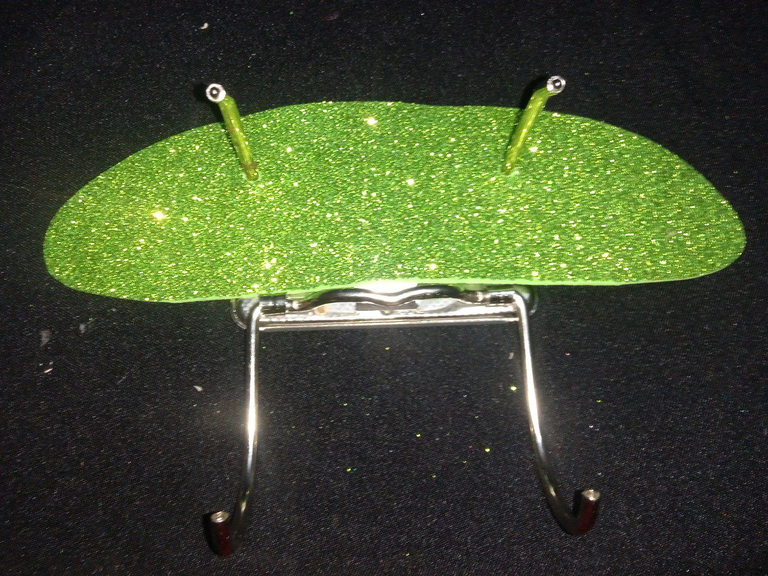
- Para cubrir la base de nuestro perchero, tomamos el foami verde, medimos y hacemos un óvalo que cubra toda la base, cortamos el óvalo y lo incrustamos en la base (gancho de carpeta) haciéndole dos agujeros, y pegamos con suficiente silicón.
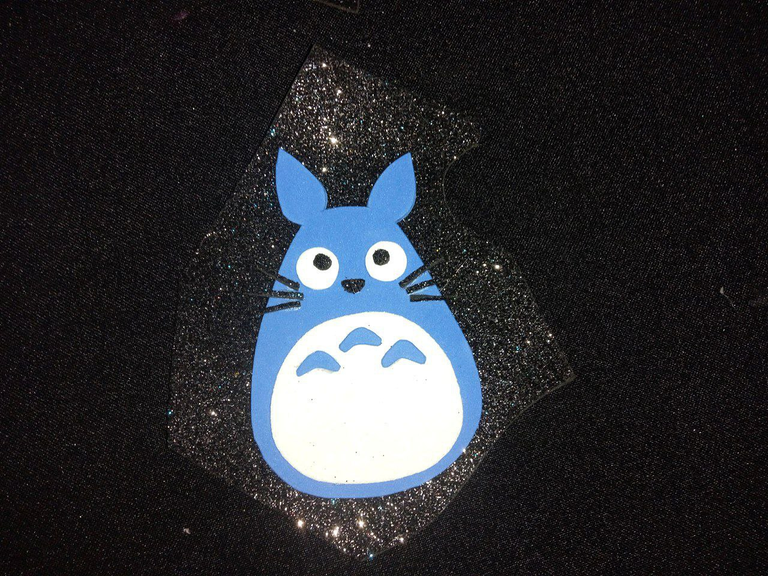
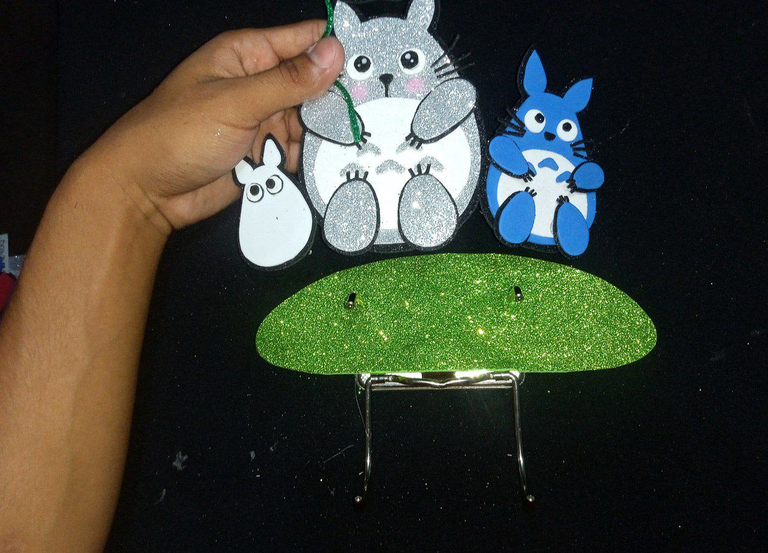
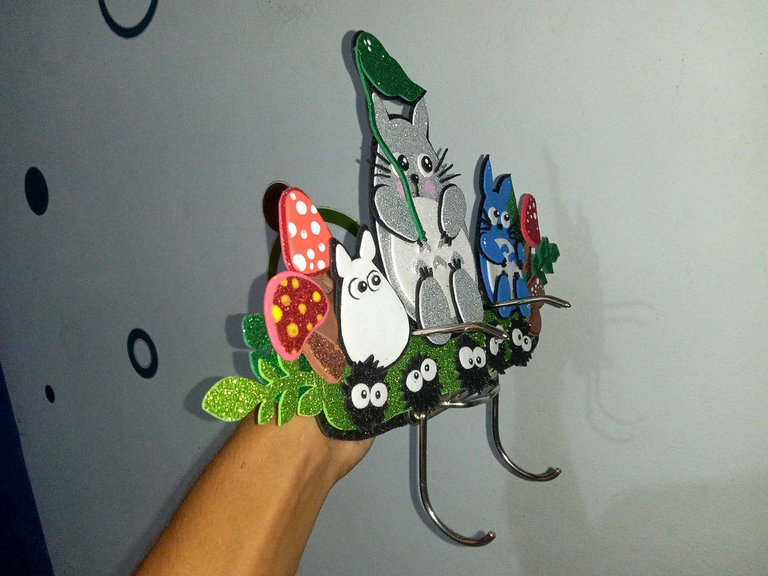
- Con nuestra base ya cubierta con el foami verde, ubicamos nuestros personajes en la parte superior (o donde tu diseño lo require) y pegamos.
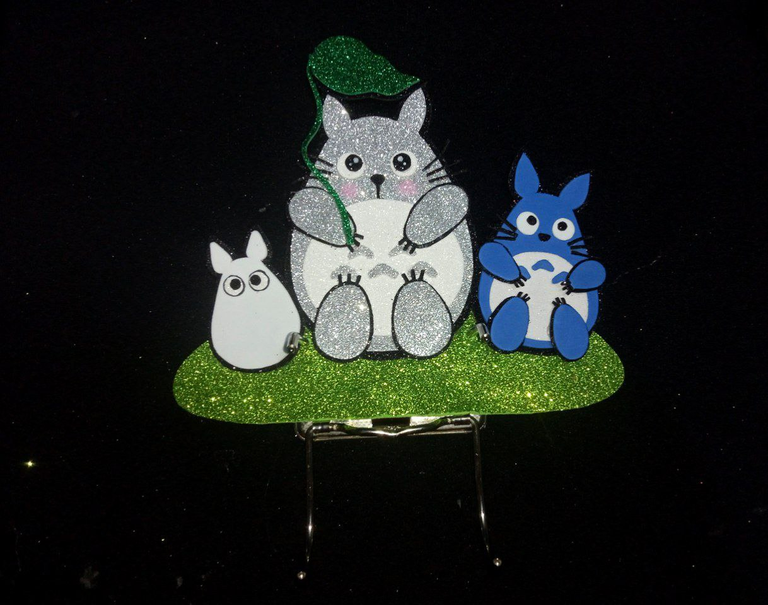
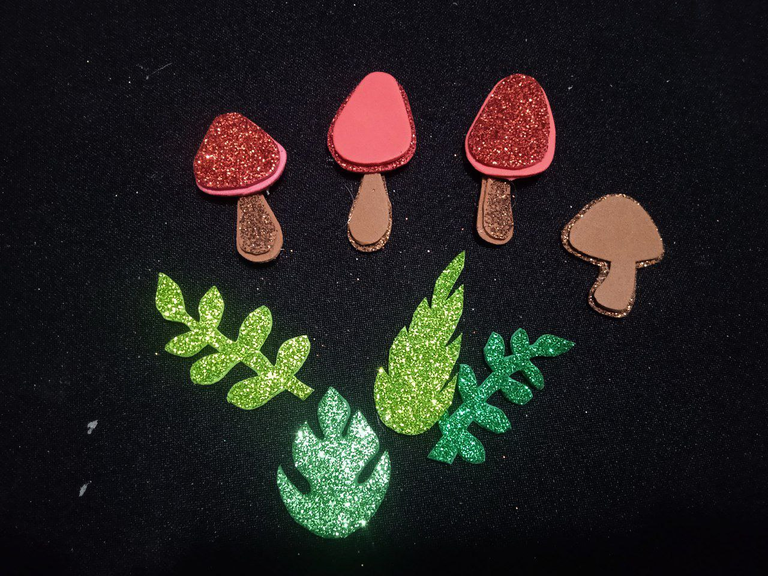
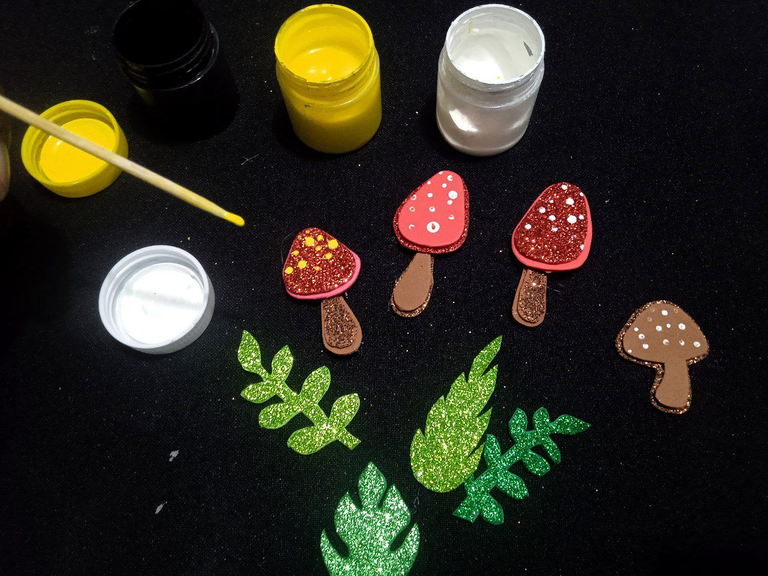
- Agregamos detalles finales al diseño, como hongos y hojas; para los hongos usé retazos de foamis de color rojo y marrón. Para las hojas, foamis verde claro y oscuro. Usamos un palillo de brocheta y pintura amarilla para darle un mejor acabado a estos elementos.
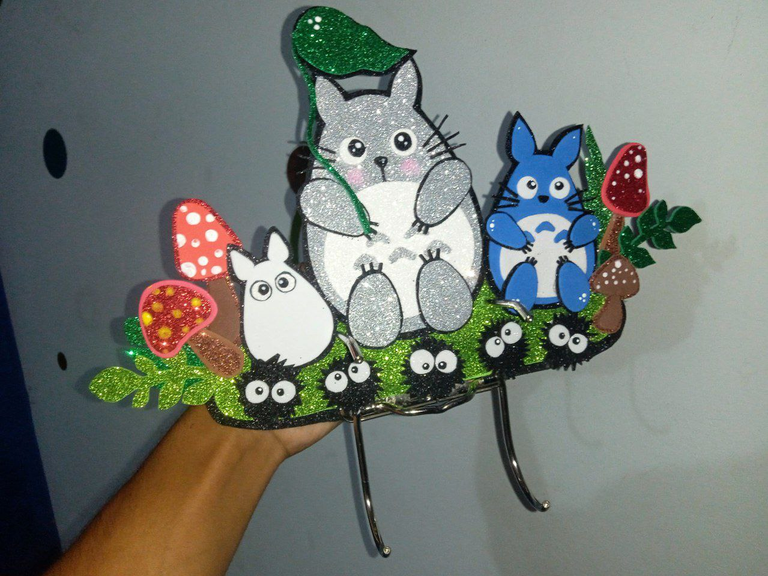
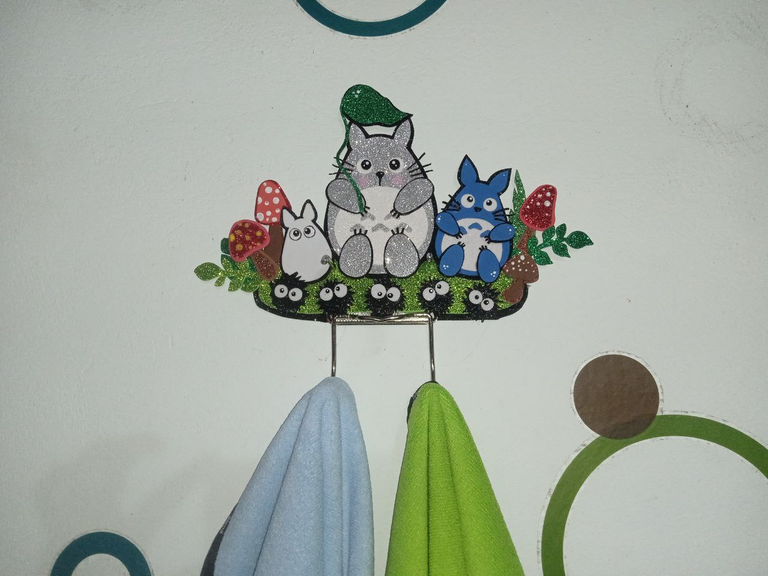
- Finalmente, pegamos todos los elementos diseñados a la base.
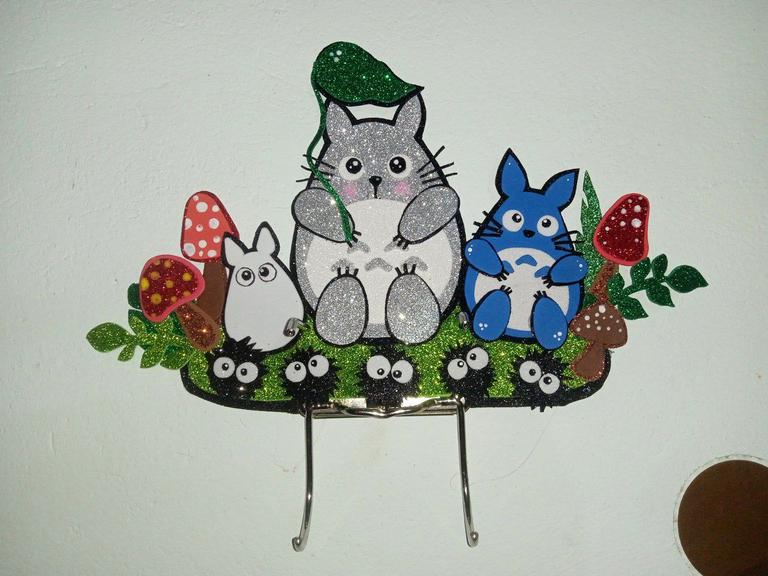
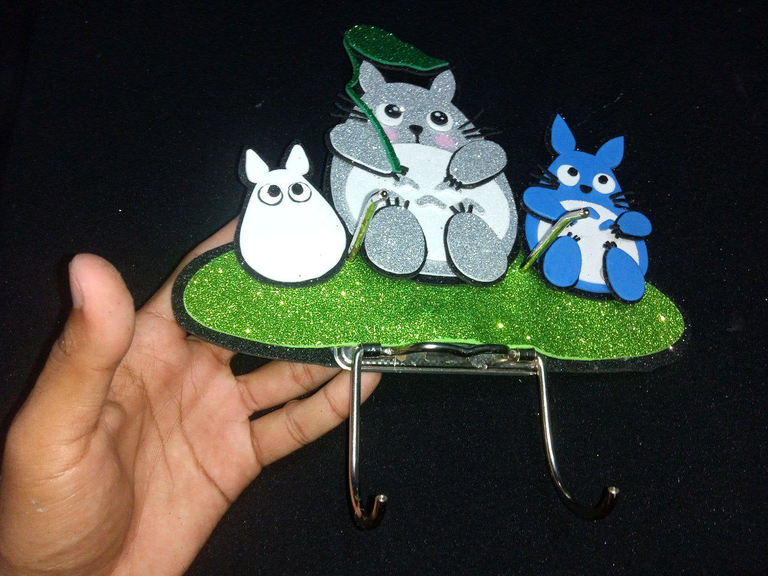
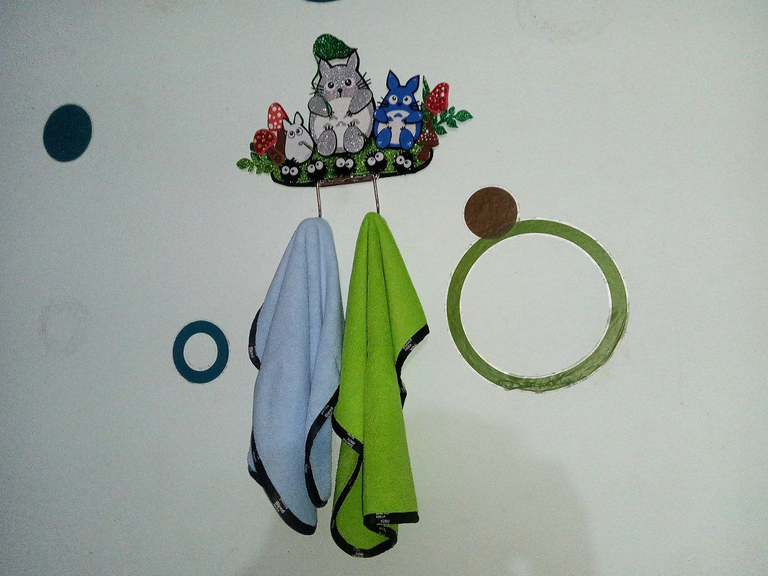
De esta forma, puedes obtener un perchero de pared inspirado en la película de Totoro. Puedes agregarle más detalles al diseño, según tu propio gusto o concepción de este personaje. Espero les haya gustado este tutorial y se animen a replicarlo.
¡Nos vemos en una siguiente manualidad!


Amo demasiado esta manualidad✨ soy muy fan de estudio Ghibli💖 pero es que este perchero te ha quedado realmente hermoso! Tiene tantos detallitos lindos, te felicito☺️
Muchas gracias, por tu comentario. Me alegra mucho que te haya gustado😊🌻
A cute Totoro and the whole composition. The frosted material turned out very well, I wouldn't have imagined it. I congratulate you, it's a beautiful craft.
Una ternura Totoro y toda la composición. El material escarchado le quedó muy bien, no me lo hubiese imaginado. Te felicito, es una hermosa manualidad
¡Hola! Gracias. 😊 Si son muy tiernos todos los personajes, me alegro que te haya gustado ❤️
Wow te quedo precioso ,me encantaron todos sus detalles, las hojas y los hongos, todo. Luce muy bien en esa pared porque combinan con los colores del diseño.
Genial! ❣️ Si Los pequeños detalles generan impacto visual muy hermoso, se completamente perfecto con el diseño que tengo en la pared.
This Totoro-inspired coat rack is such a fun and creative project. The attention to detail from the whiskers and claws to the playful soot goblins really brings it to life. Well done
Thank you very much for your support, I am very grateful. 😊
https://bsky.app/profile/did:plc:rag2mftdy2alo7rtmyttmpk4/post/3lii2kt6ooi2i
The rewards earned on this comment will go to the author of the blog post.https://bsky.app/profile/did:plc:rag2mftdy2alo7rtmyttmpk4/post/3lii2kt6ooi2i
Congratulations @gsusart! You have completed the following achievement on the Hive blockchain And have been rewarded with New badge(s)
Your next target is to reach 2500 upvotes.
You can view your badges on your board and compare yourself to others in the Ranking
If you no longer want to receive notifications, reply to this comment with the word
STOP