Hello again!
Let’s pick up from where we left off. After scavenging through my pile of miscellaneous items, I managed to find a frame for my robot. I added wheels and a few other components, moving next to the most challenging part for a beginner in mechanics like me: designing the front-wheel steering mechanism.
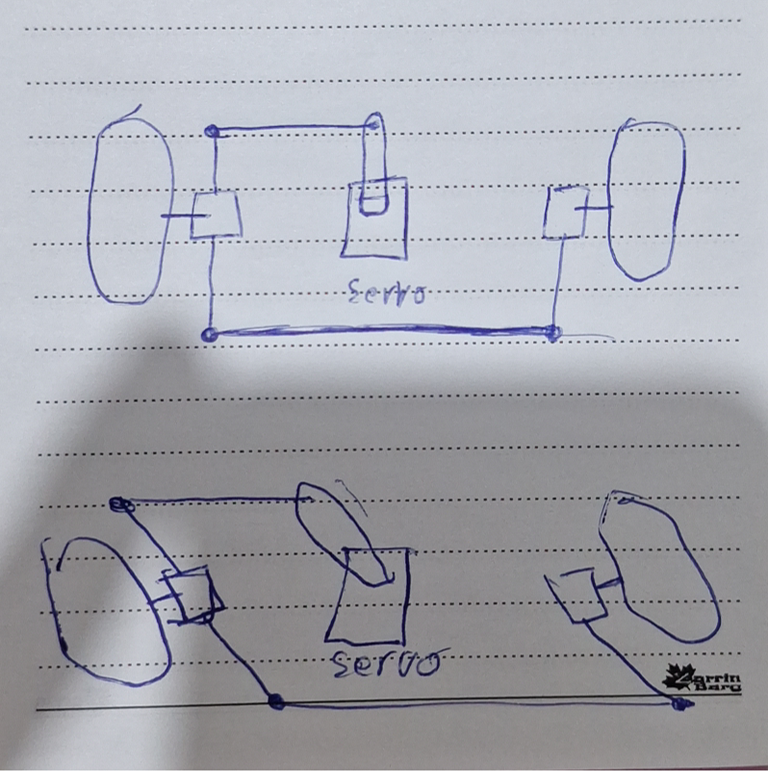
This part was quite tricky and required some research. After exploring the internet, experimenting, and sketching on paper, I realized that I needed two parallel shafts. A servo motor would be connected to one of them to handle the steering. While my drawing isn’t perfect, it conveys the concept clearly enough.
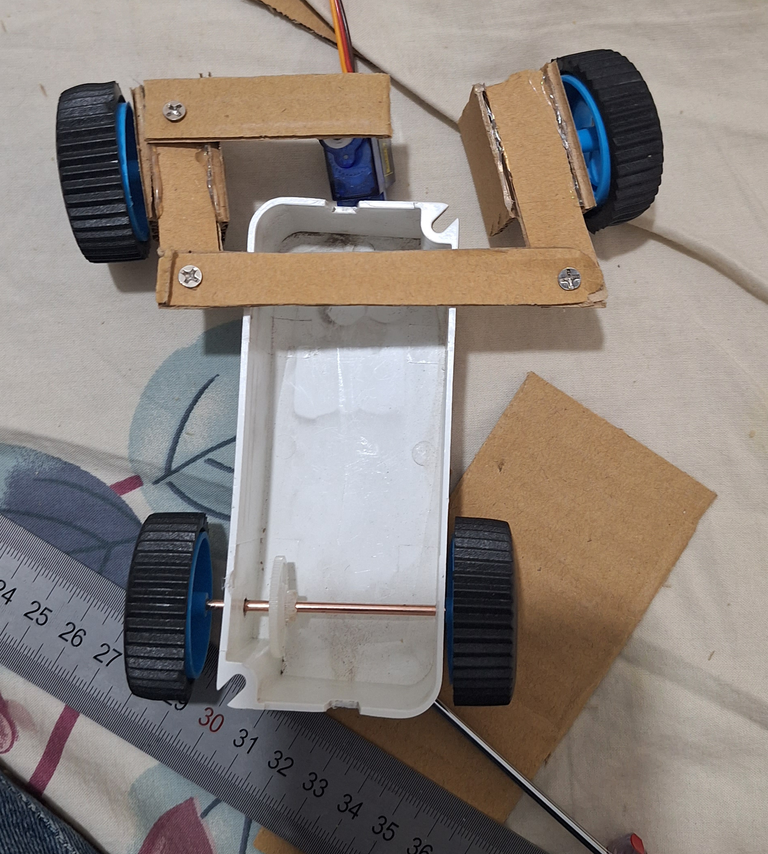
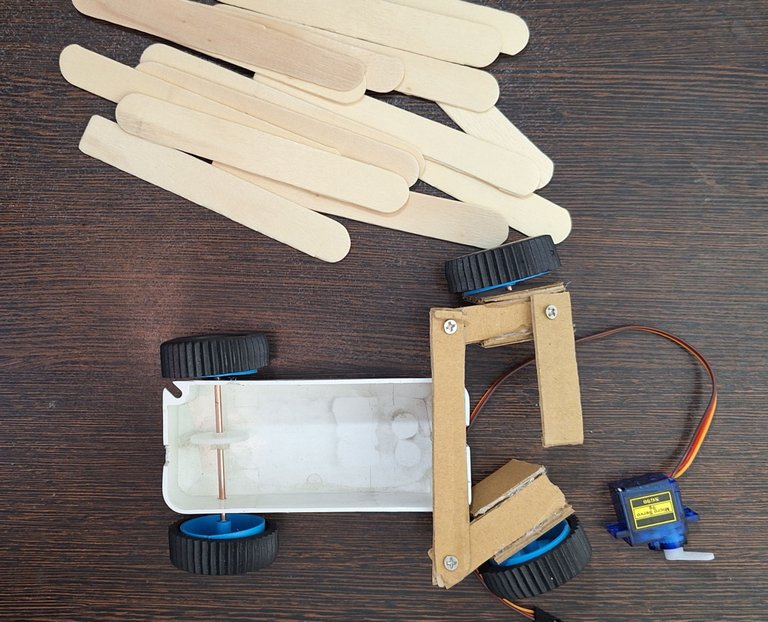
With the idea in mind, I started building the mechanism using cardboard. I assembled the components with screws, but the resulting structure lacked the necessary durability. It wasn’t up to my expectations, so I brainstormed alternative materials and decided to use popsicle sticks for their sturdiness and ease of handling.
I rushed to the nearest confectionery store to get some popsicle sticks and started over from scratch.
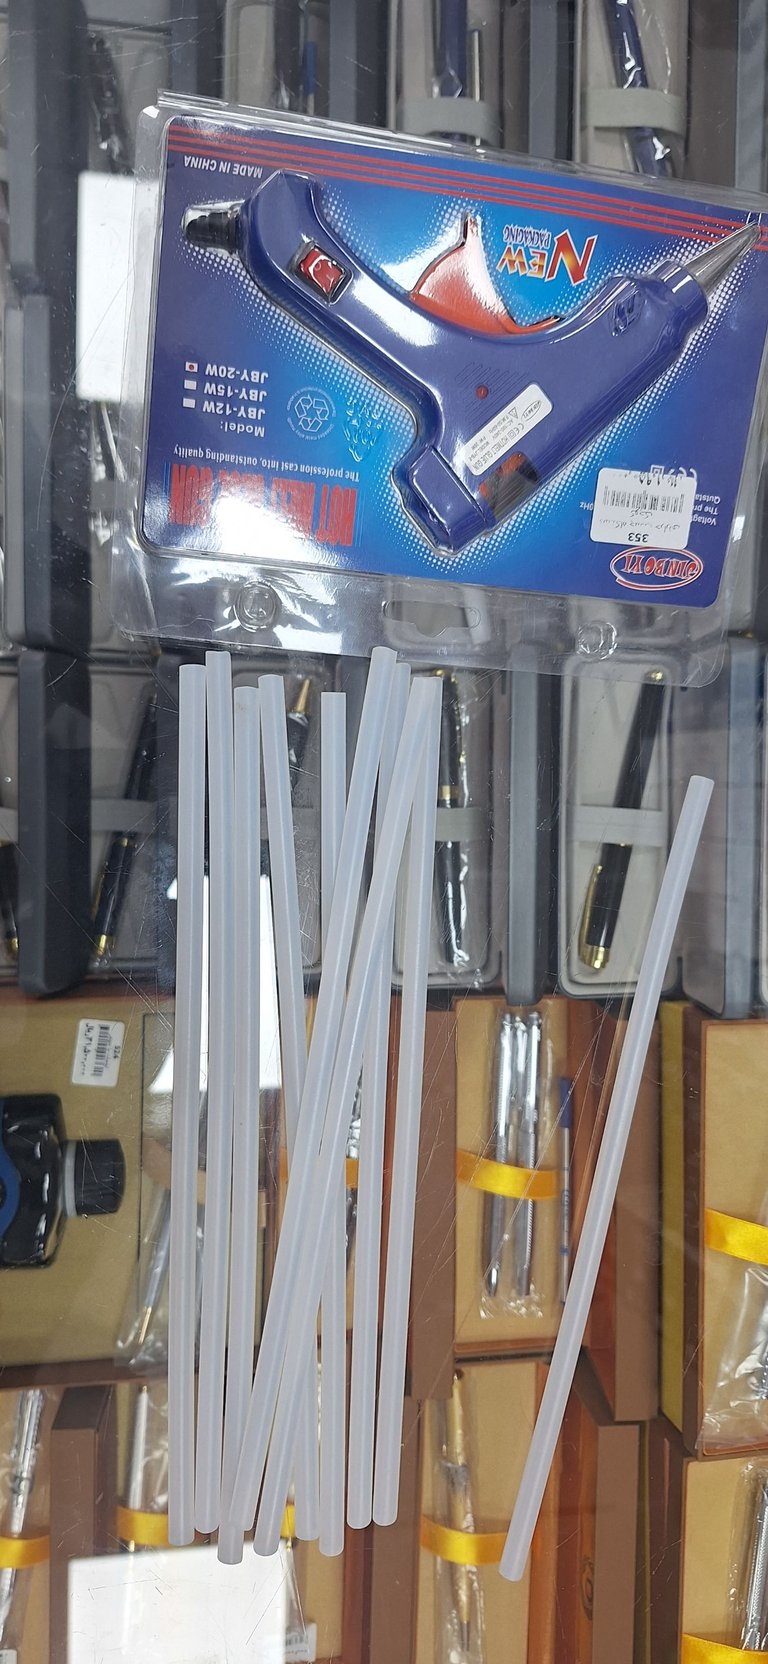
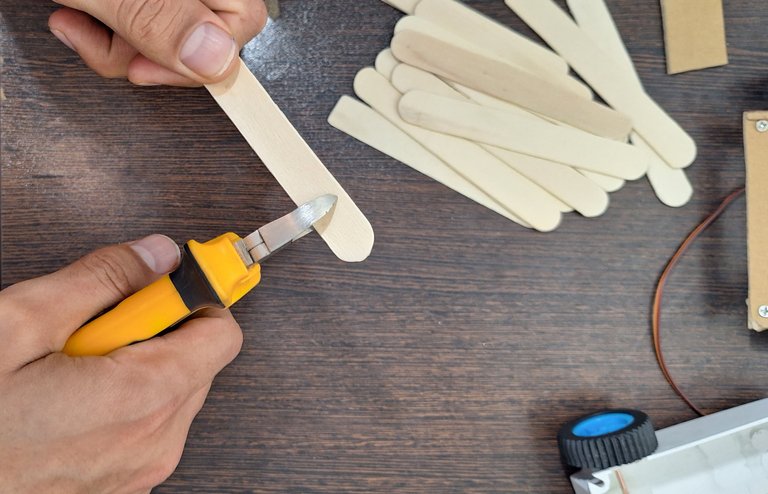
Some sticks needed trimming, which I did with wire cutters, while others required reinforcement with adhesive. That’s when I realized I had left my glue gun at a friend’s workshop in another city! After a quick trip to buy a new glue gun and some glue sticks, I resumed work.
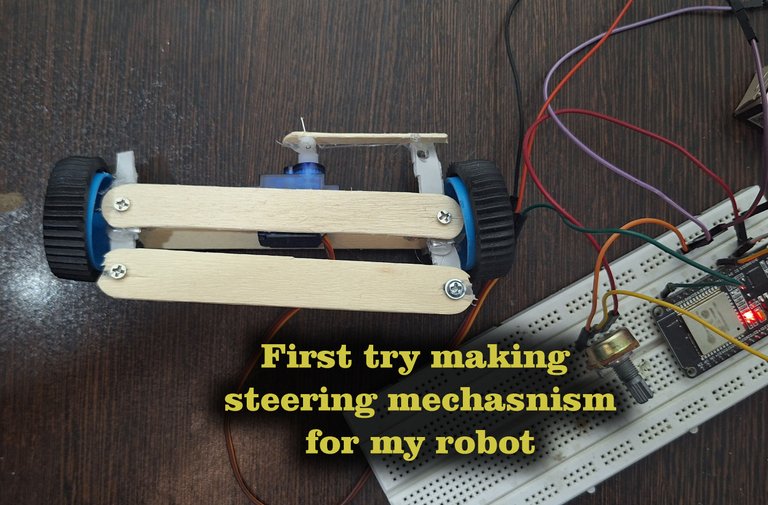
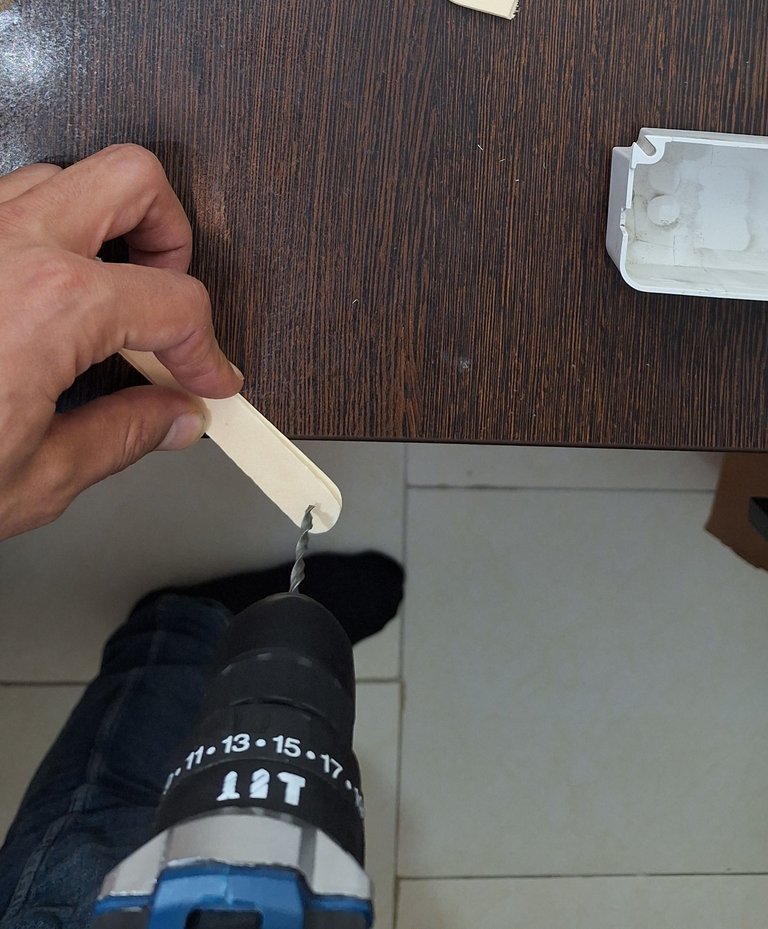
Using a drill, I created holes at the ends of the popsicle sticks. These holes served dual purposes: securing the pieces with screws and functioning as pivot points. After assembling the components, I finally had a working prototype, as shown in the image. It was a significant step forward, but I knew there were still challenges ahead.
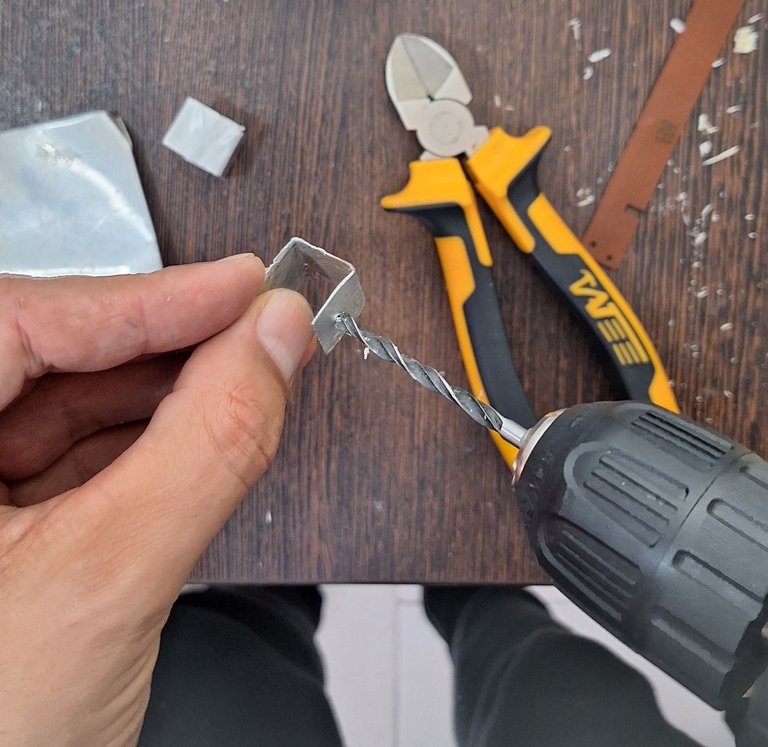
Through trial and error, I discovered that popsicle sticks weren’t ideal for stabilizing the wheel shafts. I decided to use metal for better durability and precision. Back to my storage area, I found an aluminum sheet that seemed perfect for the job. I cut it to the required dimensions and drilled three precise holes for mounting.
Next, I assembled the components using screws and hot glue to create a more stable structure. I mounted the servo motor securely between the two shafts, as seen in the final image.
I also uploaded a video on my YouTube channel showing my first test, which unfortunately didn’t go as planned. However, I’m determined to refine the mechanism further and explore better designs in future attempts.
When I finished building the mechanic parts I will work on how to make the robot smart and autonomous, so it can do its tasks at its will.
Stay tuned for updates, as I tackle these challenges and share more of my learning journey!
Greetings brother!, it is a pleasure for me to agree with your post. This work is very interesting, it looks simple, but not everyone manages to do it well. I appreciate you sharing it in our DIYHub community, it is an ideal place to show the process through pictures and explain it to serve as an example for others. Thanks for being here, happy start of the week!...
Greetings, my friend, Thank you for your motivating words. I'm truly glad you found the post interesting and valuable. Sharing my projects in such a supportive community like DIYHub is a pleasure, and I’m inspired by the amazing work shared here. I’ll definitely keep making more content like this one, cause i've just started this journey, I also know how to make other crafts and am waiting for my tools to arrive. Very soon, I’ll be sharing different and exciting projects with the community. Stay tuned and wishing you a fantastic start to the week as well.
My friend you are living my creative dream. In your publication you unite two of my great passions, robotics and DIY. Sincerely this is one of the best creations I have seen today. I congratulate you and encourage you to share more of your projects in the community.
I'm so happy to hear you enjoyed my content! I truly hope you can overcome any obstacles standing in your way and pursue what you love in life. Wishing you all the best on your journey!
This is such a creative innovation, I always admire people who can create these robotic stuffs. Thank you for sharing, you're so creative
Thank you so much for your kind words! I really appreciate your support. It means a lot to me that you admire the work. I'm excited to continue sharing these creations, and I hope they inspire you too!
Congratulations @hadif66! You have completed the following achievement on the Hive blockchain And have been rewarded with New badge(s)
Your next target is to reach 1750 upvotes.
You can view your badges on your board and compare yourself to others in the Ranking
If you no longer want to receive notifications, reply to this comment with the word
STOPThis is great my friend! You had a great idea and it makes us happy that you share it on DIYHub Community, you are always welcome around here, happy day!.
Thank you so much for your kind words and support, I'm glad you liked my content and it’s great to be a part of such a welcoming and inspiring community like DIYHub. I was wondering where I can post my style of content, seems like I've found the right place.
This must be a lot of work
Weldone
Thank you! It took some time and effort, but it was a fun and rewarding project to build. I'm glad you liked it!
Stay tuned for more updates and the continuation of this project in my upcoming posts! 🙏