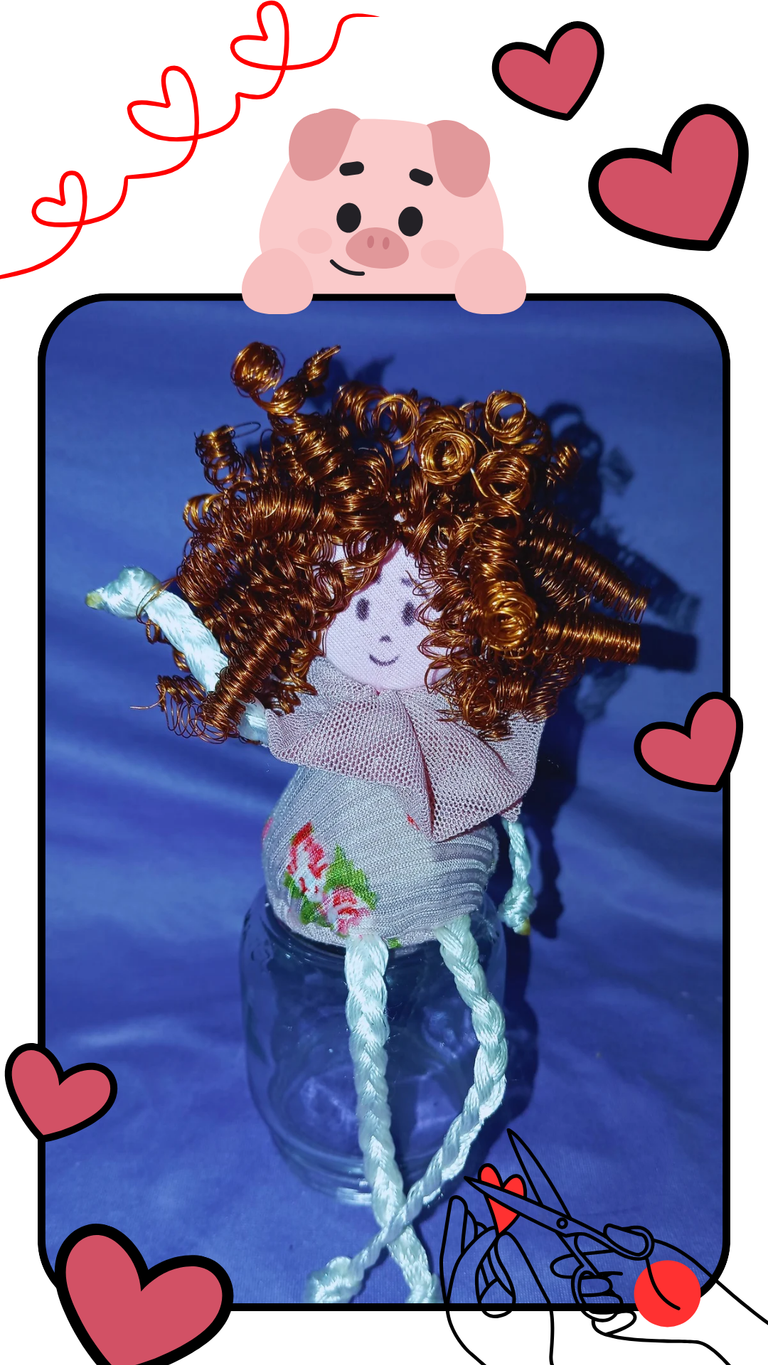
Hello friends and creators of this beautiful community. It is a pleasure to share with you one more of my creations. It's been difficult days around here, we've been having some economic problems, but it's nothing that can't be solved. Back to the topic, today I want to tell you how I made a cute little doll that I called copper curls. The process was very simple and doesn't take a lot of time, besides the result is quite nice. Check it out and let me know how you like it!

Hola amigos y creadores de esta hermosa comunidad. Tengan todos un bonito y bendecido día.Es un placer compartir con ustedes una más de mis creaciones. Por acá han sido días difíciles, hemos estado teniendo un poco de problemas económicos, pero bueno no es nada que no se pueda resolver. Volviendo al tema, hoy quiero contarles cómo realicé una linda muñequita que llamé ricitos de cobre. El proceso fue muy sencillo y no toma mucho tiempo, además de que el resultado queda bastante bonito. Miren y me cuentan que tal les pareció!
Materials:
🌸 Paper cutting and fabric cutting scissors.
🌸 Fabric scraps.
🌸 Egg carton.
🌸 Recycled copper.
🌸 Small cardboard box.
🌸 Ballpoint pen.
🌸 Lanyard.
🌸 Hot glue.
🌸 Stick.
🌸 Soda cap.
🌸 Sewing needle.
🌸 Sewing thread.
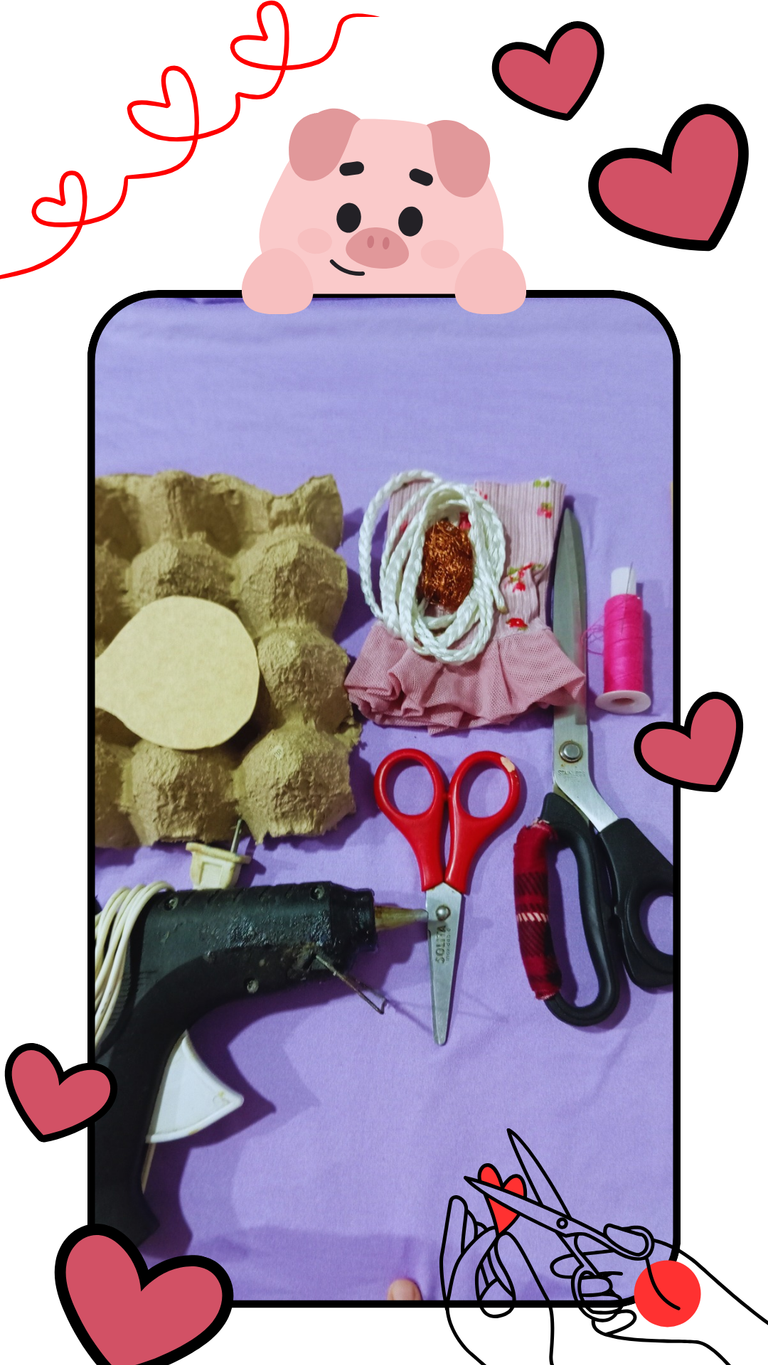
Materiales:
🌸 Tijeras de cortar papel y de cortar tela.
🌸 Retazos de telas.
🌸 Cartón de huevos.
🌸 Cobre reciclado.
🌸 Cuadro pequeño de cartón.
🌸 Bolígrafo.
🌸 Cordón.
🌸 Silicón caliente.
🌸 Palito.
🌸 Tapa de refresco.
🌸 Aguja de coser.
🌸 Hilo de coser.
Step 1:
Cut out 5 cones from the egg carton and 1 circle from the carton the same size as the cones. From the decorative fabric cut 2 circles one larger than the other. Then cut a strip for decoration.
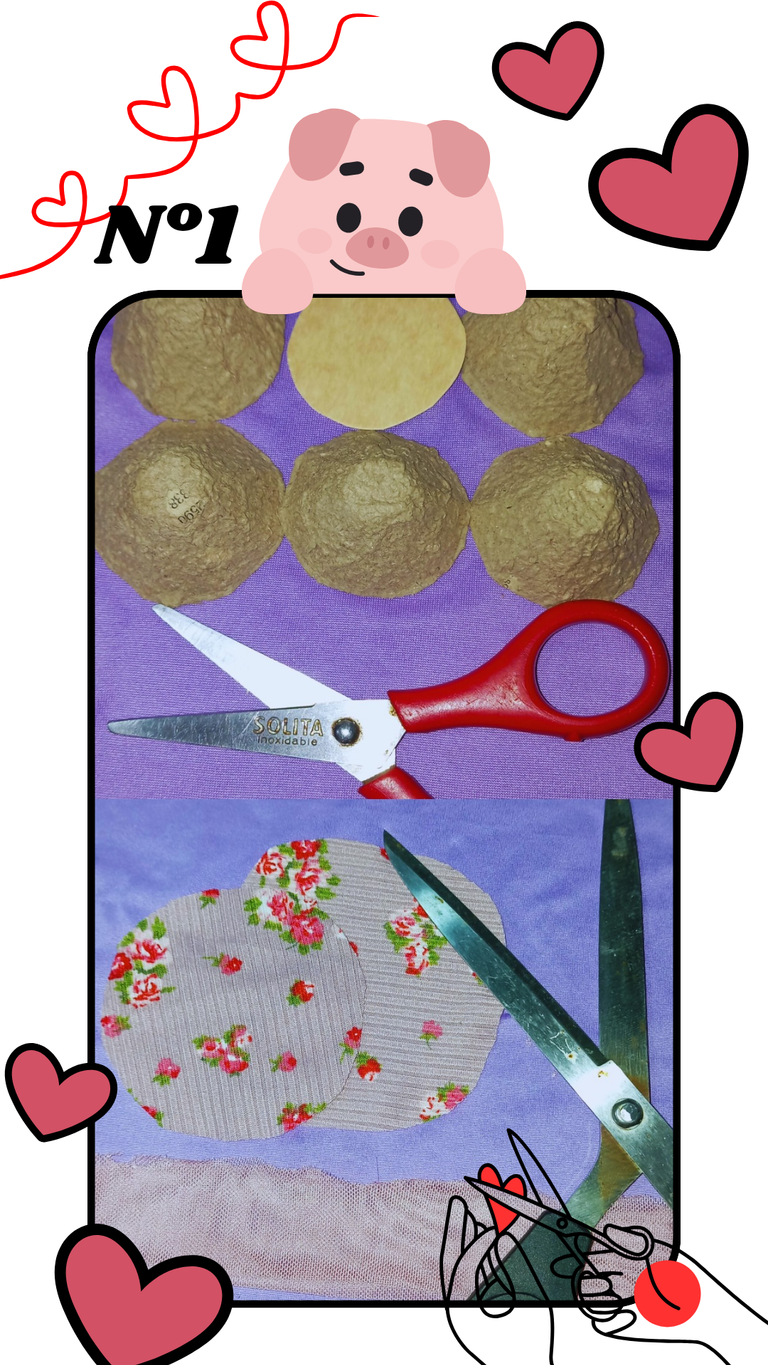
Paso 1:
Recortar 5 conos del cartón de huevos y un círculo del cartón del mismo tamaño de los conos. En la tela decorativa cortar 2 círculos uno más grande que el otro. Luego cortamos una tira para la decoración.
Step 2:
We sew all around the edge of the smaller circle and we will talk a little thread, insert the cardboard circle, pull the thread completely and secure. Then we do the same process with the 5 stacked cones, we must do it this way so that it is rigid.
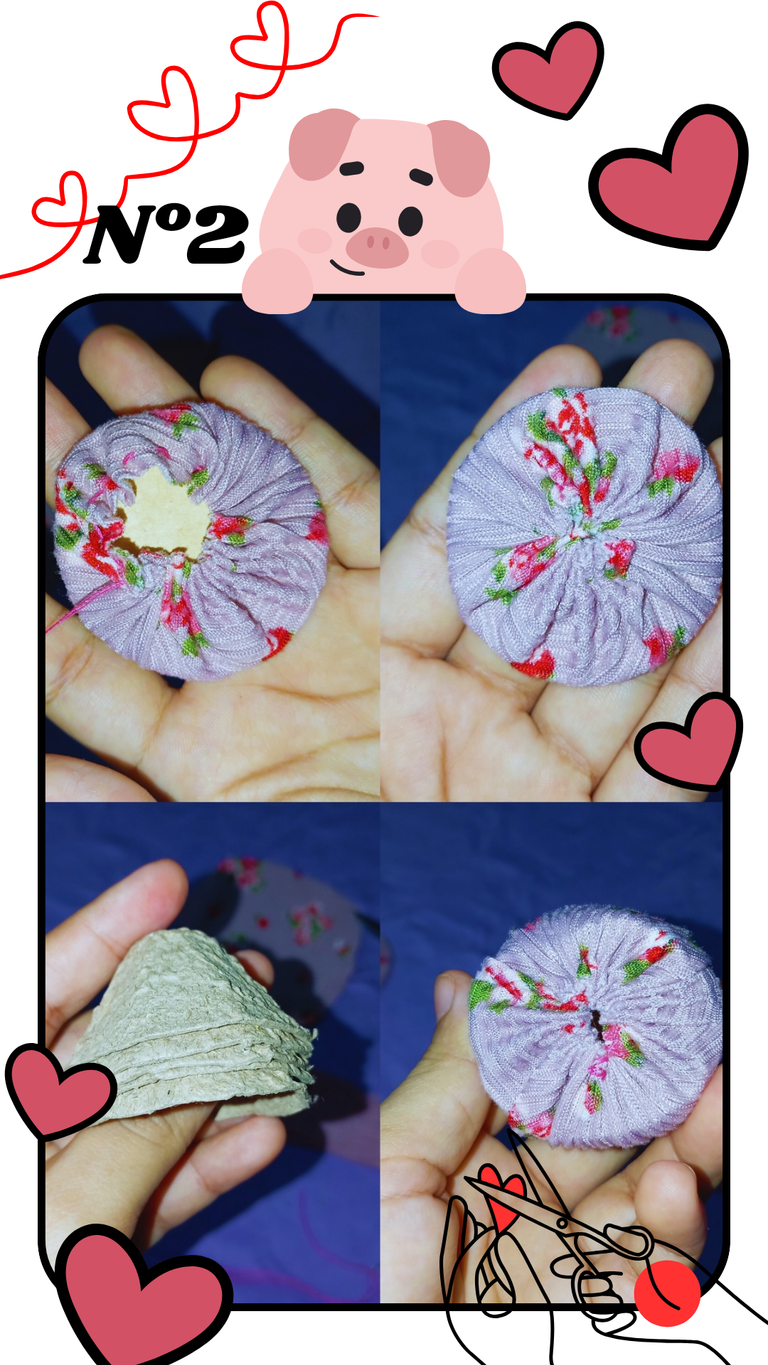
Paso 2:
Cosemos por toda la orilla el círculo más pequeño y hablaremos un poco el hilo, introducir el círculo de cartón, halar por completo el hilo y asegurar. Luego hacemos el mismo proceso con los 5 conos apilados, debemos hacerlo de esta forma para que quede rígido.
Step 3:
Sew the strip along the edge and when pulling the thread, it will be a flower shape. Make two pieces with the cord, one for the arms and one for the legs.
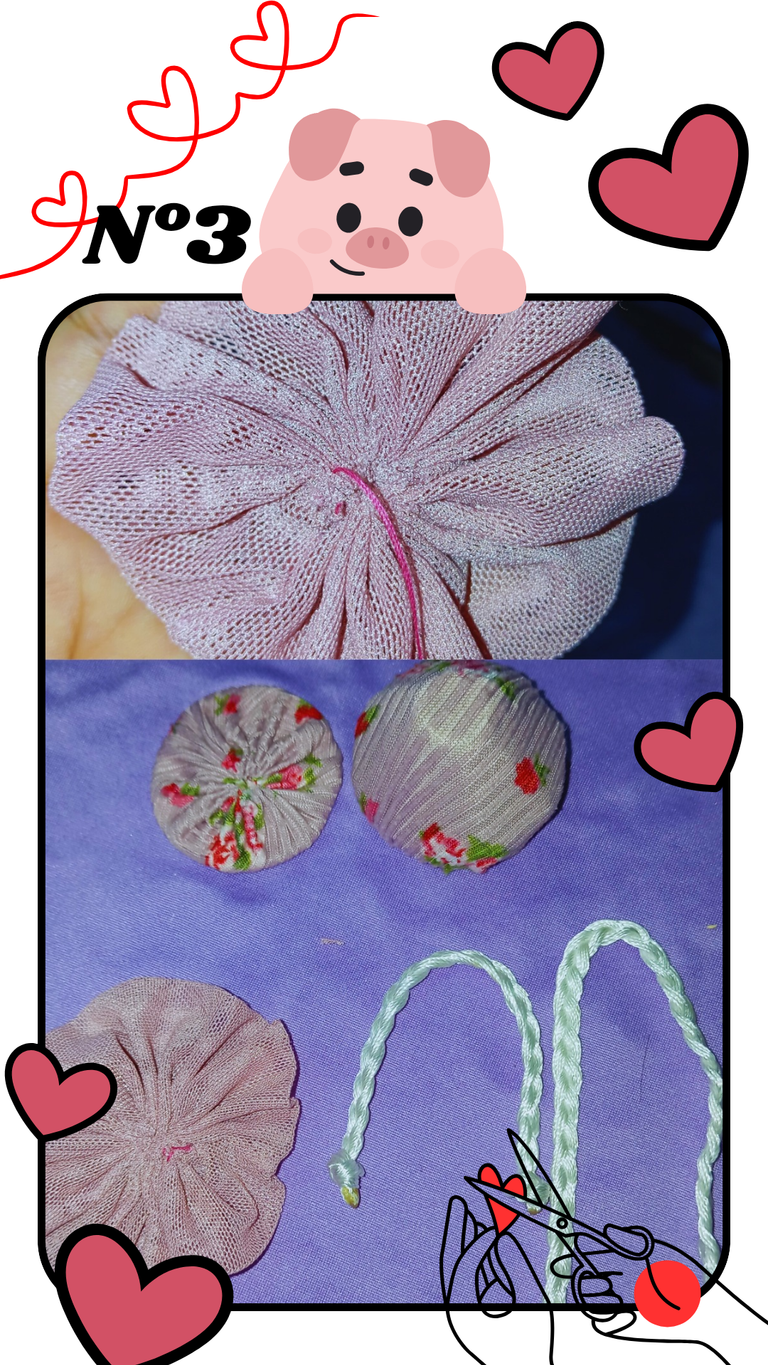
Paso 3:
Coser la tira por la orilla y al halar el hilo quedará una forma de flor. Hacer con el cordón dos piezas una para los brazos y una para la piernas.
Step 4:
Glue the longest piece of string to the bottom of the cone and place the cardboard circle on top, sew along the edge so that the seam is not visible. Glue the short piece of cord to the tip of the cone and sew the decorative fabric circle on top.
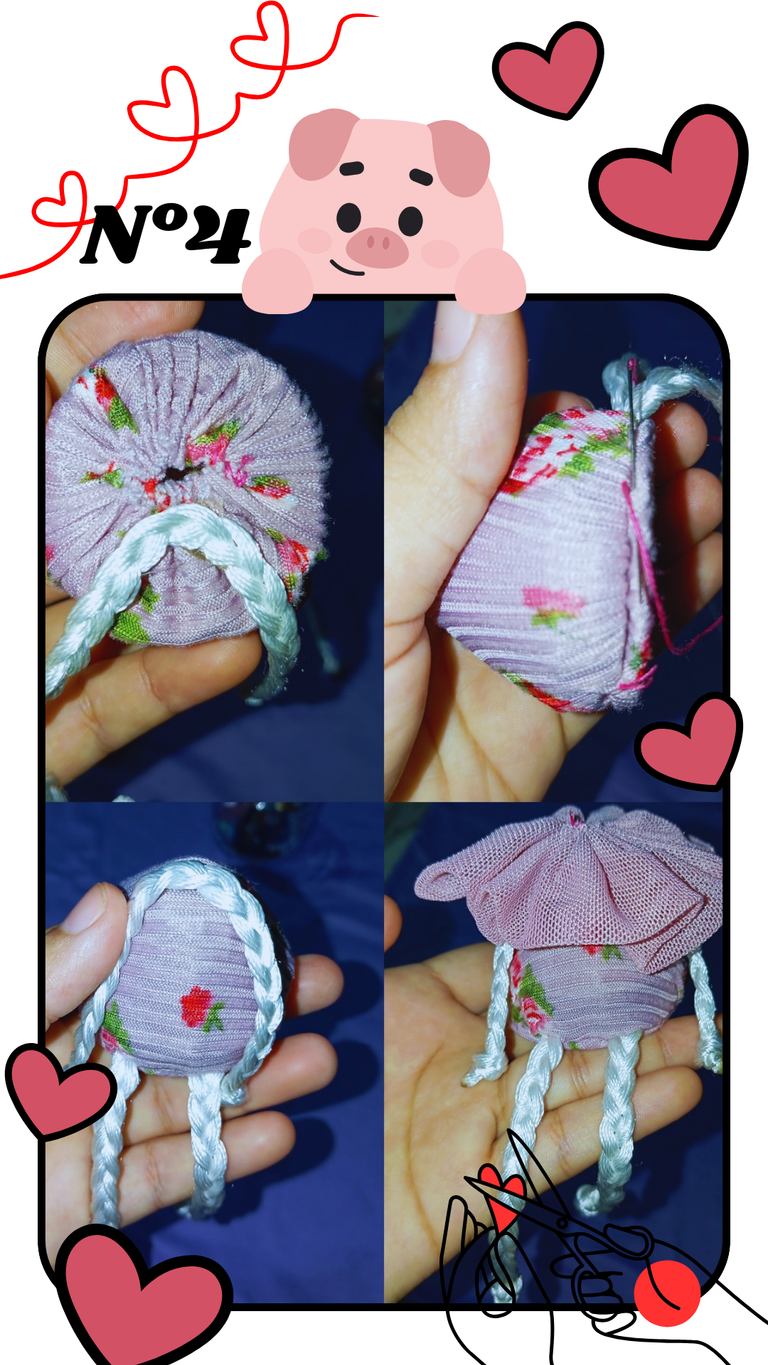
Paso 4:
Pegar la pieza de cordón más larga a la parte de abajo del cono y colocar encima el círculo de cartón, coser por la orilla de forma que no se vea la costura. Pegar la pieza de cordón corta en la punta del cono y coser encima el círculo de tela decorativo.
Step 5:
Cut 2 circles of unicolor fabric for the head, which should preferably be skin color or light pink. Sew along the edge of both circles and insert the soda cap to cover with the fabric.
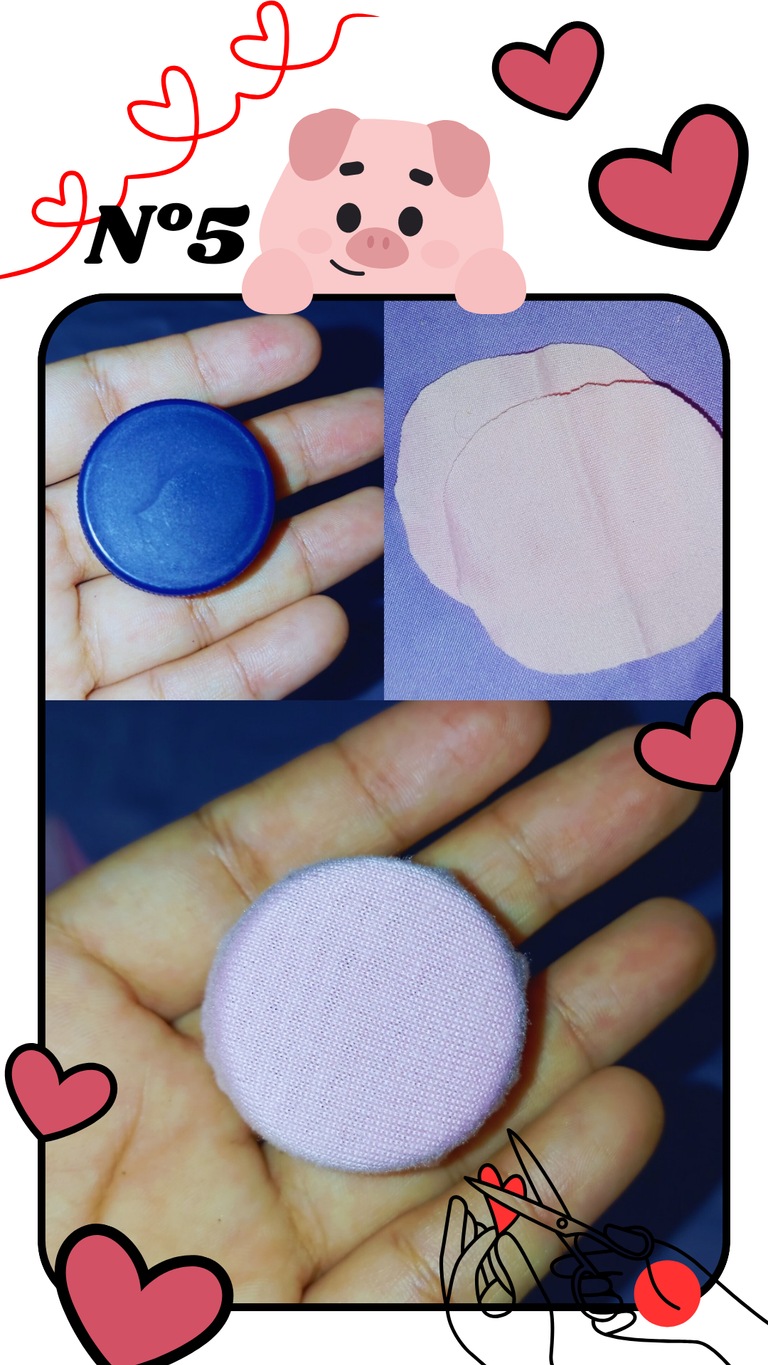
Paso 5:
Cortar 2 círculos de tela unicolor para la cabeza está debe ser preferentemente de color piel o rosa claro. Cosemos por la orilla ambos círculos e insertamos la tapa de refresco para cubrir con la tela.
Step 6:
Glue the head to the doll's body and draw the face with the pen.
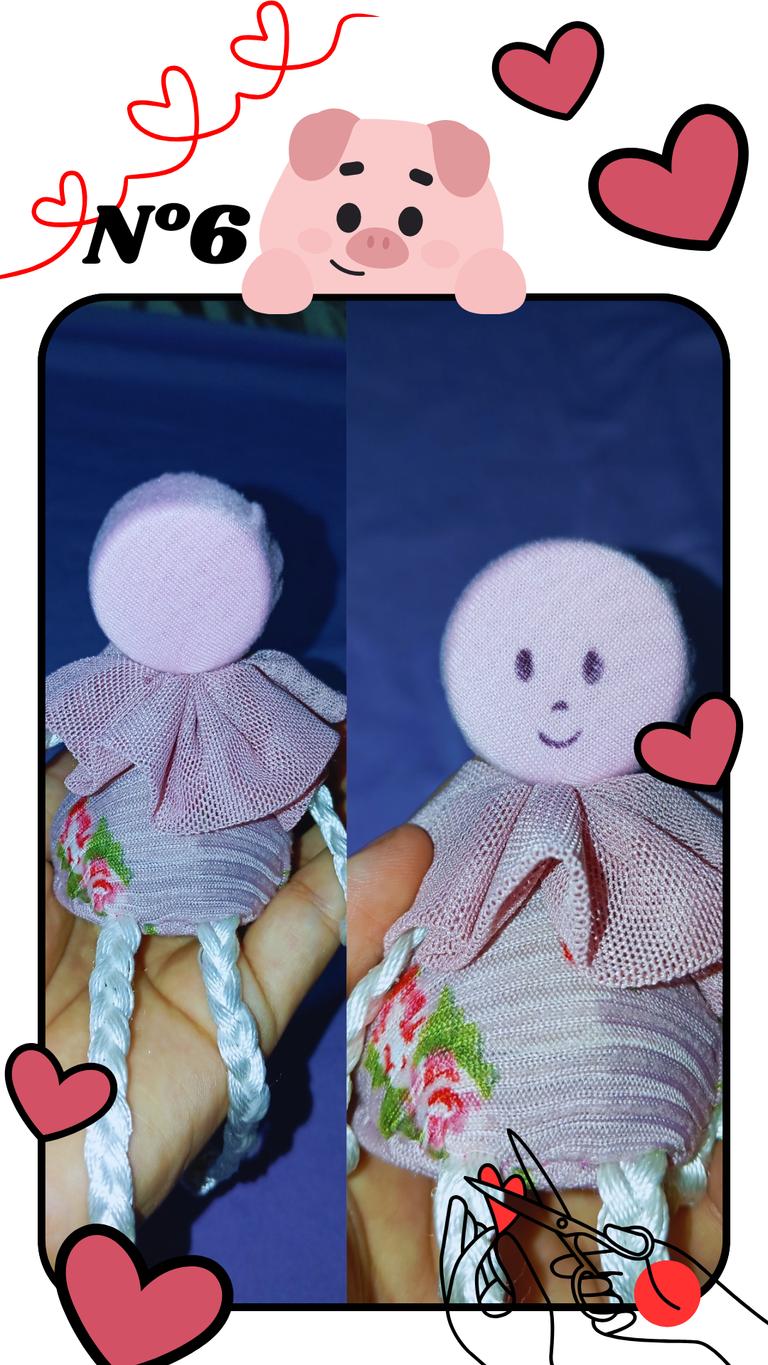
Paso 6:
Pegamos la cabeza al cuerpo de la muñeca y con el bolígrafo dibujamos el rostro.
Step 7:
With the help of the stick make the curls, I made them by joining 6 strands of copper so that they will be well formed and beautiful. Thread the needle with the copper and sew the curls to the doll's head.
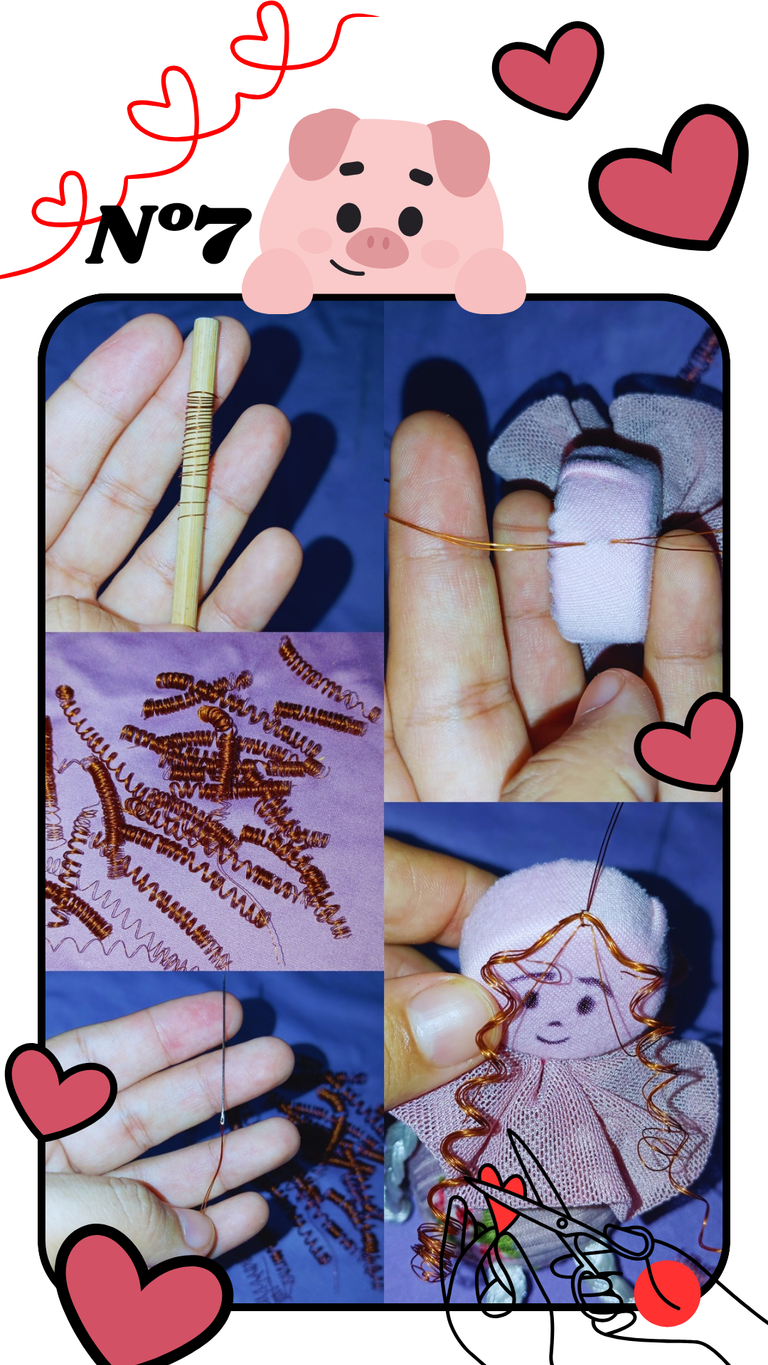
Paso 7:
Con ayuda del palito hacer los rizos, yo los hice juntando de a 6 hebras de cobre para que quedará bien formados y bonitos. Ensartar la aguja con el cobre y coser los rizos a la cabeza de la muñeca.
I invite you to my profile if you want to see other posts like this one. Thank you very much for your support, I hope you enjoyed these projects and I hope they are of some use to you.
Los invito a mi perfíl si desean ver otros post como este. Muchísimas gracias por el apoyo, espero hayan disfrutado de estos proyectos y les pueda servir de algo.
A hug from afar and take care of yourselves guys.
Un abrazo desde la distancia y cuídense mucho chicos.

Translation with DeepL
Photos taken with Redmi 12
Editing done in Canva
Traducción con DeepL
Fotos tomadas con Redmi 12
Edición realizada en Canva
Wao that doll is looking beautifull . You made it very beautifully
Thank you very much, glad you liked it. Regards 😊
❤️
This is beautiful, the doll is looking so nice with the hair on it. I love your creativity.
Que lindas muñeca me encanta el cabello quedo original