♻️♻️♻️♻️♻️♻️♻️♻️♻️♻️♻️♻️♻️
Hello, friends creators of this beautiful platform. May it be a nice start of the week for all of you, full of blessings, health and success. Lately I've been with a lot of allergies, and I've been feeling a little unwell, I think I have low defenses, that's why I had a week without creating content or tutorials.
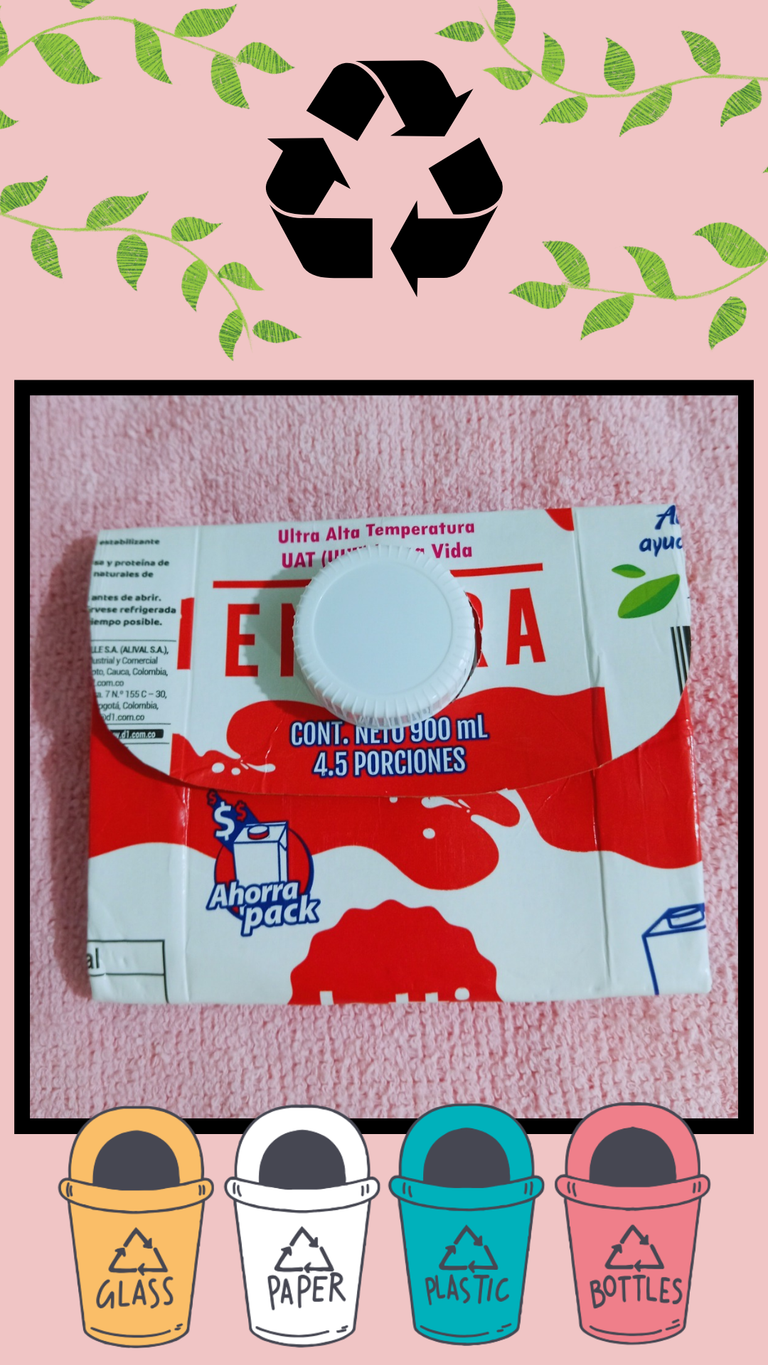
Today I decided to do a post in a simple way that I think is ideal to do with children. As I always tell you, in my creations most of the materials are recycled and for this one it has been the same way. When my partner and I go shopping to stock the fridge, we like to keep the bills so we can keep track of what we spent and know the value of each product, but most of the time they are scattered everywhere but in one place. For this reason I made a practical and easy to make wallet, I hope you like it.
Materials:
Scissors.
Glue or hot silicone.
Ruler (I used a cardboard ruler I made).
Pencil, pen or something to mark.
Milk carton.
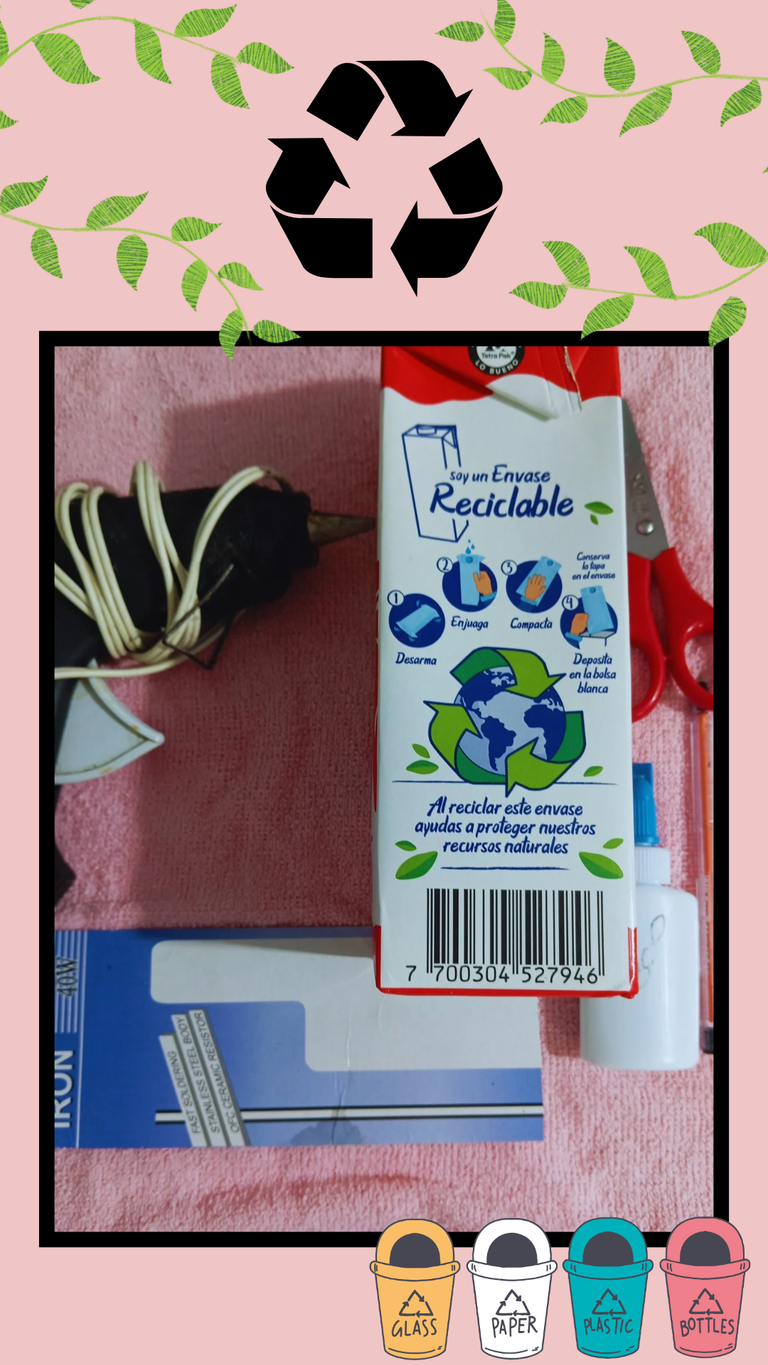
Step 1:
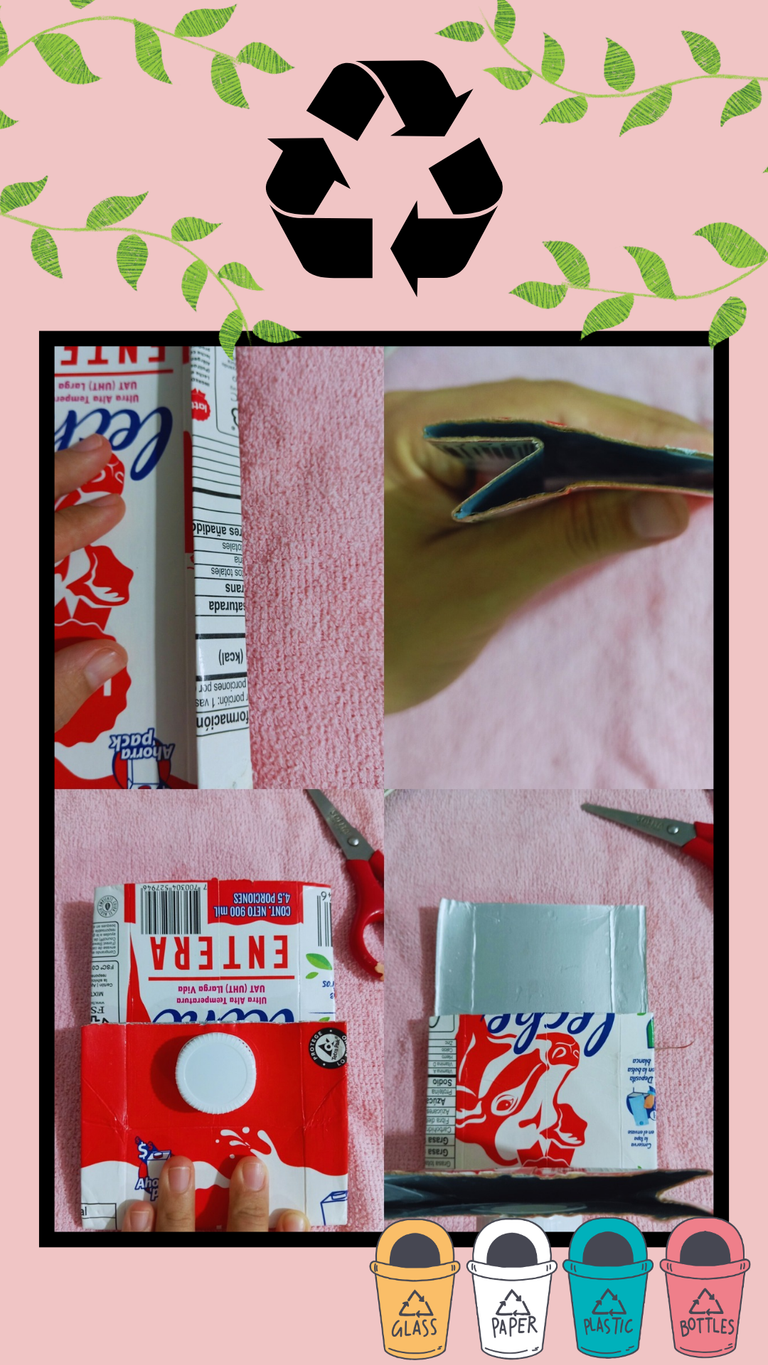
We must have washed the carton. Peel off the ends of the cardboard box, cut the top edge, the bottom edge, dry inside and then flatten very well.
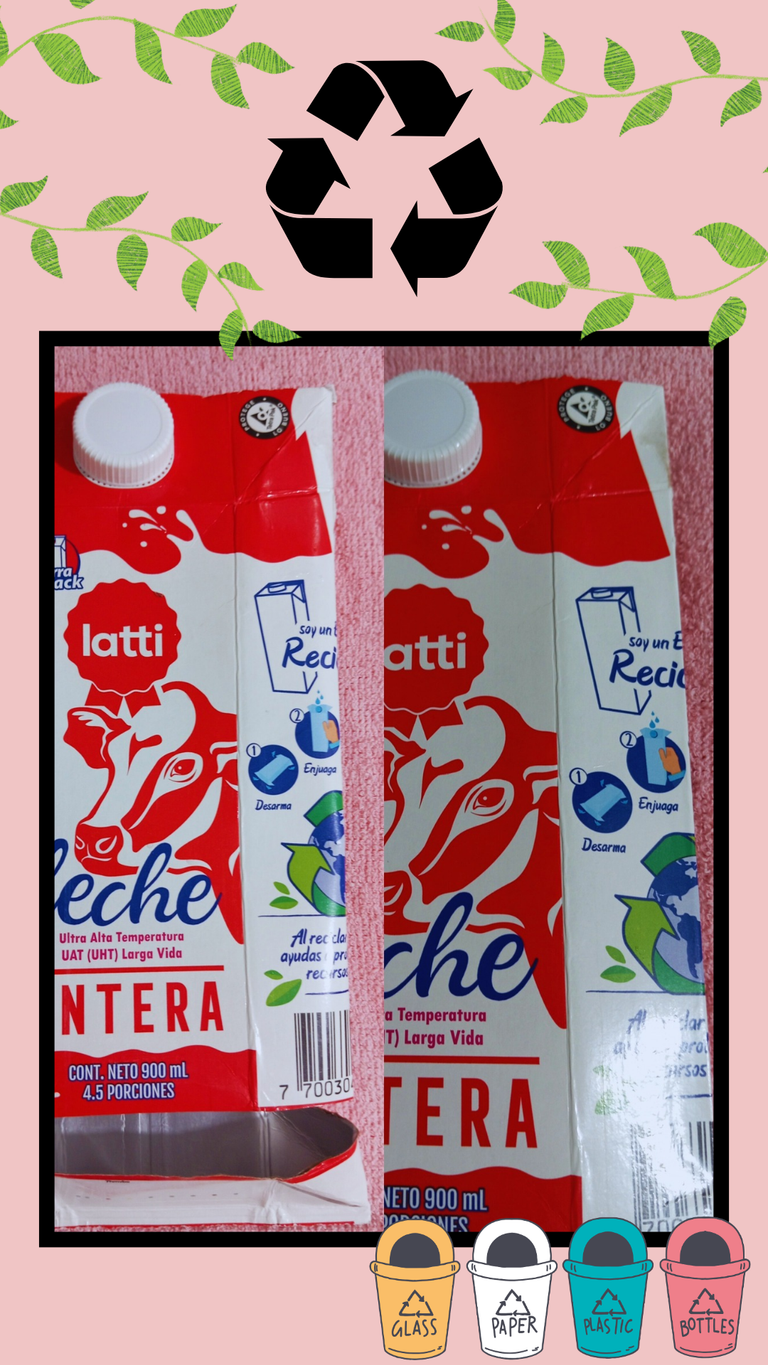
Step 2:
Fold the sides with a thickness of 1.5 cm, these folds should be towards the center. Fold the box leaving the lid of the box at the bottom, this will serve as a safety. Mark a line on the edge and cut to make the flap of the wallet.
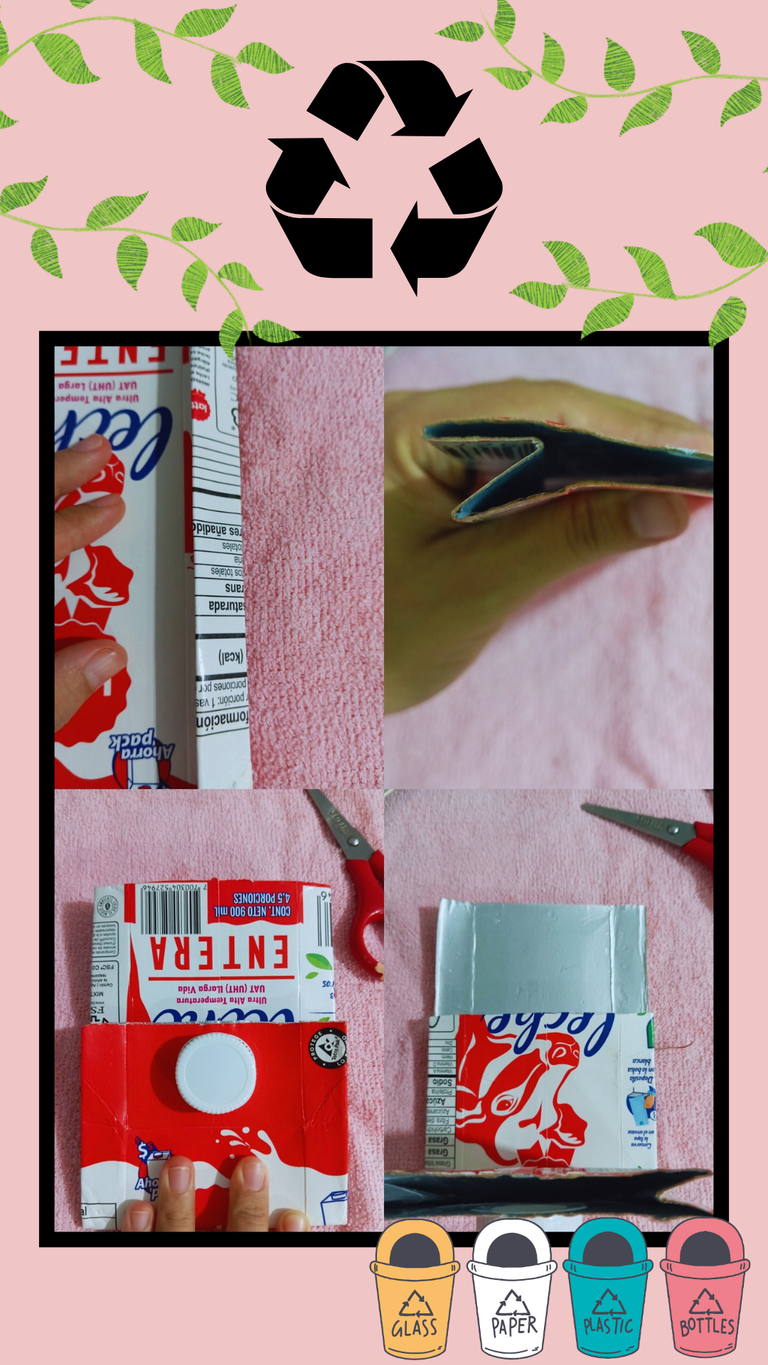
Step 3:
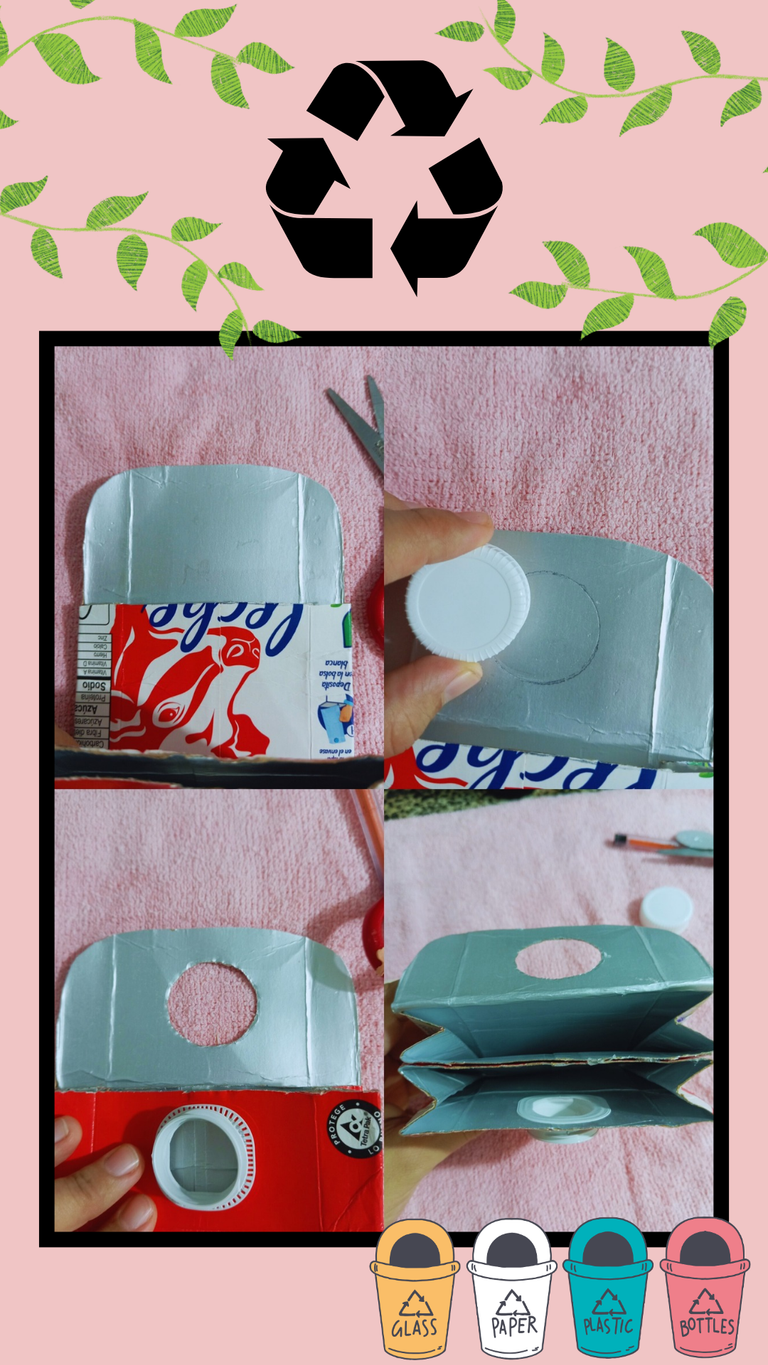
Round the edges of the flap and cut a circle on it, we will do this with the lid of the box and we must ensure that it is exact, if it is too big the lid can not serve as insurance because it will come out. Then we will glue the center of the box and we will have finished our wallet.
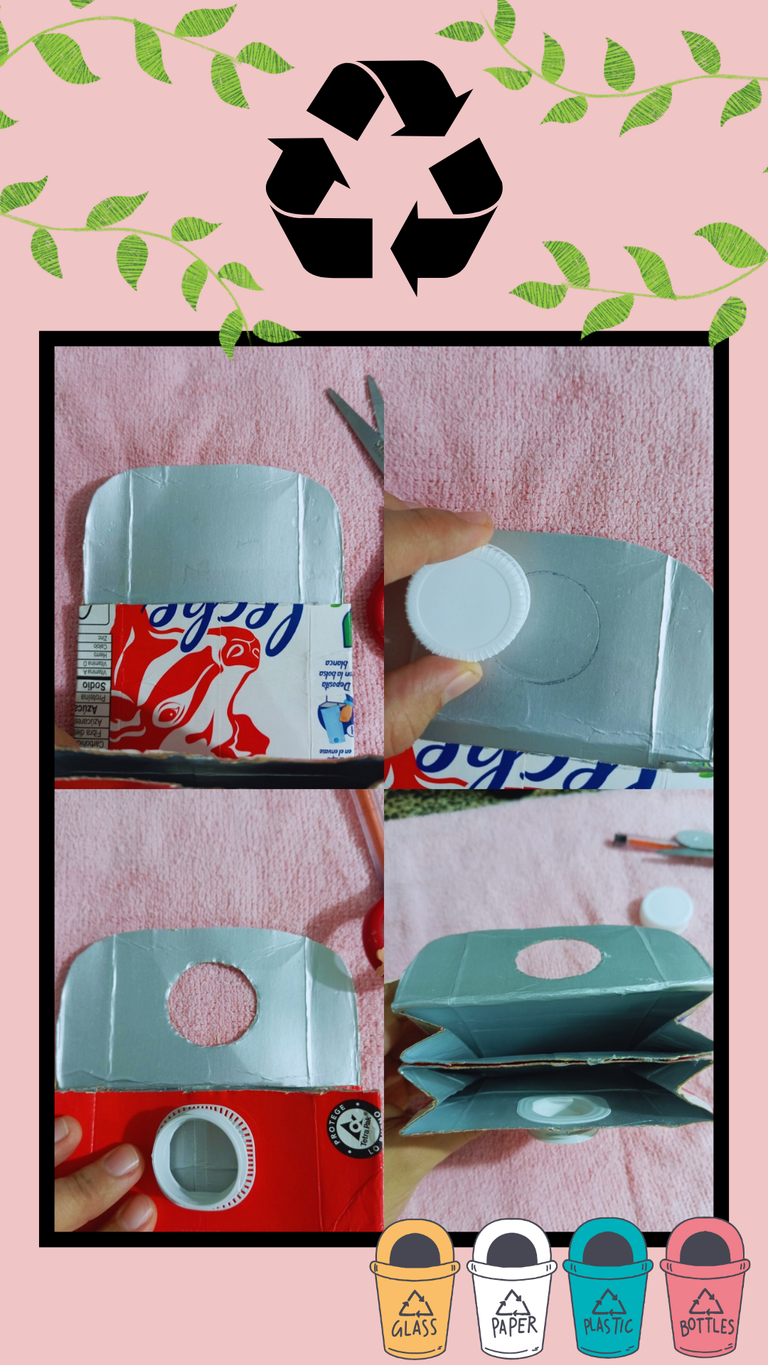
Note: To make it prettier you can glue decorative adhesive paper, I did it this simple because I didn't have the time to go out and buy it.
As I mentioned before, I have been in bad health and my little girl has a fang coming out from above, so she has been in discomfort and discomfort. I ask you to understand if my tutorials these days are very simple, here at home we are going through a stage where our daughter feels sensitive and needs me emotionally. For this reason it is even more difficult for me to make a very accomplished content.
I hope you find this creation useful and take advantage of it. Have a blessed day and take care of yourselves.
♻️♻️♻️♻️♻️♻️♻️♻️♻️♻️♻️♻️♻️♻️
Hola, amigos creadores de esta hermosa plataforma. Que sea un bonito inicio de semana para todos ustedes, lleno de bendiciones, salud y éxito. Últimamente he estado con mucha alergia, y me he sentido un poco indispuesta, creo que tengo las defensas bajas, por eso tenía una semana sin crear contenido o tutoriales.
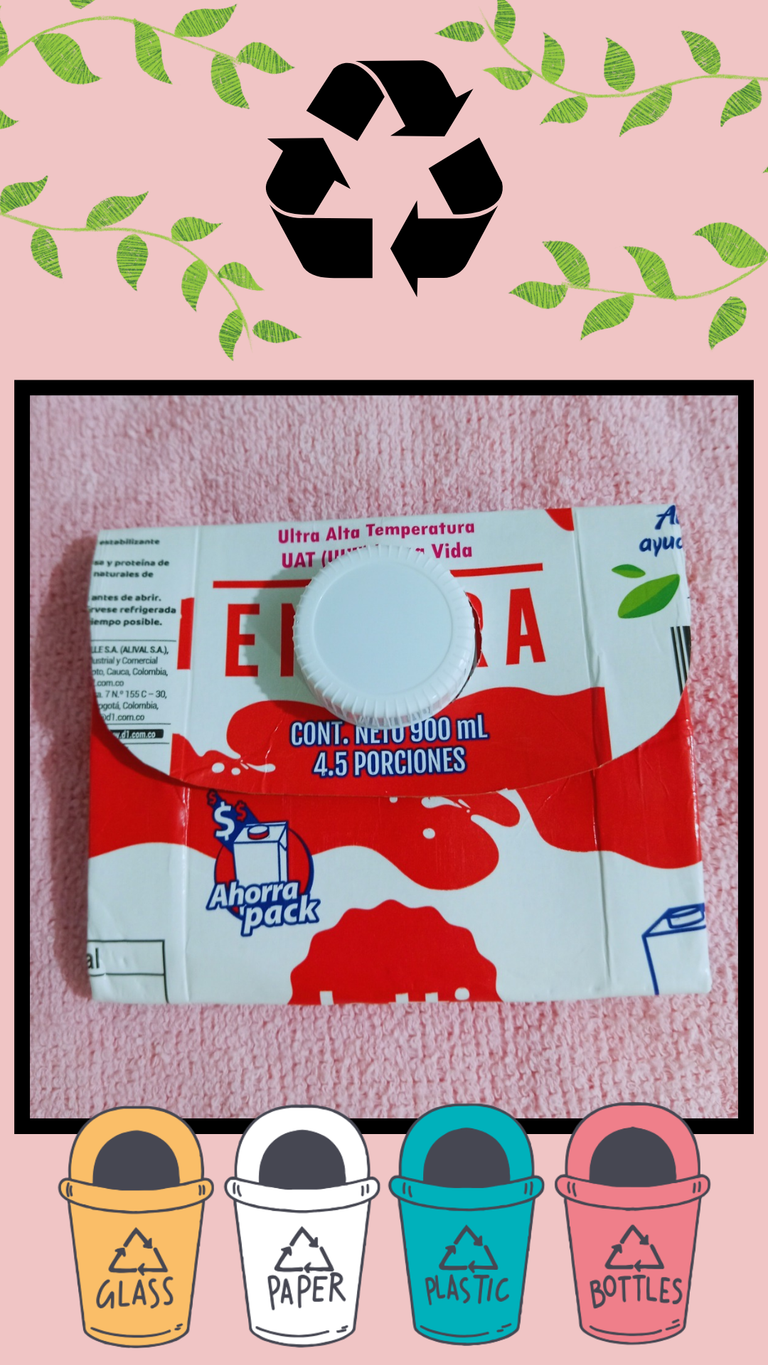
Hoy me he animado a hacer un post de manera sencilla y que me parece ideal para hacer con niños. Cómo siempre les comento, en mis creaciones la mayor parte de los materiales son de reciclaje y para este ha sido de la misma manera. Mi pareja y yo cuando vamos a hacer las compras para surtir la nevera, nos gusta guardar las facturas para poder llevar la cuenta de lo gastado y saber el valor de cada producto, pero la mayoría del tiempo éstas quedan regadas por todos lados menos en un mismo lugar. Por esta razón hice una billetera práctica y fácil de hacer, ojalá les guste.
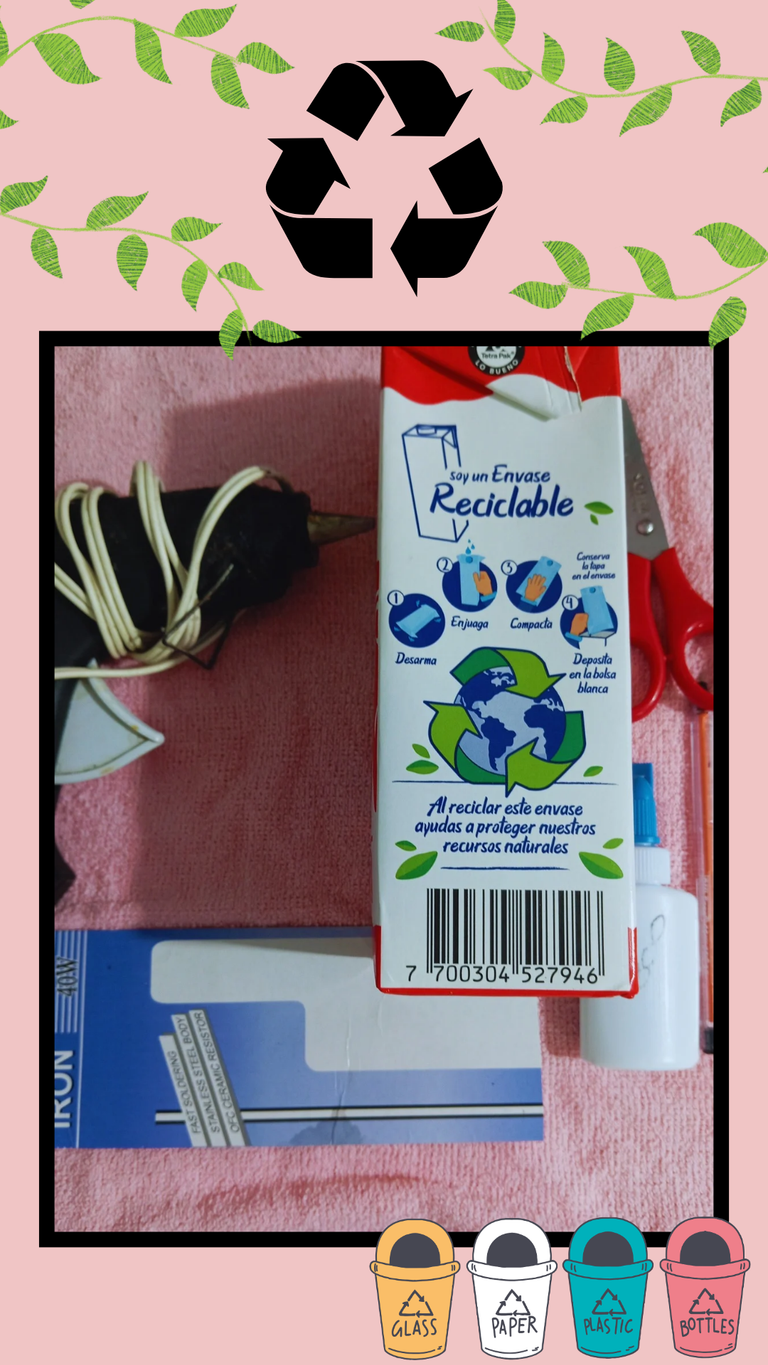
Materiales:
Tijera.
Pegamento o silicón caliente.
Regla (Yo usé una de cartón que hice).
Lápiz, bolígrafo o algo para marcar.
Caja de cartón de leche.
Paso 1:
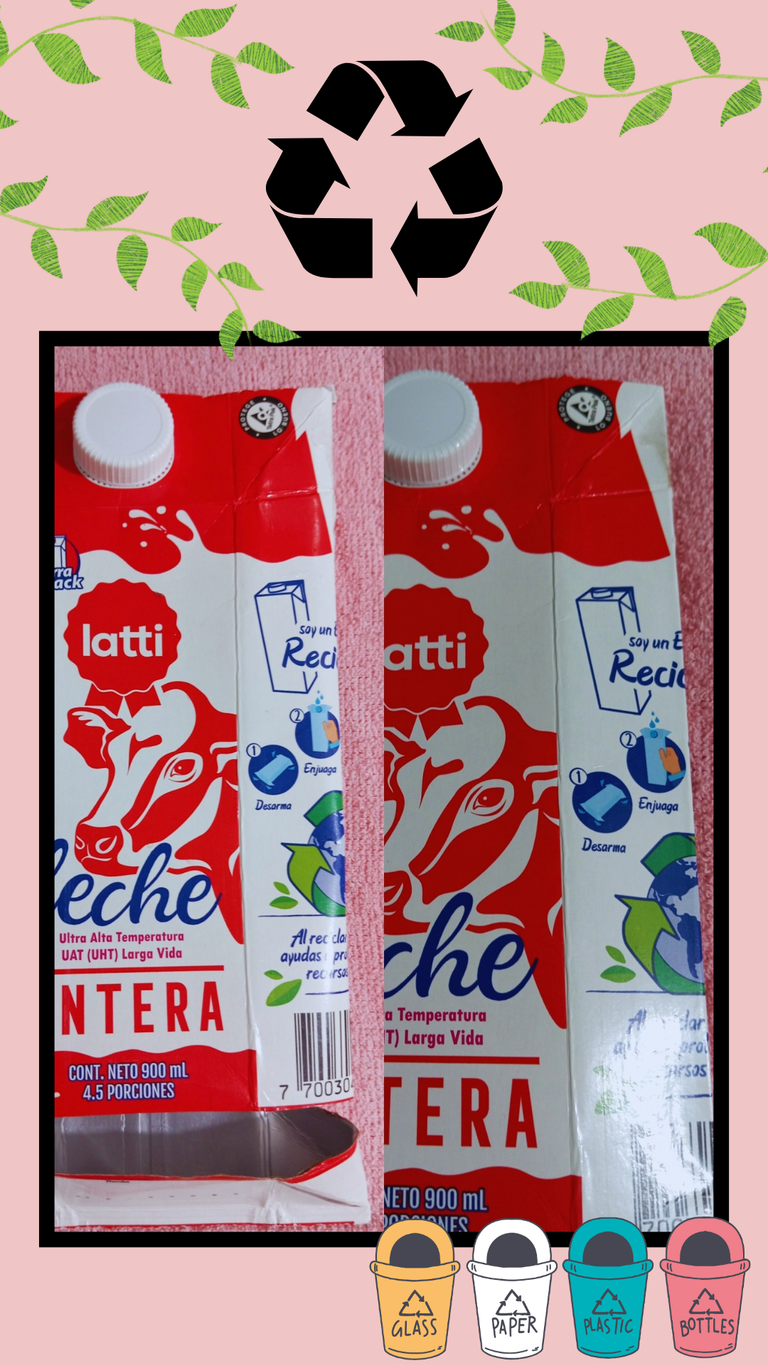
Debemos de haber lavado la caja. Despegar las puntas de la caja de cartón, cortar la orilla de arriba, la de abajo, secar por dentro y luego aplastar muy bien.
Paso 2:
Doblar los lados con un grosor de 1,5 cm, estos doblez deben quedar hacia el centro. Doblar la caja dejando que la tapa de la caja quede en la parte de abajo, está servirá como seguro. Marcar una línea en el borde y cortar para así hacer la solapa de la billetera.
Paso 3:
Redondear los bordes de la solapa y recortar un círculo en la misma, este lo haremos con la tapa de la caja y debemos procurar que quede exacto, si queda muy grande la tapa no podrá servir de seguro porque se saldrá. Luego pegaremos el centro de la caja y así ya habremos terminado nuestra billetera.
Observación: Para que quede más bonito pueden pegarle papel adhesivo decorativo, yo lo hice así de sencillo porque no tuve el tiempo para salir a comprarlo.
Cómo mencioné anteriormente he estado mal de salud y a eso se le suma que mi pequeña le está saliendo un colmillo de arriba por lo cual ha estado con molestia y malestar. Les pido que me entiendan si mis tutoriales de estos días son muy sencillos, acá en casa estamos pasando una etapa donde nuestra hija se siente sensible y me necesita emocionalmente. Por esta razón se me hace aún más difícil hacer contenidos muy realizados.

Espero les sea útil esta creación y le saquen provecho. Tengan un bendecido día y cuidense.
Translation with DeepL
Photos taken with Redmi 12
Editing done in Canva
Traducción con DeepL
Fotos tomadas con Redmi 12
Edición realizada en Canva
Congratulations @hayleysv! You have completed the following achievement on the Hive blockchain And have been rewarded with New badge(s)
Your next target is to reach 800 upvotes.
You can view your badges on your board and compare yourself to others in the Ranking
If you no longer want to receive notifications, reply to this comment with the word
STOPCheck out our last posts: