¡Bienvenidos a mi blog!
Welcome to my blog!
Feliz año para todos los que frecuentan esta comunidad. No venía a este espacio creativo de @diyhub desde el año pasado, estuve un poco ausente, pero ya estoy de vuelta con mucho entusiasmo. Mi regreso viene cargado de energías positivas y, para iniciar este 2025, quiero compartirles un pequeño trabajo con la técnica del quilling.
Happy New Year to everyone who frequents this community. I haven't come to this creative space of @diyhub since last year, I was a little absent, but I'm back with a lot of enthusiasm. My return is full of positive energies and, to start this 2025, I want to share with you a little work with the quilling technique.
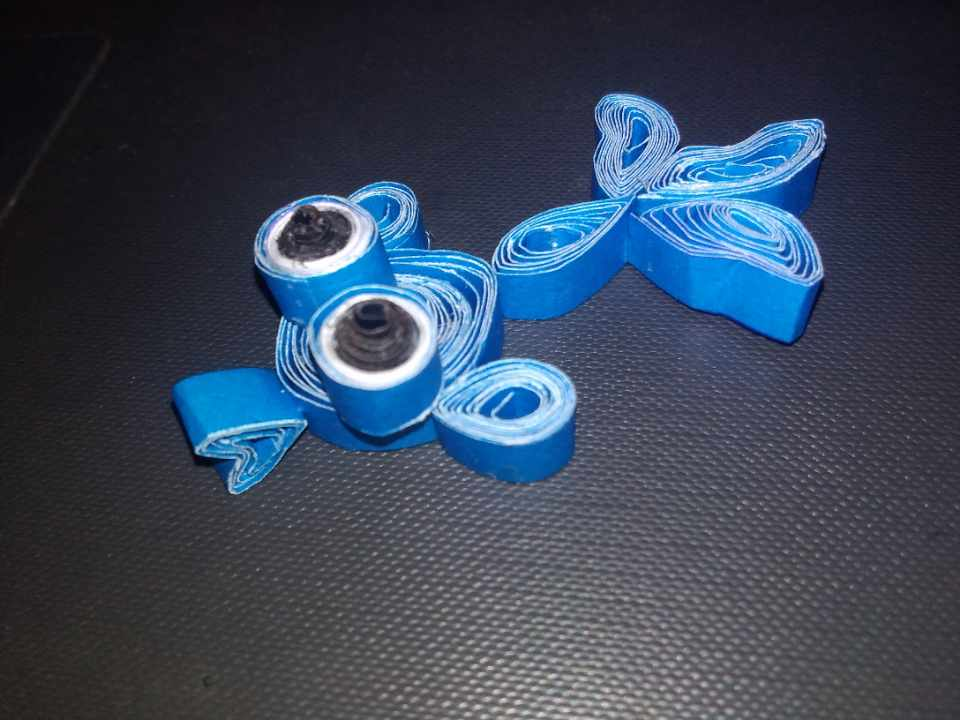
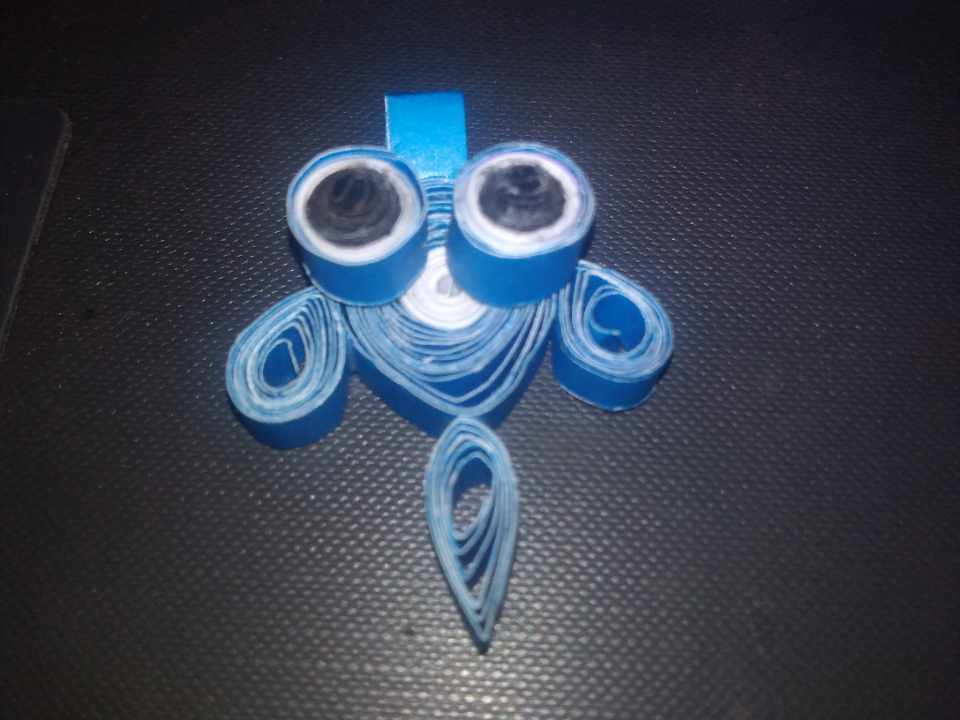
El quilling no es más que enrollar tiras de papel de colores para sacar formas de ellas. Es una técnica maravillosa que permite la creación de increíbles diseños con solo papel y un poco de imaginación. Así que, sin más preámbulos, les muestro mi pequeño pez azul, hecho con cariño para que se animen y deseen aprender esta técnica.
Quilling is nothing more than rolling strips of colored paper to make shapes out of them. It is a wonderful technique that allows the creation of incredible designs with just paper and a little imagination. So, without further ado, I show you my little blue fish, made with love to encourage you to learn this technique.
Espero que disfruten de este trabajo tanto como yo disfruté al hacerlo. El quilling ofrece una oportunidad única para relajarse, desarrollar la creatividad y producir hermosas piezas de arte. Si aún no han probado esta técnica, ¡les animo a que lo hagan! Es una forma fantástica de pasar el tiempo y crear algo verdaderamente único.
I hope you enjoy this work as much as I enjoyed doing it. Quilling offers a unique opportunity to relax, develop creativity and produce beautiful pieces of art. If you haven't tried this technique yet, I encourage you to do so! It's a fantastic way to spend time and create something truly unique.
Materiales
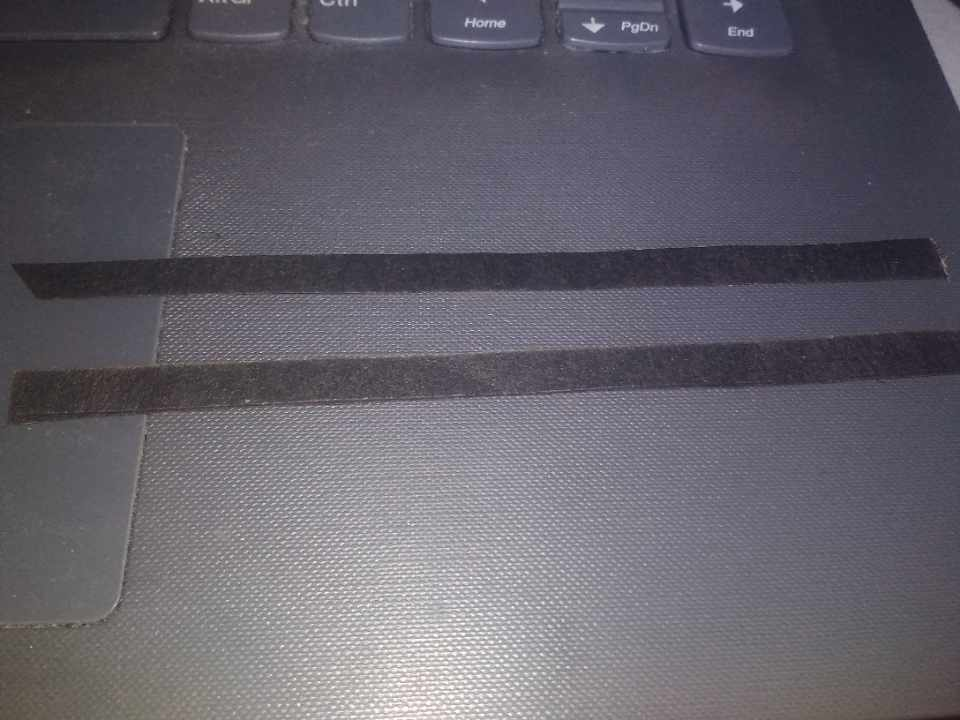
Tiras de papel para quilling en colores azul, blanco y negro.
Pinza de quilling para enrollar
Pega
Tijera
Materials
Strips of quilling paper in blue, white and black.
Quilling clamp to roll up
Glue
Scissors
Paso a paso/Step by step

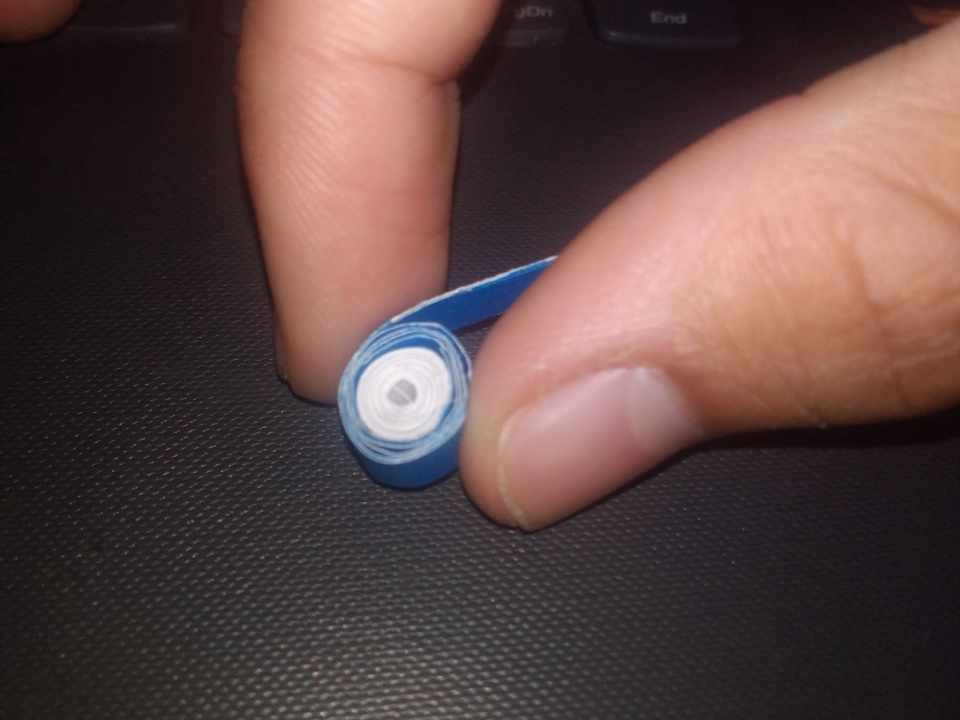
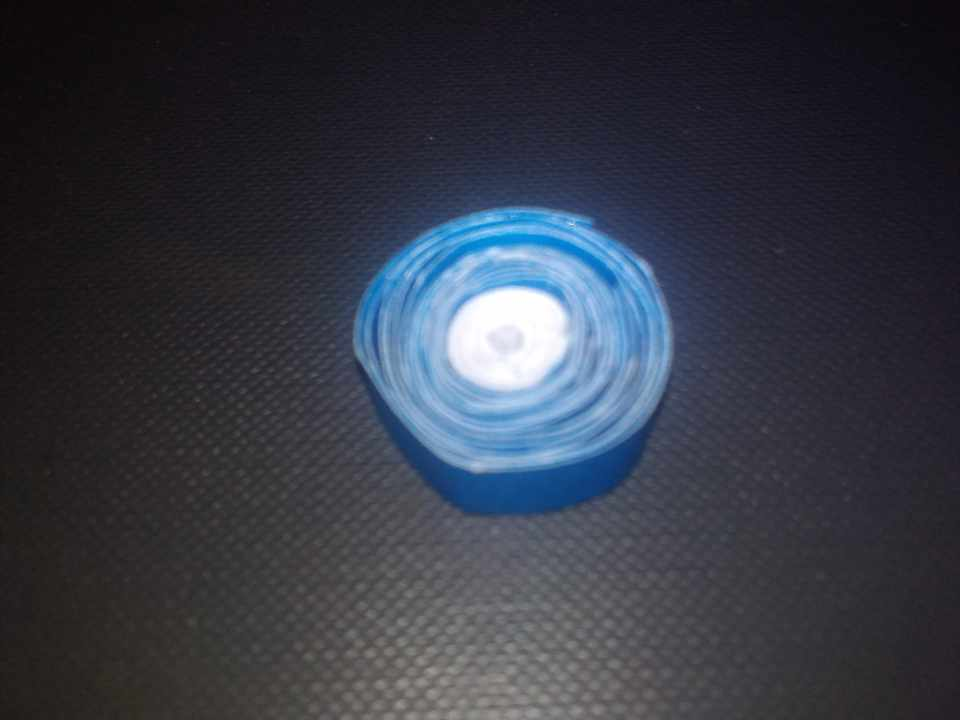
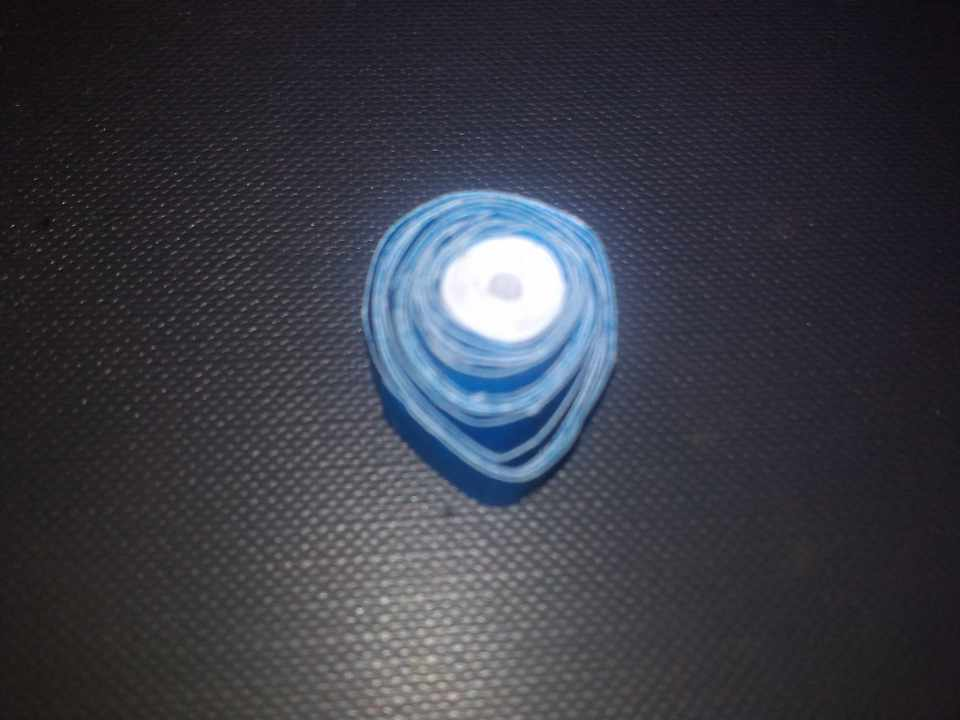
Lo primero que vamos a trabajar es el cuerpo del pez, para ello necesitamos una tira de papel en color blanco de 30 centímetros la cual vamos a enrollar ayudándonos con la pinza, al finalizar colocamos pega para asegurar, encima de ella continuamos enrollando, pero esta vez cinta de color azul, está con 60 centímetros de largo; sin olvidar colocar pega al inicio y antes de terminar soltamos un poco para la pieza se muestre abundante, colocar pega y asegurar.
The first thing we are going to work is the body of the fish, for it we need a strip of paper in white color of 30 centimeters which we are going to roll up helping us with the clamp, at the end we place glue to secure, on top of it we continue rolling, but this time blue ribbon, it is 60 centimeters long; without forgetting to place glue at the beginning and before finishing we release a little for the piece to show abundant, place glue and secure.
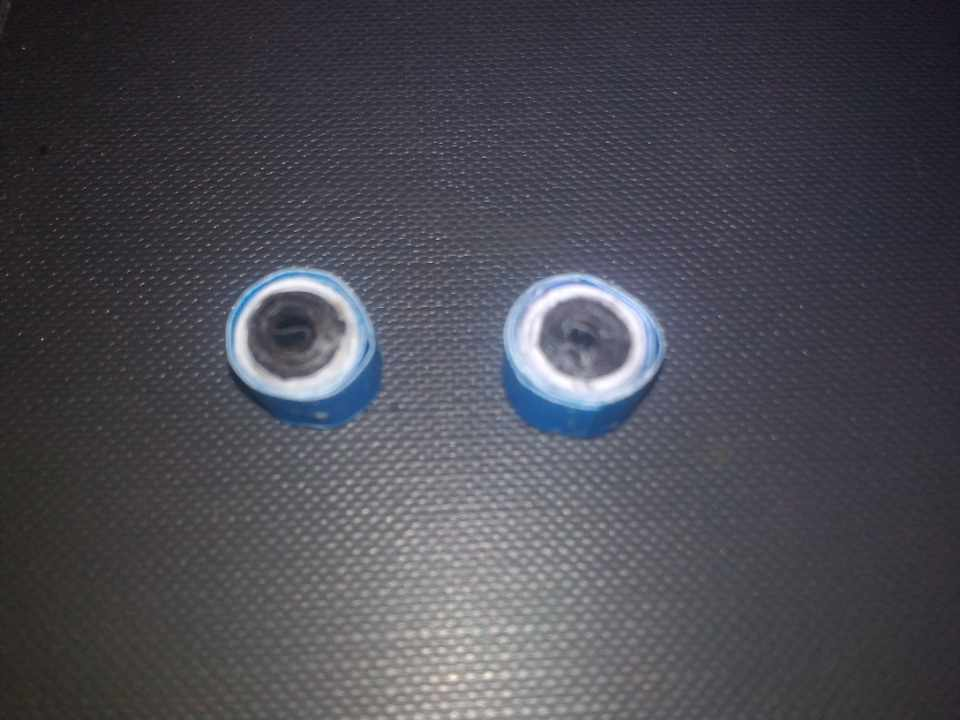
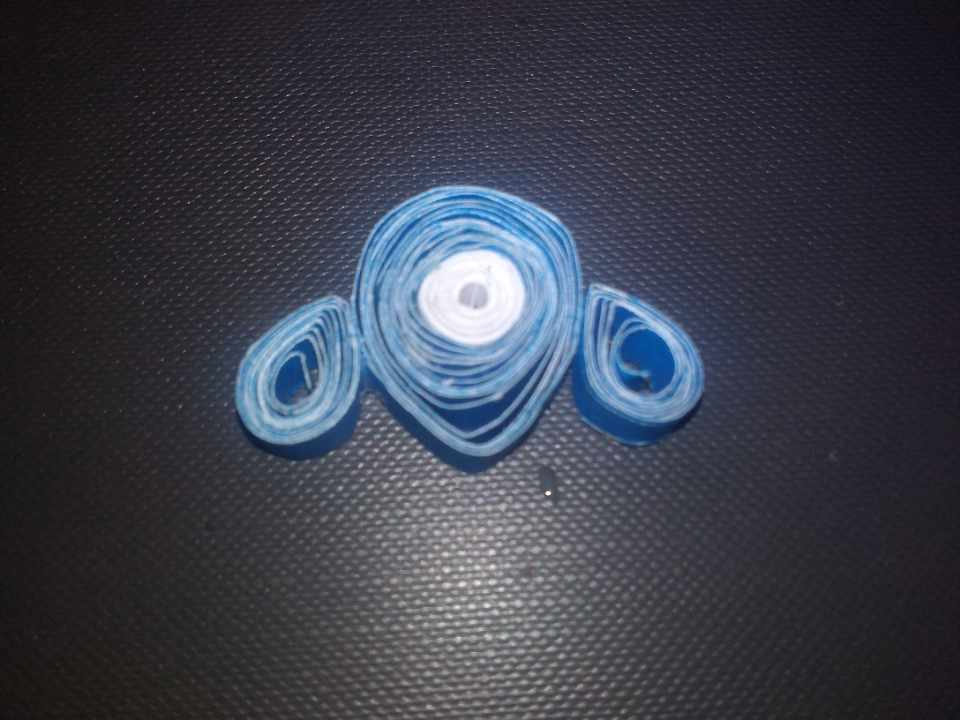
Para los ojos vamos a necesitar tira de papel en color negro, de 15 centímetros. Enrollamos y encima colocamos el color blanco con una tira de 30 centímetros, rematando con el color azul con el cual solo hacemos 3 vueltas, colocamos pega y culminamos. Repetimos el proceso para hacer el otro ojo.
For the eyes we will need a strip of black paper, 15 centimeters long. We roll and place the white color on top with a strip of 30 centimeters, finishing with the blue color with which we only make 3 turns, place glue and finish. Repeat the process to make the other eye.

Para las aletas laterales tomamos una tira de 30 centímetros y enrollamos; antes de culminar, soltamos un poco el rollito y colocamos pega para asegurar. Luego pinchamos solo un extremo para dar forma de gota.
For the side flaps we take a strip of 30 centimeters and roll it up; before finishing, we loosen the roll a little and place glue to secure it. Then we prick only one end to give a drop shape.
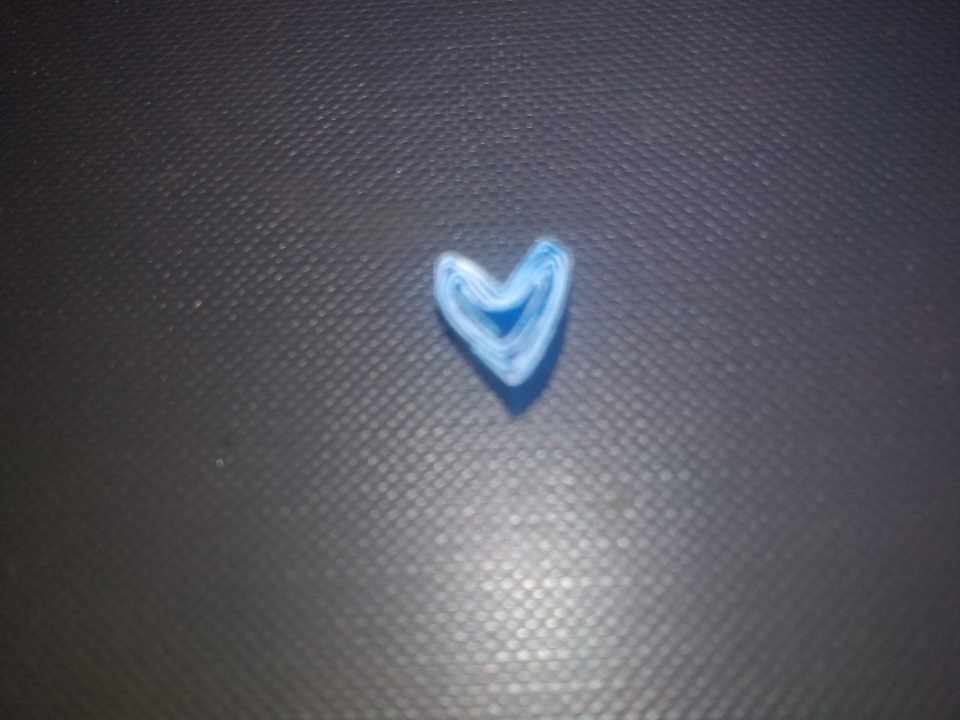
Para hacer la boca, vamos a tomar una tira en color azul de 10 centímetros, la que enrollamos y, una vez que está pegada, vamos, por un lado, a pinchar para crear una punta y, por el otro lado, presionamos para formar un corazón y así queda la forma de la boca.
To make the mouth, we are going to take a 10-centimeter blue strip, roll it and, once it is glued, we are going to, on one side, prick it to create a tip and, on the other side, press it to form a heart and thus the shape of the mouth.
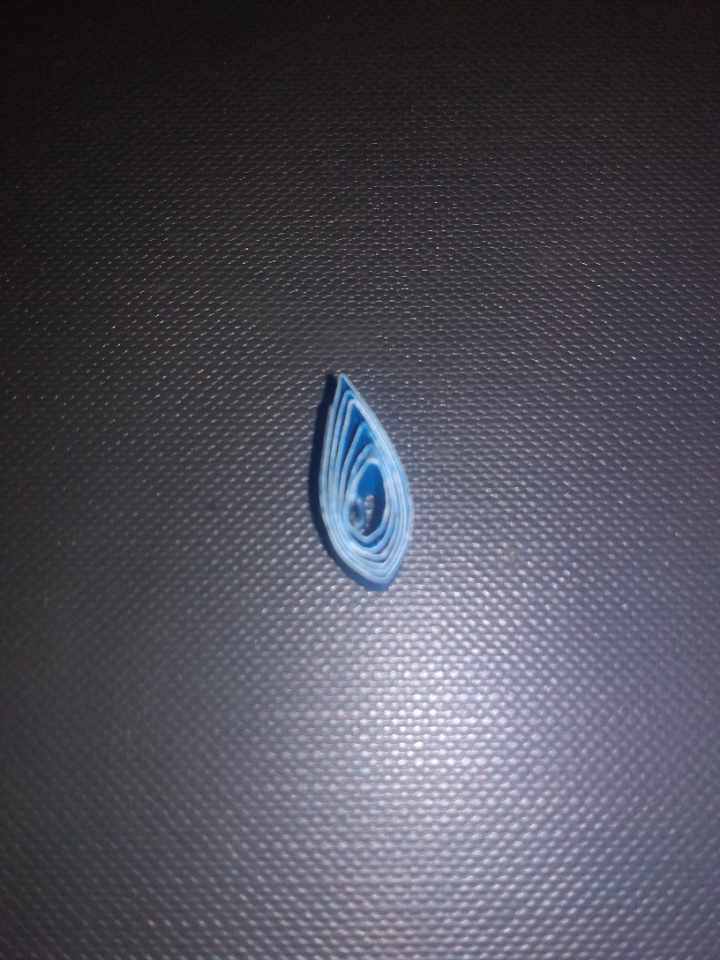
Para crear la cola necesitamos hacer una lágrima haciendo un enrollado más suelto para que la pieza sea más alargada, esto es, en color azul.
To create the tail we need to make a teardrop by making a looser winding so that the piece is more elongated, that is, in blue color.

Y las otras tres piezas de la cola serán tres piezas en forma de lágrimas, pero más gorditas que la anterior.
And the other three pieces of the tail will be three pieces in the shape of tears, but fatter than the previous one.
Comenzamos el armado y lo primero en presionar un poco en una sola parte del cuerpo para definir la parte delantera con la parte trasera, luego colocamos pega a las aletas y las pegamos a los lados.
We start the assembly and the first thing to do is to press a little on only one part of the body to define the front part with the back part, then we put glue to the fins and glue them to the sides.
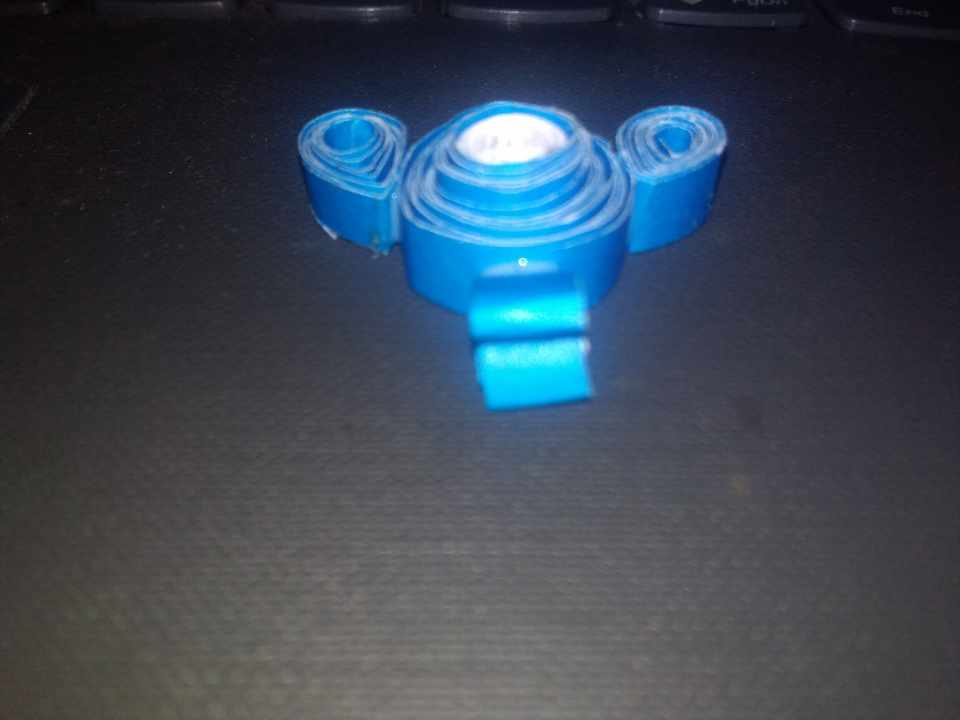
Girar la pieza para colocar la boca de manera que el corazón quede acostado para que se vea como los labios de un pez.
Rotate the piece to position the mouth so that the heart is lying down to look like the lips of a fish.
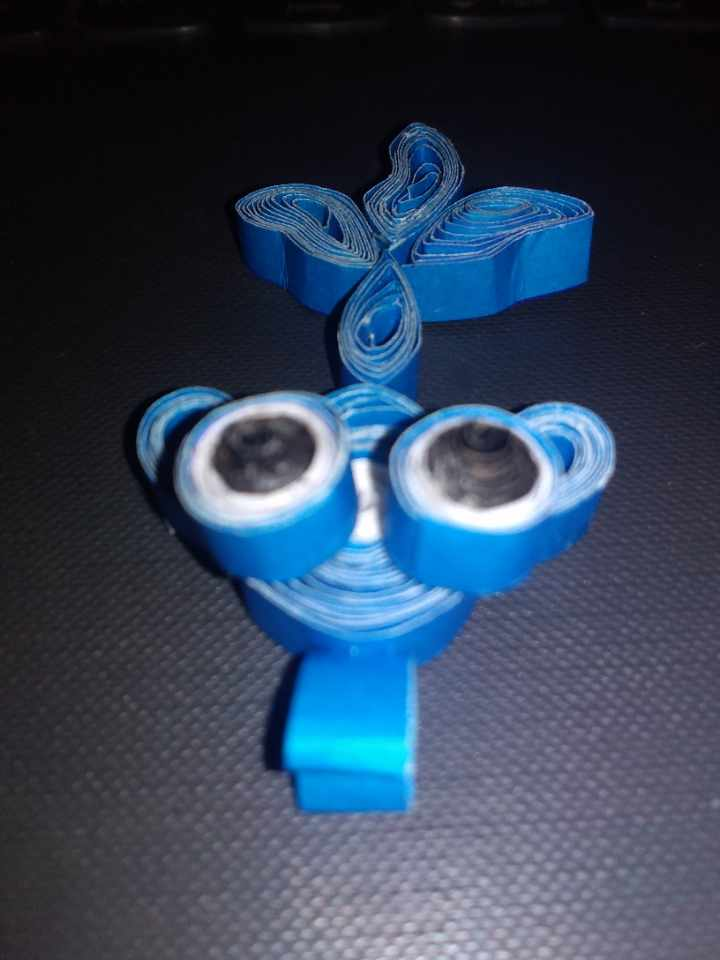
Seguimos y, encima del cuerpo, que queden justo en la punta de las aletas, pegamos los ojos y en la parte puntiaguda del cuerpo, pegamos la parte más alargada de la cola.
We continue and, on top of the body, just at the tip of the fins, we glue the eyes and on the pointed part of the body, we glue the longest part of the tail.
En esa parte alargada de la cola, pegamos las otras tres lágrimas y dejamos secar bien.
On that elongated part of the glue, we glue the other three tears and let them dry well.

Cuando esté bien seca la pieza, le damos forma a las aletas para que se vea como si está dentro del agua.
When the piece is well dried, we shape the fins so that it looks as if it is in the water.

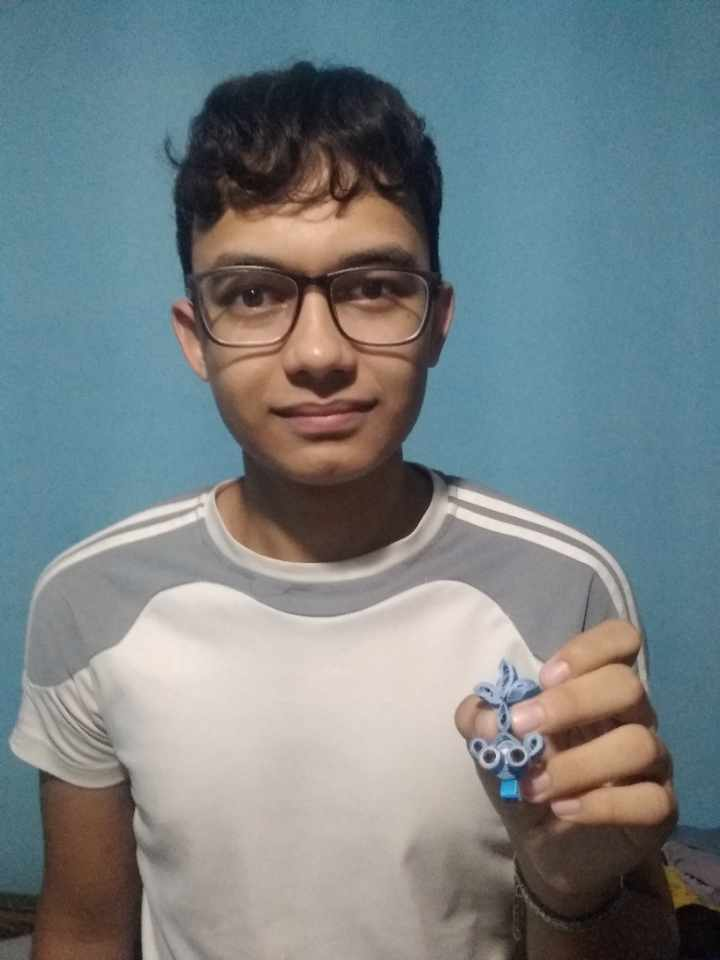
Espero que les agrade el resultado final.
I hope you like the final result.
It is beautiful, charming, and lovely. It looks pretty cool. Good to see how you made this one. Well done!