Since we are all over with the love fiasco a little DIY wouldn’t hurt right? Hehehehe something short, easy, and quick sounds like fun right?😃
I hope you all had fun yesterday because I did and for once Valentine’s Day did feel different for me.
After all the celebration yesterday I decided to make use of my popsicle sticks as it’s been a while since I last created anything with them and I have a lot of them.
I decided to make a wall clock with these popsicle sticks and I am glad that it came out well and they did serve their purpose after all.
Since this DIY wall clock is super easy to make we can make it with our little ones as this would be the perfect craft for bonding with our little ones while they learn patience and resilience.
To achieve this beautiful popsicle wall clock I followed the below steps.
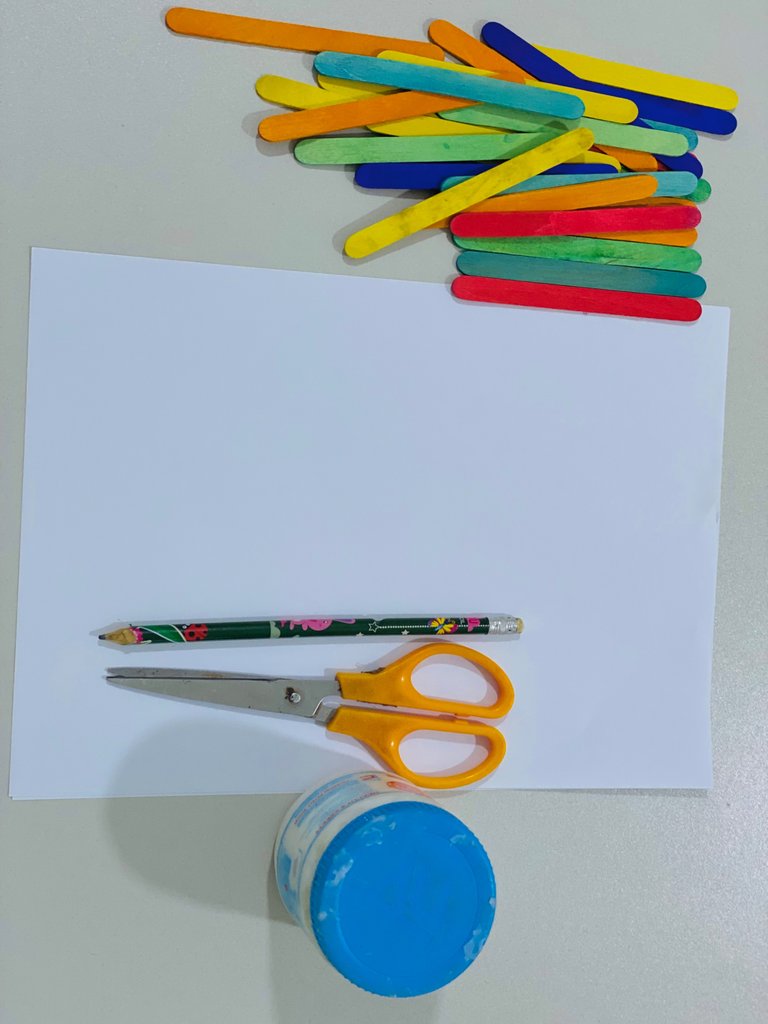
Materials
Popsicle sticks
A pair of scissors
Paper
Gum
Foam sheet
Procedure
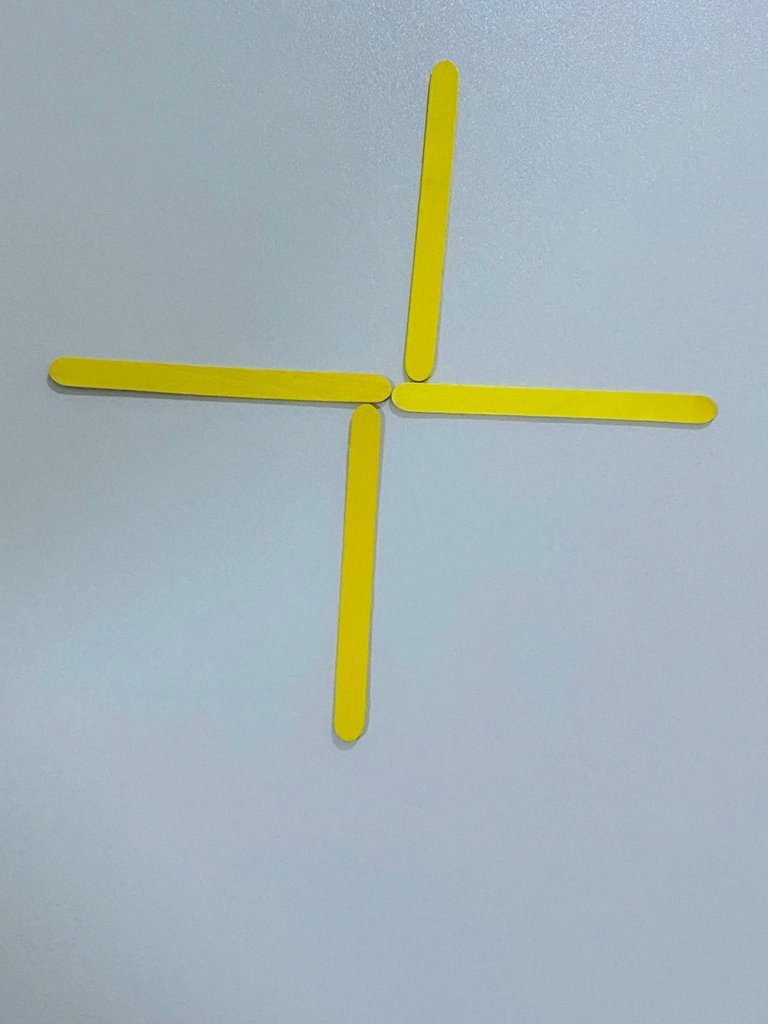
Step 1:
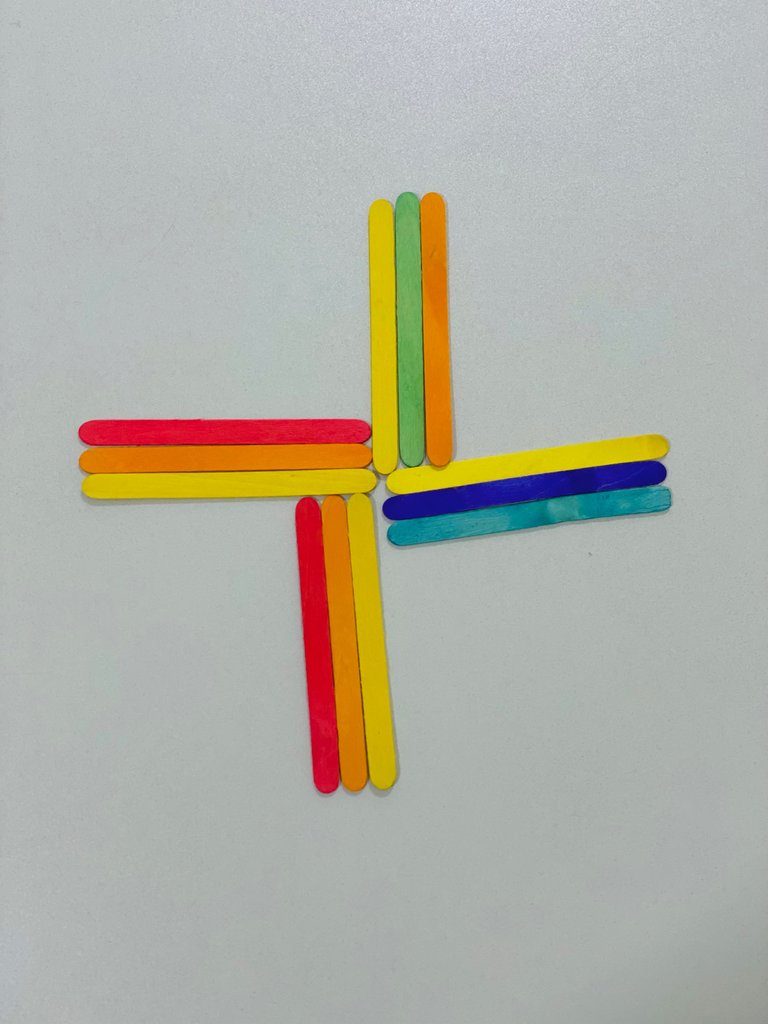
Firstly, you start by arranging your popsicle sticks in the way you wish your wall clock to look. I chose this design for my clock and you can decide to choose a different design. After arranging them, apply gum to enable the popsicle sticks to stay firm and together.
Step 2:
Proceed to place your popsicle sticks according to the design and do this carefully as you don’t want to ruin the entire process.
Step 3:
After placing all the required popsicle sticks and you are satisfied with how the design turned out, proceed to make the hands of your clock. To make the hands of your clock, cut a piece of paper fold it into two, and fold again until a stick is formed, this would serve as the hand of your clock.

Step 4:
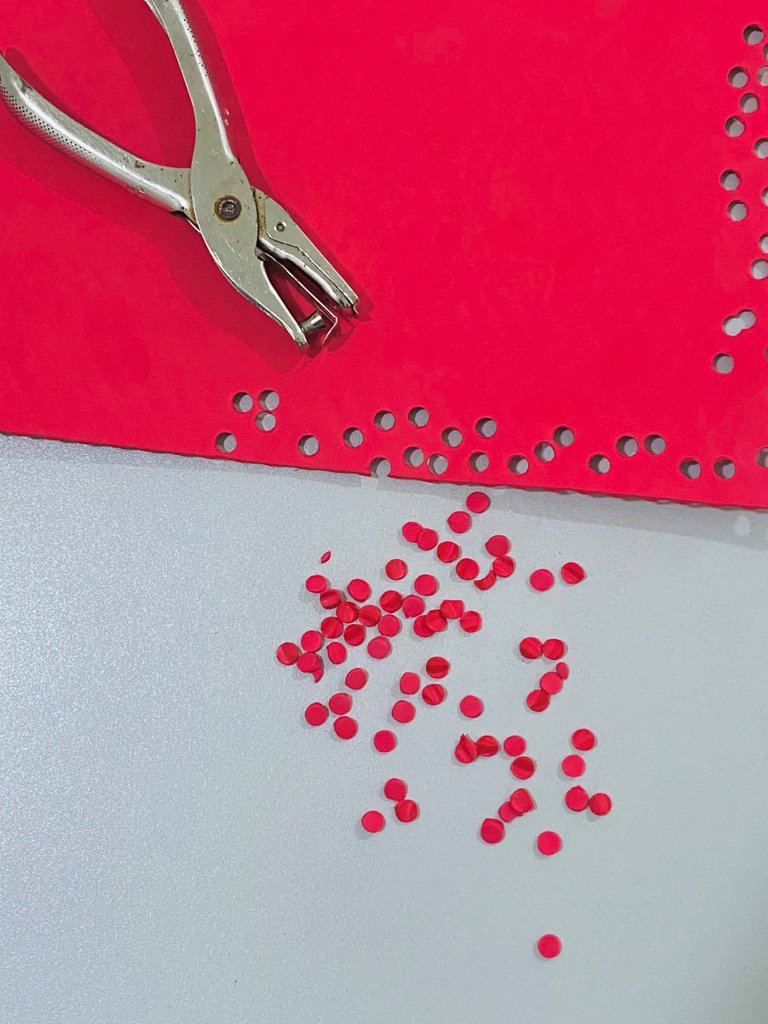
Once the hands of your clock are ready, proceed to make the numbers of your clock and you can achieve this by perforating your foam sheets.
Step 5:
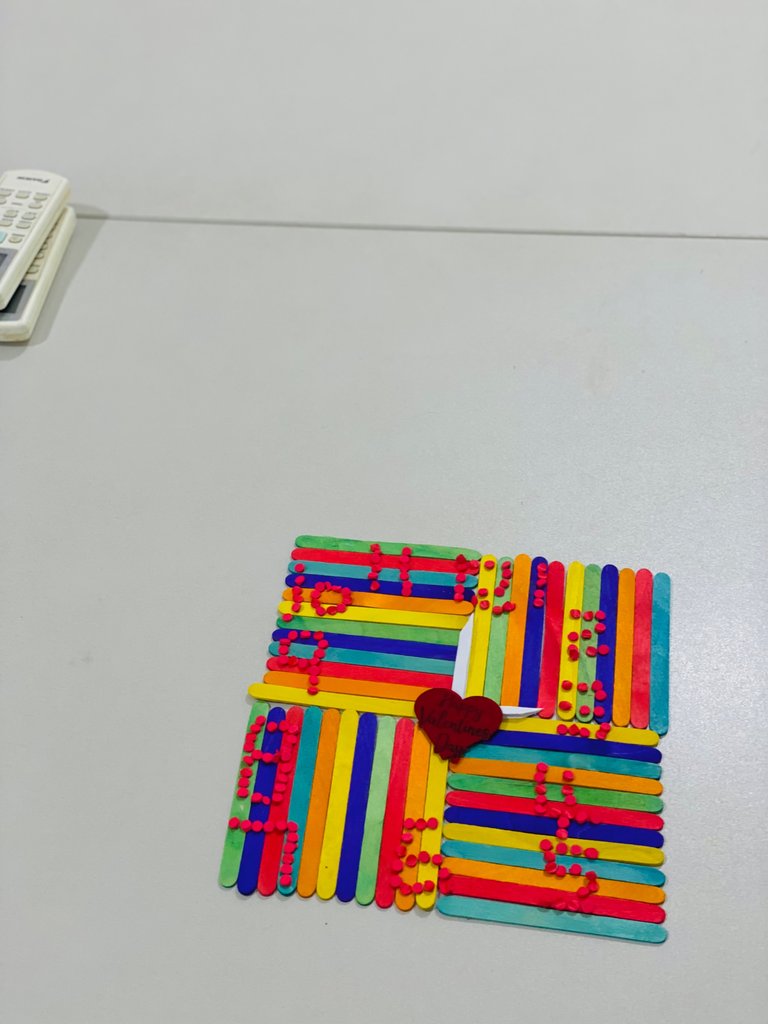
Use the chad to make the numbers of the clock. This process requires uttermost patience and focus as you have to pick them one after the other and attach them to the clock.
Step6:
Apply gum to the hands of your clock and attach it to the clock.
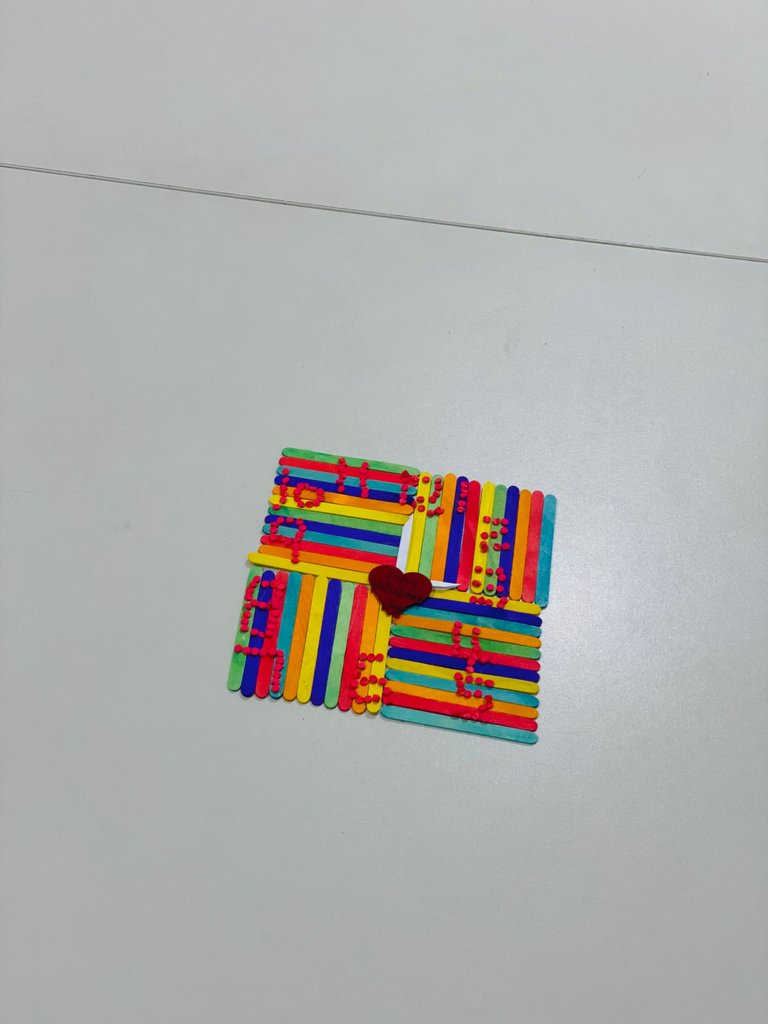
Once all the corrections and adjustments are made, your DIY wall clock is ready.
Does this look easy to you? Do you think you can try it without any hassle? I’d love to know in the comment section😃
All images are mine except otherwise stated.
Thanks for stopping by
Loads of Love🥰🥰
XOXO
the results are very beautiful, I like it👍
Thank you
You are welcome, friend
That is such a nice and creative project. The wall clock looks good. At least it'd tell the time twice correctly, xD. Well done
Hehehehe thank you so much
que bonito quedo, esta genial los colores!
how nice it looks, the colors are great!
Thank you friend
https://bsky.app/profile/did:plc:rag2mftdy2alo7rtmyttmpk4/post/3liciluyoba2l
The rewards earned on this comment will go to the author of the blog post.https://bsky.app/profile/did:plc:rag2mftdy2alo7rtmyttmpk4/post/3liciluyoba2l
Thank you