Do you know the one thing you don’t get to see in people’s DIY projects? It’s the behind-the-scenes. I think a lot of people do not really talk about how many hours they spend working on a project neither do people aptly describe the number of times they made mistakes and still carried on with the project.
Do you know the kind of people I admire? It’s people who make straight videos of their DIY projects without cutting and joining them because I don’t think I have gotten to that point of embarking on a DIY project without making mistakes. Lol, I can’t count the number of times that I have ruined a design and had to start all over again.
The funny part is that sometimes you have a particular design in mind but whatever you’re creating begins to look like something else and you immediately abandon your initial design to stick with the current one😂 crazy huh? DIY projects aren’t for the faint-hearted.
Your patience would be tested and your creativity would be needed at different points.
The most rewarding part of it all is everything coming out well against all odds and people admiring and appreciating your work, in that moment nothing else matters.
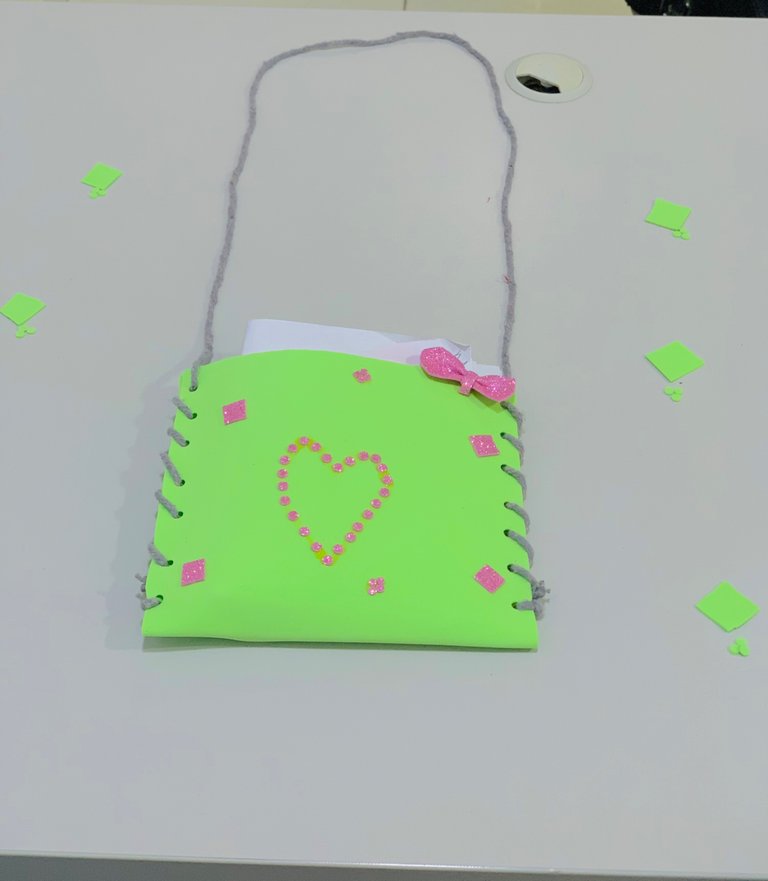
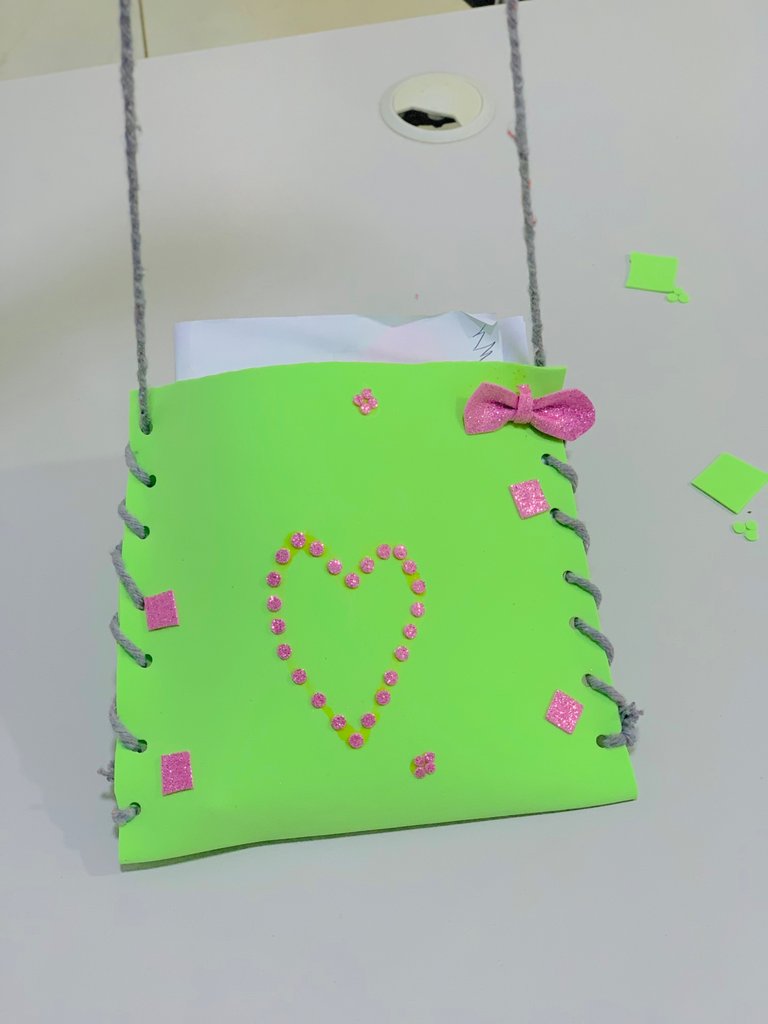
So today I made one of the easiest bags that you can ever think of, below are the materials I used:
Foam sheet
Scissors
Rope
Gum
Perforator
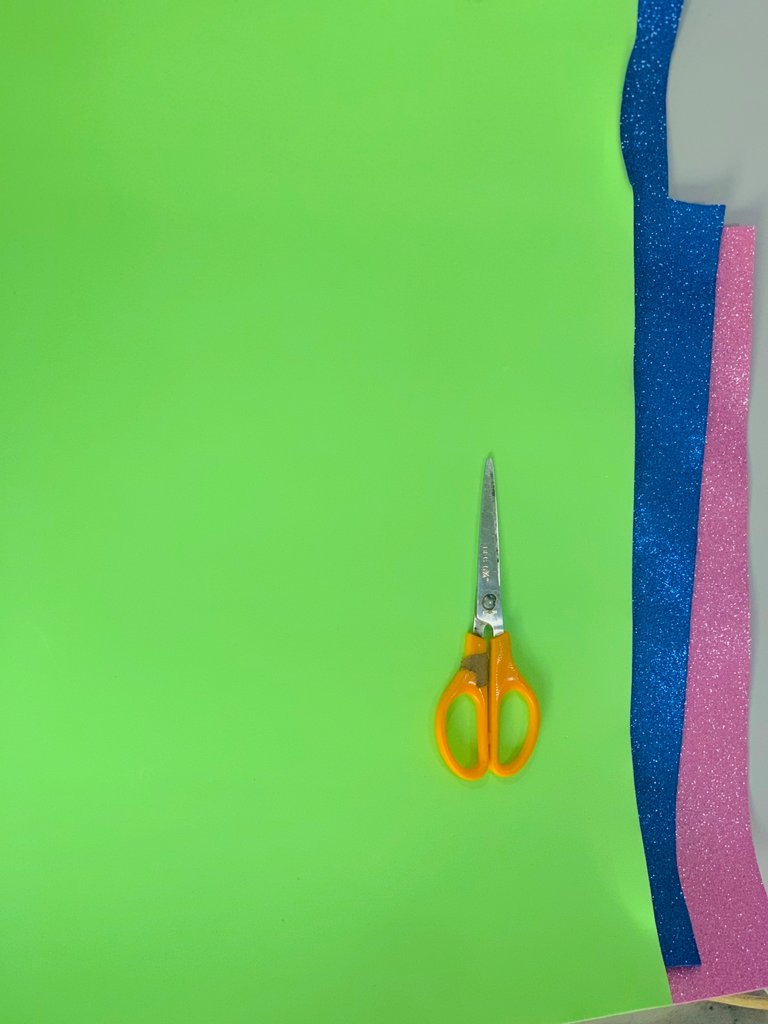
Step 1:
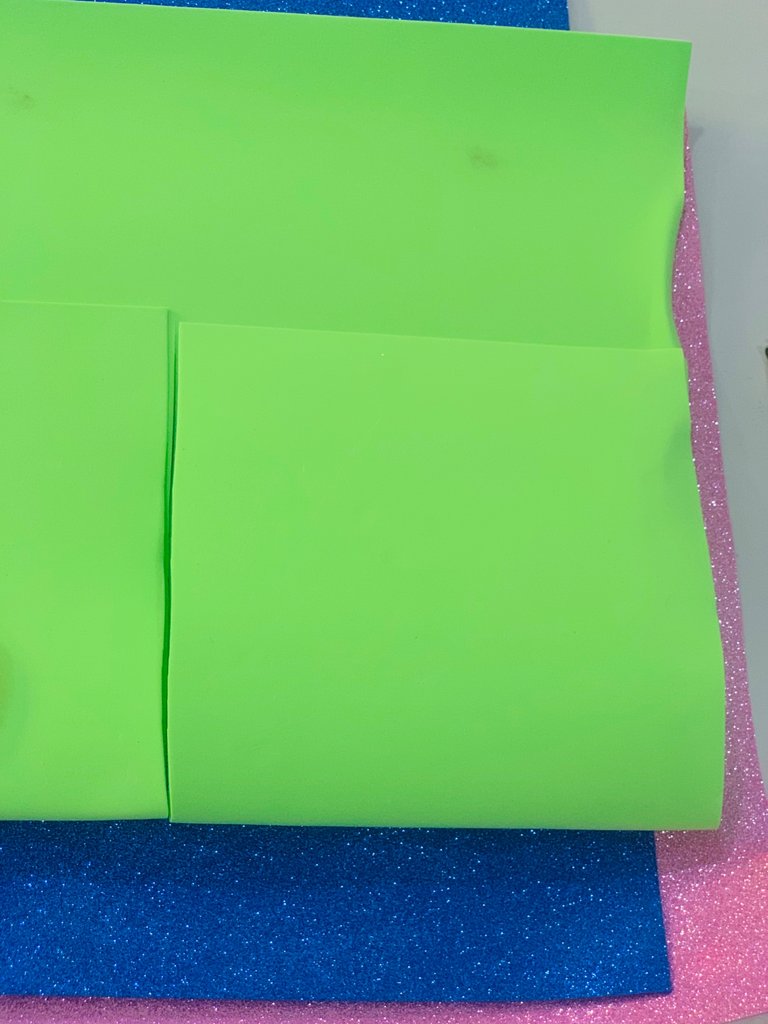
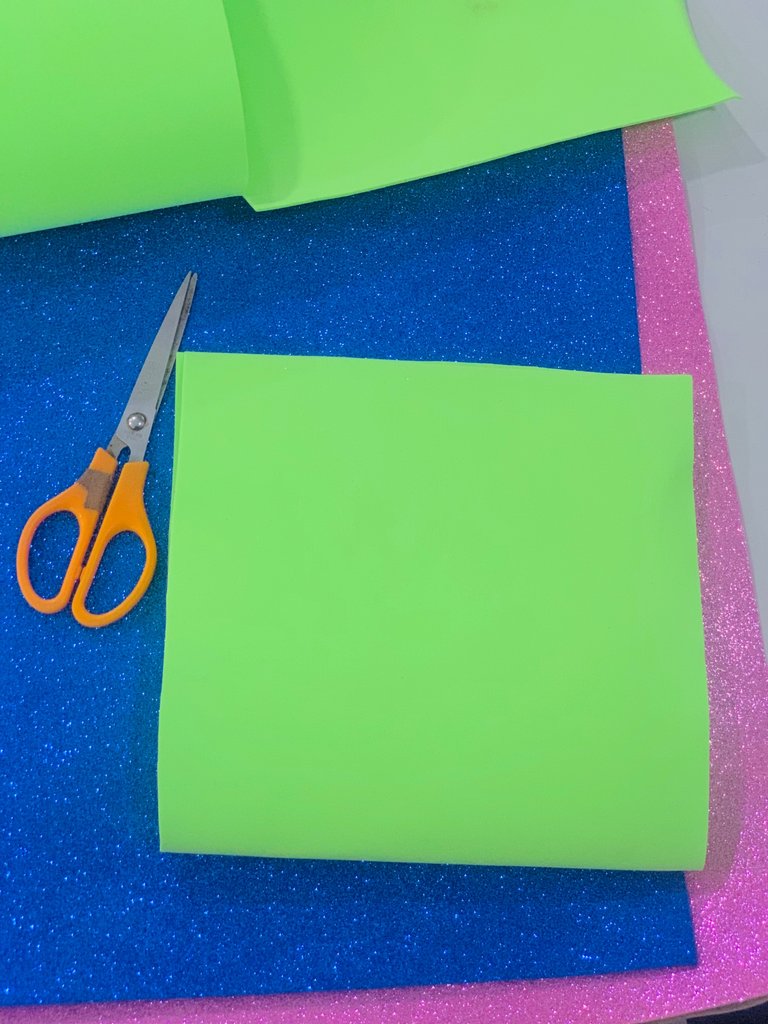
You start by first folding your foam sheet into two.
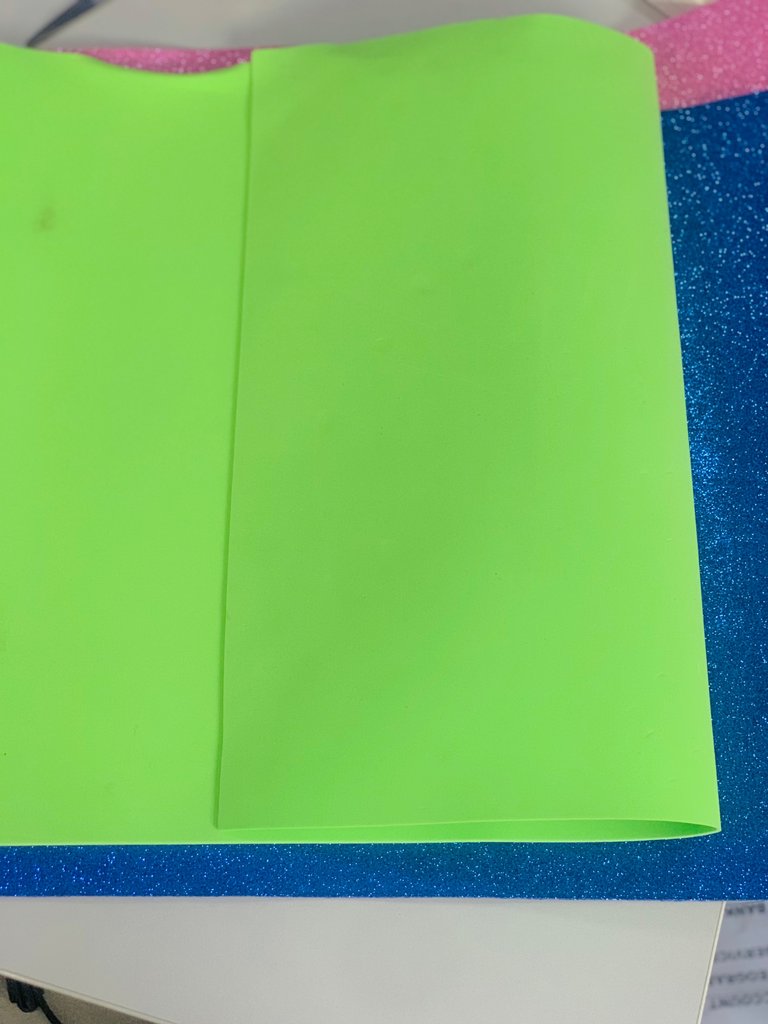
Step 2:
You cut the folded part out, and this would be the exact size and length of your bag.
Step 3:
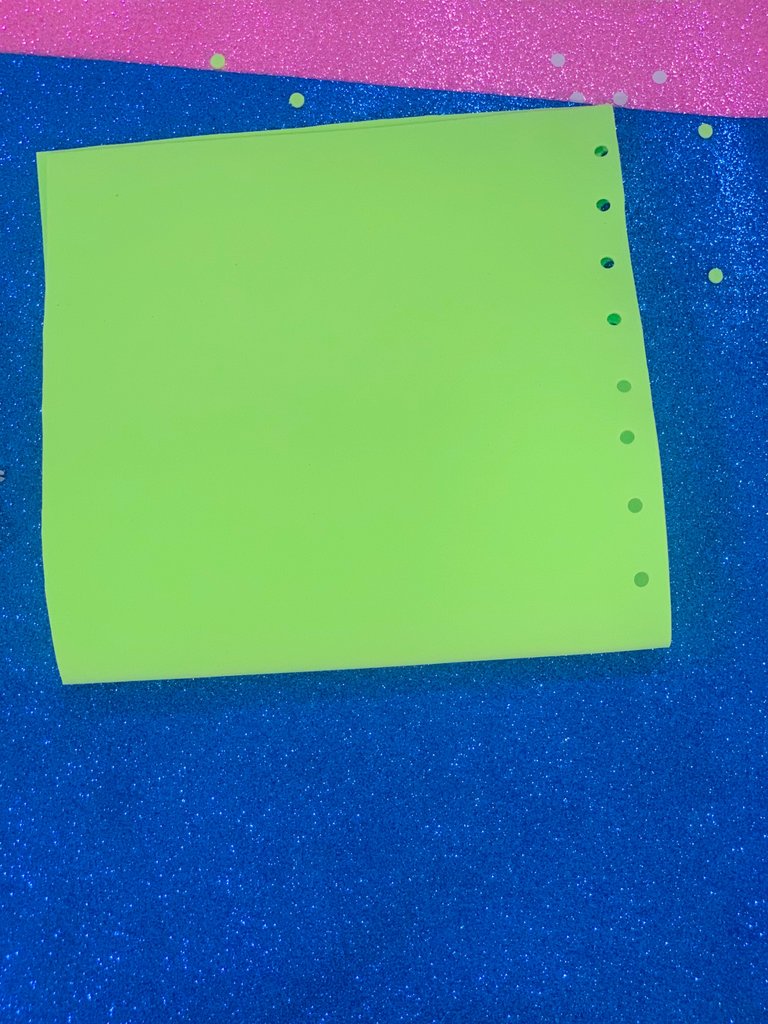
You proceed to bore some holes on one side of your bag, you can decide to use anything to bore the holes but using a perforator is preferable.
Step 4:
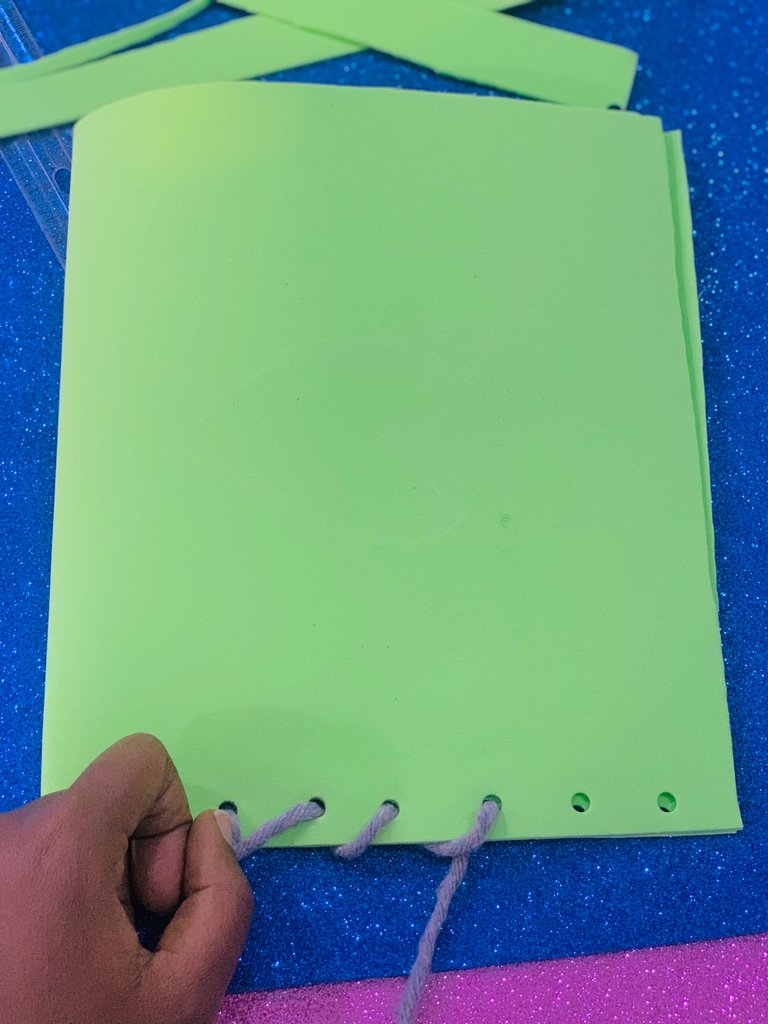
Cut a piece of rope to the desired length of your choice and start lacing the rope from the bottom to the top as this would serve as the strap of your bag.
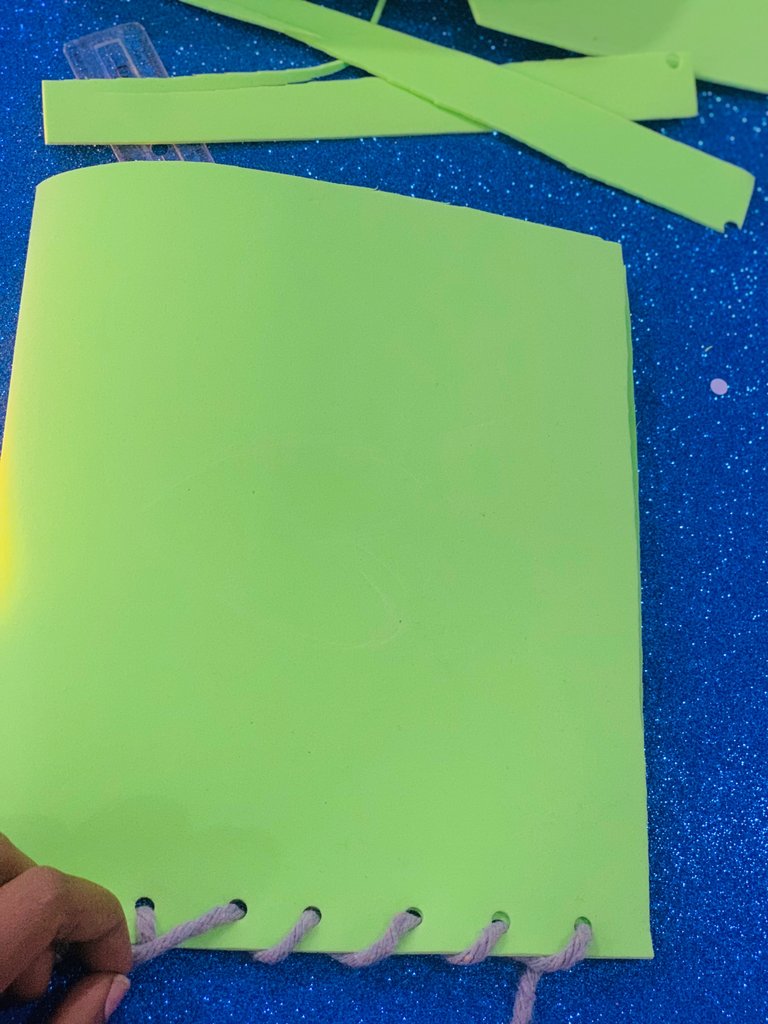
Step 5:
After lacing one side, use a ruler to trace the exact points you bore holes on the other end. This is to ensure that on both sides of the bag, the holes are uniform.
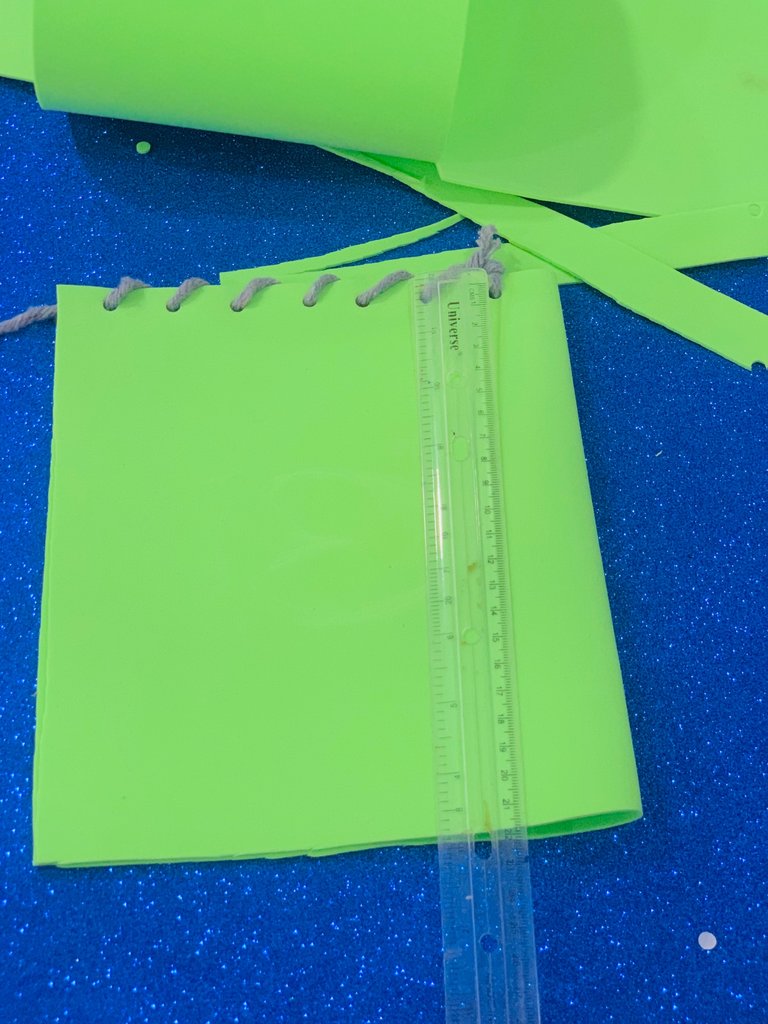
Step 6:
After boring your holes on the left side of your bag pass the rope from top to bottom, unlike the right side where you had to pass it from bottom to top.
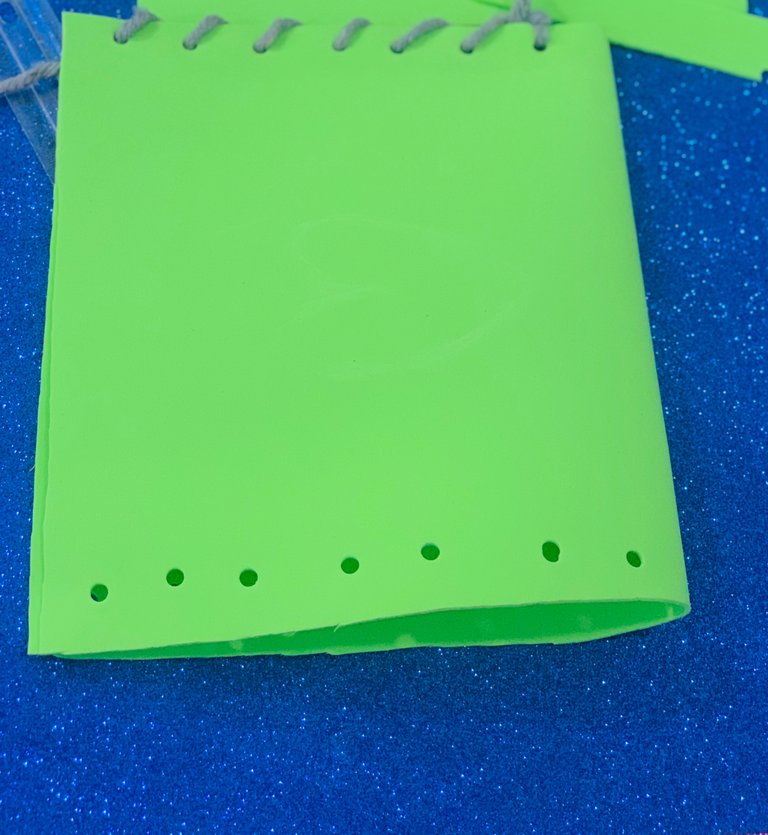
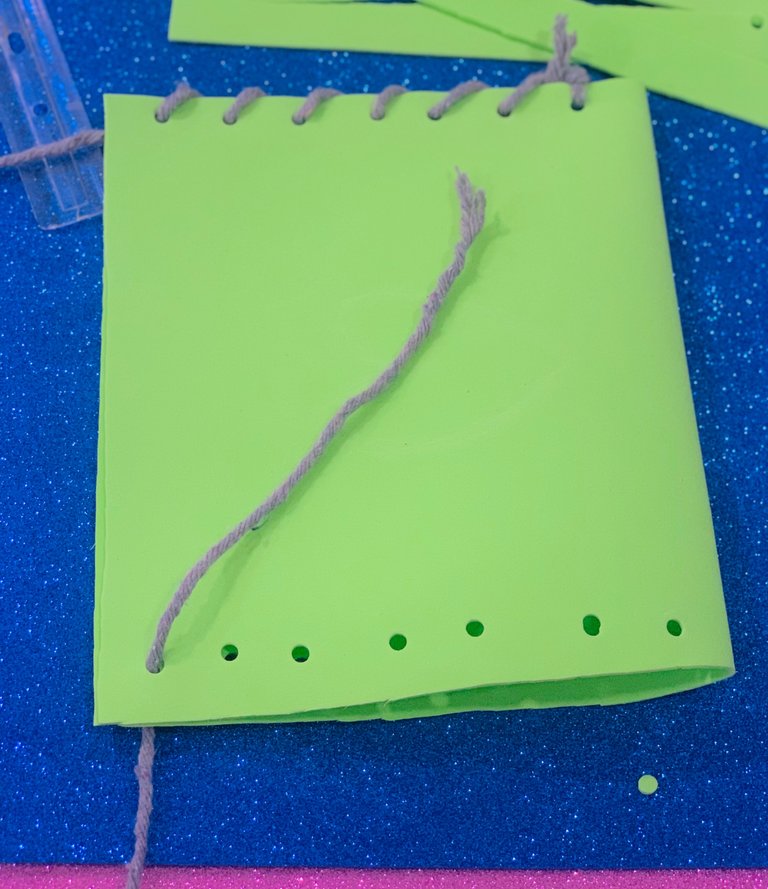
Step 7:
After lacing both sides of your bag the next step is to design your bag to your taste.
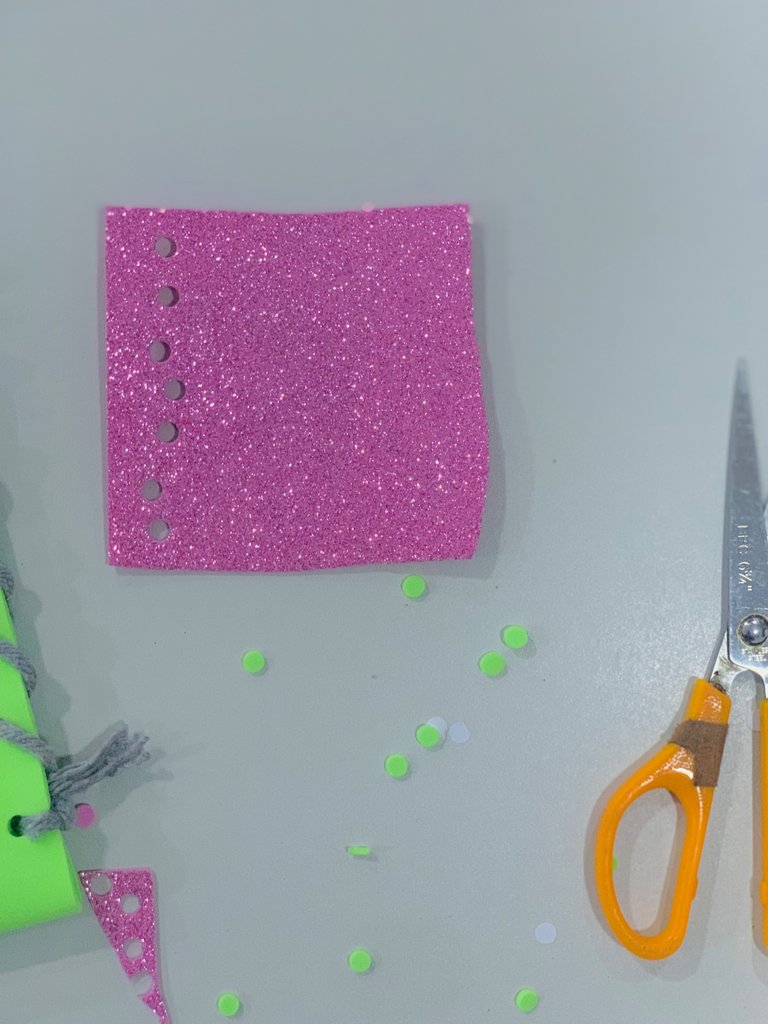 | 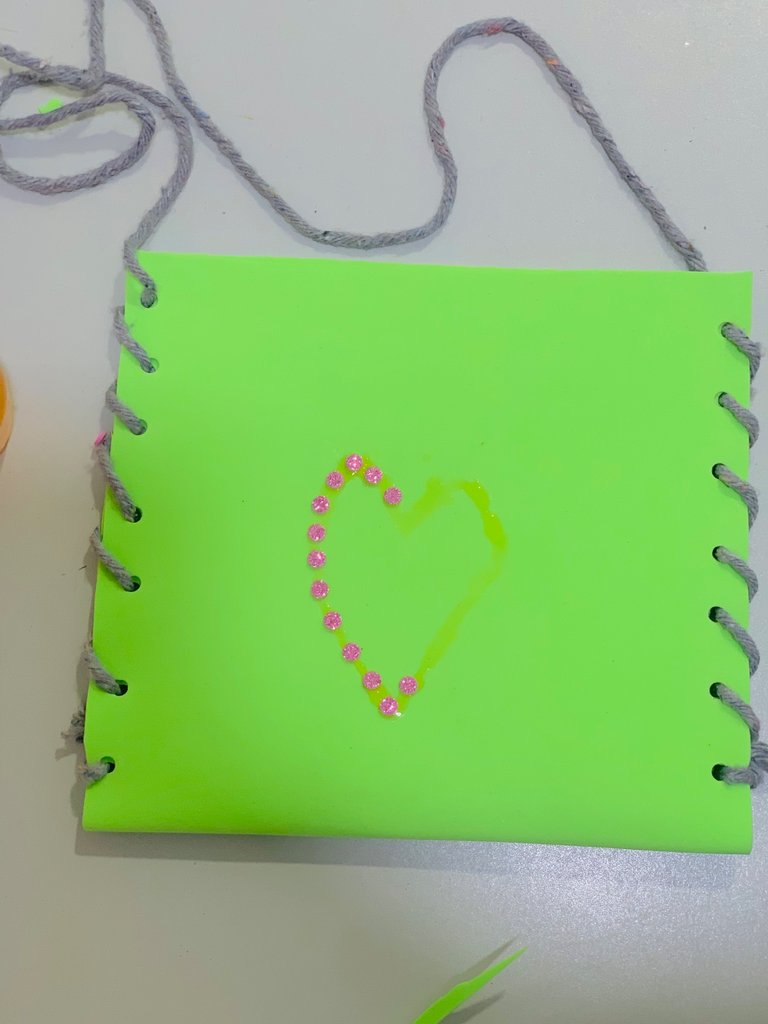 | 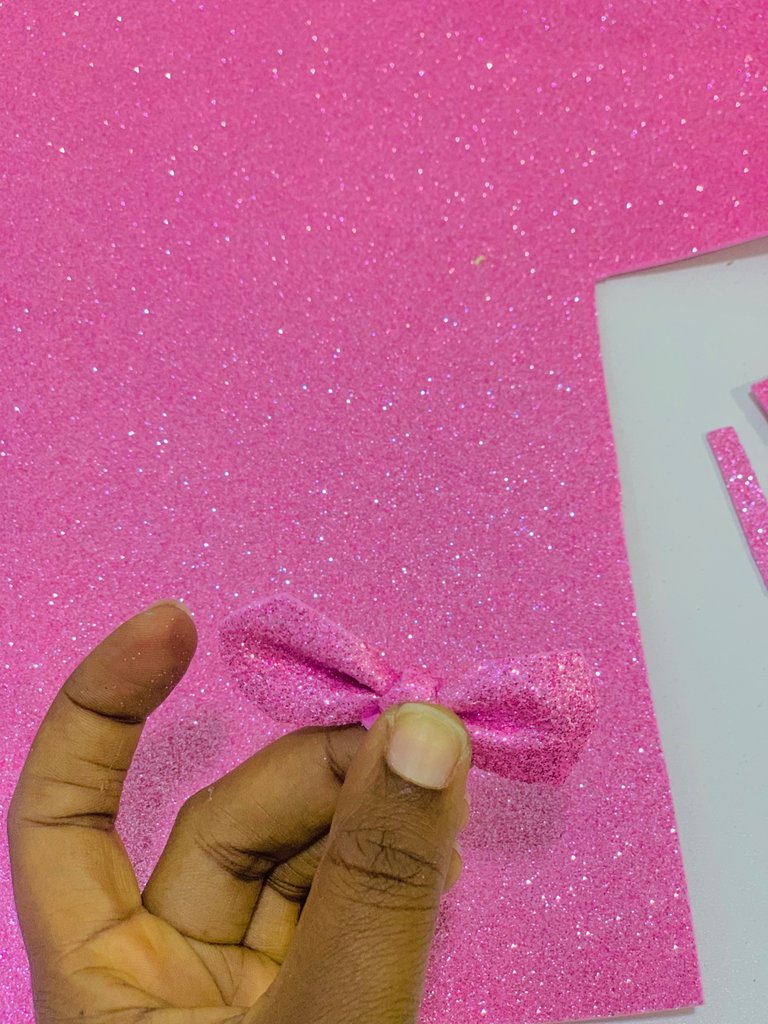 |
|---|---|---|
After Putting the finishing touches to your bag your bag is ready and good to go😃
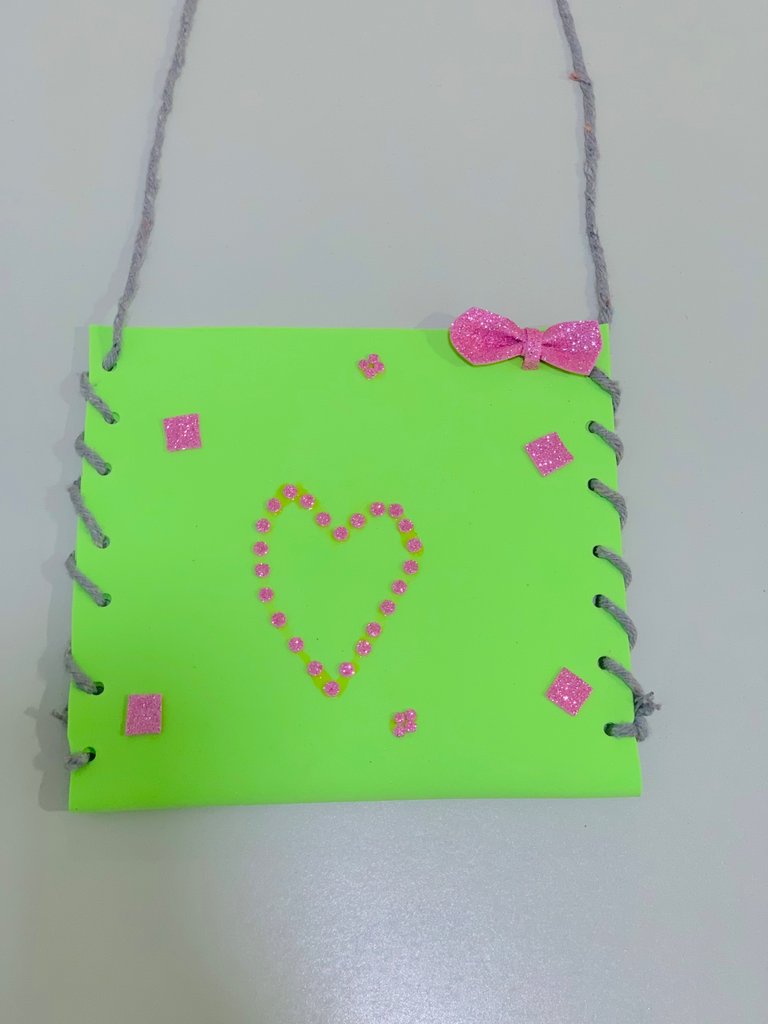
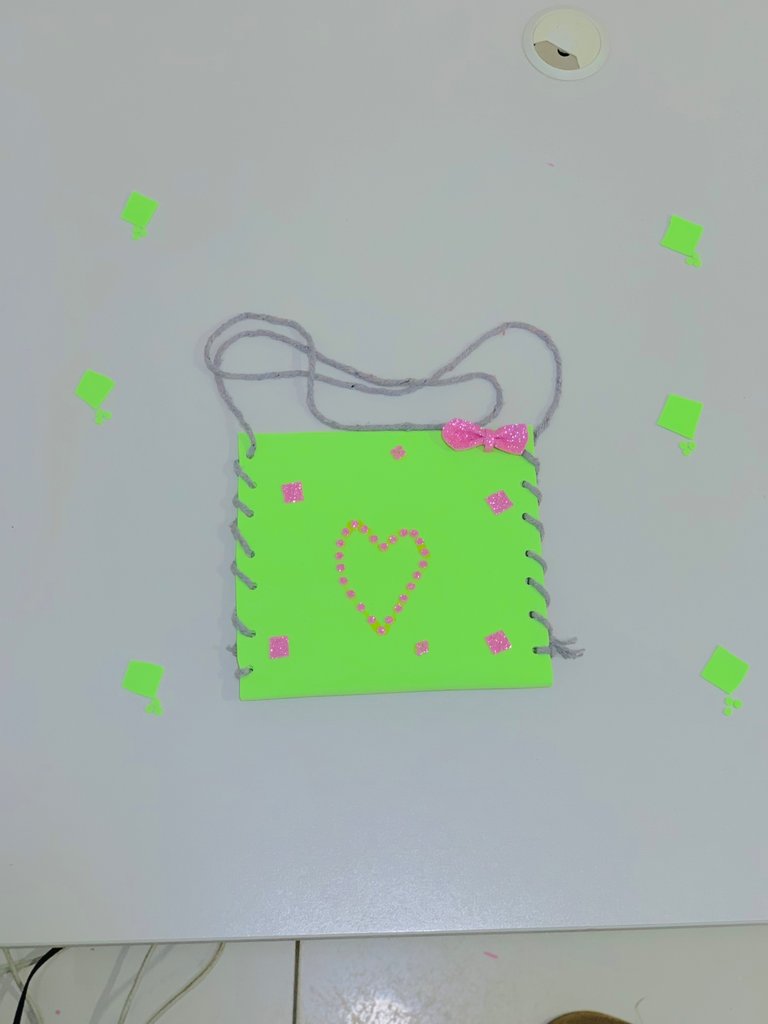


What do you think about this easy-to-make bag of mine? Would you love to try something like this? I’d love to read what you all think in the comment section.
All images are mine except otherwise stated.
Thanks for stopping by
Loads of Love
XOXO
Posted Using InLeo Alpha
The struggle of getting desired results for a diy project is real, if people were to be talking about it, the story would be so long lol 😂
This bag looks so beautiful, and I love the heart design in the middle. !DIY
Congratulations @ibbtammy! You have completed the following achievement on the Hive blockchain And have been rewarded with New badge(s)
Your next target is to reach 12000 replies.
You can view your badges on your board and compare yourself to others in the Ranking
If you no longer want to receive notifications, reply to this comment with the word
STOPCheck out our last posts:
You can query your personal balance by
!DIYSTATSThis is beautiful Tammy but tell me, where'd you carry this to? Lol. And with what outfit will you pair it😏
Lol I’ll wear it to your wedding my love🥰🥰
I am a reverend sister oh.
View or trade
LOHtokens.@ibbtammy, You have received 1.0000 LOH for posting in Ladies of Hive. We believe that you should be rewarded for the time and effort spent in creating articles. The goal is to encourage token holders to accumulate and hodl LOH tokens over a long period of time.
What a unique bag.
This is beautiful and easy to carry
Thank you so much
You have created a very beautiful back with colorful foam sheets. It looks pretty cool. Best wishes for a great job.
Thank you so much !Lady