Hola, amigos de #DIYHub. Espero que estén teniendo un buen inicio de semana.
Hoy llovió muy fuerte en mi zona y aunque para nada alivió el calor que está haciendo, agradezco que al menos la tierra se humedezca después de tanto sol.
En casa estoy pasando por una repentina gripe, pero aún tengo fuerzas para seguir creando. Esta vez, quiero dedicar este proyecto a mi sobrina Eliana que desde hace un par de días ha estado insistiéndome en ayudarme a crear un organizador para sus lápices de colores, ya que a ella le gusta dibujar mucho.
Aproveché la oportunidad también de hacer algo para el #suncontest de este mes, así que con su ayuda creamos este organizador con temática de sol.
Hello, #DIYHub friends. I hope you are having a good start of the week.
It rained very hard in my area today and although it didn't help at all with the hot weather, I'm grateful that at least the ground is moist after so much sun.
At home, I'm going through a sudden flu, but I still have the strength to keep creating. This time, I want to dedicate this project to my niece Eliana who for the past couple of days has been insisting on helping me create an organizer for her colored pencils, since she likes to draw a lot.
I took the opportunity also to make something for this month's #suncontest, so with her help we created this sun-themed organizer.
Paso a paso:
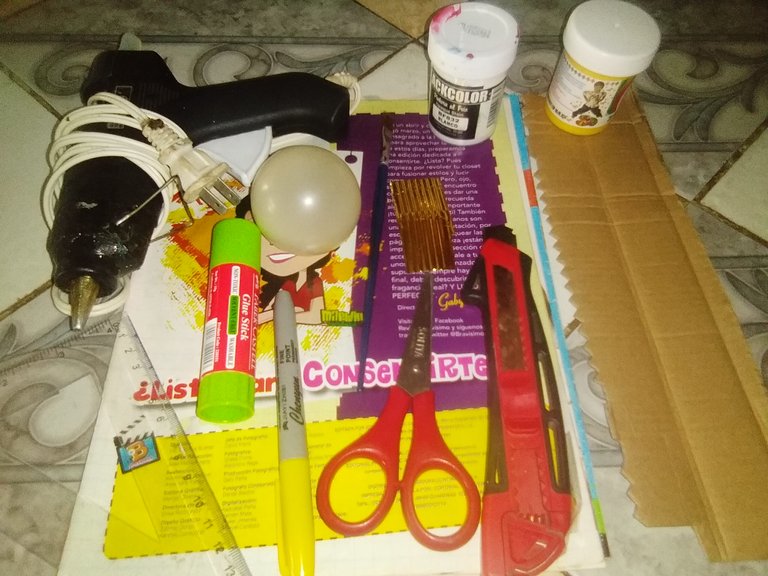
Materiales:
•Tijeras.
•Cartón.
•Revistas viejas.
•Pega en barra.
•Silicón.
•Pinturas.
•Pinceles.
•Cartón corrugado dorado.
•Exacto.
•Cascaron de bombillo de led.
•Regla.
•Marcador.
Step-by-step:
Materials:.
- Scissors.
- Cardboard.
- Old magazines.
- Glue stick.
- Silicone.
- Paints.
- Brushes.
- Gold corrugated cardboard.
- Cutter.
- LED light bulb shell.
- Ruler.
- Marker.
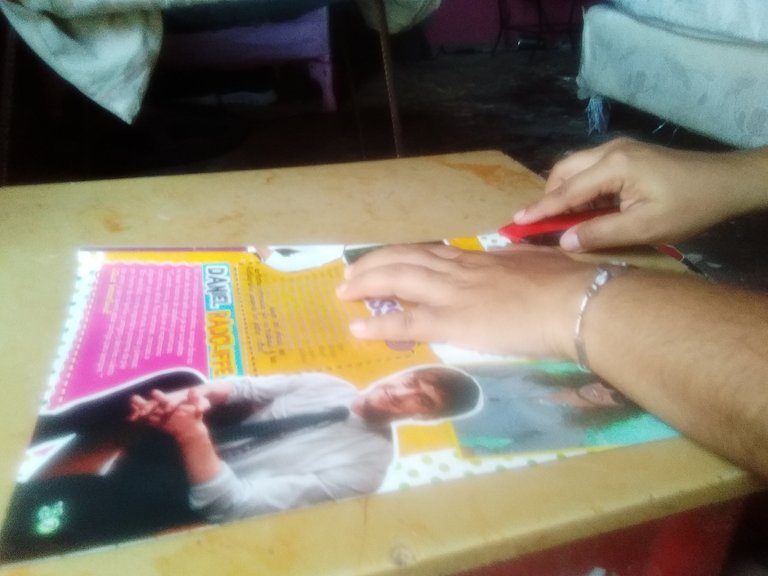
Paso 1: Con el exacto cortamos las hojas de las revistas a la mitad.
Step 1: With the cutter we cut the sheets of the magazines in half.
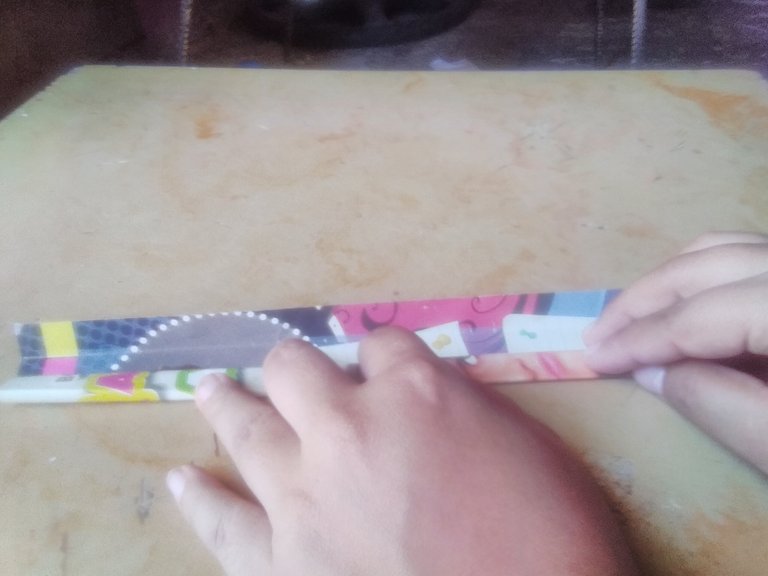
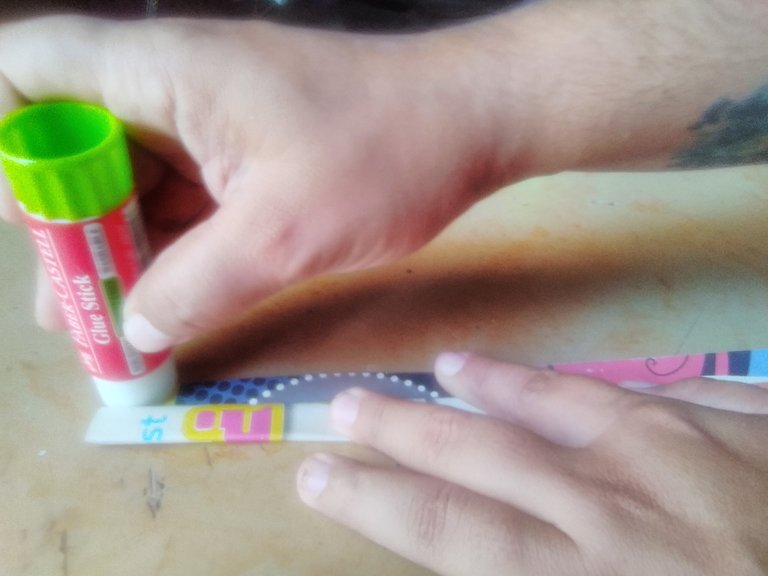
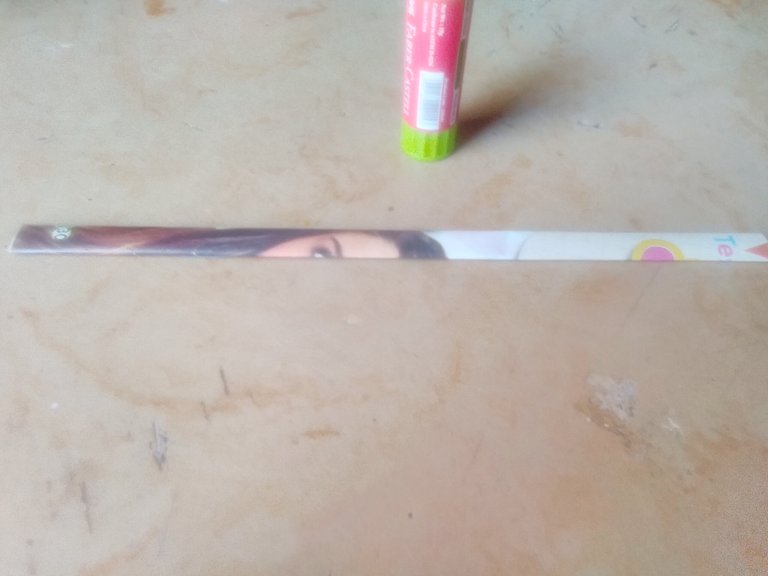
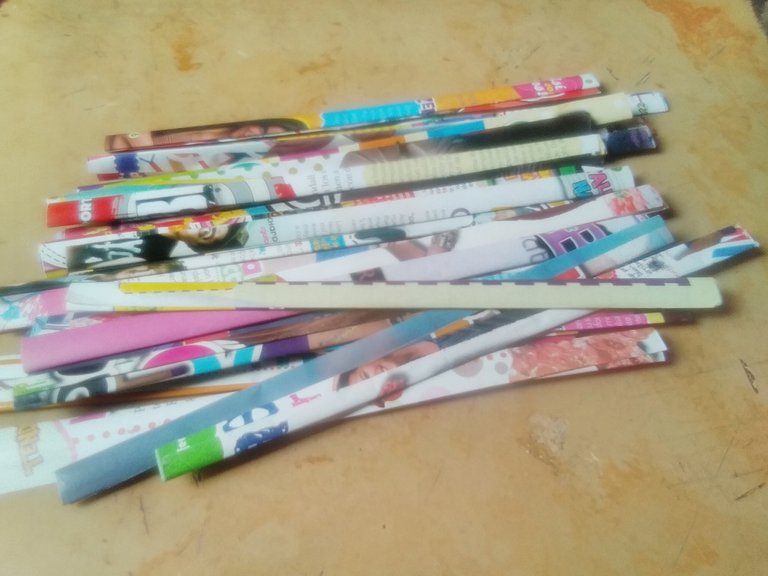
Paso 2: Doblamos las revistas haciendo tiras con ellas y pegamos con pega en barra. Hacemos el procedimiento hasta tener suficientes tiras.
Step 2: Fold the magazines making strips with them and glue with glue stick. We do the procedure until we have enough strips.
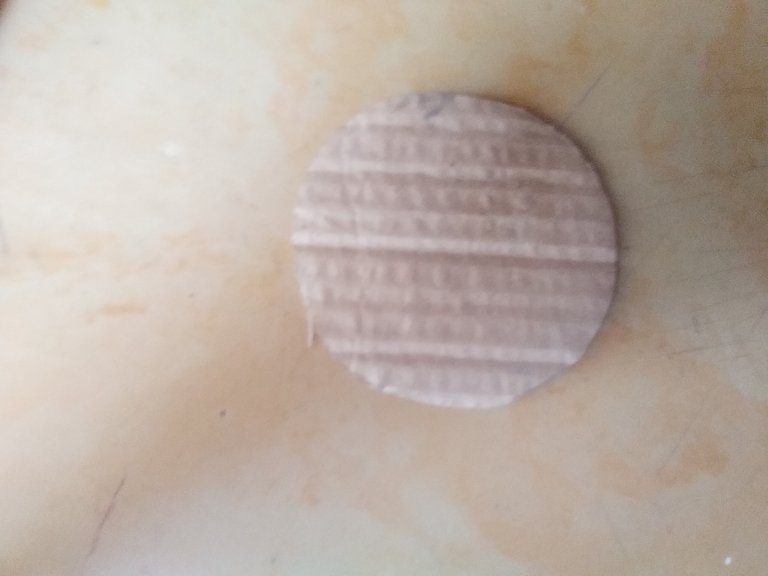
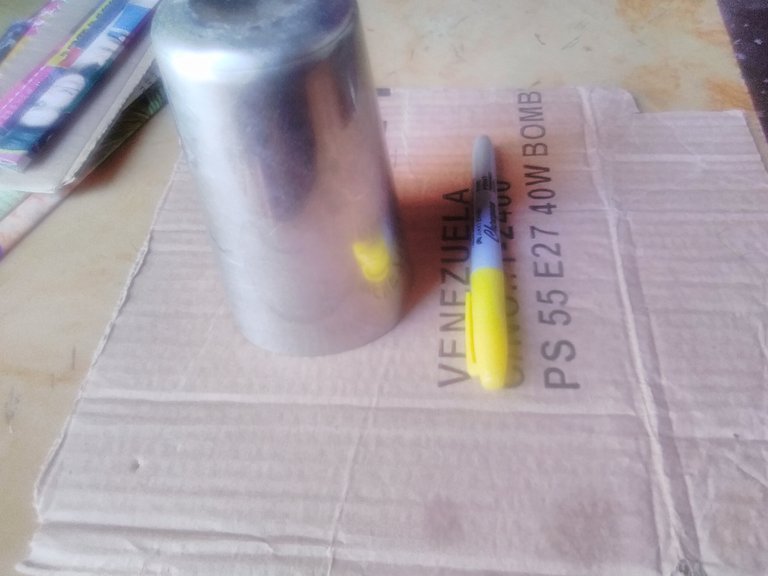
Paso 3: En un cartón, con la ayuda de un vaso, hacemos dos círculos y los recortamos.
Step 3: On a cardboard, with the help of a glass, we make two circles and cut them out.
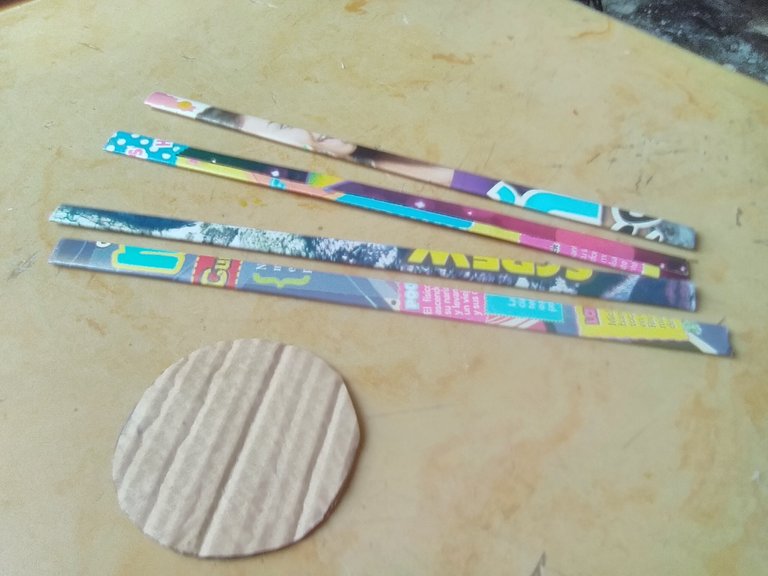
Paso 4: Luego en uno de los círculos ponemos 4 tiras entrecruzadas y las pegamos con silicón, y luego el otro círculo de cartón lo pegamos debajo para reforzar las tiras.
Step 4: Then in one of the circles we put 4 intertwined strips and glue them with silicone, and then we glue the other circle of cardboard underneath to reinforce the strips.
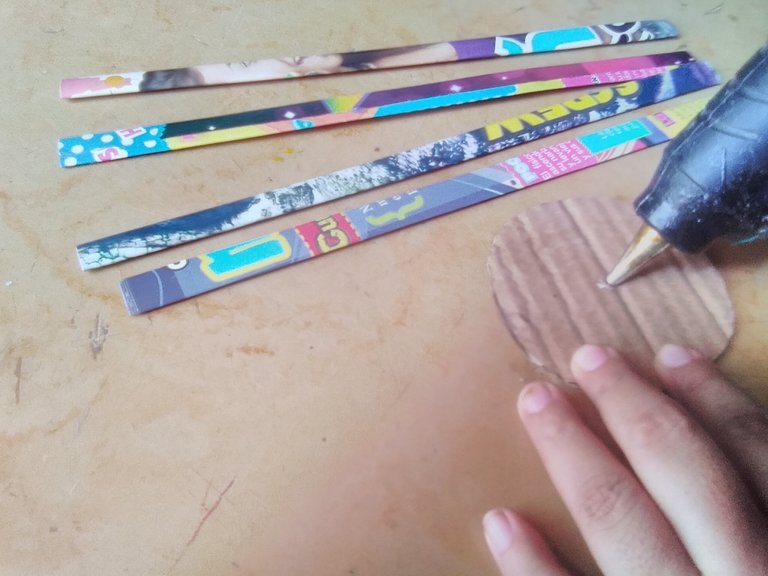
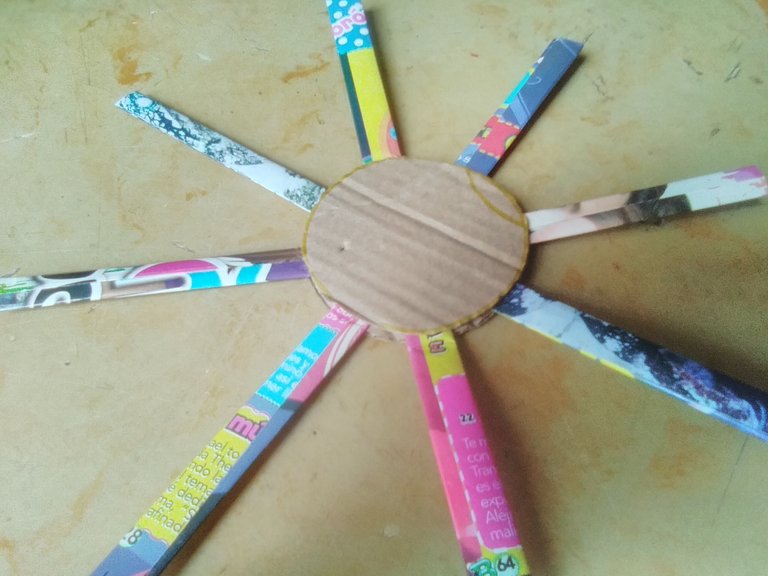

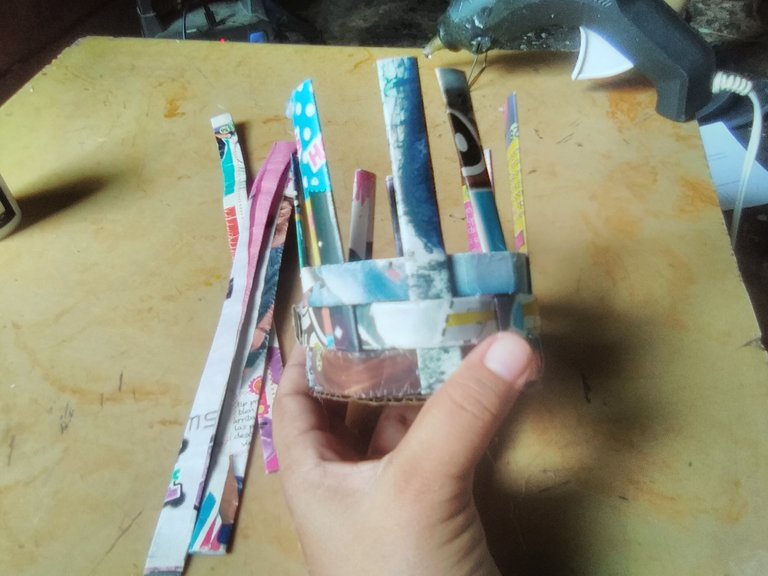
Paso 5: Doblamos las puntas hacia arriba y con las otras tiras comenzamos a hacer un tejido de cesta. Alternamos las cintas y pegamos con silicón hasta tener una cesta completa.
Step 5: Fold the ends up and with the other strips we start to make a basket weave. Alternate the strips and glue with silicone until we have a complete basket.
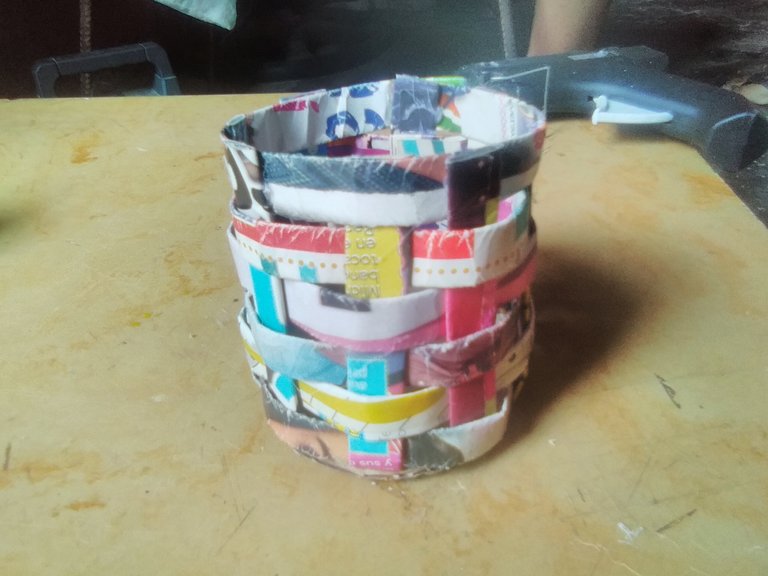
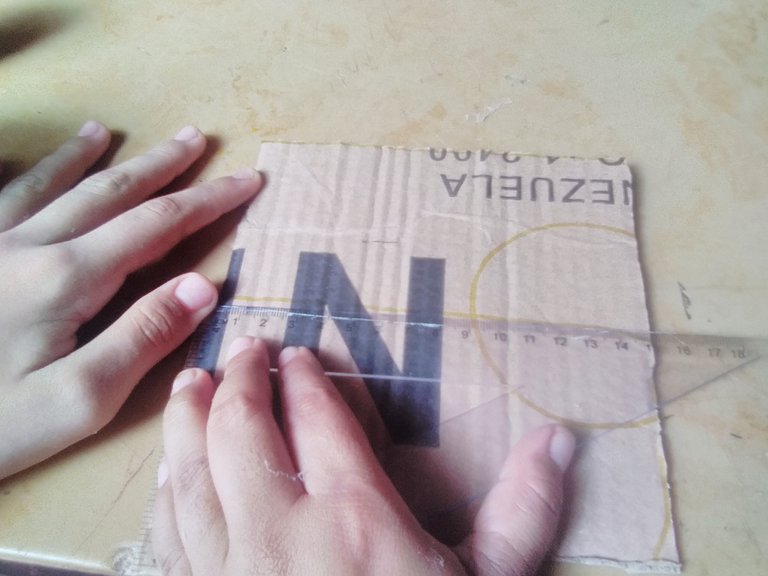
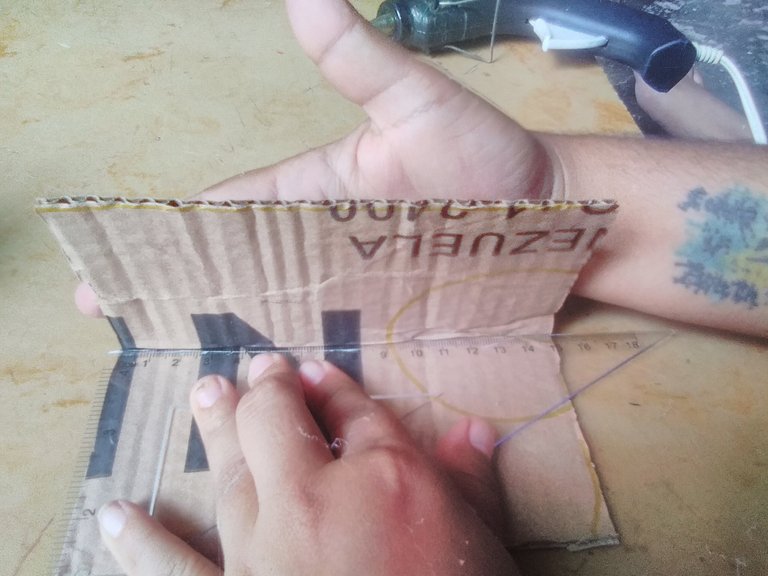
Paso 6: Con la ayuda de una regla, doblamos un cartón de 15 cm de largo a la mitad.
Step 6: With the help of a ruler, we fold a 15 cm long cardboard in half.
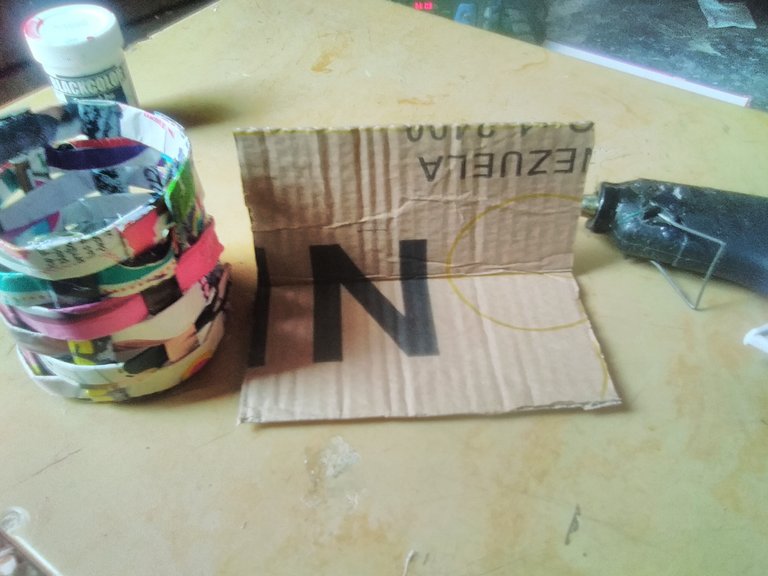
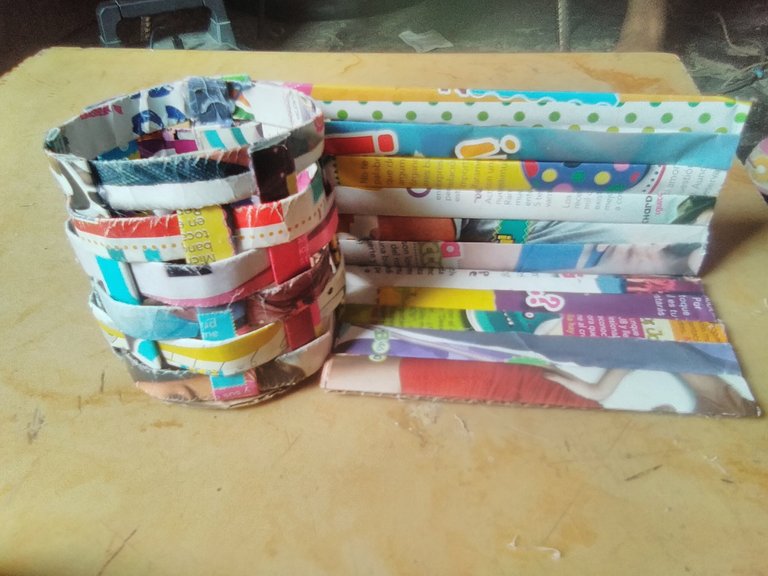
Paso 7: Luego pegamos cintas de revistas en el cartón y lo pegamos a la cesta con silicón.
Step 7: Then we glue strips of magazines on the cardboard and glue it to the basket with silicone.
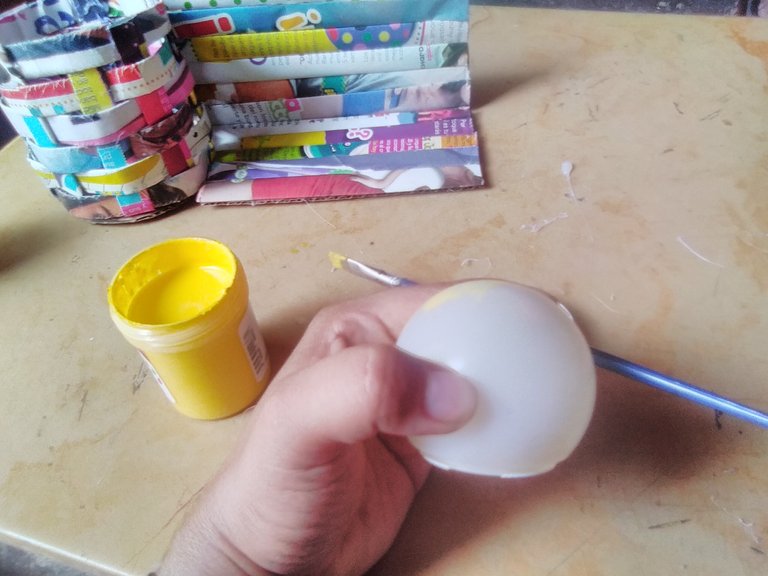
Paso 8: Pintamos el cascarón del bombillo de amarillo que actuará de sol y con blanco pintamos el organizador.
Step 8: We paint the shell of the light bulb yellow, which will act as the sun, and with white we paint the organizer.
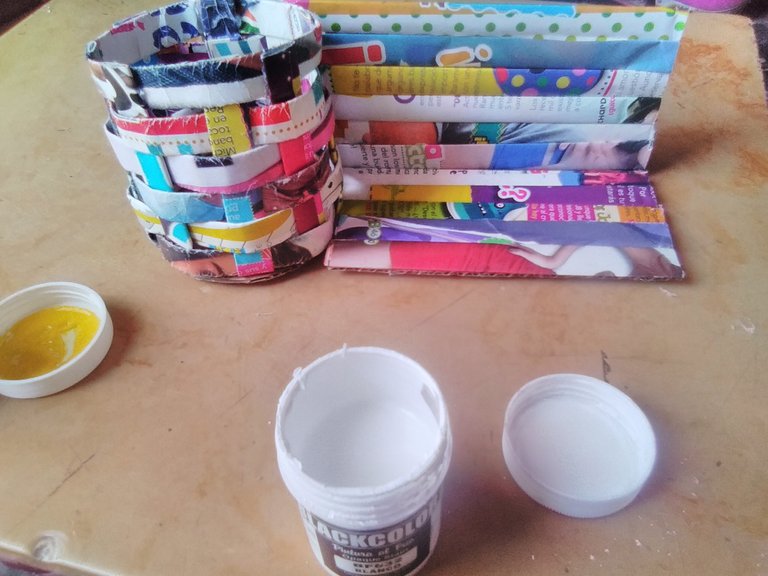
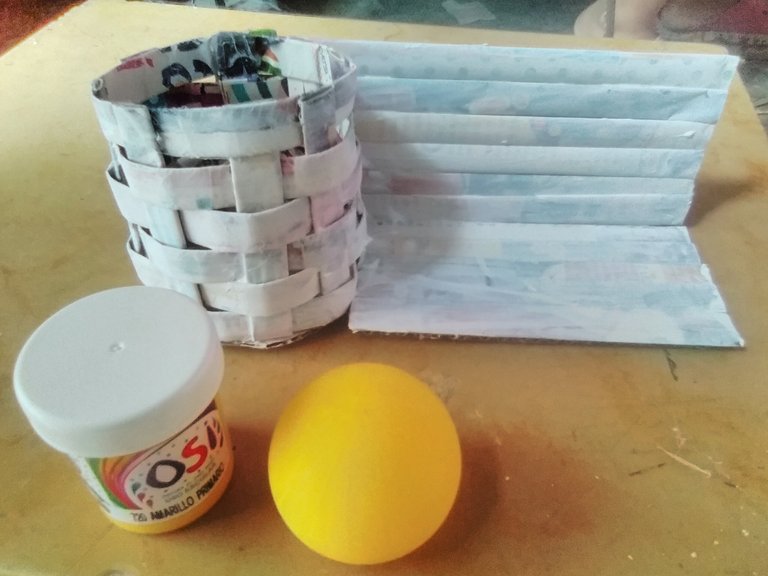
Paso 9: Después sombreamos con amarillo y naranja para simular un atardecer.
Step 9: Then we shade with yellow and orange to simulate a sunset.
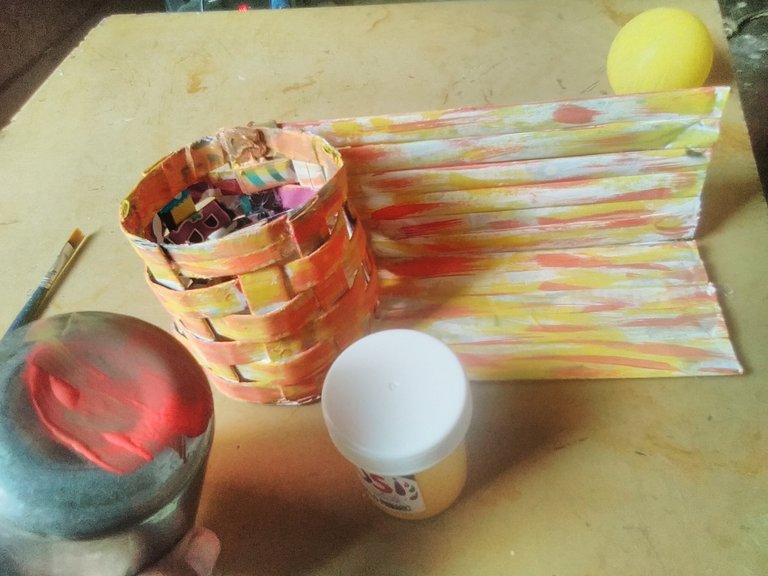
Paso 10: Pegamos nuestro sol a una paleta de madera y luego lo pegamos a la parte trasera de nuestro organizador y con cartón corrugado dorado haremos detalles de rayitos de sol. También pegamos cuadritos dorados a la cesta para que quedara más bonito.
Step 10: We glue our sun to a wooden palette and then we glue it to the back of our organizer and with golden corrugated cardboard we will make details of sun rays. We also glued gold squares to the basket to make it look prettier.
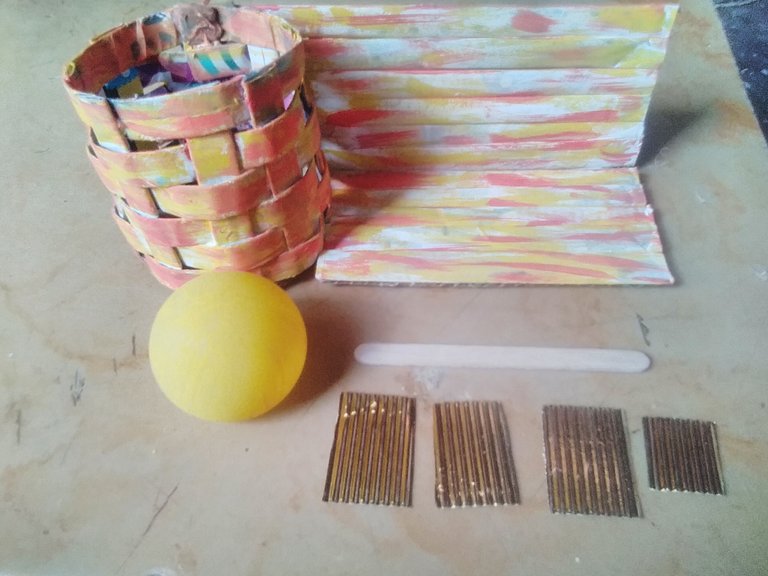
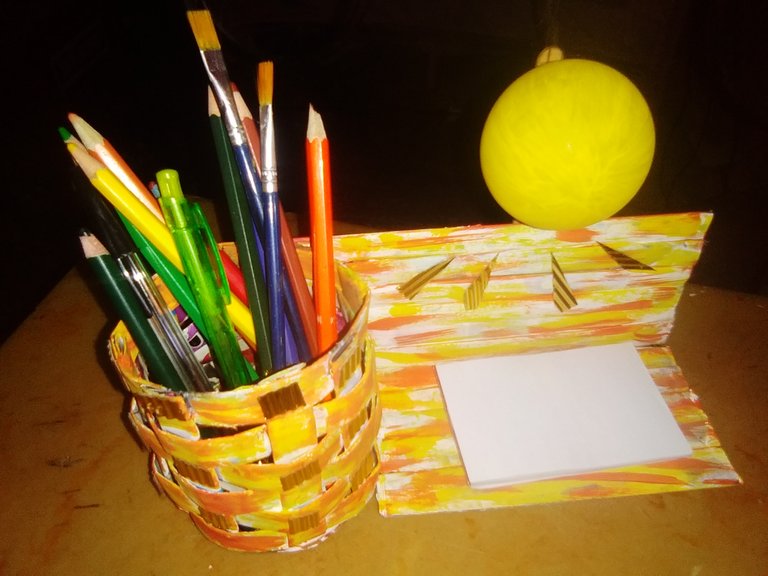
De esta manera tendremos un lindo organizador con temática de sol. A mi sobrina le ha gustado mucho este diseño y este proyecto. Tanto que dice que se lo quiere llevar cuando le toque viajar a Brasil. Me gustaría que si pudiera para que al menos se lleve un recuerdo mío.
This way we will have a nice sun themed organizer. My niece really liked this design and this project. So much that she says she wants to take it with her when she travels to Brazil. I would like it if she could so she can at least take a souvenir of me with her.
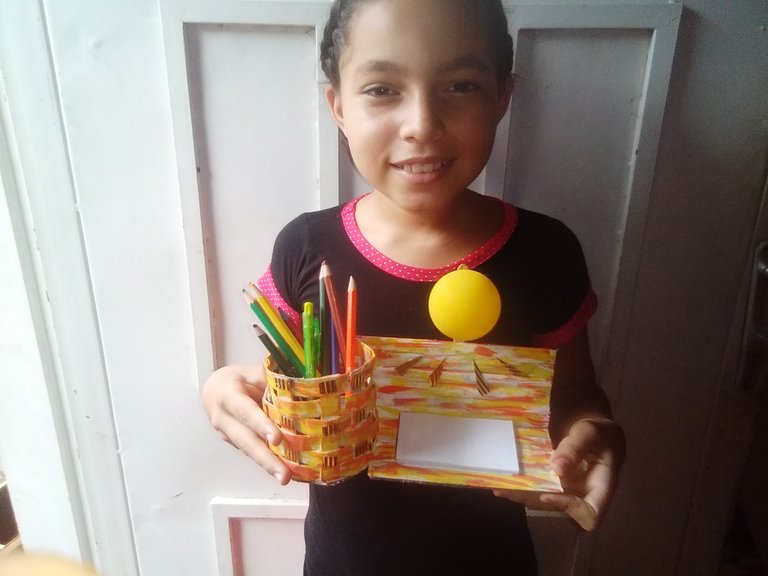
Espero que les haya gustado este proyecto, amigos. Les mando un saludo a todos.
I hope you liked this project, friends. I send greetings to all of you.
Que lindo amiga y esa princesa súper feliz con su organizador, suerte en la iniciativa 🤗❤️❤️😍😍🌹🌹
Muchas gracias, amiga. Ella feliz y contenta. No ha dejado su organizador ni un segundo. Saludos. 🤗 😊 🌹
Bello trabajo amiga, me gusto mucho la manera de aprovechar este tipo de material para un excelente uso y luce muy bonito. Se ve que disfrutaron mucho haciendo este trabajo. Saludos @itsjunevelasquez ✨
Suerte en el concurso...
Beautiful work amiga, I really liked the way to take advantage of this type of material for an excellent use and looks very nice. It looks like you really enjoyed doing this work. Regards @itsjunevelasquez ✨
Good luck in the contest....
!DIY
Muchas gracias, amiga. Me gusta mucho el reciclaje, ya que es una buena forma de aprovechar esos materiales que tenemos en casa. A mi sobrina le ha gustado mucho.
The rain makes the weather really cool especially if the sun has made the earth very hot earlier.
The basket weave for pencil holder you made must be a really hard task for you. It is really beautiful and creative. And could decorate someone's working table.
I really admire your creativity.
Regards to your niece. Am sure she loves it. 💕💃💃❤💖
Yeah, she really loves it. She spends the day drawing in her recycled papers. I always find it hard when it comes the part when I have to use the gun glue. I'm still learning hehe. Thank you for your words. 🤗
You welcome dear
Very nice work and excellent use of profitable materials. All the best. We appreciate your good content. Good luck in the contest, and thanks for sharing in our community @itsjunevelasquez. // Un trabajo muy lindo y excelente uso de materiales de provecho. Que te mejores. Apreciamos tu buen contenido. Suerte en el concurso, y gracias por compartir en nuestra comunidad @itsjunevelasquez
Thank you so much, guys. ❤️
Thank you for using the #diy tag, the go-to-tag to earn and grow your BUIDL power.
You will be upvoted as long as you post plagiarism-free content/images and continue growing your BUIDL Power.
Whenever you are posting anything related to a DIY creation, you can use #diy tag, which will give your posts extra eyeballs and you will be entitled to earn BUIDL tokens as well.
Check out this post for more information about BUIDL tokens.
Likewise, whenever you are posting anything related to hivelist related tags use the #contests, #forsale, #services, #gigs, #events or #fundraising tags and your posts will be featured in https://hivelist.org, which will give your posts extra eyeballs and you will be entitled to earn LIST tokens as well.
Thank you. 🤗
Good luck with the contest.
@sagarkothari88 reward 50 points
I have sent 50 Ecency Points to you (@itsjunevelasquez) as suggested by @lazybug for @itsjunevelasquez/organizador-de-lapices-con-tematica
How to use these Ecency Points?
Click here to do return gesture if you wish to
I support following communities & recommend joining