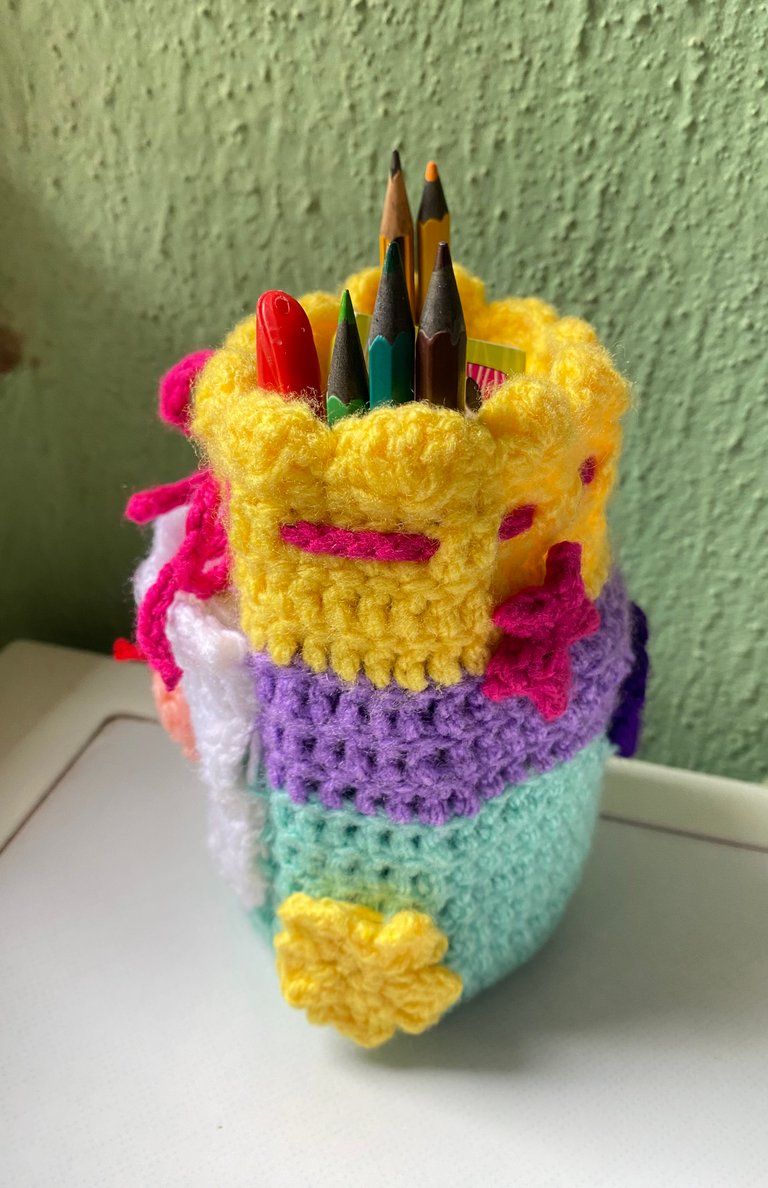

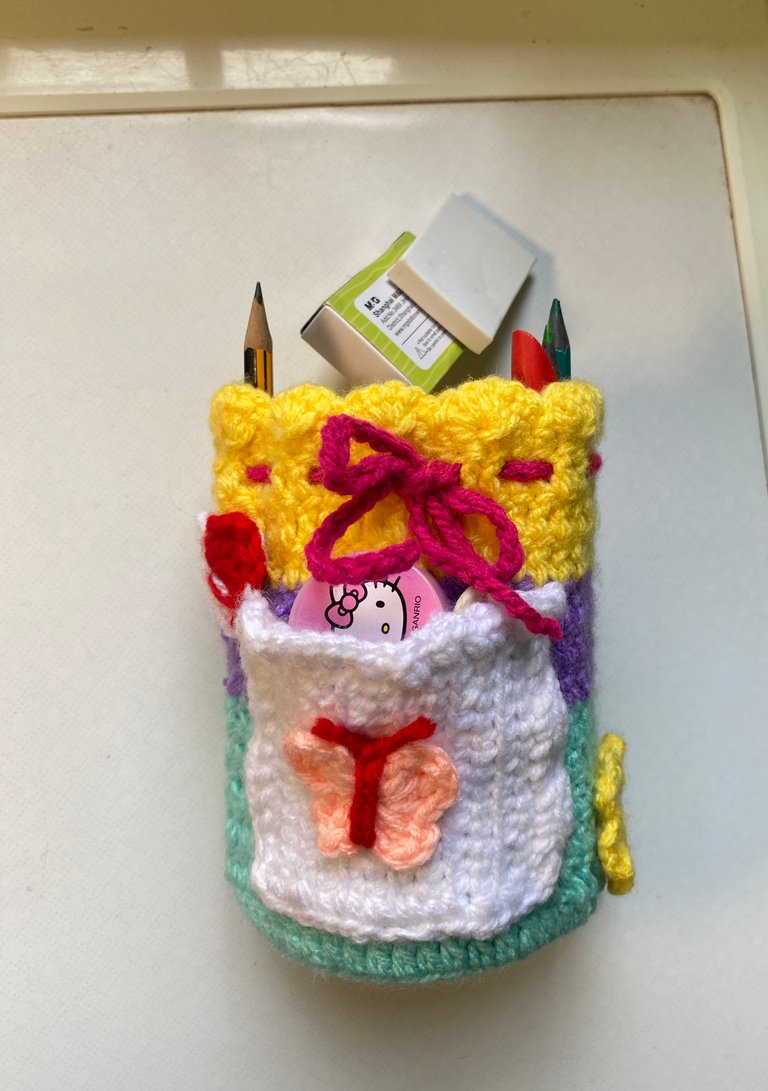
School is in section now for my daughter, and i needed something functional for her to store her pencils in, and take them anytime with ease. I am m a beginner in crocheting and this is the first time I’ll be posting my crocheting work in this community, i hope you love the outcome.
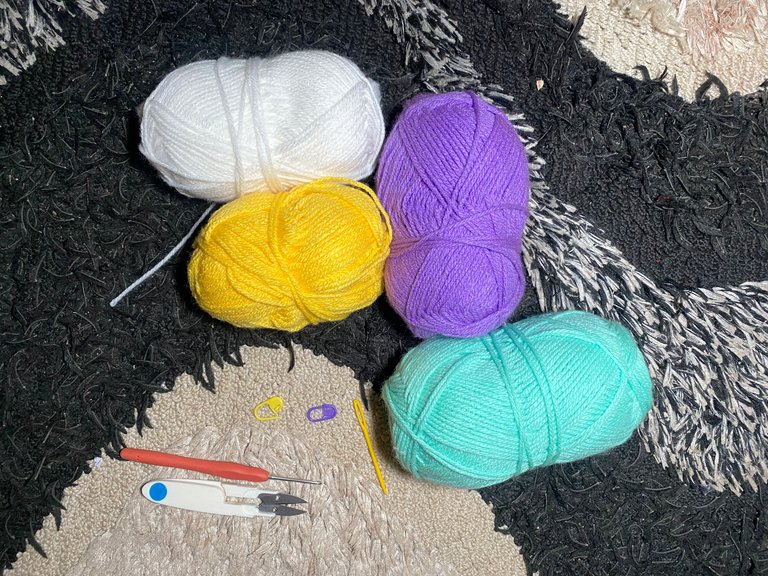
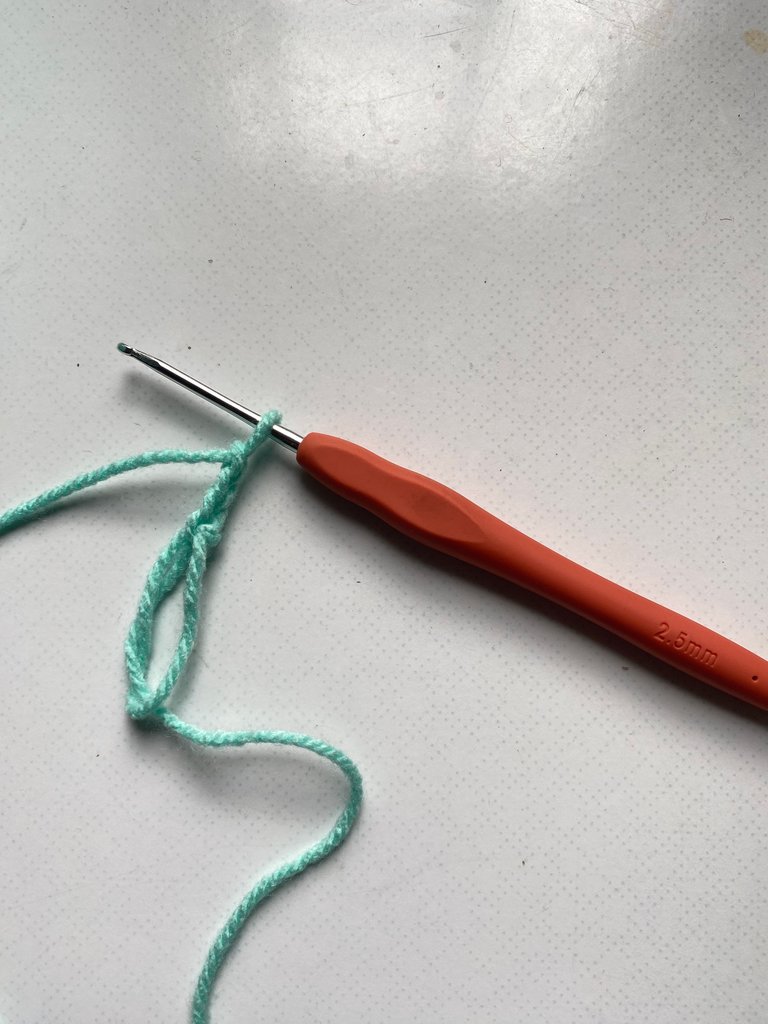
Materials:
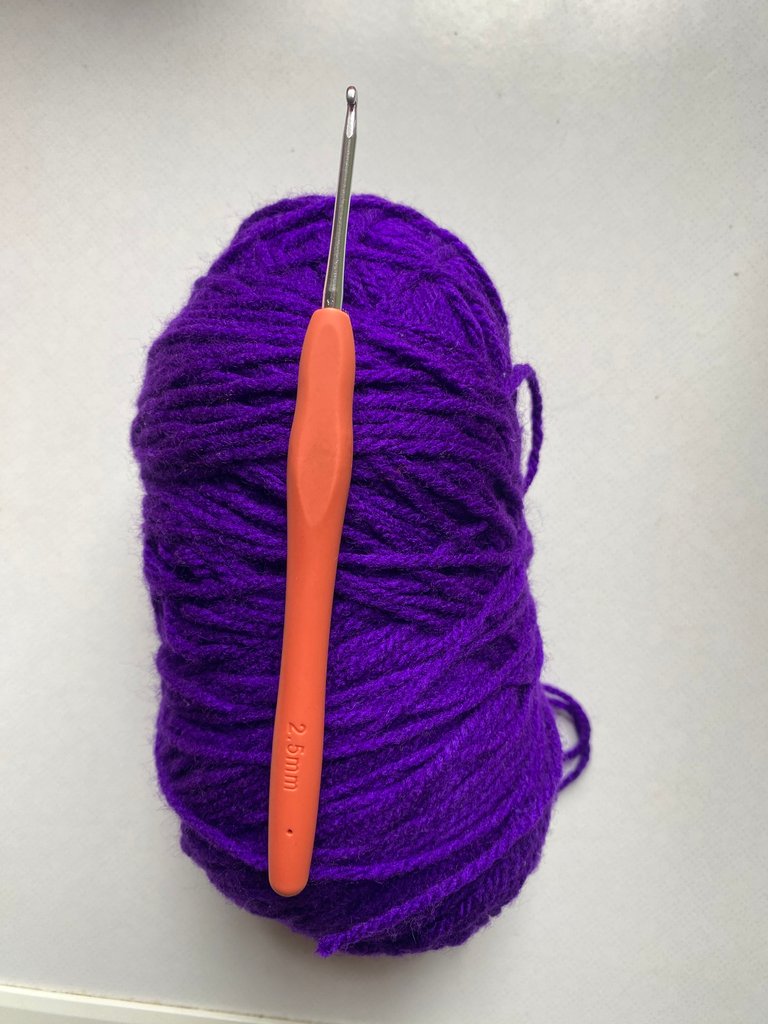
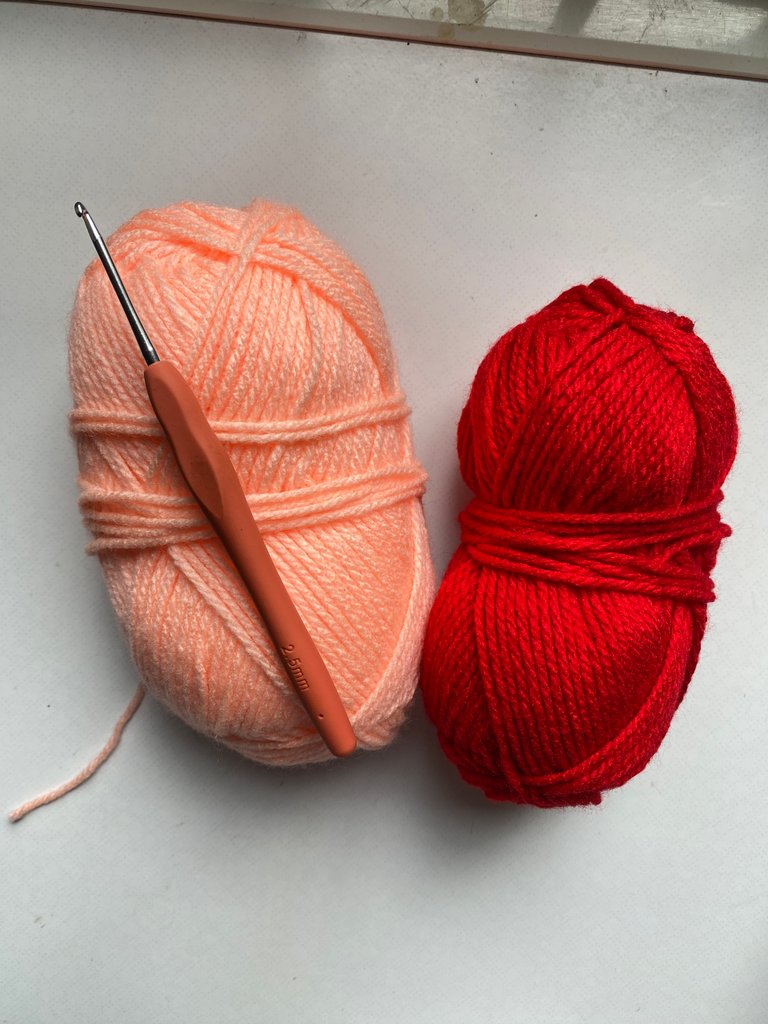
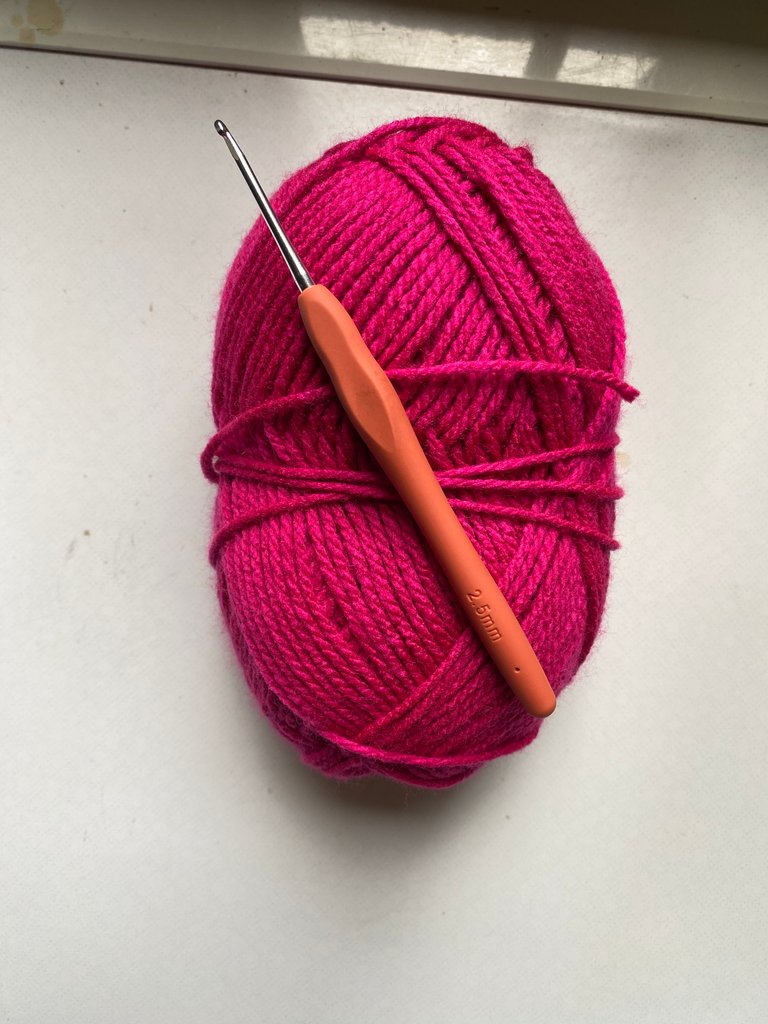
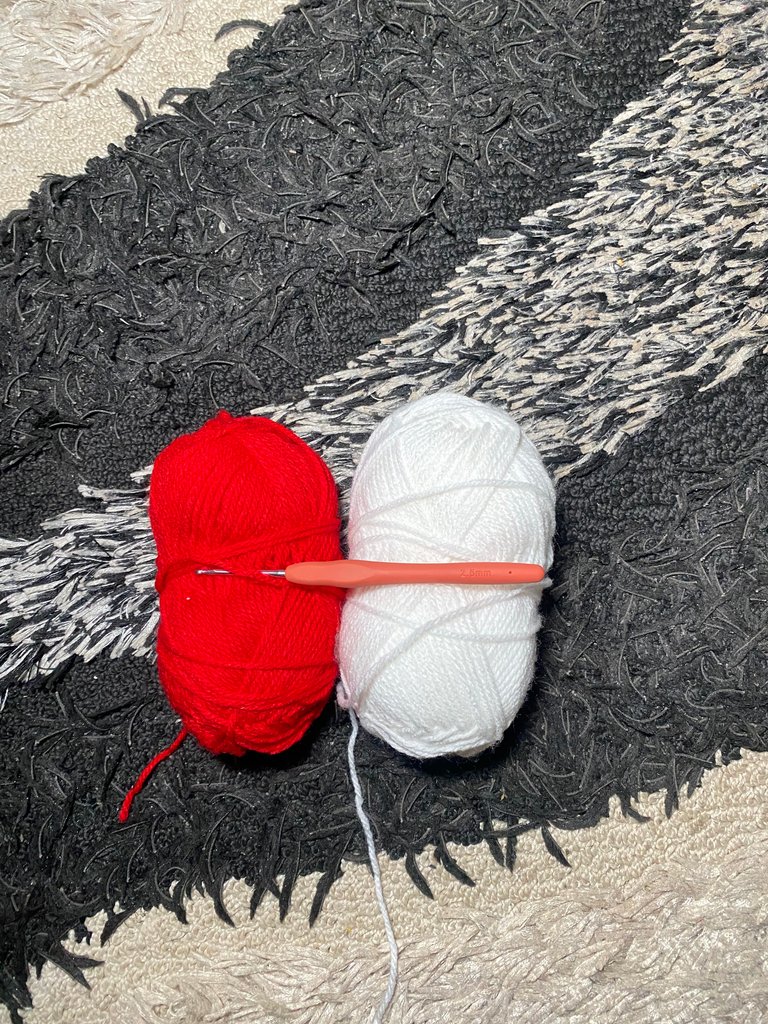
Yarn (different colours of your choice)
Crochet hook size 2.5mm
Darning needle
Scissors
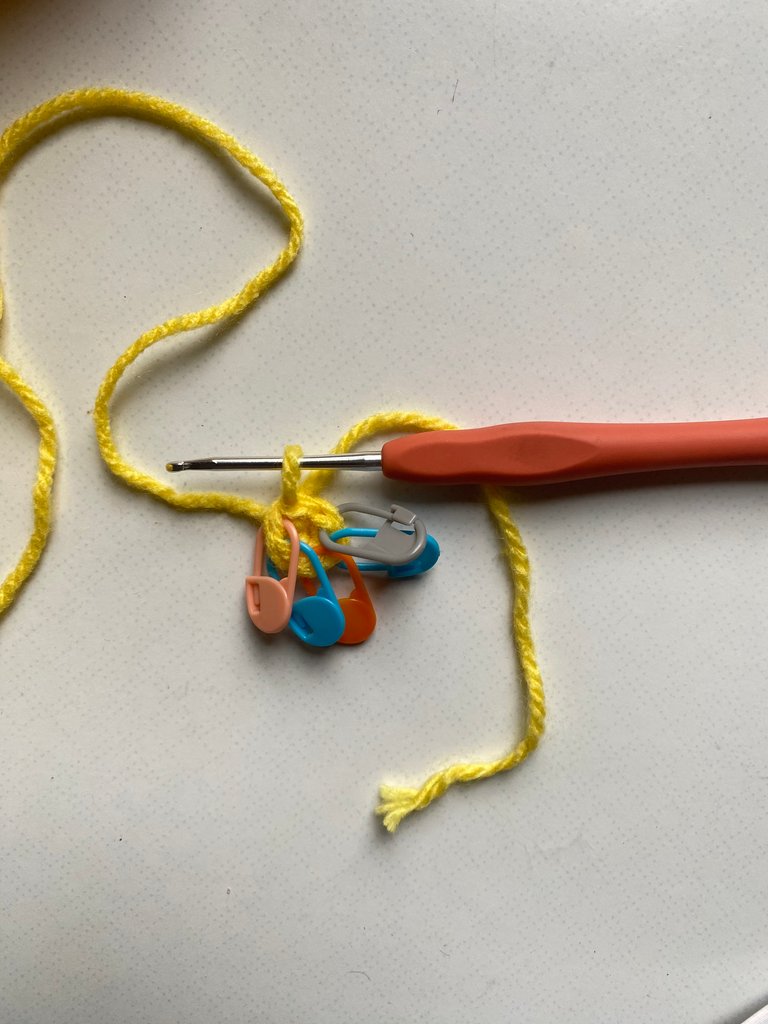
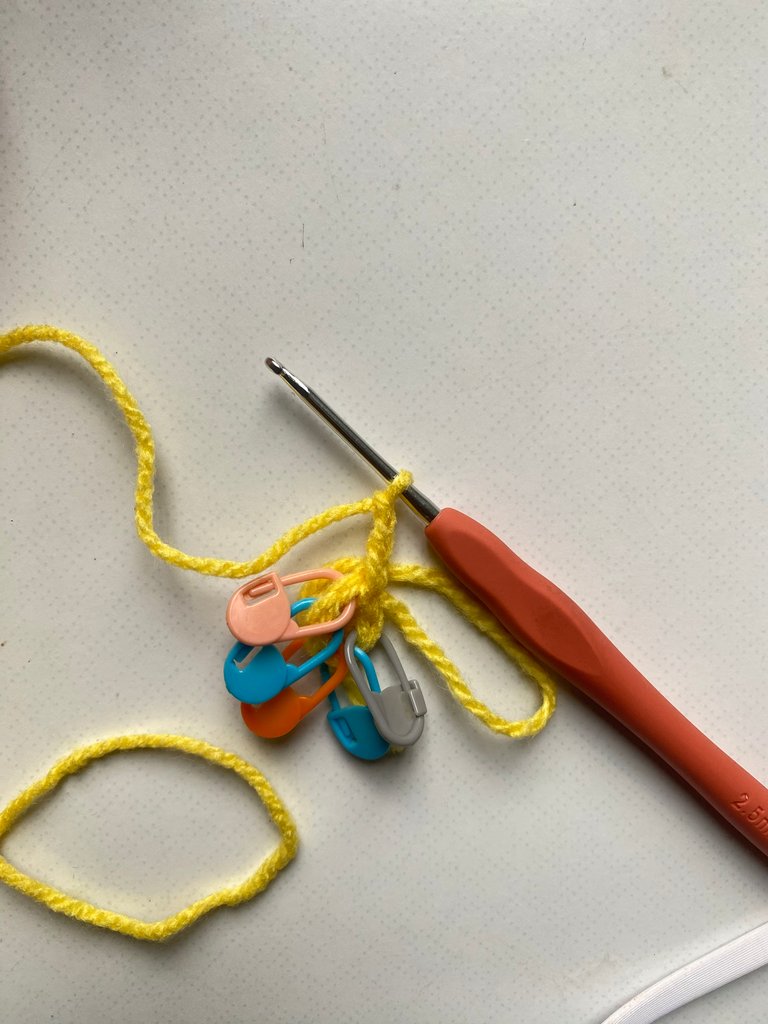
Stitch markers (optional)
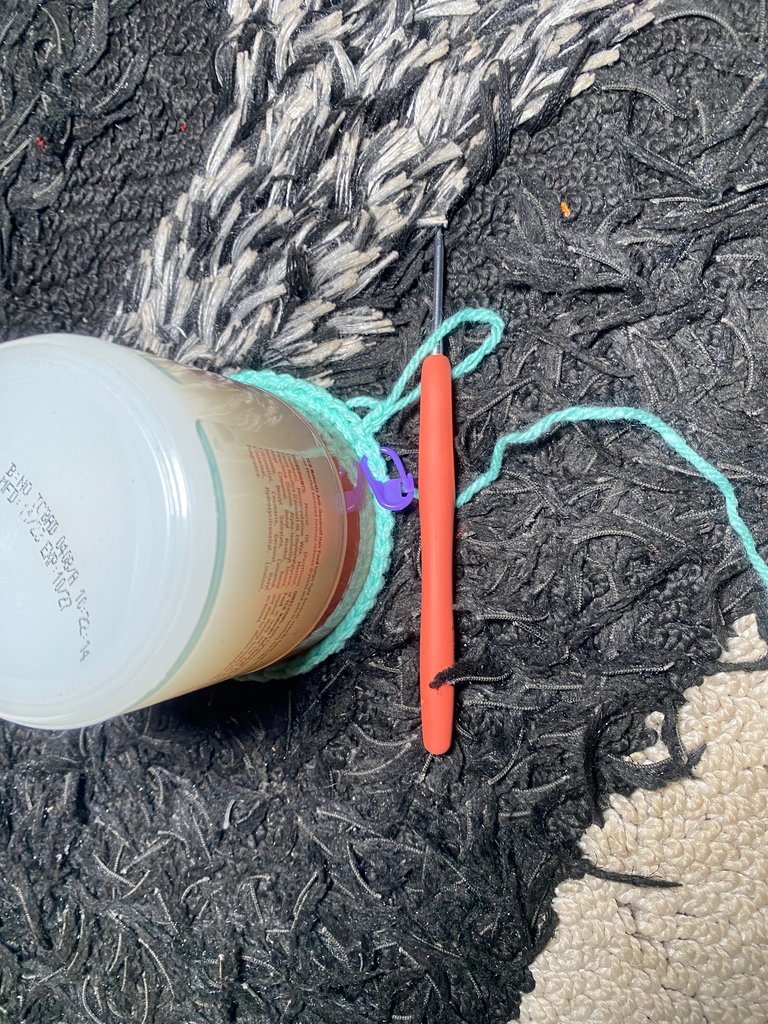
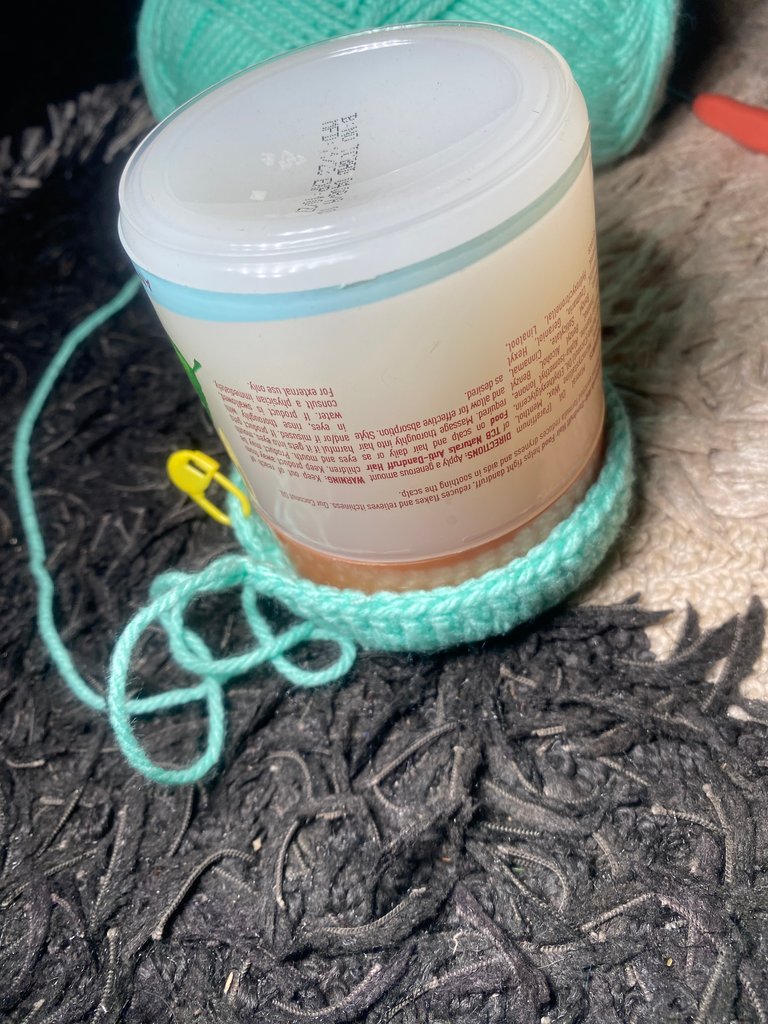
A jar for measurement of the pencil holder
Procedure
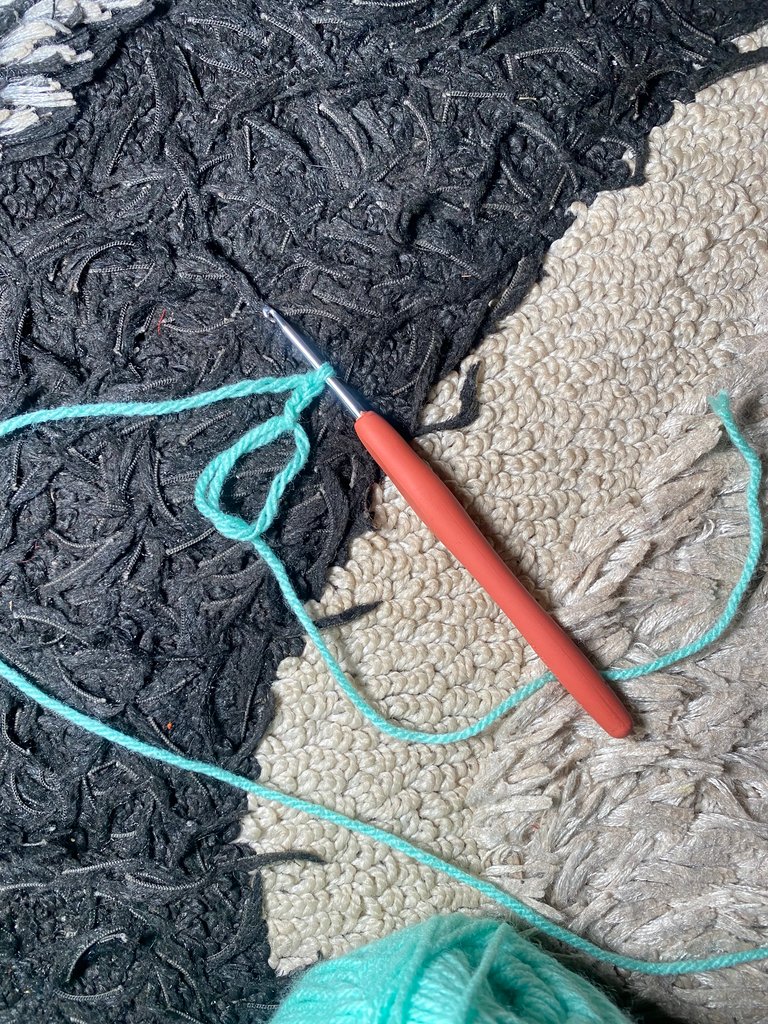
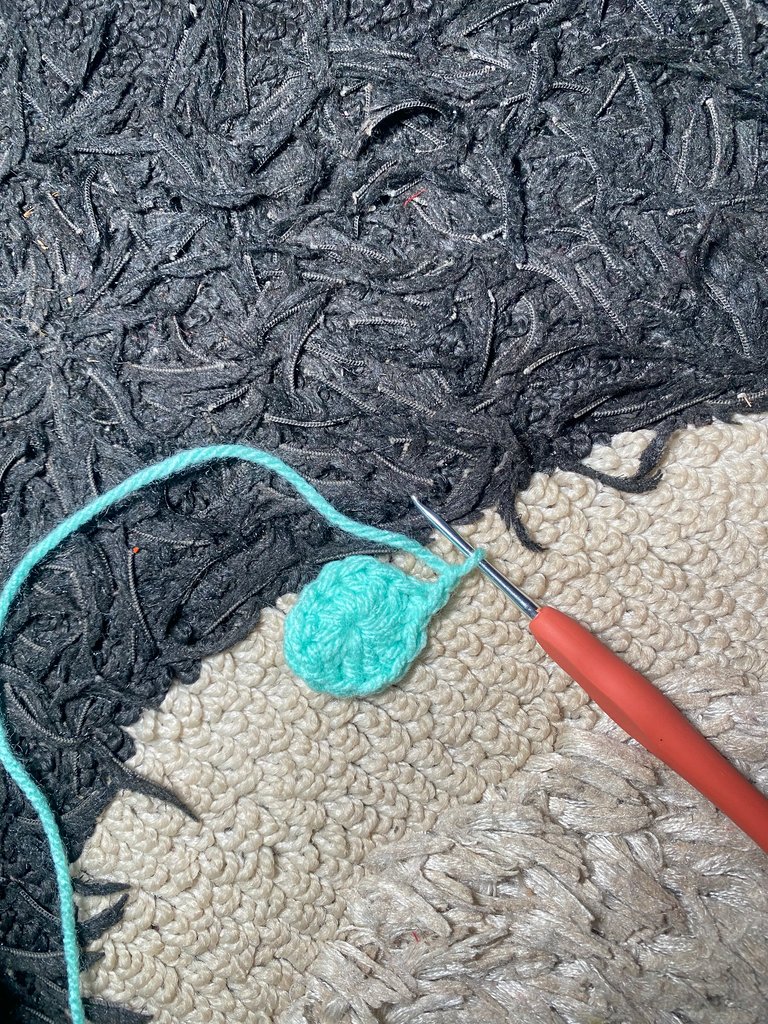
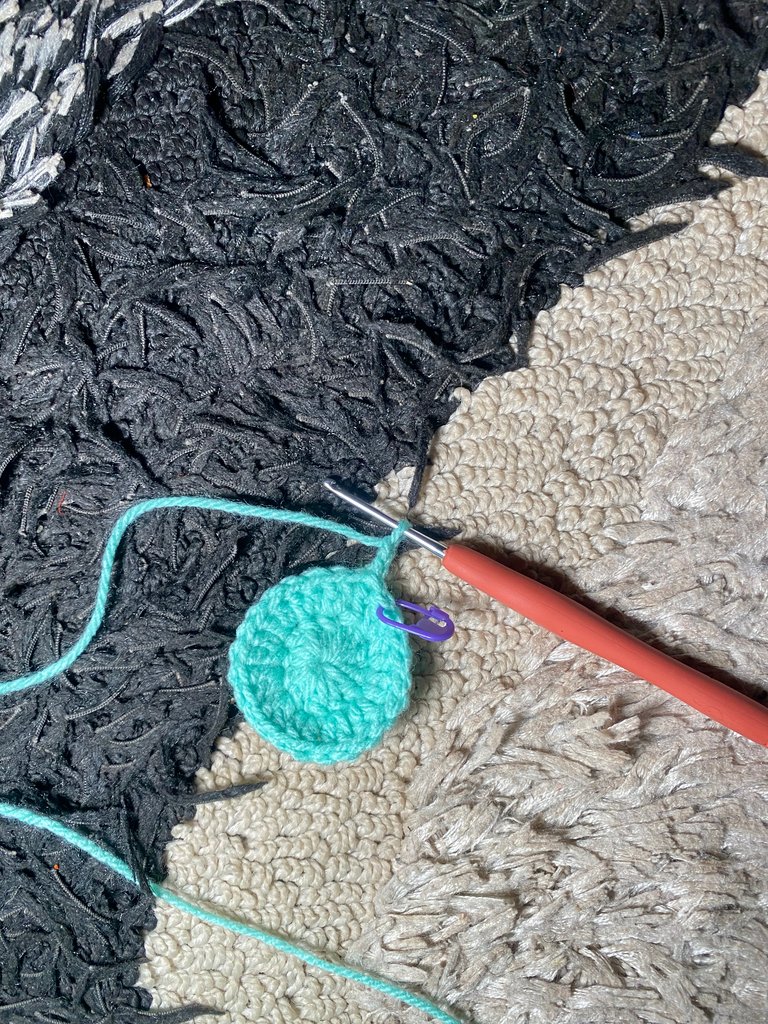
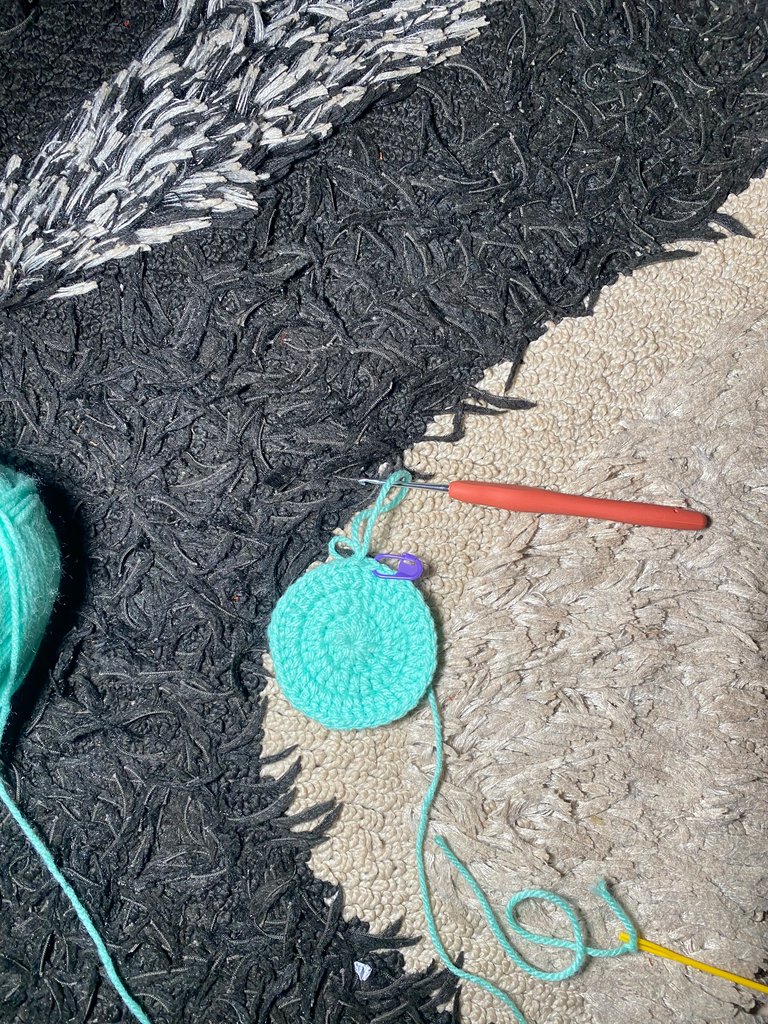
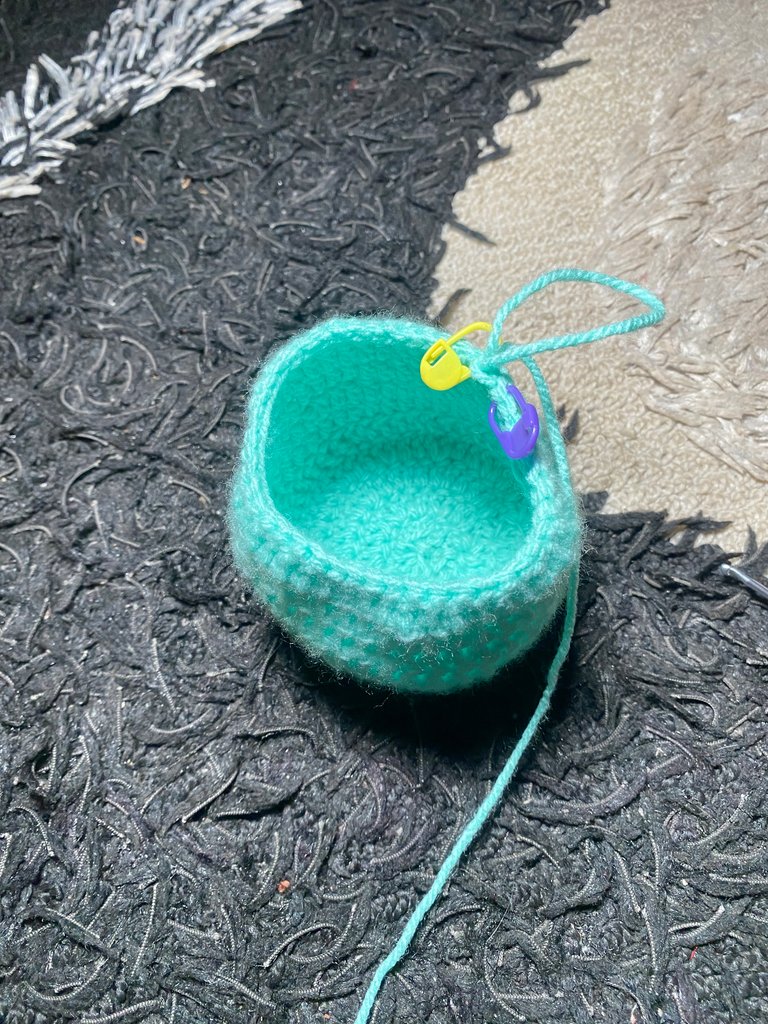
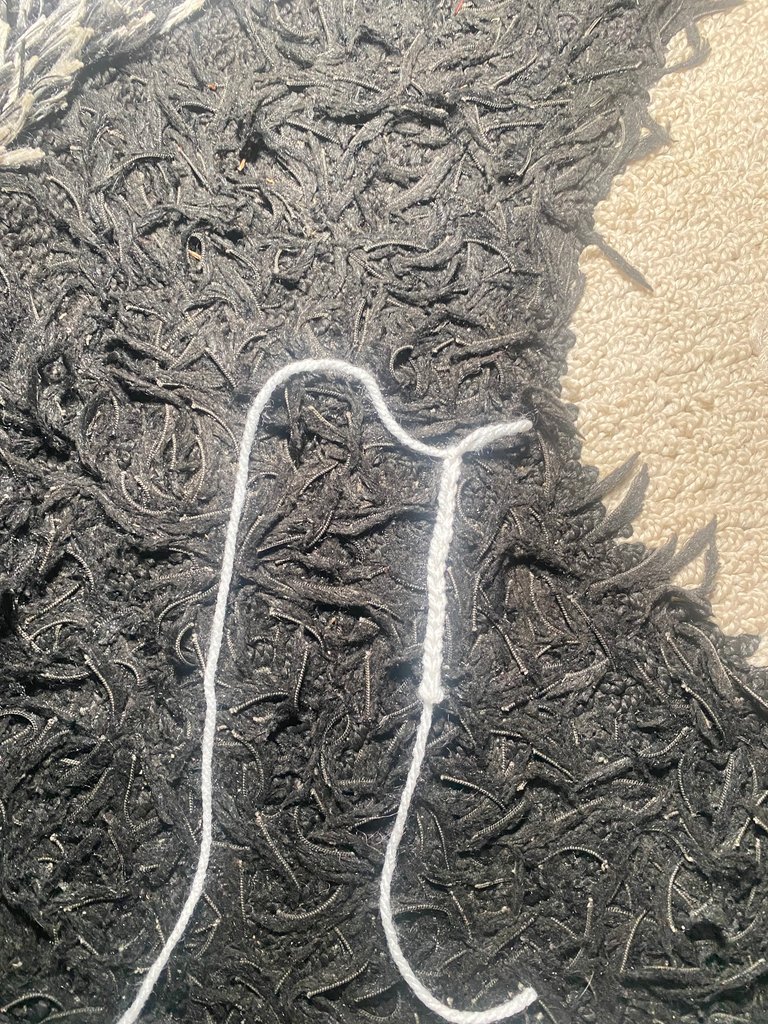
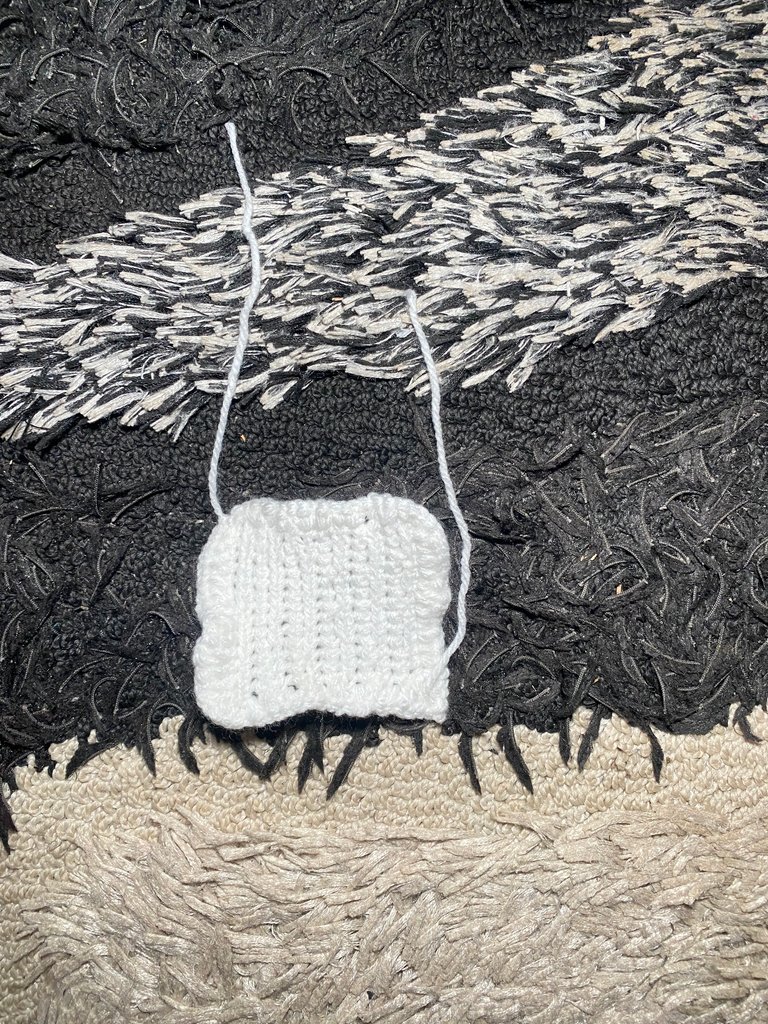
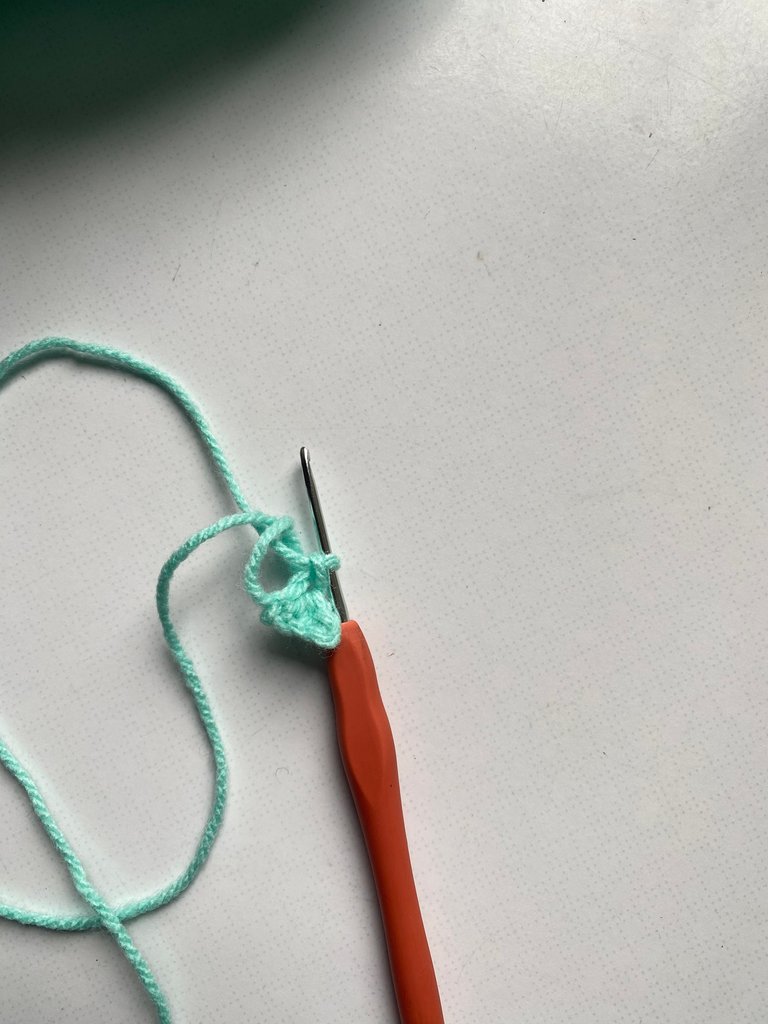
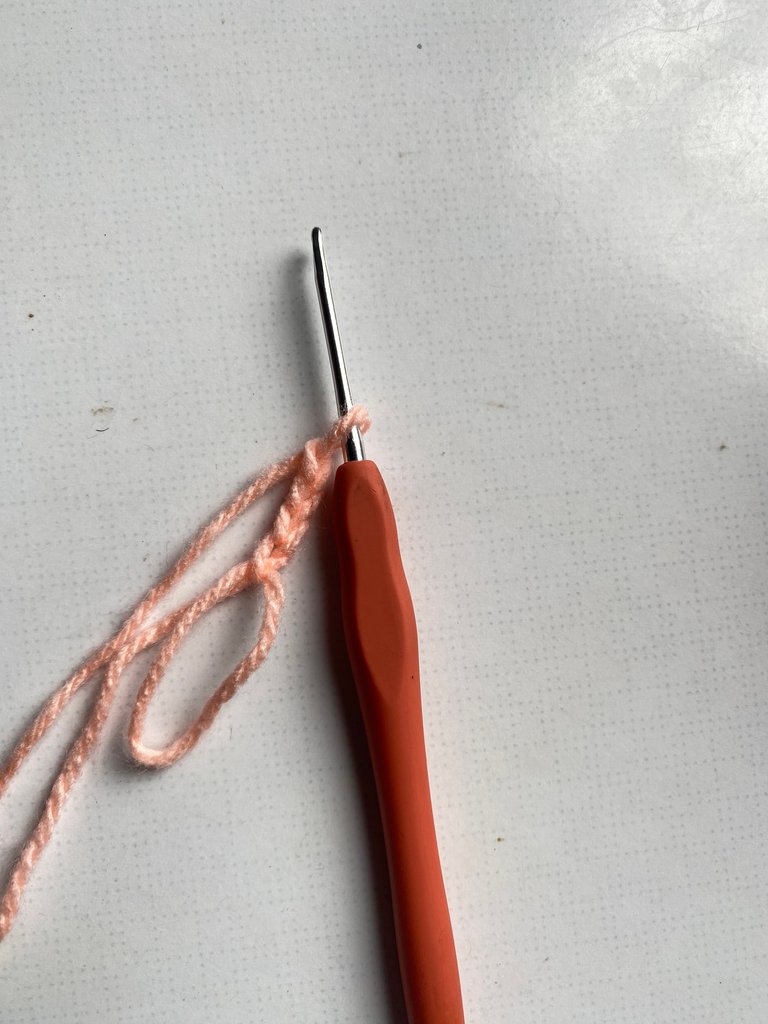
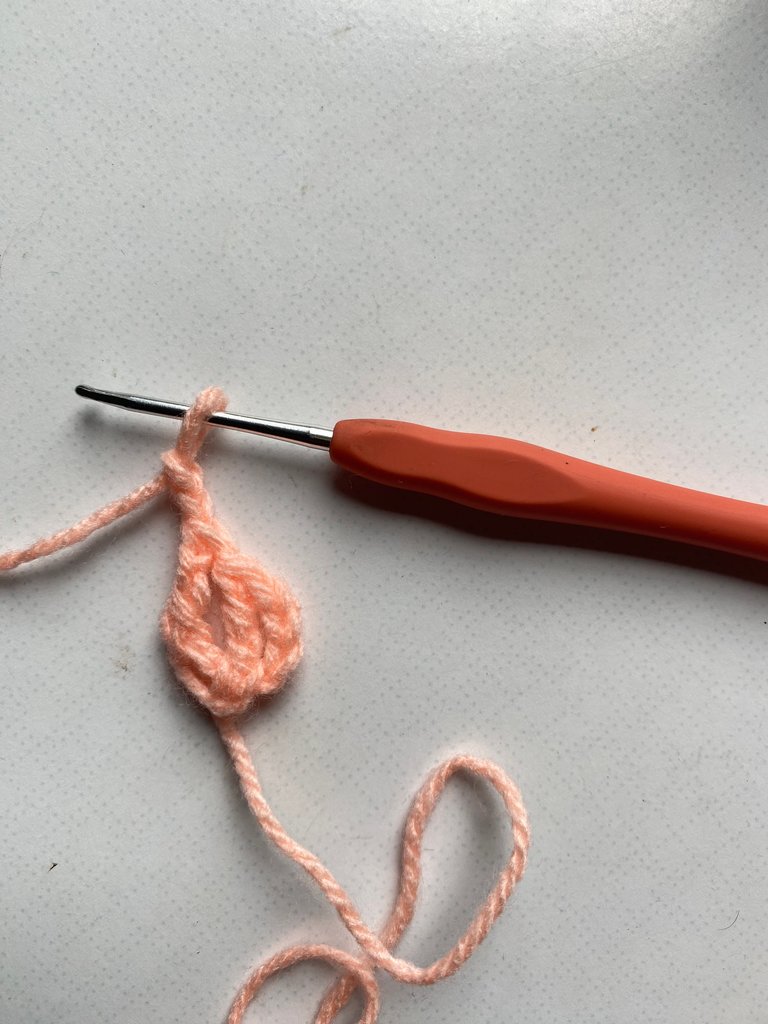
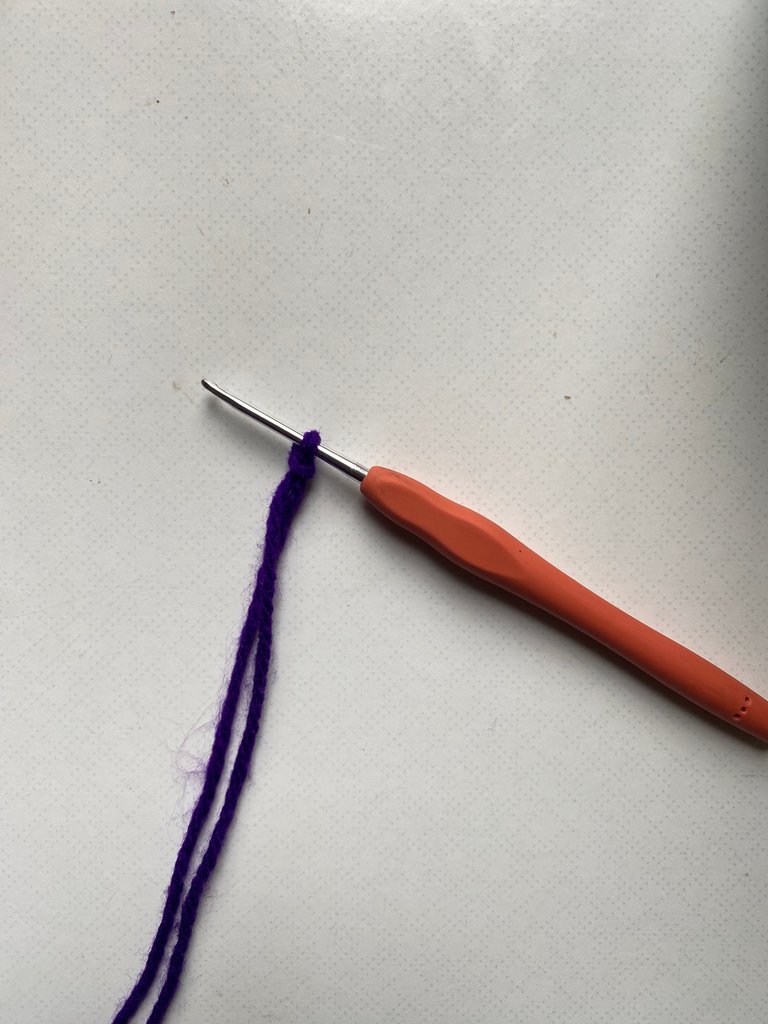
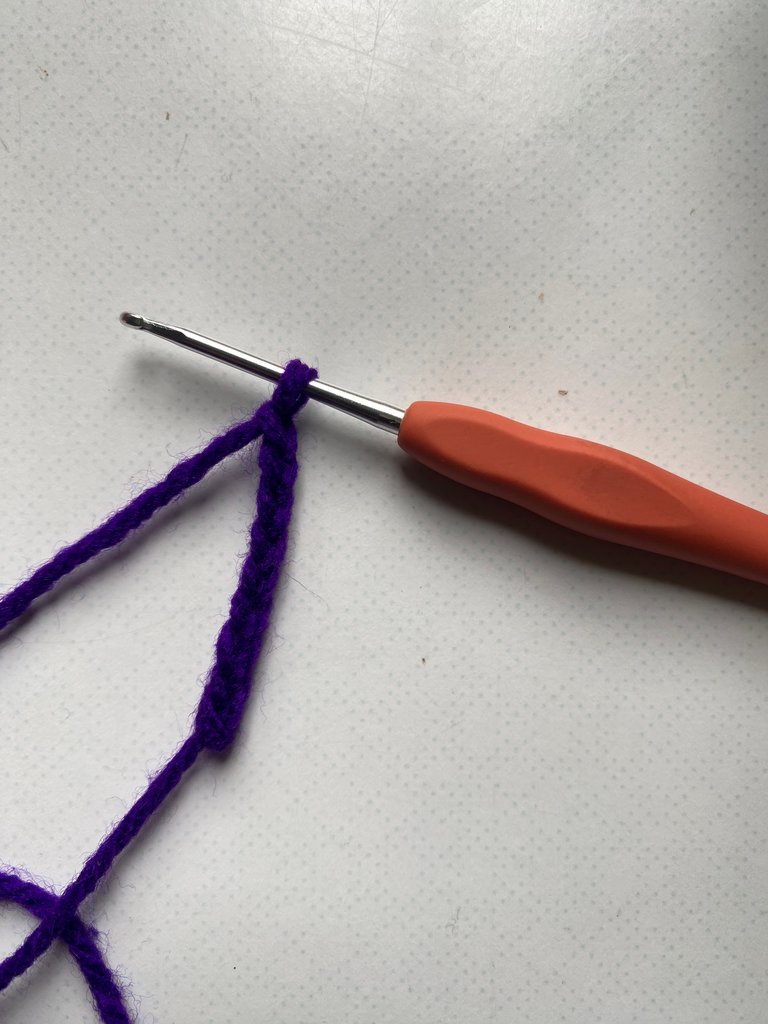
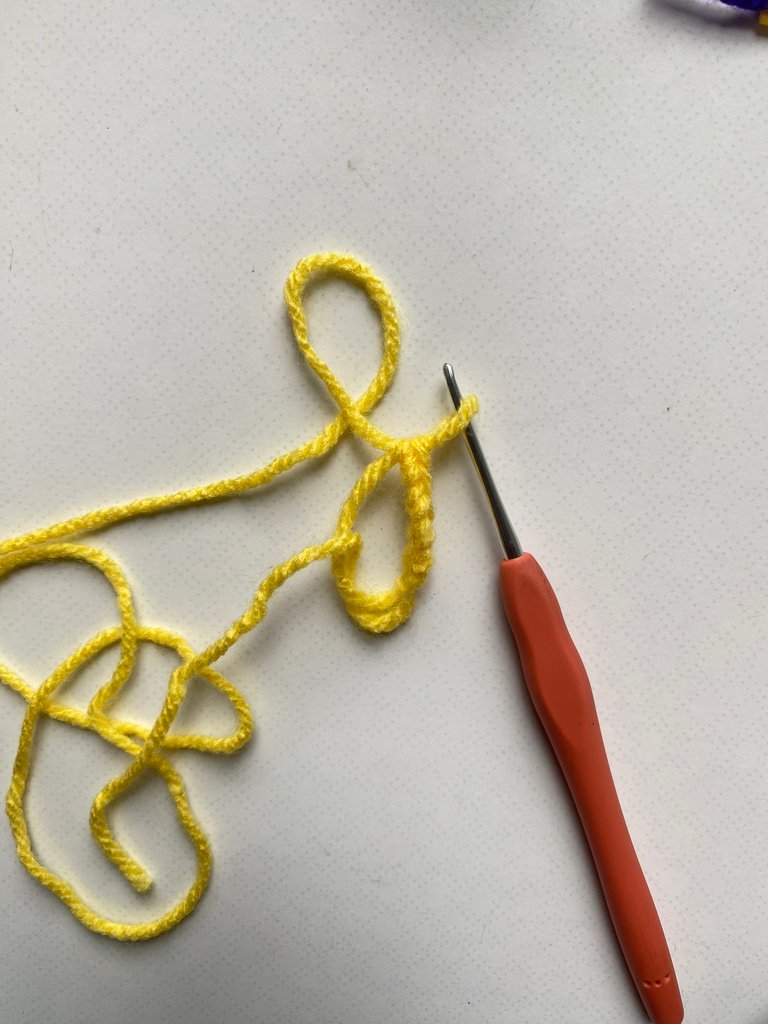
The bottom of the pencil pouch holder (round one): started with the magic ring then chained two (2) and then made twelve double crochet into the magic ring and finished with a slip stitch on top of the first double crochet and then pull the initial yarn tail to close the ring.
I used a darning needle to fasten off the initial tail

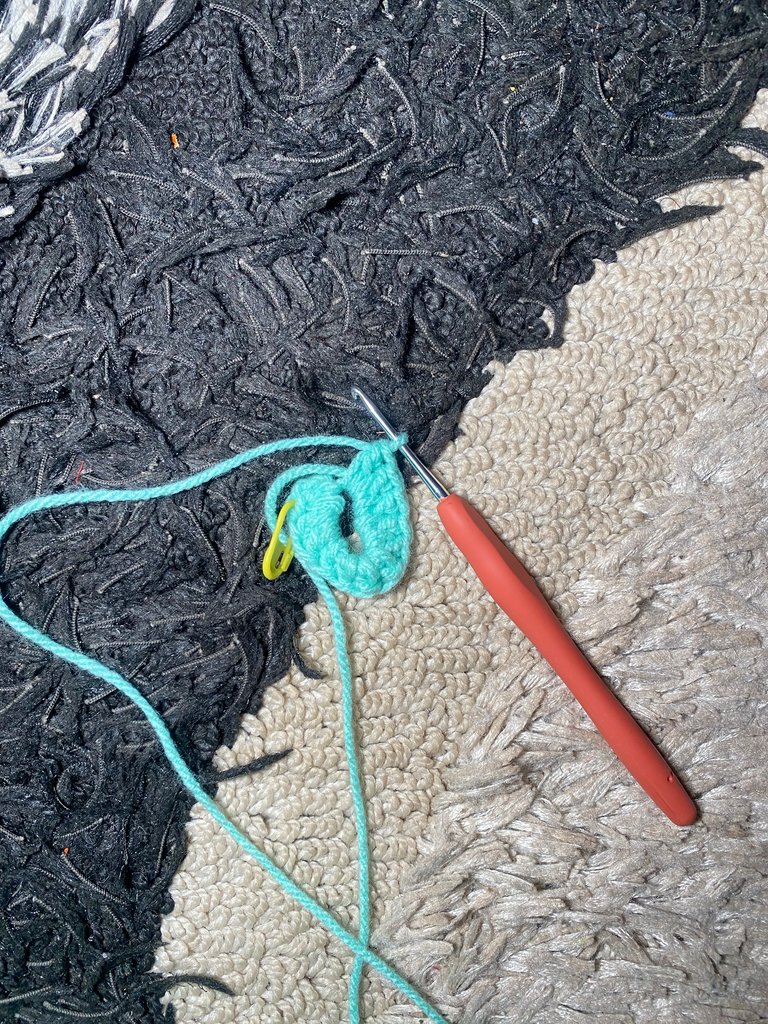
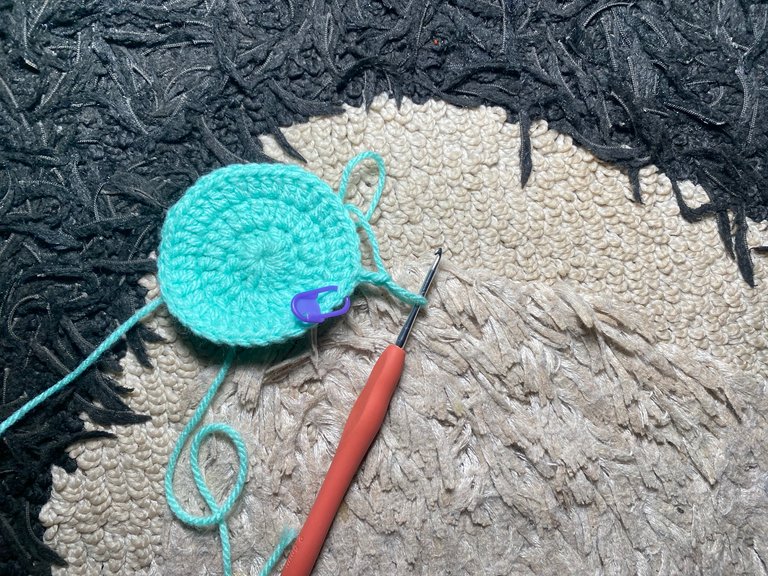
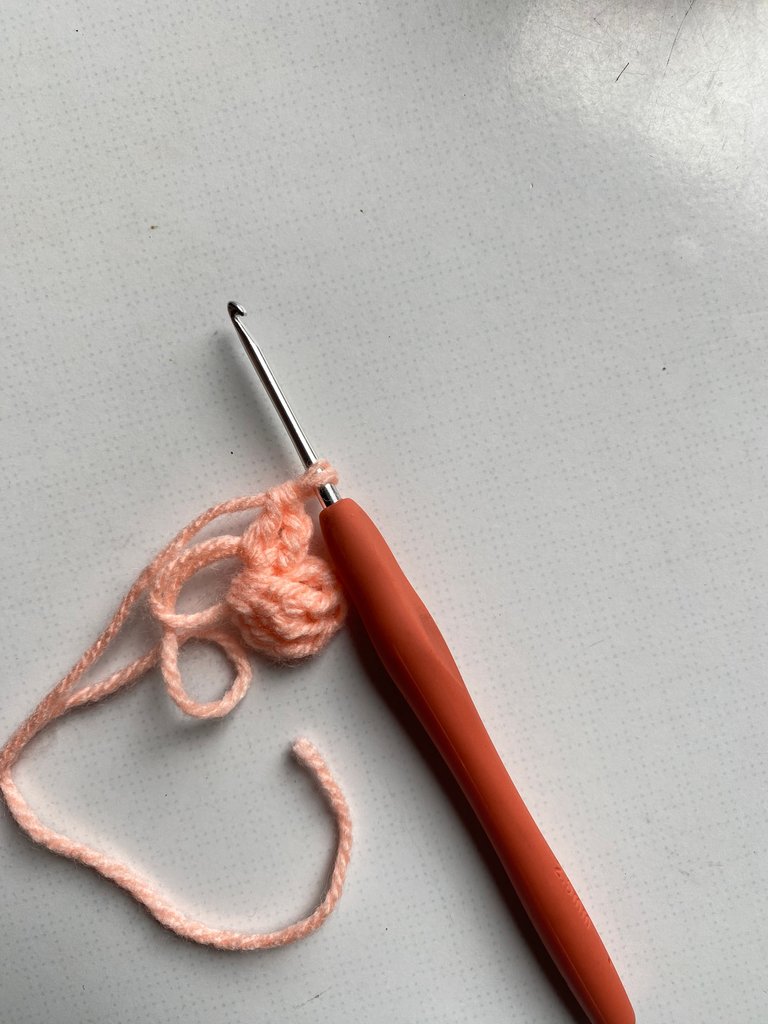
Round two: i chained two then made two double crochet in each stitch of the previous round and finished with a slip stitch on top of the first double crochet i made.

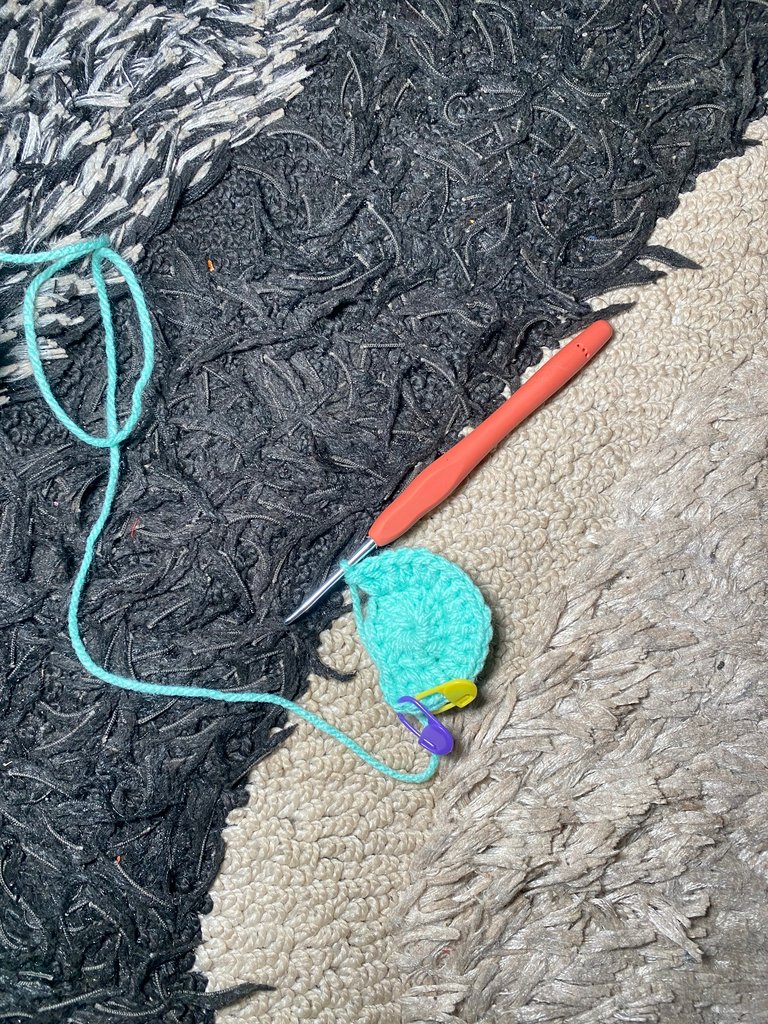
Round three: chained two again then made two double crochet in each stitch of the previous round and finished with a slip stitch on top of the first double crochet i made.
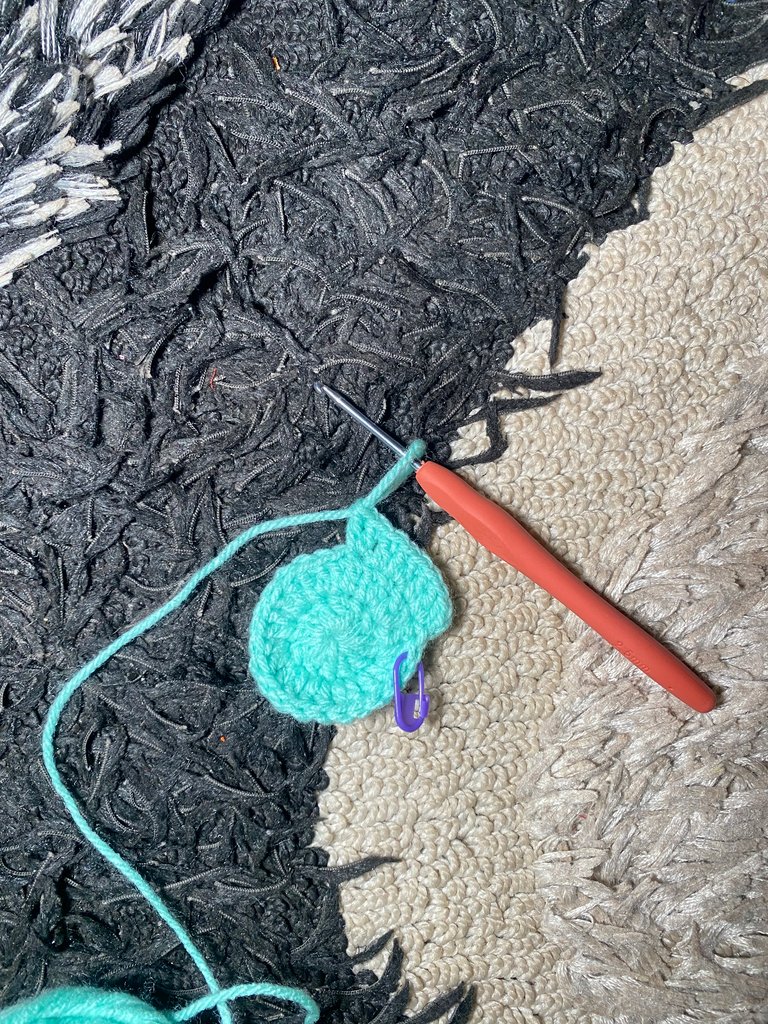
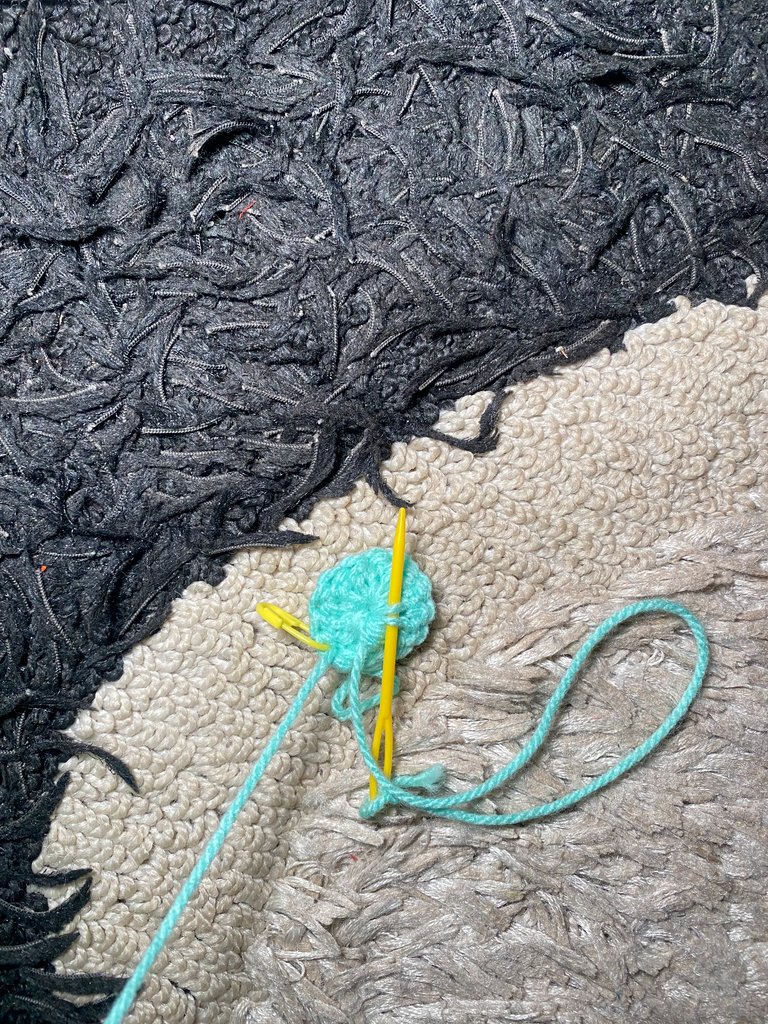
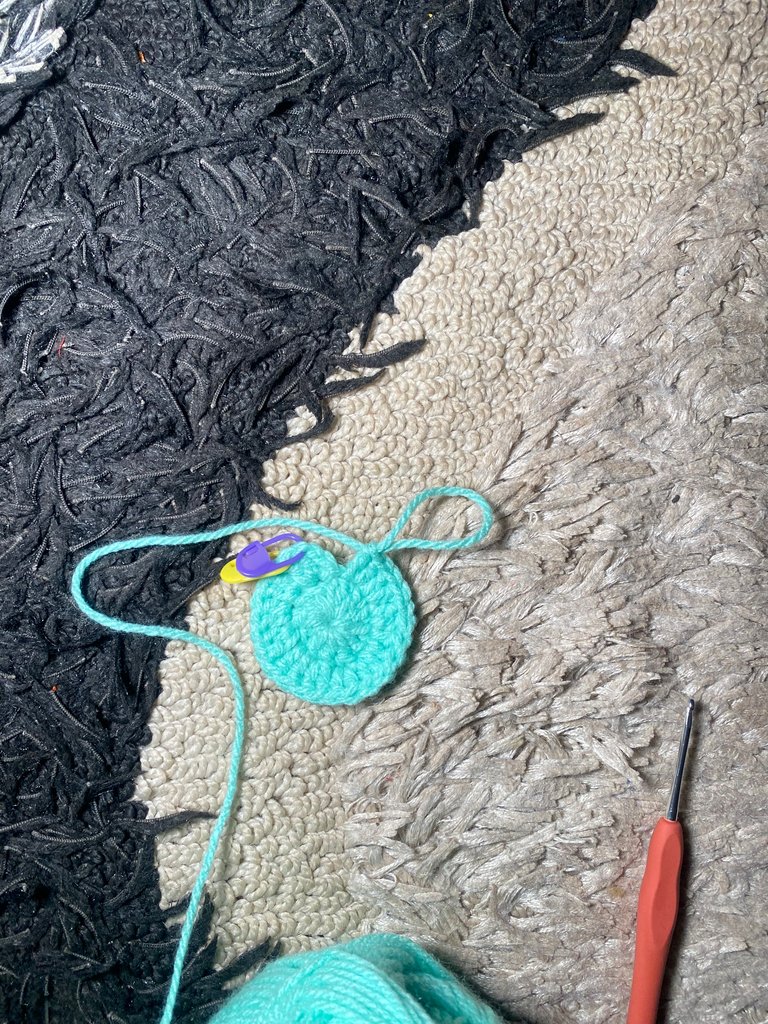
Round four: chained two, made two double crochet in the first stitch then made one double crochet in the next two stitches. Repeated this to the end of the round and made a
slip stitch on top of the first double i made.
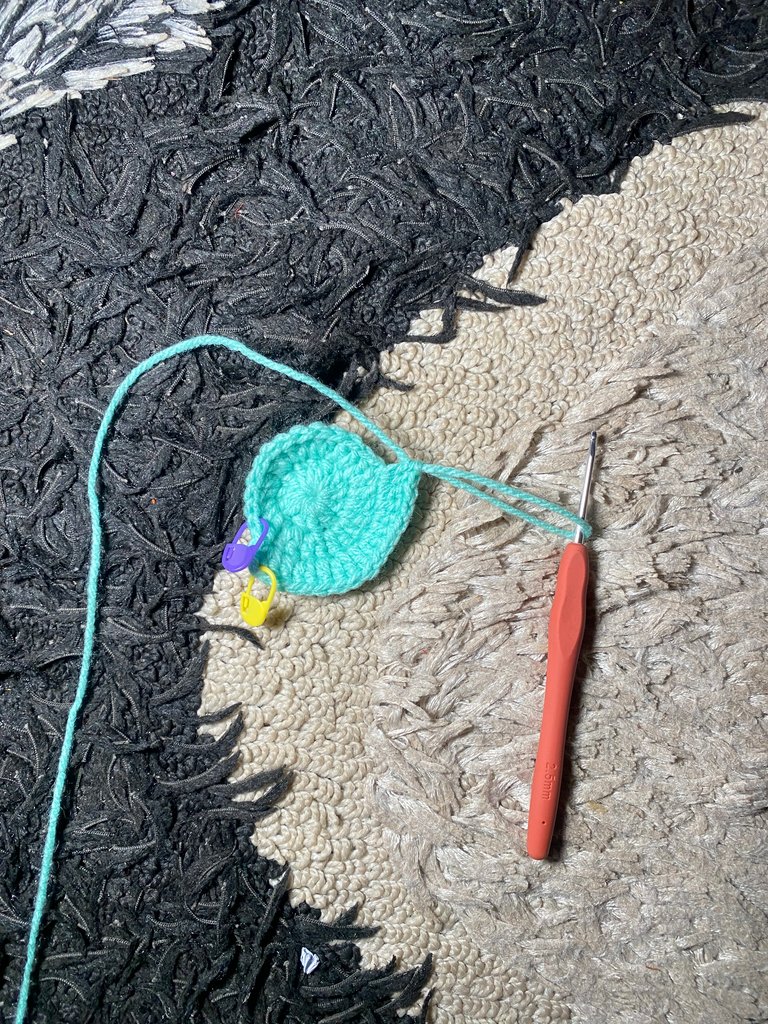
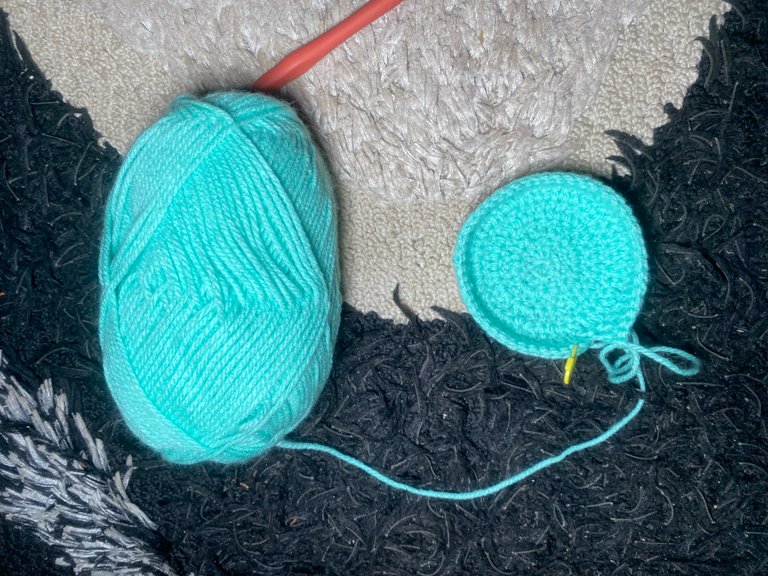
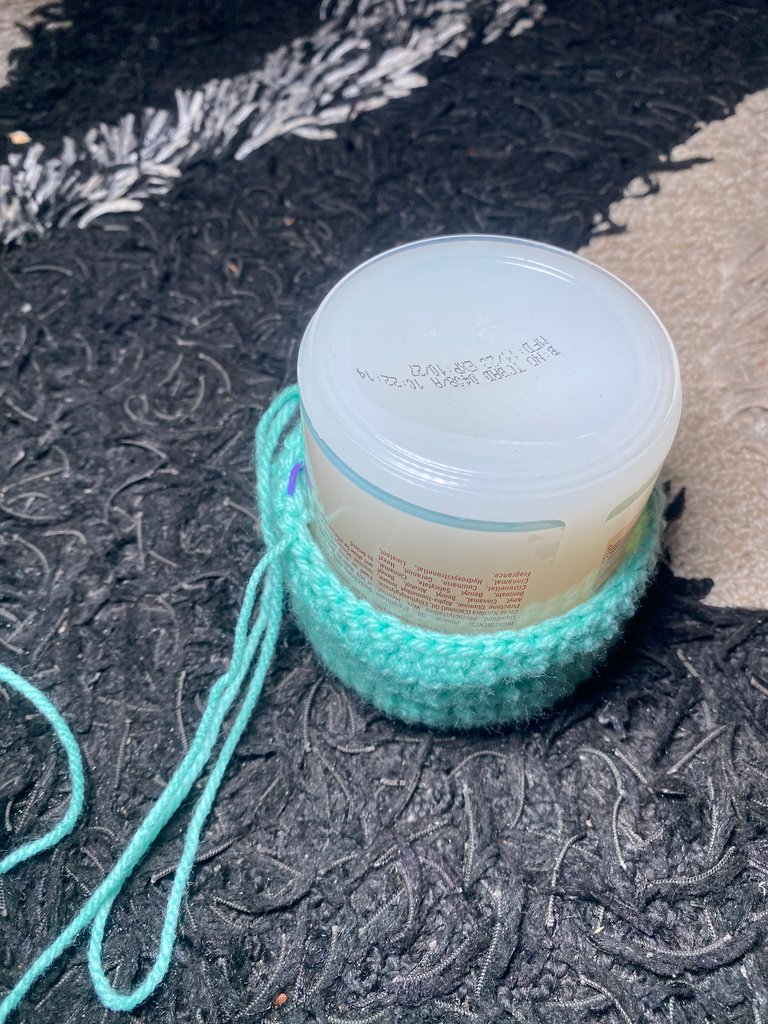
After four rounds, i measured with a can and i was okay with the base/bottom.
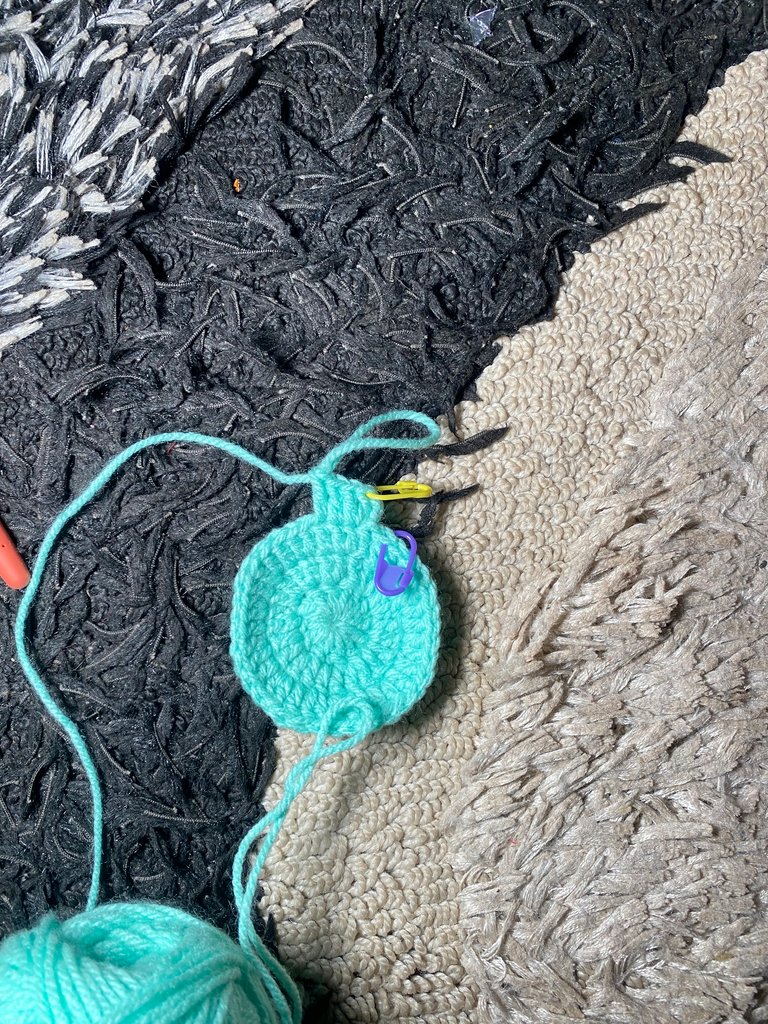

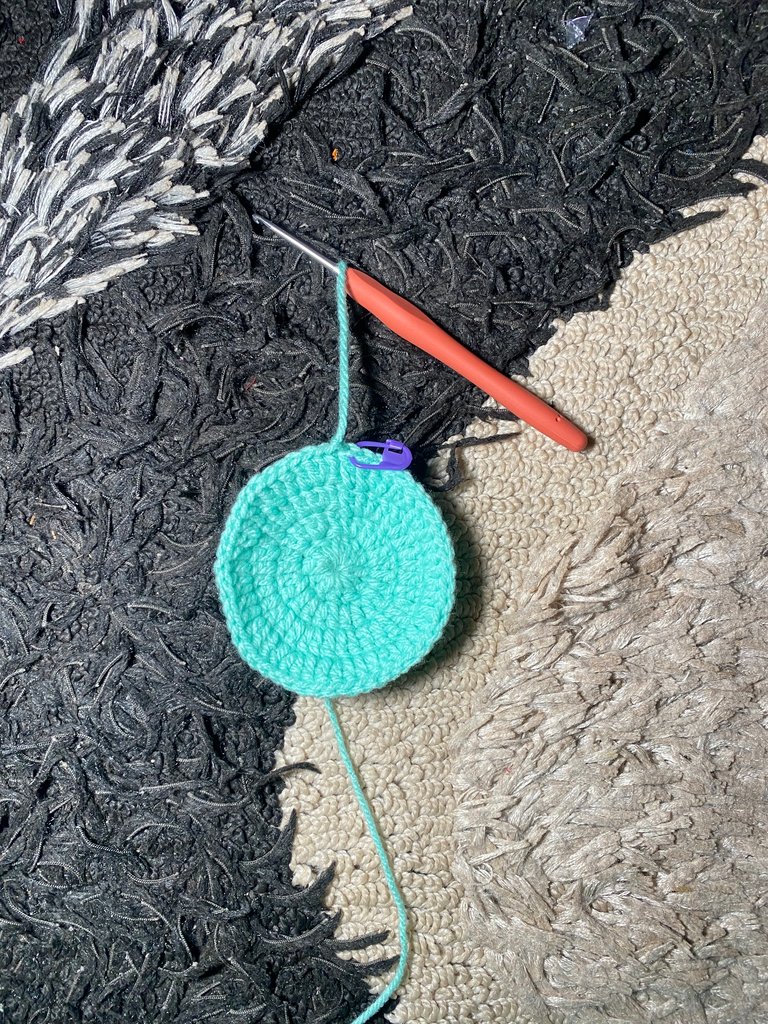
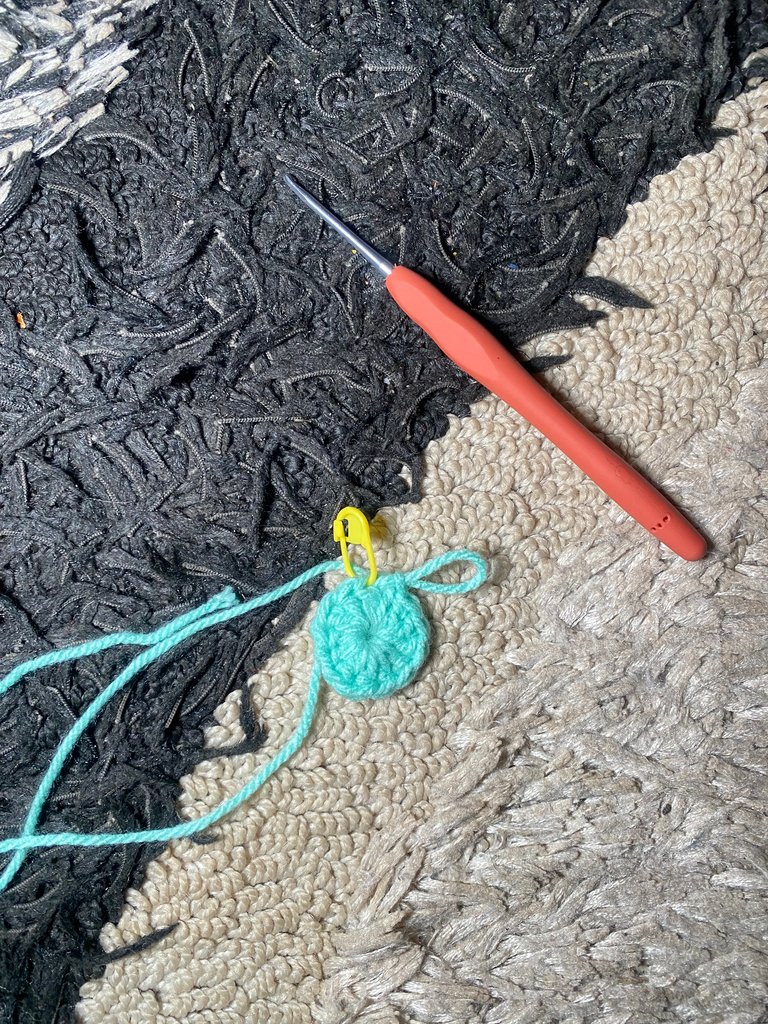
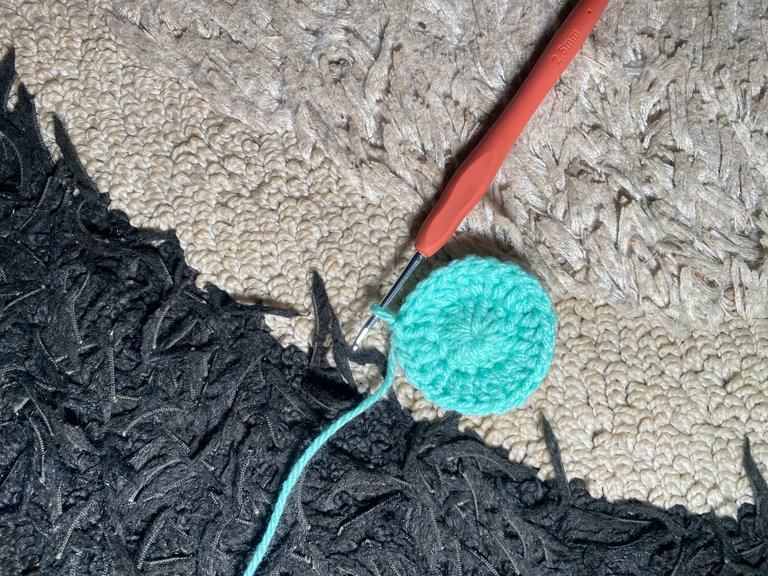
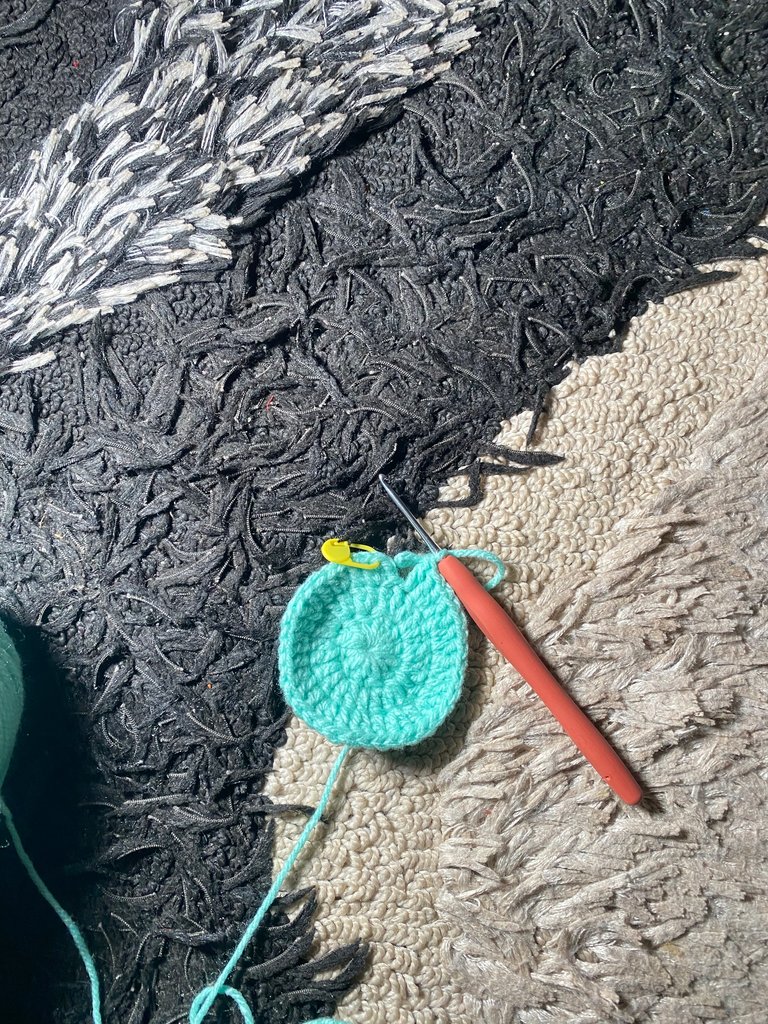
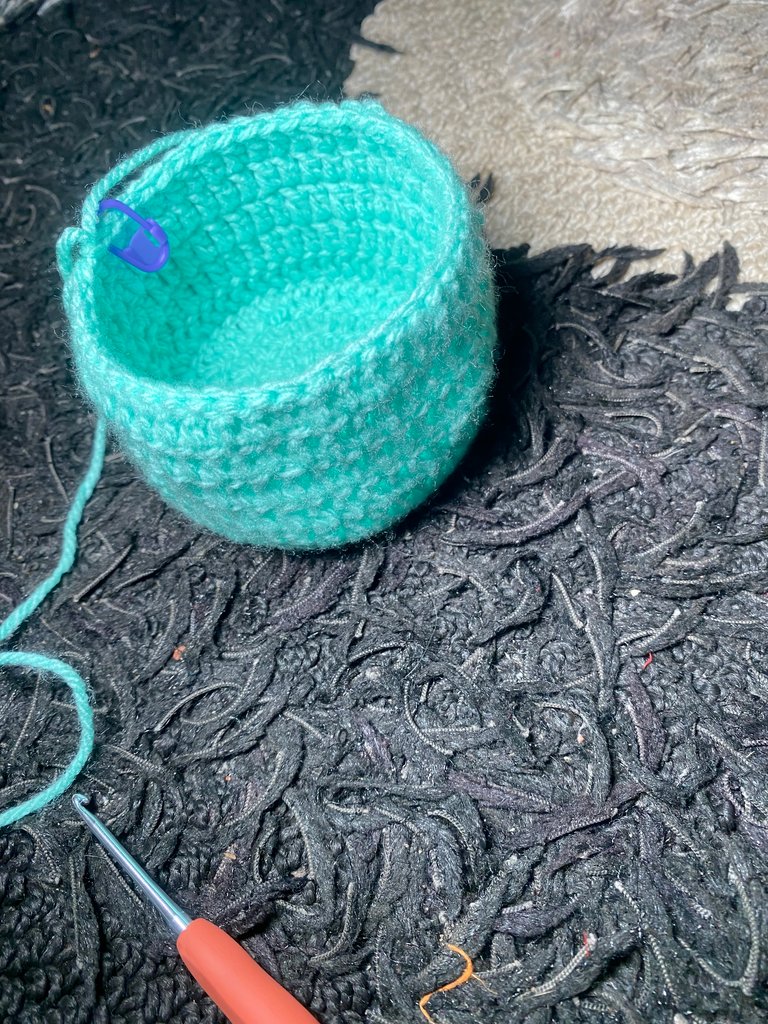
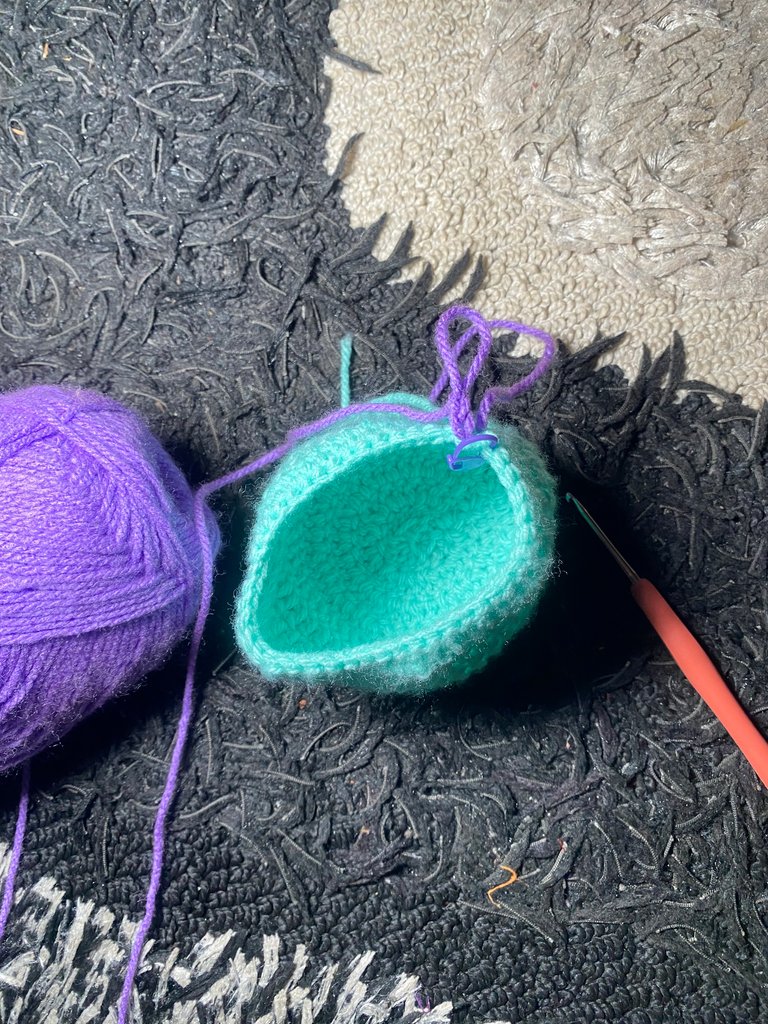
Round five: in this round, I worked in the back loops only (BLO) of every stitch. Chained two and then made one double crochet in the back loop of every stitch, finished this round with a slip stitch on top of the first double.
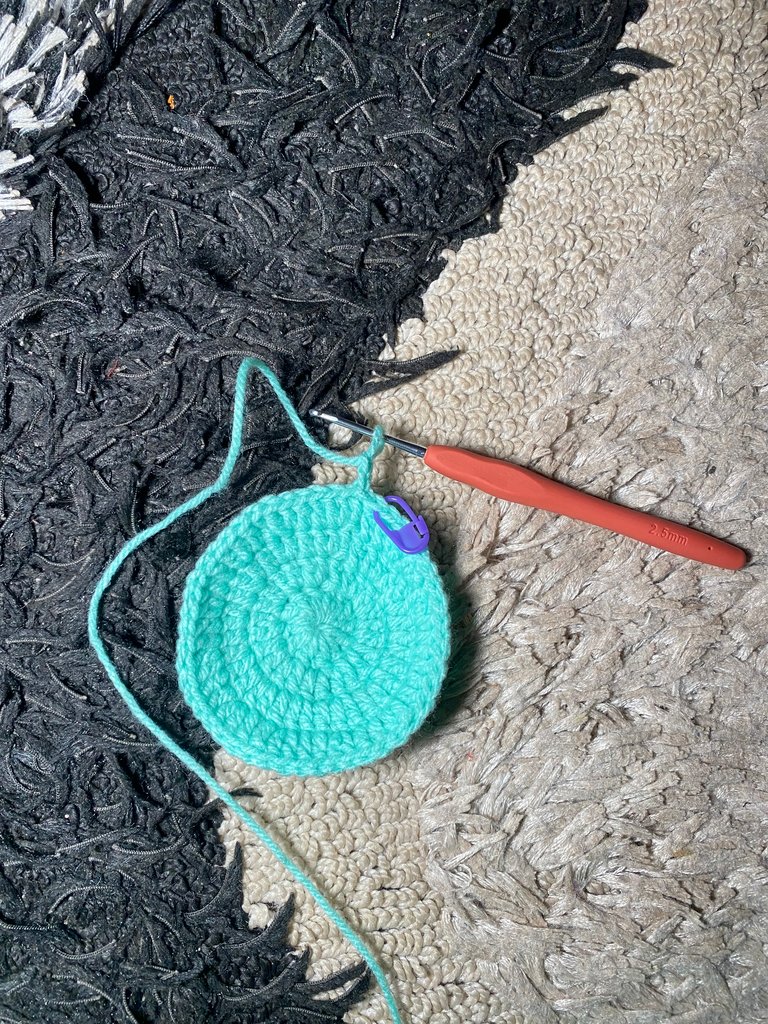
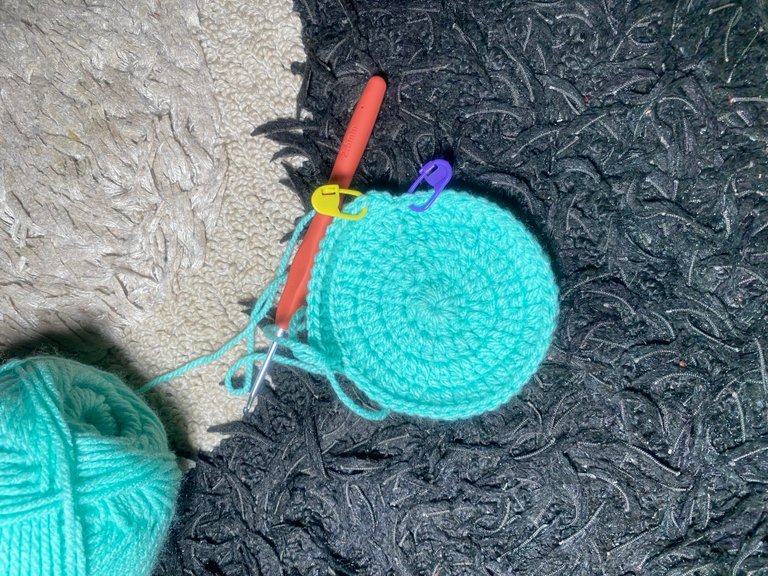
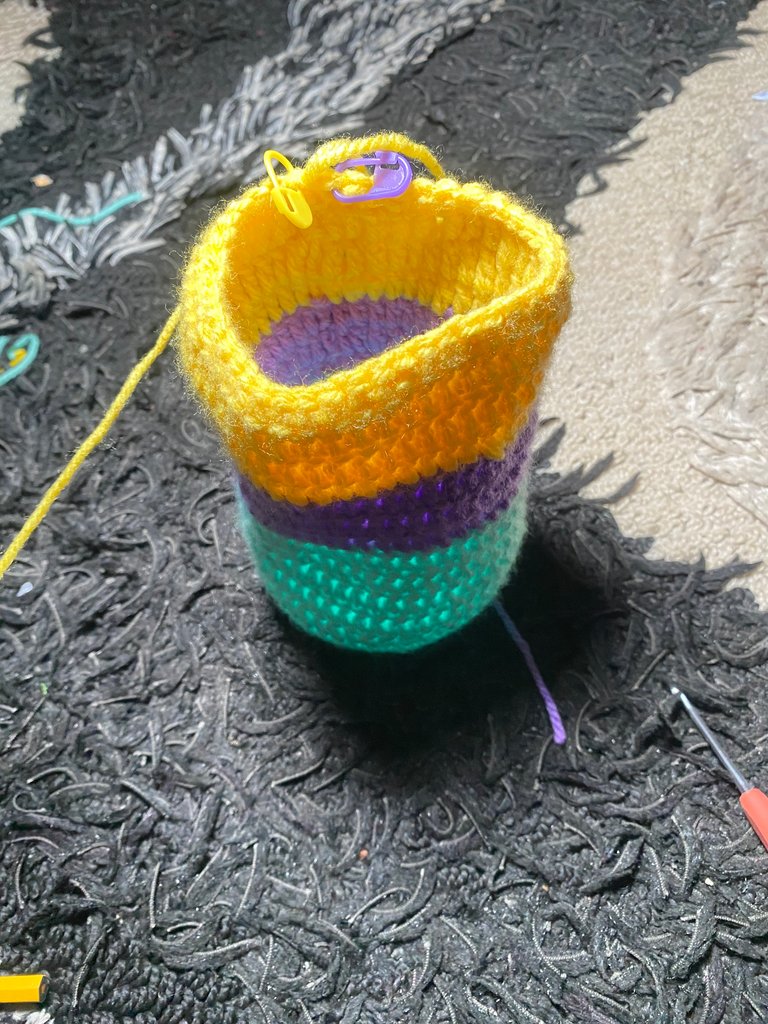
For round six - ten : I chained two, made a double crochet in each stitch of the previous round(no back loops). Finished with a slip stitch on top of the 1st double crochet.


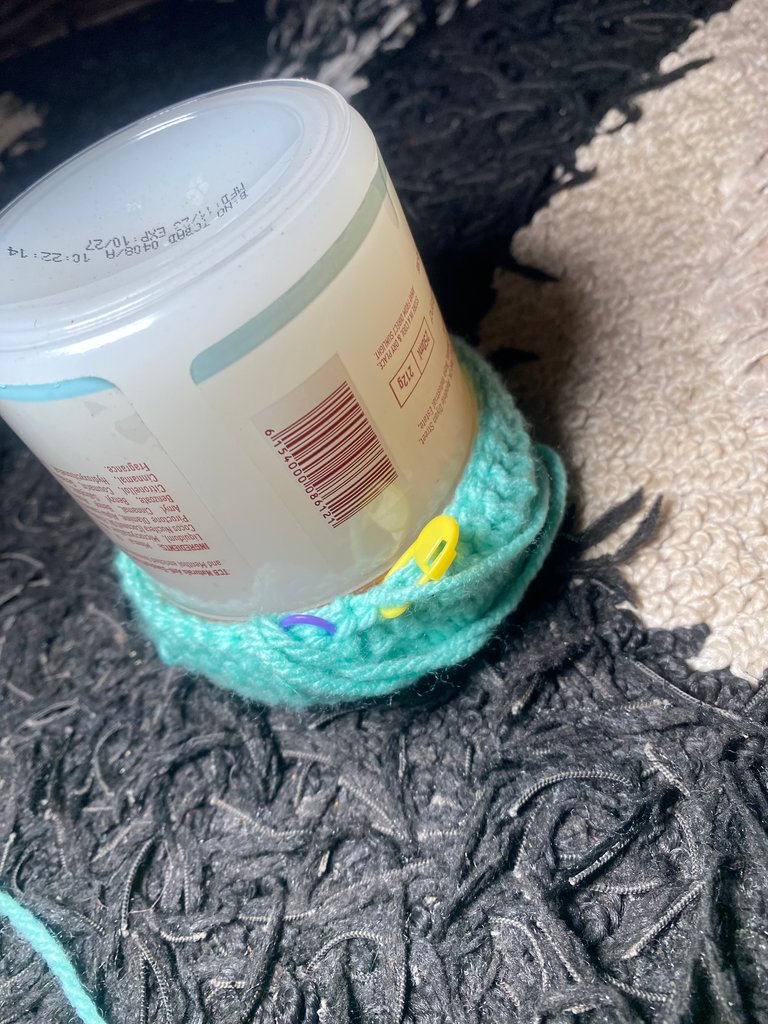
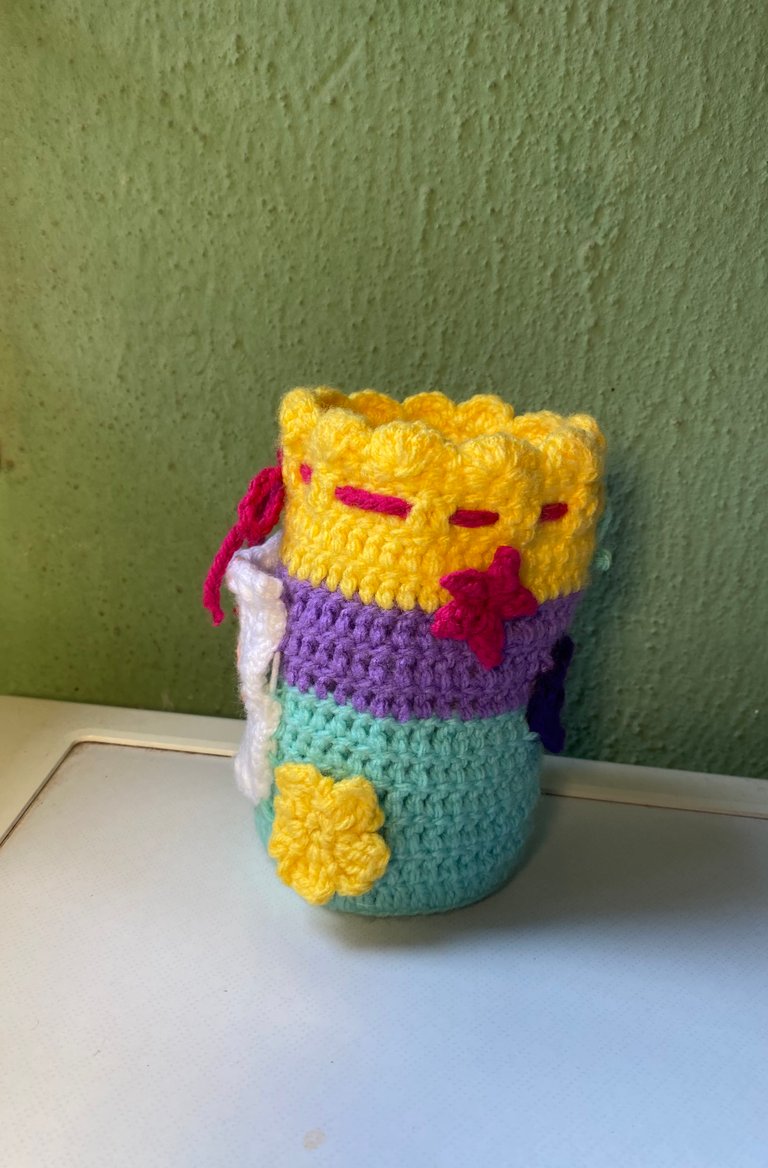
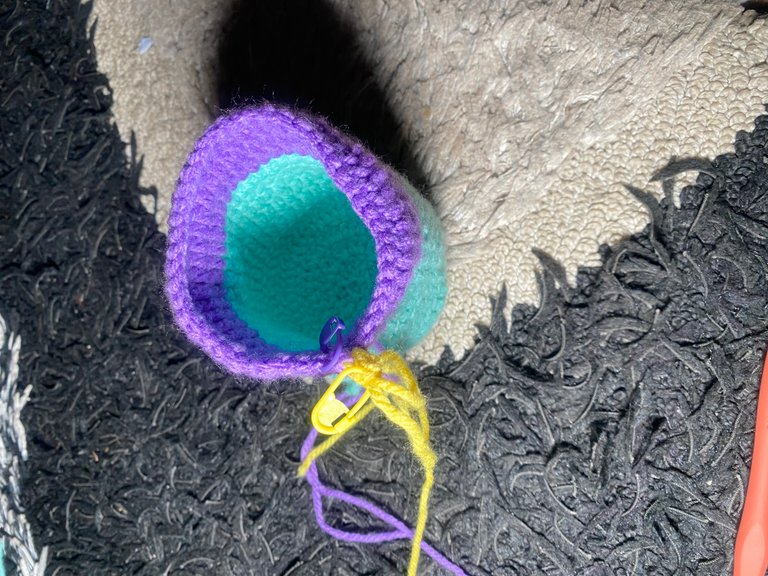
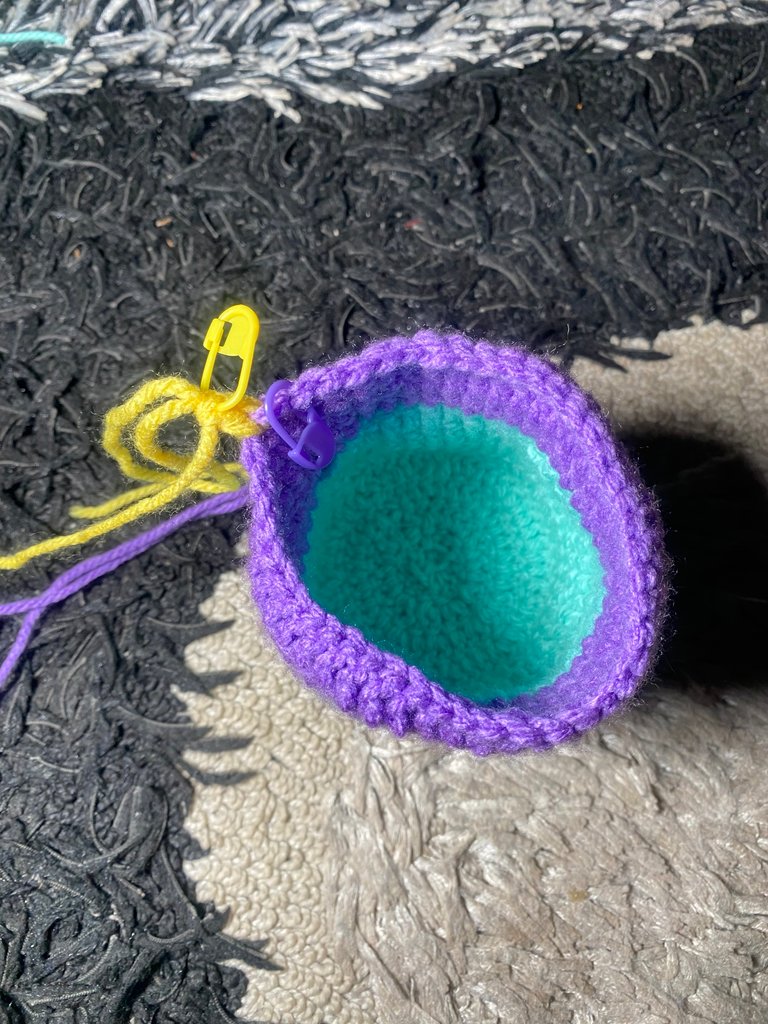
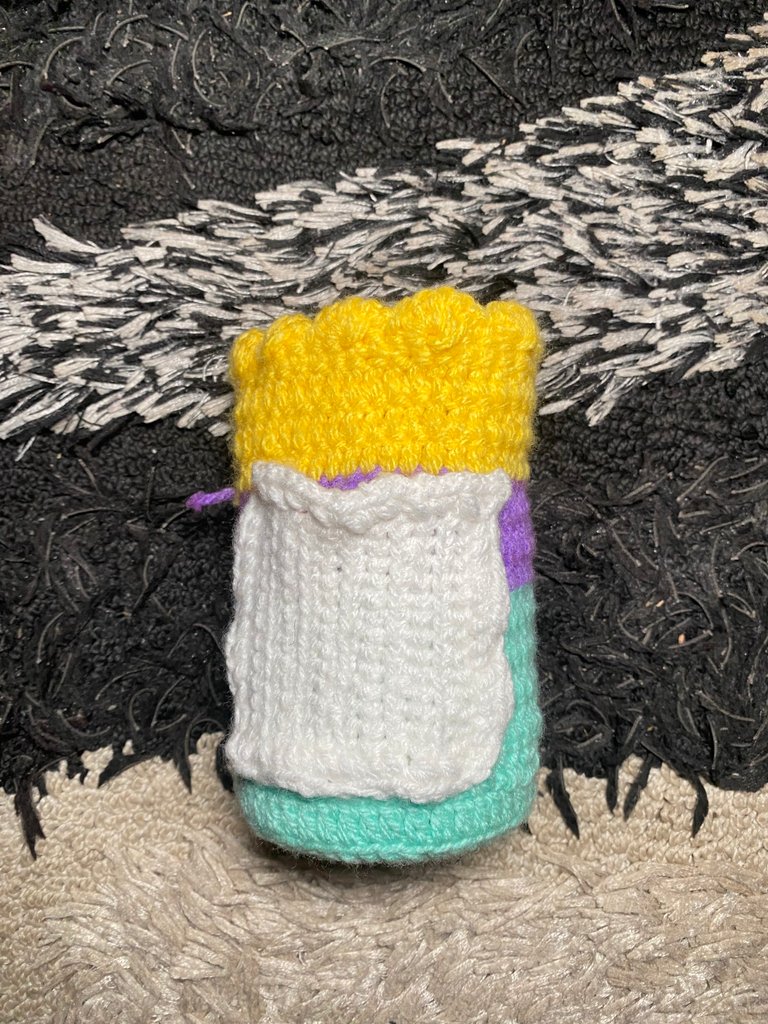
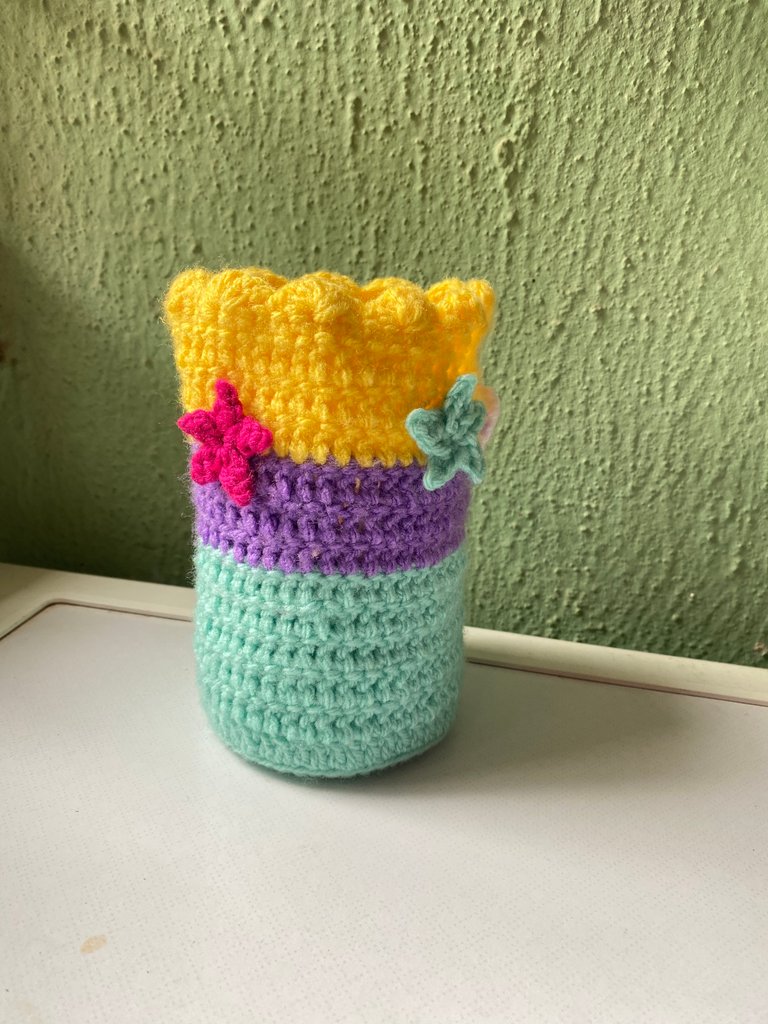
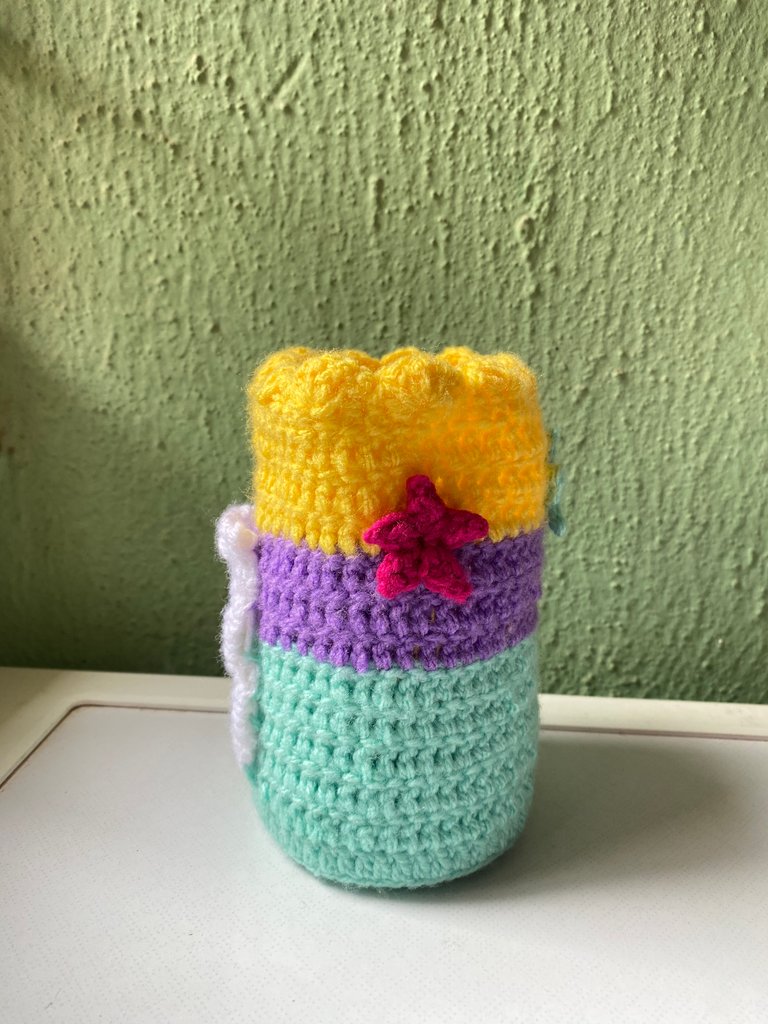
For round eleven: i changed yarn colour to light purple, made two chains, double crochet into each stitch of the previous rounds and finished with a slip stitch on top of the first double crochet. Did the same for round twelve and thirteen.


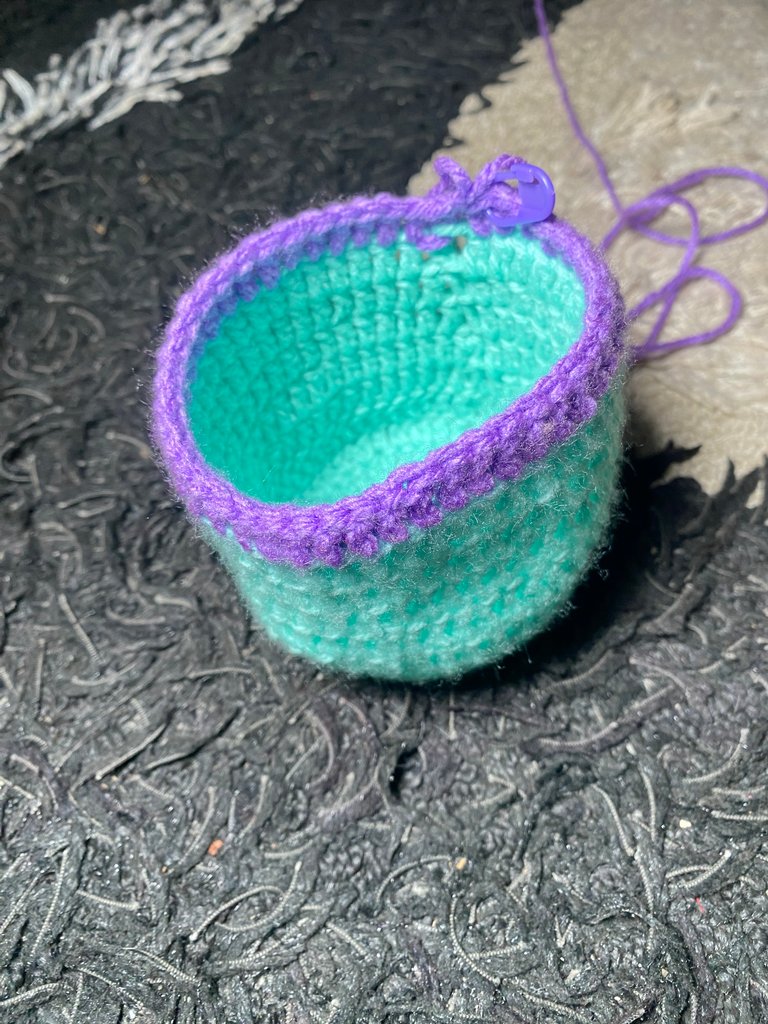
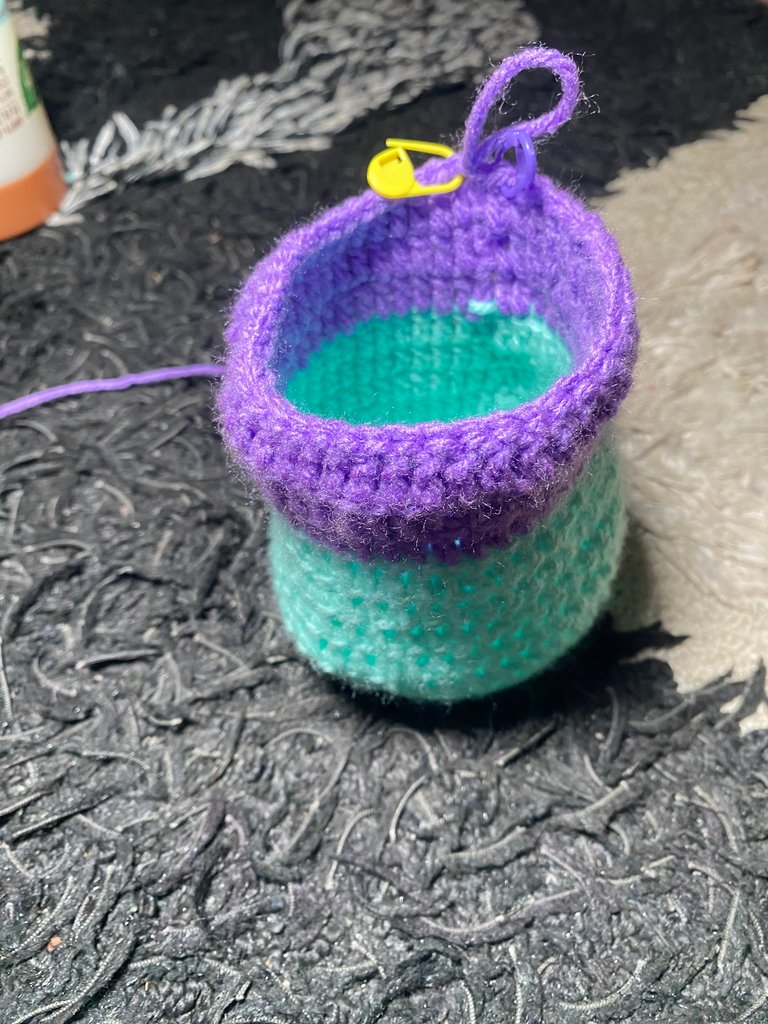
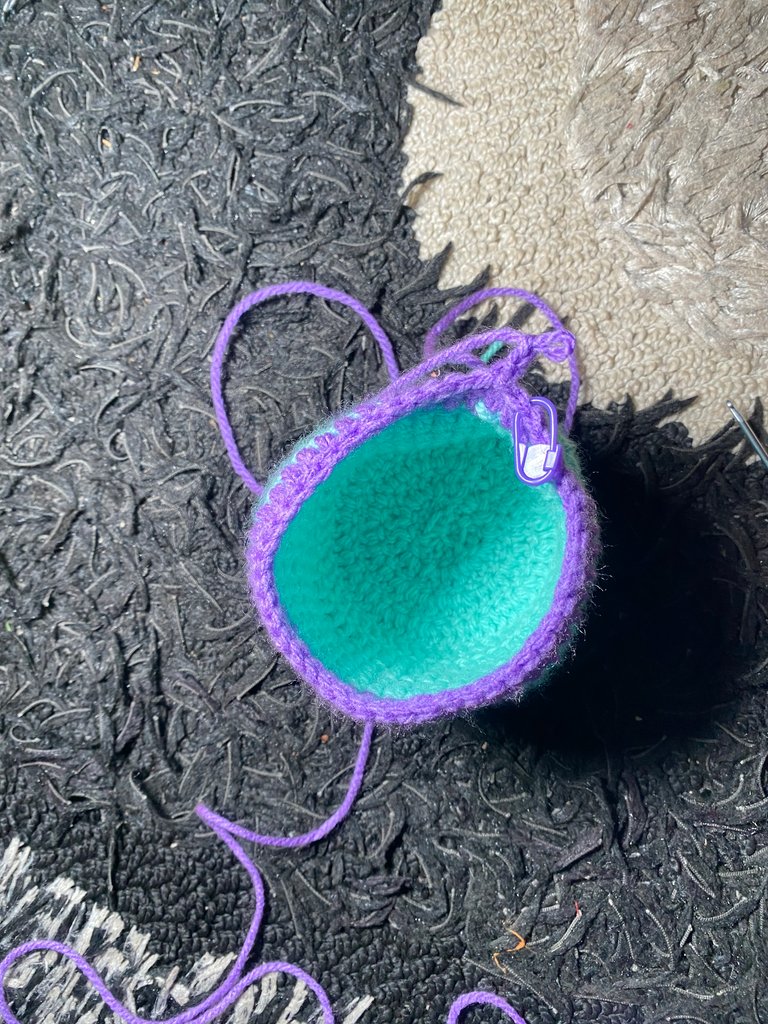
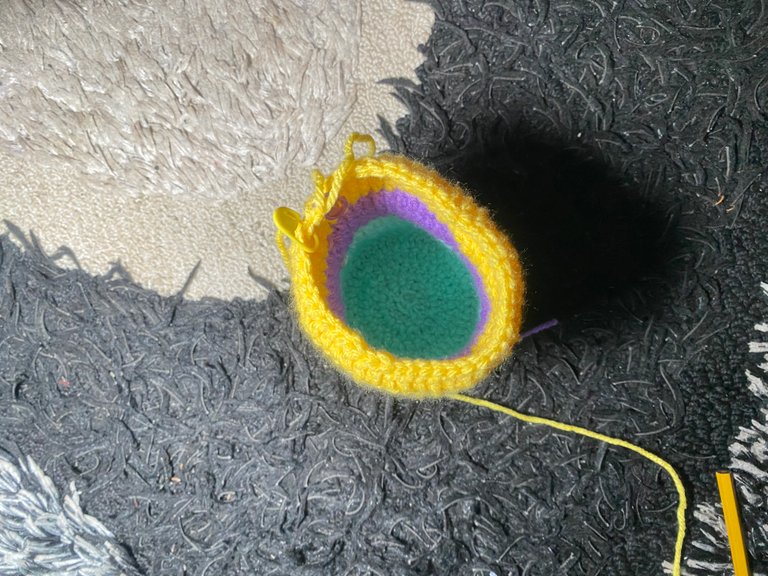
For round fourteen: I changed yarn colour to yellow, chained two, made double crochet in each stitch of the previous round and finished with a slip stitch on top of the first double crochet.
Did the same for the next two rounds (15 & 16)
Note that everything i did is customizable(depending on how you want it—long, short, wide etc)
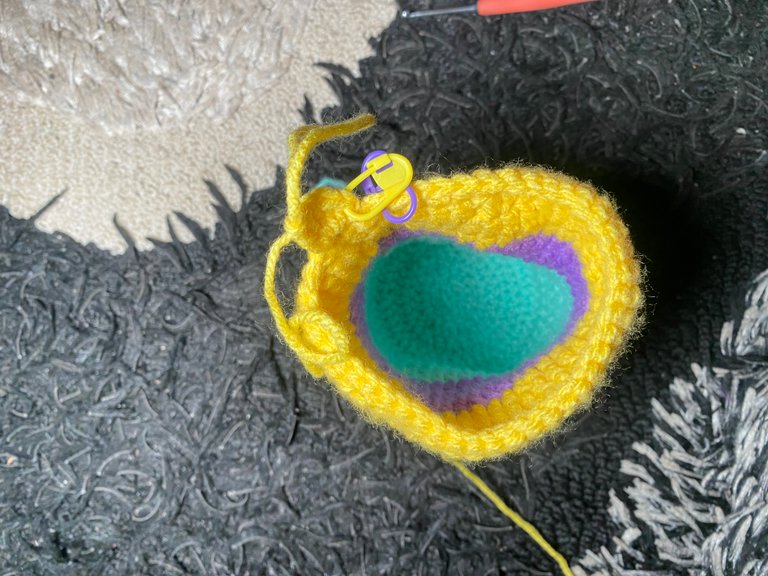
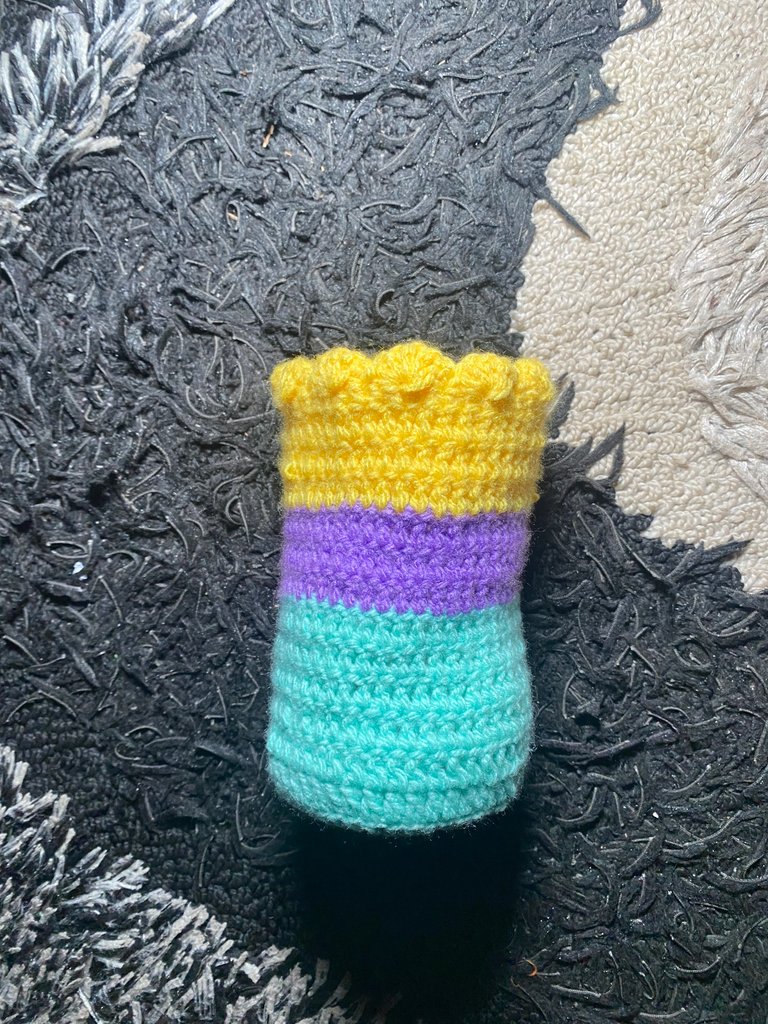
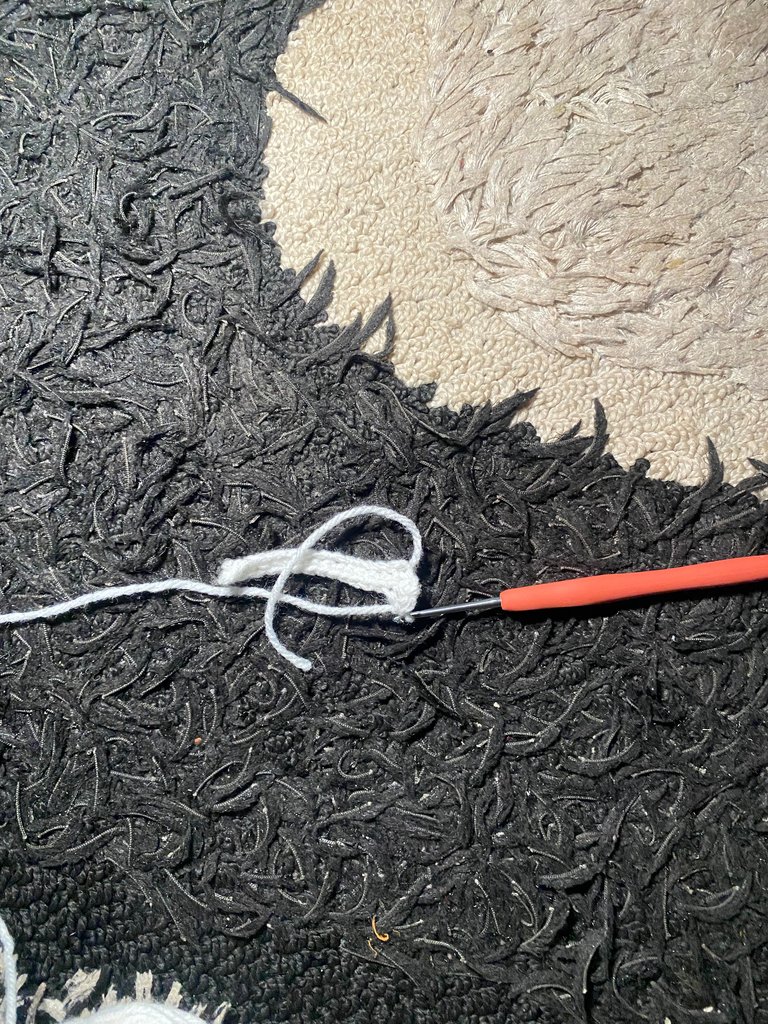
A beautiful border for the pencil cover:
Chain 1, skip 1 stitch, crochet 5 double crochet into the next stitch, skip 1 stitch and make a slip stitch in the next stitch. Followed this step till the end of round one and finished with a slip stitch.
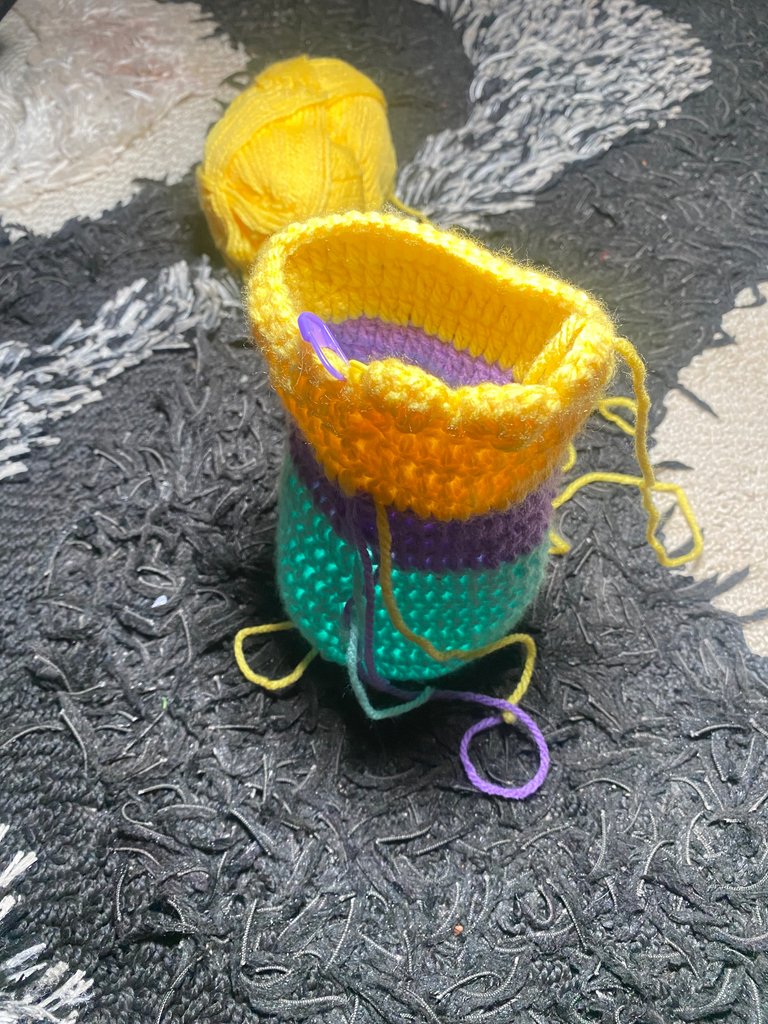

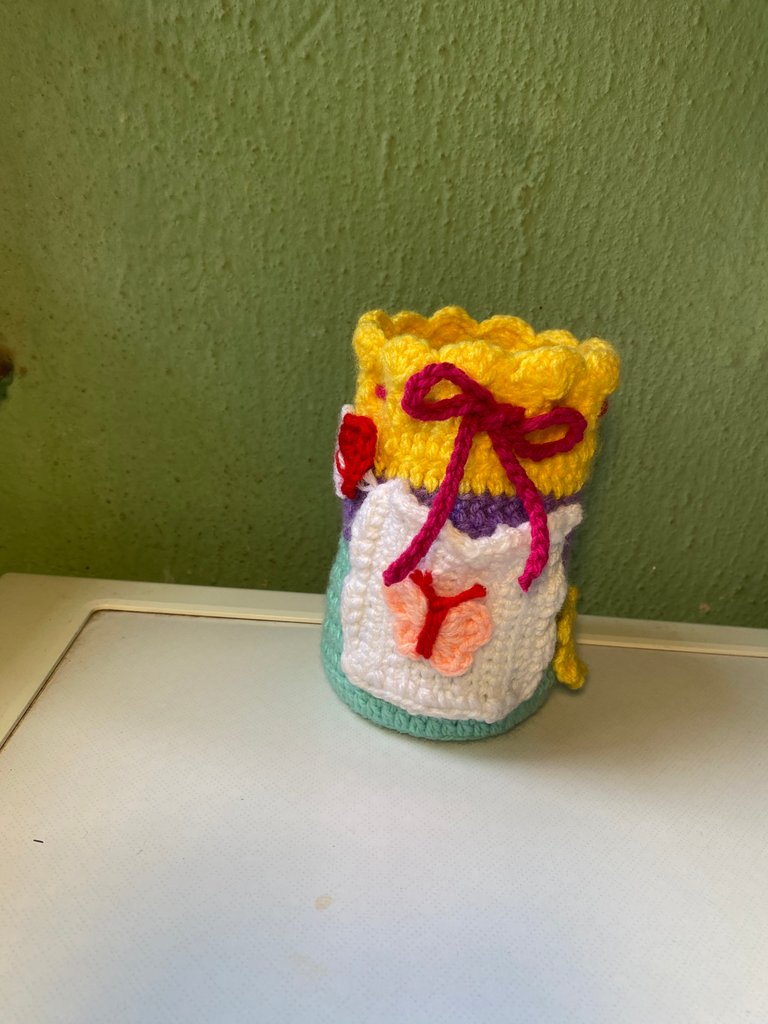
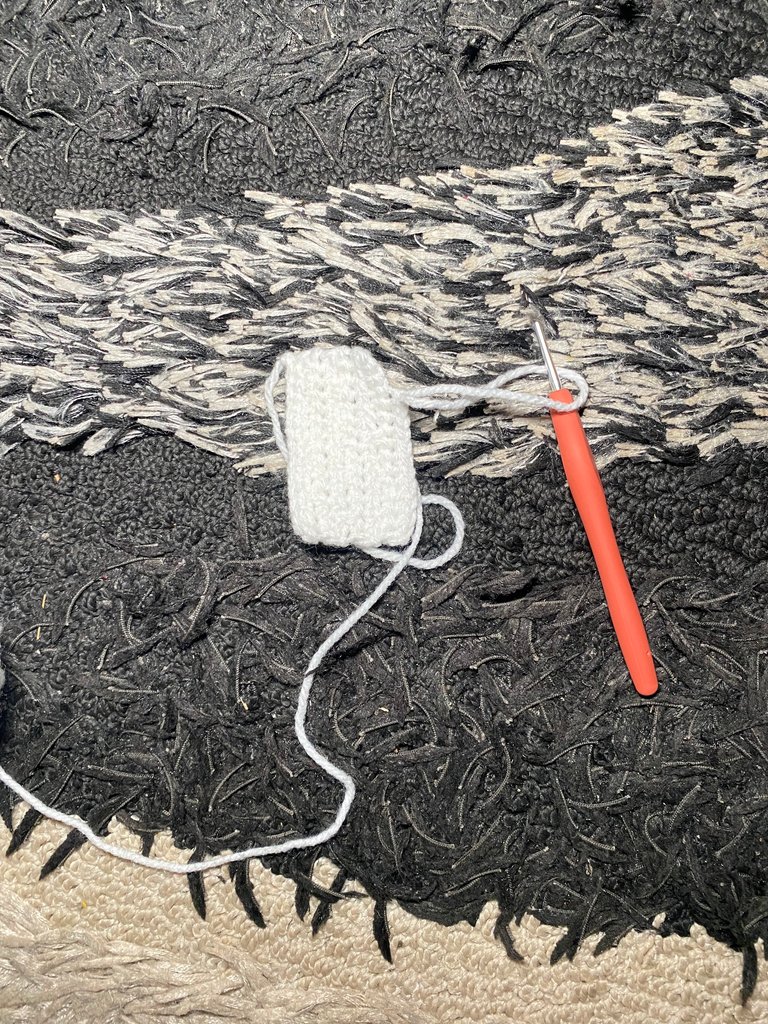
Pockets for the pencil pouch: Chain 15, make a single crochet in the second stitch away from the hook. Continue crocheting single crochet till the end of the row. Chain 1 and turn, continued till i was satisfied with the length.
To finish up, i made two single crochets in each corner(round), finished with a slip stitch and used my darning needle to weave in the tail.
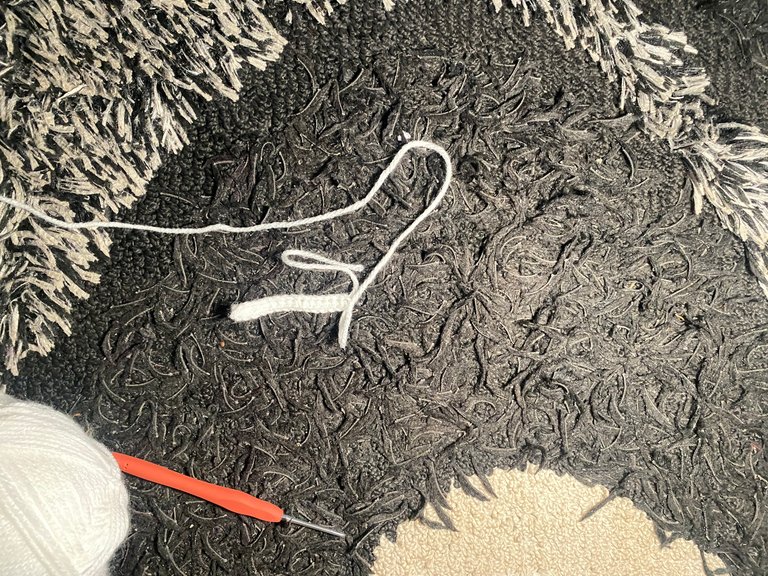
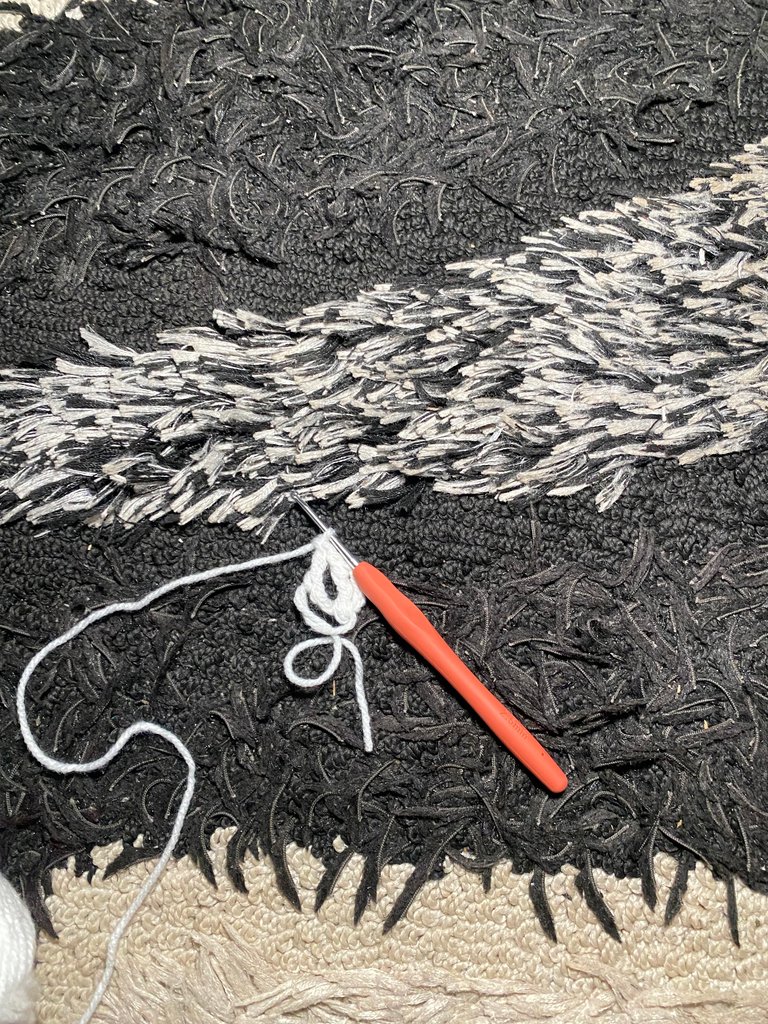
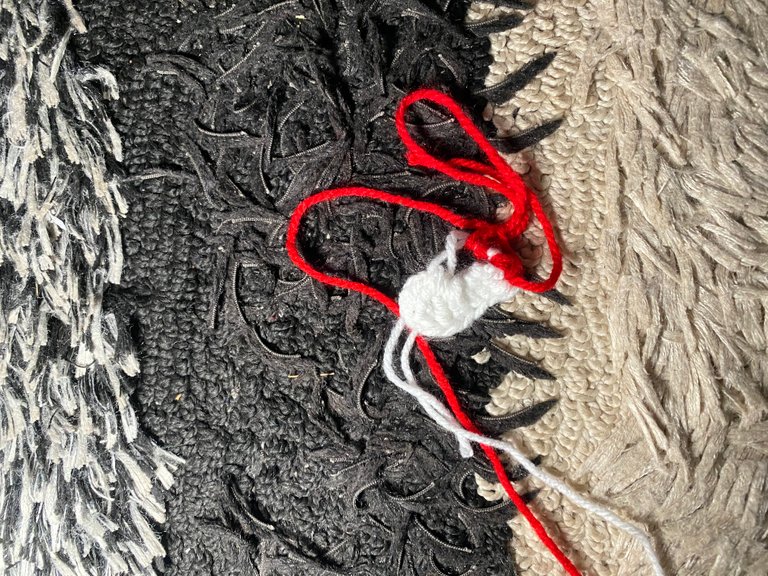
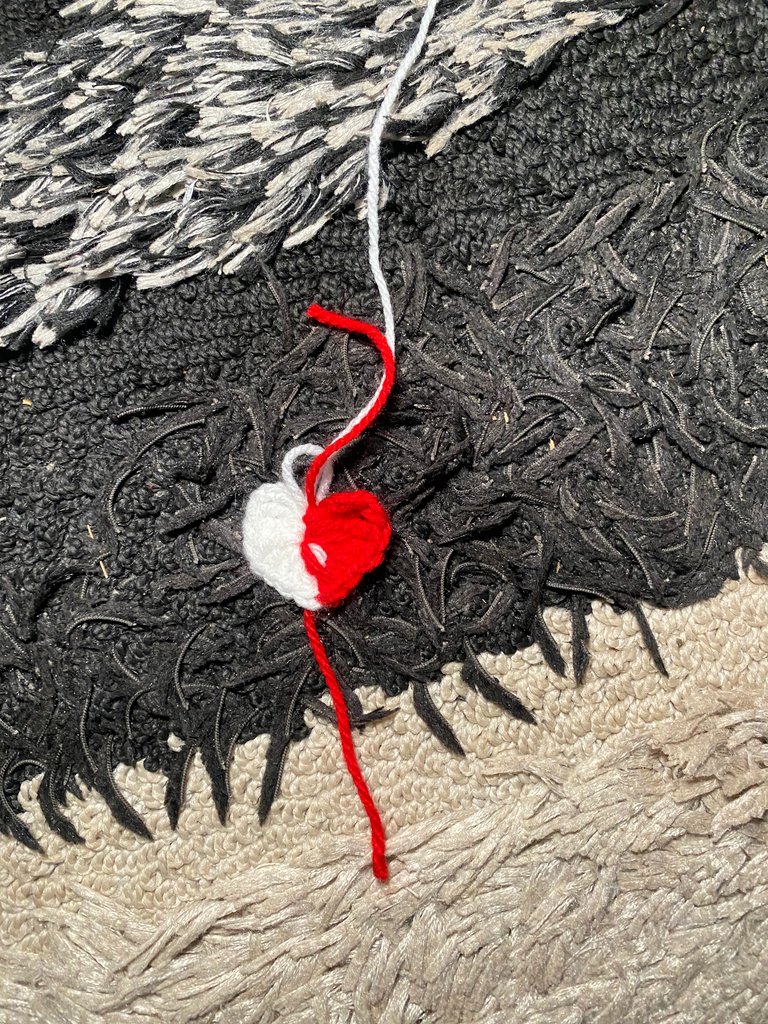
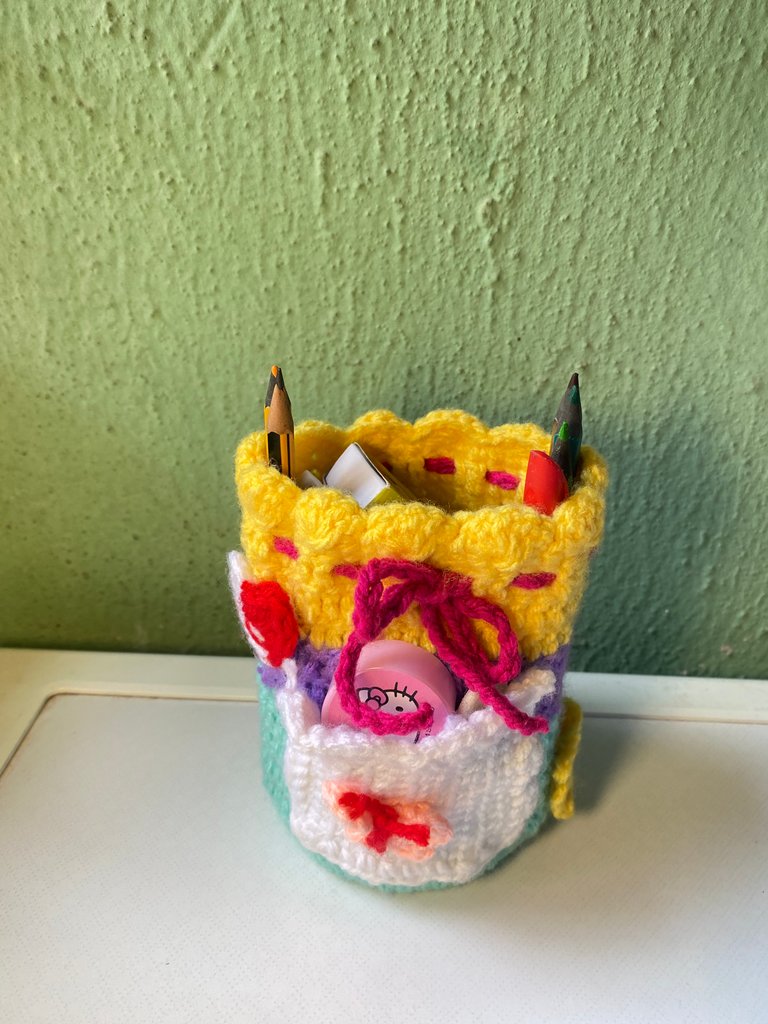
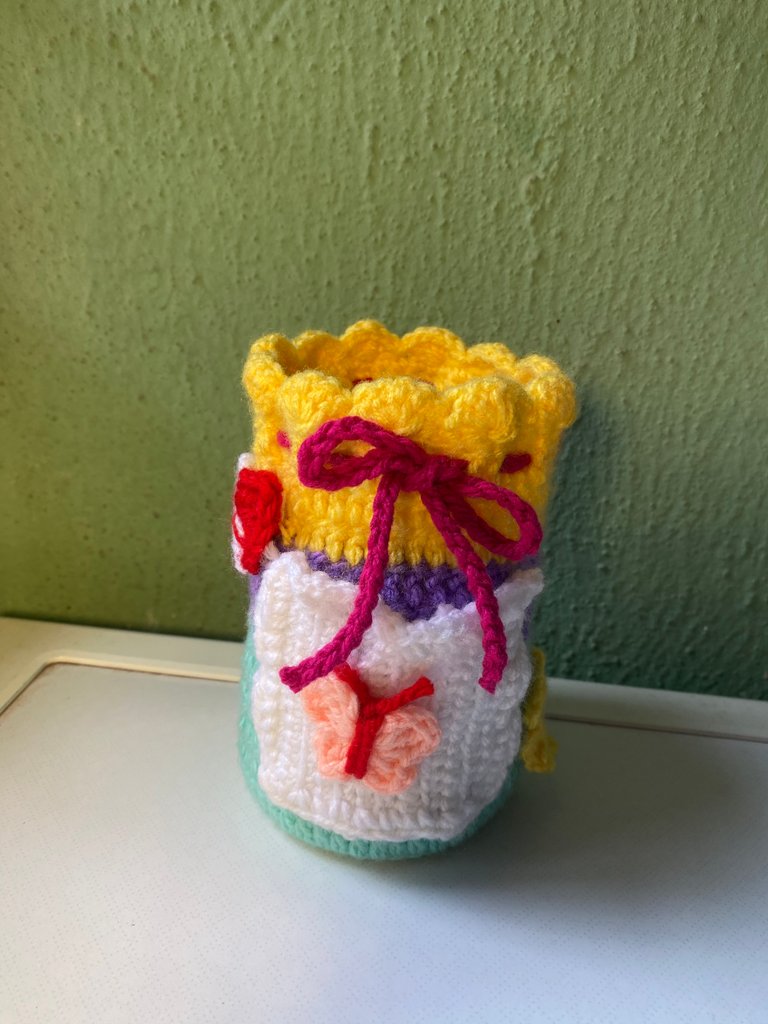
Decorations: made love, stars, butterfly and petals. I needed to decorate my daughter’s pencil pouch.
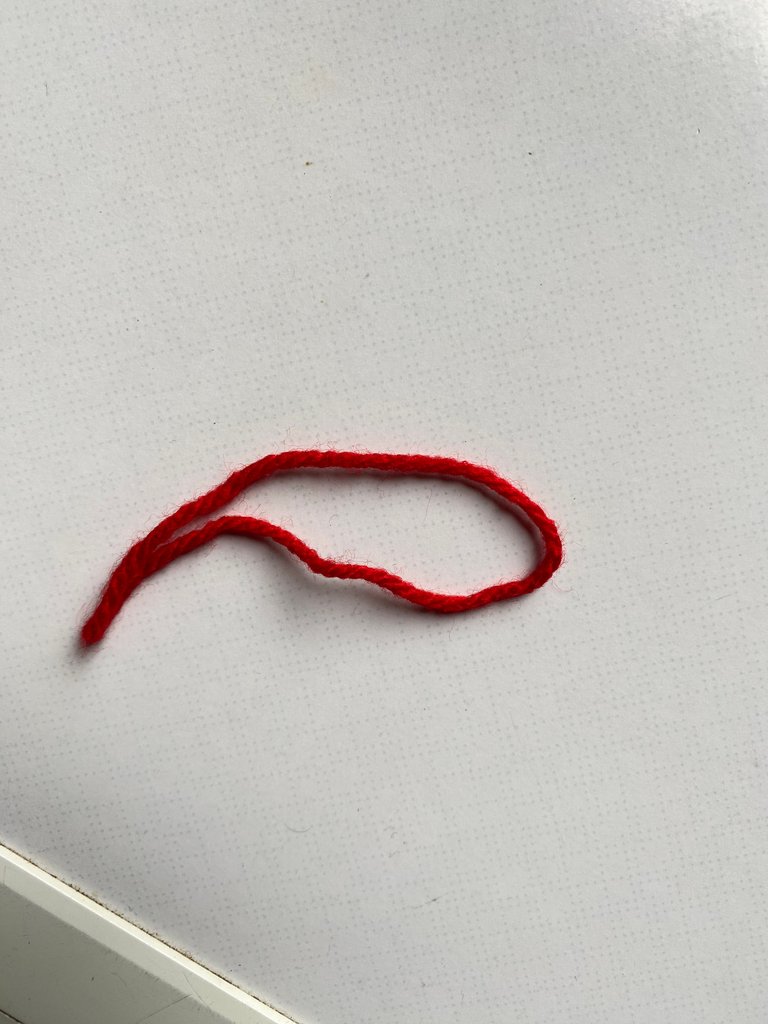
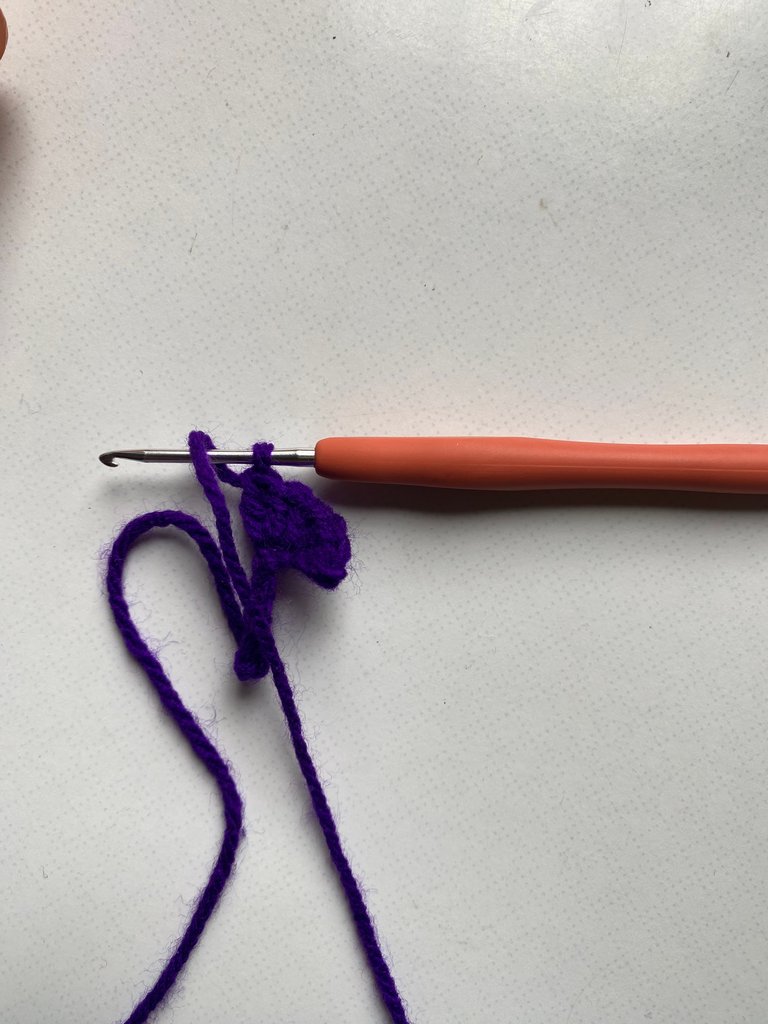
The love shape: i made a magic ring, chained four, made three treble crochet into the ring, three double crochet into the ring, one treble crochet (changed colour from white to red yarn), three double crochet into the ring, three treble crochet into the ring and chained three, then made a slip stitch into the ring

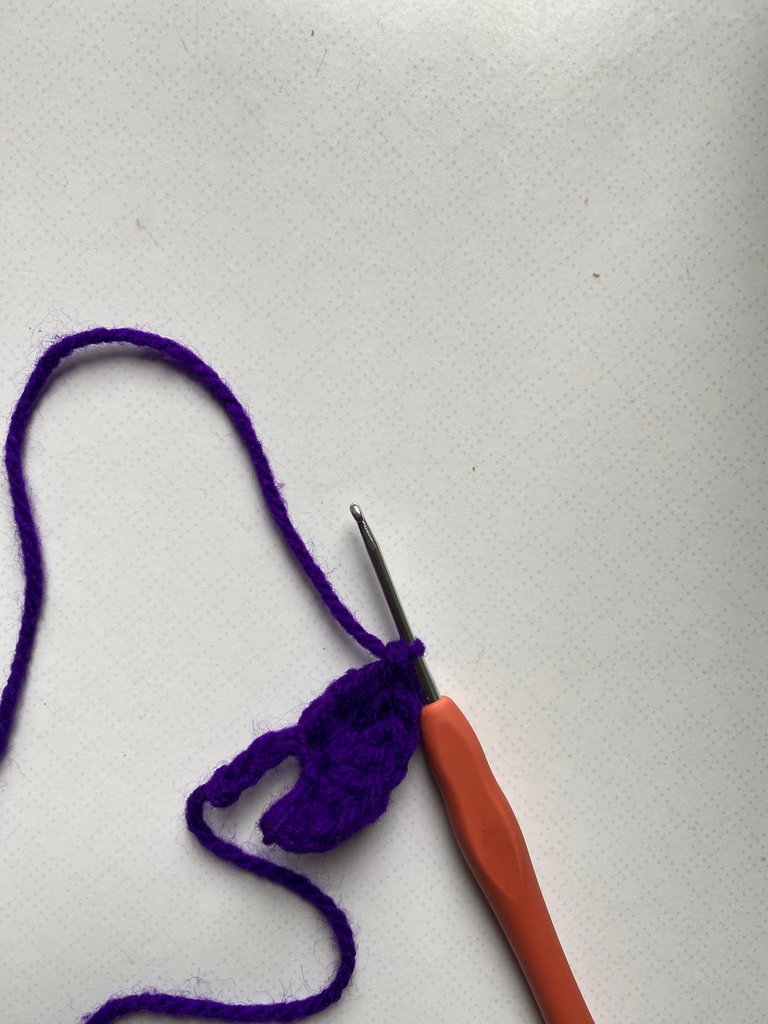
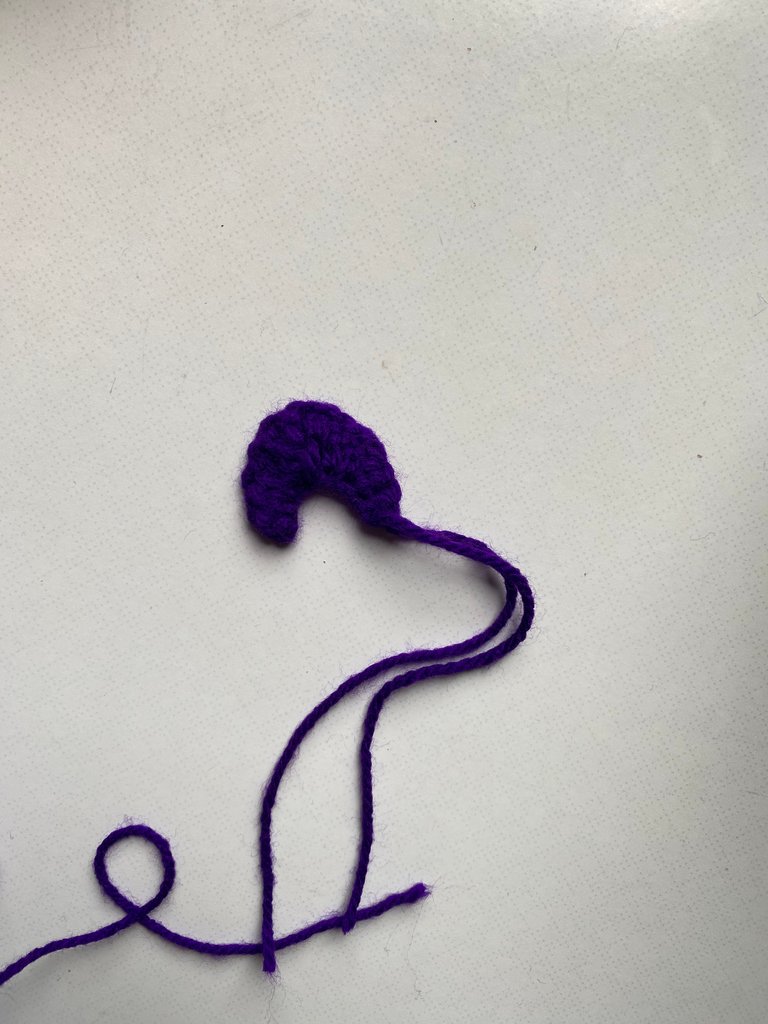
The stars: started with a magic ring, chained three, slip stitch into the second stitch, half double crochet into the next stitch and slip stitch into the magic ring—this was the point of one of my stars, so I repeated four times.
Used two colours of yarn for the stars.
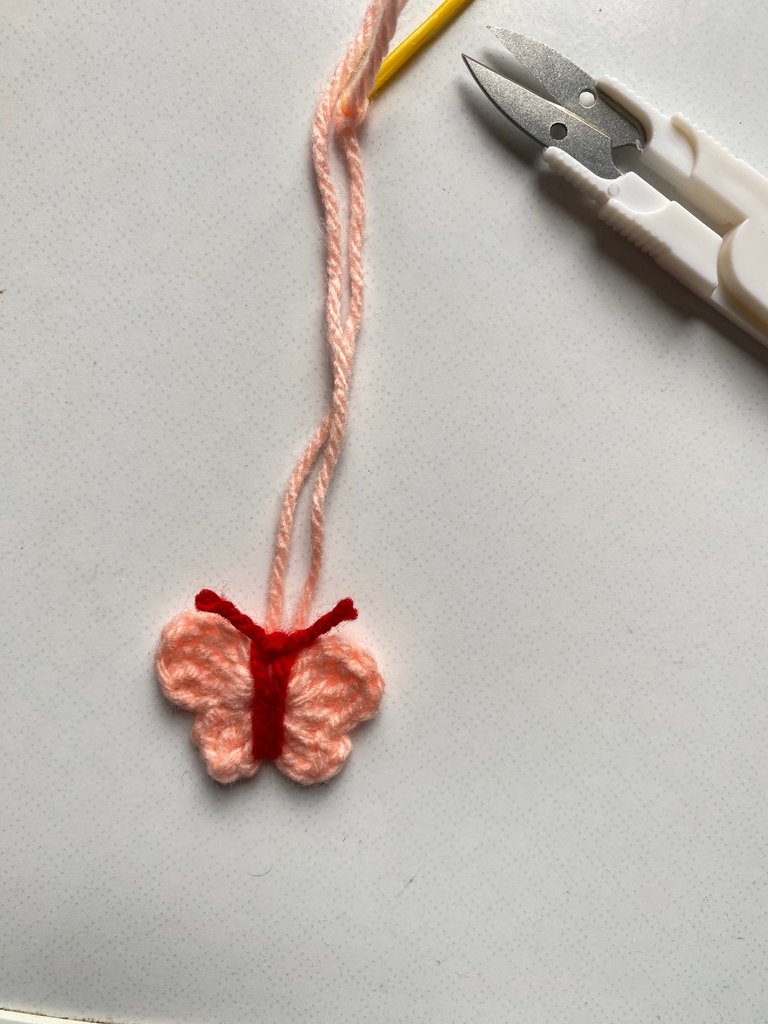
The butterfly: Chain three, two triple crochet in the magic ring, chain two, one single crochet in ring, one double crochet in ring, chain two, slip stitch into the magic ring, chain two, one double crochet in the magic ring, chain two, one single crochet in ring, chain two, two triple crochet in the magic ring, chain three, slip stitch into the ring. Pull magic ring to tighten.
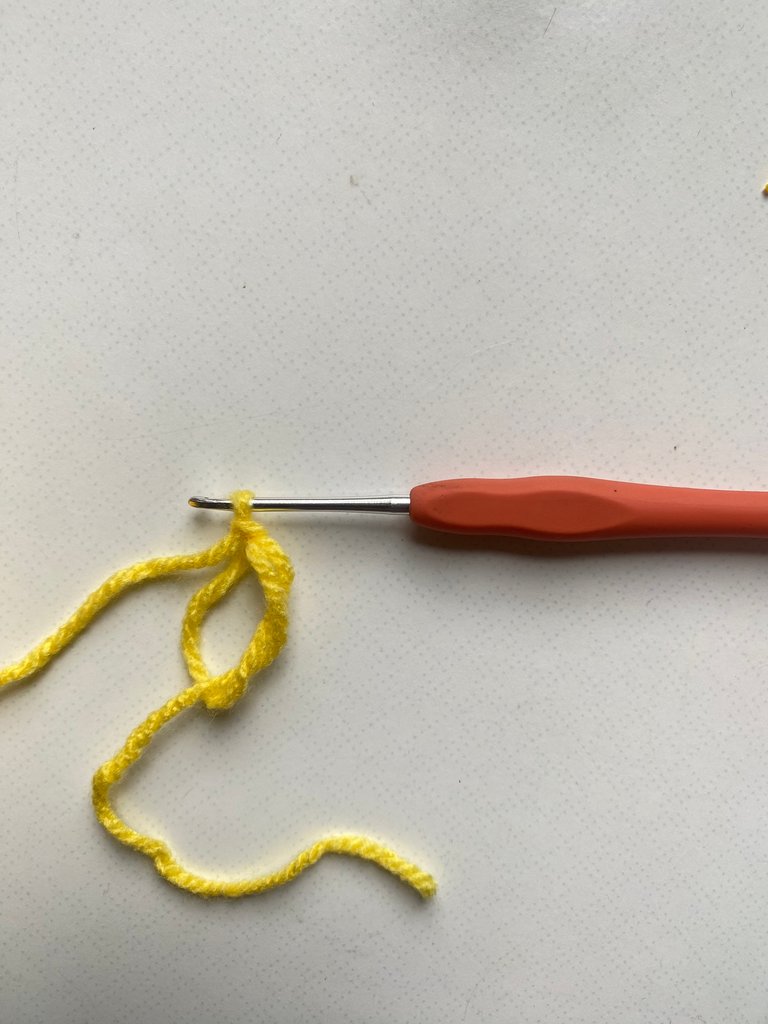
For moon: make a slip knot, chain eight, single crochet into the second chain from the hook, half double crochet increase, double crochet increase, three treble crochet in a stitch, double crochet increase, half double crochet increase, single crochet, slip stitch and fasten off
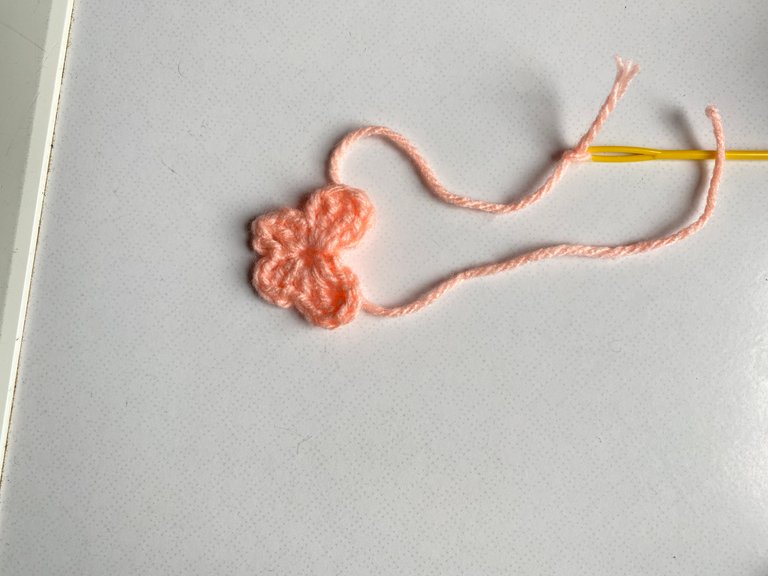
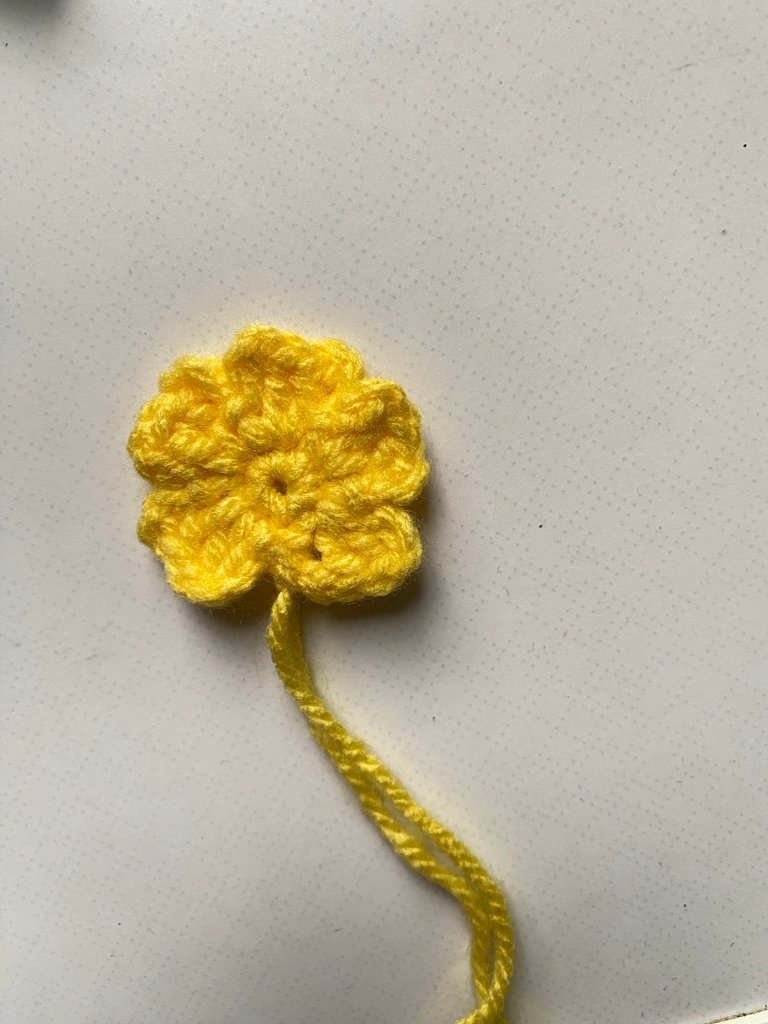
The flower: a magic ring, chain one, insert five single crochets into the magic ring, pull the magic ring to close tight, insert into the very first stitch. Chain three, insert two double crochets into the same stitch, chain three, slip stitch into the same stitch—repeat for a total of five times.
Final look:
Thank you for reading!
Pencil holders play more important roles in our lives than we give them credit for. Your pencil holder looks so cute friend. You did an amazing job, well done.
Thank you so much.
Congratulations @jemima2001! You have completed the following achievement on the Hive blockchain And have been rewarded with New badge(s)
Your next target is to reach 8000 upvotes.
You can view your badges on your board and compare yourself to others in the Ranking
If you no longer want to receive notifications, reply to this comment with the word
STOPYou did beautiful work 💞
I can see your effort in this project
I appreciate.
bonito y sencillo, buen trabajo!
nice and simple, good job!
Gracias 🙏
It's very portable and efficient, I love it. Well done bravo
Thank you.