
Saludos amigos de la comunidad #diyhu, es un gusto para mi unirme al mundo de la creatividad, y quiero hacerlo presentando un #tutorial sobre la elaboración de un muñeco de nieve colgante; ideal para colocar en las paredes.
Es sencillo de realizar, y muy económico, con materiales de reciclaje, que generalmente tenemos en nuestras casas, y que, en lugar de desecharlos podemos utilizarlos para la coración navideña.
Veamos el paso a paso
Greetings friends of the #diyhu community, it is a pleasure for me to join the world of creativity, and I want to do so by presenting a #tutorial on the development of a hanging snowman; ideal for placing on the walls.
It is simple to make, and very economical, with recycled materials, which we usually have in our homes, and that, instead of discarding them we can use them for Christmas decorations.
Let's see the step by step

MATERIALES
2 CD para reciclar
hojas blancas
pega
silicón
trozos de foami rojo, amarillo y verde
1 trozo de carton
pintura negra.
MATERIALS
2 CDs to recycle
white sheets
glue
silicone
pieces of red, yellow and green foami
1 piece of cardboard
black paint.
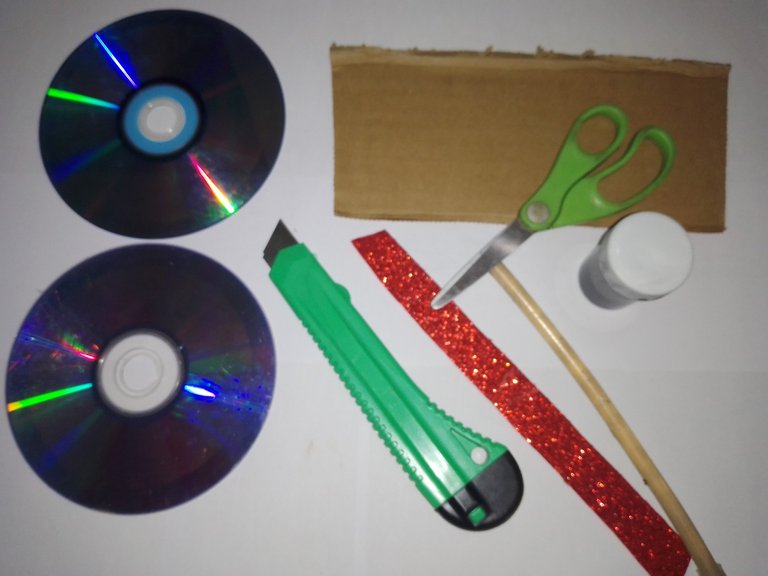

PREPARACIÓN
Uno de los CD lo recortamos un poco, de forma que quede mas pequeño pero igual redondo; ya que será la cabeza del muñeco.
PREPARATION
We cut one of the CD's a little, so that it is smaller but still round; it will be the head of the doll.
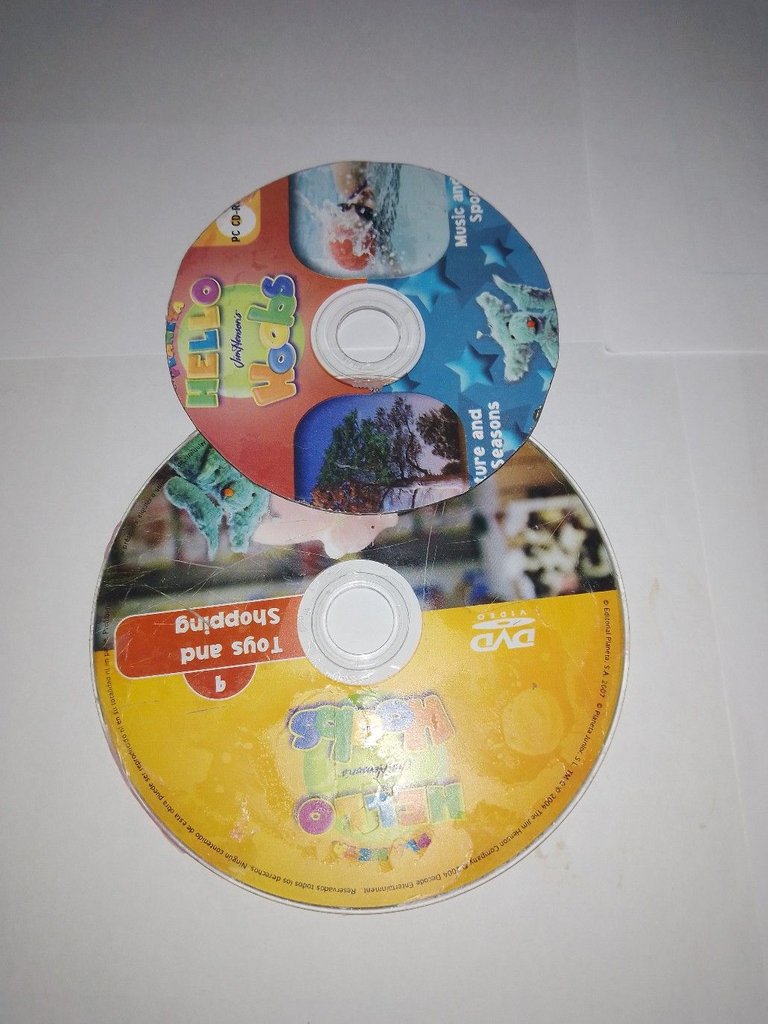

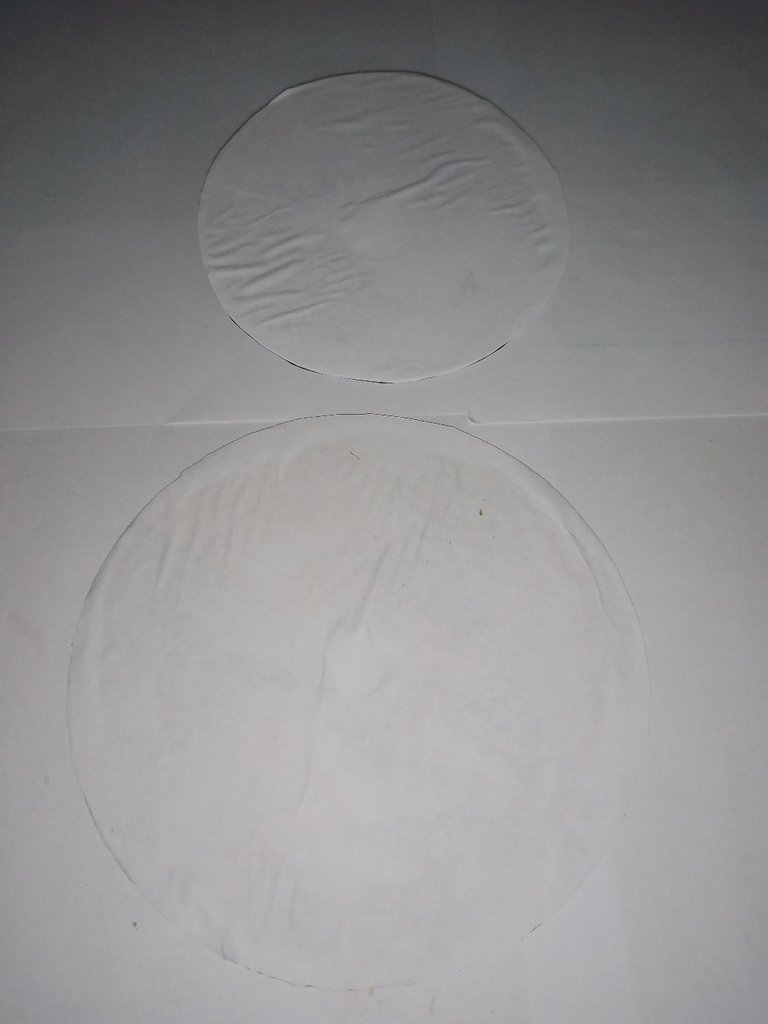
Luego se forran con papel blanco los 2 CD, y se pegan uno al otro (el pequeño en la parte superior).
Then the 2 CDs are lined with white paper and glued one to the other (the small one on top).

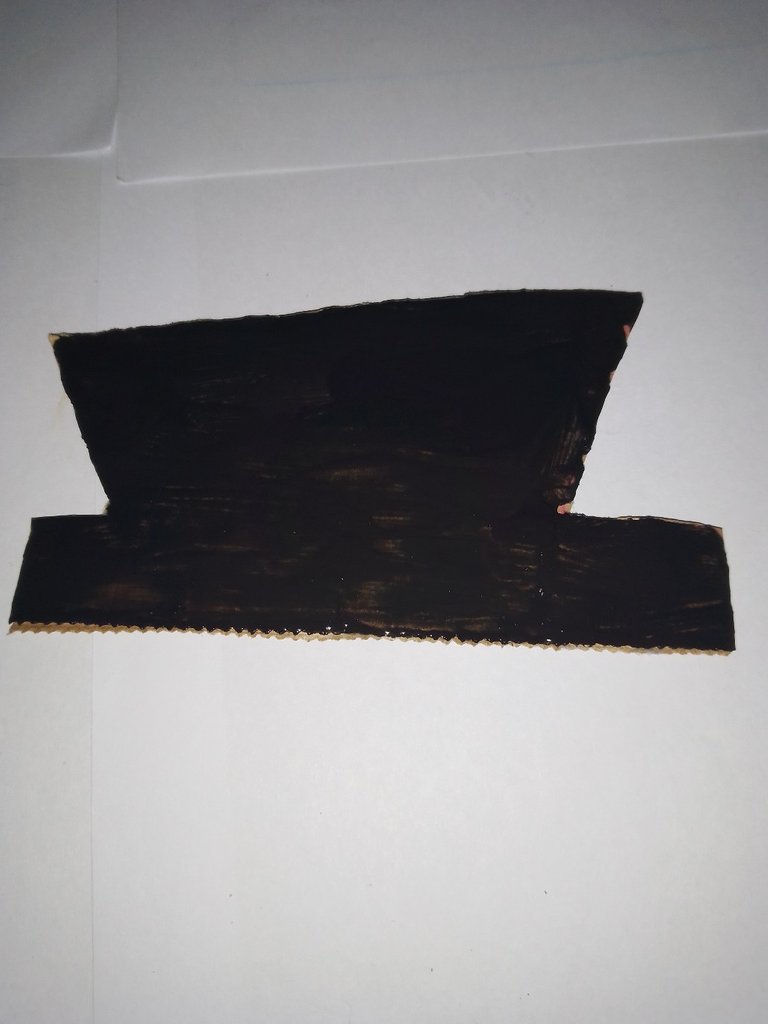
En el carton dibujo un sombrero, recorto y pinto de negro.
On the cardboard I draw a hat, cut it out and paint it black.

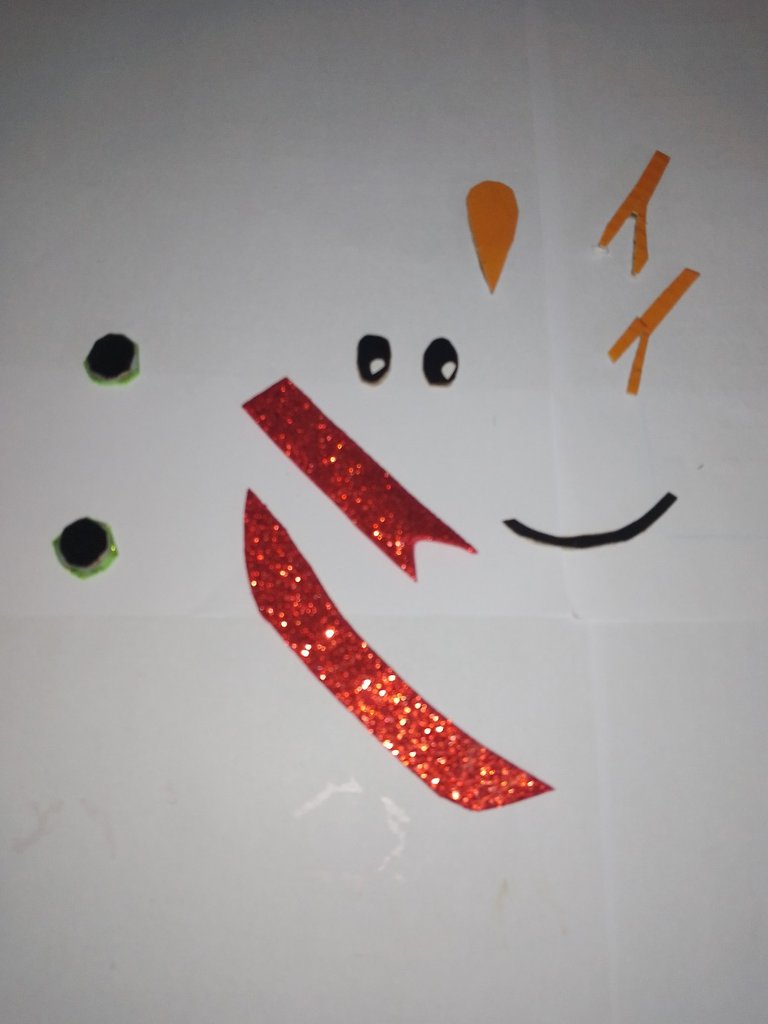
Recorto todos los adornornos que le voy a colocar: las manos, ojos, botones, bufanda.
I cut out all the ornaments that I am going to put on it: hands, eyes, buttons, scarf.

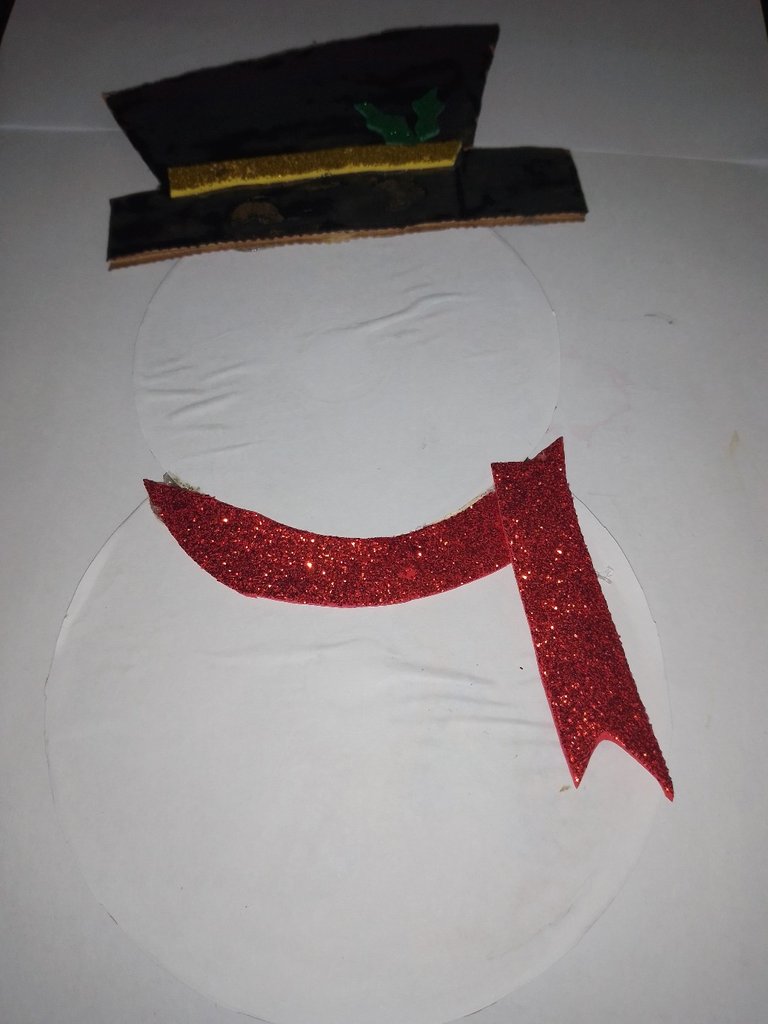
Comienzo a adornar el muñeco, colocandole la bufanda y el sombrero.
I begin to decorate the doll, placing the scarf and the hat.

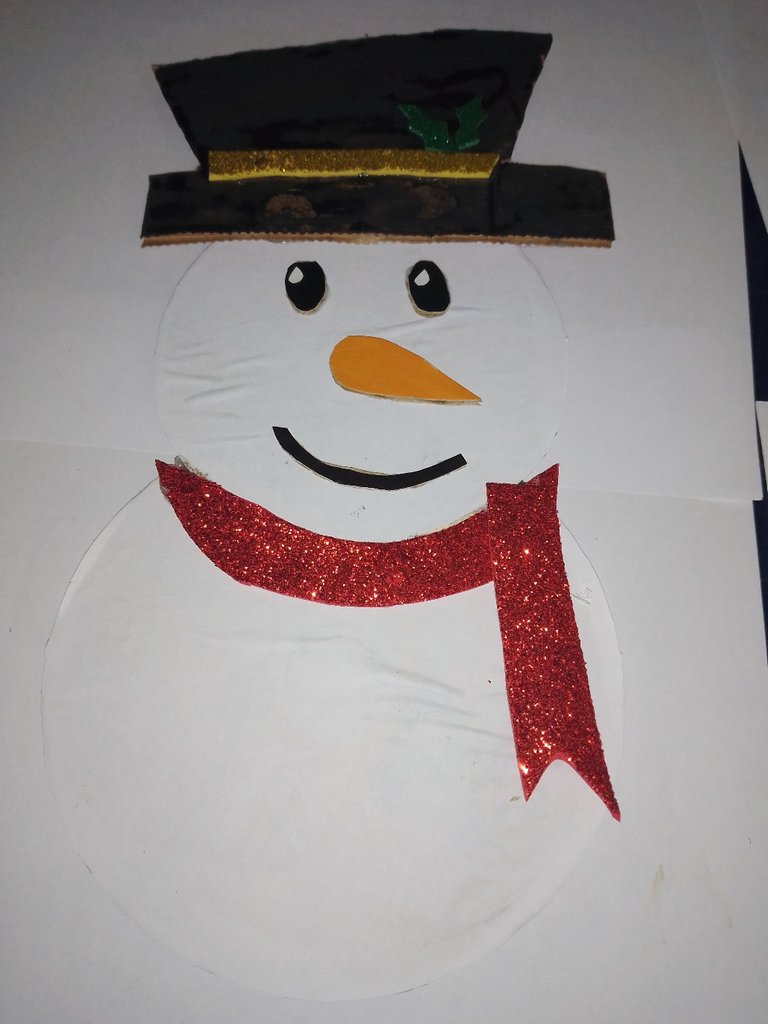
Finalmente agrego los demas detalles, ojos, nariz, boca, manos, y en la parte trasera pego un tirante para colgarlo.
Finally I add the other details, eyes, nose, mouth, hands, and in the back I glue a strap to hang it.
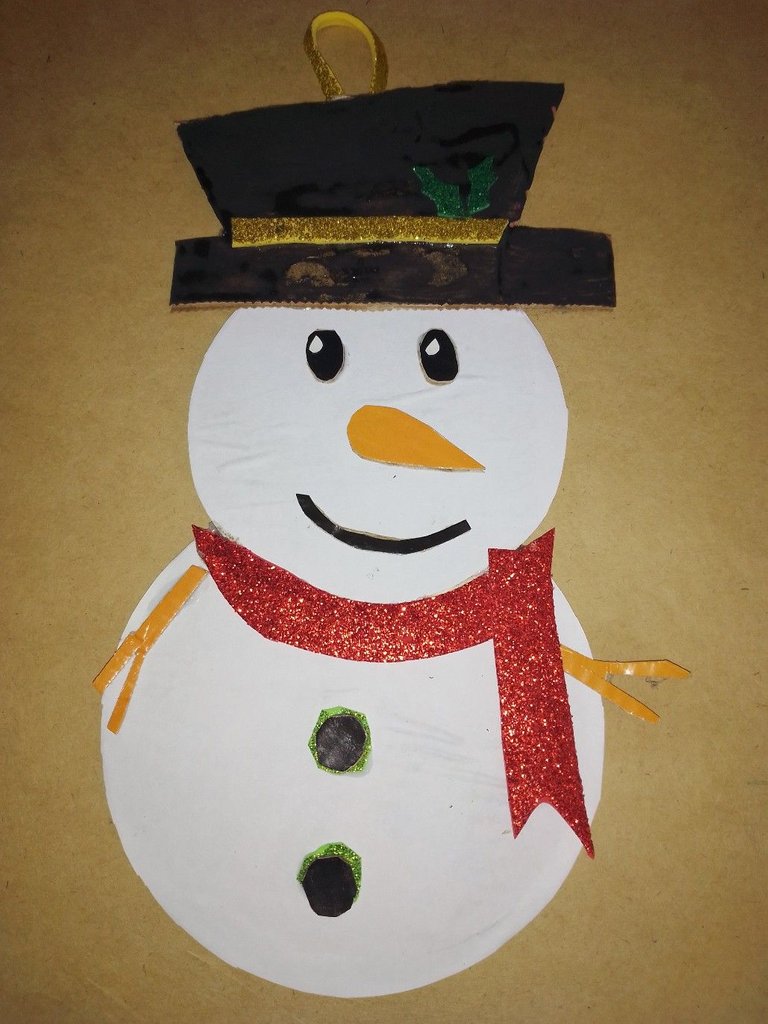

Espero les haya gustado este tutorial.
Nos vemos en una próxima entrega.
I hope you liked this tutorial.
See you in the next installment.
Translated with https://www.deepl.com/translator
     Todas las imágenes son de mi autoría, capturadas por un... zte, y los separadores de @eve66

   All images are my own, captured by ...  zte, and @eve66's separators.
Thank you for sharing this post in the DIYHUB Community!
Your content got selected by our fellow curator ashikstd & you just received a little thank you upvote from us for your great work! Your post will be featured in one of our recurring compilations which are aiming to offer you a stage to widen your audience within the DIY scene of Hive. Stay creative & HIVE ON!
Please vote for our hive witness <3
Congratulations @jerm20! You have completed the following achievement on the Hive blockchain And have been rewarded with New badge(s)
Your next target is to reach 40 posts.
You can view your badges on your board and compare yourself to others in the Ranking
If you no longer want to receive notifications, reply to this comment with the word
STOPTo support your work, I also upvoted your post!
Check out our last posts:
Support the HiveBuzz project. Vote for our proposal!