
Hello, goodmorning hivers and to the diyhub community. I am so glad to be a part of this creative community.Hope I am welcomed to stay?
As my contribution to the community I would like to share with you how I made my satin hair bonnet with riffles. Without wasting much time, let's dive into the few steps I used to achieve this.
MATERIALS I USED
print fabric of choice
Satin fabric
Elastic
Pins
Safety pin
Scissors
Sewing machine
Chalk
Step 1
I cut out the print fabric at 29 inches by 29 inches.
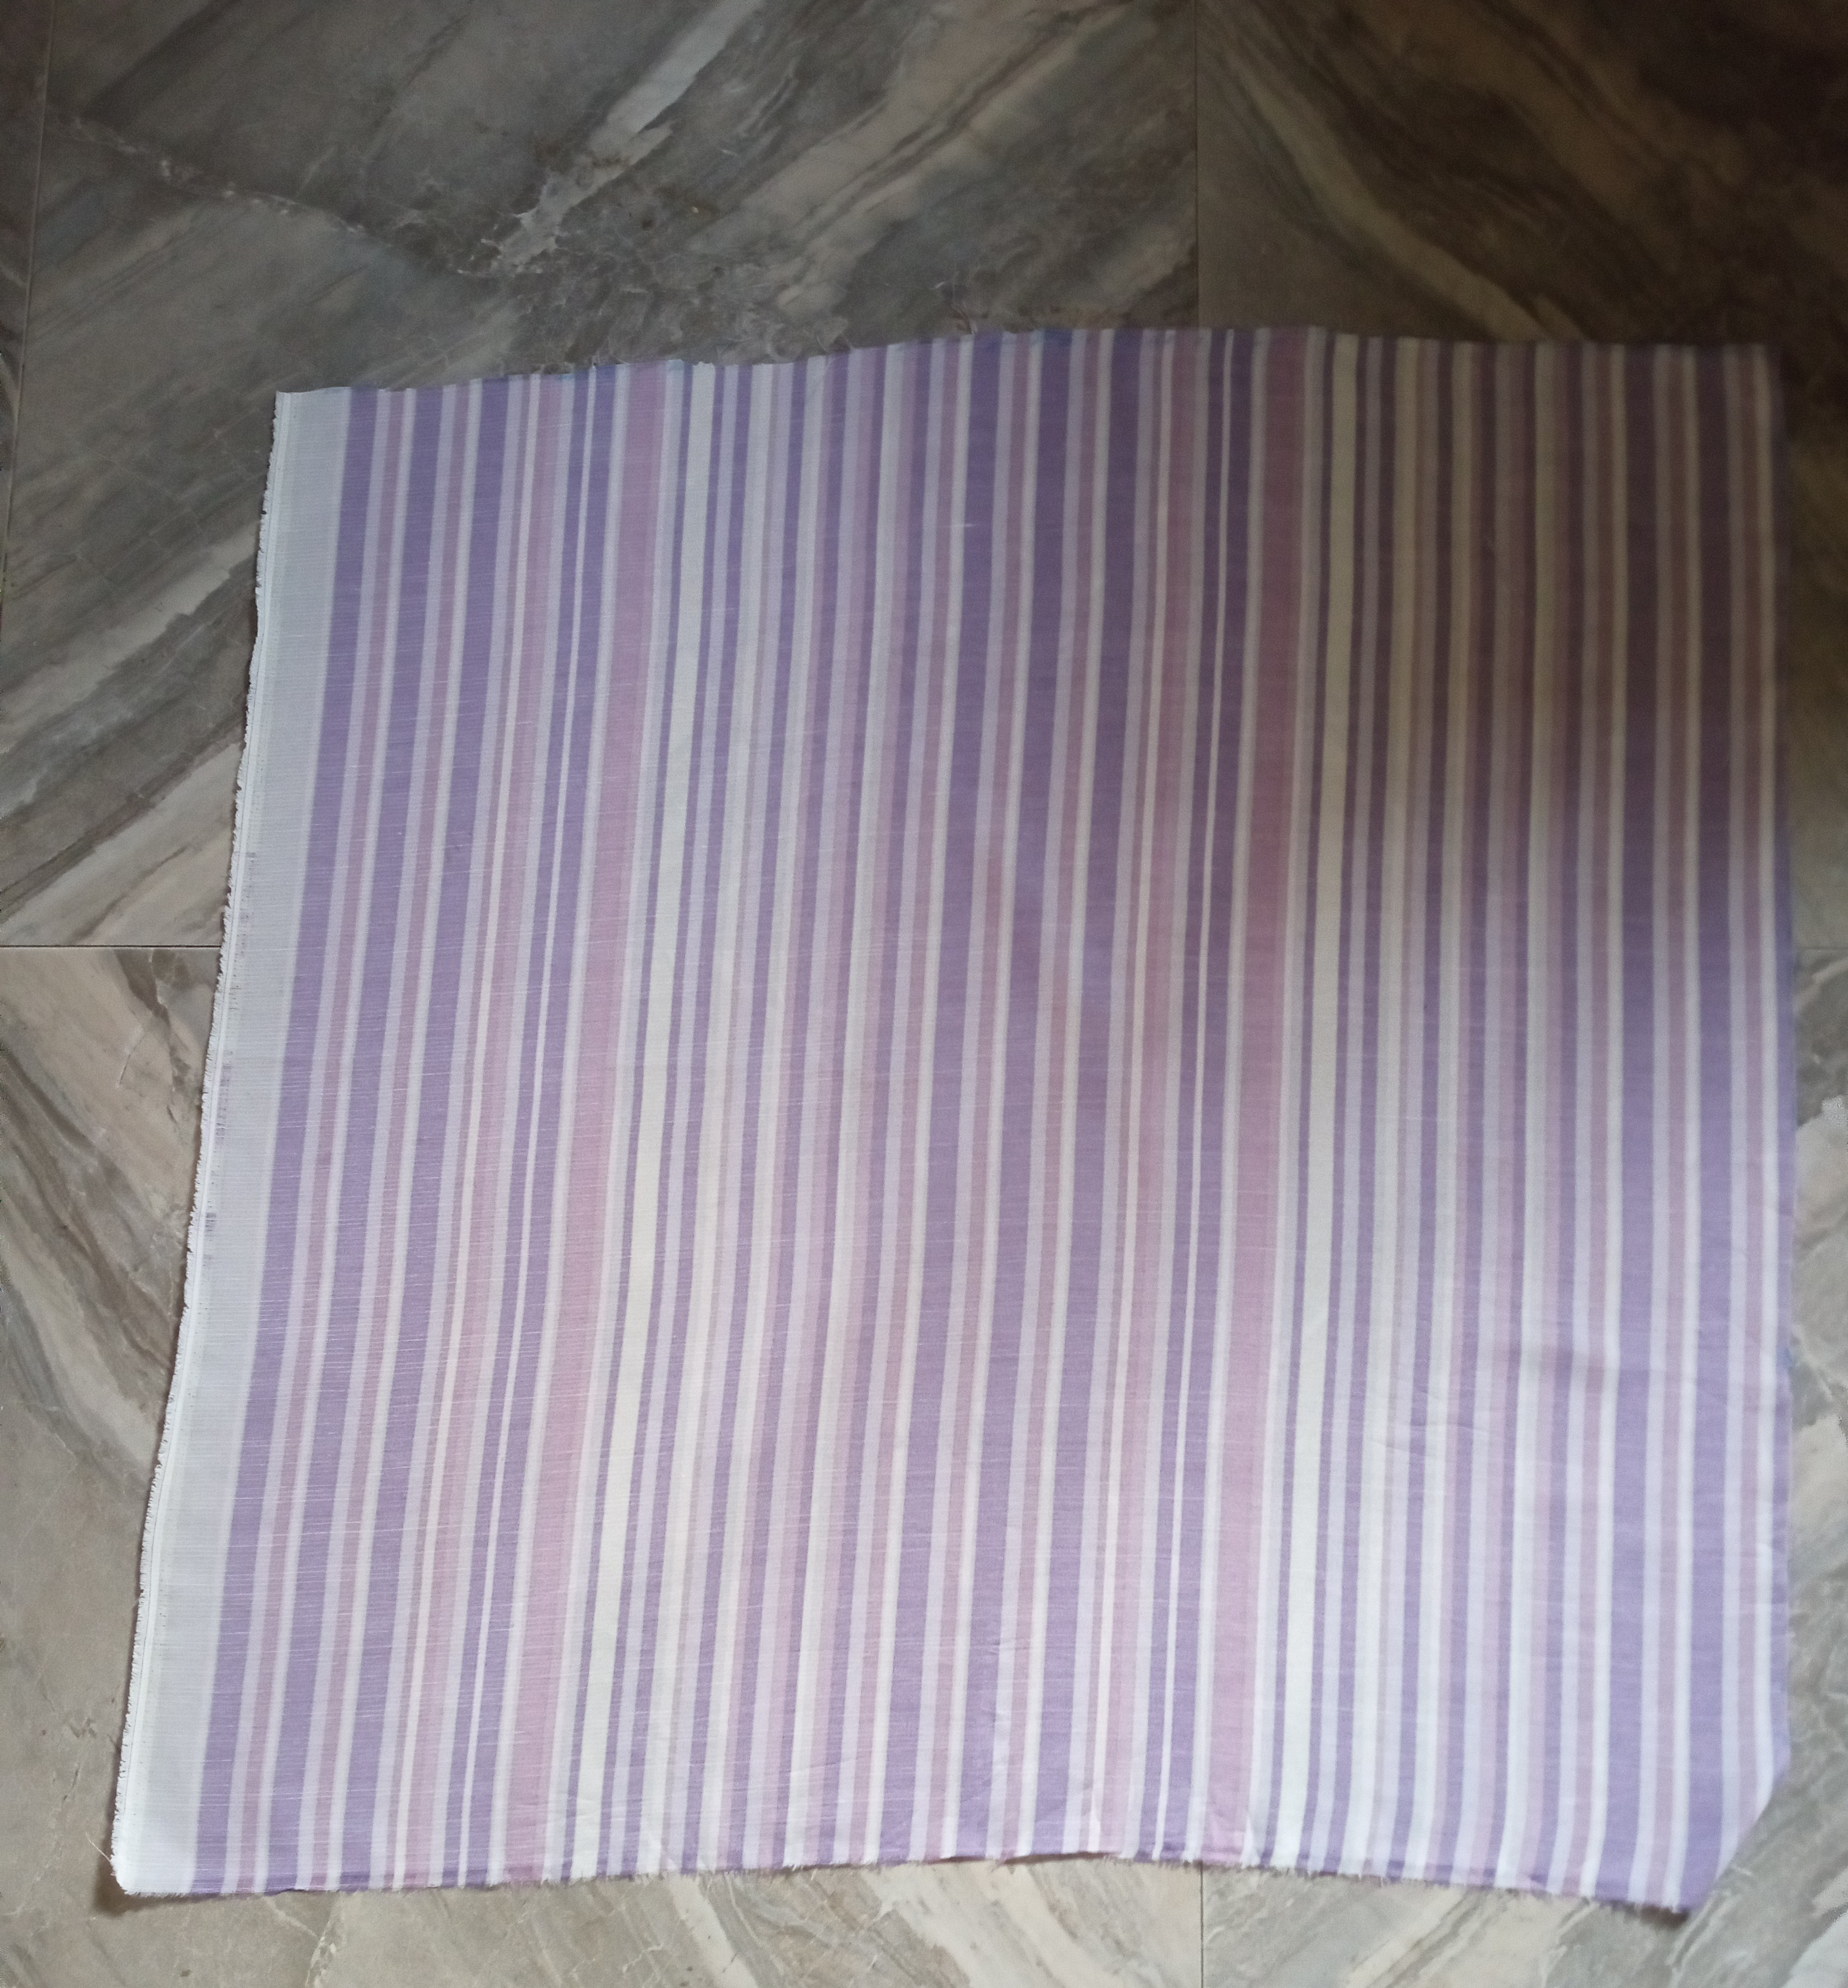
Then I folded it into two, like so👇
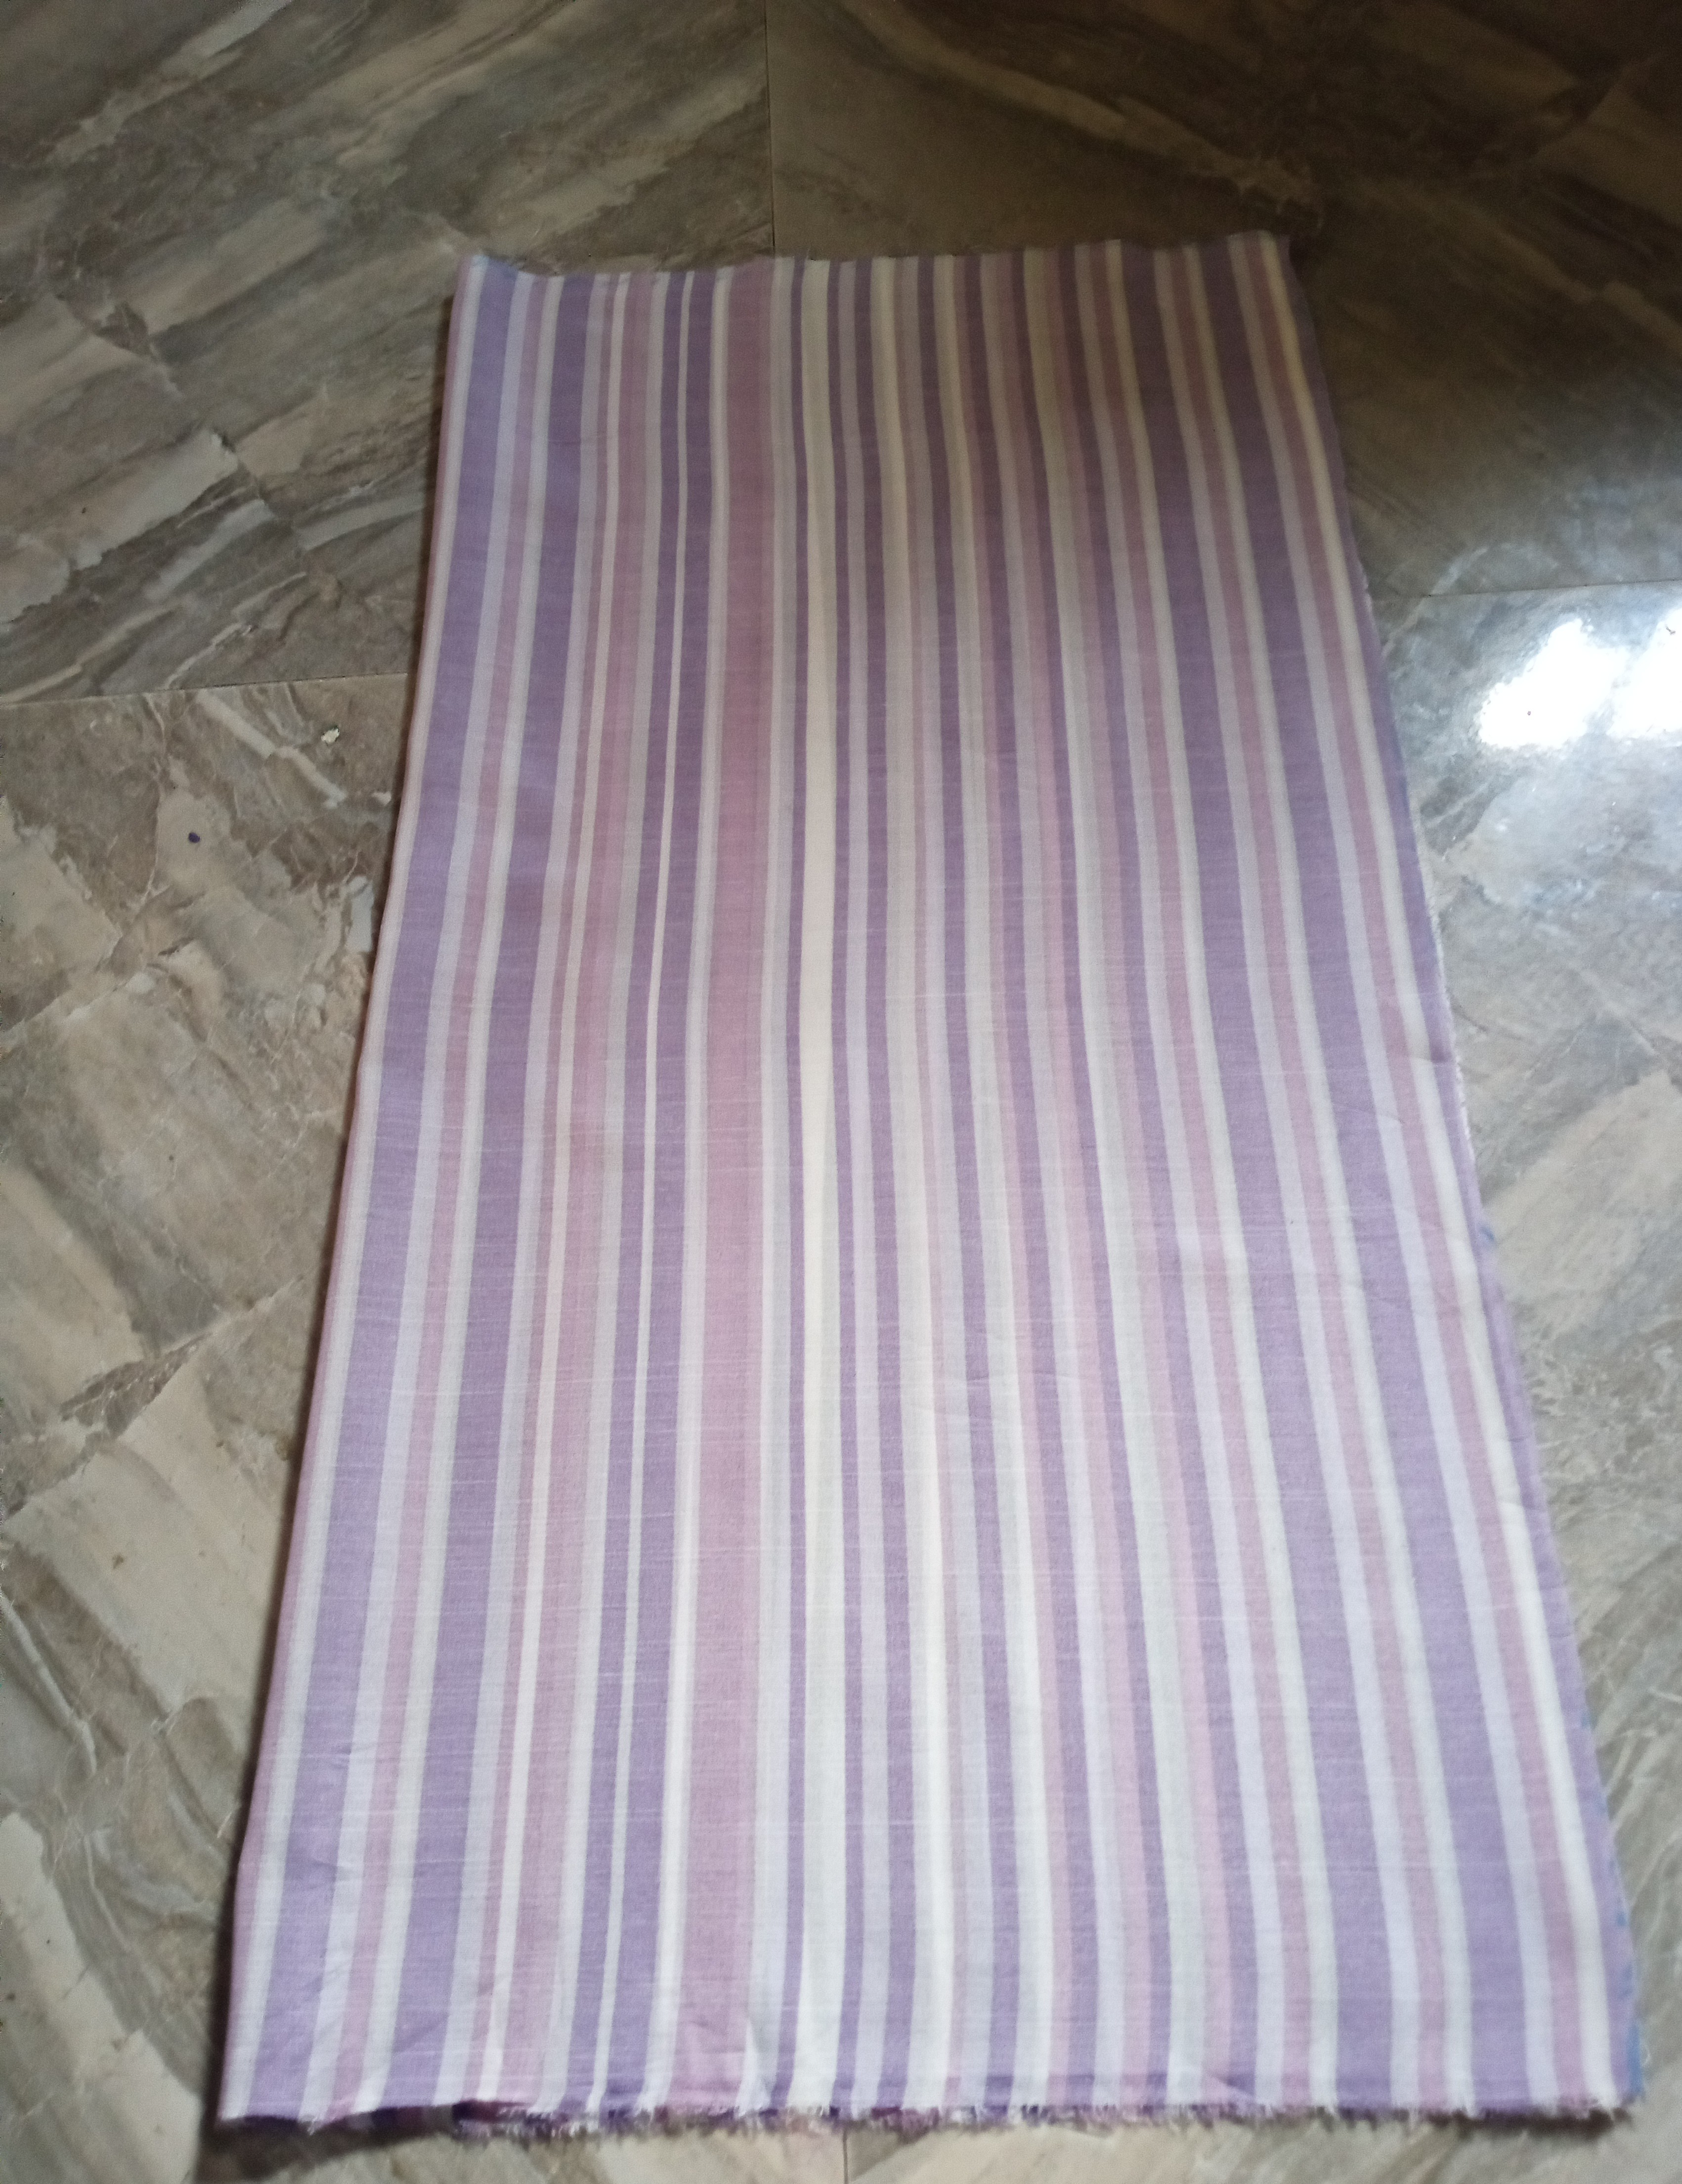
Then into two again,
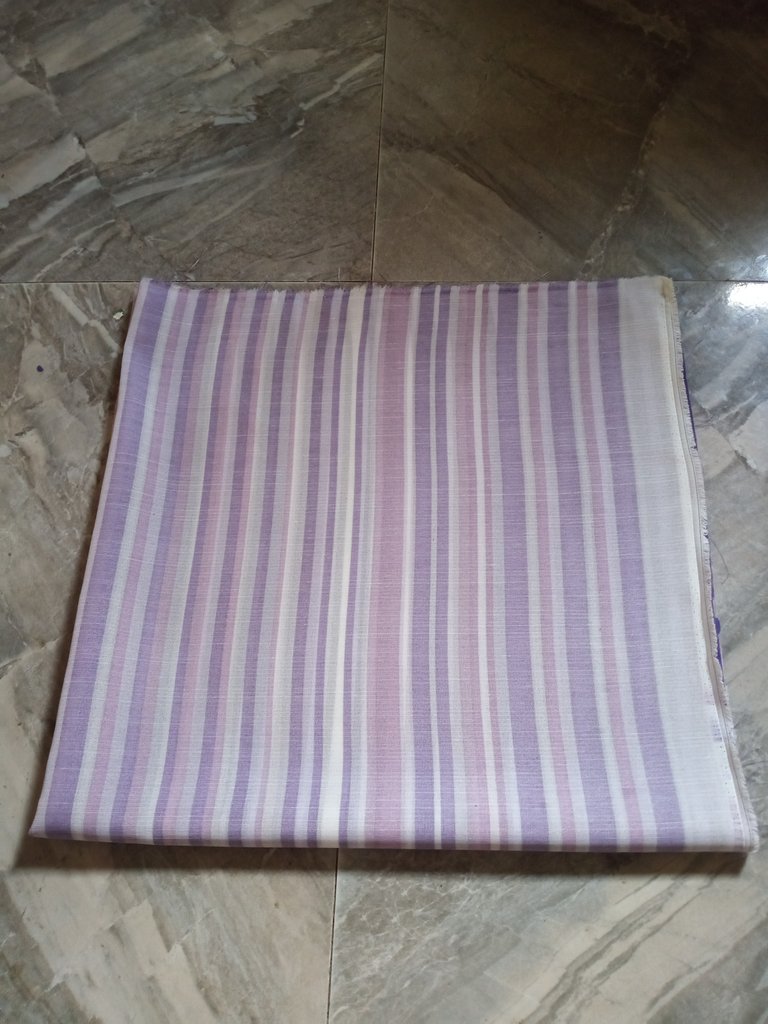
I located the folded edge, and I took my radius at 14 inches all around.
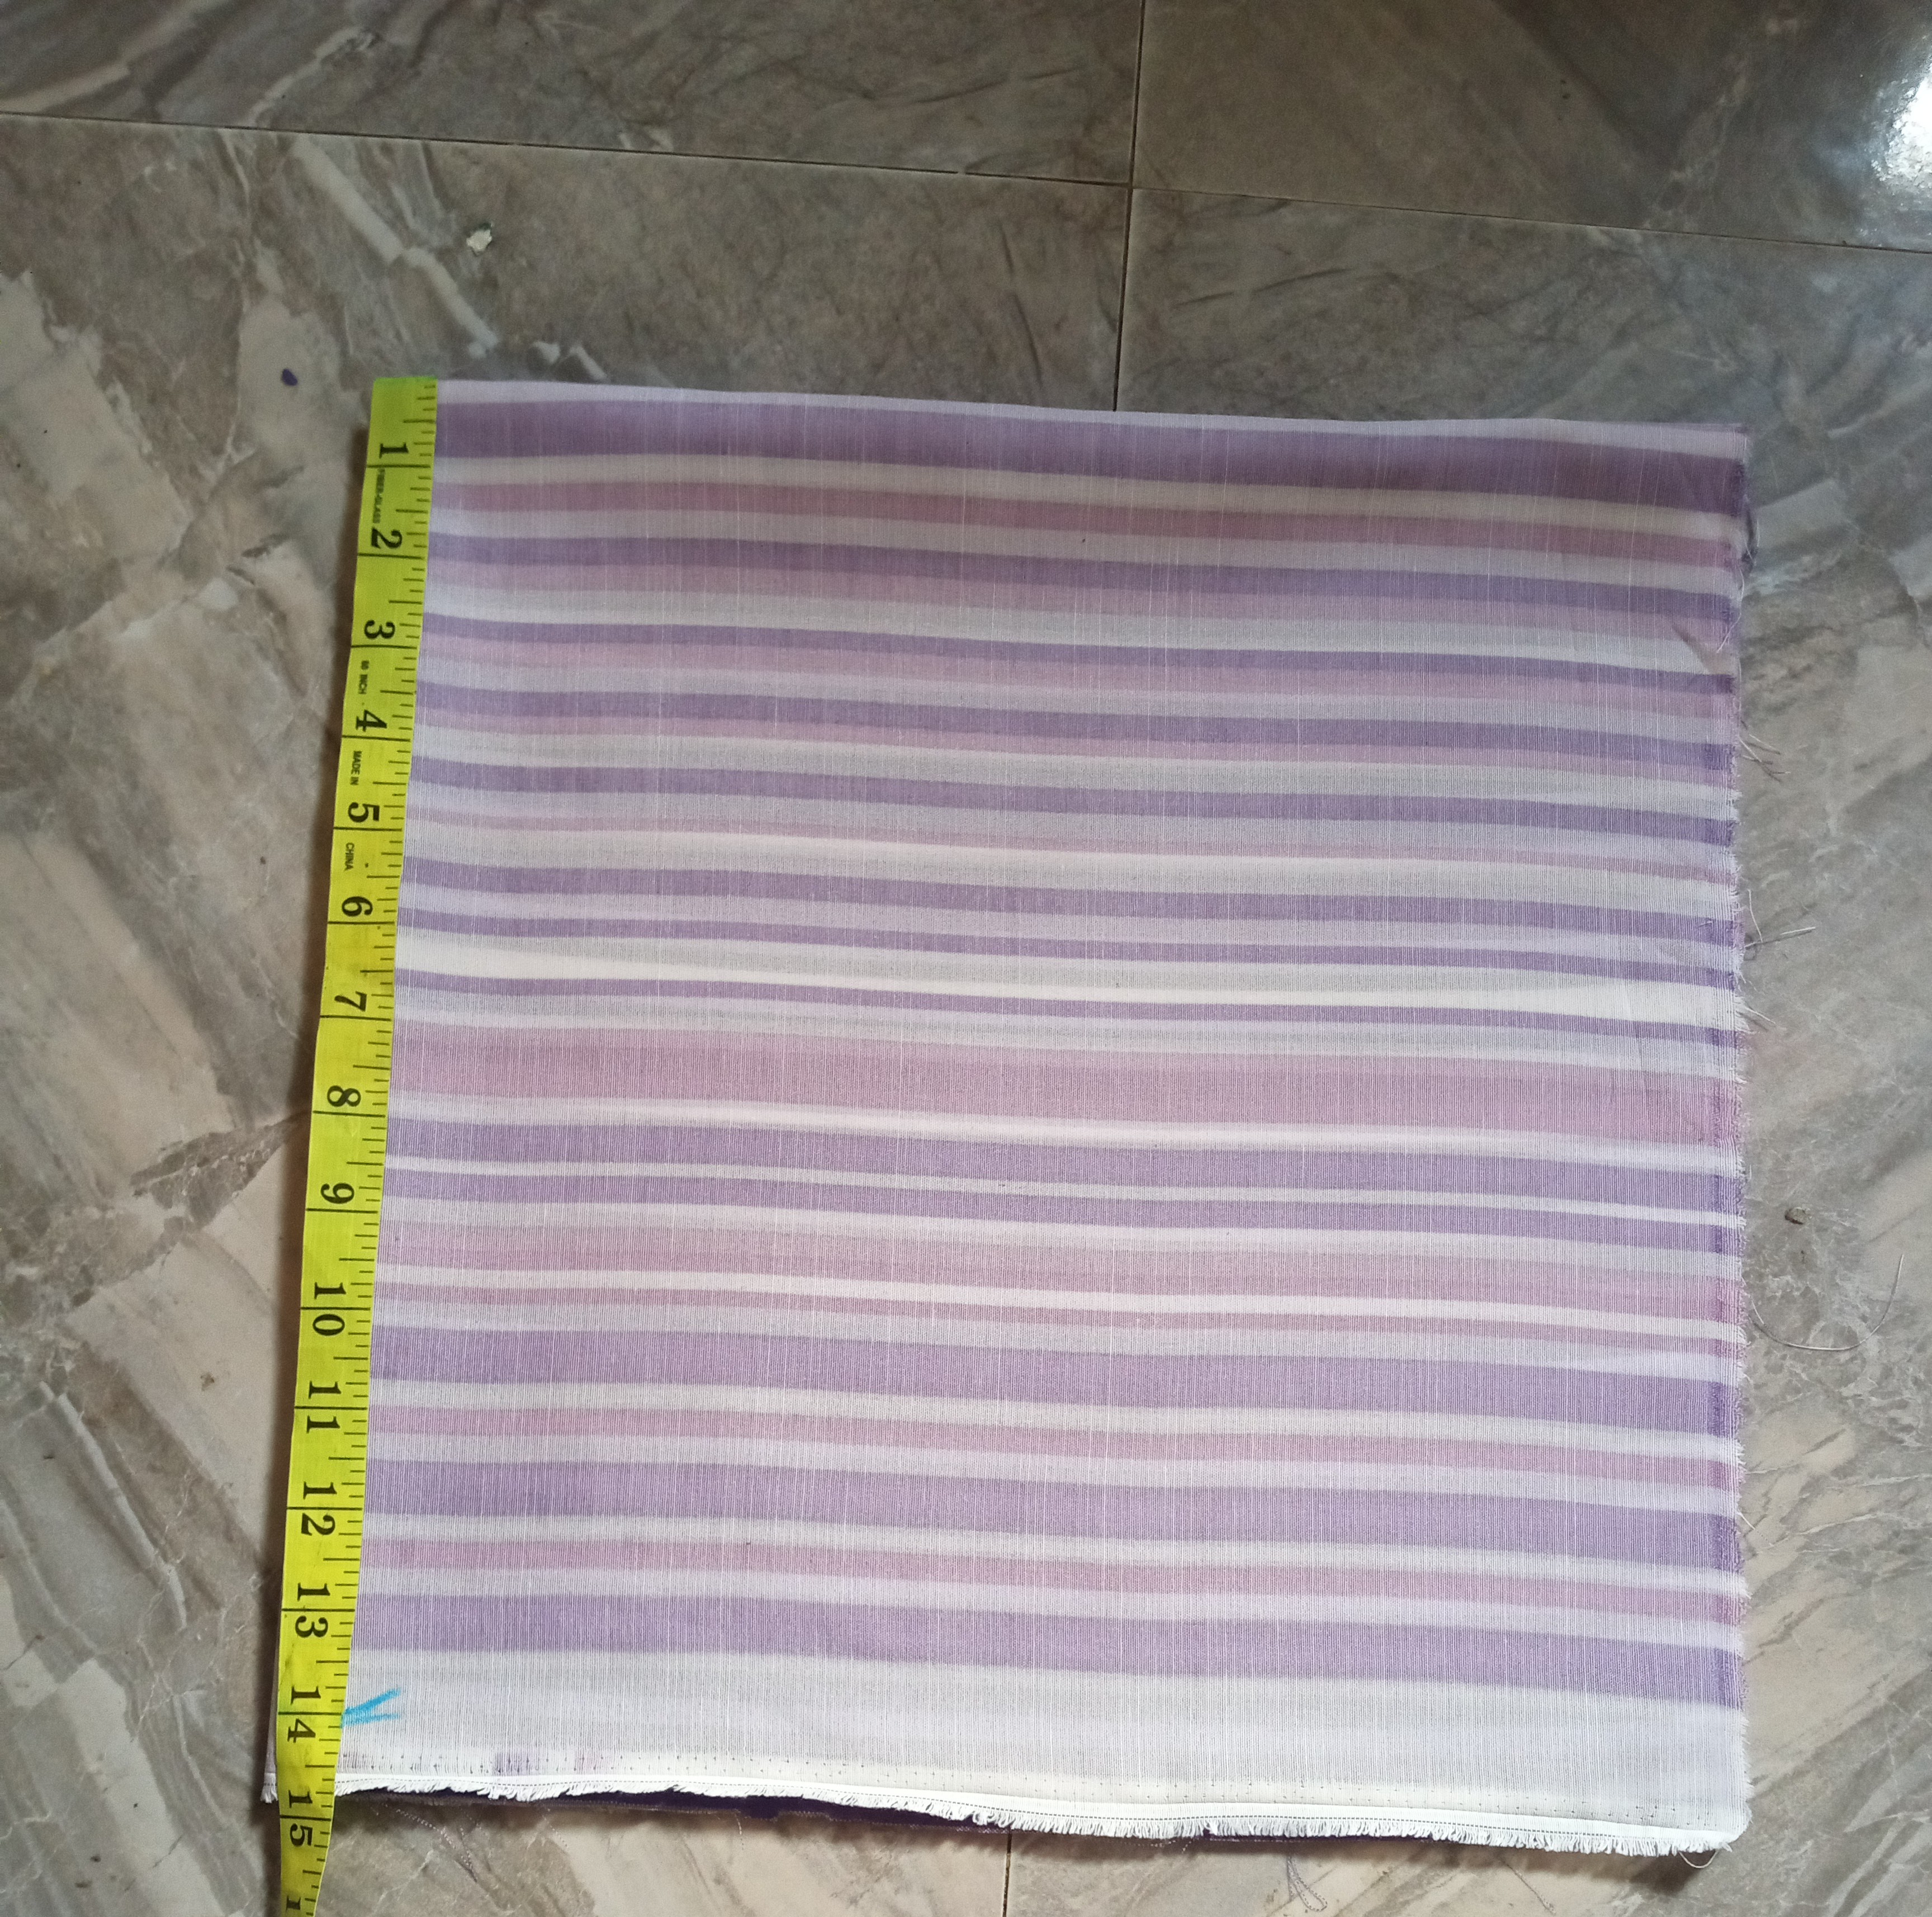
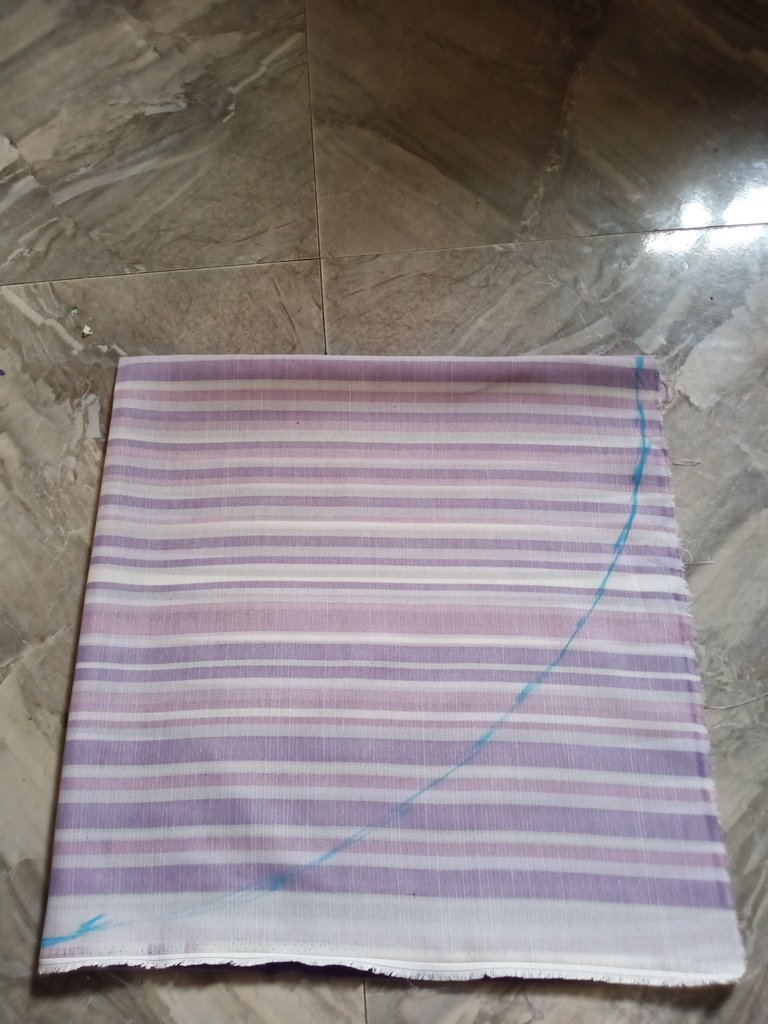
Then I cut it out.
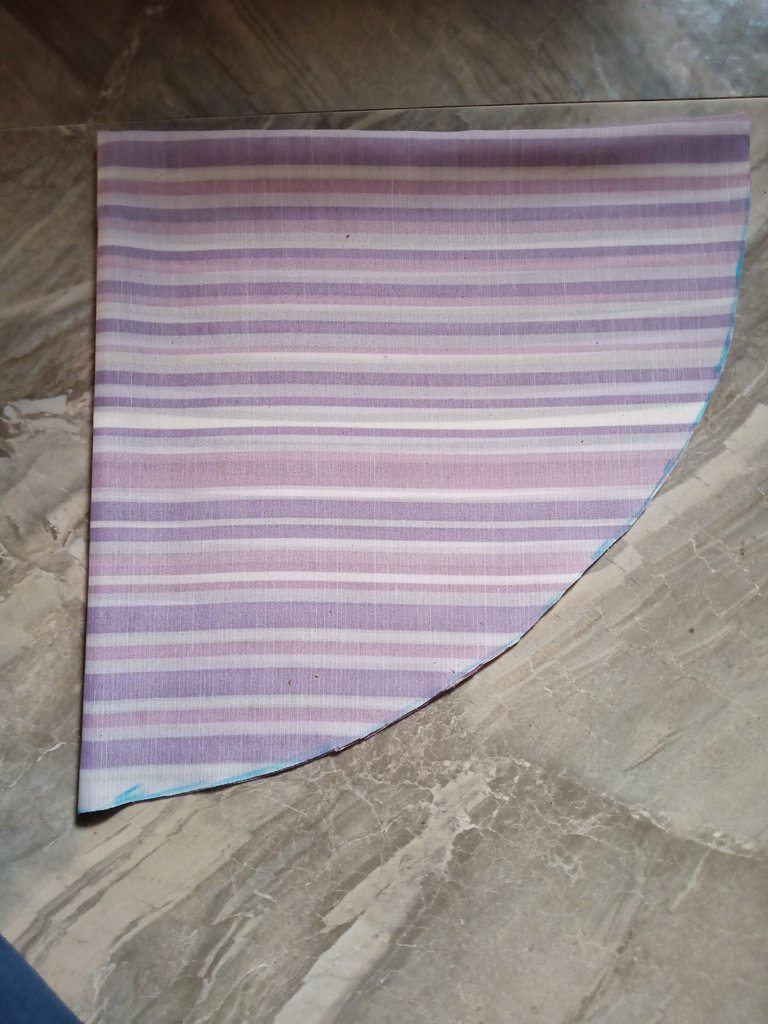
I opened it up, and I have a full circle.
STEP 2
I placed my first circle on the satin fabric, using it as a template to cut out another circle.

STEP 3
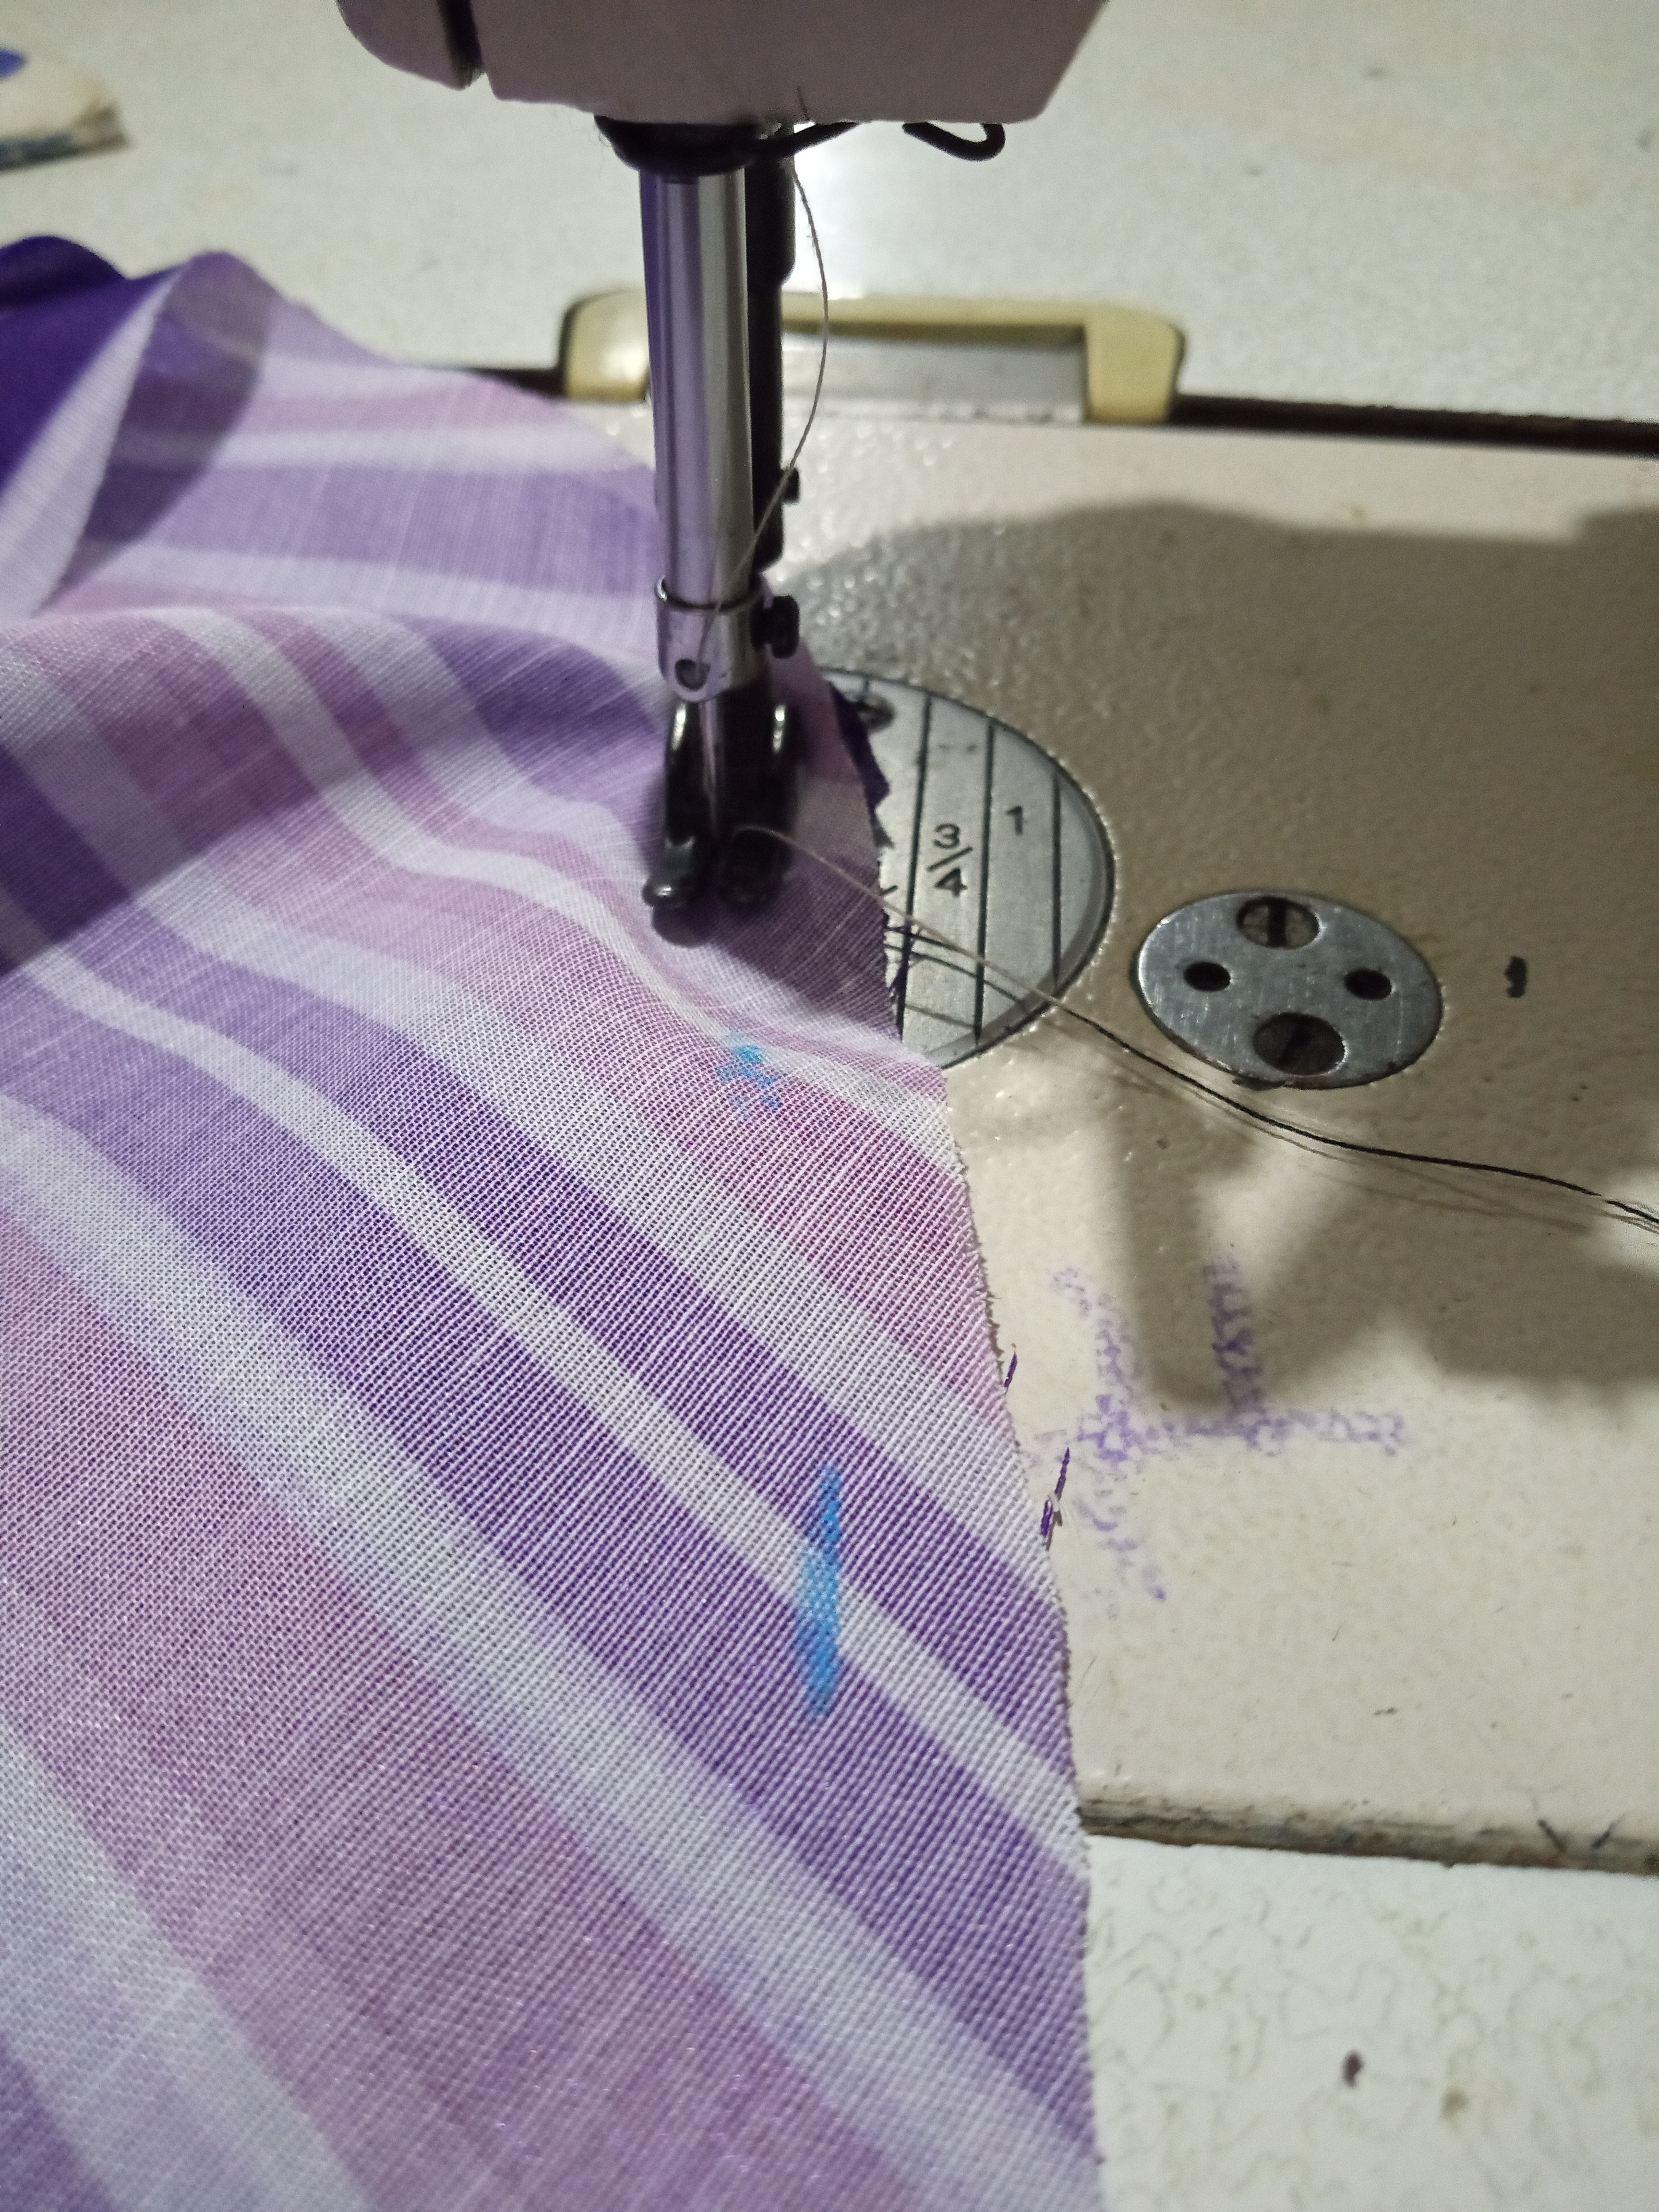
After cutting both the print fabric and the satin fabric,I placed both right sides facing each other, and I stitched all around by half inch (0.5"), leaving about 5 inches for turning.
STEP 4
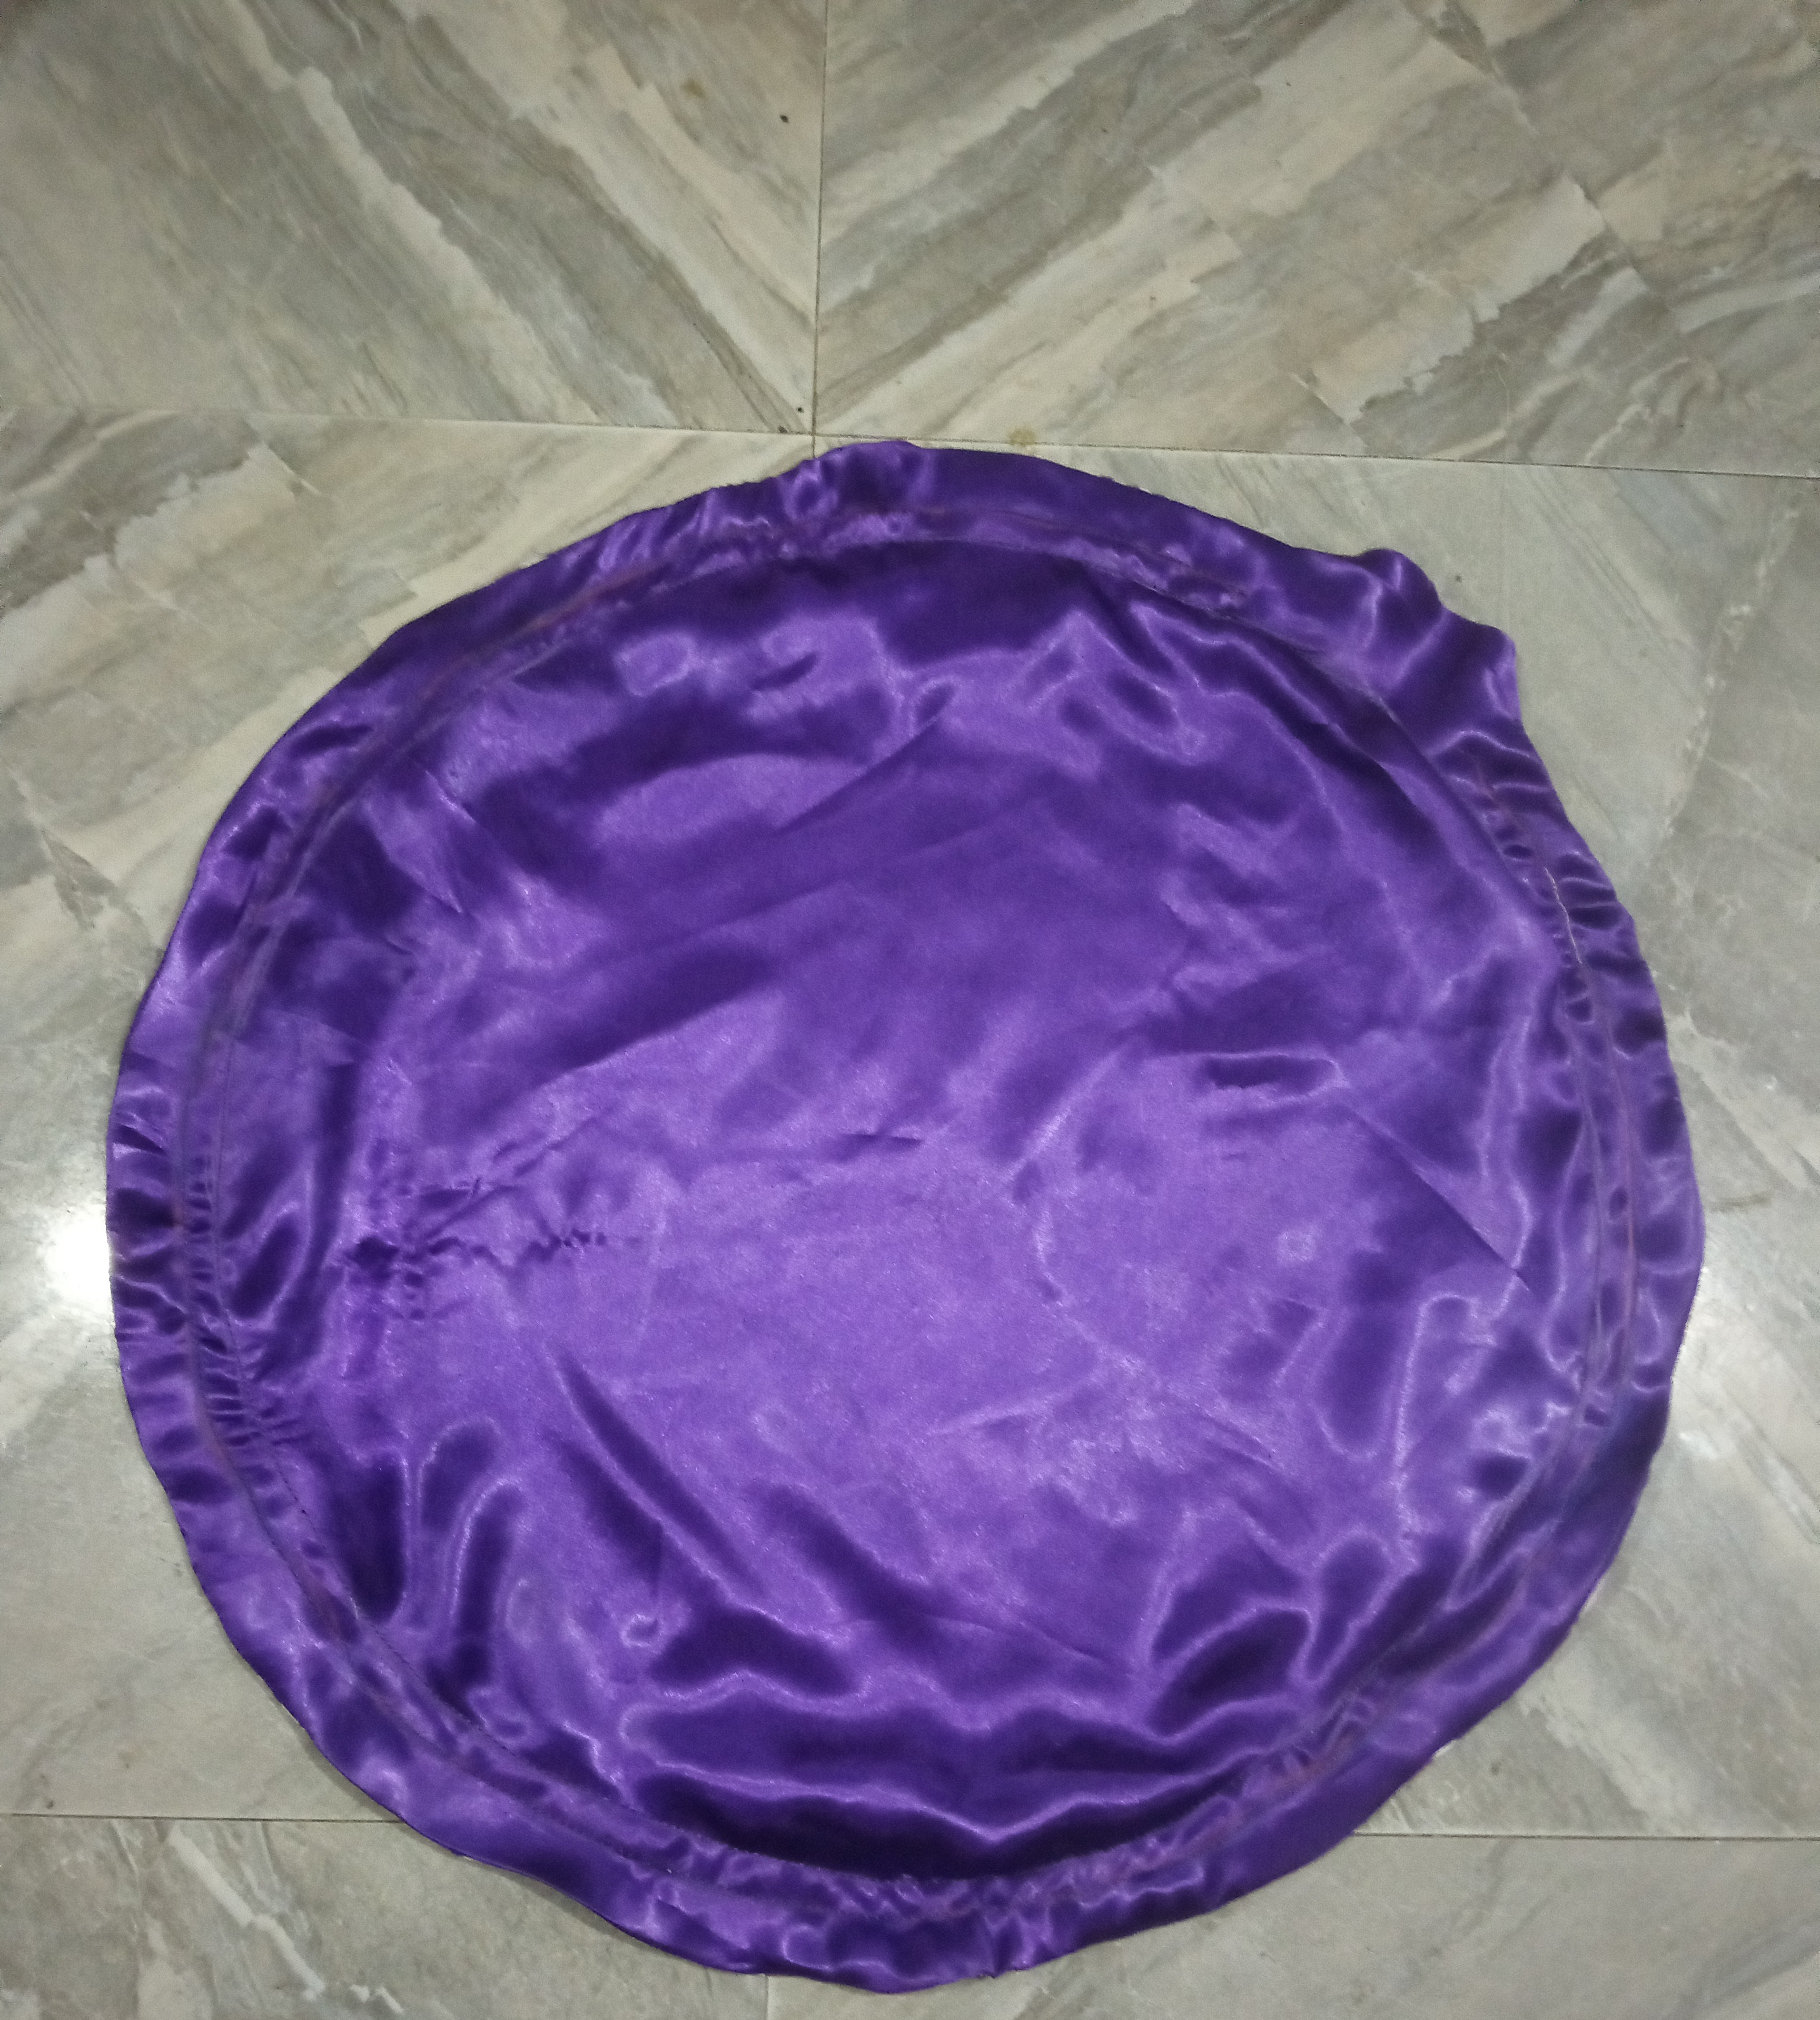
I went ahead to mark down the circle, 1.5 inches all around.And I marked another circle half an inch away from the first circle, leaving a 5-inch opening.

I went ahead and stitched it all around, leaving the opening in the second circle.
Step 5
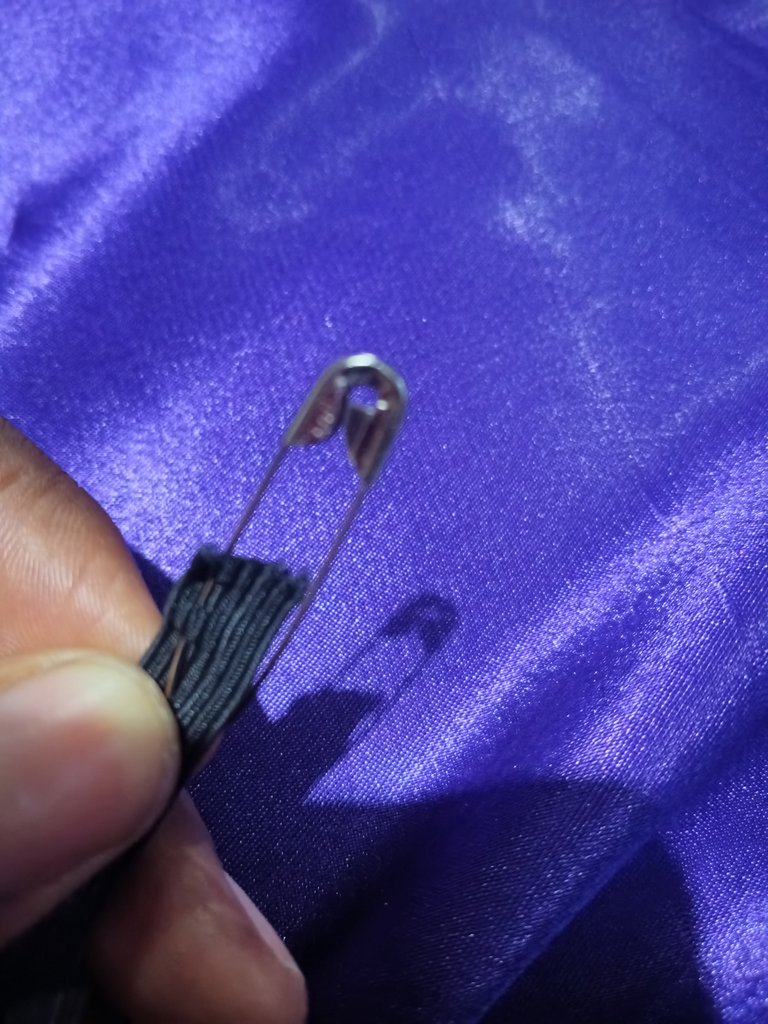
I measured my head circumference loosely to get the length of my elastic.I secured the elastic with the safety pin.
Then I passed it through the opening.(I also secured the other end to stop it from going into the opening.)I stitched the elastic down with my sewing machine. (You can also decide to tie both ends together.)
STEP 6
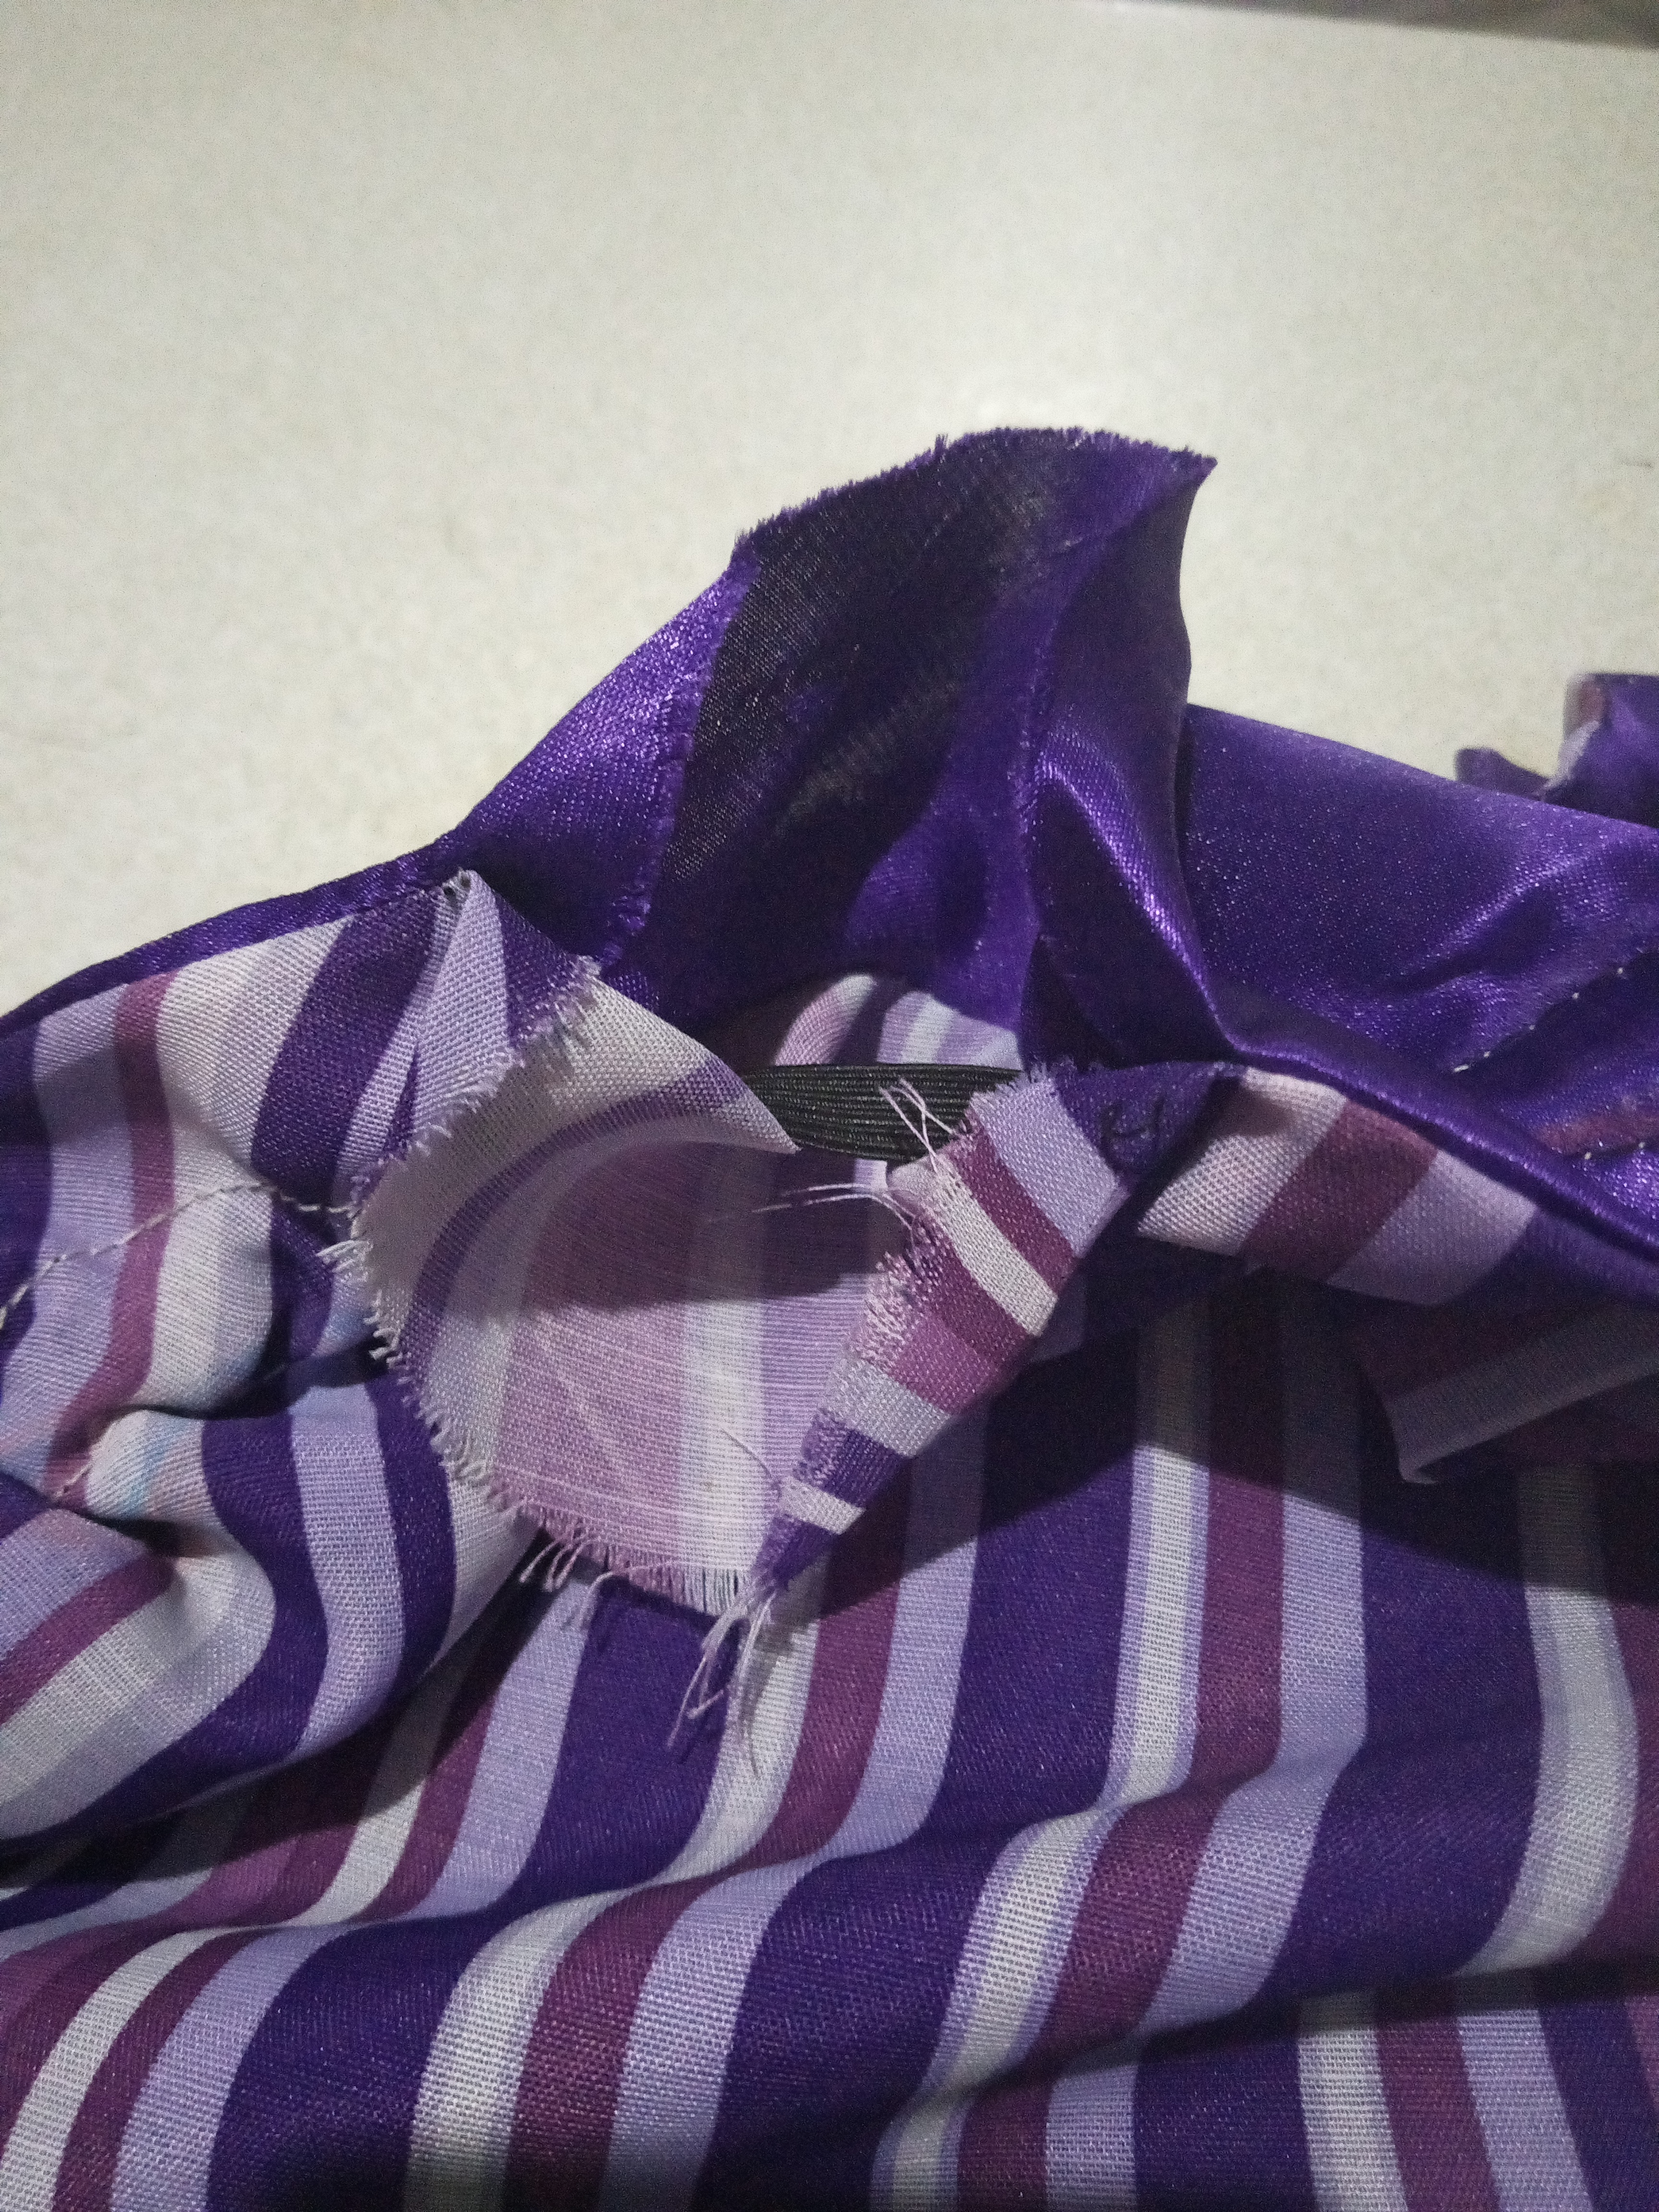
For the opening, I folded in the raw edges and stitched it down with the sewing machine. (You can also stitch it with hand needle).
Here is how it looks like when I was done.
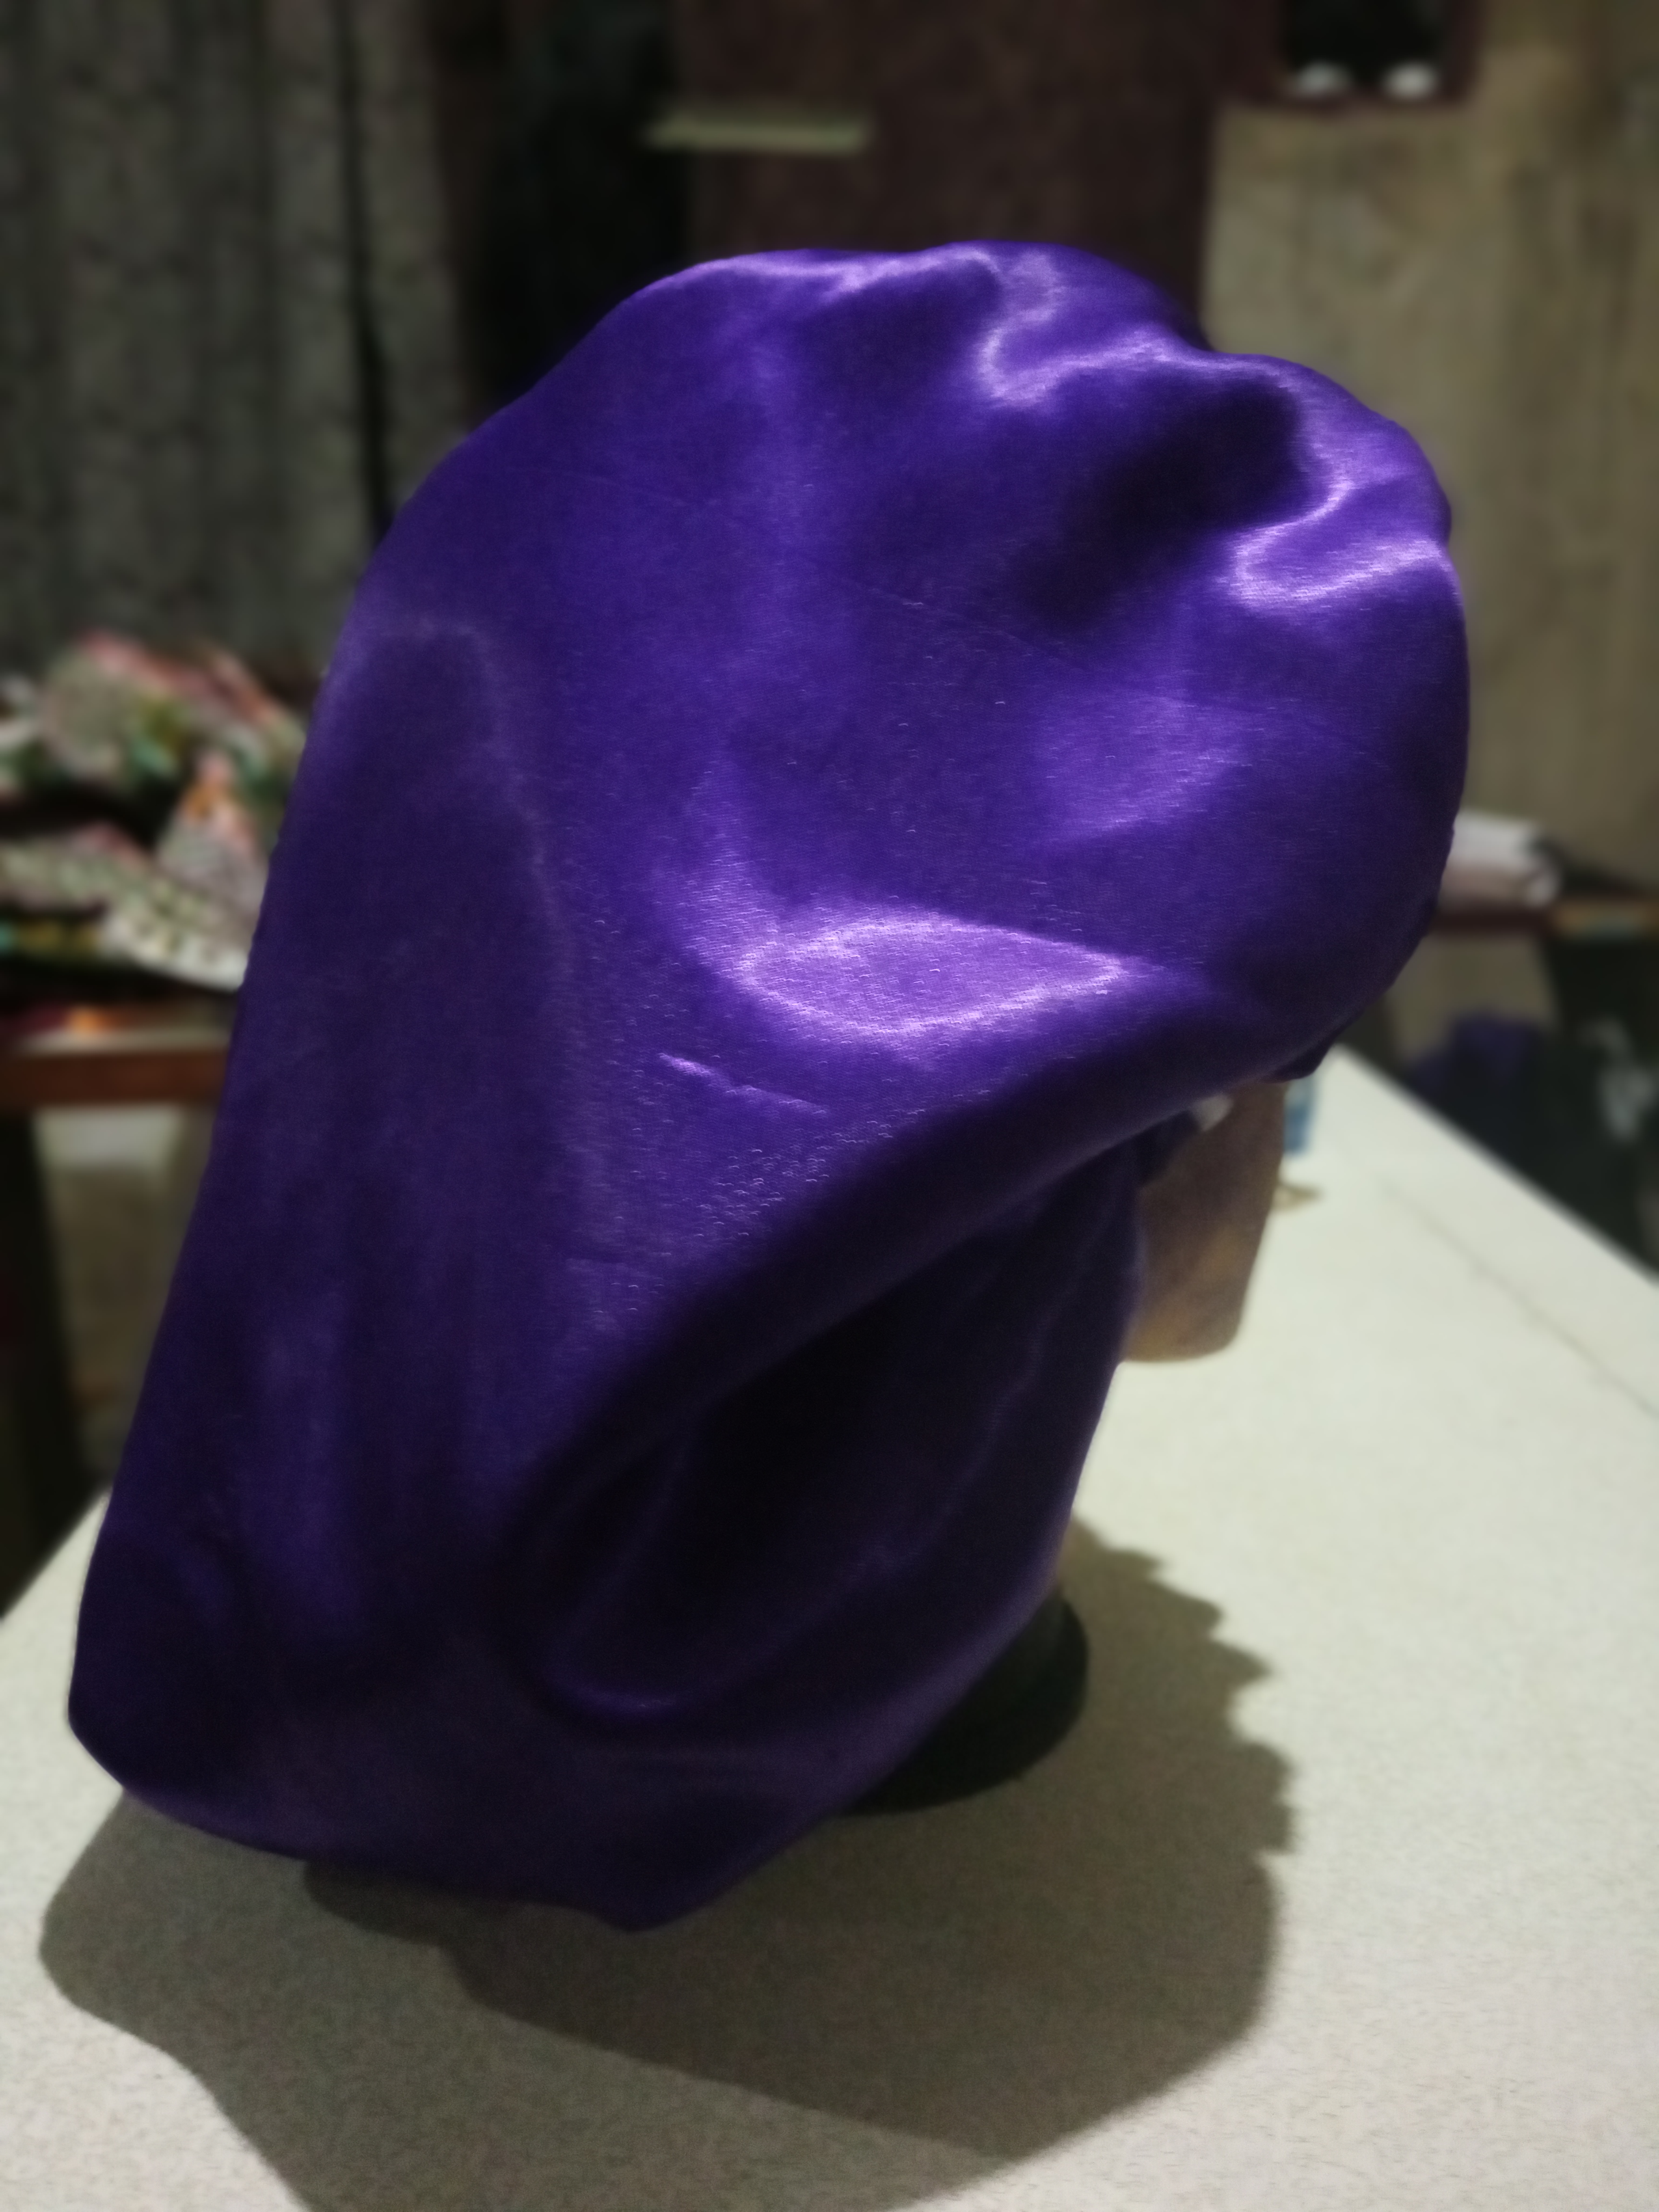
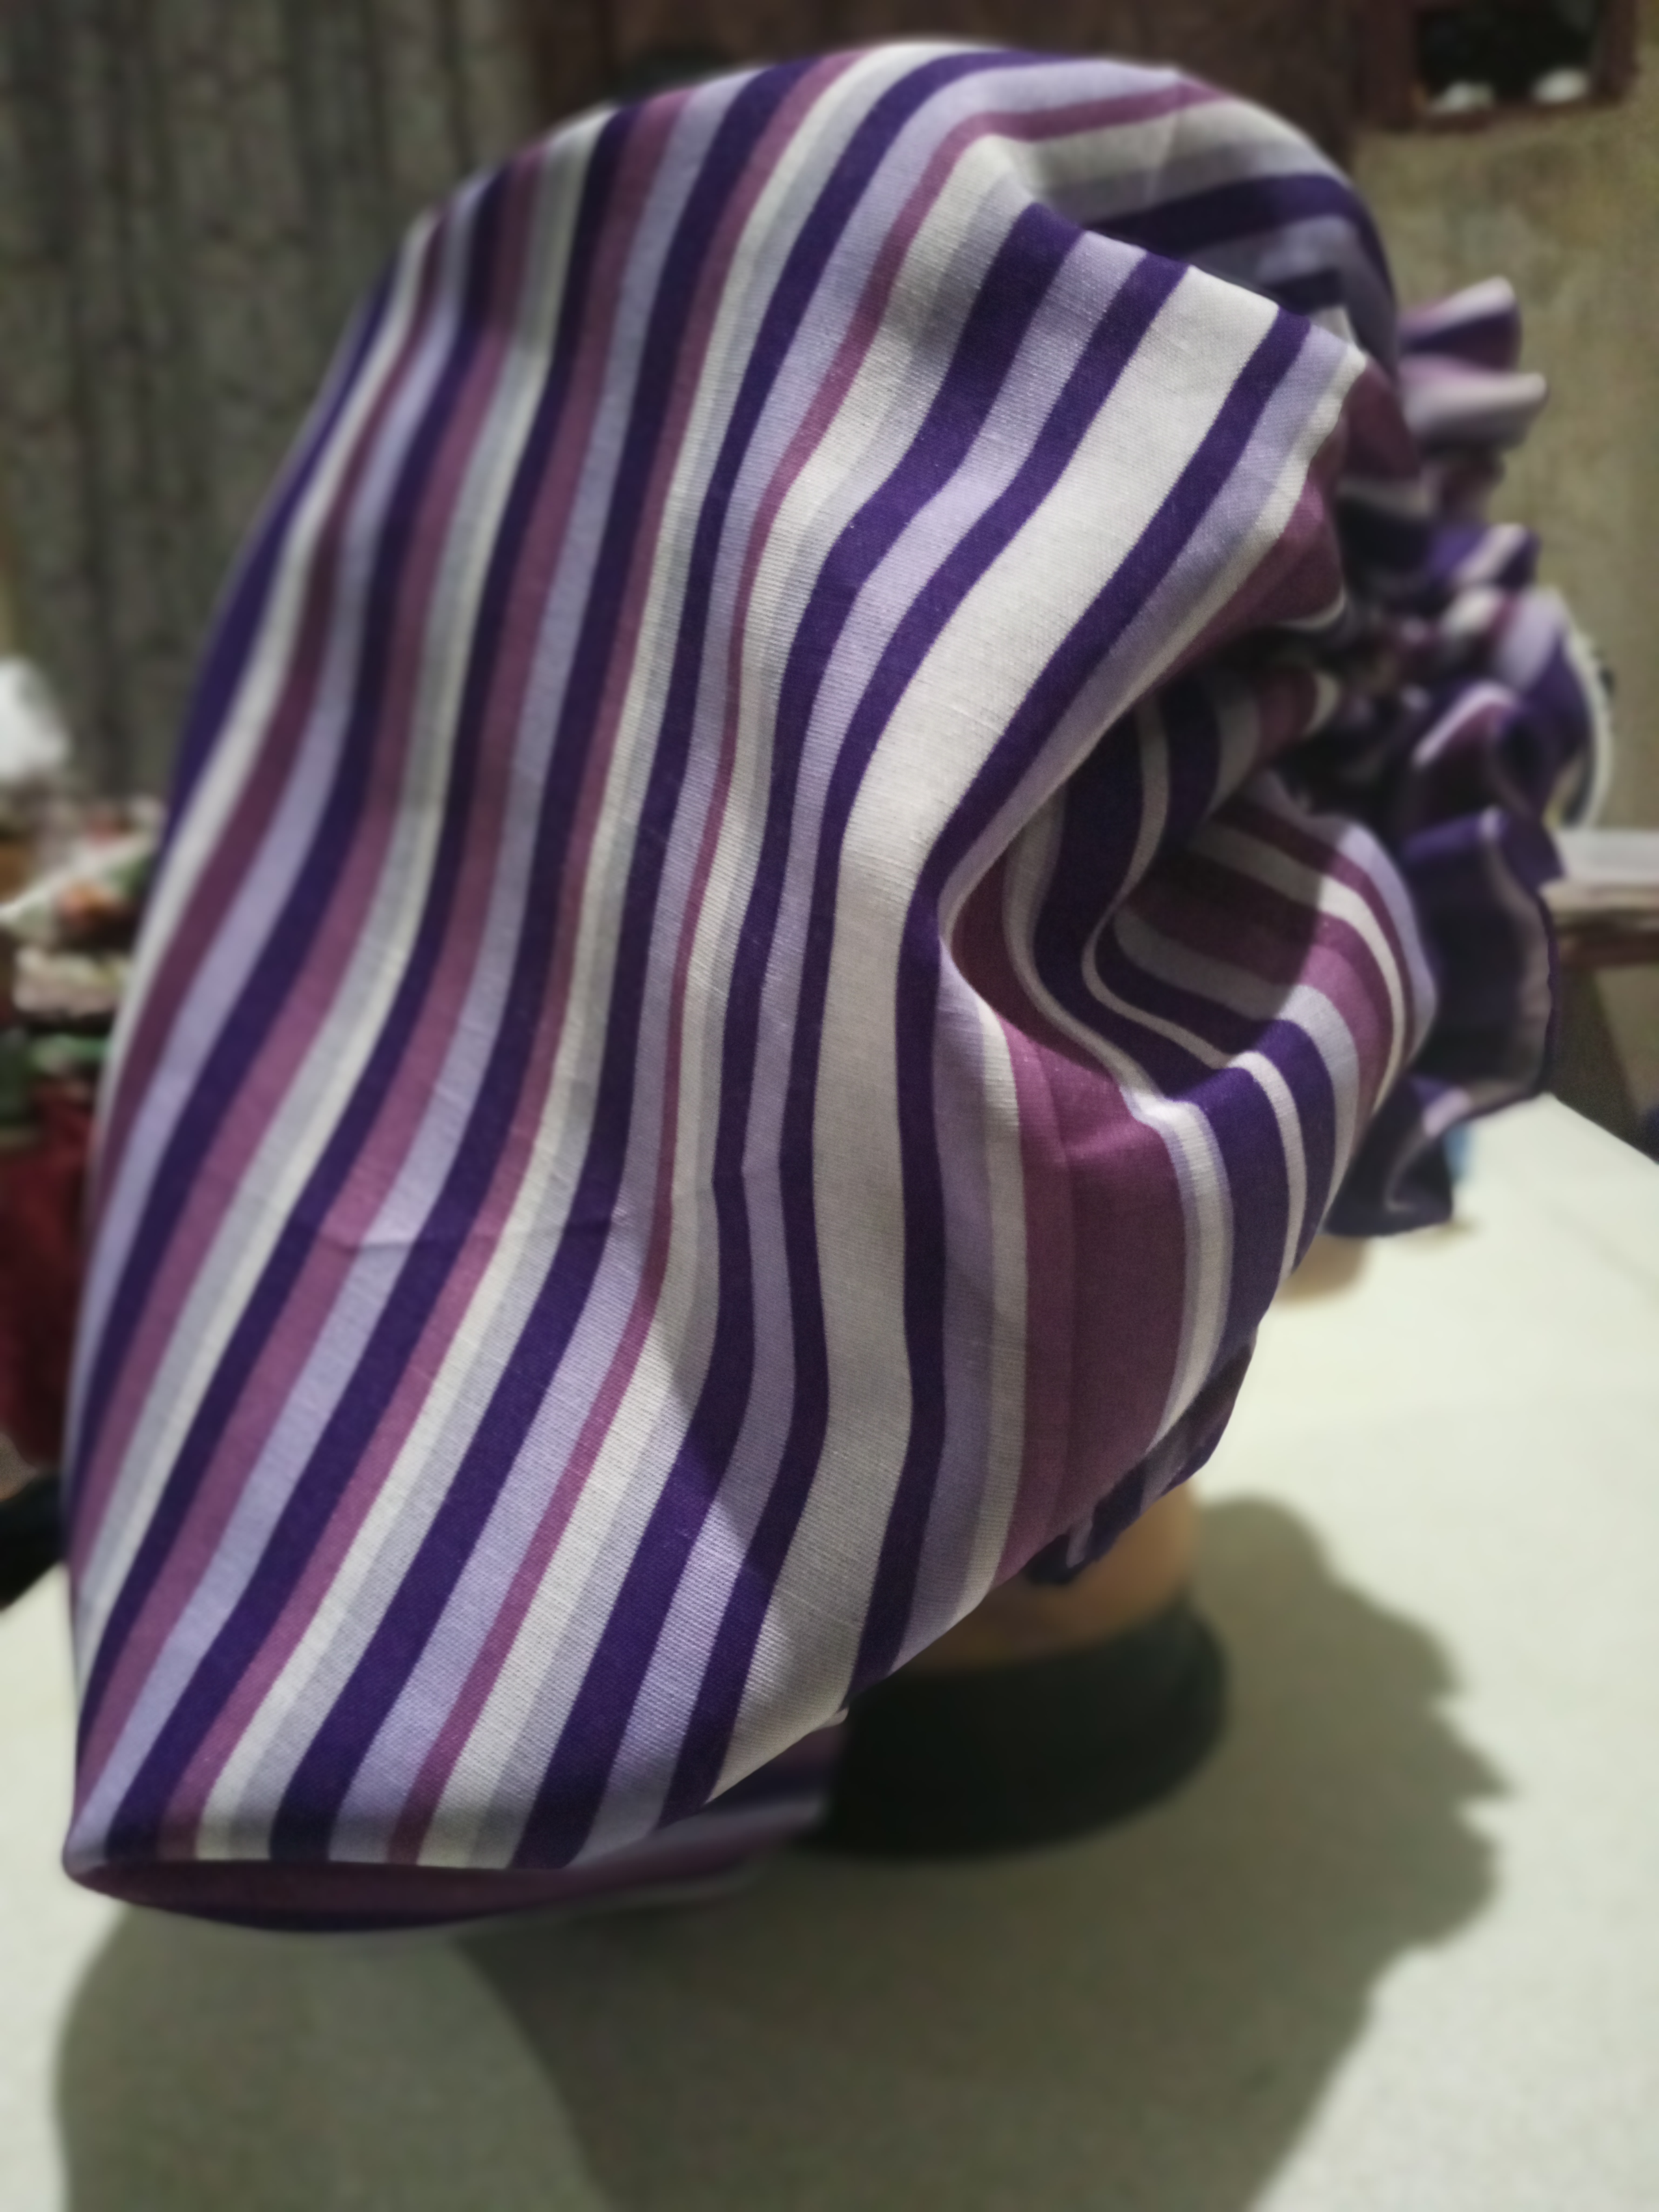
I combined the front view and the back view in a collage at the top.
All pictures are my properties
Taken from my camera:Techno spark 7pro
Edited using canva app
THANK YOU VERY MUCH for taking your time to read, I hope this tutorial will be useful.
Your suggestions and comments will be well appreciated.
Great job! I love how you can wear both sides and I also love your color choice.
Thank you so much am happy you like it 🙂🙏
Wow what a great job,I think I have gotten knowledge to practice, thanks for sharing
Congratulations @jessiana! You have completed the following achievement on the Hive blockchain And have been rewarded with New badge(s)
Your next target is to reach 700 upvotes.
You can view your badges on your board and compare yourself to others in the Ranking
If you no longer want to receive notifications, reply to this comment with the word
STOPThank you so much @hivebuzz
You're a true champion @jessiana! Keep striving for greatness and you'll reach your Hive goals in no time.
Thank you🙏
Welcome to the DIYHub community. We're thrilled to have you here and thank you for sharing this fantastic work. We look forward to more of your contributions.
Thank you so much @Diyhub for having me here. I will surely do my best and contribute to the growth of this community.
Thank you so much @ashikstd and to the inner blocks community i am very grateful